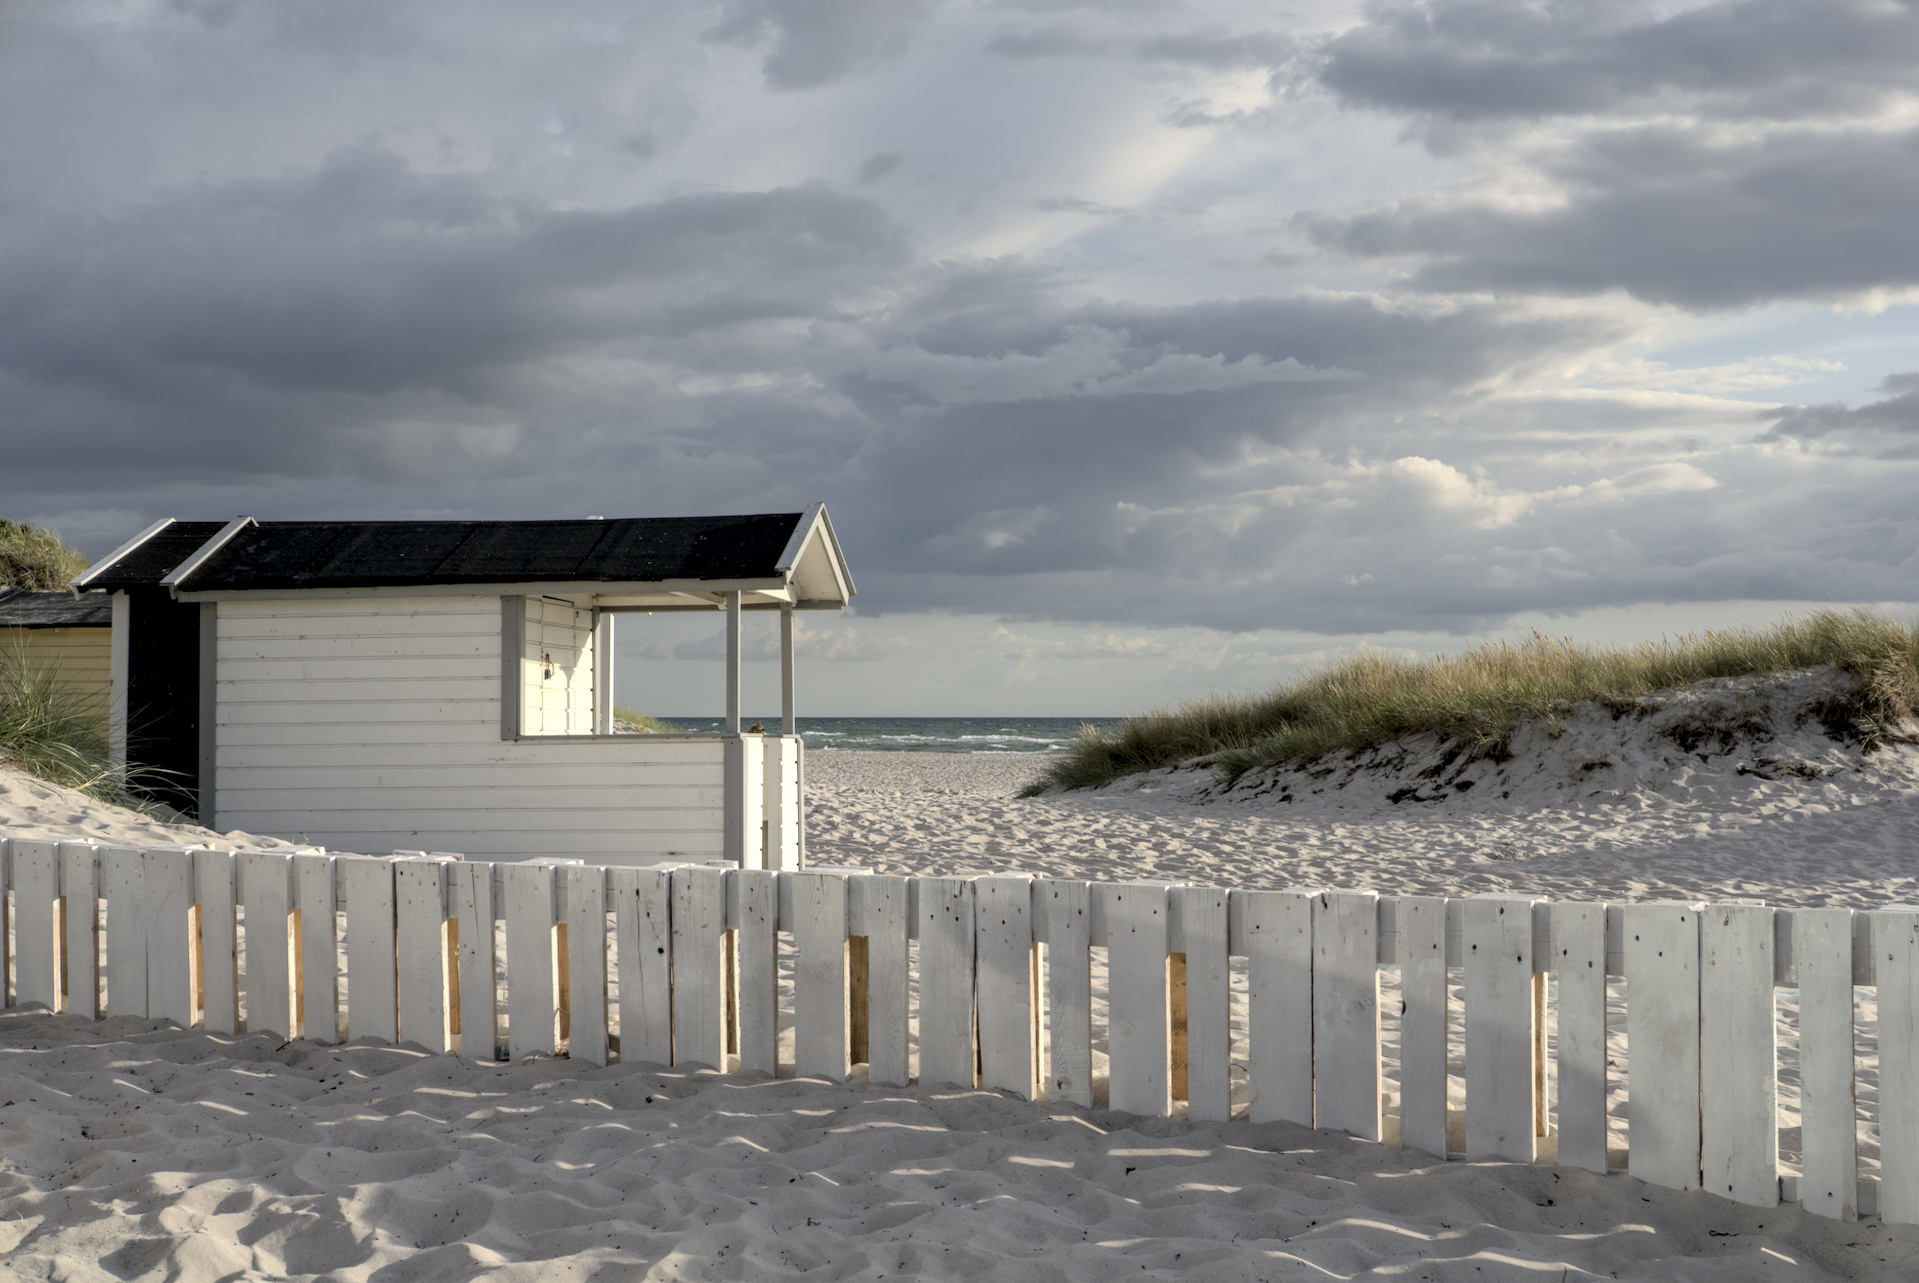
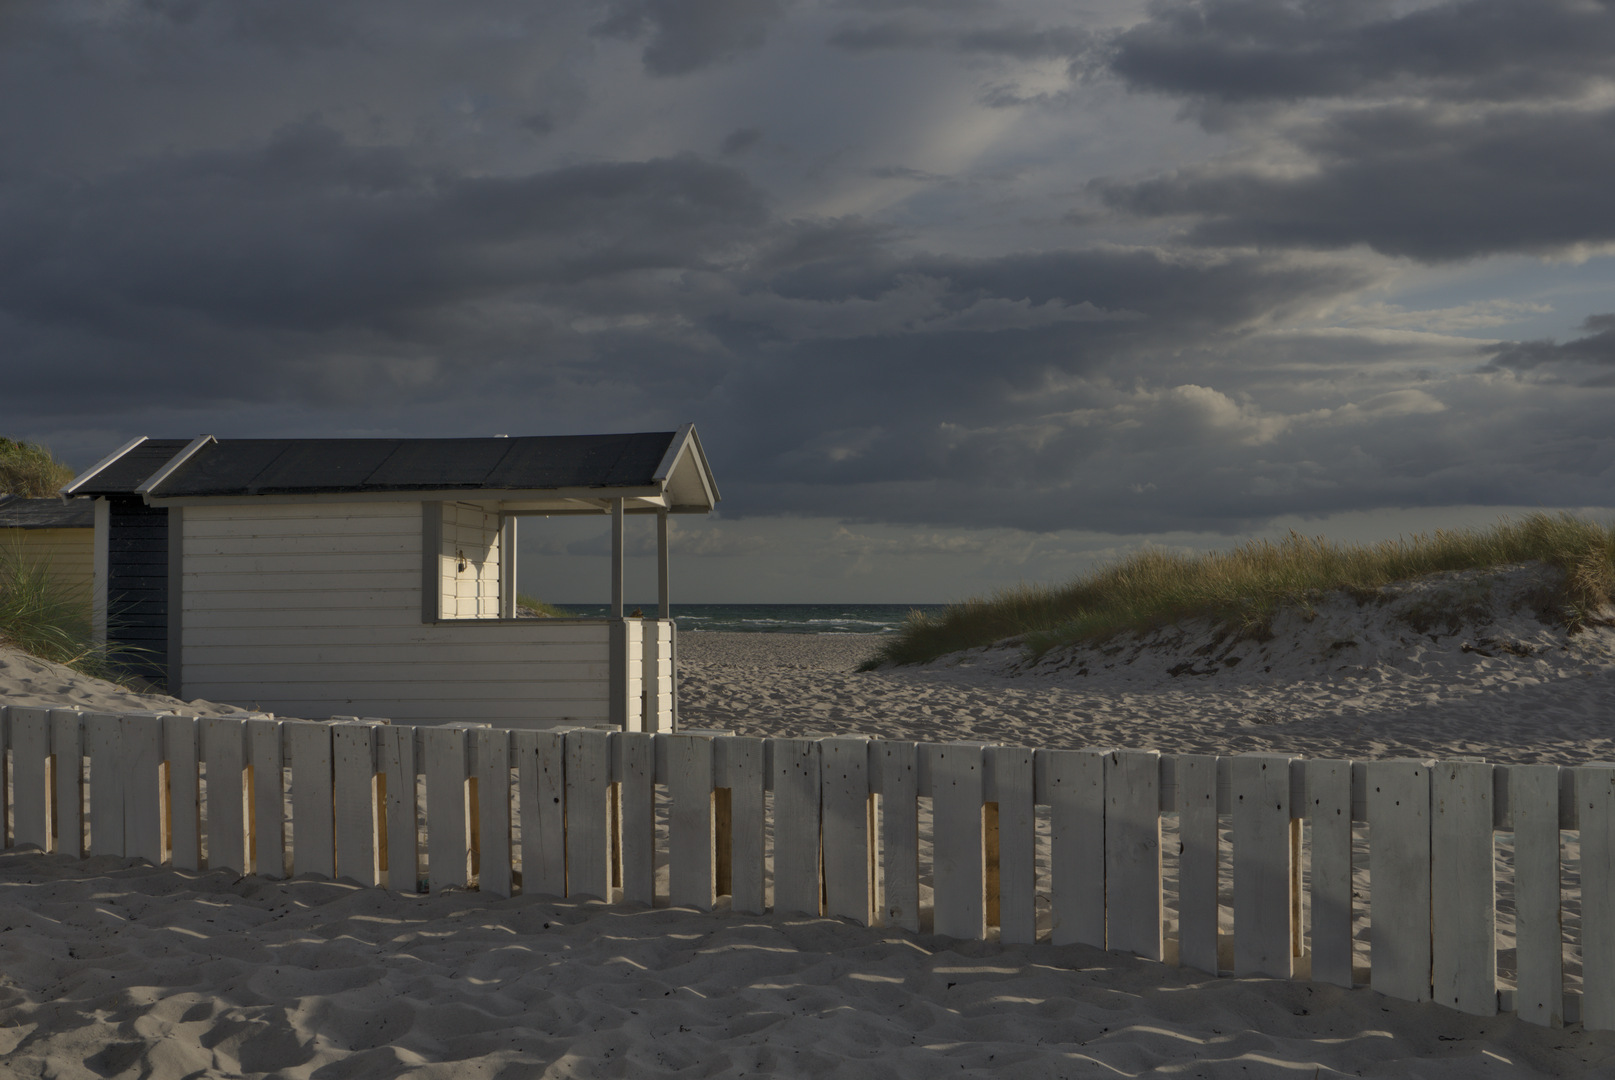
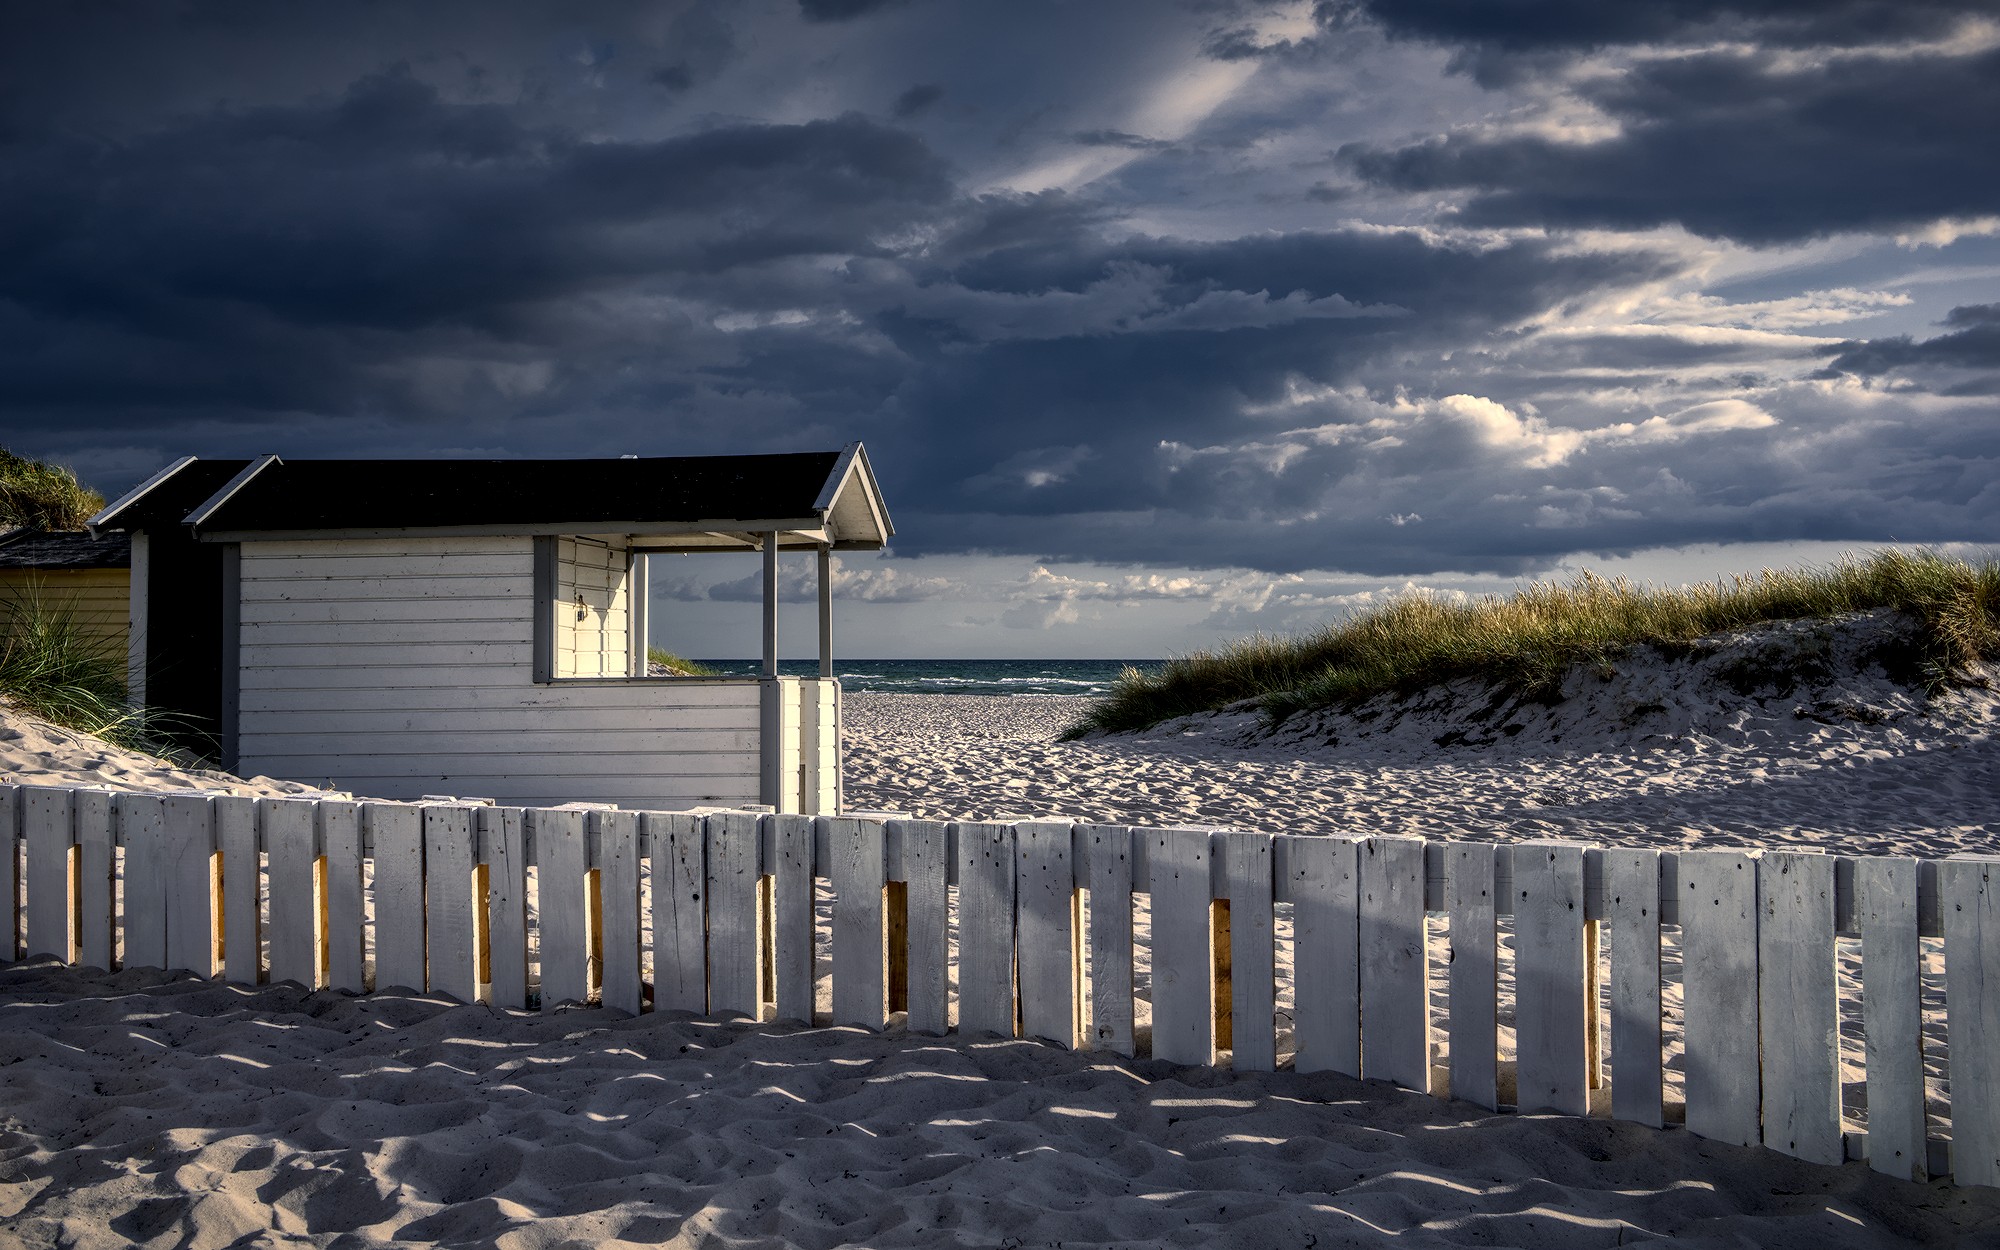
The conditions for this shot were close to perfect: clouds, sun, evening (sun going down), few people and a stunning (famous) subject. This shows some (not too creative) darktable processing.
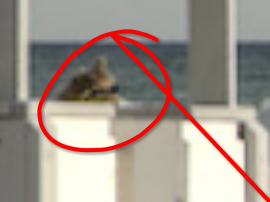
But having a closer look reveals a head behind the cabin:
I really love darktable and have some basic knowledge but I was completely unable to use the spot removal in this case to obtain something I could live with. So I am asking the community ( you ) for help: in my opinion it should be quite easy to remove this spot: there is a uniform structured background (the ocean) and a clear edge on the lower side (the balcony). I would be very glad to get some help on this and also would be very interested on your opinion of this shot or how you would process it.
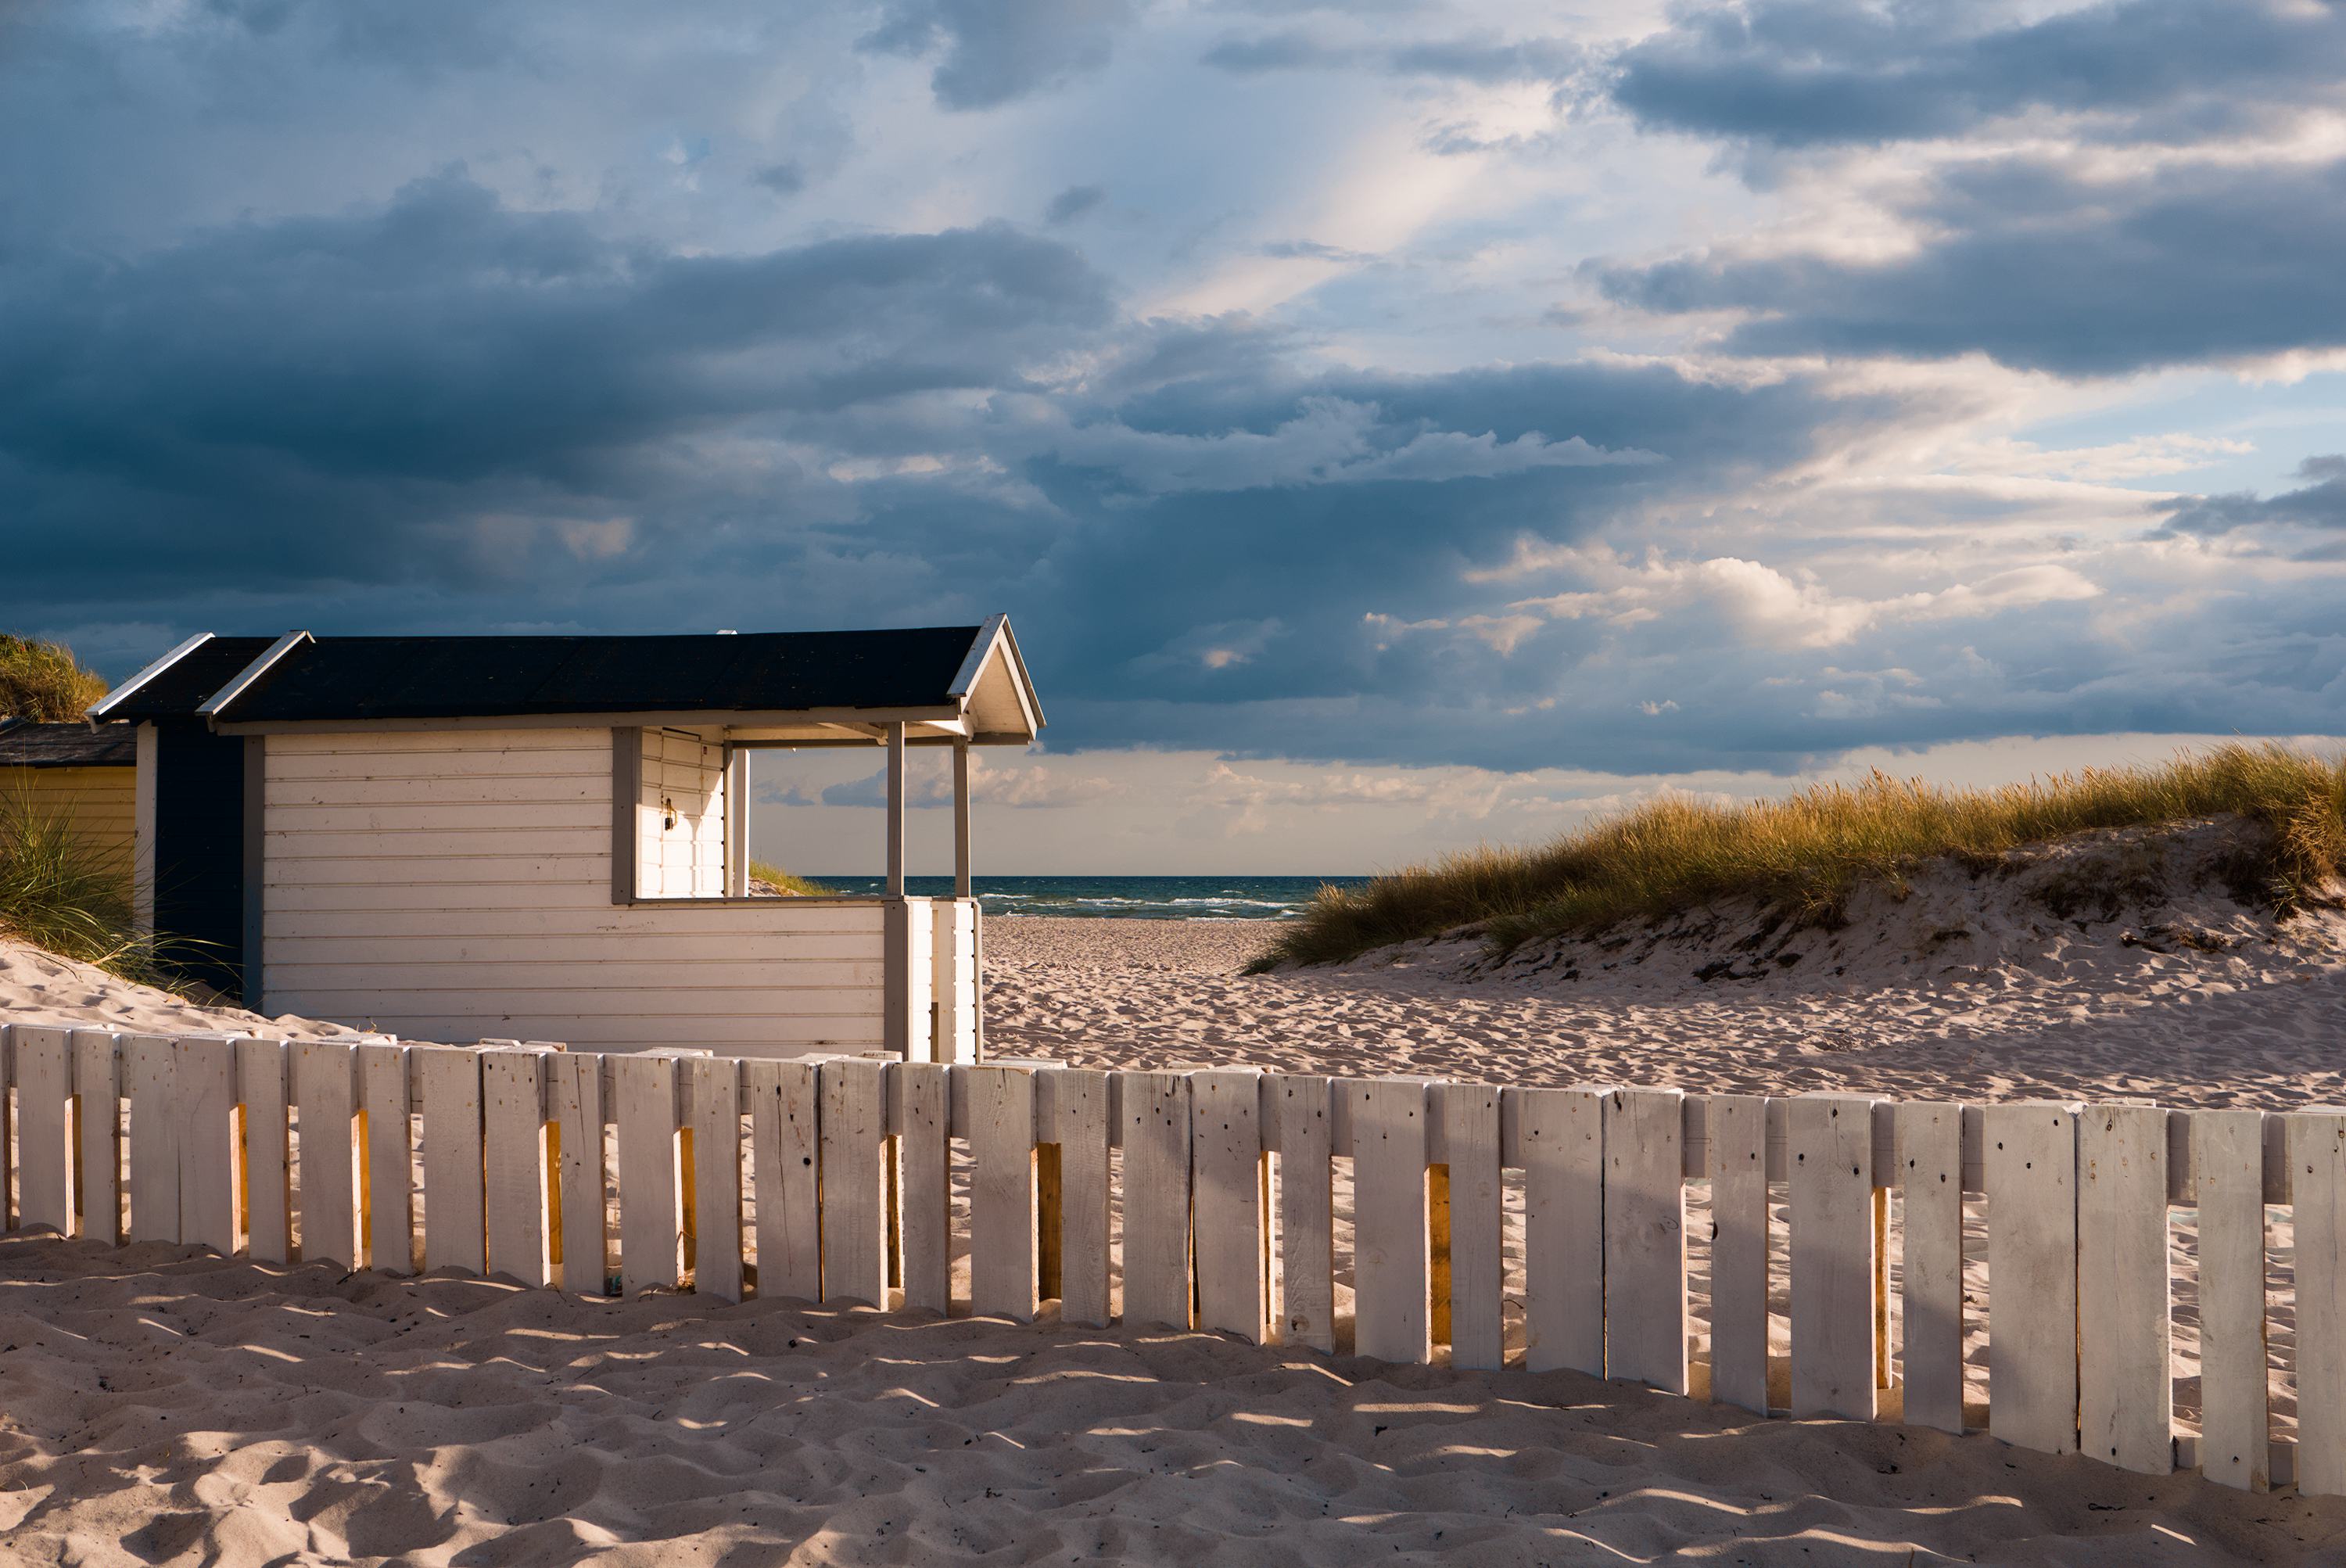
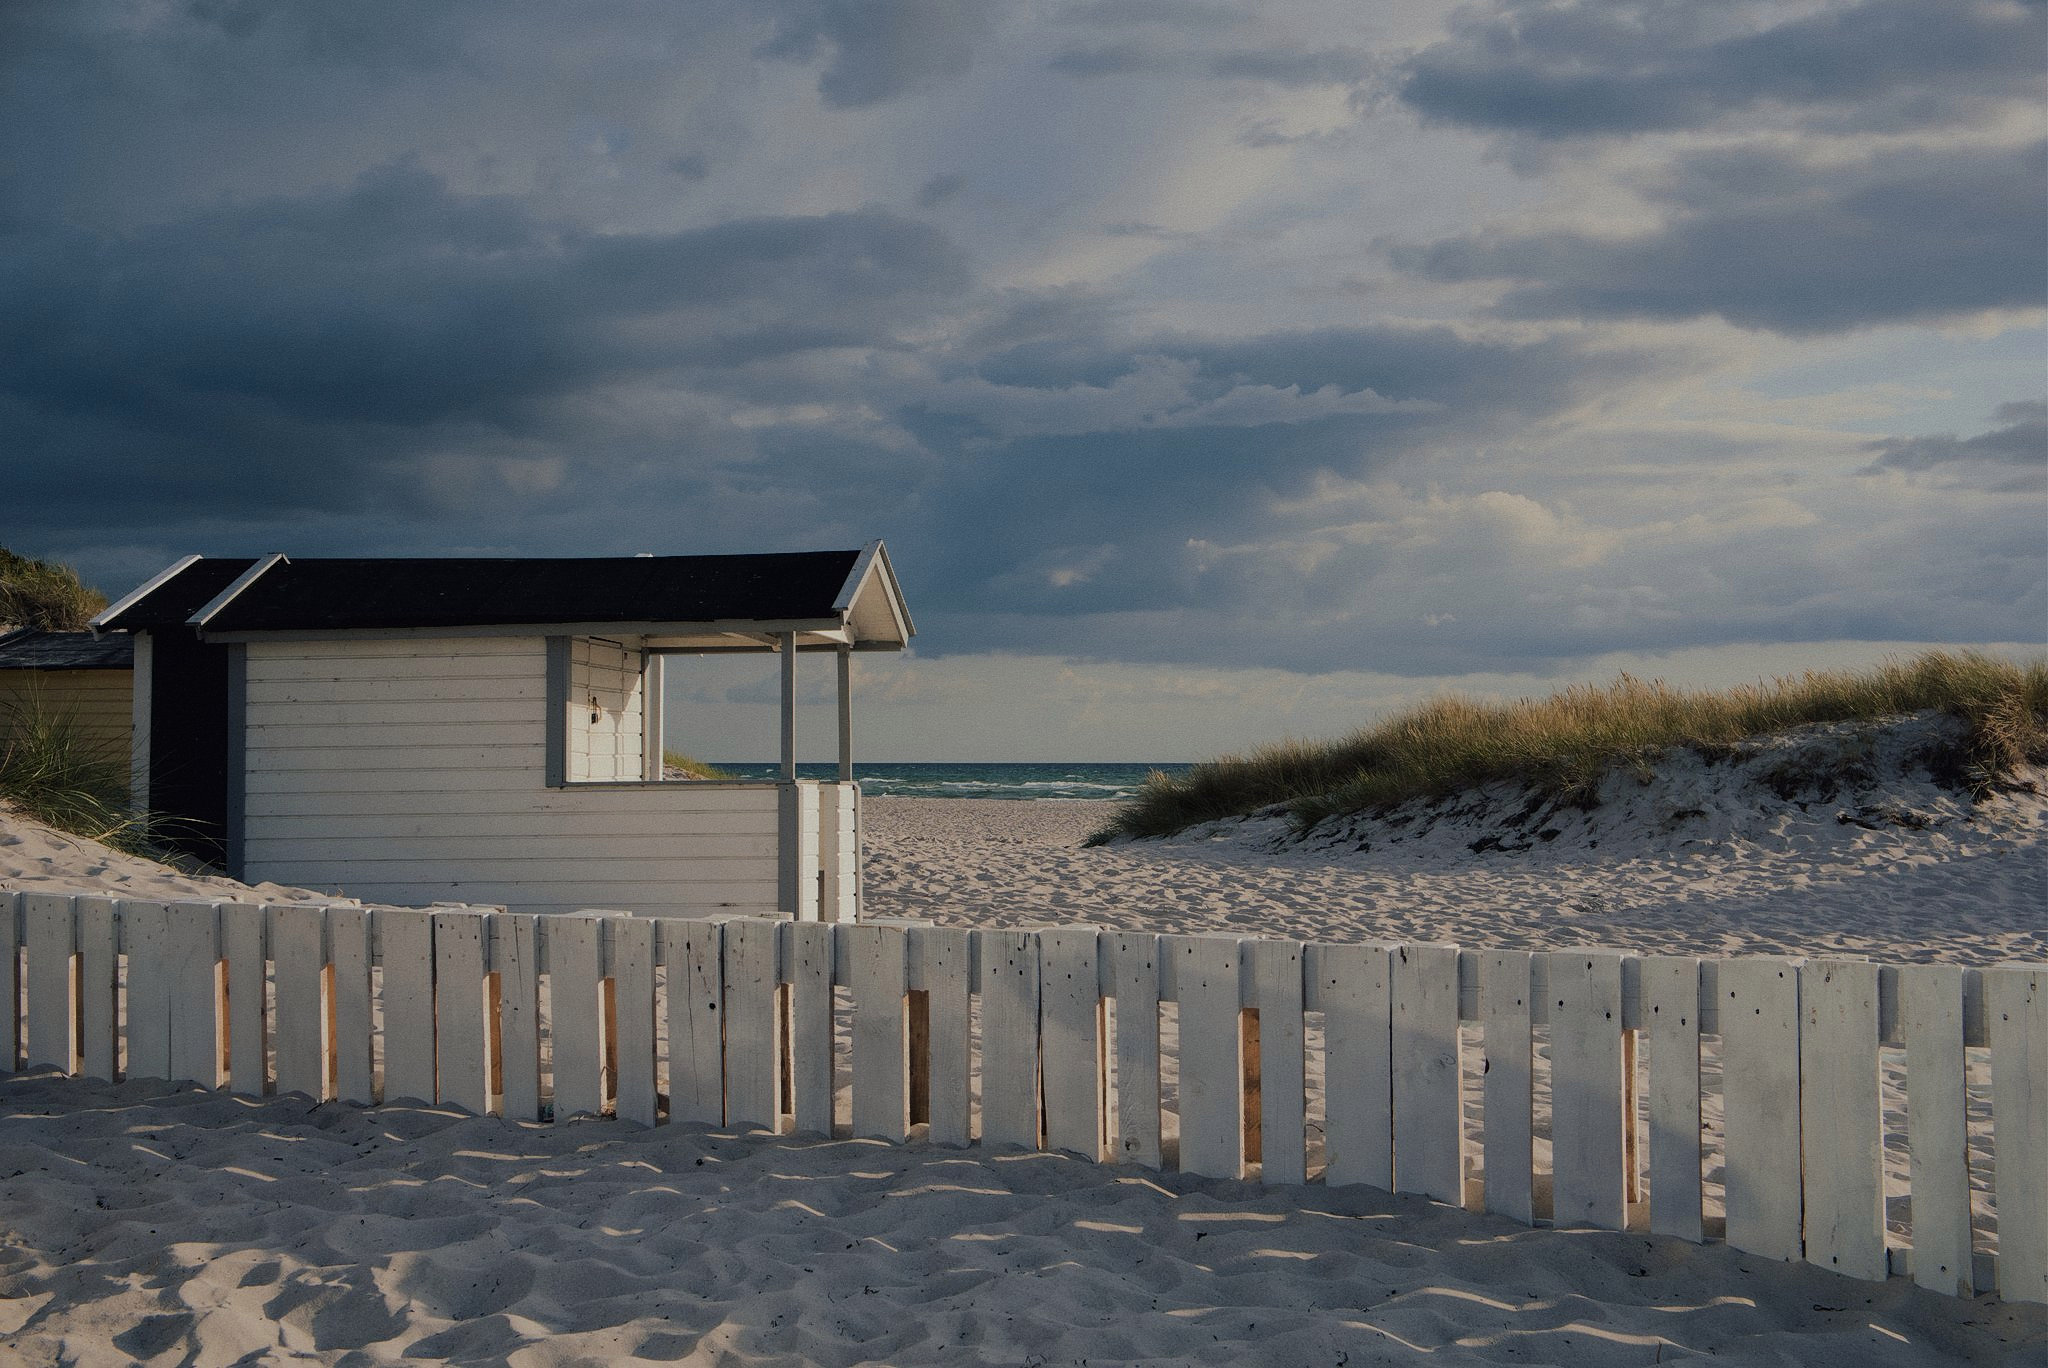
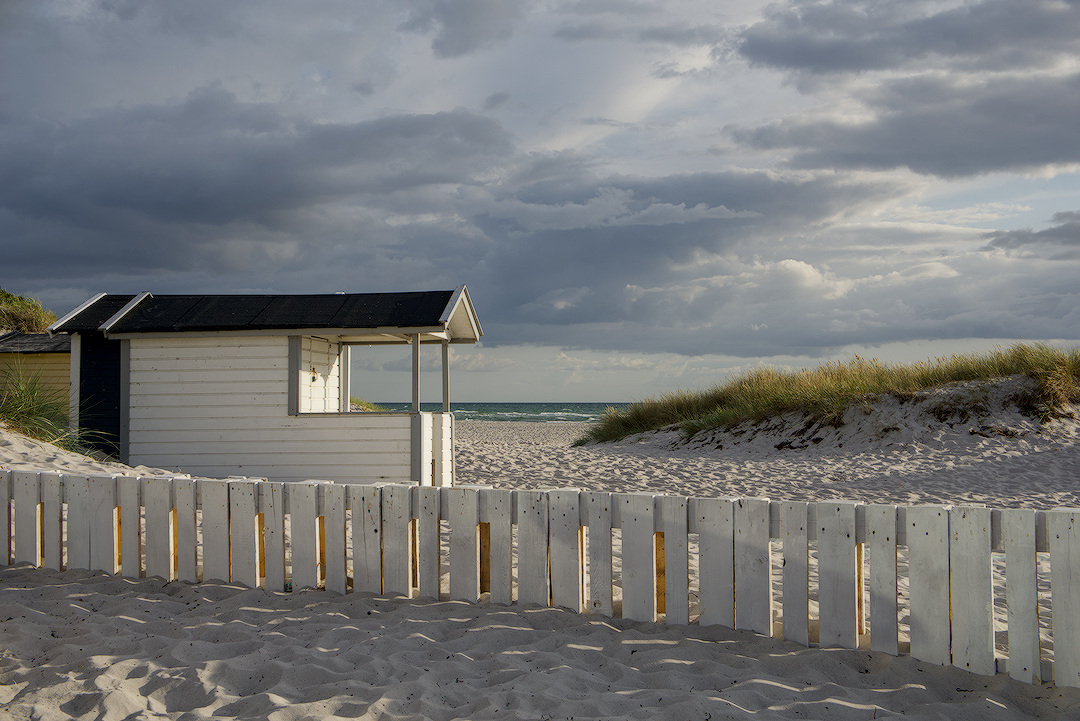
I think I had reasonable success using the retouch tool in clone mode, with a small brush, and more or less just painting out the offending part. Healing mode was drawing colour and tone from the surrounding area, which was undesirable in this case.
Otherwise, fairly standard workflow with sigmoid, and a little bit of colour grading in color balance rgb. DSC06078(1).ARW.xmp (13.6 KB)
are you in the retouch module? For something like this you’ll have to change from heal to clone mode I expect.
having said that you don’t have a whole lot of space to clone from. I would tackle this in GIMP after export, make a crisp selection above the woodwork seeing as that doesn’t need altering, and use the clone tool.
you can add masks to any module inside darktable too, but I often don’t just not a habit I’ve developed. Probably should get into it though, it would make a lot of sense to have it done and dusted inside the RAW workflow.
edit: so I did default to doing this in GIMP. As it turns out you don’t have the full suite of masking options in the retouch module so it didn’t really work out the way I wanted it too. Trivial in GIMP though: Free Select > feather selection by 1px (at 2048 res at least) > Clone. Done.
edit2: just to elaborate on step one here, the difficulty you face in these situations is in maintaining the integrity of the edge, so you make a straight line selection to isolate the issue.
if in another case you’re trying to remove someone laying in the sand for example the opposite is true, the sand has detail and edges, but due to the irregularity it becomes more of a texture, so cloning with a soft brush or going back to healing will likely yield a better result.
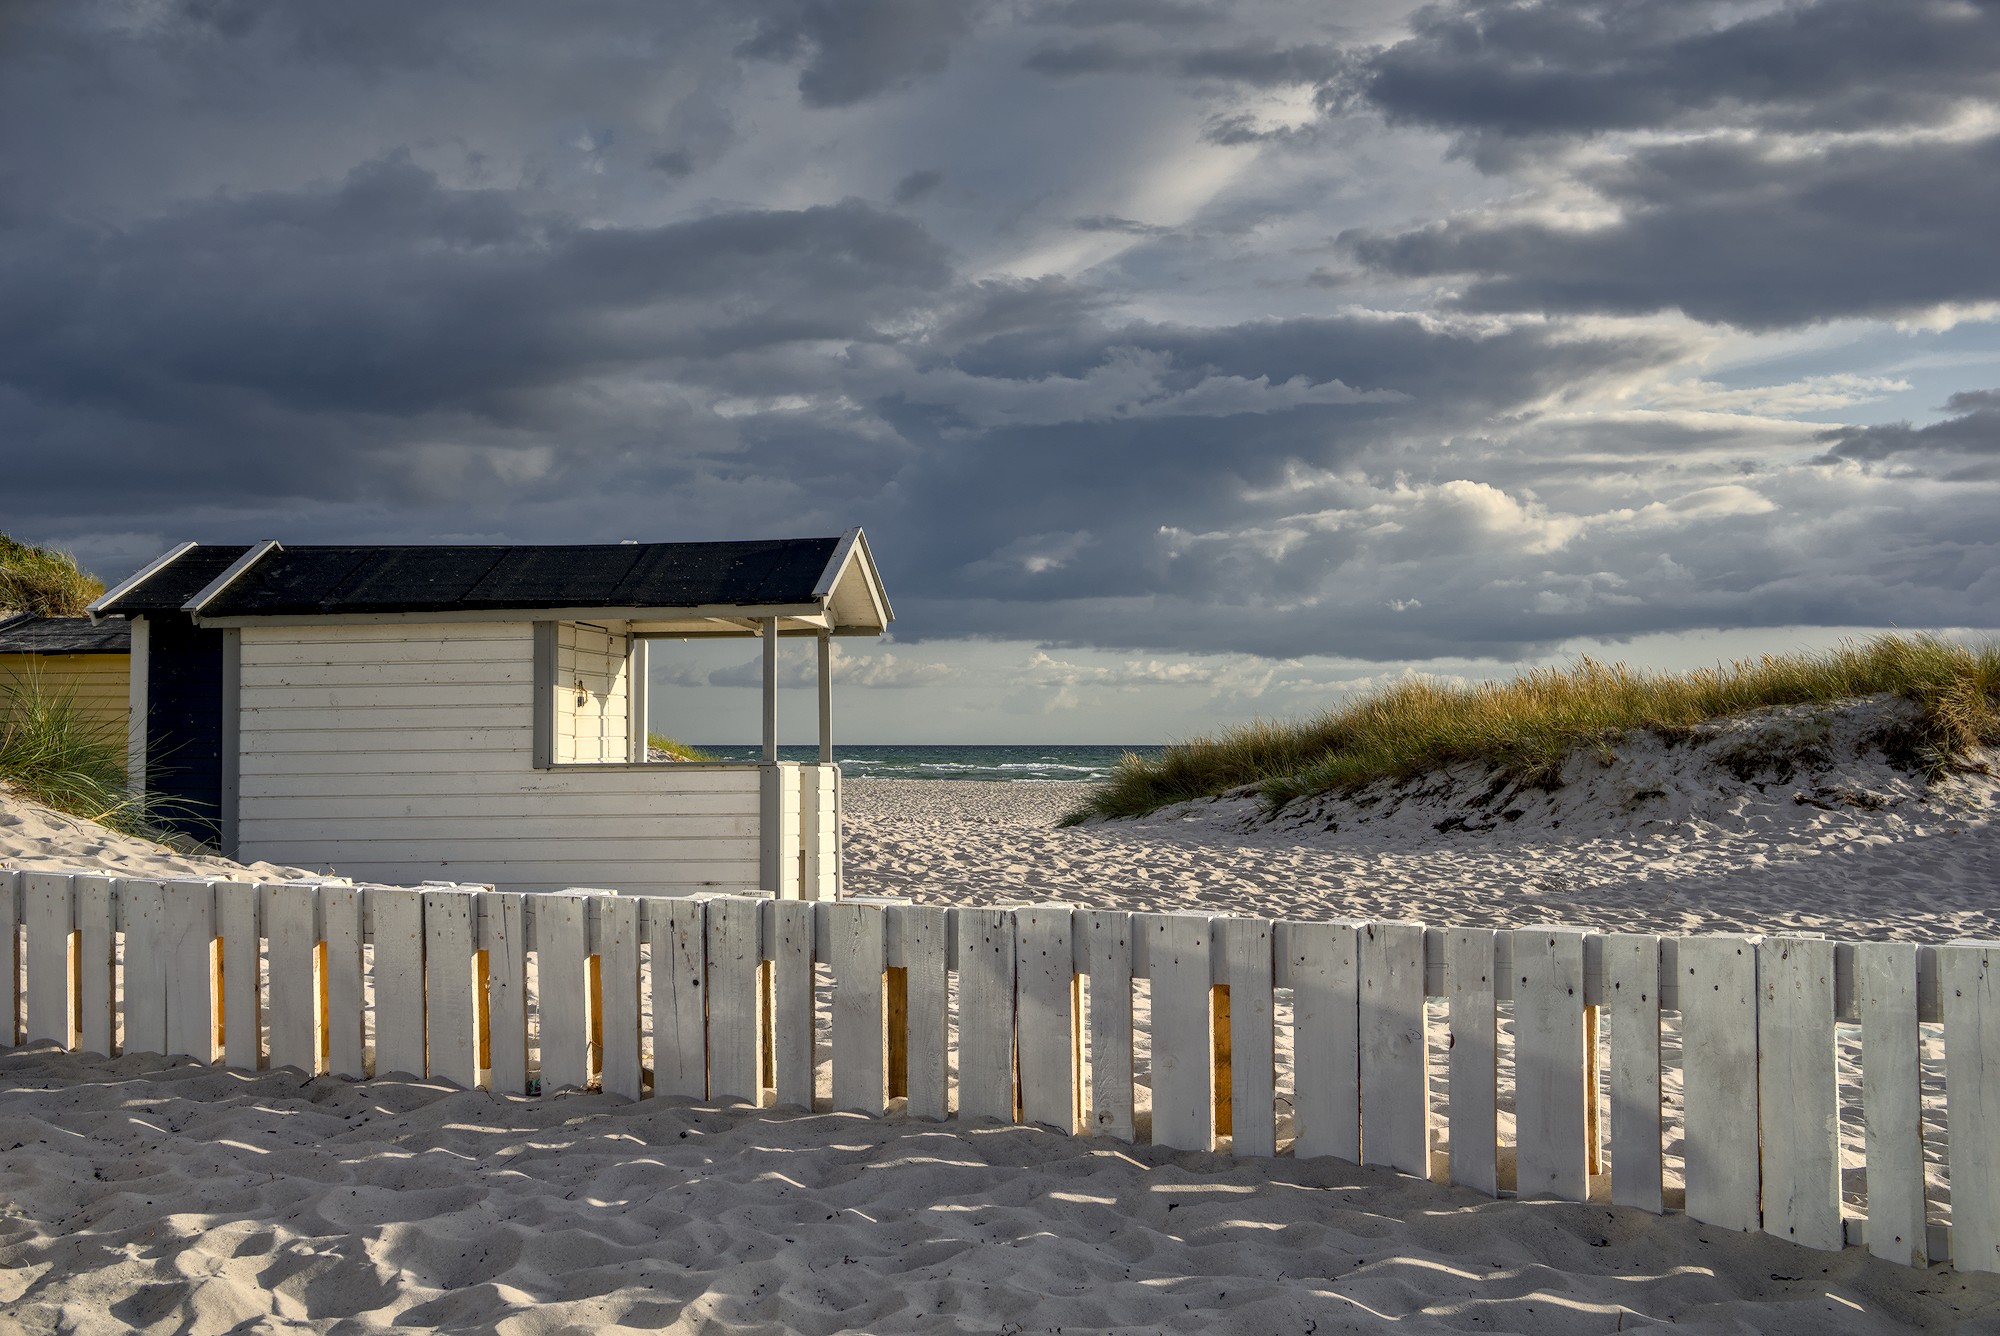
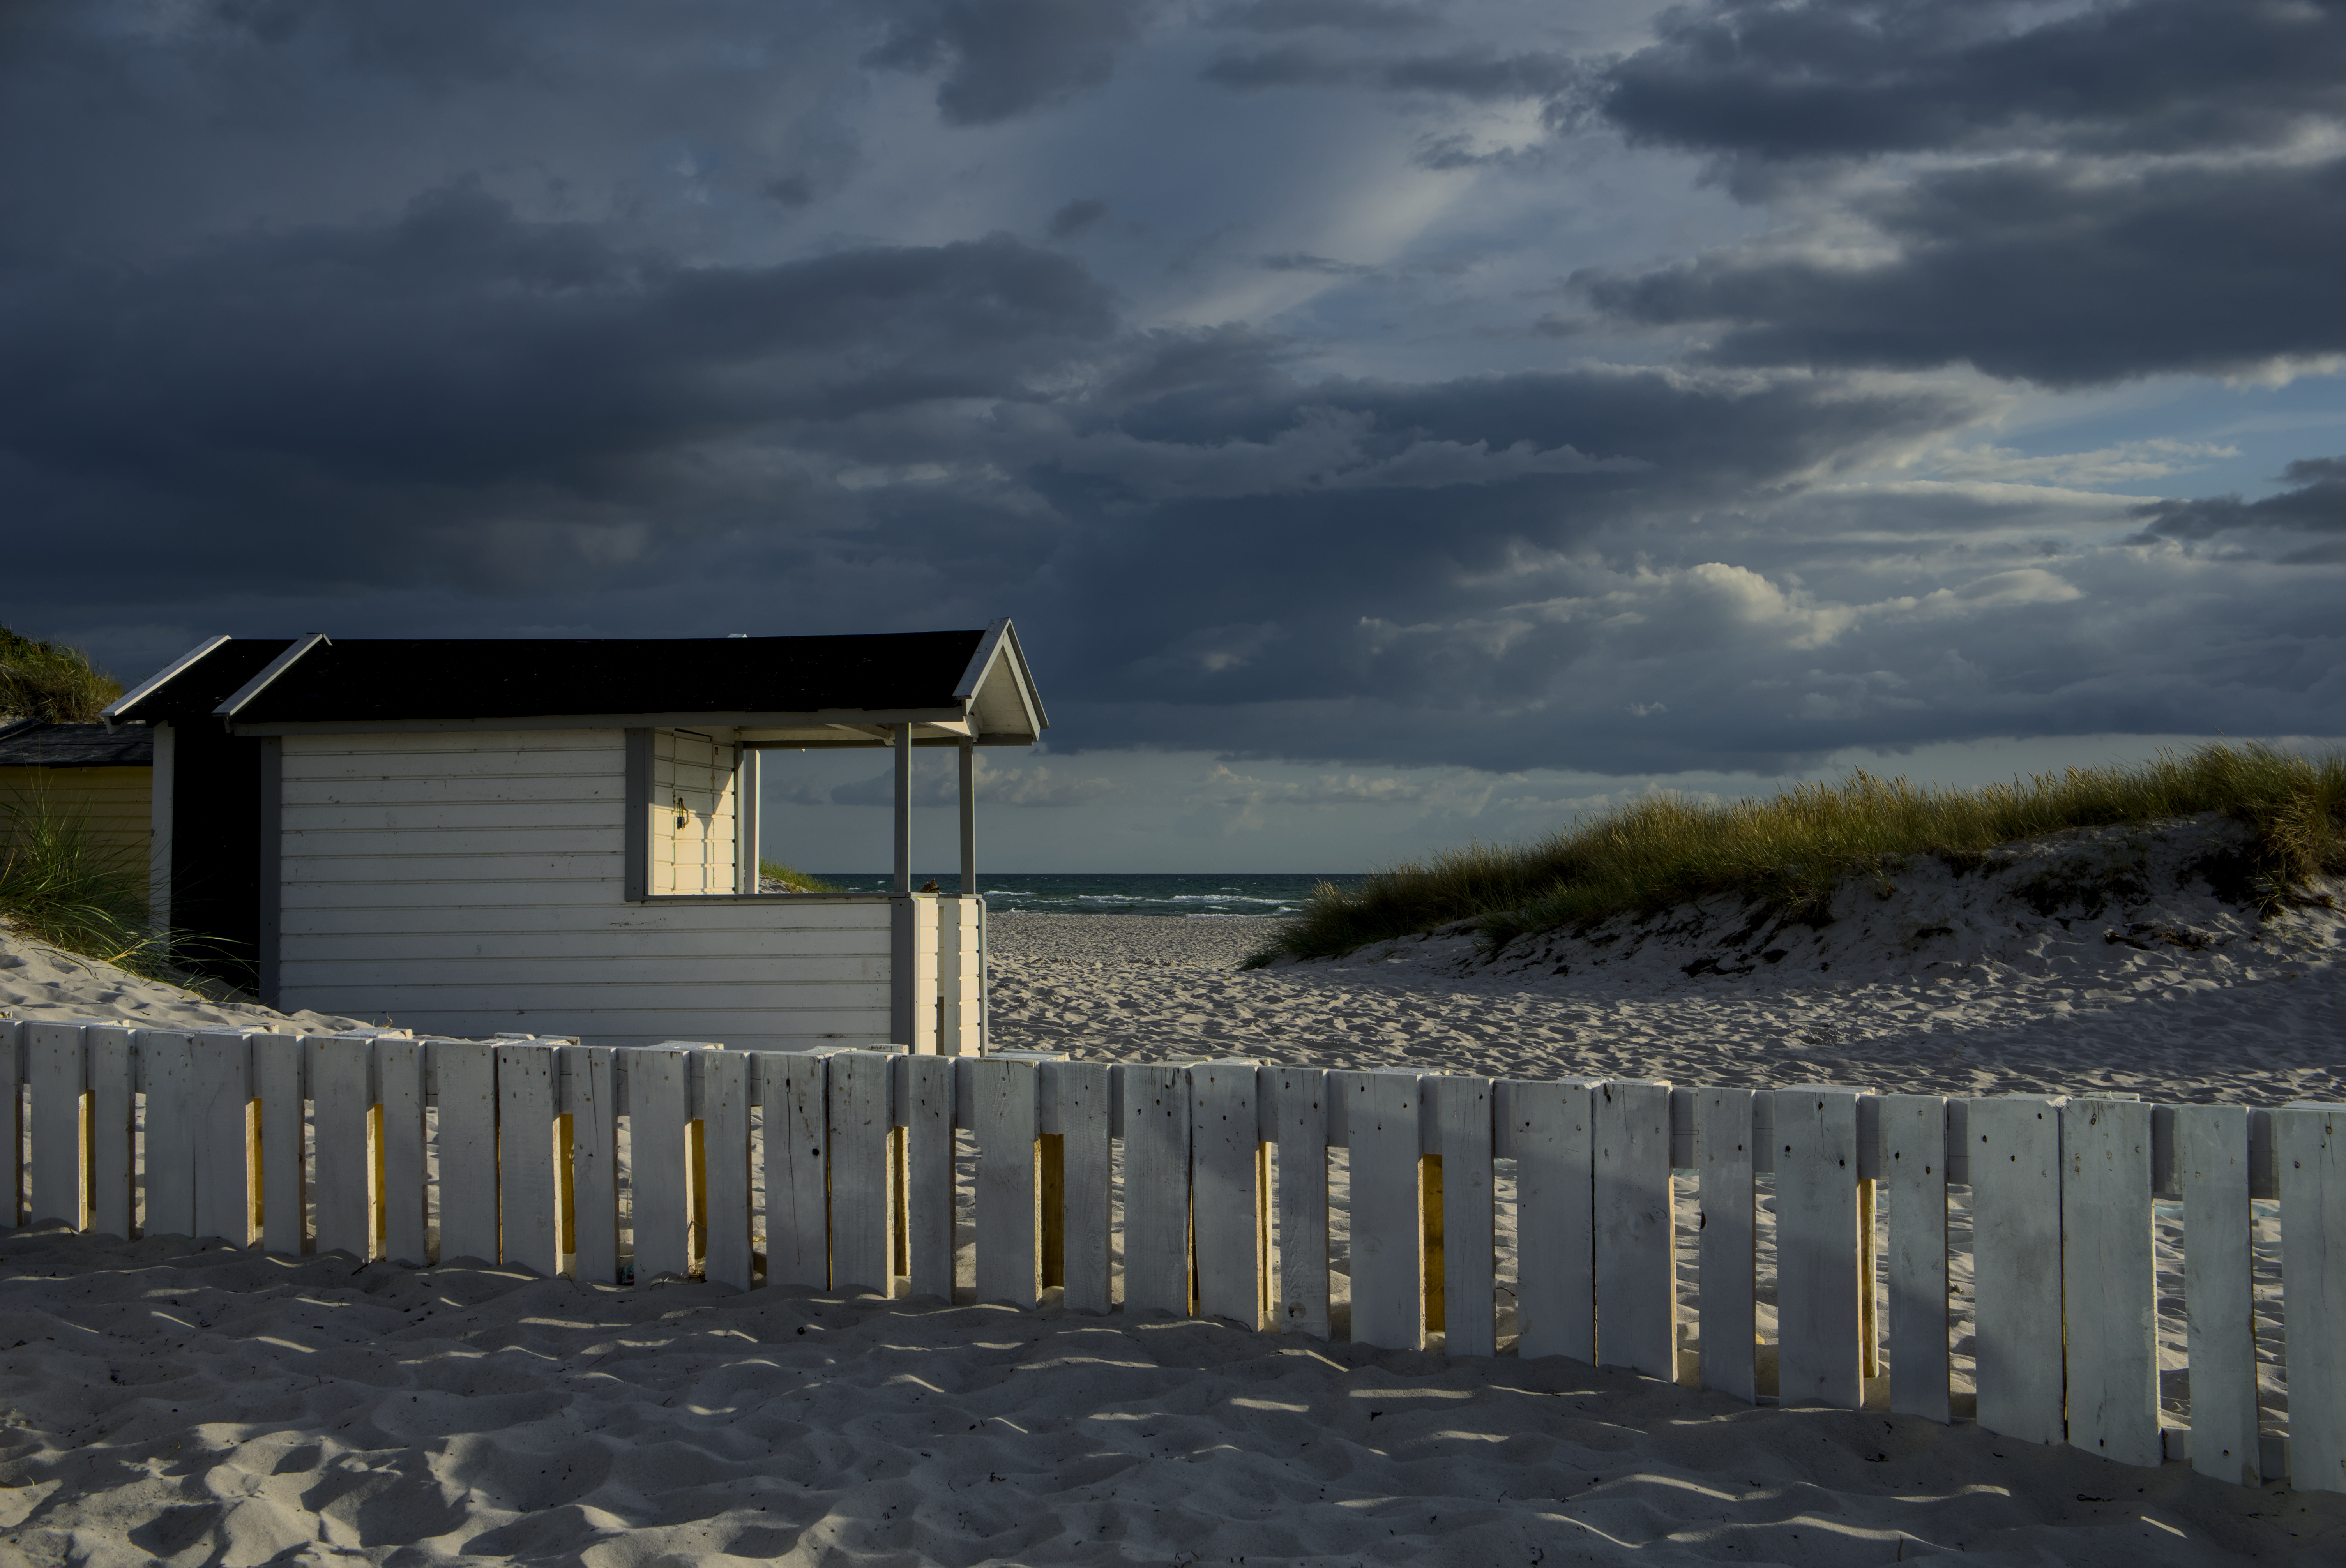
Good camera settings made this a very easy image to process. I had little difficulty tackling the distraction by zooming into 400% so I could see what I was doing and using the clone option in retouch with the brush having only a little feathering
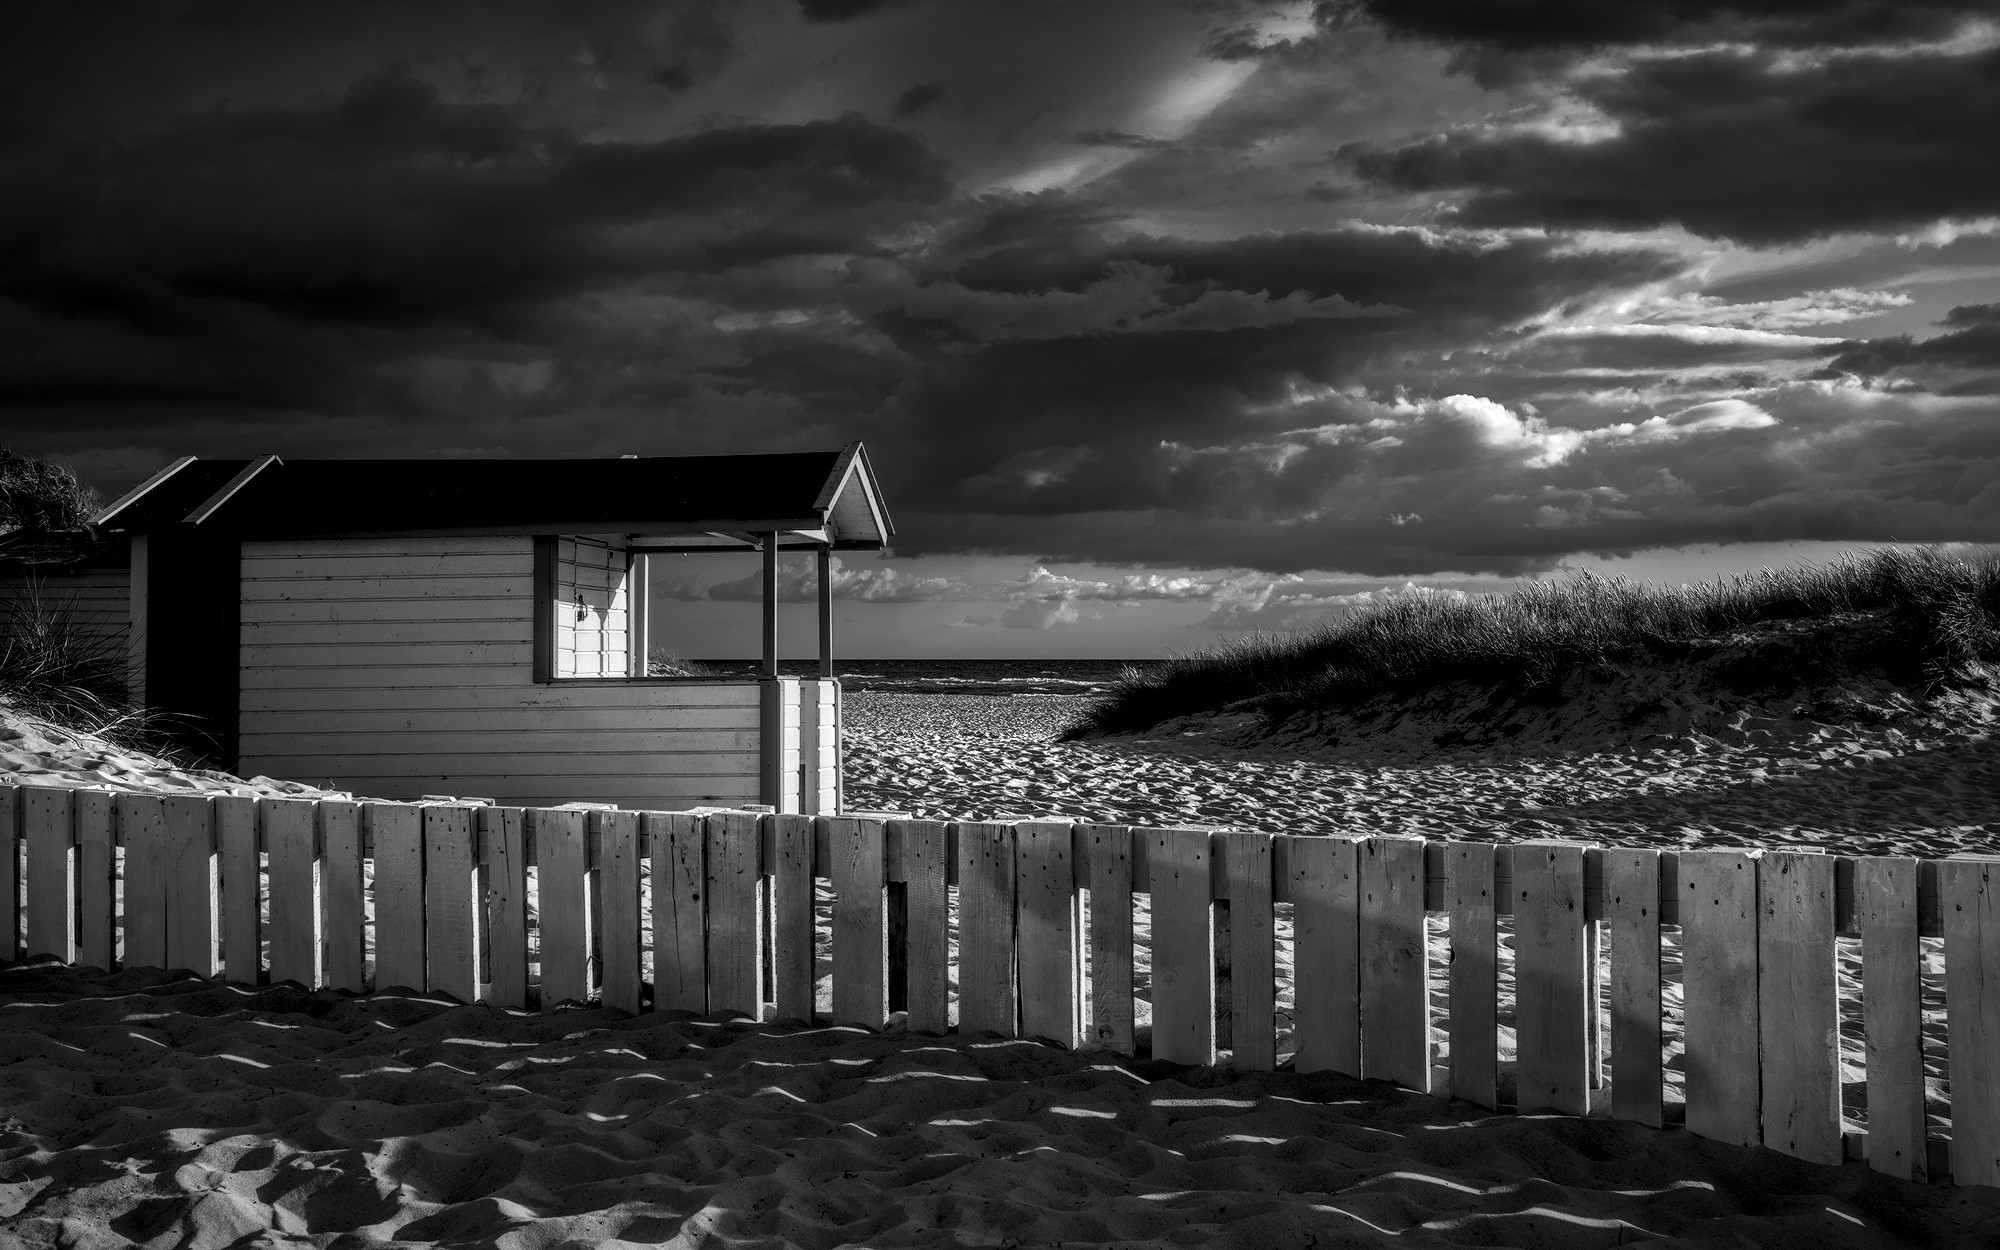
My play in GIMP. The Healing Brush makes it fairly easy to remove the offending head, or as I did here, make a selection and use the Heal Selection tool.
I am sure most viewers would never notice the head, but once you have seen it, it is very difficult to “unsee”!
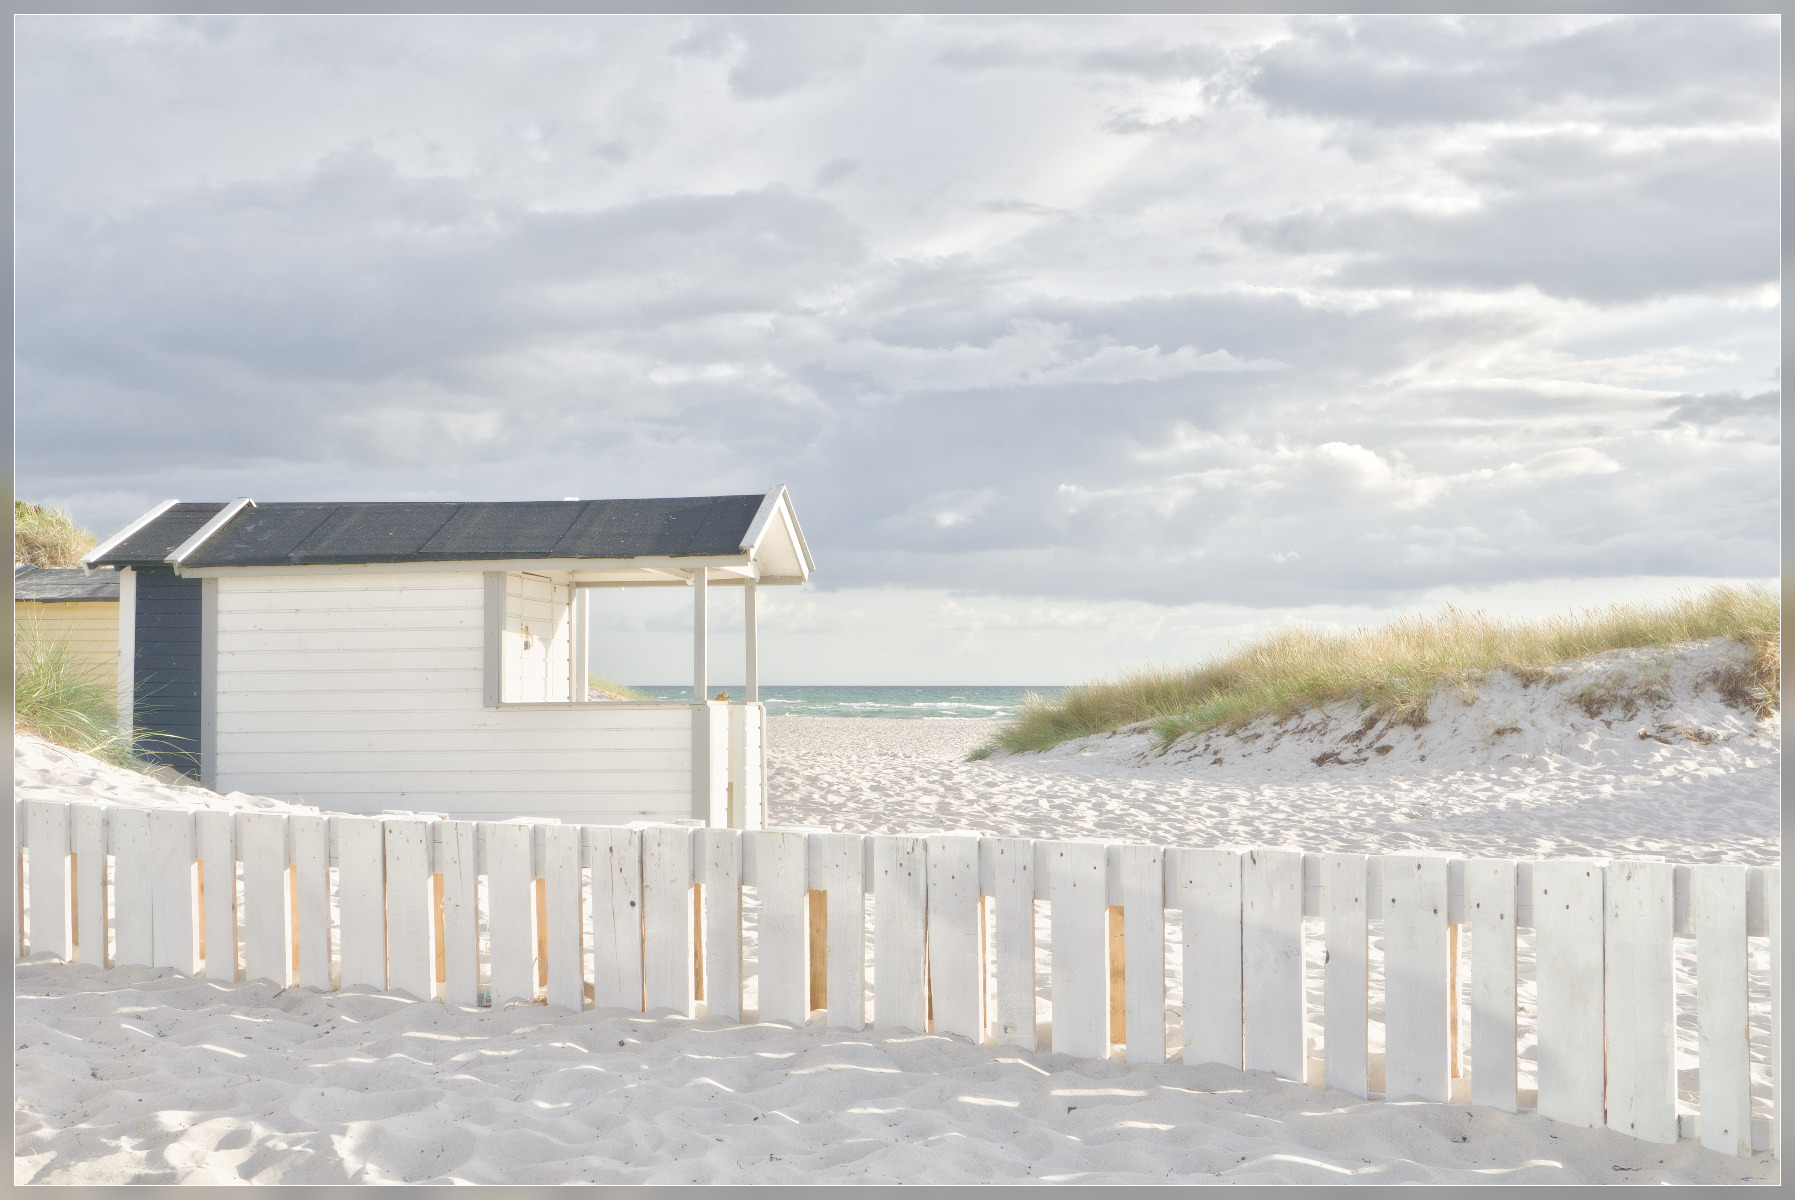
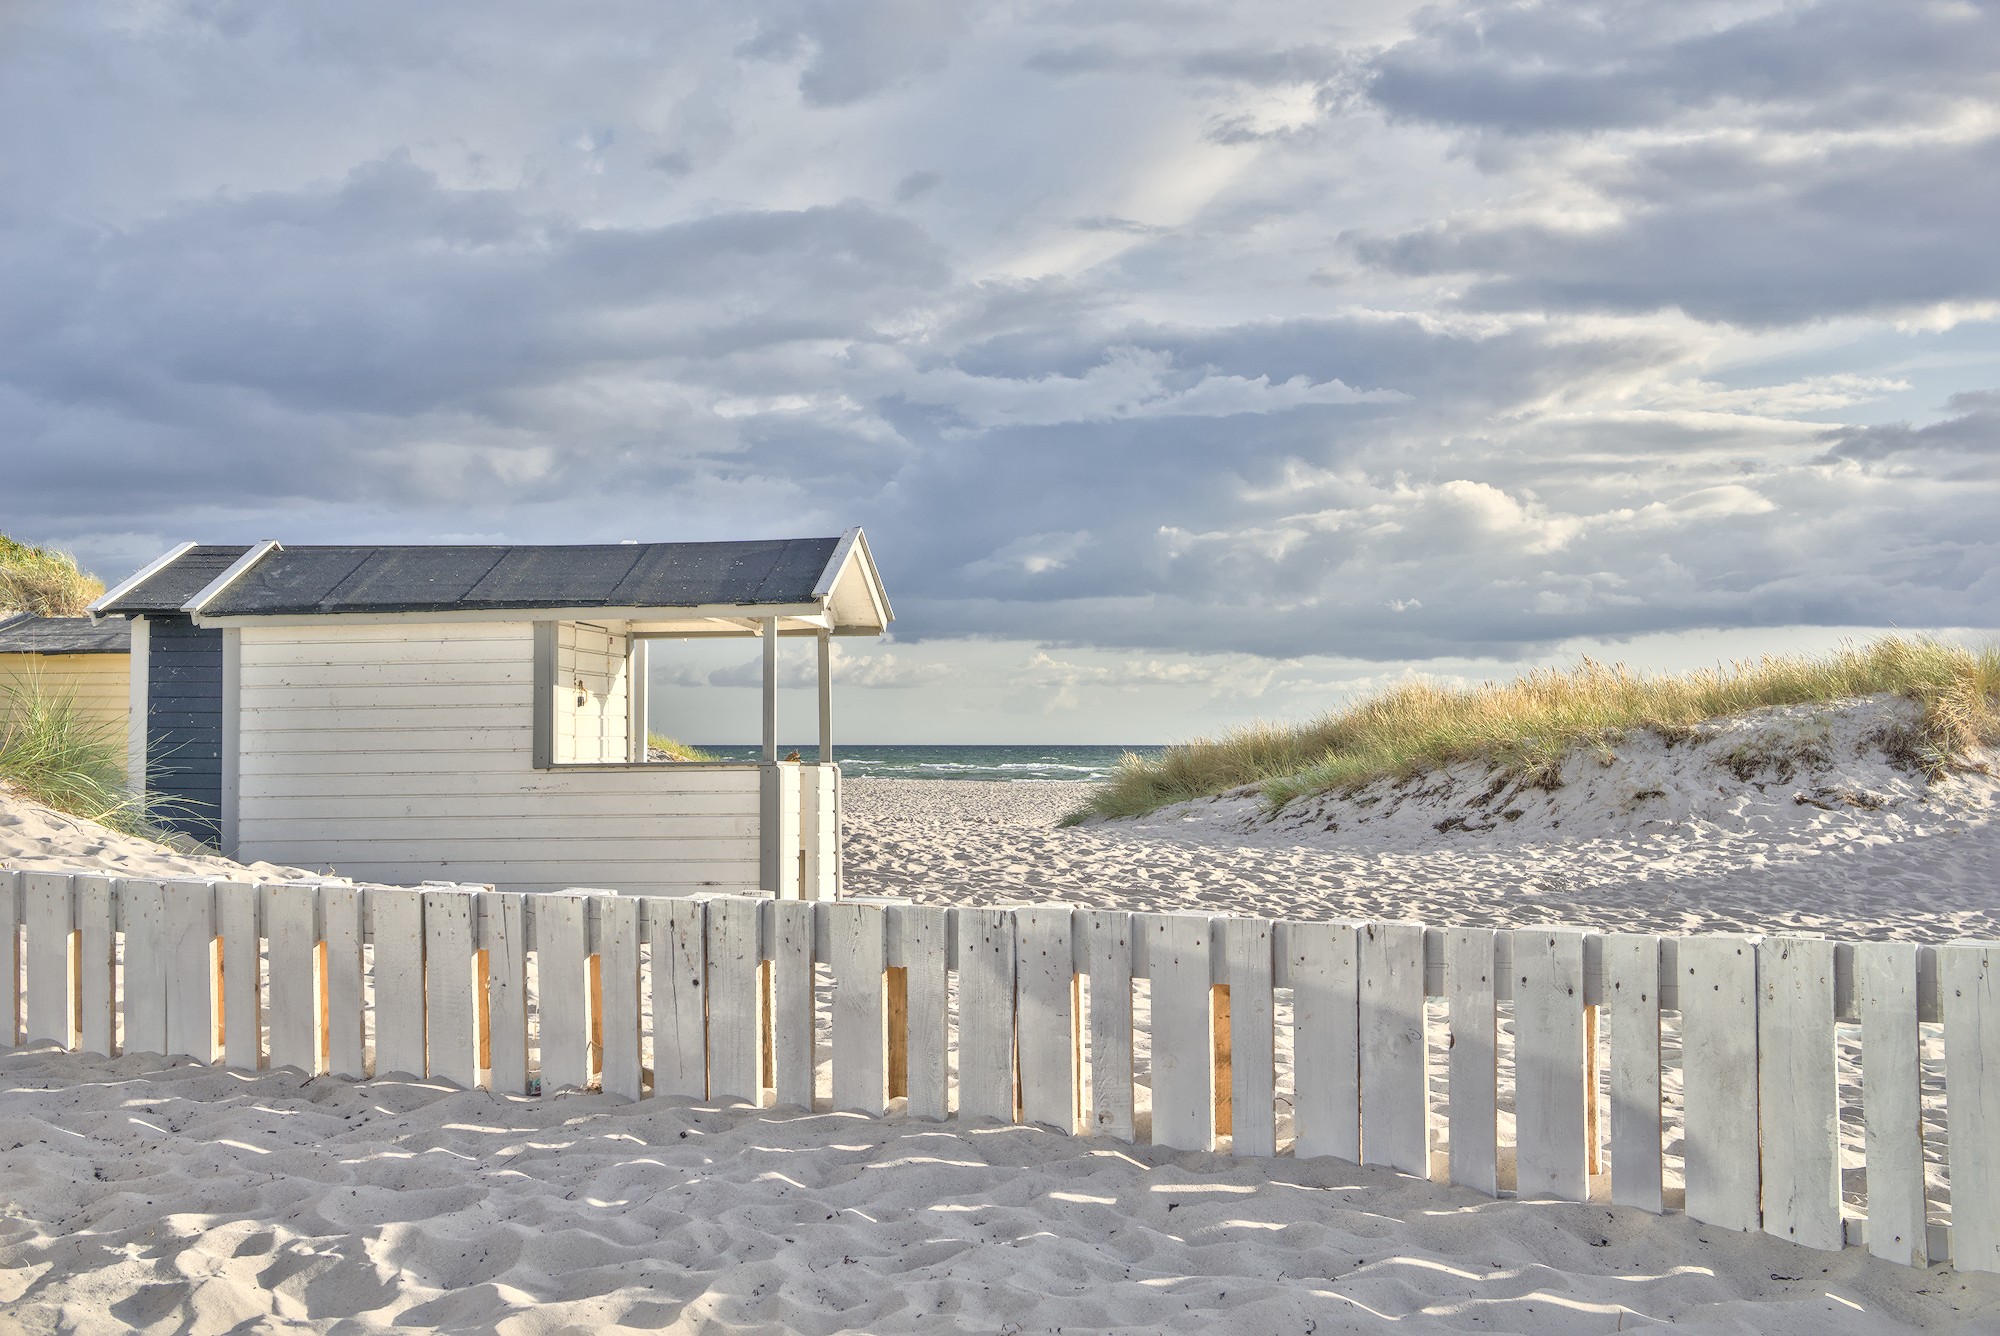
The brightly lit white sand and white house tempted me to try a slightly overexposed, bright and minimalist version. The elements that contrast here are clear geometric lines of the house, fence and sea horizon against the sand, grass and clouds:
Thanks to you all for the nice comments, good advices and beautiful image versions! The next days I will try it out (very busy …) - and I am fully convinced that I am now able to “remove the head” . After that I will post my version …