I got some images from our Kindergarten which are photographs of childrens’ drawings. These are intended to be printed on white background. Unfortunately, 4 of the 39 images are painted on yellow paper. I tried to remove the yellow paper with several methods, but unfortunately I am not satisfied with the results.
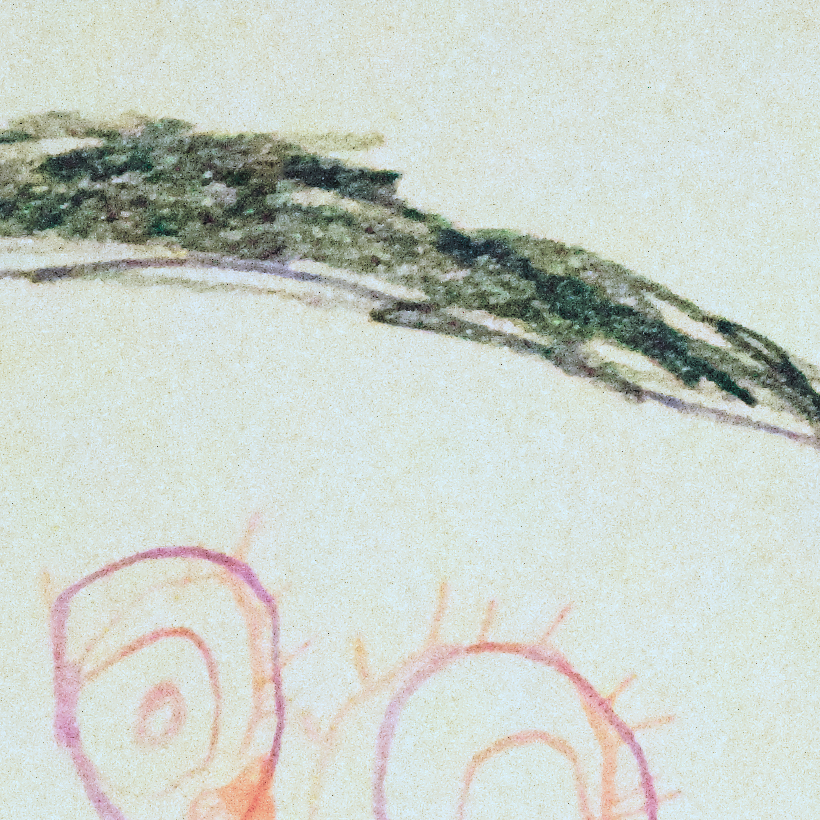
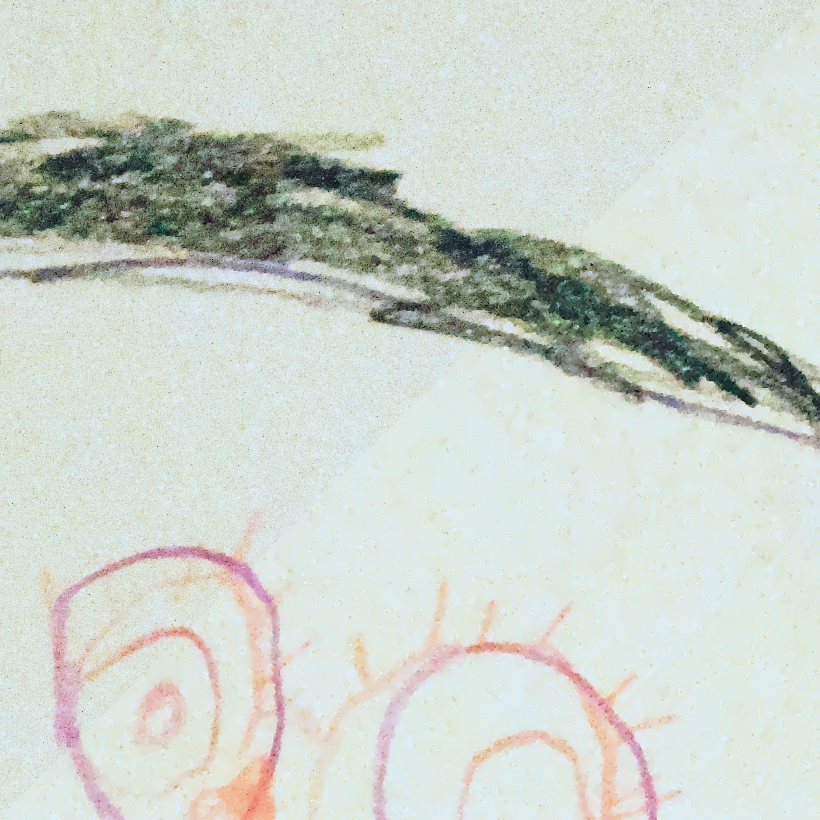
Here’s an example (crop) of an image (unfortunately I cannot make a PlayRaw out of them as I do not own them):
The original photograph is available as raw, most of these unfortunately photographed at ISO 6400.
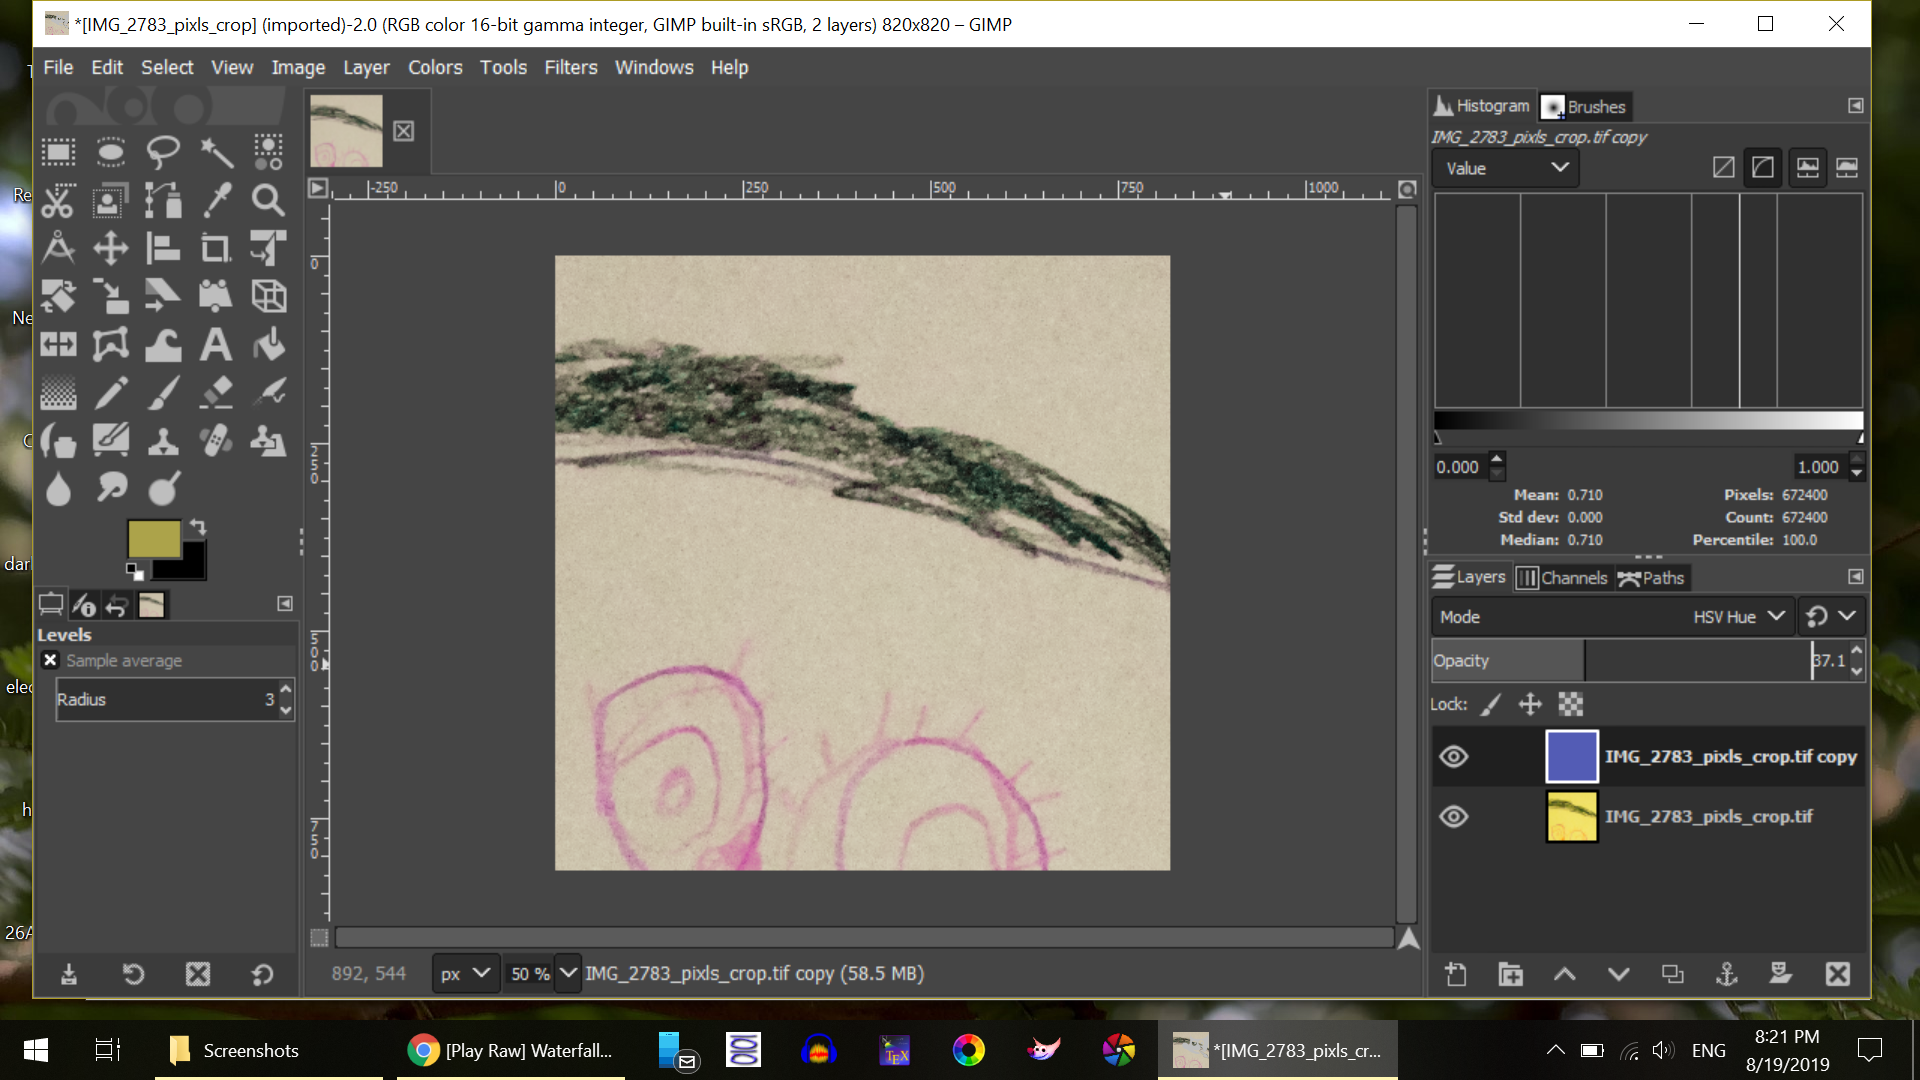
What I tried so far is to use a yellow layer in gimp and blend modes to get rid of the paper color. I tried to better match the yellow by utilizing the original image, but whatever I try, I end up either with extreme noise (when I use a more uniform yellow, e.g. by median filtering with large radius) or strokes that seem to be composited from too many colors or both. Especially the lighter tones (e.g. orange on yellow) are difficult.
What I would try next, is to use some inpainting to get a better yellow base layer, but as I do not own a graphics tablet to paint the mask, I am still hoping for a better, automatic, approach.
I would try a program that is capable of applying white balance with a pipette, darktable for example. Choose the yellow background as reference, it should change to white
I don’t see a perfect solution to this because we don’t know the thickness (opacity) of each crayon stroke. Colours of thin strokes will be changed by the paper; colours of thick strokes will not.
One approach is to pretend we have white paper and yellow lighting, which we remove by dividing the image by the unmarked yellow paper. We don’t have a photo of the unmarked yellow paper, so we reconstruct this by taking the four corners and interpolating. With ImageMagick, Windows BAT syntax:
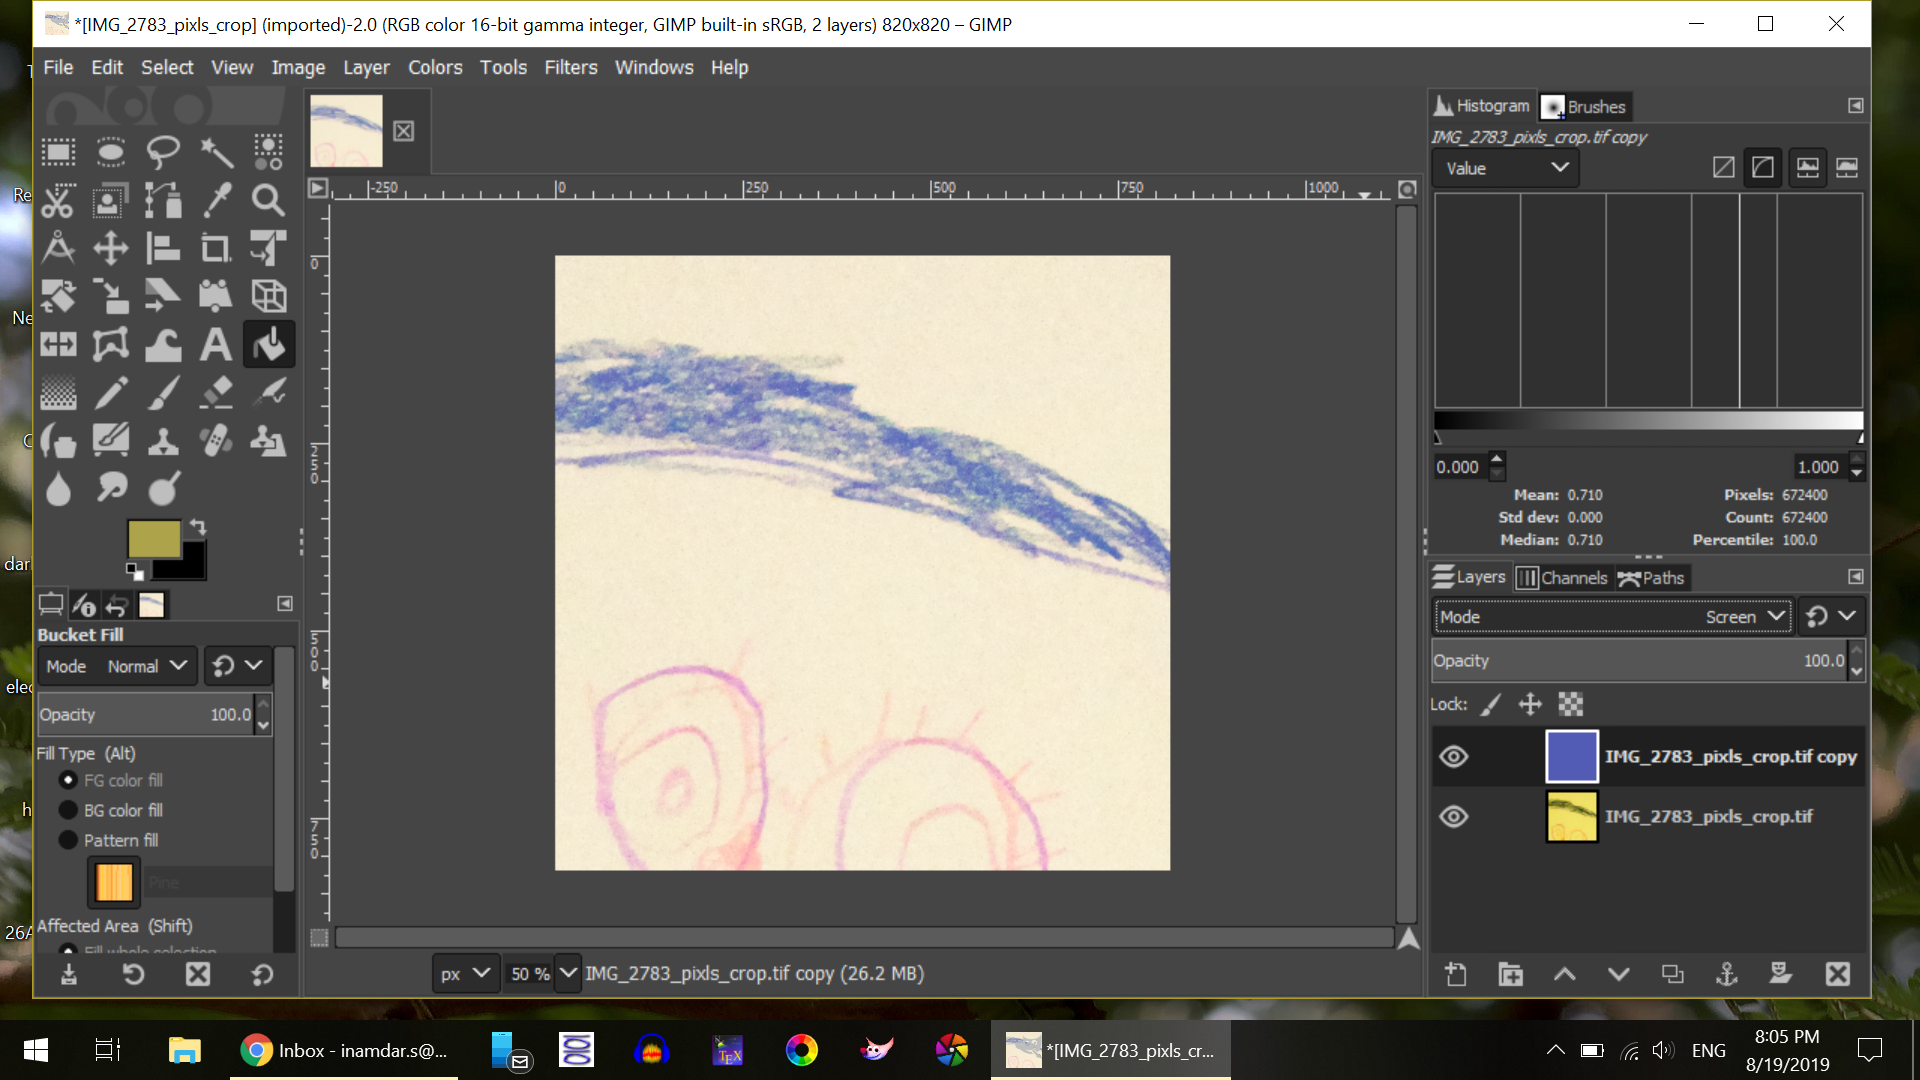
Steps: Duplicate the layer. Pick the yellow colour and bucket fill the new layer (See the left side of the screenshot). Invert the color and change the blend mode to lighten or screen(see the right side of the screenshot). Done.
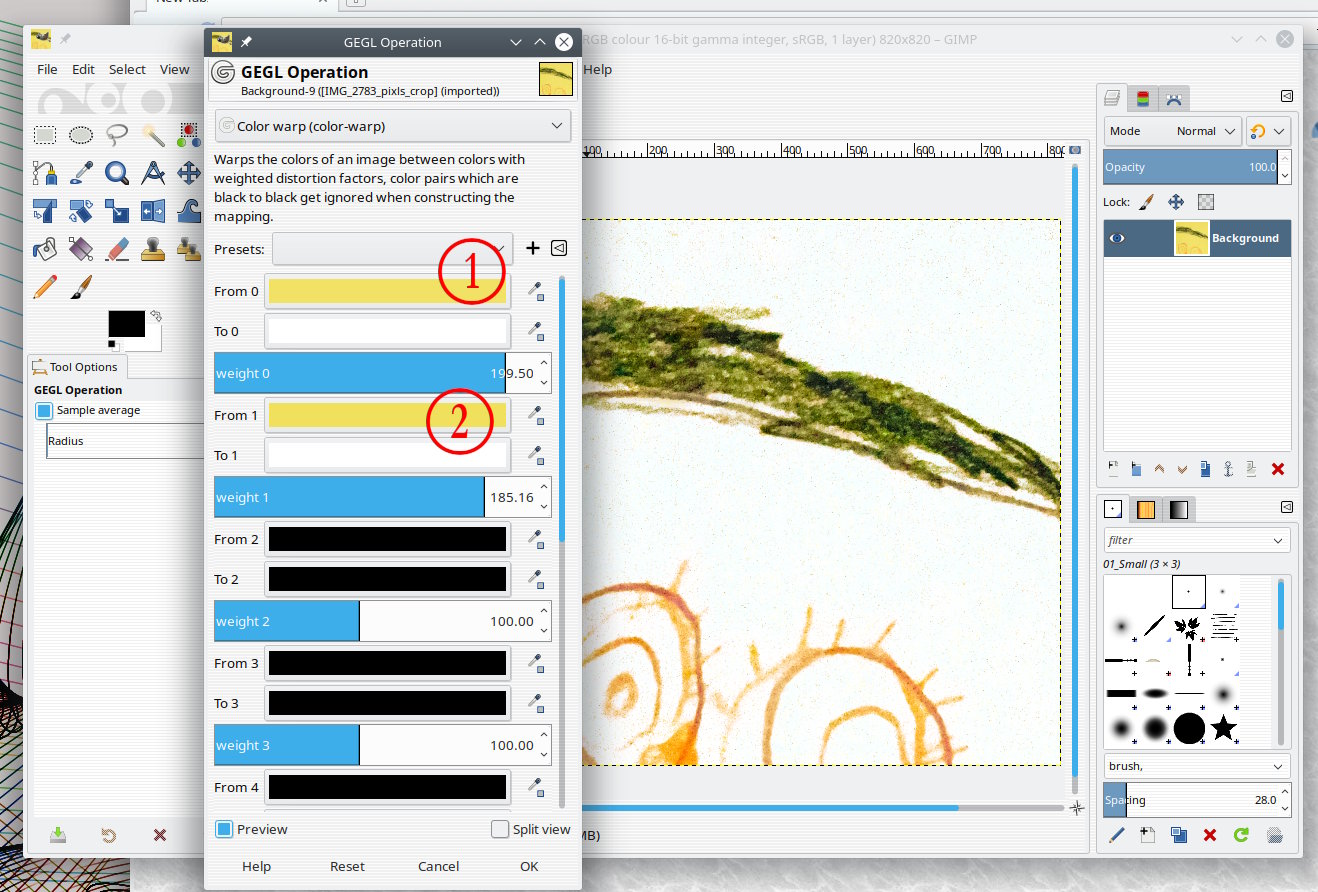
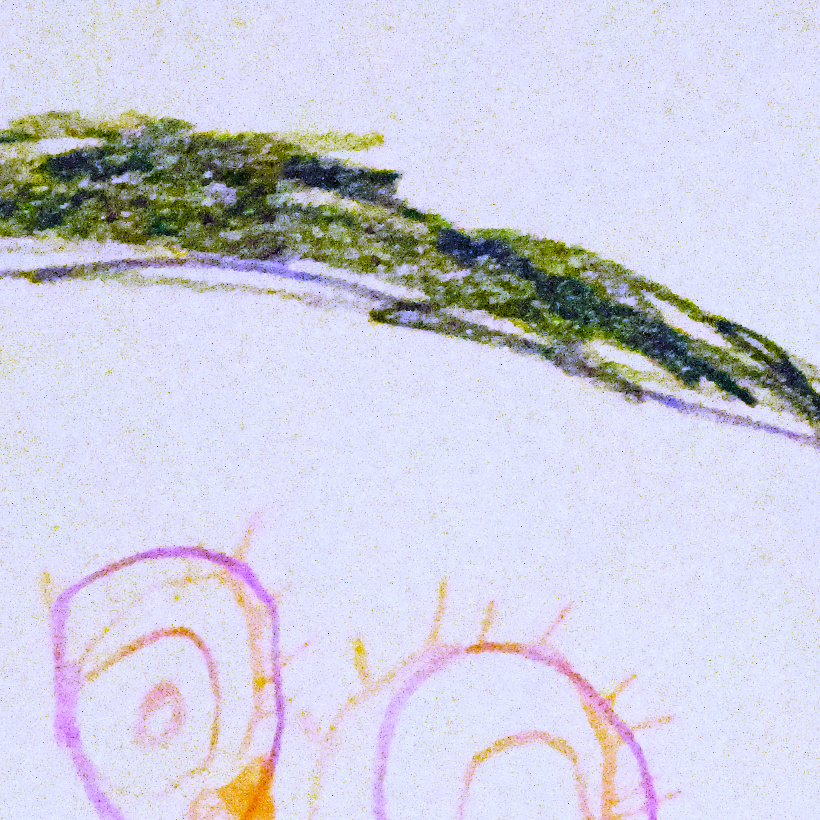
I was further experimenting with different blend modes. Here is another one. The color of the cloud(?) is different here. You will have to know which color was used to pick the right one. (Because of the yellow paper, the color that appears may not be the one that was used!)
Tried this but it did not work that well for me as it worked for you. I even tried 5 instances, but still, I have a lot of yellow colour left. Maybe you were more lucky in selecting the colours?
This is more or less what I tried in gimp first. I used a median filter with large radius to get my yellow layer, but in principle it’s the same approach. However, it’s handy to have a batch solution available .
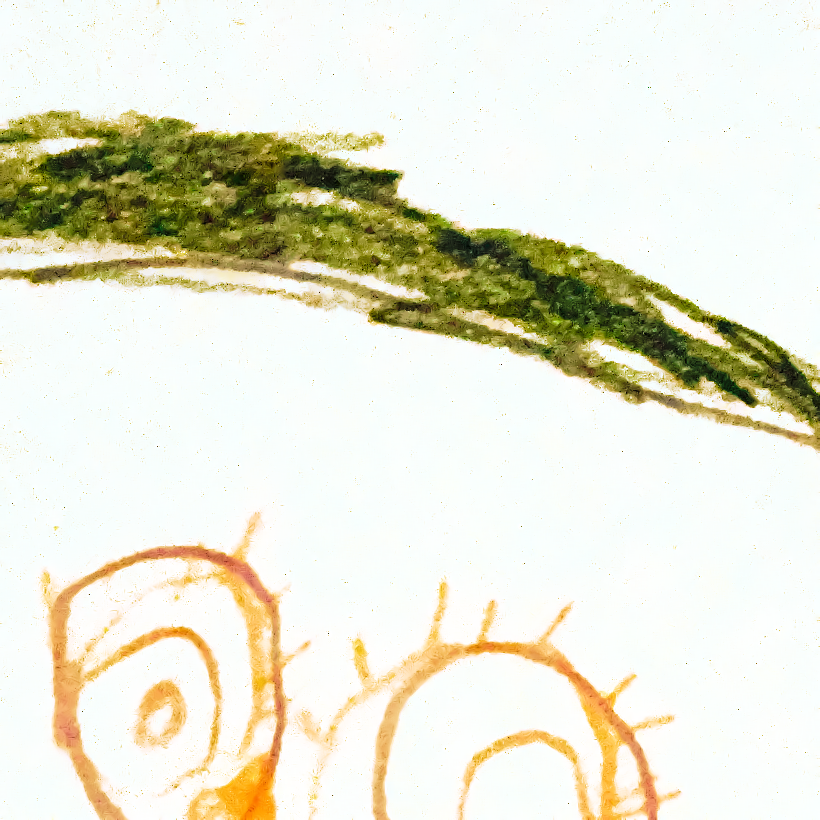
As this sounds similar to my original approach, the caryons’ colours are much more preserved in what you are showing here. That seems to be a reasonable starting point. Still, I wonder if there is a solution without inverting among all those zillions of blend modes?
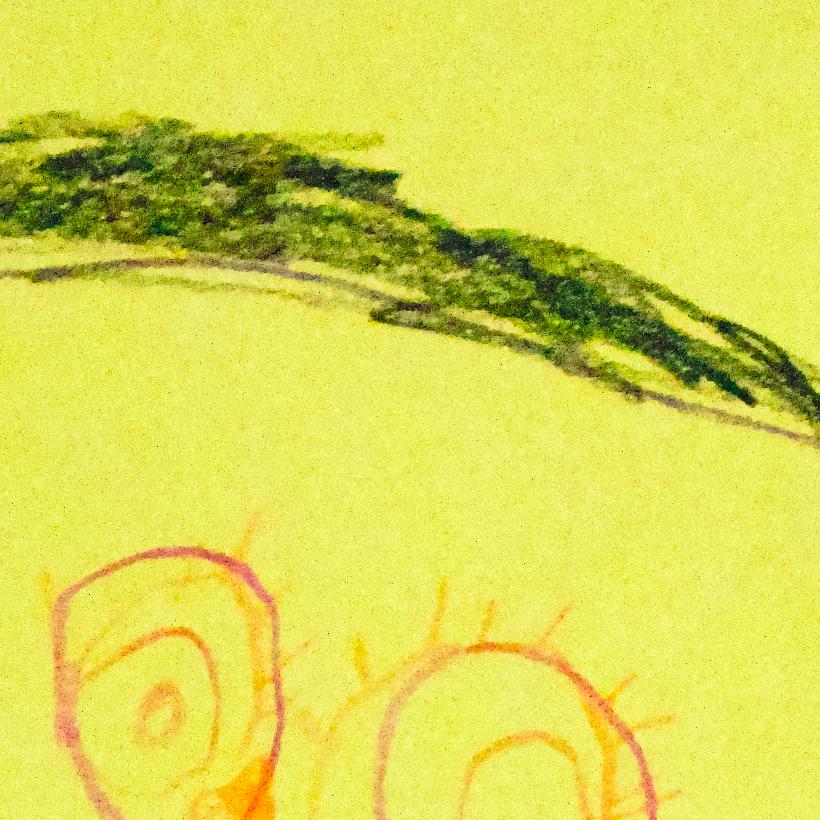
I like the first approach much more, as it preserves the colours better.
If you like what I did, I might consider building a filter; however, I am going through hard times. It might take a while. Feedback and encouragement might help. For now, I will tell you my approach.
1 Tame noise (remove hot pixels, weighted guided filter). 2 White balance (using atmospheric light from haze removal algorithm). 3 Improve colour constancy / contrast (Retinex or haze removal). 4 Adjust brightness and contrast (curves). 5 Profit?!
Don’t worry about that, what you provided is already a good starting point to play with. Thank you very much . I’ll share my final approach when I am ready, which might be a mix of all I have learned from this thread.
I tried some denoising and sharpening after that (similar to rich2005 but in Nuke). It leaves some black fracles , which can be erased with the brushtool.
I think you have to do some retouching from hand. Its only four pictures.
But I hadnt had the RAW file (jpg compessions), so maybe it would get better results.
Maybe not.
update
Just tried Iains denoiser in Gmic (Krita) which does a really good job on denoising.
 .
.