Colour Grading v3 — a luminance-based colour grading plugin for GIMP 3.2+

Colour grading involves shifting the colour cast of an image independently across its tonal ranges: shadows, midtones, and highlights. It’s a common editorial step in photo finishing workflows and a standard feature in tools like Lightroom, Capture One, and DxO PhotoLab.

What this plugin does

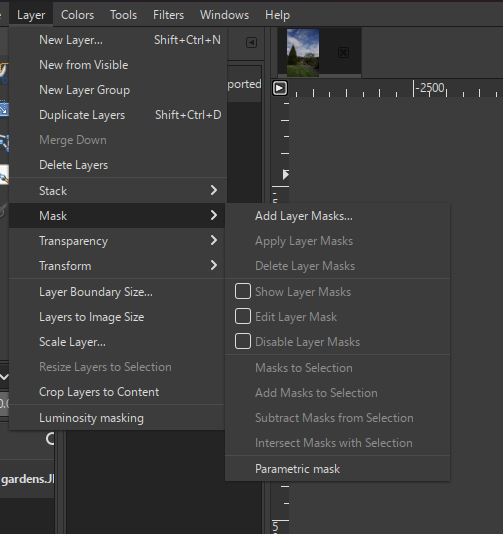
Colour Grading v3 adds a tonal colour grading dialog to GIMP 3.2+ under Colors > Colour grading…
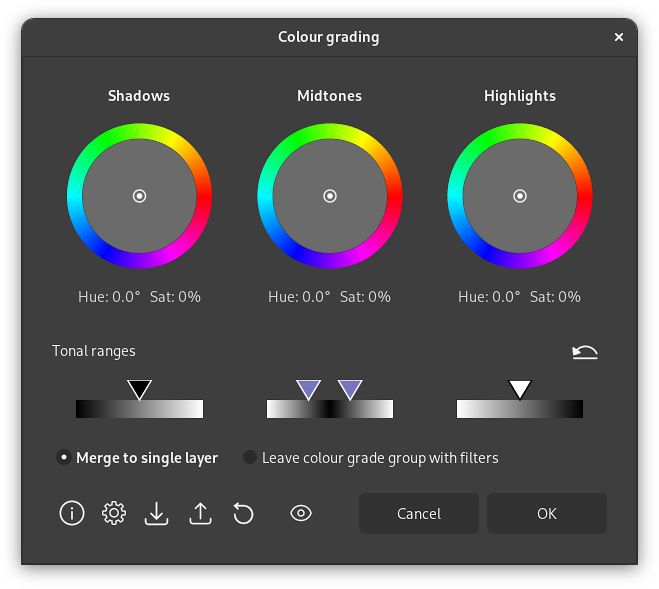
The three colour wheels - Shadows, Midtones, and Highlights - set the colour cast for their tone range: angle controls hue, distance from centre controls saturation.

You can adjust luminance ranges interactively using sliders that let you reposition the boundaries between tonal ranges, as well as adjust the feather zones on either side of each boundary.

The plugin uses GIMP’s gimp:color-balance GEGL operation applied to three separate luminance-masked layers. On OK, you choose between two output options: merge to a single new layer, or keep the three band layers as a named group. That second option allows you to continue tweaking the colour grade if you want to.

Why I built this plug-in

GIMP has had the Colour Balance tool for a long time. It covers the basics but has some limitations that make it awkward for serious colour grading work:

  • The tonal ranges are fixed. You can’t move the boundary between shadows and midtones, or between midtones and highlights.
  • There’s no visual colour picker. You work with three sliders per band and have to guess what combination of cyan-red, magenta-green, and yellow-blue produces the hue you want.
  • The built-in preset system saves and restores slider positions, but presets live inside GIMP’s internal settings and aren’t easy to export, share with other users, or back up independently.

The alternative - building luminance-masked layers manually using Curves or Hue-Saturation - gives you more control but it’s awkward, time consuming, and requires reconstructing the setup from scratch every time.

You can colour grade outside of GIMP in ART or Rawtherapee. But that takes you out of GIMP and those external colour grading tools are powerful but complex.

Presets

Wheel positions, range bar settings, and the output option can be saved as a named preset. Presets are stored in a plain JSON file in your GIMP user config directory. Individual presets can be exported to and imported from standalone files, which makes sharing and backup straightforward.

Requirements

  • GIMP 3.2 or later (GIMP 3.0 is not supported)
  • Linux, macOS, or Windows

Where to get it

Full details, installation instructions, and the download link are on my blog:

https://www.chuckhenrich.com/colour-grading-in-gimp-all-in-one-plug-in/

11 Likes

Hello,
Congratulations, it’s a wonderful piece of work, and very well documented on your blog.
Thank you very much.
Well done,
Christian

1 Like

Thank you @Christian-B! :pray:

Thank you very much: you are a true “GIMP hero” :slight_smile:

1 Like

You’re very welcome! :pray:

I probably stuffed up the install. Windows 11.

The colour grading plug-in is in the Colors menu…

Hmm…not sure what I have done wrong, but not finding it.

OK, check to make sure both colour-grading-v3.py and helpers.py are executable (they should be).

I can’t reproduce the problem - I just downloaded fresh in Windows 11 and the menu item appears as Colors > Colour grading…

Are you comfortable starting gimp from a command prompt? If so, open a Powershell window (not Command Prompt) and run this:

& “C:\Program Files\GIMP 3\bin\gimp.exe” --verbose --console-messages --stack-trace-mode always > “$env:USERPROFILE\Desktop\gimp-log.txt” 2>&1

Then copy everything in the Powershell window, paste it into a text file, and upload it to a reply here. Don’t paste the content into a reply here because it could be a lot.

Powershell.txt (53.0 KB)

Thanks @Terry. These are the revealing lines:

Skipping potential plug-in 'C:\Users\Terry Pinfold\AppData\Roaming\GIMP\3.2\plug-ins\colour-grading-v3.zip': plug-ins must be installed in subdirectories.
Skipping duplicate plug-in: 'C:\Program Files\GIMP 3\lib\gimp\3.0\plug-ins\colour-grading-v3\colour-grading-v3.py'
Skipping duplicate plug-in: 'C:\Program Files\GIMP 3\lib\gimp\3.0\plug-ins\interactive-luminosity-masks-v3\interactive-luminosity-masks-v3.py'
Skipping potential plug-in 'C:\Program Files\GIMP 3\lib\gimp\3.0\plug-ins\colour-grading-v3\colour-grading-v3.py': plug-ins must be installed in subdirectories.
Skipping potential plug-in 'C:\Program Files\GIMP 3\lib\gimp\3.0\plug-ins\colour-grading-v3\helpers.py': plug-ins must be installed in subdirectories.
Skipping potential plug-in 'C:\Program Files\GIMP 3\lib\gimp\3.0\plug-ins\colour-grading-v3\info-dialog.ui': plug-ins must be installed in subdirectories.
Skipping potential plug-in 'C:\Program Files\GIMP 3\lib\gimp\3.0\plug-ins\colour-grading-v3\progress-dialog.ui': plug-ins must be installed in subdirectories.
Skipping potential plug-in 'C:\Program Files\GIMP 3\lib\gimp\3.0\plug-ins\colour-grading-v3\settings-dialog.ui': plug-ins must be installed in subdirectories.

It looks like the colour-grading-v3.zip file you downloaded is in your personal plug-ins folder, which shouldn’t necessarily be a problem. however the contents of that zip file need to be extracted as-is, to create a colour-grading-v3 folder that contains the all the plug-in files/folders. instead, what I see is that they have been extracted to your personal plug-ins folder, not into the proper subfolder.

You should delete those files you extracted, then extract the .zip file again, leaving it to create the colour-grading-v3 folder structure in your personal plug-ins folder.

Does that help?

Hello @chuckhenrich

Same problem here (no menu is created in the Colors):
Windows 11 (home)
GIMP 3.2.4

I have un-zipped your version here:
C:\Program Files\GIMP 3\lib\gimp\3.0\plug-ins\colour-grading-v3\colour-grading-v3

Strangely enough, when I run the script, within the Powershell, the gimp-log.txt file is created on my deskopt but it is empty (it launches GIMP though)…

For me (Gimp-3.2.4 Win10), the plugin also wouldn’t register in the menu until I removed in colour-grading-v3.py the line:

if sys.platform == ‘win32’:
import io
sys.stdout = io.TextIOWrapper(sys.stdout.buffer, line_buffering=True)

It’s an inelegant solution, but the plugin now works correctly.
I was led to this step by problems with sys.stdout in my own plugins.

THANK YOU SO MUCH FOR THIS GREAT PLUGIN.

1 Like

Yep. Thanks a lot!
Here is the path on my computer (W11):
C:\Program Files\GIMP 3\lib\gimp\3.0\plug-ins\colour-grading-v3

After commenting out from the .py file these lines, it works for me as well:

EDIT:
Strangely enough, this same trick (commenting out these 3 lines) does not work on Windows 10…
Just tried with GIMP 3.2.4 and the menu of the plugin does not appear.

1 Like

Hello
Windows 11 25H2 GIMP I upgraded to v.3.2.4 and the plugin menu does not appear.

I found some strange phenomenon with GIMP 3.2.4 on Windows 11.
If I run this plug-in in verbose mode, it works normally, however I run it in normal mode, it crashes.

As @MrQ pointed out, if I comment out these lines, it works normally.

I’m not sure but I suppose some improvements to the communication between GIMP and Windows in the GIMP 3.2 minor version (or Windows update?) caused these codes to produce the opposite result of what was expected.

1 Like

Thanks so much @MrQ, @Silvio_Grosso, @yasuo, @Terry for troubleshooting this. It’s a weird bug that affects some Windows installs but not others. I’ve removed that code block and uploaded an update to the blog post. You can also download it here:

https://chuckhenrich.com/downloads/colour-grading-v3/colour-grading-v3.zip

I can’t reproduce the problem on my Windows 11 machine, so it would be really helpful if you would download the update and test it on your machines.

As far as I can tell, the explanation for the issue is as follows:

The code was a Windows-specific block that rewrapped Python’s stdout stream. On some Windows machines, depending on the Python version bundled with GIMP or how Windows had allocated the stdio handles for the plugin subprocess, sys.stdout.buffer was either None or in an unexpected state. Attempting to wrap it raised an exception during startup, before the plugin had a chance to register itself with GIMP, which is why it never appeared in the Colors menu. On other machines, including mine, sys.stdout.buffer was in a normal state and the wrap succeeded silently.

As you all discovered, the fix was to remove that block entirely. It was solving a problem that doesn’t exist in GIMP 3. In GIMP 2, plugins communicated with the host over stdout, so flushing it promptly mattered. In GIMP 3 that communication happens over a separate socket channel, so stdout has no role in plugin registration at all.

Please do let me know if the update solves the issue for you.

Thanks @Silvio_Grosso, that is weird. Unfortunatley, because Windows 10 reached end of support on October 14, 2025 and is no longer receiving support from Microsoft, I can’t support the plugin on Windows 10.

Good to hear it’s working for you on Windows 11 with that change.

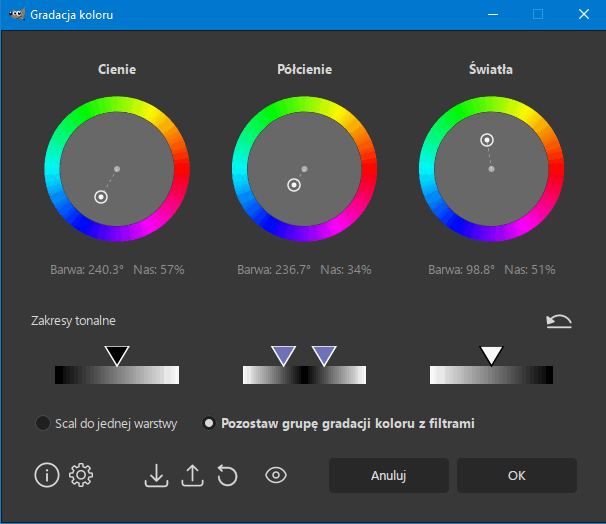
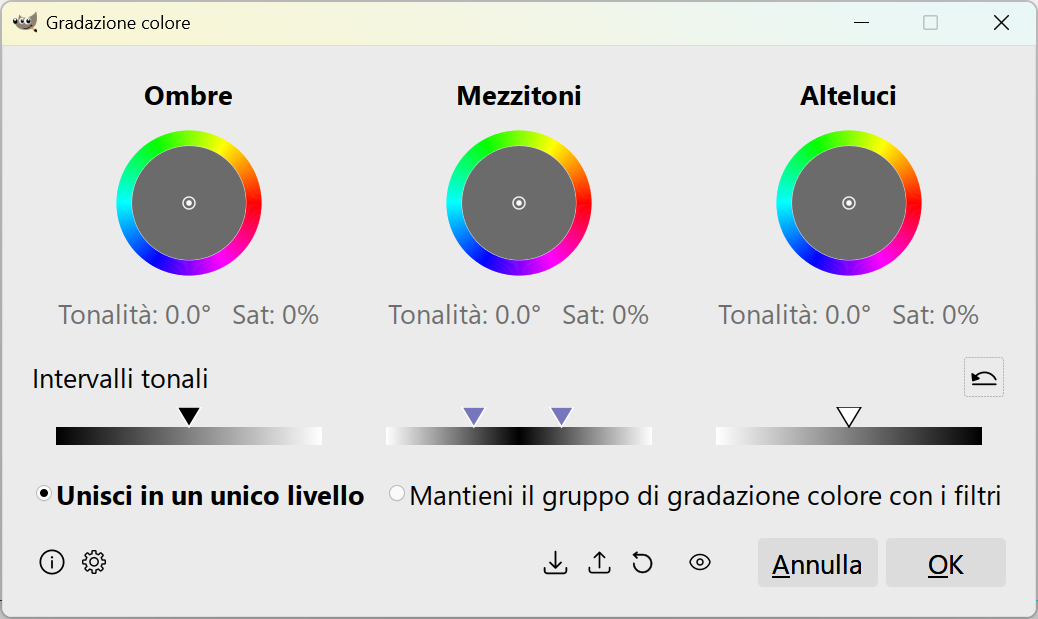
A proposito, se hai dei suggerimenti per migliorare la traduzione italiana, fammelo sapere!

Thanks @yasuo, that is indeed odd. The stdout call is problematic, as @MrQ pointed out. Good to know it’s not helpful on Windows machines any longer.

1 Like

Great troubleshooting, and thanks for confirmation that stdout is a problem.

Przy okazji, jeśli masz jakieś sugestie dotyczące poprawy polskiego tłumaczenia, daj mi znać!