Hard to just say filmic…must be filmic + what chrominance mode… the results will be quite different…
My edit, Filmic + Exposure + Tone EQ + Color balance RGB + Constrast EQ + Local contrast
Uncalibrated display tho, image might look more cold than on my display.
Filmic is a bit tricky, I always loose a lot of contrast and depth with it. I’m sure if I’ve spent more than 2min I’d get a better result but with some quick fiddling with Filmic and other modules, I got this:
DSC09445.ARW.xmp (16.4 KB)

Just increased some white relative exposure to reduce the desaturation on the sunflower:
DSC09445.ARW.xmp (18.9 KB)
2 Likes
And another 2min “Filmic” edit… again different from yours… that is a pet peeve I have had about all these comments in posts calling an edit a “filmic” edit vs this or that…
DSC09445_02.ARW.xmp (8.9 KB)
3 Likes
I think people call it a filmic edit because compared to other methods it seems like a lot of edit is spent on fixing the problems that filmic creates (Or improper usage of filmic creates, I’m not sure). Or maybe I’m just using it wrong. For example, for most of my images if I want to get them just how I want, I have to set up filmic in a way that the image becomes so flat and then I have to spend a lot of time fixing that contrast to give the image some depth and clarity.
I don’t know if that’s a normal editing process but a filmic edit is an edit where you spend some considerable amount of time to get to a decent starting point (at least for me).
It can be frustrating at times BUT! Somehow it works every time xD
I hear you in that context but really there are many examples like the one above…Throwing in the basecurve vs filmic vs in this case DXO… Given these 3 constraints only . I suspect if you gave all the forum members access to the same set of software we would still get a massive range of results so you can’t say the edit you arrived at with filmic really demonstrates something that can be classified as a filmic edit by the result obtained… I guess what I am saying is it often sounds like or to me is implied that a poster is saying because I used filmic it looks like this… and what I am trying to say is sure if looks like this when you use filmic and when I use filmic well it can look quite different…
1 Like
For sure, I couldn’t agree more. People just aren’t used to Filmic and don’t know how to use it to get exactly what they want. Including me and I’ve been playing with it for years on and off.
And it seems to me that just using Filmic is not enough to get to a nice starting point.
But I’m sure it’s a great tool if used and understood properly and if I ever get to understand it completely it will become a trivial task to start an edit with Filmic and maybe a few other modules.
But I don’t use DT professionally since I lack a paint brush masking so until I start doing that I won’t really fully master it.
That’s why I’m actually glad that AP said he’ll shift his focus to vkdt. It would allow me to use paint brush masking and master other modules by fiddling. And if I’m trying to learn by fiddling and iterating, the software better be fast so I don’t get frustrated waiting for a change to render on screen since I may make hundreds of them just to see what happens. And vkdt is definitely fast and suitable for that.
Ironically I often try not to use filmic if I don’t see highlight pushing or blown…often with exposure and 2 or 3 instances of the tone eq I get a nice result with no need to compensate for any color issues or loss of detail etc… but I must say for general images that I just snap I stumbled on a blog post by Mark Adams…he likes bold colorful contrasted images… which often ends up being a match for the jpg image coming from the camera. He applies color balance rgb with 25% chroma 50% saturation… both global. Local contrast at 150% and auto tunes filmic. Coupling this with auto exposure mode in the exposure module or clicking the autopicker at 50% and then adjusting that if needed. Often from there I can get away with trying either luminance or maxrgb and one or two tone eq to lighten or darken any remaining areas… Its pretty simple formula and not for everyone but if you like punchy images it works pretty well… They will perhaps be a bit over saturated but its easy to pull back either in those main rgb CB settings or with the filmic extreme luma saturation settings… at least for my smart phone raw this works really really well … Mark seems to make it work…he has lovely colourful images… Quickly get a workable image in Darktable – One Camera One Lens
1 Like
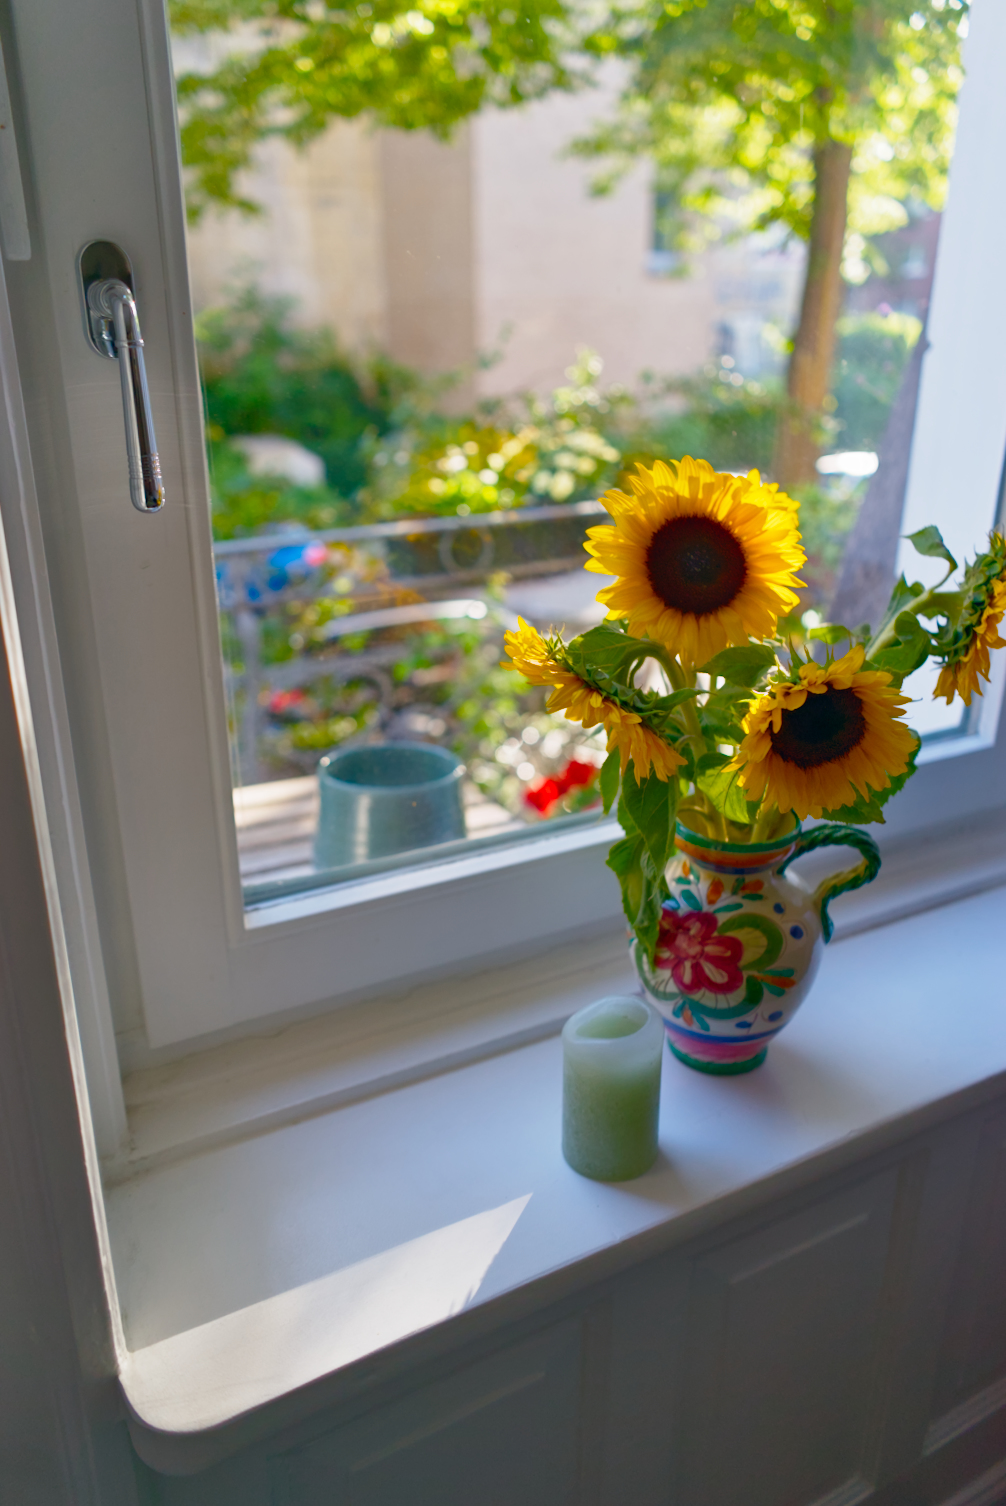
187 posts later, and I wonder if I’m just using this tool differently than everyone else? Granted this is a difficult photo if the aim is to pull the shadows up so the vase is middle gray or brighter. However, if that is what one wants, something to help lower the contrast at the time of capture would’ve been much preferable: a reflector, a bounce card, a bounce flash, or a fill flash.
To me, it looks like it is doing a fine job here:
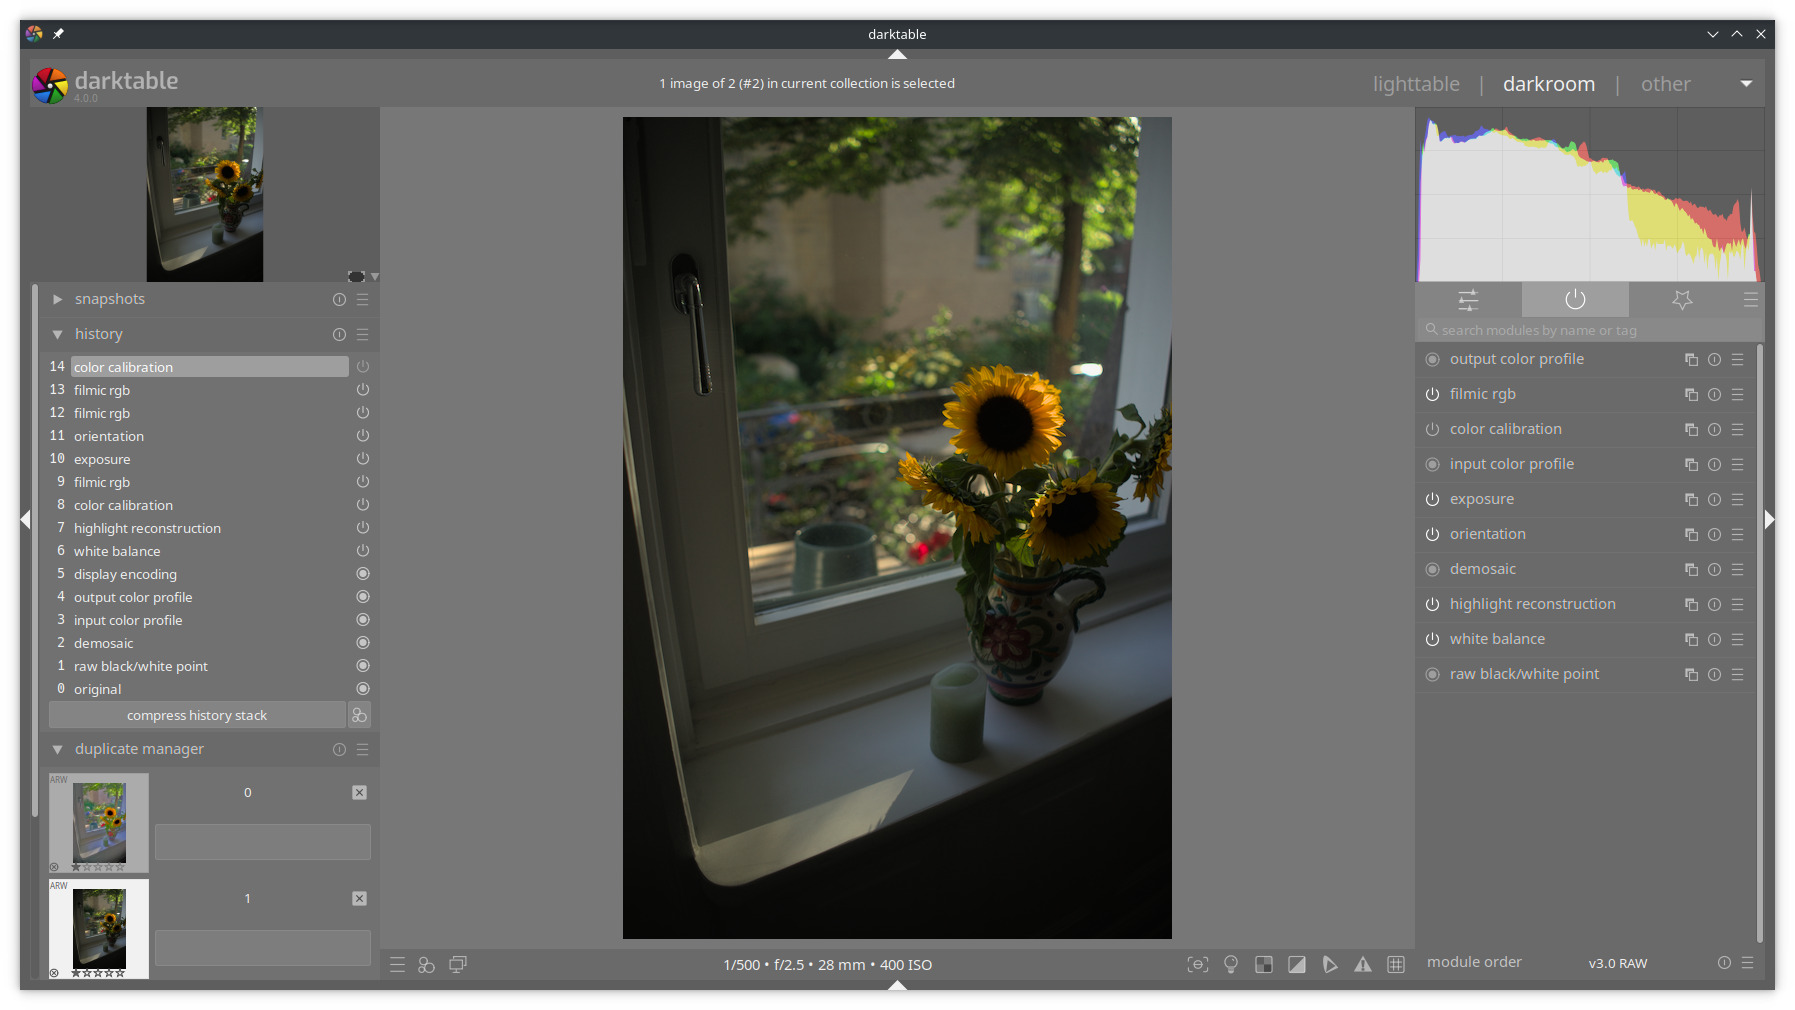
And I personally wouldn’t lift the shadows too much more.
For the sake of… something, here is my edit where I tried to lift the shadows as everyone else did, but it isn’t to my taste.
DSC09445_01.arw.xmp (5.4 KB)
3 Likes
As this thread and picture kind of triggered me into experimenting with potentially improved hue preservation for filmic v7, I can’t resist showing some results.
This is per-channel RGB processing but hue is restored using the excellent darktable UCS by Aurélien (and final gamut mapping also done in that space).

Desaturation of highlights doesn’t lead to the skew to red “salmon” hues that were frowned upon here.

One can also disable the hue preservation to get this very seasick-looking sunflower which would be the result of per-channel RGB processing without additional corrections:

I’m hoping to get the filmic v7 proto soon to a state that would be testable by others.
(Also, to me these sunflowers seem to be more orange than plain yellow. Got to visit the nearby sunflower field when they start blooming to see these IRL…)
(Also btw: vkdt already has hue preservation using dt UCS in its filmcurv module. That would probably be the best thing to experiment with for now 
14 Likes
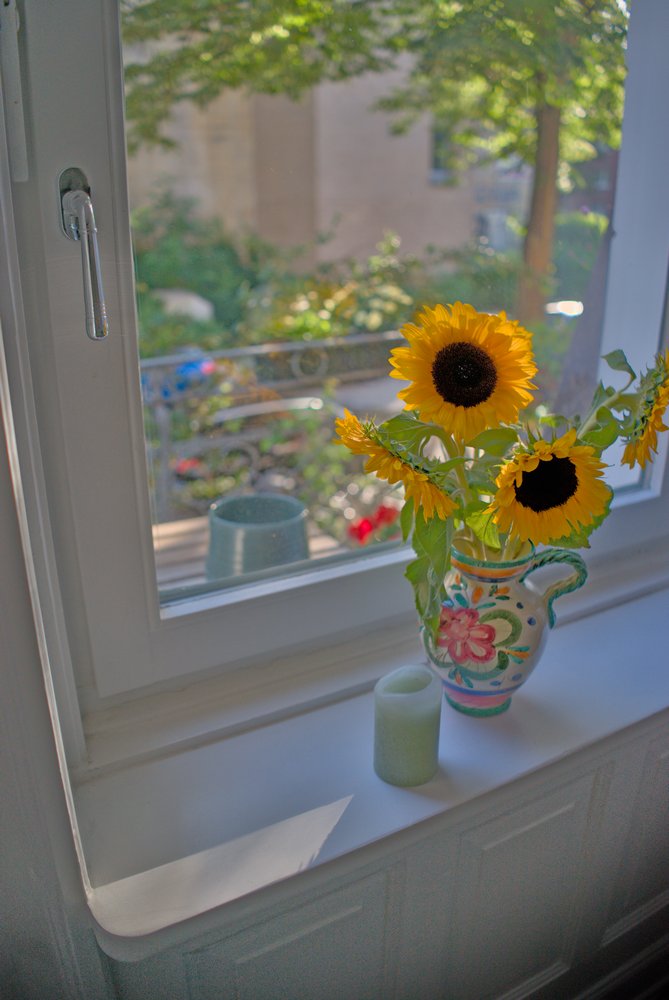
A darker lit one is for sure I think more realistic given the angle of the light…raising the shadows sort of destroys them… In the one I threw out there I made it brighter on purpose to show that filmic was not synonymous with blown out or white or reddish petals on the sunflower…as long as you set it up… I agree it would be darker than many edits here… I think actually that might be the case more often than not with many edits just because it can be pulled up…
Here’s one using the segmentation based highlights reconstruction option.
DSC09445_14.ARW.xmp (33.2 KB)
1 Like
Interestingly the problem is much less severe (which is excellent!) but at least on the monitor that I have at hand it’s still there to a degree.
Not sure if
- my setup is sensitive to this salmon shift more than other monitors?
- the problems doesn’t stem completely from the used colorspace (UCS, Yrg or whatever was used before) or from something that happens before?
- both of the above or something different entirely
Quite interestingly while typing this post, this came in and looks “salmon-free”
Hmm.
1 Like
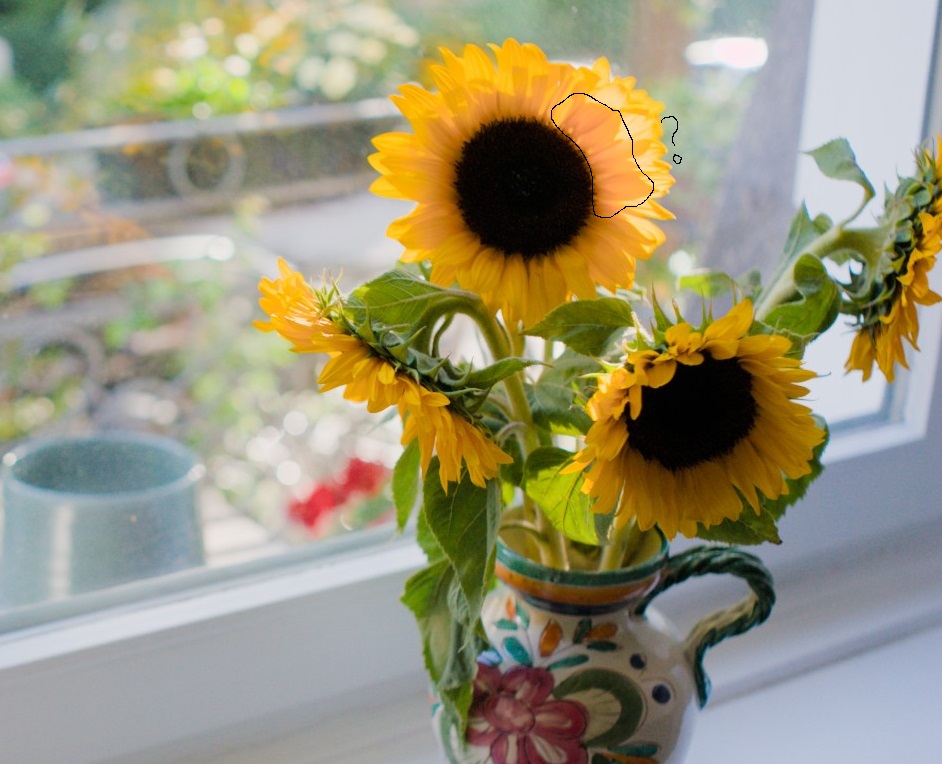
I think for this part it has to be a matter of illumination (of course I can’t be sure since I haven’t seen the scene IRL). There’s a plenty of light shining through the petals but in that place there are actually several layers of petals, so there’s not as much light shining through there (and the light that passes through is kind of ”filtered” by the layers of petals).
Then other, darker parts are illuminated by light that has bounced from the room, and we don’t really know the color of that light.
I noticed thay this particular region is also more red than the other parts in most of the edits shown here. Perhaps it’s just the way the scene was? Of course we also can’t rule out some hue nonlinearity here, but IMO the darktable UCS seems to work here to a quite nice end result.
I was wondering when you brought up UCS I went to go and toggle it off and on…was there not a way to do that at one point at least or in some modules ?? Maybe it was just left in for testing at some stage and now its fully implemented?? Maybe I am just asleep this morning 
EDIT… Ah I found where I saw it…
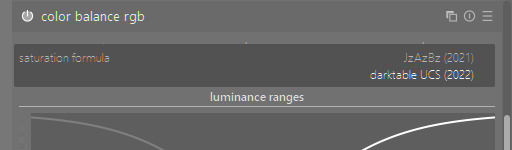
Darktable UCS is used by default for the saturation control in color balance rgb since darktable 4.0. It yields much more uniform control than the previous iteration.
But my experiments are about using the same color space for hue preservation in filmic instead of the current Yrg linear color space.
4 Likes
Thanks …depending on the settings you use for that module (rgb CB)…that setting can have a big difference. I have not really tested it that much…
Just to be clear, I am not against this kind of explanation (this line of reasoning). At the same time, it’s at least odd that a very different DRT-approach (CAM16 in rt) does not exhibit this behaviour.
maybe the source of this salmon shift is not entirely rooted in filmic then? It got significantly better with dtUCS within filmic/v7, for sure!!
But that it is not completely gone is odd. That it seems gone with the segmentation based highlights reconstruction is doubly odd.
If that problem is not primarily (but comparing v5/v6/v7 it may be partially) rooted in filmic, tracking this down becomes a hassle.
Wow, you see, I never used any auto options. I’ve just assumed it won’t give me what I wanted. I just tested it and it’s perfect ![]()
1 Like
Here, a Filmic (as well as other modules) edit. But this time, I used auto exposure, auto filmic, and some other few things:
DSC09445_01.ARW.xmp (15.2 KB)

I’ll go and test in Lightroom, I really wonder how Lr will handle this image. Stay tuned.
5 Likes
Extending on it a bit; what we see as red / salmon is the shadow of the small green leaves (I don’t know what they’re called) just in the back of the petals. They may well be attenuating some of the wavelengths that would otherwise make the petals seem more yellow. That part of the flower seems to be mainly lit by the backlight coming from outside (compared to the other parts which show no issues), so this would make sense to me.
Indeed. I just built RawTherapee from latest git revision to play with it and get a feel of how it behaves. ![]()
1 Like