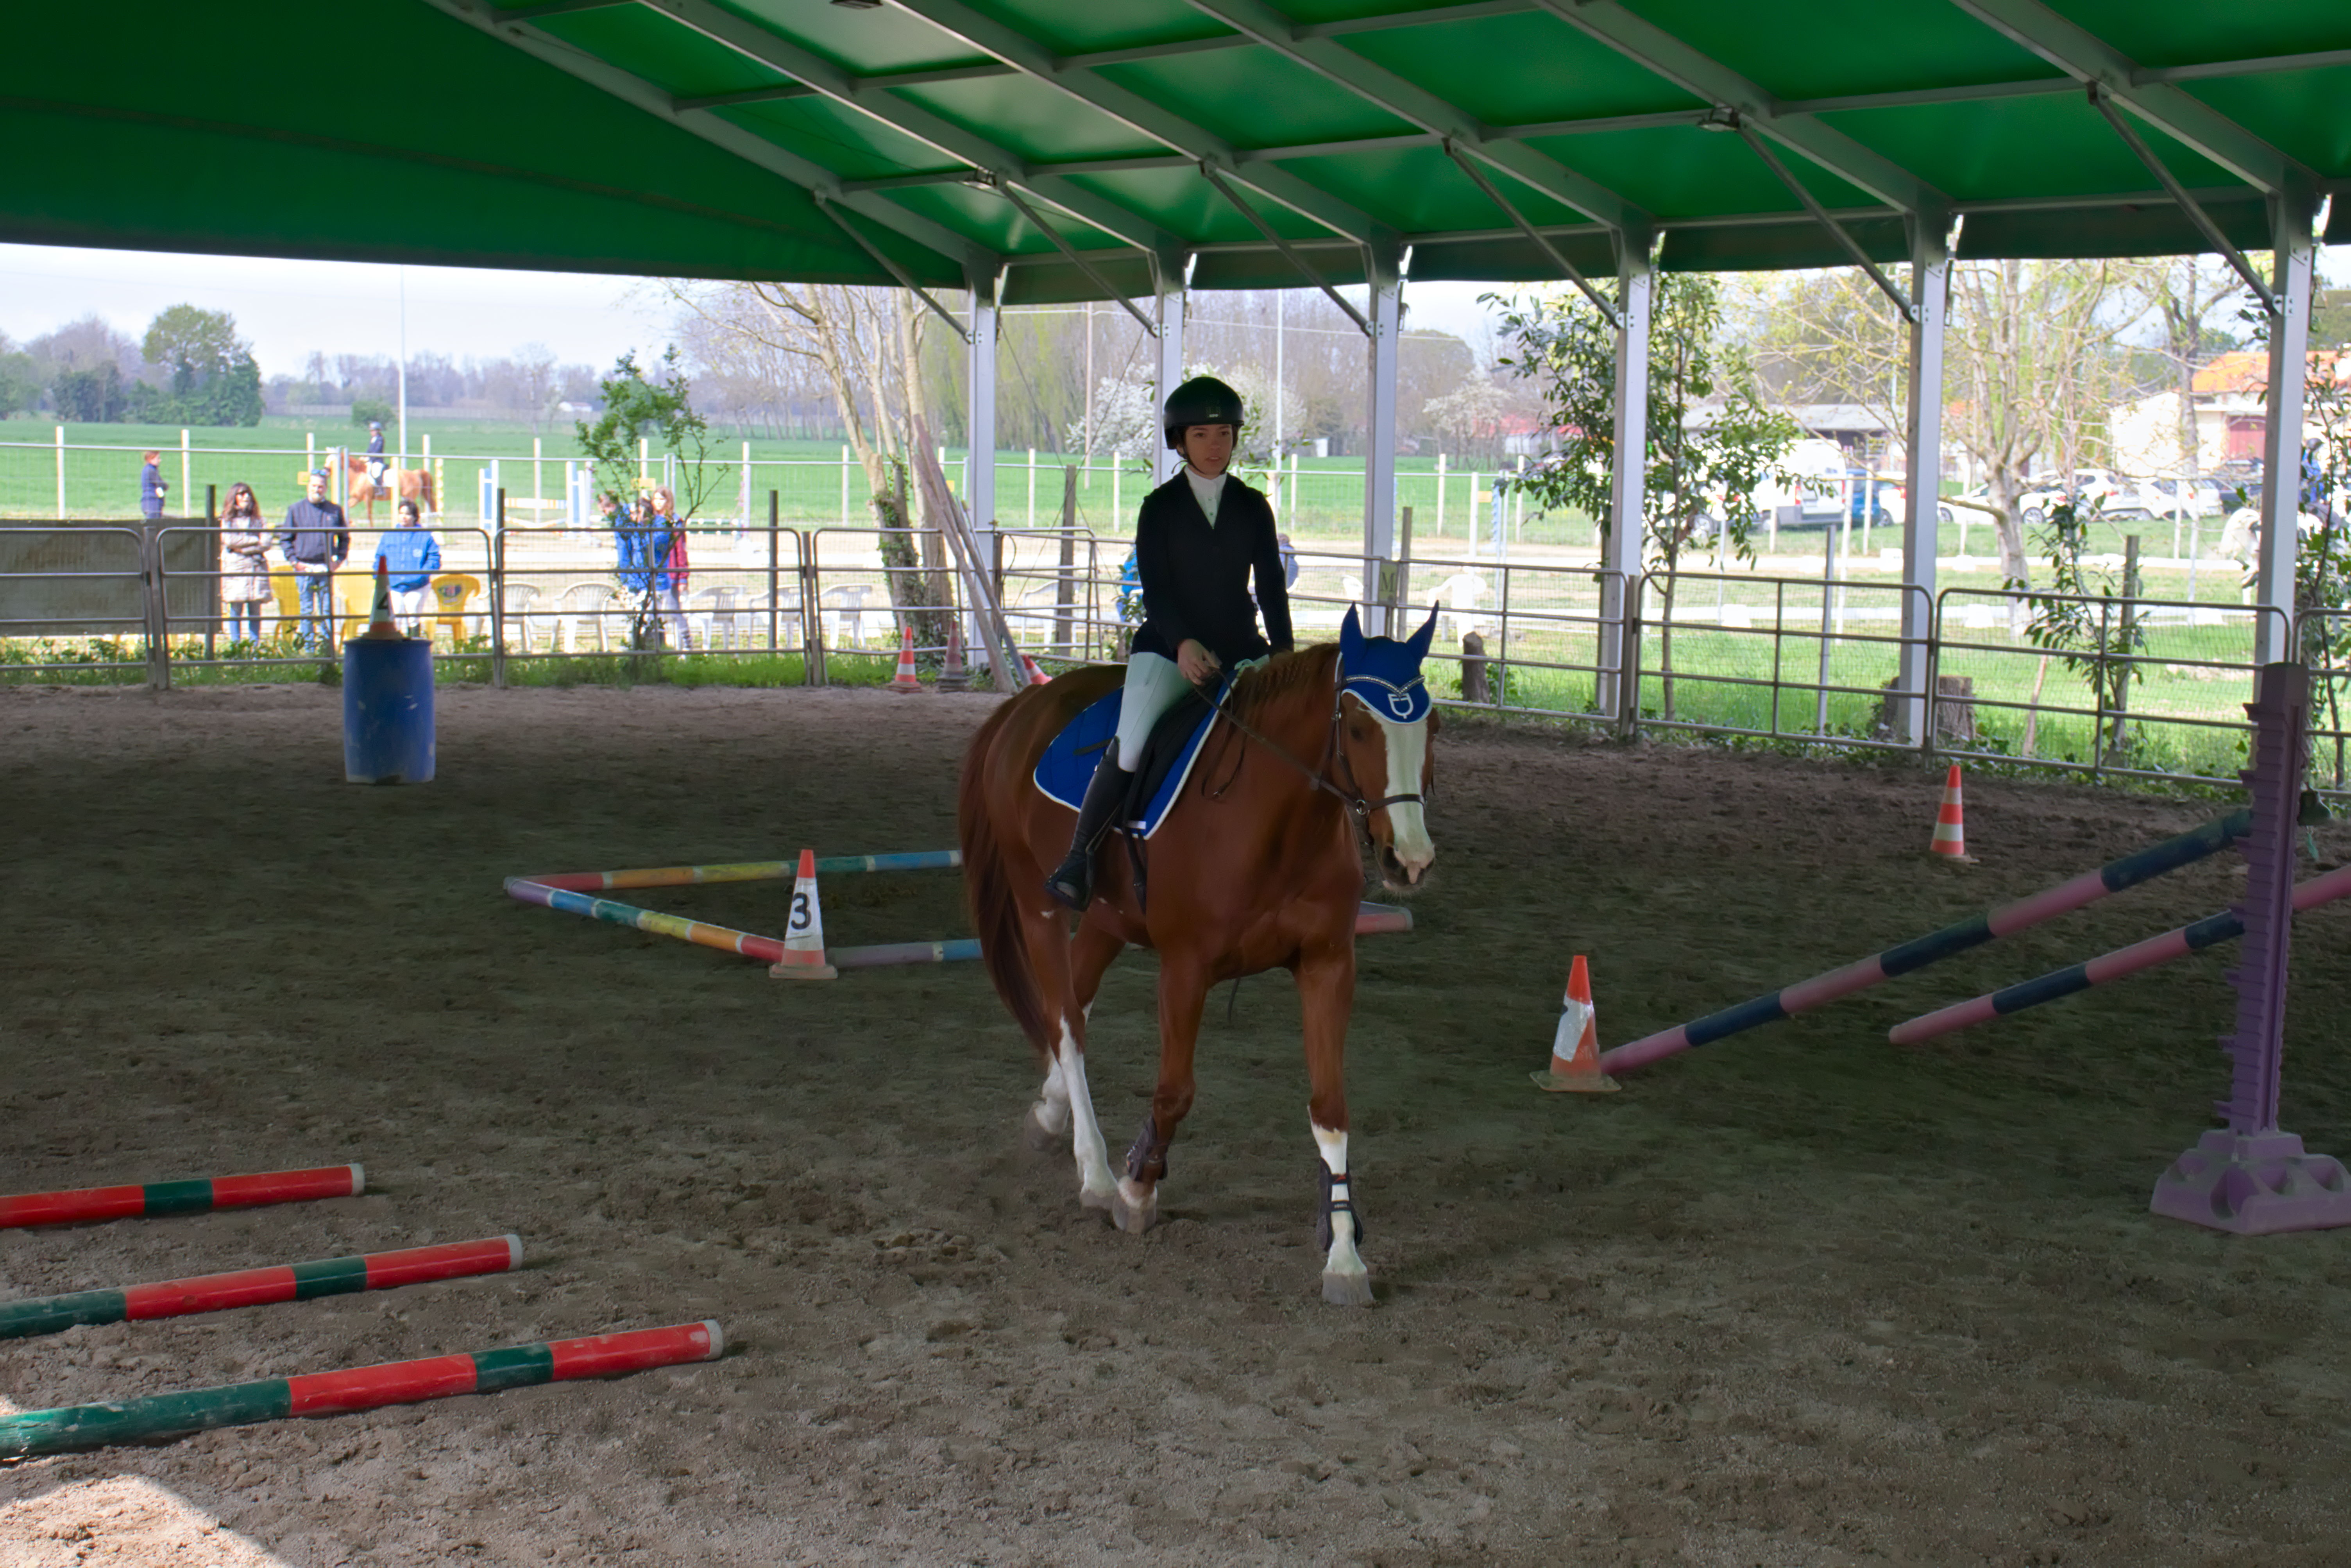
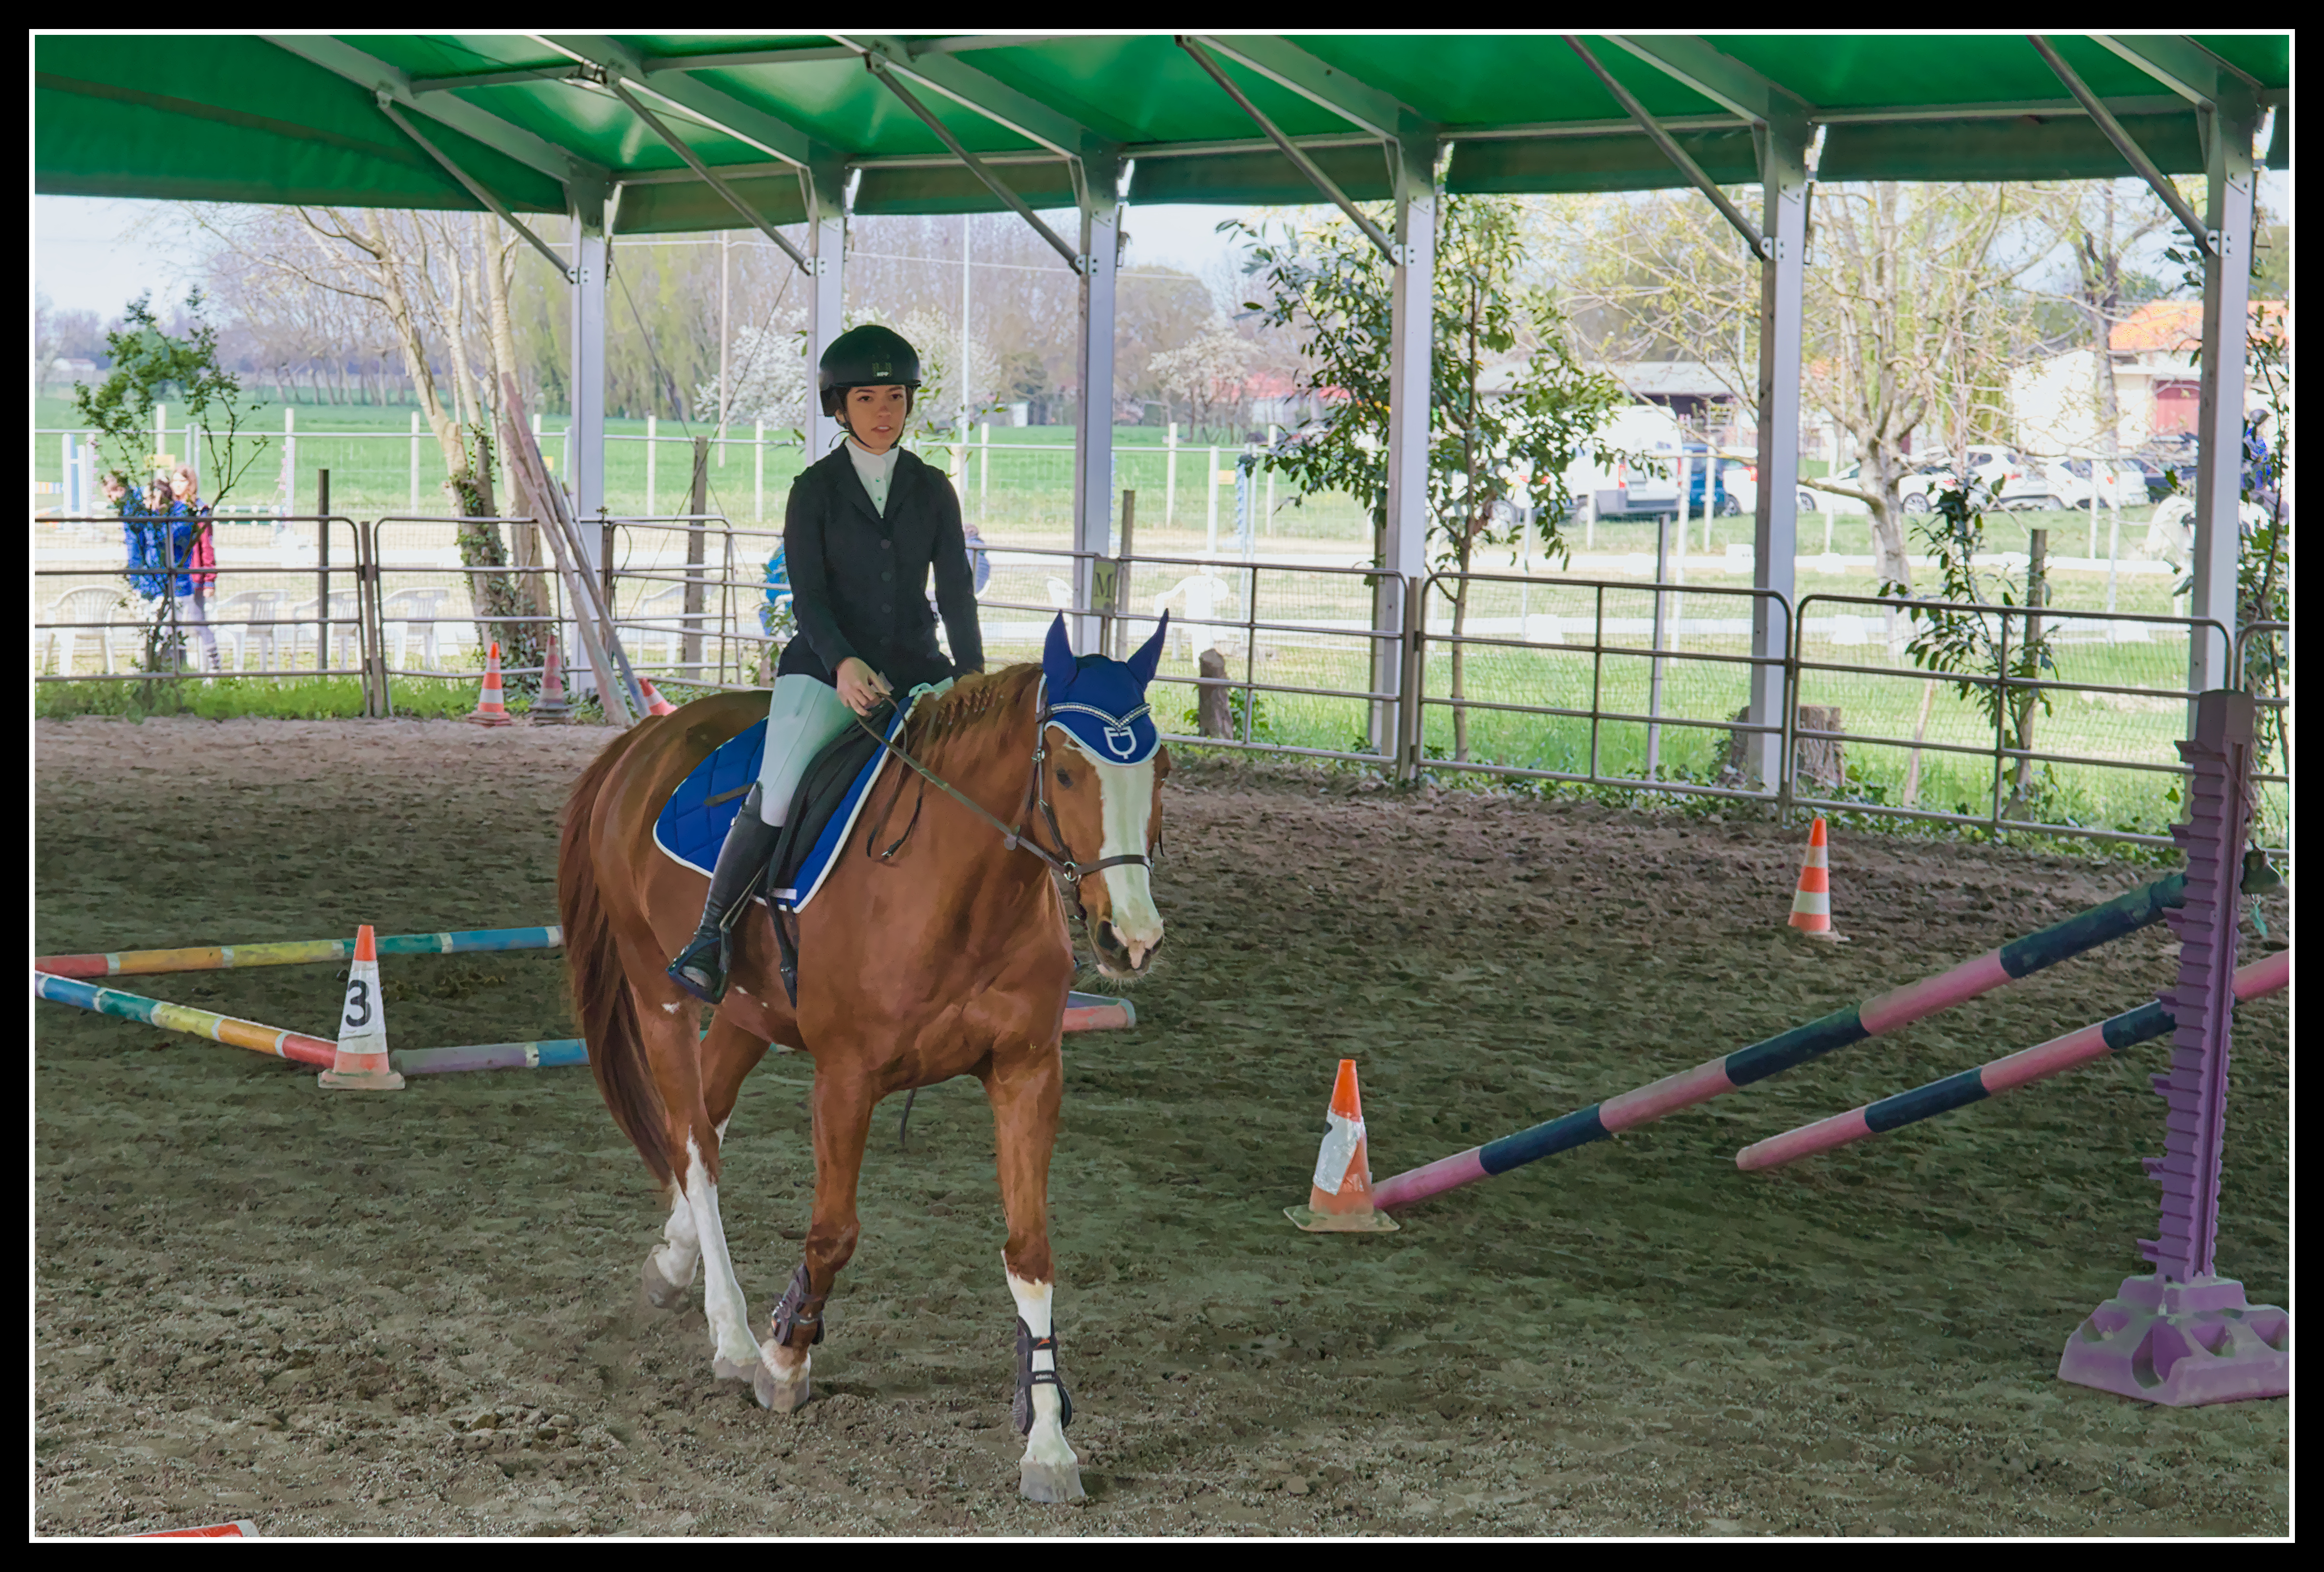
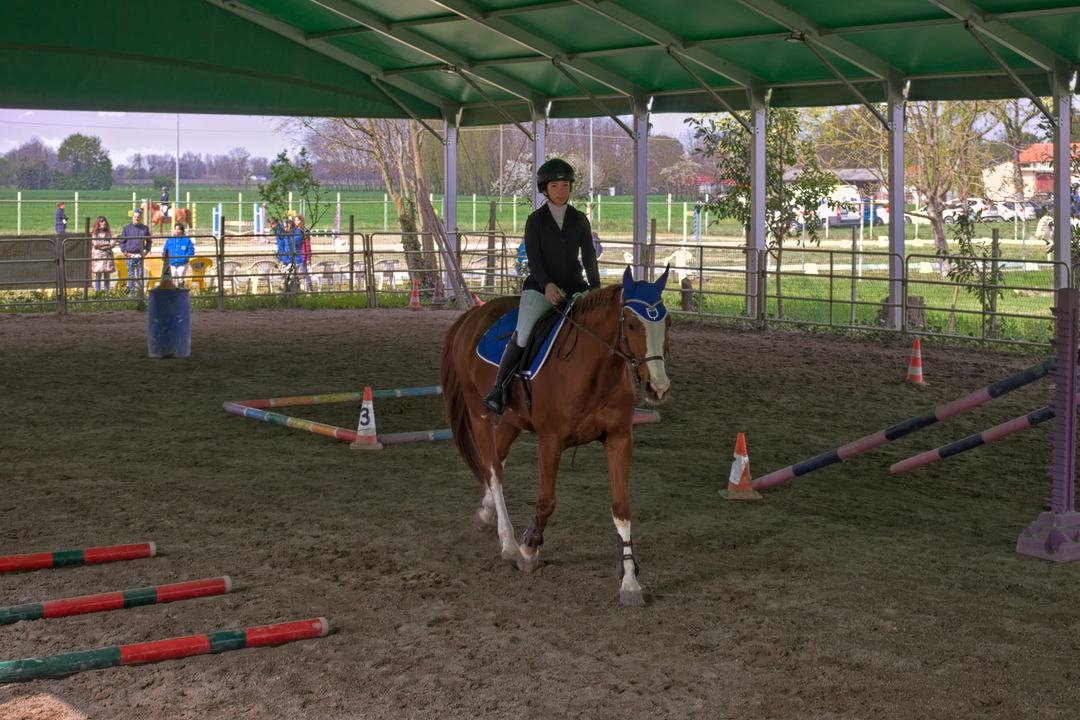
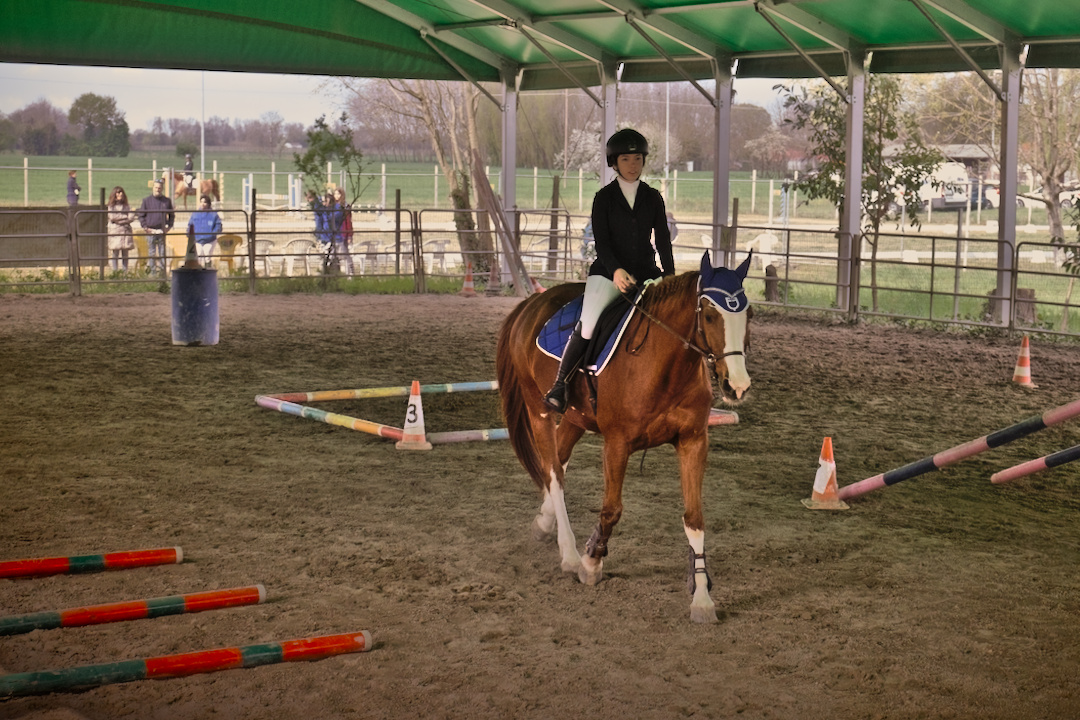
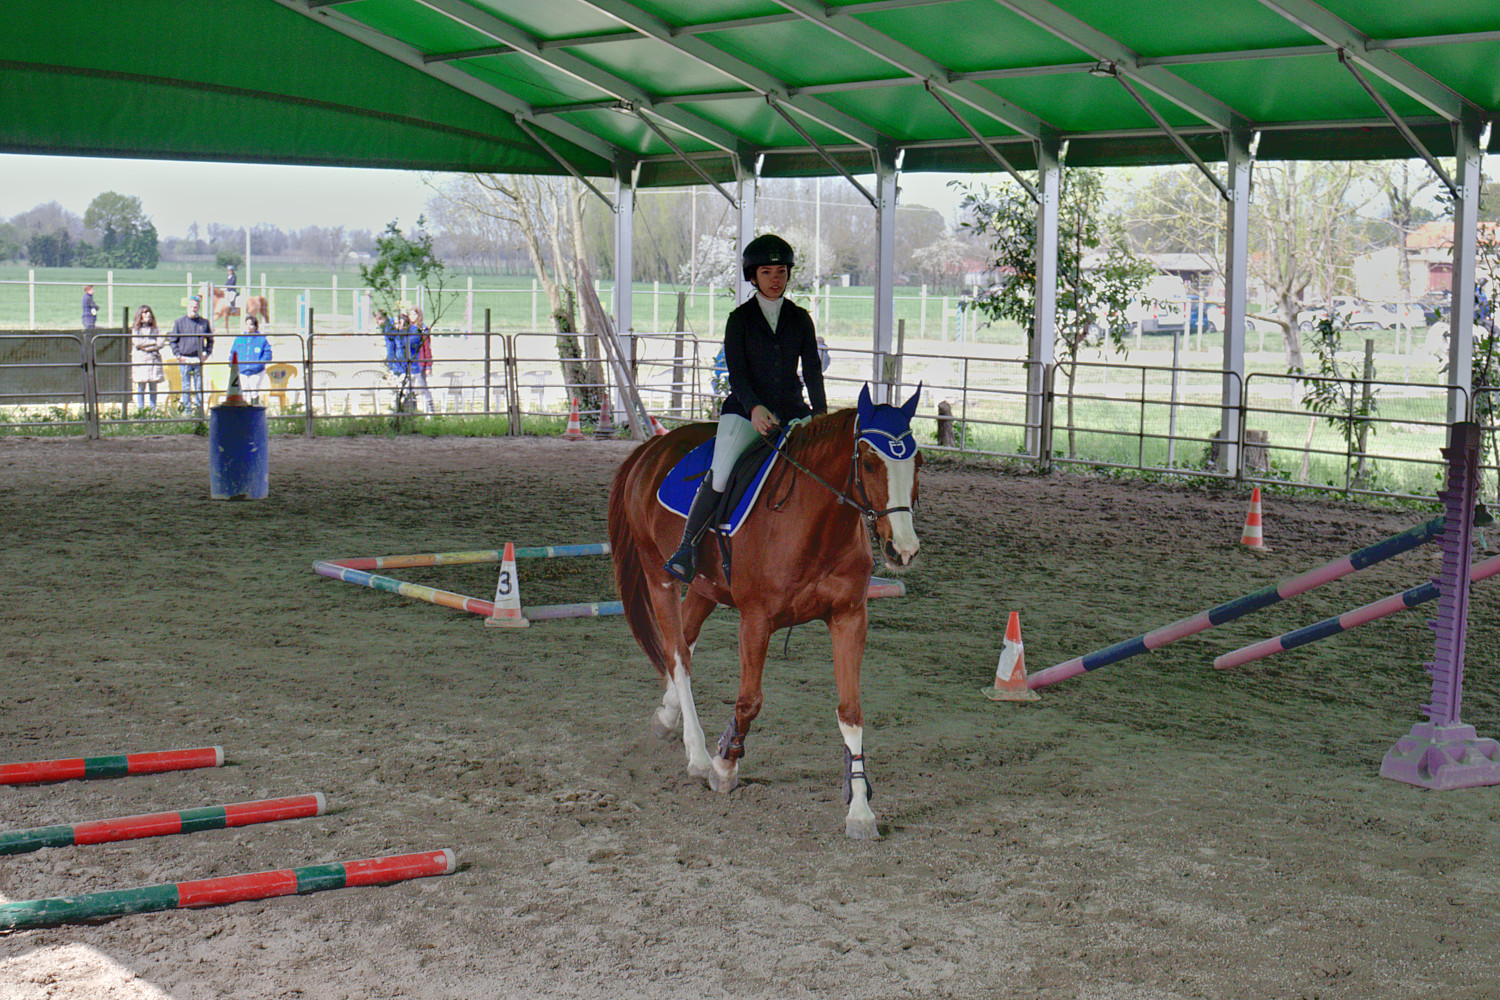
Happy Holidays. I have thousands of shots of my daughter in this covered field, little light and lots of contrast. I can’t find the right compromise. What do you suggest me? In order I use: ART, Rawtherapee, but any ideas are fine. Thank you
Greetings. Roberto
PS I hope I wrote the license right
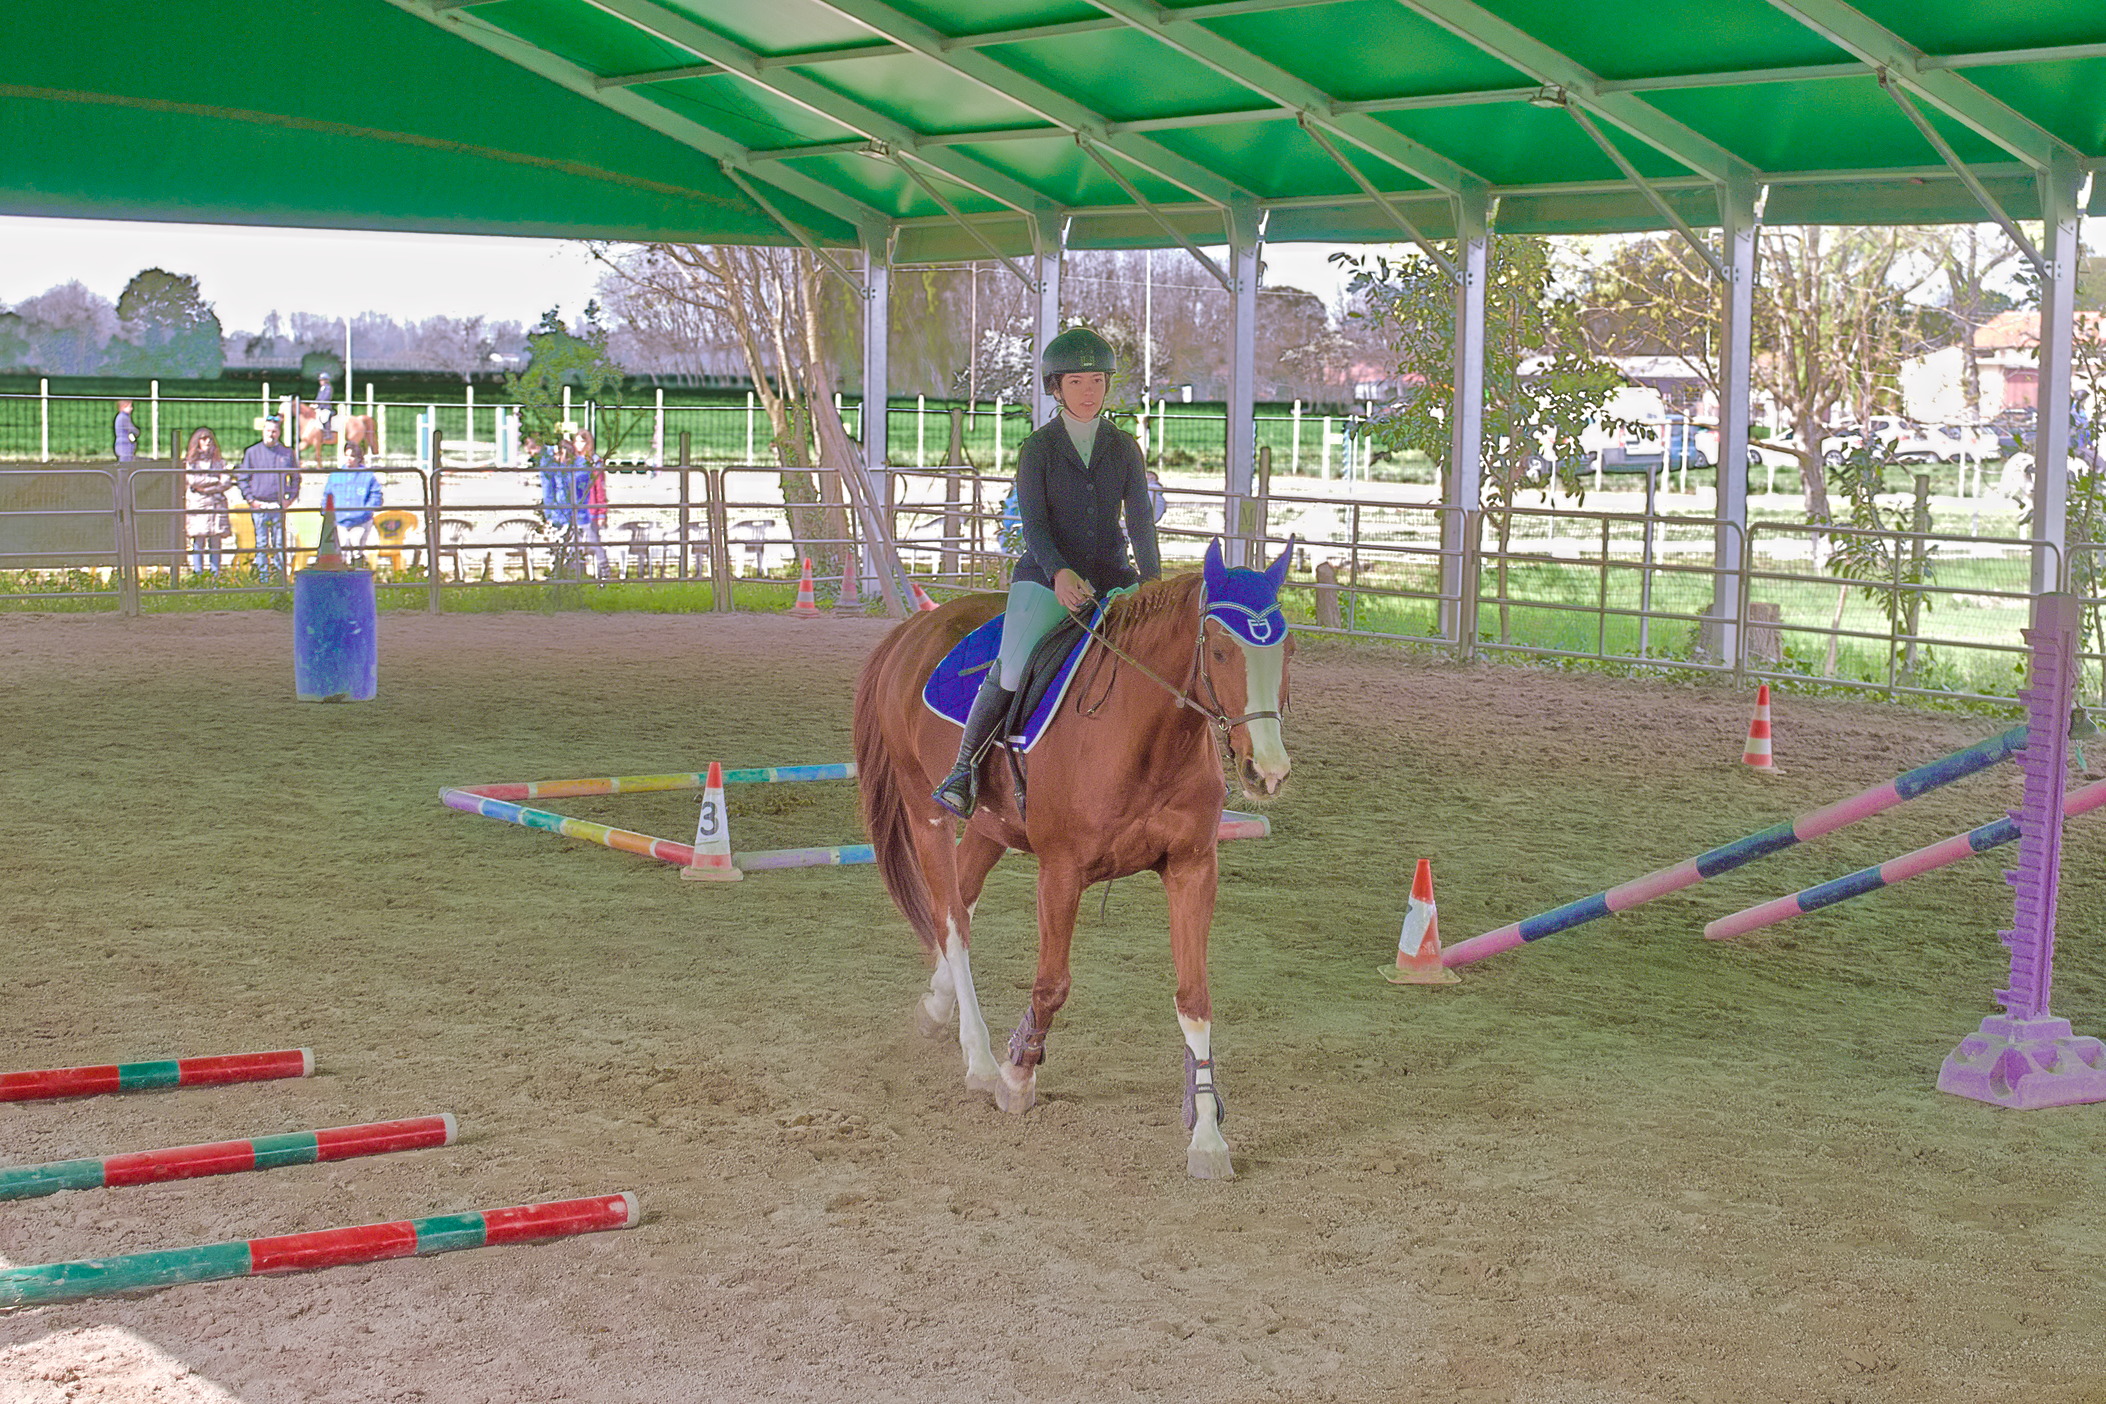
My first attempt with dt 4.2.1. I had to work hard to get the tone equalizer mask the way I wanted it. I could probably add some more saturation to the horse, but I usually don’t like doing that.
Ah, that is an easy decision: your daughter and her horse
are the main targets here. It is quite easy to oompf them up,
the trick is to get the outdoor surroundings look natural
(No, I have not succeeded yet…)
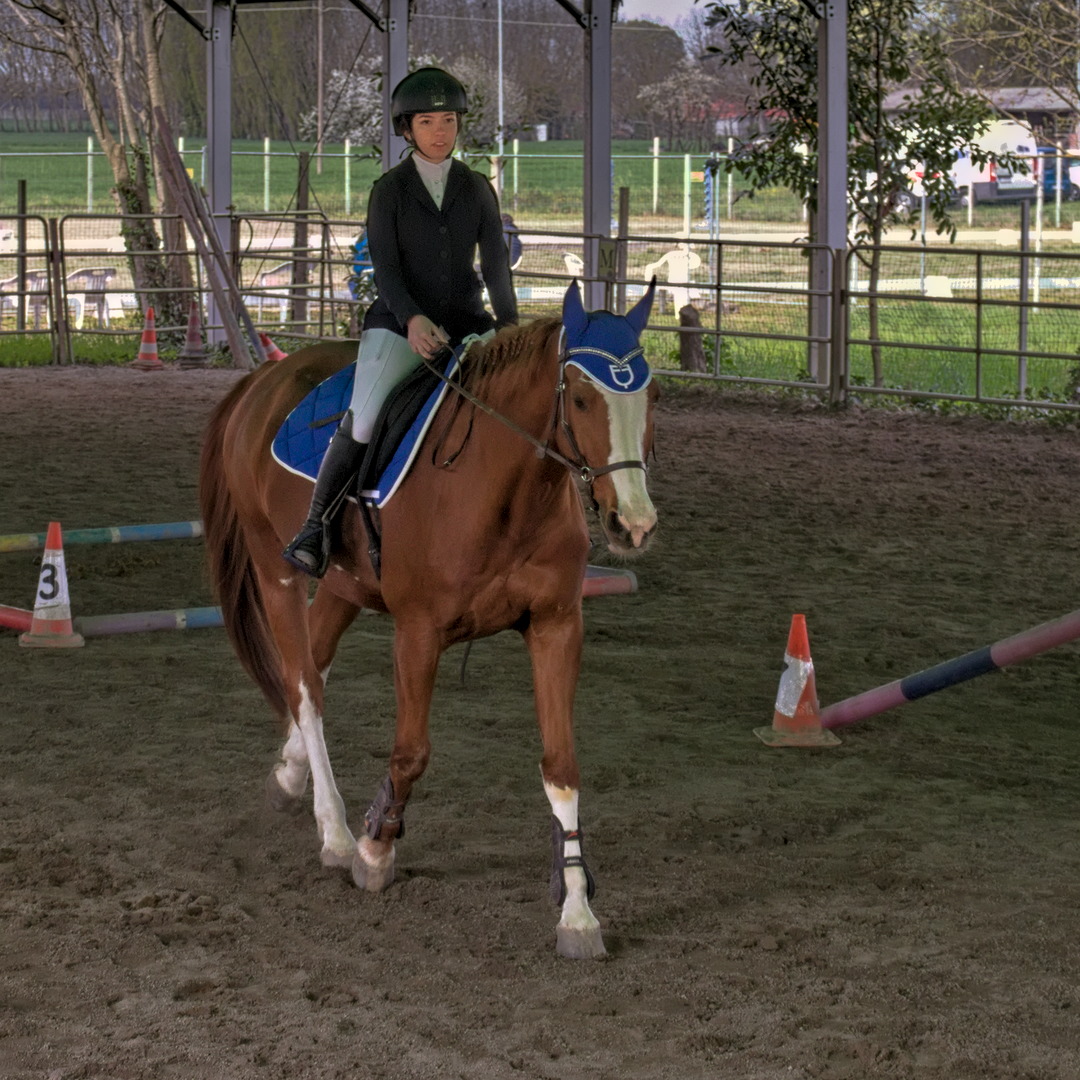
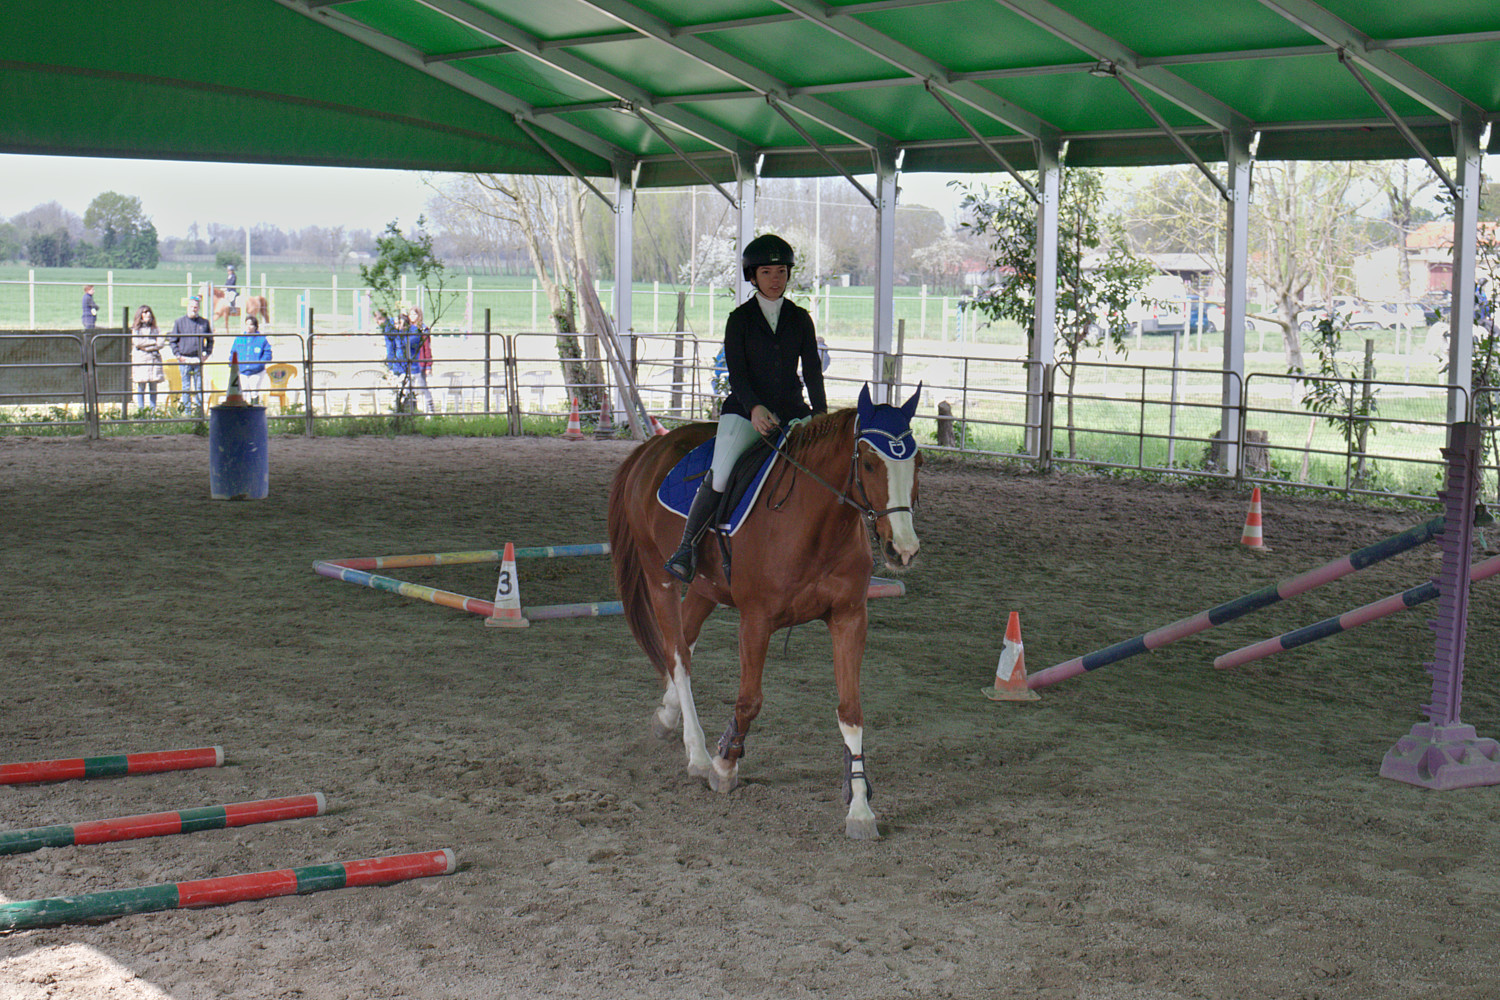
Here is my proposal with 3 instances of the exposure module and different masks, then the tone equalizer to adjust the exposure.
I also propose a cropped version.
A challenging shot. Probably need to lighten the girl more now I see it posted to the web. I used both the tone equalizer and shadow and highlights. IMG_6624 Bitless_I_2023_1.cr2.xmp (12.8 KB)
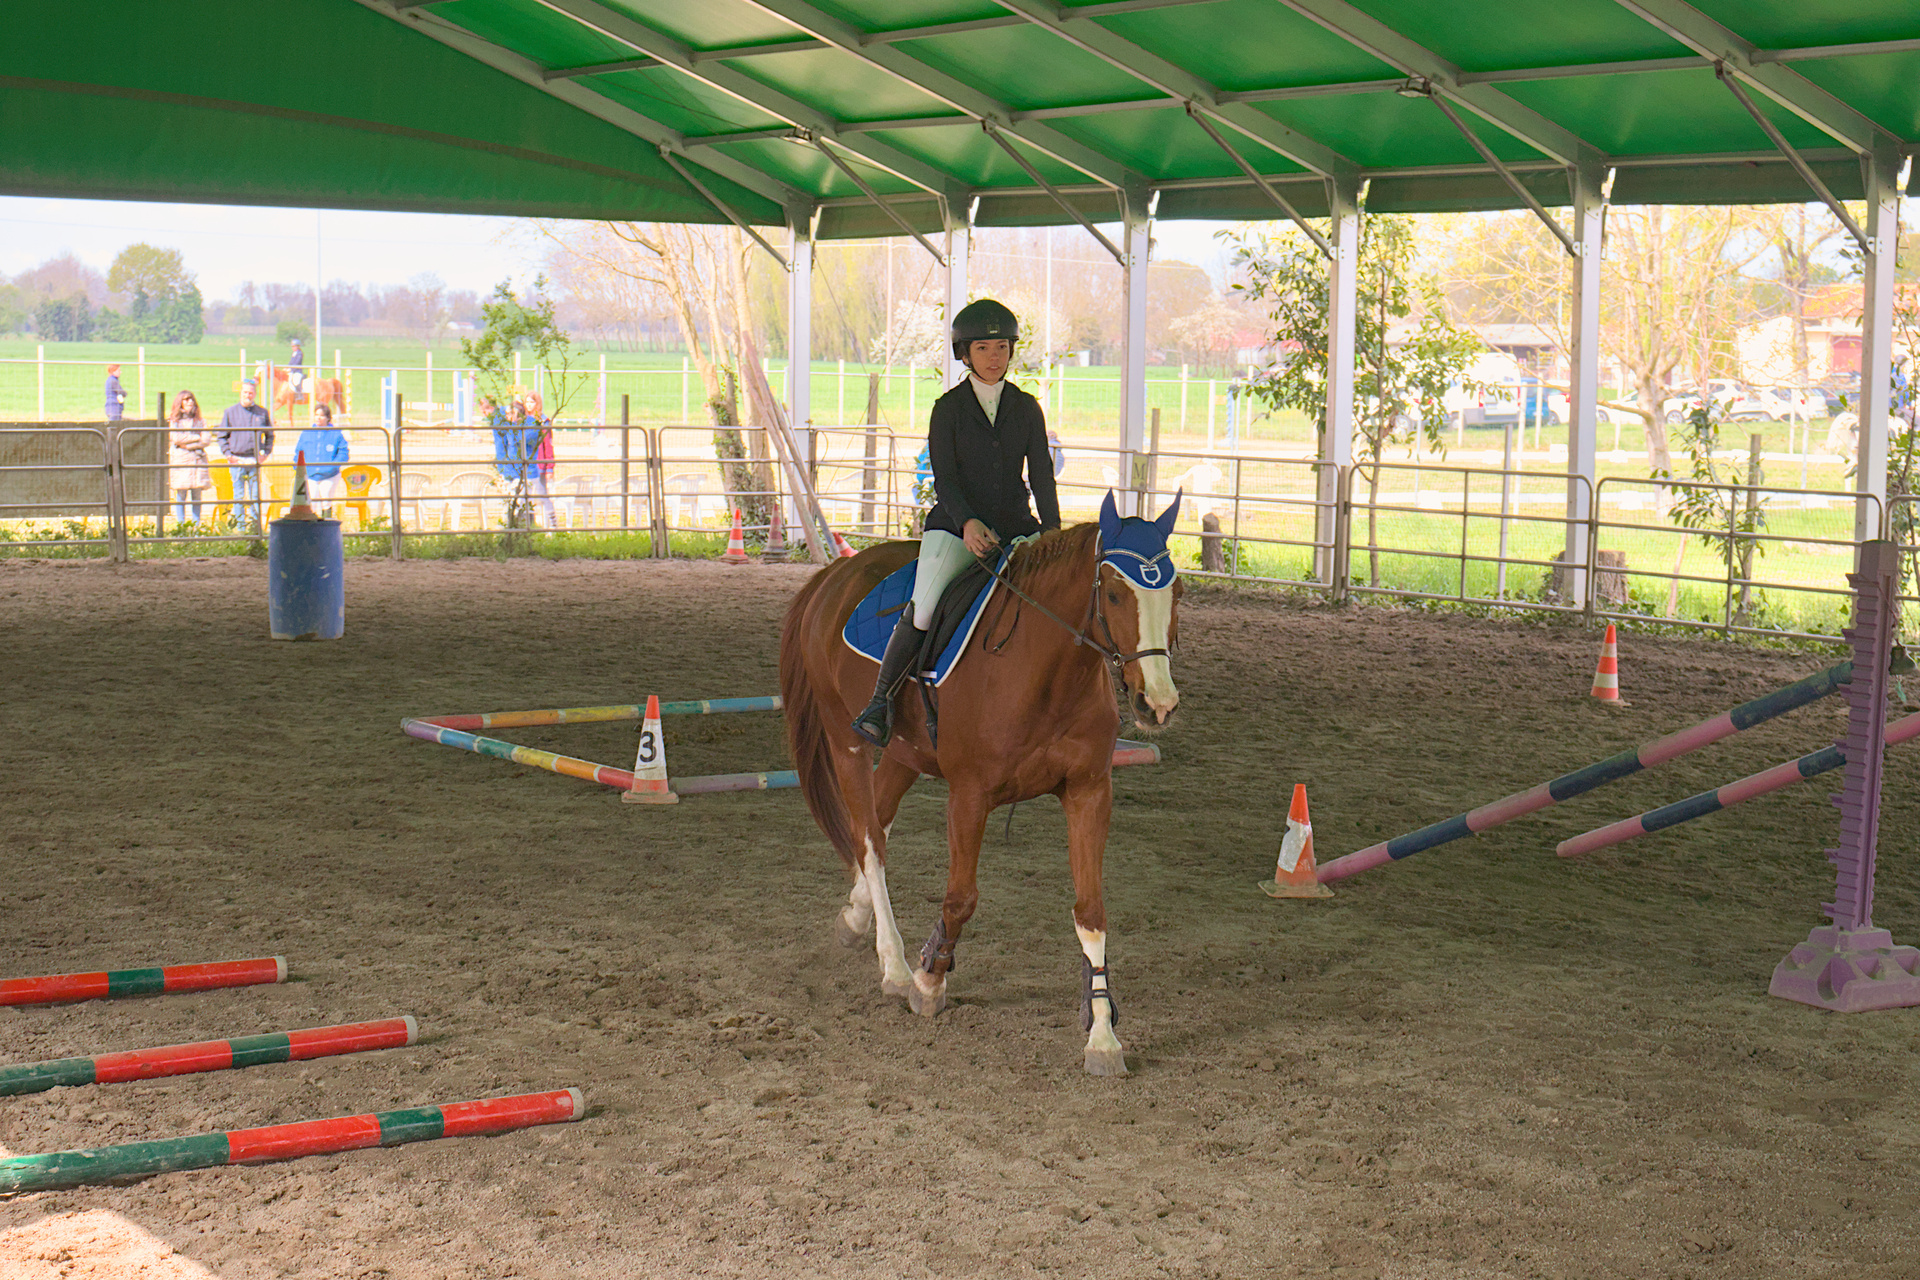
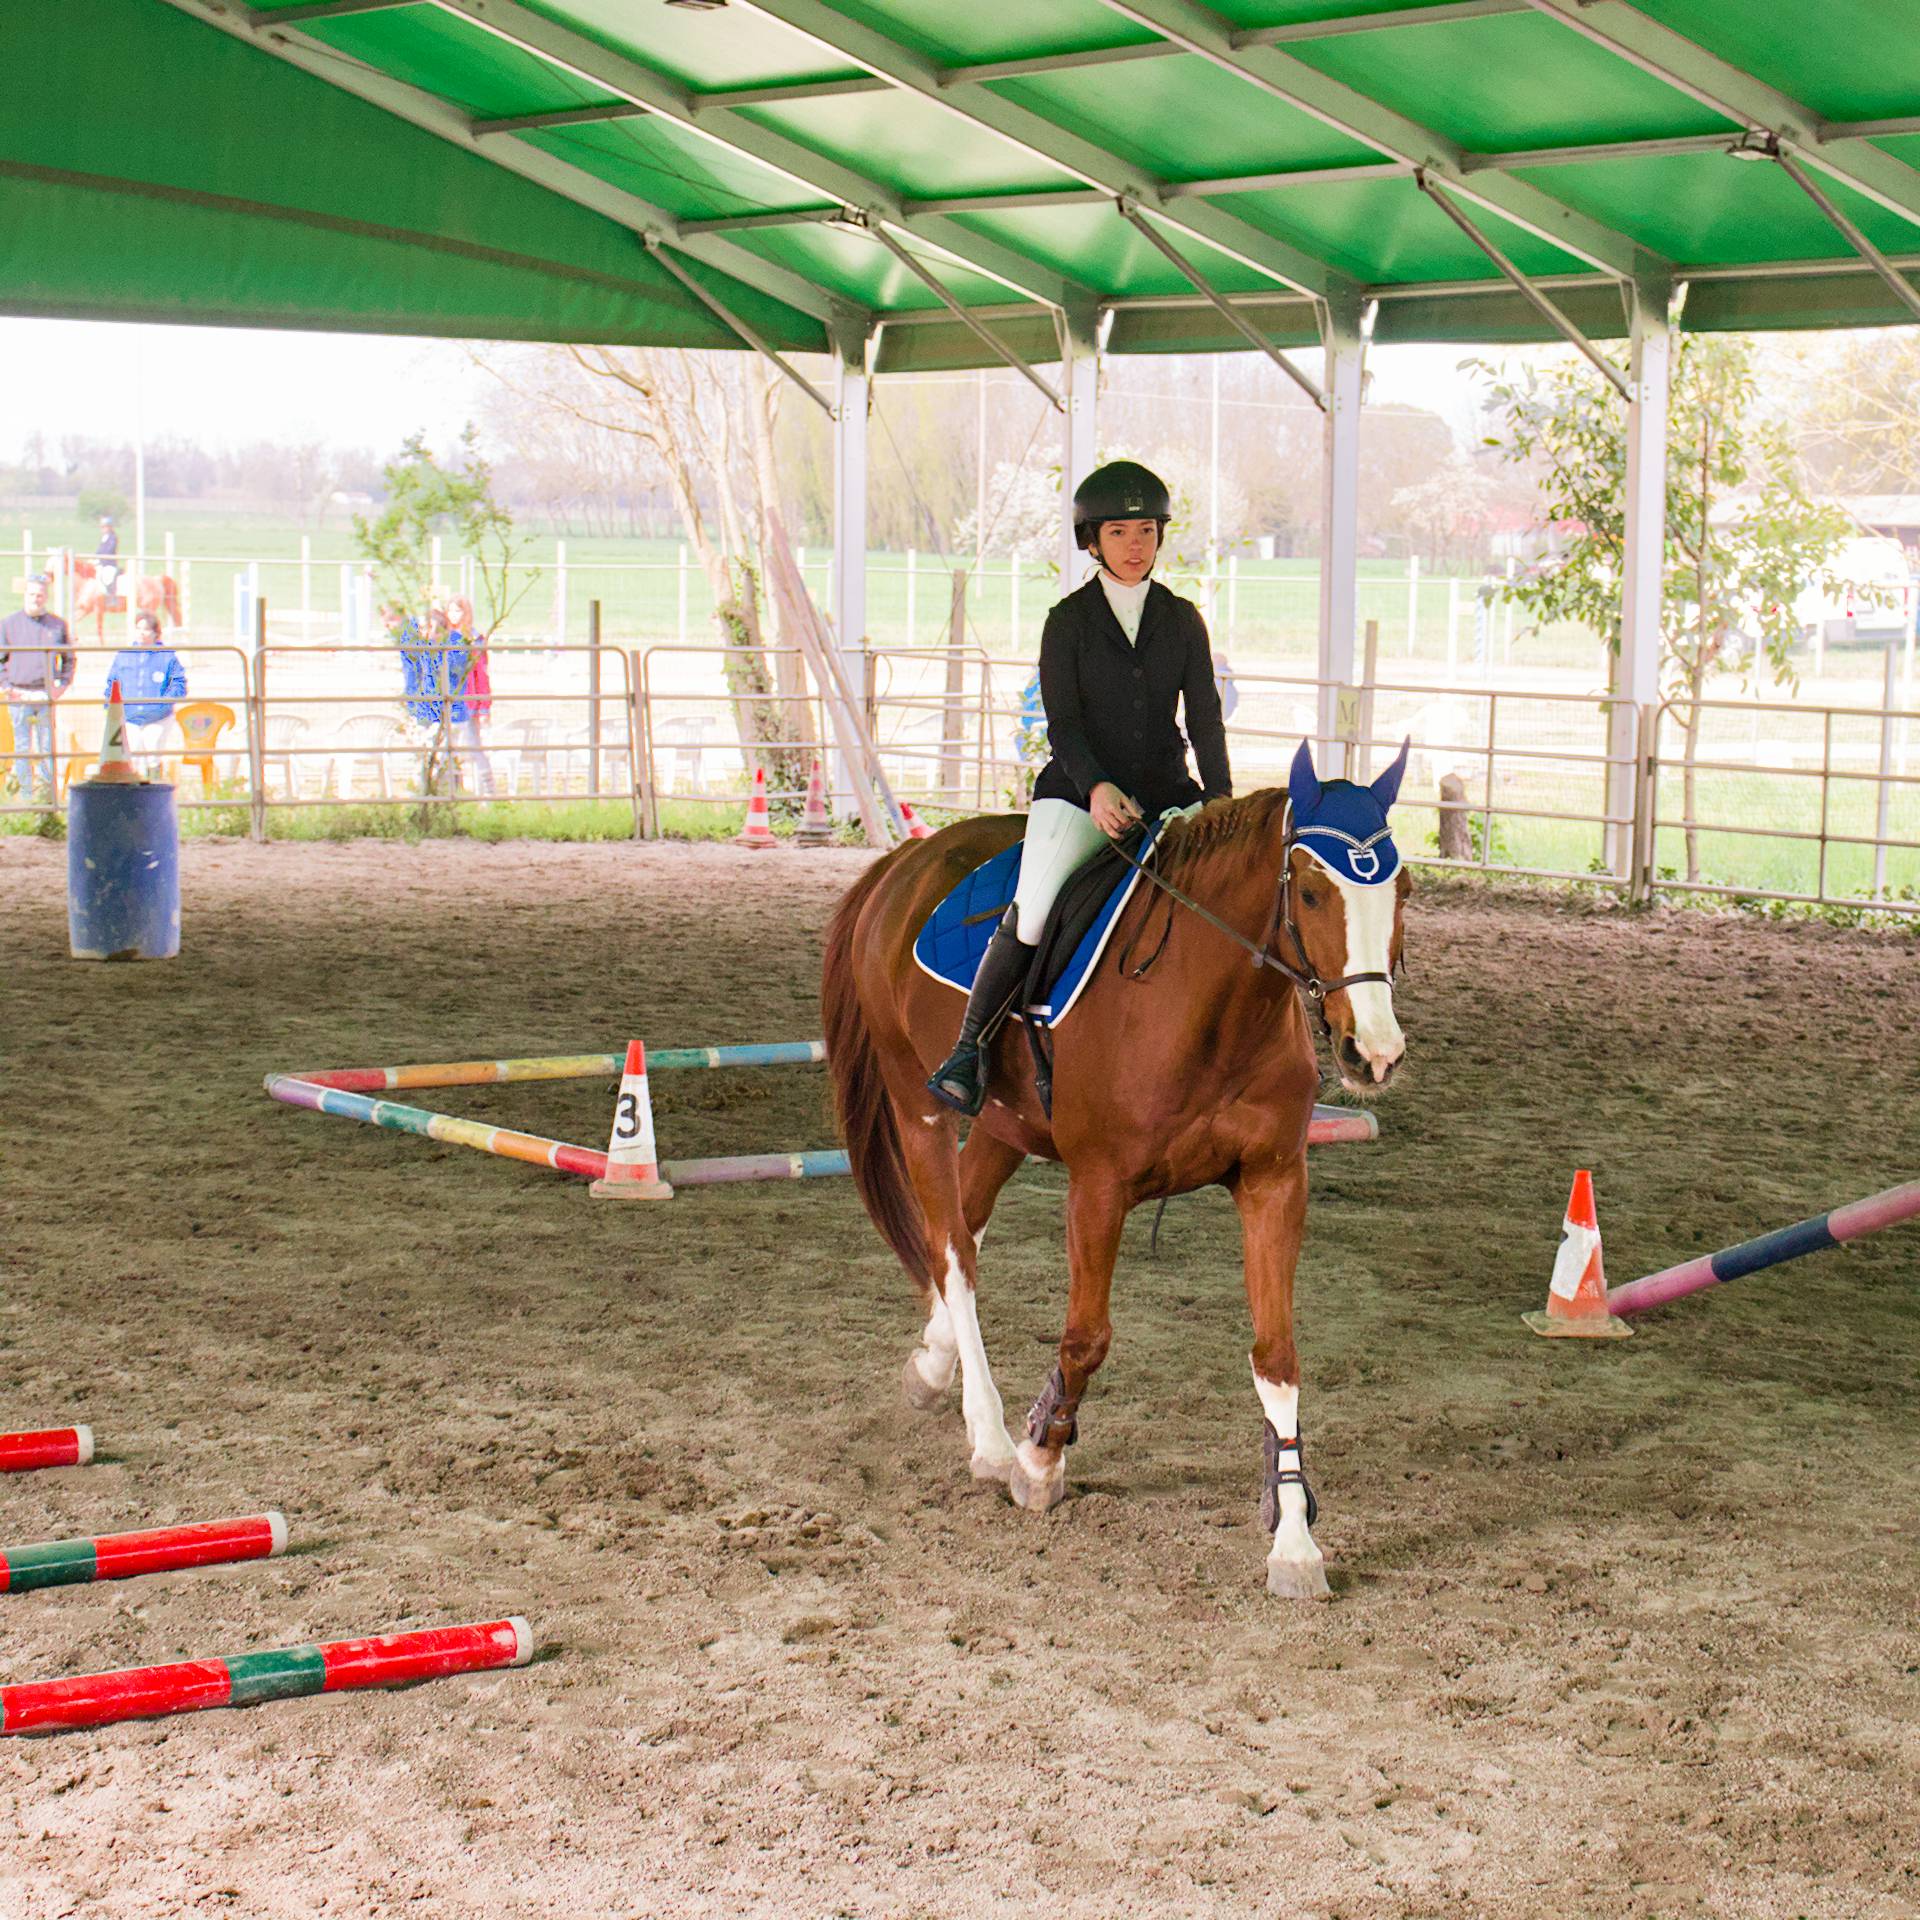
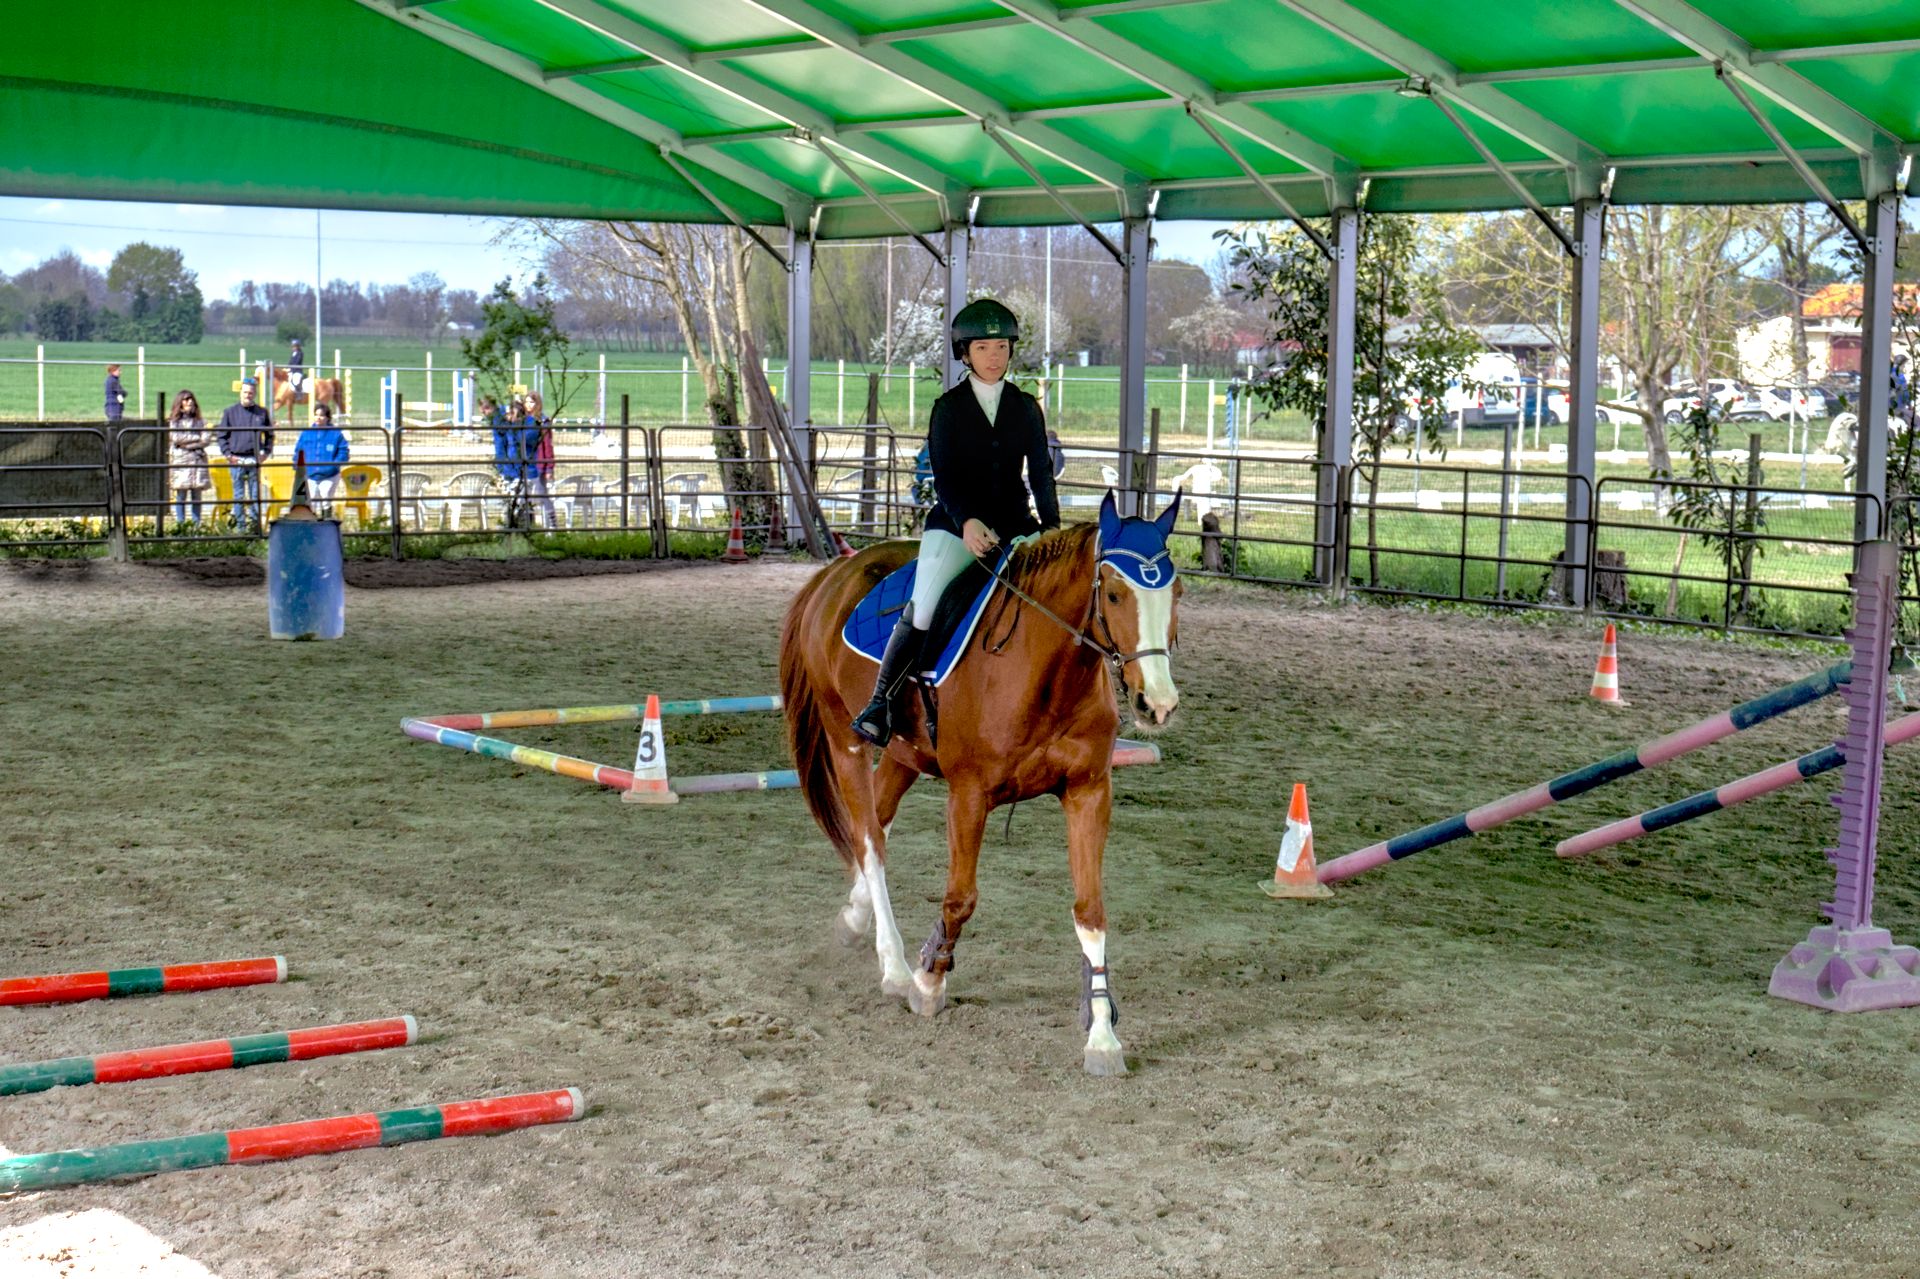
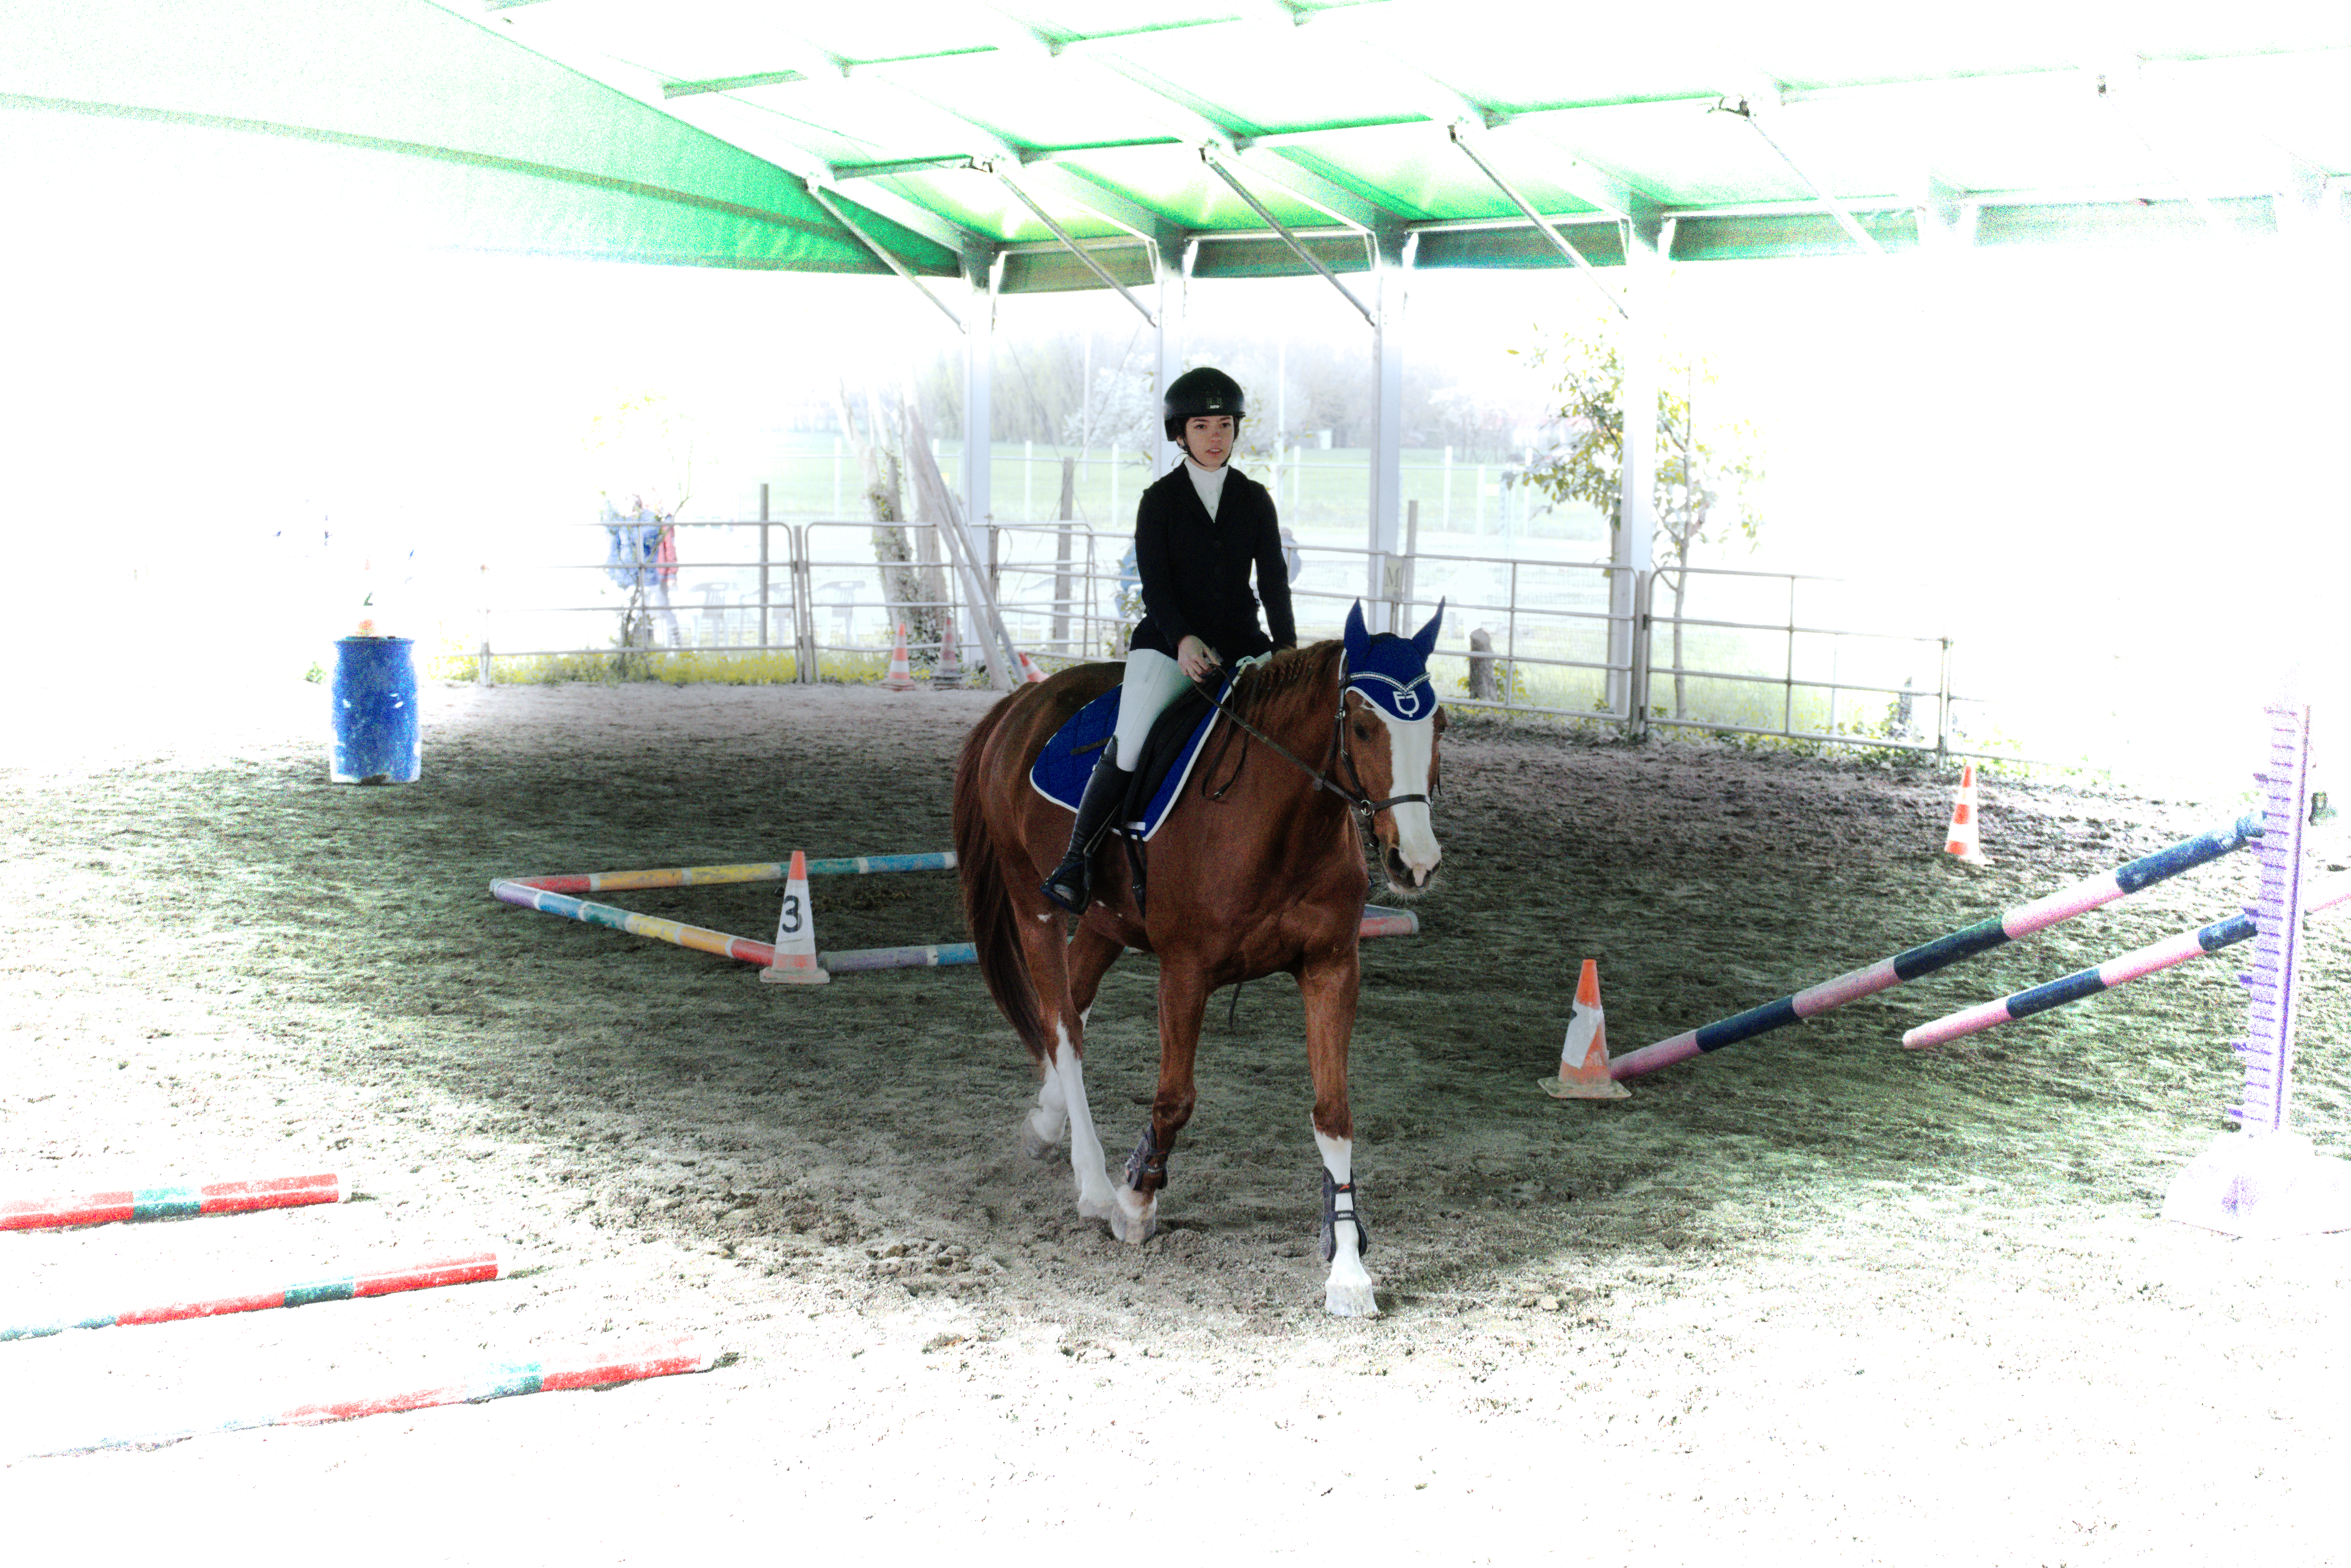
Here’s my attempt - difficult I agree with the backlighting plus the flat lighting in the covered area.
I used darktable as that’s what I’m familiar with - in case it helps, I increased the exposure, used tone equalizer to lower the brightness of the background, fiddled with white balance and the channel mixer in color calibration to get a better color balance and increased local contrast and sharpness with diffuse and sharpen.
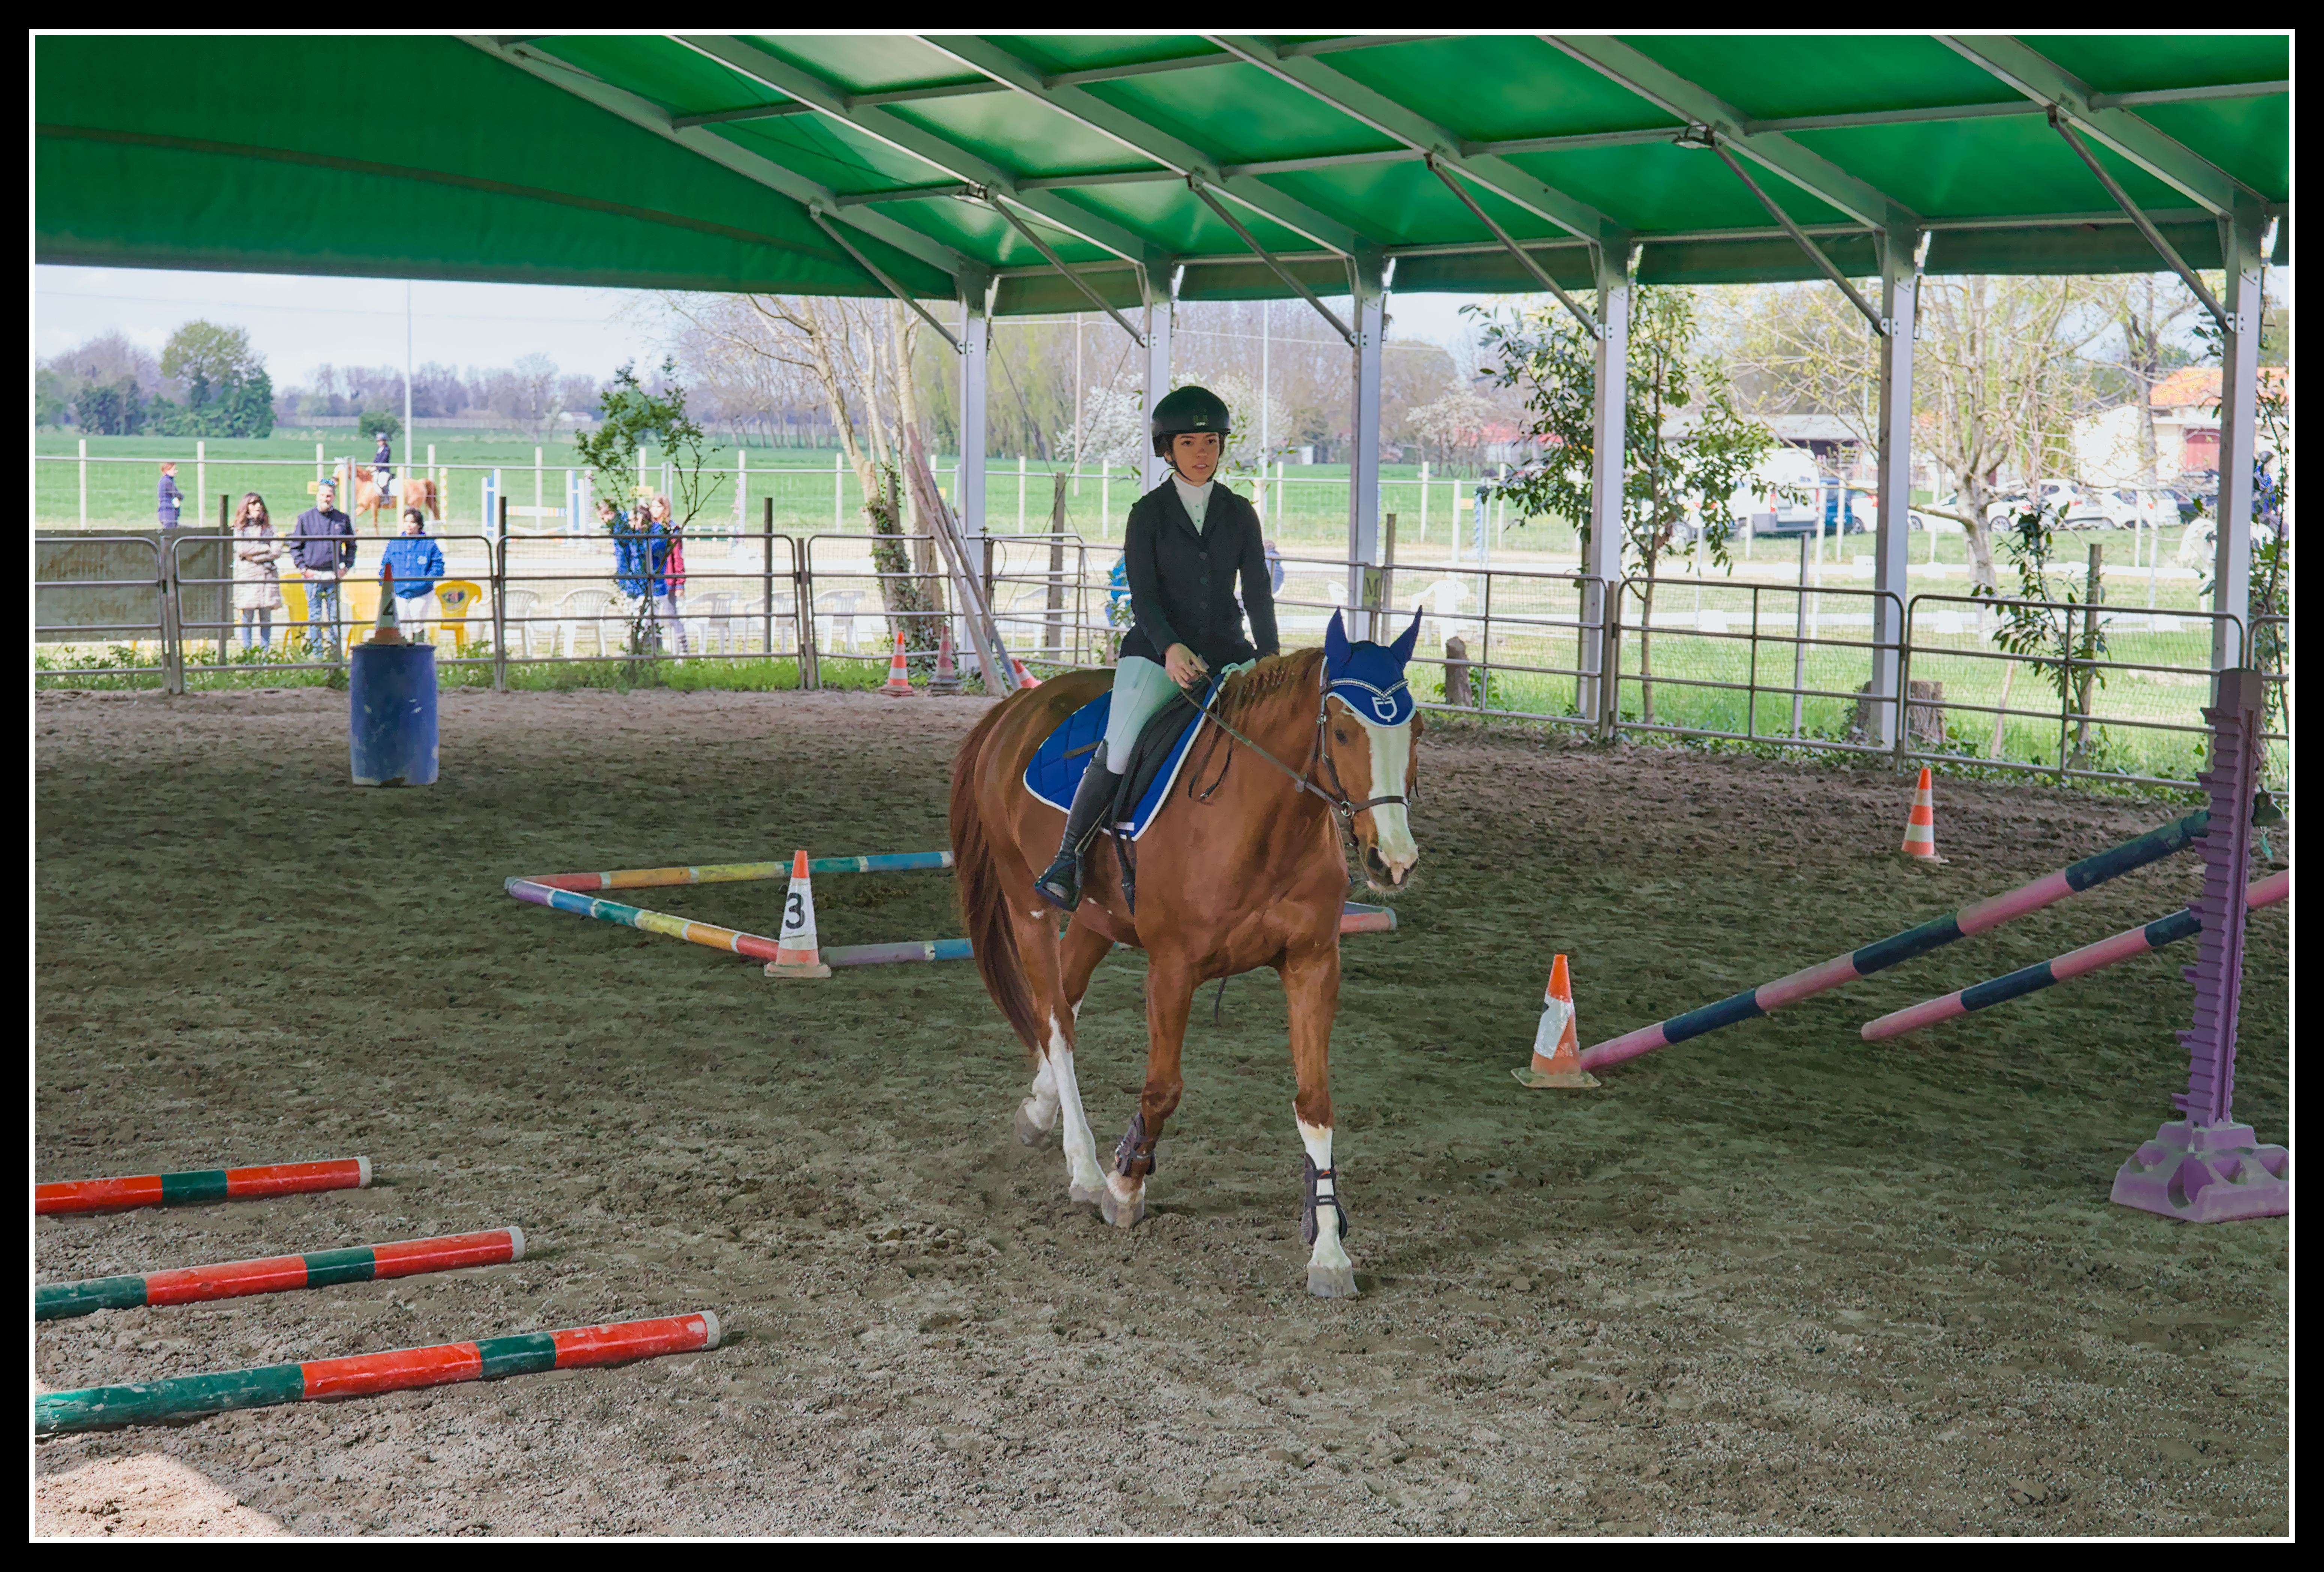
I’m no expert and this is a tough one. It was hard to get the “outside” under control and there are some artifacts in the sky even at (my) best. The hardest part was getting a little bit of contrast back so it didn’t look so flat compared to under the canopy.
It would help to brighten the subject a bit, but I did the easy thing and just brightened her face a tiny bit. This is a situation where a fill flash would help, but I doubt the pop-up flash on the T7i / 800D is powerful enough to make much difference. I certainly doubt it is on my T8i / 850D.
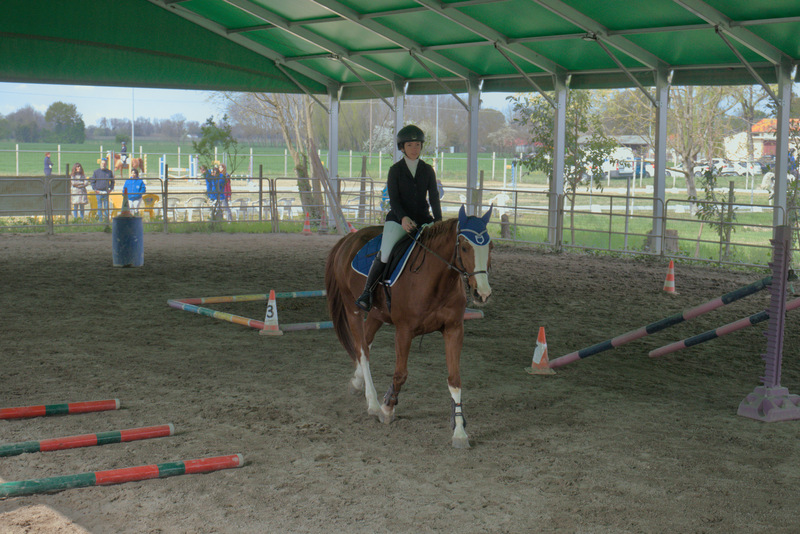
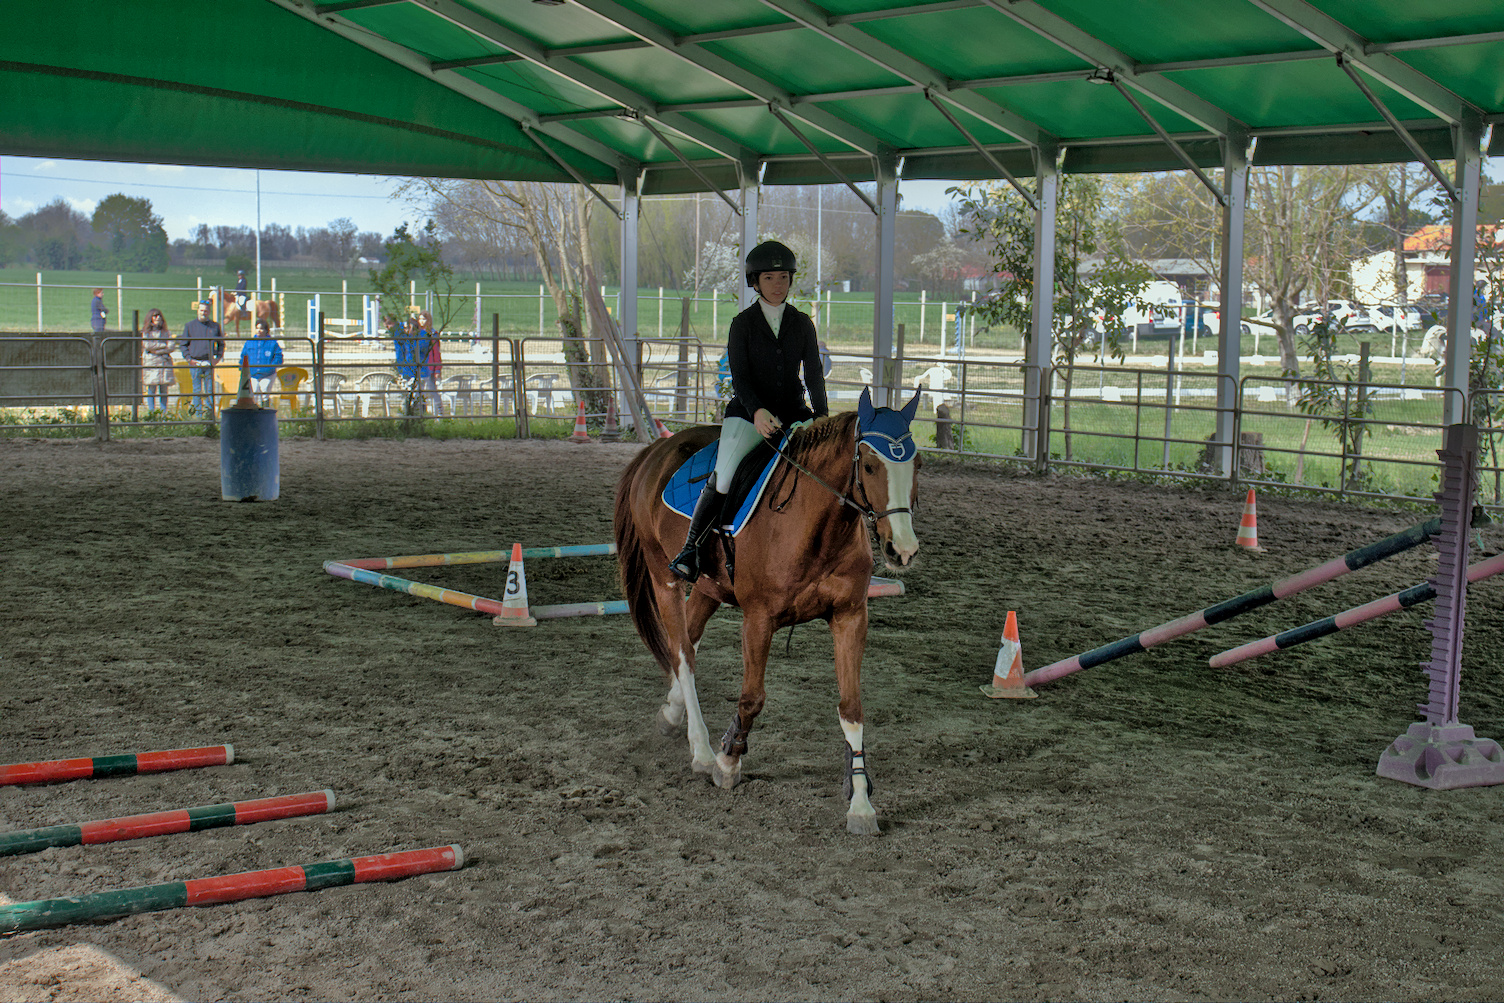
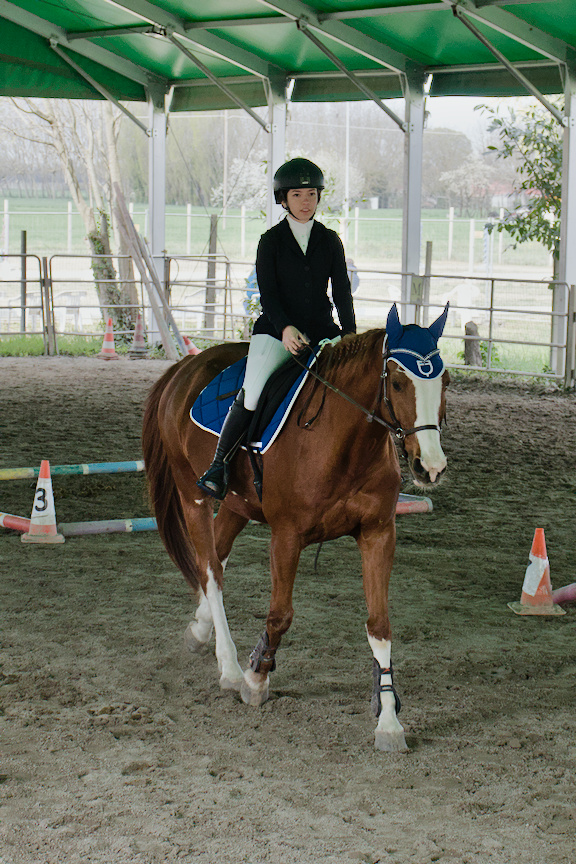
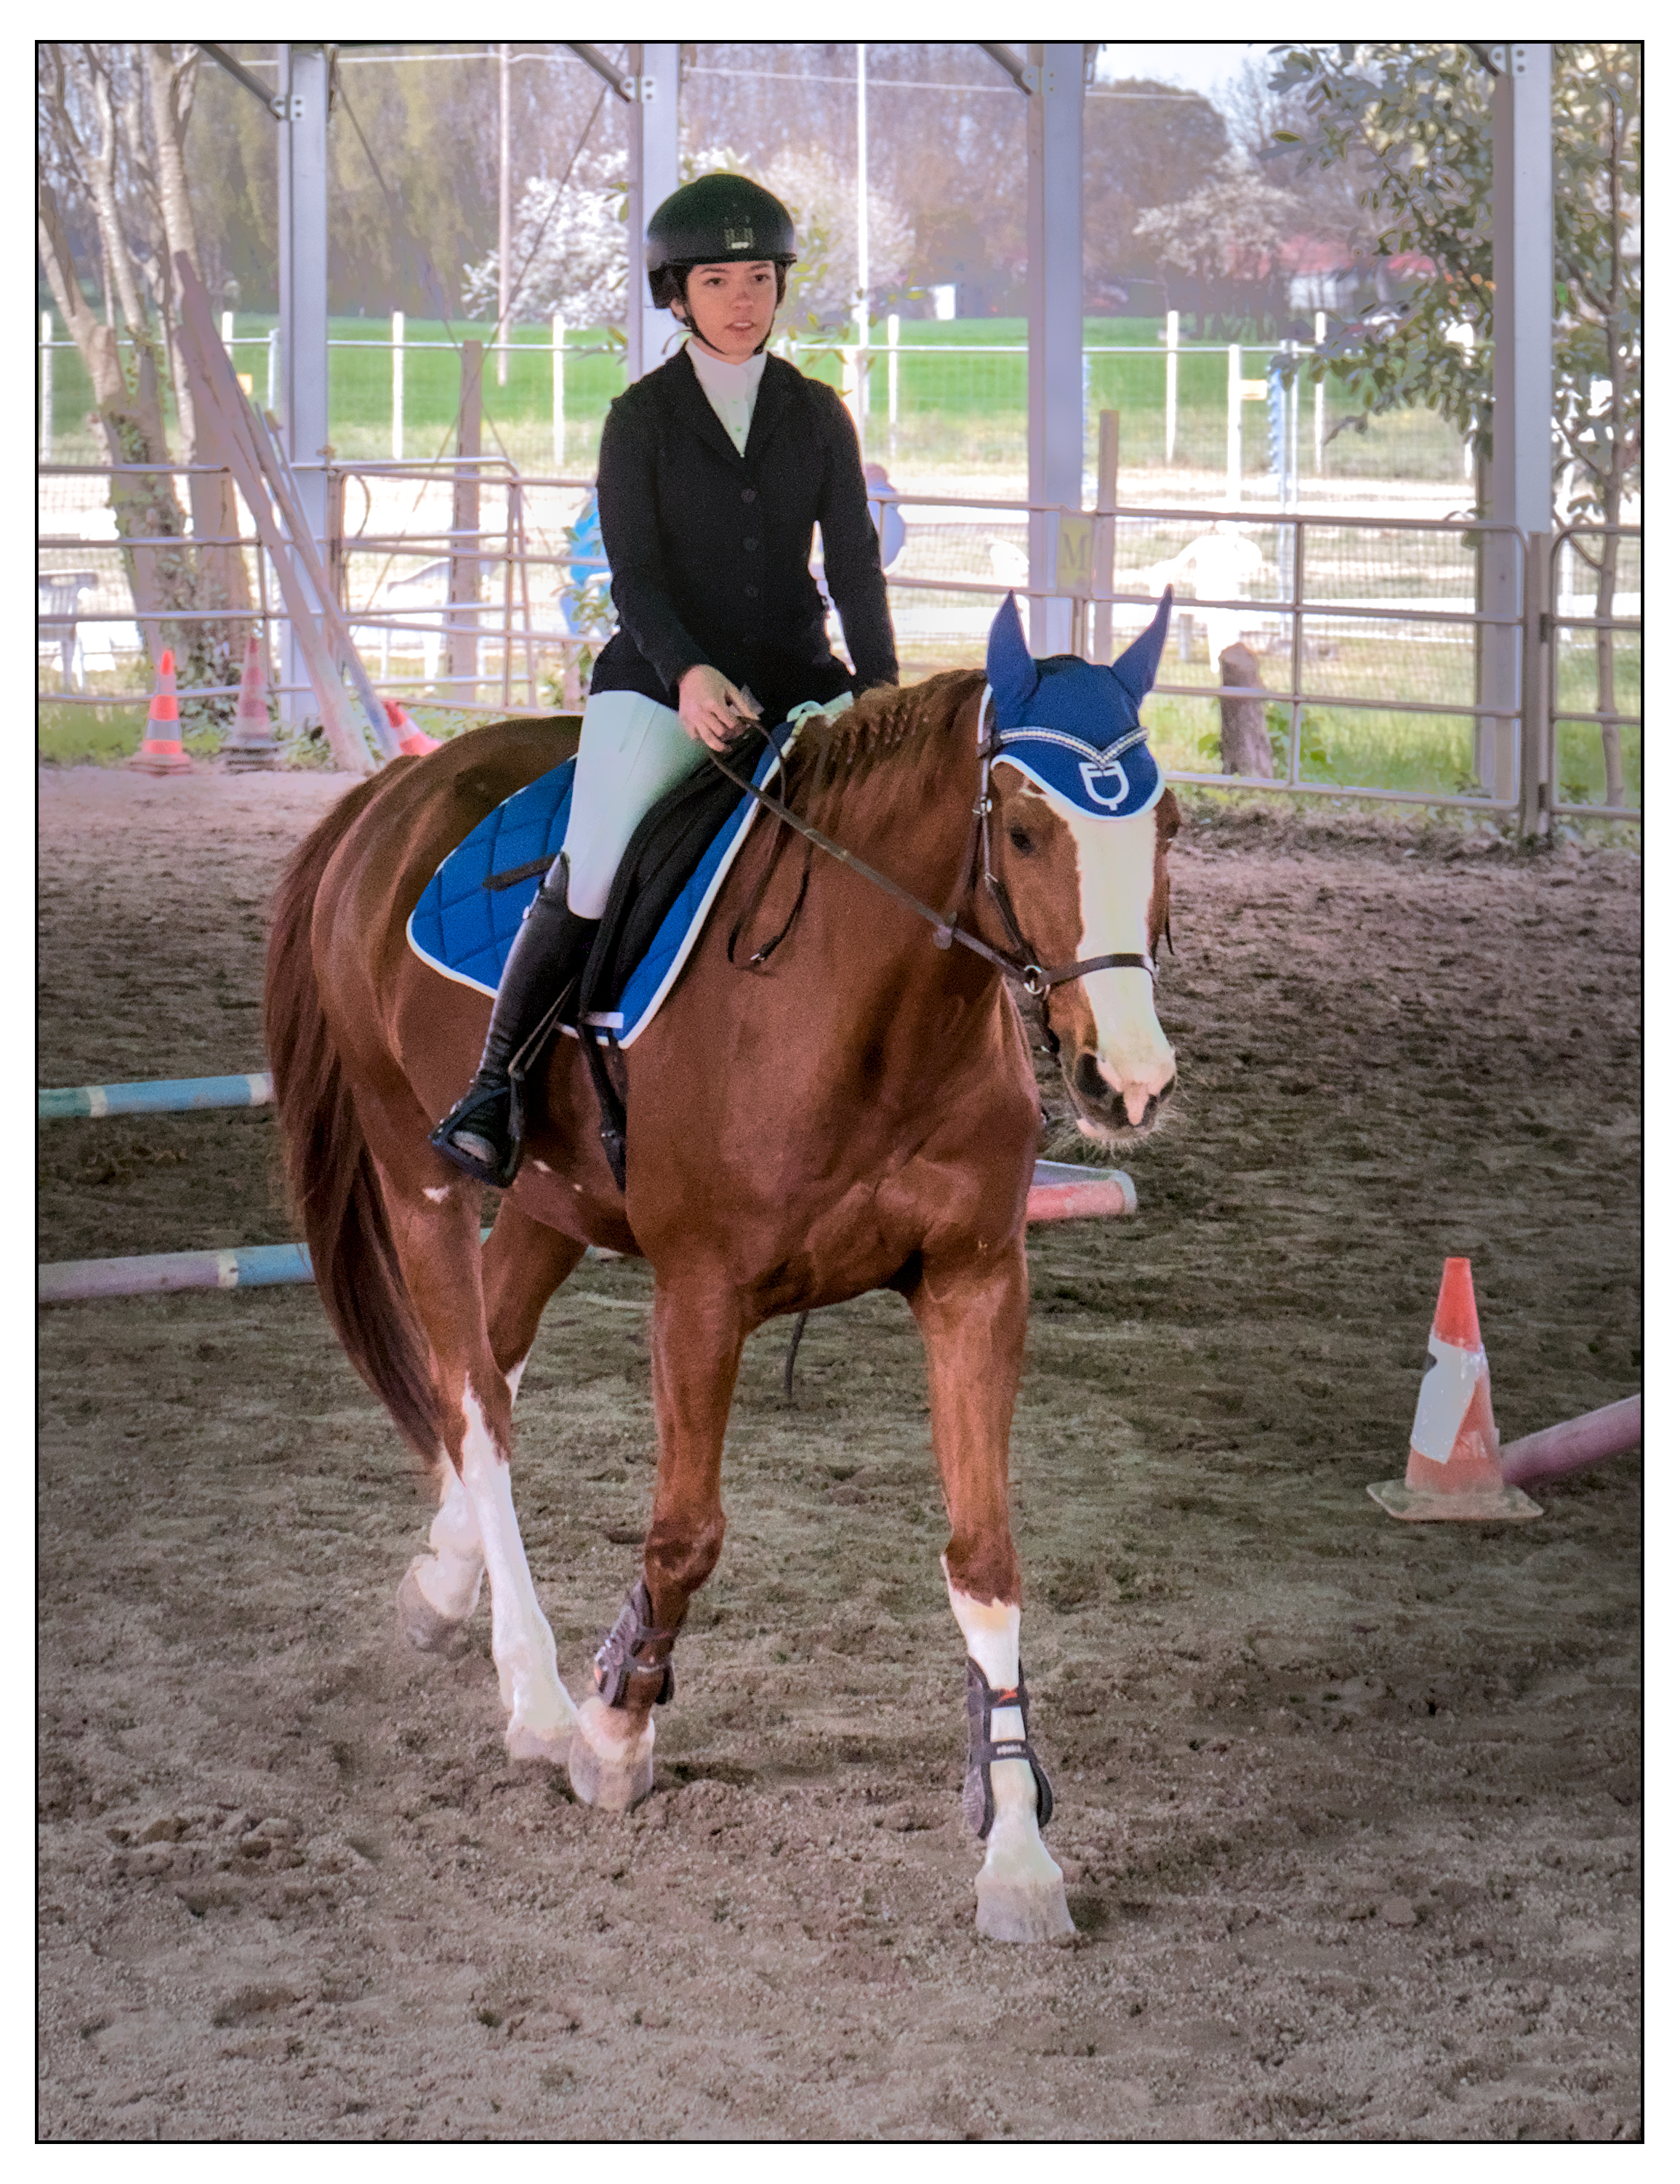
I decided to have another go and just focus on the subject rather than the distraction of the background. I prefer this cropped shot and it makes editing easier.
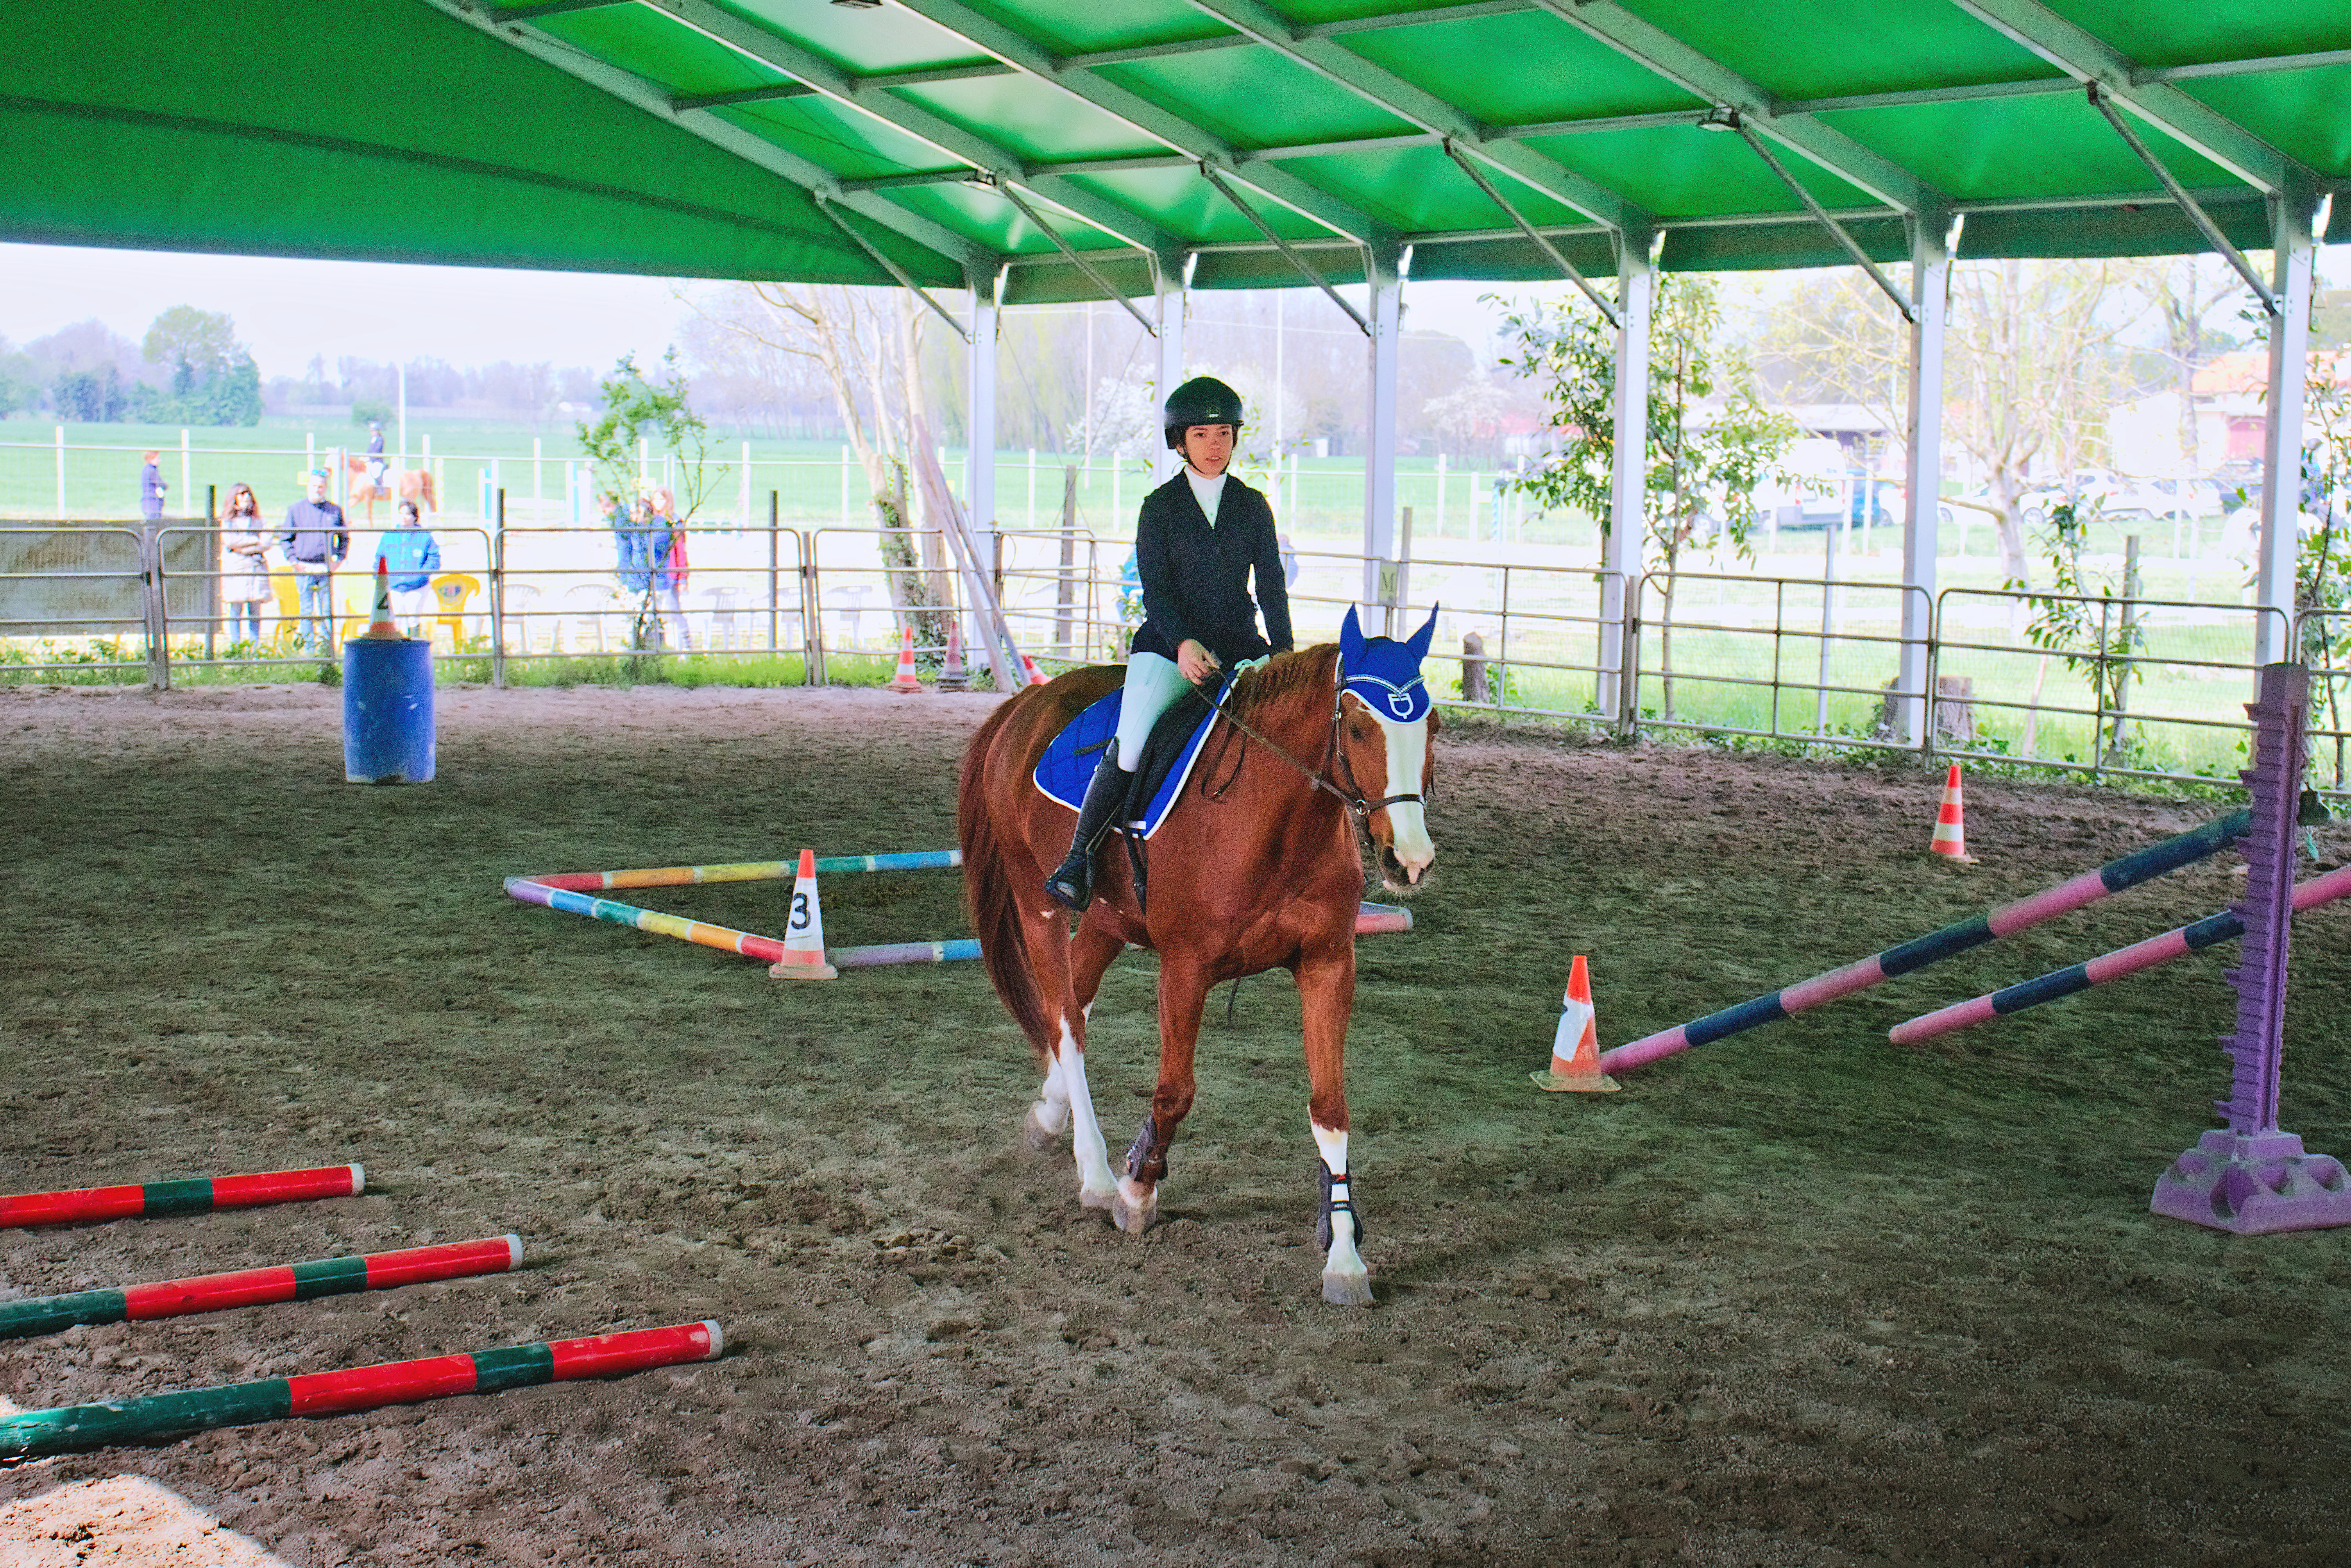
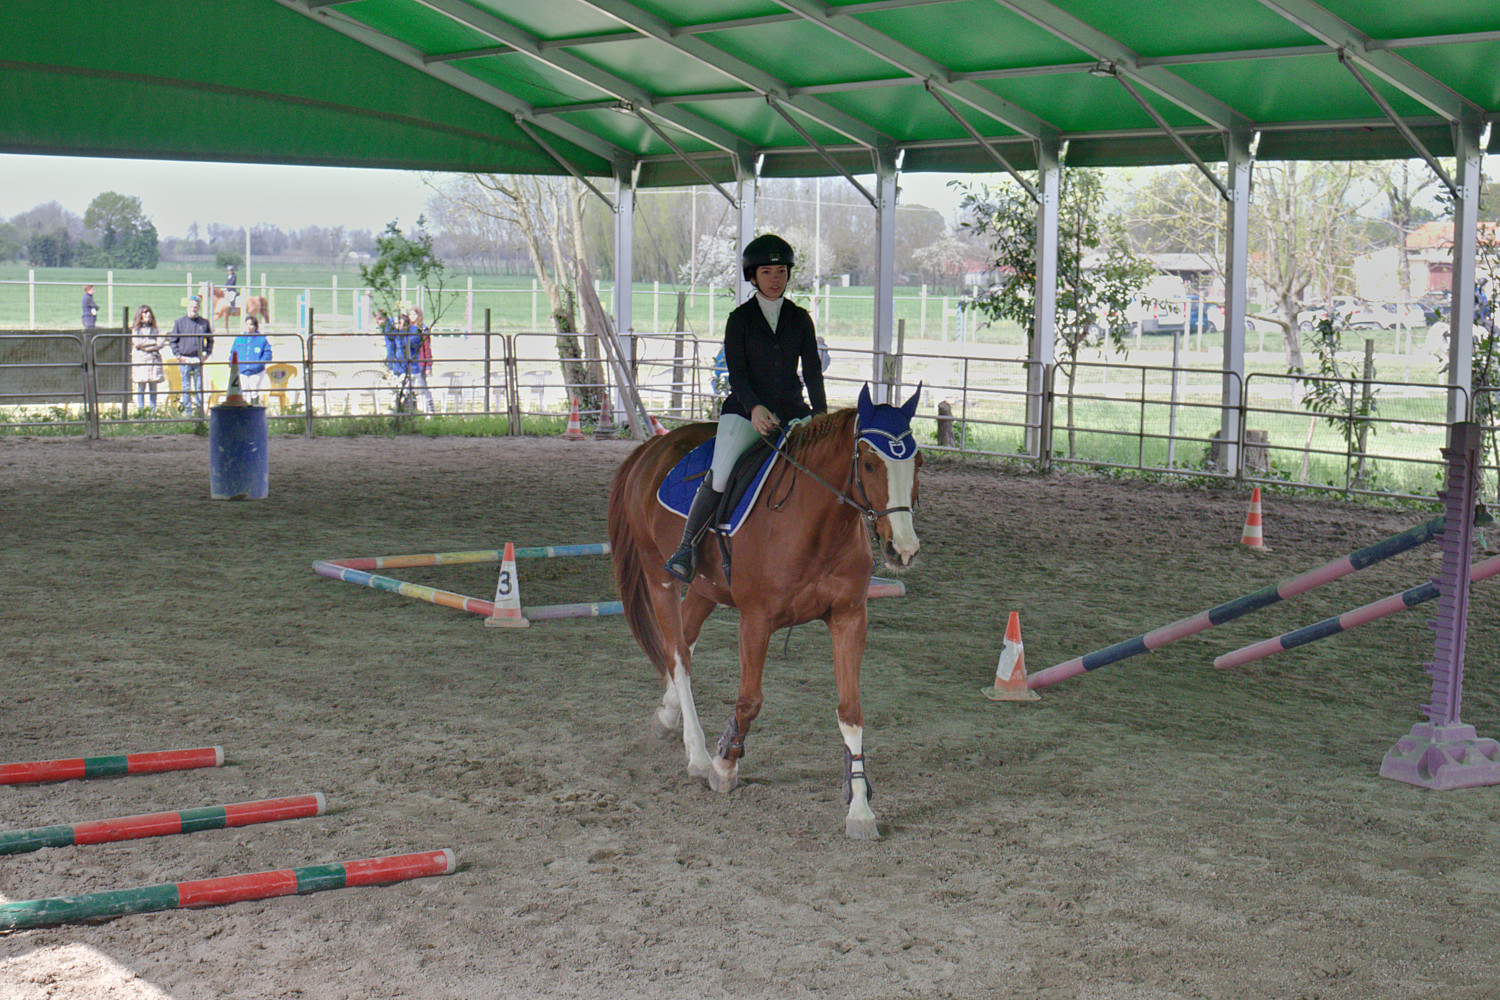
An interesting challenge. To try to “tame” the contrast, I produced five tiffs from Filmulator (-2EV to +2EV). I then produced various blends using Enfuse (this is very quick and easy to do from the command line and it was a useful experiment for my benefit).
This is the blend from all five.
I agree that making the background believable while also brightening the foreground is very hard, as the brightest parts of the shaded foreground are similar in brightness to some darker parts of the brightly lit background. I’ve tried anyway, and failed to produce an image worth sharing here.
I think the best solutions were those that cropped the image: we are probably not really concerned with the surroundings and the people in the background (even if they are friends or family members). A tighter crop eliminates much of the problematic background, and brings the focus to the subject.