Thanks for the reply. Can you expand on what photos are required for Distortion correction? Are two photos, one at 18 and one at 135 mm sufficient (at a single aperture)? Or should I take a photo at a few more zoom levels?
Here is my lenses.conf, as you can see I took a picture for distortion for every focal length.
[FE 16-35mm F2.8 GM]
maker = Sony
mount = Sony E
cropfactor = 1.0
aspect_ratio = 3:2
type = normal
distortion(16.0mm) = 0.021, -0.052, -0.003
distortion(17.0mm) = 0.016, -0.033, -0.014
distortion(18.0mm) = 0.02, -0.05, 0.009
distortion(19.0mm) = 0.023, -0.058, 0.024
distortion(20.0mm) = 0.016, -0.036, 0.004
distortion(21.0mm) = 0.027, -0.08, 0.065
distortion(22.0mm) = 0.02, -0.057, 0.046
distortion(23.0mm) = 0.018, -0.049, 0.043
distortion(24.0mm) = 0.015, -0.036, 0.027
distortion(25.0mm) = 0.019, -0.05, 0.045
distortion(26.0mm) = 0.017, -0.0440, 0.038
distortion(27.0mm) = 0.011, -0.027, 0.029
distortion(28.0mm) = 0.01, -0.021, 0.019
distortion(29.0mm) = 0.008, -0.012, 0.008
distortion(30.0mm) = 0.013, -0.027, 0.023
distortion(31.0mm) = 0.001, 0.005, 0.002
distortion(32.0mm) = 0.006, -0.013, 0.026
distortion(33.0mm) = 0.003, 0.0, 0.01
distortion(34.0mm) = -0.003, 0.024, 0.023
distortion(35.0mm) = 0.002, 0.01, -0.009
The EF 11-24 f4 has a fixed lens hood, also tulip-shaped. That will not work with a simply lifted frosted glass.
I found a nice hemispherical white translucent plastic lampshade in a thrift store for $1 that I use for vignetting-correction shots on ultra-wide and fisheye lenses. It has a hole in the centre, but that is easily corrected in Your Favourite Photo Editor™ to keep from getting some bizarre correction result.
Home Depot has 150mm white translucent plastic globes for attaching to light fixtures via a lip and three screws in the fixture. They are about $8, as I recall. They are similar to this glass one, but the plastic one I saw at a store is not in their online selection. They could be easily cut in half to give you a hemispherical diffuser for ultra-wide and fisheye lenses.
For these lenses (curved front lens or fixed lens hood) you need to shoot a panorama with 3 shots and 1/3rd overlapping. Then you can calculate the distortion with hugin, however I haven’t done that yet so I don’t know the exact steps.
@asn Thank you for the very nice article.
I have posted a pair of pull request on the lensfun github page (honor 6a and Fuji 15-45), waiting for them to be added to the official repository, i have also a profile for dji mavic 2 pro, huawei p20 and nikon 18-140 vignetting but i need to test them better.
Btw, the python script often crashes or exits. Next time i’ll try to post here the errors.
Yes, please report issues, so I can fix them.
1 Like
exiv2 -g LensModel -pt
First problem is that command. I have tried with a Canon Powershot G12 and Fuji X-T20 samples, and it outputs nothing. You can find files on raw.pixels.us
exiv2 -g LensModel -pt
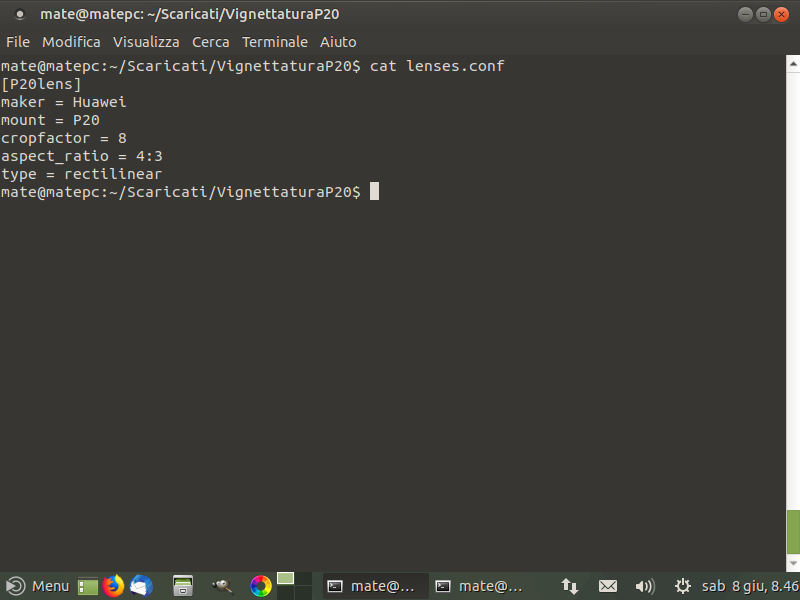
I post a screenshot with the lenses.conf entry, and the vignetting output. I don’t want to perform distortion and ca since it’s autocorrected.
if you need the dng let me know.
I’m running ubuntu mate 18.04
Thank you in advance.
Do you have gnuplot installed?
1 Like
Unfortunatly no… could you please add gnuplot dependency to the tutorial?
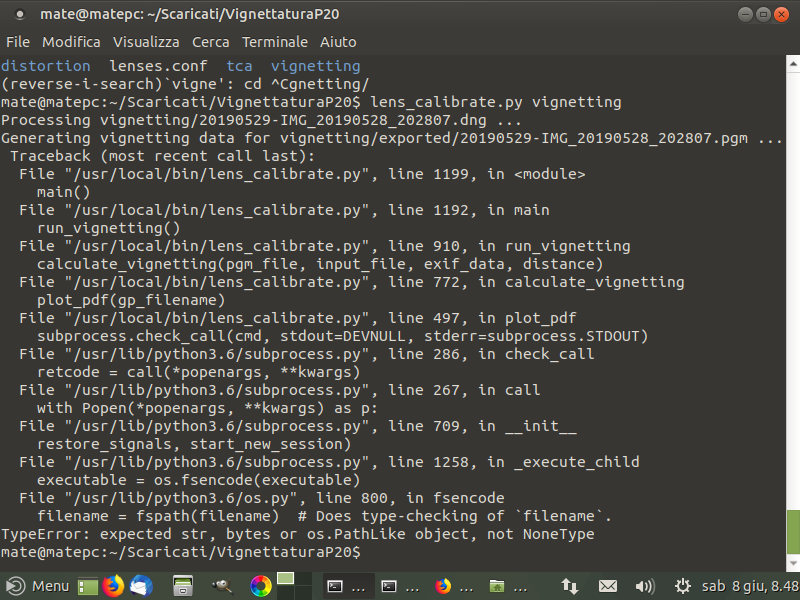
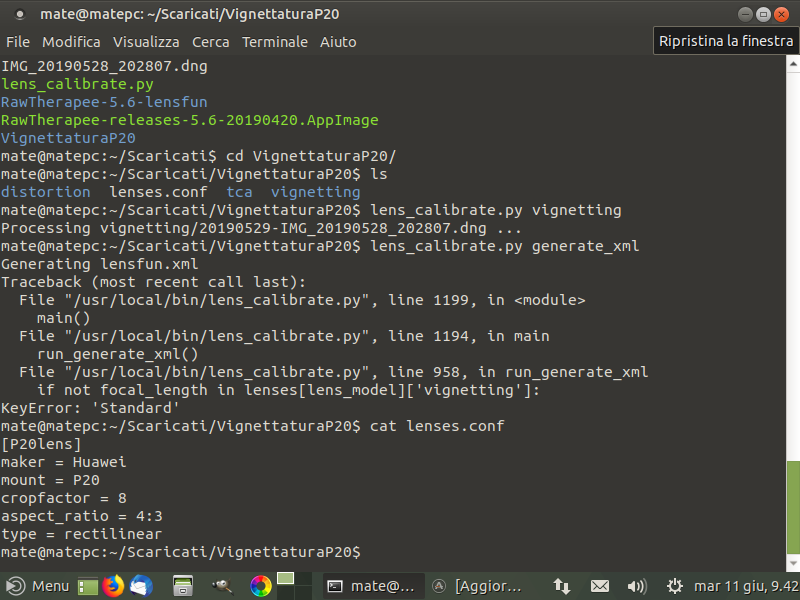
Without vignetting works, but when i launch generate_xml i get this… sorry!
Can you zip the directory and send it to me?
1 Like
Sorry for the delay but the whole thing is in a vm on a desktop pc.
Here is a link to a wetransfer archive → https://we.tl/t-EK1ULnkjBb
Thank you in advance.
To simplify the process to determine distortion parameters you can use calibrate_lens_gui instead of doing the controlpoint stuff in HuginGui
There is a reason why calibrate_lens_gui is not described. It doesn’t produce good results because the line detection doesn’t work in most cases! I’ve never got a line from one side to the other with a ultra-wide lens for example. Doing it as described in this article always works and gives the best result!
3 Likes
Trying to run this script on ubunutu 19.04 disco I stumbled upon some issues like missing dependencies. Maybe I am doing something wrong or this could be added to the readme:
Additional requirements on my side:
- apt-install libboost-python-dev
- pip3 install wheel
- pip3 install pypdf2 instead of py2pdf
The last step was to call the venv installed packages, not the global ones by
- ./.venv/bin/python3 ./lens_calibrate.py init
Also be sure to not have darktable runnig because the script calls darktable-cli and it will just break with an python stacktrace because the darktable database is locked.
I am considering submitting lens data on Google Pixel 4 smartphone. There are 2 lenses built-in, “regular” wide angle 28mm, and “telephoto” lens 43mm, zoom range from 1-8x on the google camera app. Since there is no manual function (just auto program), do I need to get another app to manually control exact zoom, iso and fstop?
What zoom steps have to be photographed?
Is that optical zoom? If its digital zoom, I think you just need the one photo.
2x zoom is optical in a sense it uses the “telephoto” lens, beyond that is digital cropping.
I’m going to work on vignetting correction for two of my supertele lenses.
You recommend to put the diffusor right on the lens but I am wondering about possible influence of the lens hood.
Any experience about that?
If your lens hood is causing any kind of vignette, throw it away and get a new one.
If your lens hood is not causing any kind of vignette, that doesn’t mean you should not use it when you are taking calibration shots with a diffusor. If you don’t use it, the diffusor will get light at angles the lens without diffusor but with lens hood would not get.
1 Like