Thanks @Moo-Crumpus I’ve got your files! Kind regards, Jetze
We’ve updated all the pages and translated them into English.
Would you mind checking if the translation is usable?
https://darktable.info/en/alles-fuer-darktable-anleitungen-themes-shortcuts-english/
Thanks for the files. I’m not very familiar with this topic myself. Do you perhaps have some XMP sidecar files? Then I could take a closer look.
If you’d like to contribute some text as well, that’s always welcome.
If changes need to be made, how should I let you know what they are?
It’s entirely up to you. You can reply here in the post or, if you prefer, via private message.
Thanks for taking a look!
Hi @Qor,
Thanks a lot for your work, trying to smooth complexity for newcomers is an admirable and very needed endeavor 
A couple of comments based on first impressions.
- In the homepage, the language of the English version sounds a bit too assertive. E.g.: “We clearly show you which modules you should use – and above all, which (outdated) tools you must avoid today”. I would rephrase along the following lines,: "We show you how you can develop your photos with a modern workflow that requires only a handful of modules. Also “No legacy baggage” sounds a bit strong. I think it gives the wrong impression that DT comes with a lot of abandonware, which is not the case.
- In the Standard worfklow example you do crop at the end. I would suggest doing that as early as possible, if nothing else because comparing differently cropped snapshots is not fun
- I would also mention “Lens correction” and “Denoise profiled”. They both require literally one click and it is something that one needs to do virtually every time.
Hope it helps, thanks a lot!
3 Likes
edits in the screenshot; explanations in numbered list below the screenshot
- logo changed to lowercase ‘d’ - darktable, not Darktable
- menu item - MODULE „EXTRA“ to EXTRA MODULES
- changed language away from trying to “sell” darktable and comparing it to lightroom
- reworded and removed the negative connotation with the word “baggage”
- reworded
- reworded; removed the “baggage” statement; changed the language “must avoid”
- replaced two sentences with one via removal of full stop and capitalised letter
2 Likes
Thank you so much for your help, it turned out very well, I’m happy to incorporate your suggestions!
1 Like
I love the look of the site and the content. I poked around the English version and the bits I saw looked fine to me…it was a speed read to be sure…
When you first posted I had auto translate on and it seemed to work fine, just obviously the screen shots were a bit of a mix back at the start…It looks great and as an English speaker when someone takes the time and effort to make their content and ideas available to us they should be heaped in praise…so a big well done and thank you from me…
I like the standard workflow on the home page in the German version…its a nice simple summary…
3 Likes
Thank you so much for reading, and I’m glad you like the style of the site. That’s important feedback.
You just reminded me that I have a new diagram for the standard workflow in English.
Just added it.
This site is no longer just “me” but also “we.” There are a few “silent helpers” in the background, like @Jetze and @Pieter_Zanen , but also everyone else here who takes the time to read and share their opinions.
https://darktable.info/en/darktable-quick-start/standard-workflow-2/
2 Likes
Thank you for the honest feedback! I really appreciate the perspective.
Regarding your points, I actually made some conscious decisions here specifically for absolute beginners:
- The “Assertive” Tone: Darktable is overwhelming. My experience is that beginners don’t need “options” initially; they need a clear, safe path. By labeling old modules as “avoid,” I’m trying to reduce the cognitive load and prevent them from getting lost in the 60+ modules. It’s a form of ‘didactic reduction’ to ensure they stick to the scene-referred workflow.
- Lens Correction & Denoise: You are technically right – these should be standard. However, for a first-time user, they can be show blockers. If their specific lens or camera isn’t in the database yet, the module fails or does nothing. I wanted a workflow that works 100% of the time for everyone, regardless of their gear database status. I treat these as ‘Level 2’ steps once the basics work.
- Cropping: Technically, doing it early is better for the histogram. But for a quick ‘first success,’ doing it at the end is less intrusive to the flow.
I will think about softening the language slightly without losing the clear guidance, and maybe adding a ‘Note’ about Lens Correction being the logical first step if supported.
Thanks again for helping me refine this!"
2 Likes
If I can I will read all the English site over the next few weeks/holidays and if I see anything I will comment back…expanded thanks to the silent partners…  I do like that diagram its a nice visual…
3 Likes
Very nice, all this positive interaction!
Kind regards, Jetze
2 Likes
So far, I haven’t found a truly useful workflow in Darktable. Ideally, I would like to be able to achieve the same results as I could in a photo lab, such as adjusting the contrast, exposure and noise reduction, sharpening, stamping, converging lines, dodging and burning. There are various modules for each of these processes, and some produce worse results than others. This is probably due to a combination of outdated modules and poor sequencing.
In this respect, is it useful to include an XMP?
2 Likes
Hi, on the AgX page (but this is an issue for all tone mappers, though filmic is probably affected more), the highlight have not been corrected, that is why the Sun is magenta. It’s not the task of the tone mapper to fix that. Of course, tone mappers that desaturate highlights hide the issue, but ideally it’s handled before the tone mapper.
Also:
The main problem with previous tone mappers (like Filmic) is the so-called “Notorious 6” problem: When colors become very bright (e.g., a glowing red LED or a sunset), they tend to look unnatural or drift into pure white/yellow/cyan (“skewing” of color channels).
For the following images: Rec 709 primaries in Rec 709 working space
No, filmic doesn’t do that, it does not have the N6 problem, as it’s not a per-channel curve – it just has no ‘path to white’ for saturated colours. The N6 means that all bright colours go either to one of the primaries, or to one of the secondaries:
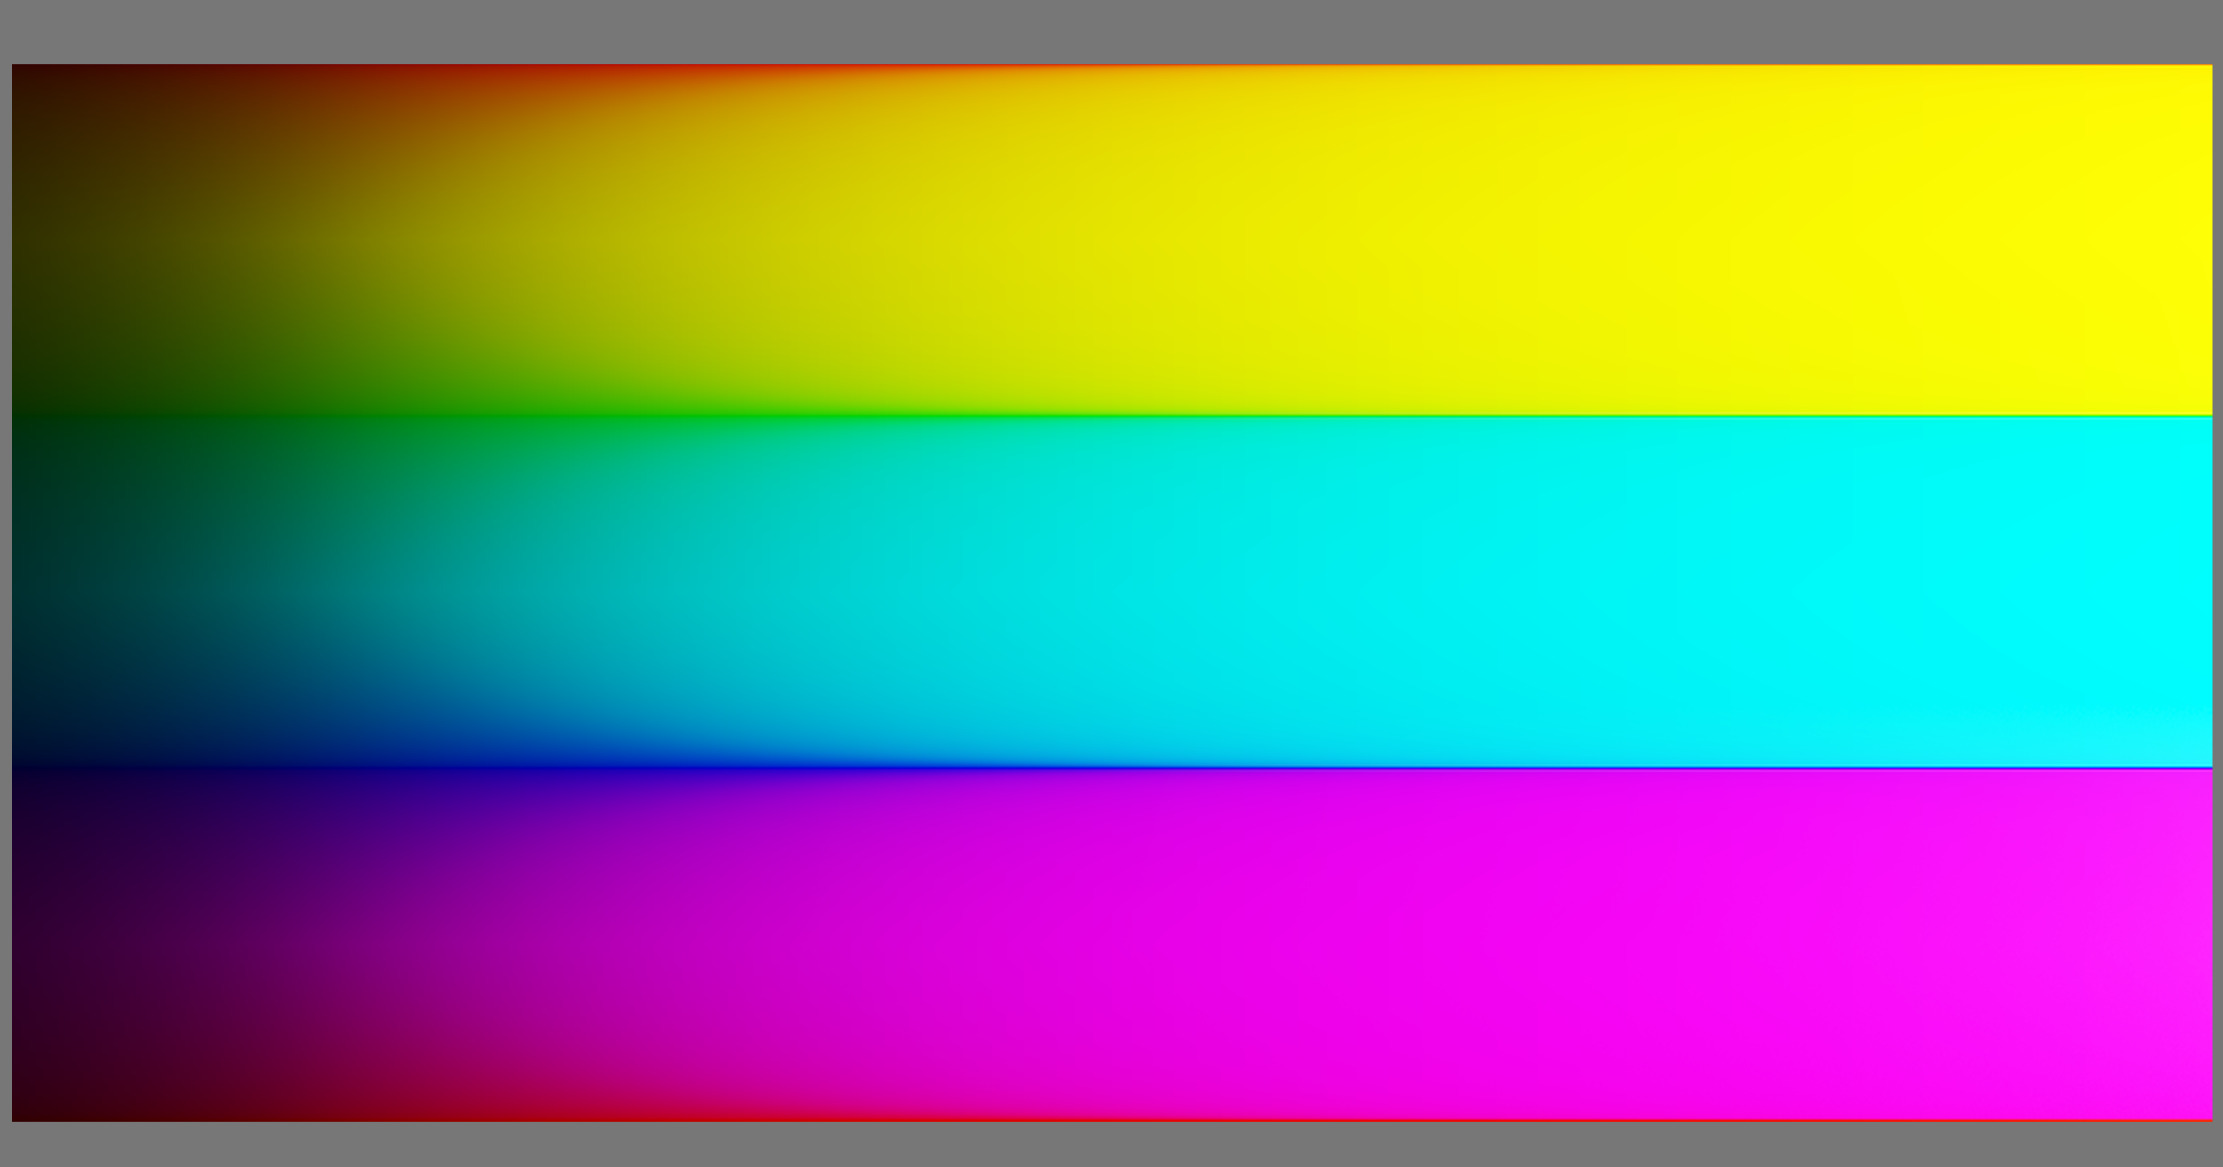
darktable’s filmic is inspired by, but not the same as Blender’s filmic. Unlike me, Aurélien did not just port an algorithm; he created his own – way more work, requires far greater skills.
filmic (v7):
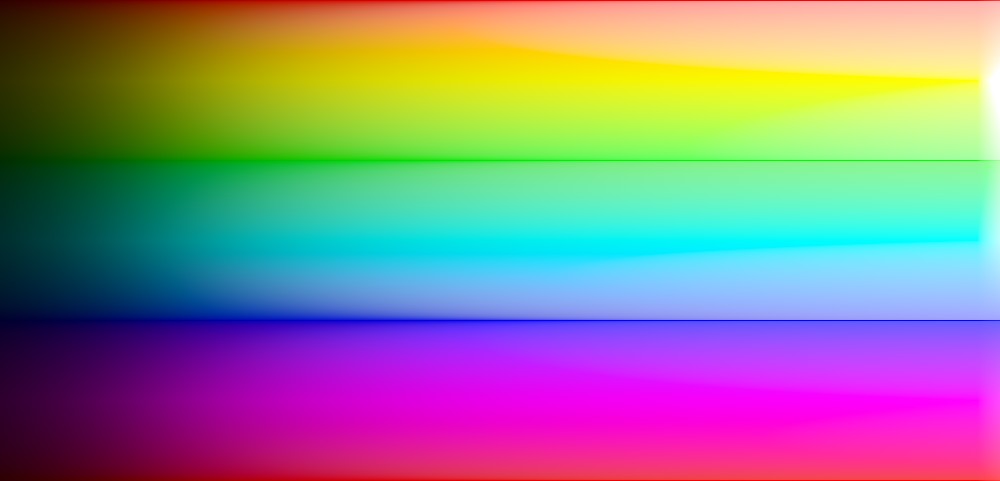
With v7 highlights saturation mix = -50%:
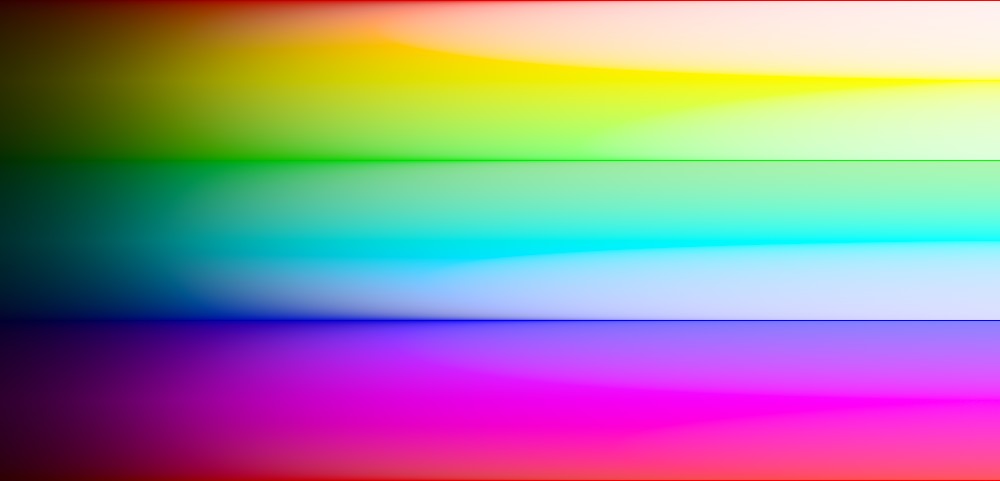
In fact, with the luminance Y norm, it even goes to white (v6):

It’s just not as smooth as it could be, and AgX mimics certain hue shifts, inherent to human perception:

With more saturated colours (Rec 2020 primaries in Rec 2020 space):
filmic luminance Y:
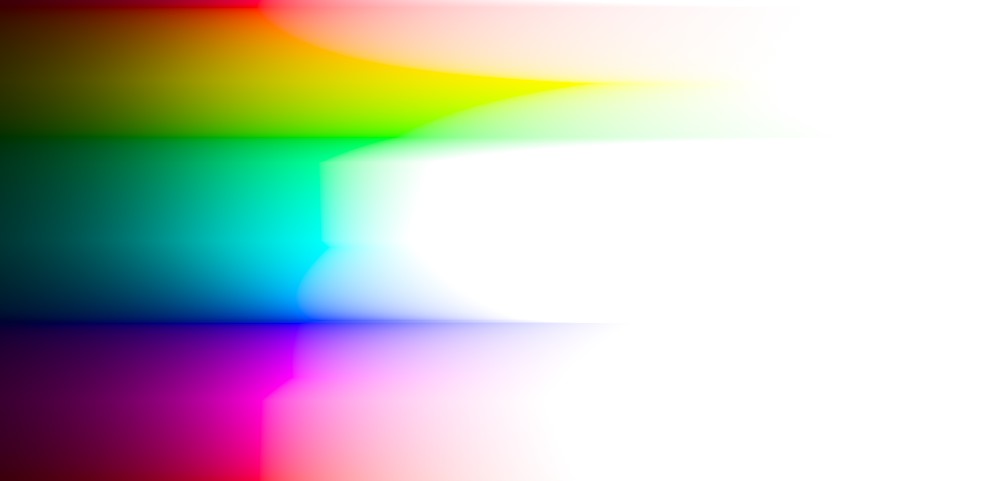
AgX here fails to take into account the output sRGB space:

Switched to sRGB primaries:
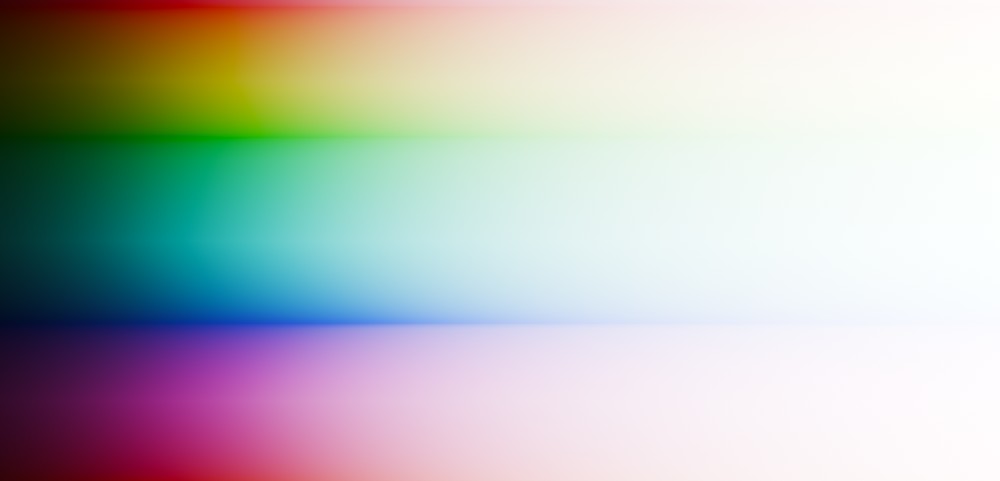
2 Likes
I think shoulder/toe power would be worth mentioning before going into advanced params.
Gamma is not the screen gamma, it’s an internal parameter.
2 Likes
Please fix the statement about the Notorious 6. The site is tailored for newcomers, who will not realise that the information is wrong.
Also, reducing the effect of a tone mapper through masking??? That sounds like dangerous advice, defeating the purpose (ensuring that the image is mapped inside the display’s luminance range). If you mix e.g. 4 EV above mid-grey with about 0.8…-1 (where it may be mapped by the tone mapper) with a 50% opacity, you’ll end up with 50% * 0.8 + 50% * 0.18*2^4 = 1.84, well above display output. If your input is safely within those bounds, to start with, you don’t really need a tone mapper for that image.
2 Likes
I haven’t forgotten your posts and I’m grateful for all your advice and reminders. I’m a bit behind at the moment, but I hope that will improve soon. Best regards.
2 Likes
We’ve simplified the page to make it easier to understand, especially for beginners.
However, we’ll be creating a separate page to explain the rocket science behind AgX. It’s simply a very exciting topic.
1 Like
Thanks.
It often offers a choice between “Base” (standard) and “Punchy” (more contrast).
Blender-like: Der klassische Look, bekannt aus der 3D-Software Blender. > Er bietet oft die Wahl zwischen „Base“ (Standard) und „Punchy“ (mehr Kontrast).
Why ‘often’ / ‘oft’? Or the German ‘oft’ does not really mean ‘often’ here, and it’s just a mistranslation? My German is not good enough to judge that.
The German version does not mention ‘scene-referred default’, the English does (it’s only available if AgX is set at the default tone mapper; it uses the Blender primaries, with somewhat stronger contrasts, incl. toe and shoulder power), so The standard starting point for a neutral workflow may not be exact. Maybe you could say it has contrast similar to sigmoid’s defaults?
Use the pickers for black and white points or the button “Read exposure” (camera icon). - maybe explain the difference (image analysis for the picker, general heuristics for the camera icon).
The Curve (Base Parameters) - I think toe/shoulder power are easy enough to understand it you say they control shadow/highlight contrast/transition.