Hi all, I tried to find a similar topic, but haven’t seen it discussed in the context of DT 5.0 and filmic v7.
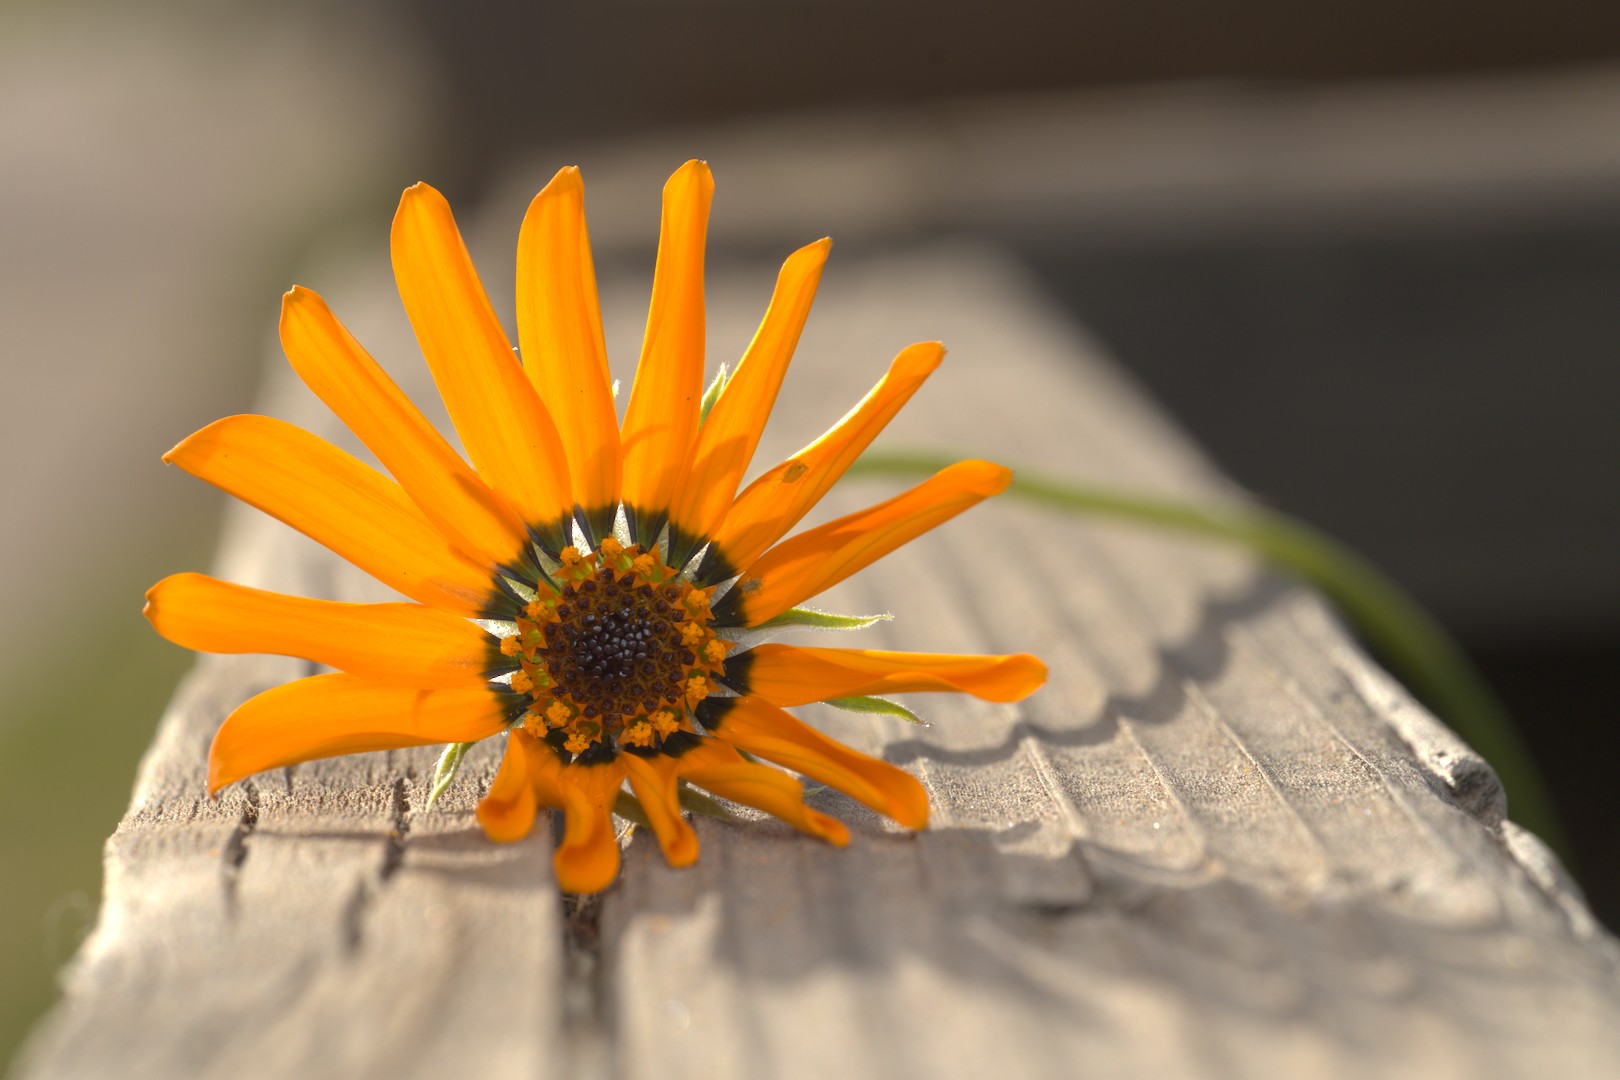
I took a photo of a yellow/orangish flower the other day, backlit by the sun, and illuminated in front by a flash. When I opened it in Darktable the color of the flower was shifted to a more orange/red color, and the highlights in the petals completely squashed. I understand that this has something to do with the colors being out of gamut (I can confirm this by clicking the gamut clipping indicator), but I’m not sure how to approach it to make the image look how I expect.
Here’s what it looks like when I turn off both filmic and sigmoid, using otherwise default settings. You can see a range of yellow and orange colors in the petals.
Here it is with filmic, using otherwise default settings. You can see the color shift to a more orange/red, and more uniformity in the color, but the variety in the highlights is still somewhat present.
Here it is with sigmoid instead of filmic, using otherwise default settings. The colors are more uniformly orange and the highlights compressed so much that there is little variety in the petals.
The raw data is slightly clipped in all four channels on the petal edges.
After conversion by LibRaw with no adjustments, the petals HSV Saturation is 100% meaning that all the petal blues are zero, leaving a bi-chromatic red/green image.
HSV Saturation extracted … white = 100% … black = 0% saturation.
Would this be more to your liking? Exported without tone mapping, as floating-point Rec 2020, then tone mapped using Blender’s AgX, and finally compressed to Rec 709 gamut using a toy I’m experimenting with:
Excellent, thank you so much! The sigmoid “smooth” preset is a good enough start but I’ll try to hunt for those other presets when I have time. I guess I didn’t realize sigmoid had presets but I usually stick to filmic.
I know this can be an issue with sunsets as well. Is this something that’s particularly an issue with bright yellows?
Filmic v7 did not cause the problem you cited, for me. The petals still had the same colors as without Filmic, and the details in the petals were still just as good. But it did make the center of the blossom too dark to see its details. I tried going back to ColorBalanceRGB and raising the shadows, but it wasn’t enough to help.
But not necessarily because it’s correct, but rather because it’s lucky: curves often produce the “Notorious 6”, taking anything but the RGB primaries to the complementary colours.
I went old school on this and used the base curve module instead of filmic or Sigmoid. I am unsure how it compares to the original flower, but it handled the colors very differently. Better? I don’t know, but different. 20250225_0032.CR3.xmp (7.5 KB)
So my base curve edit. How does it compare to your expectations?
BTW, sometimes I will use the cameras JPG to compare with the RAW edit and ensure I am doing a better job. Very occasionally I have had better color out of my Olympus TG6 JPG than I could achieve from the raw.
Oh your base curve edit looks similar to the JPEG preview. The JPEG preview has much brighter highlights in the petals that have more light from the sun, but that’s the biggest difference I see.
Speaking from outside the pale and about this particular case, I find talk of the kajillion different ways of processing a raw in dt thoroughly confusing which is why, at 85 yrs old, I’ll probably never give it a try!
The snapshot is linear, except for the display TRC; after I took it, I turned on the bog-standard Dukier-Hable filmic curve. That’s the only difference.
rawproc doesn’t have such, but I’d be interested in anyone with software with a hue-preserving tone curve’s results…