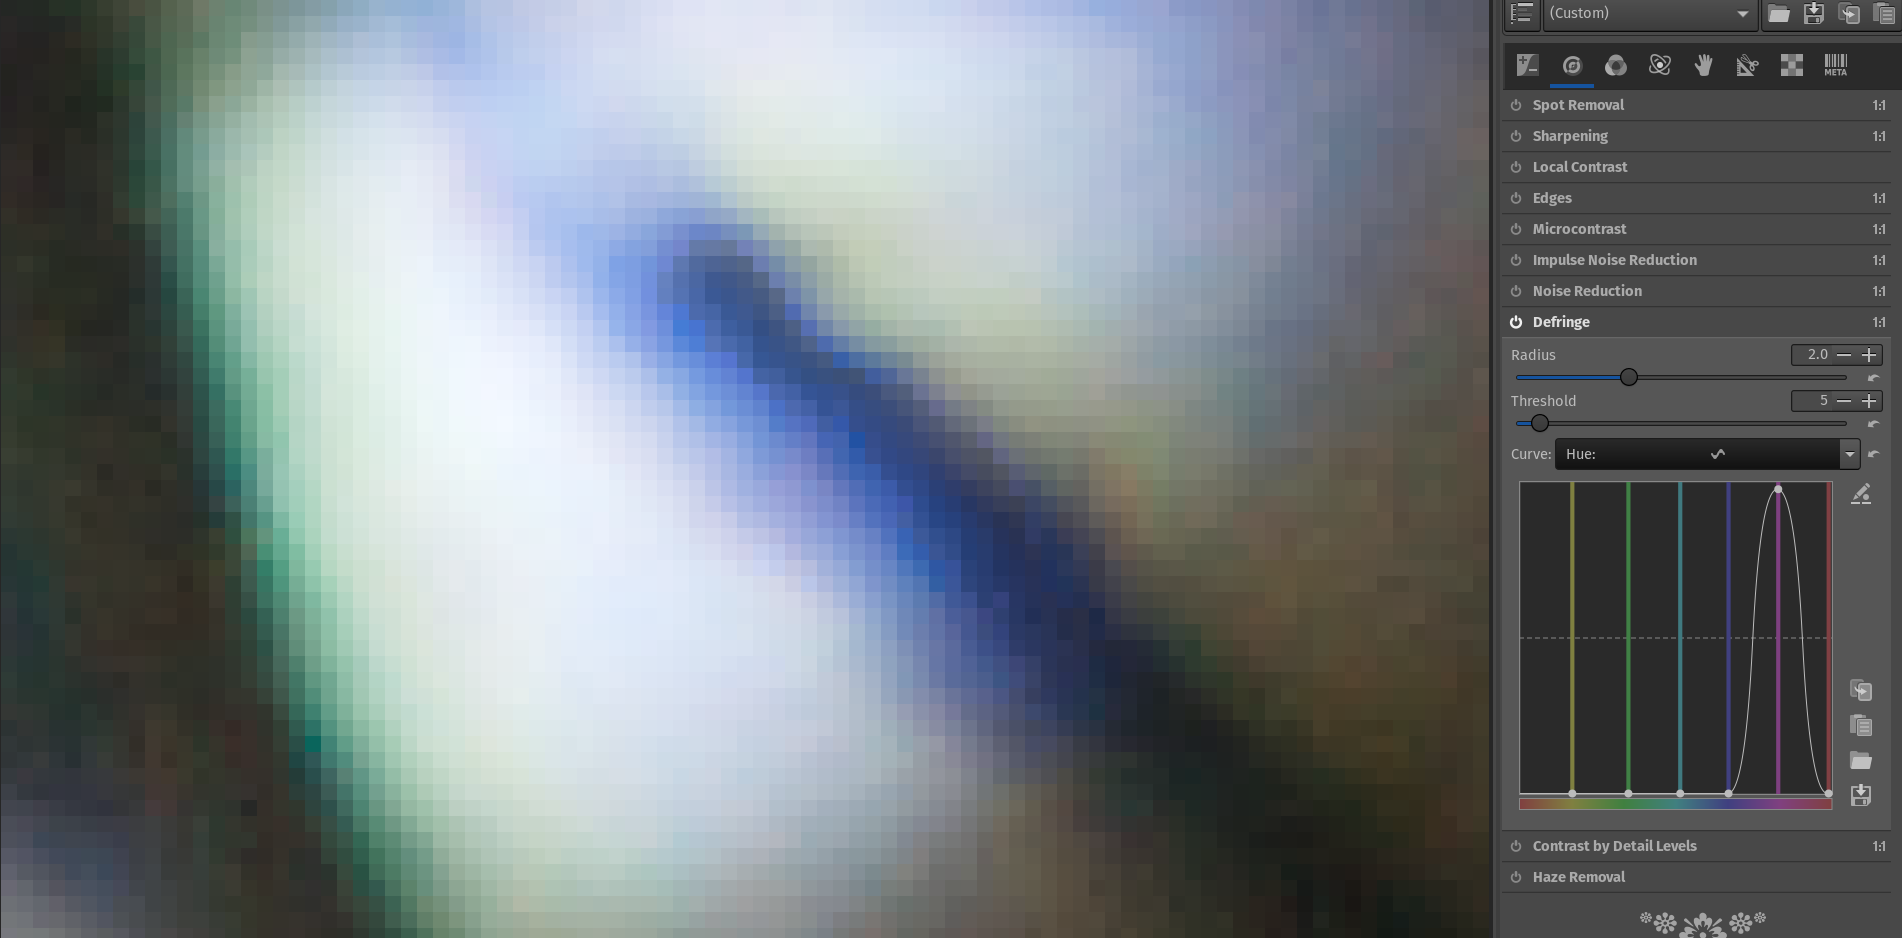
Hello! Whenever I apply the defringe effect, no matter the settings I use, the result in the defringed areas always seems rough i.e. you can clearly spot the pixels the effect was applied to, as shown in the comparison below (default settings were used, radius=2, threshold=13, default hue curve). Is this the way it is supposed to be, with no smoothing of some kind? If that’s the case, I would be very hesitant using the defringe effect, I’d rather have smooth purple fringes than roughly cut colours.
hmmm… i cannot reproduce this with your file. Before applying defringe, i suggest to remove CA first. You will find it under the RAW-tab and, if still necessary, also under lens correction.
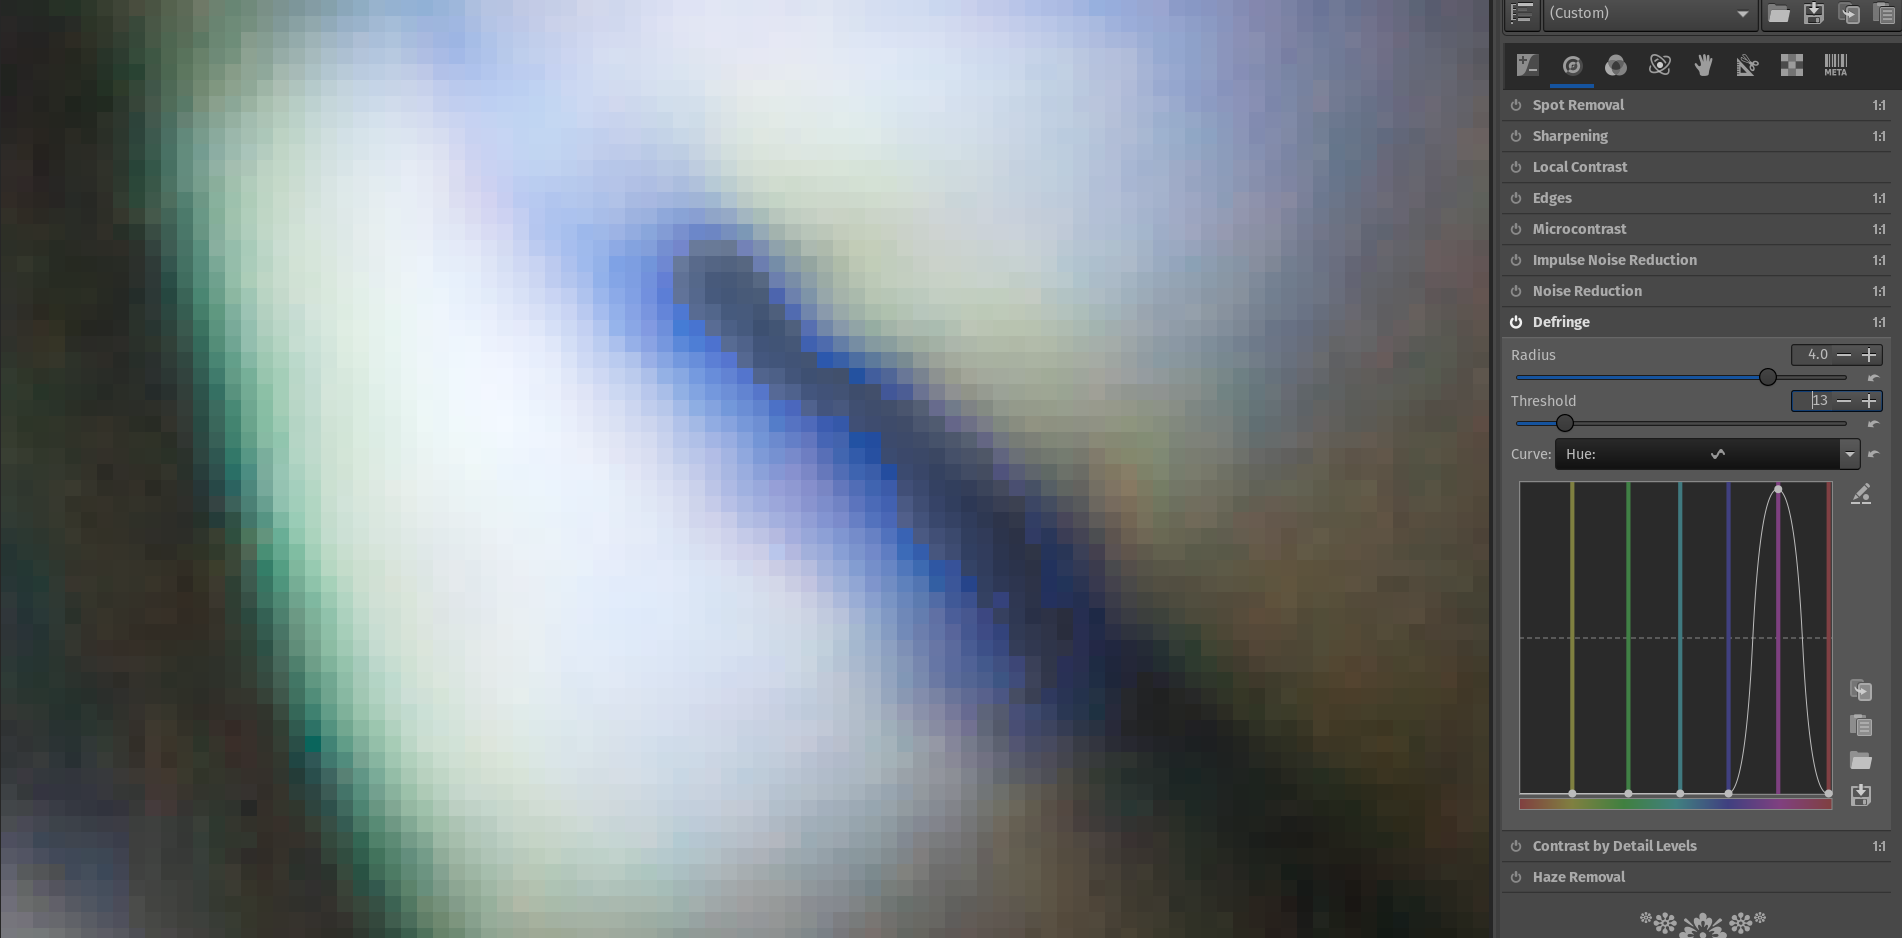
The intensity of fringes can be dramatically decreased by doing manual CA correction (from the RAW tab) it seems. But nevertheless, my point is that the defringe tool must be rough by design, as shown from a subtraction in GIMP, using the profile @marter provided. I guess I’ll have to create a feature request, what do you think?
And you must consider to begin with if some fringes at the very corner of your image is that important to you or not… (your screen capture is located at the lower right corner of the raw file, and you have it rotated 90º to the left, if I’m not wrong).
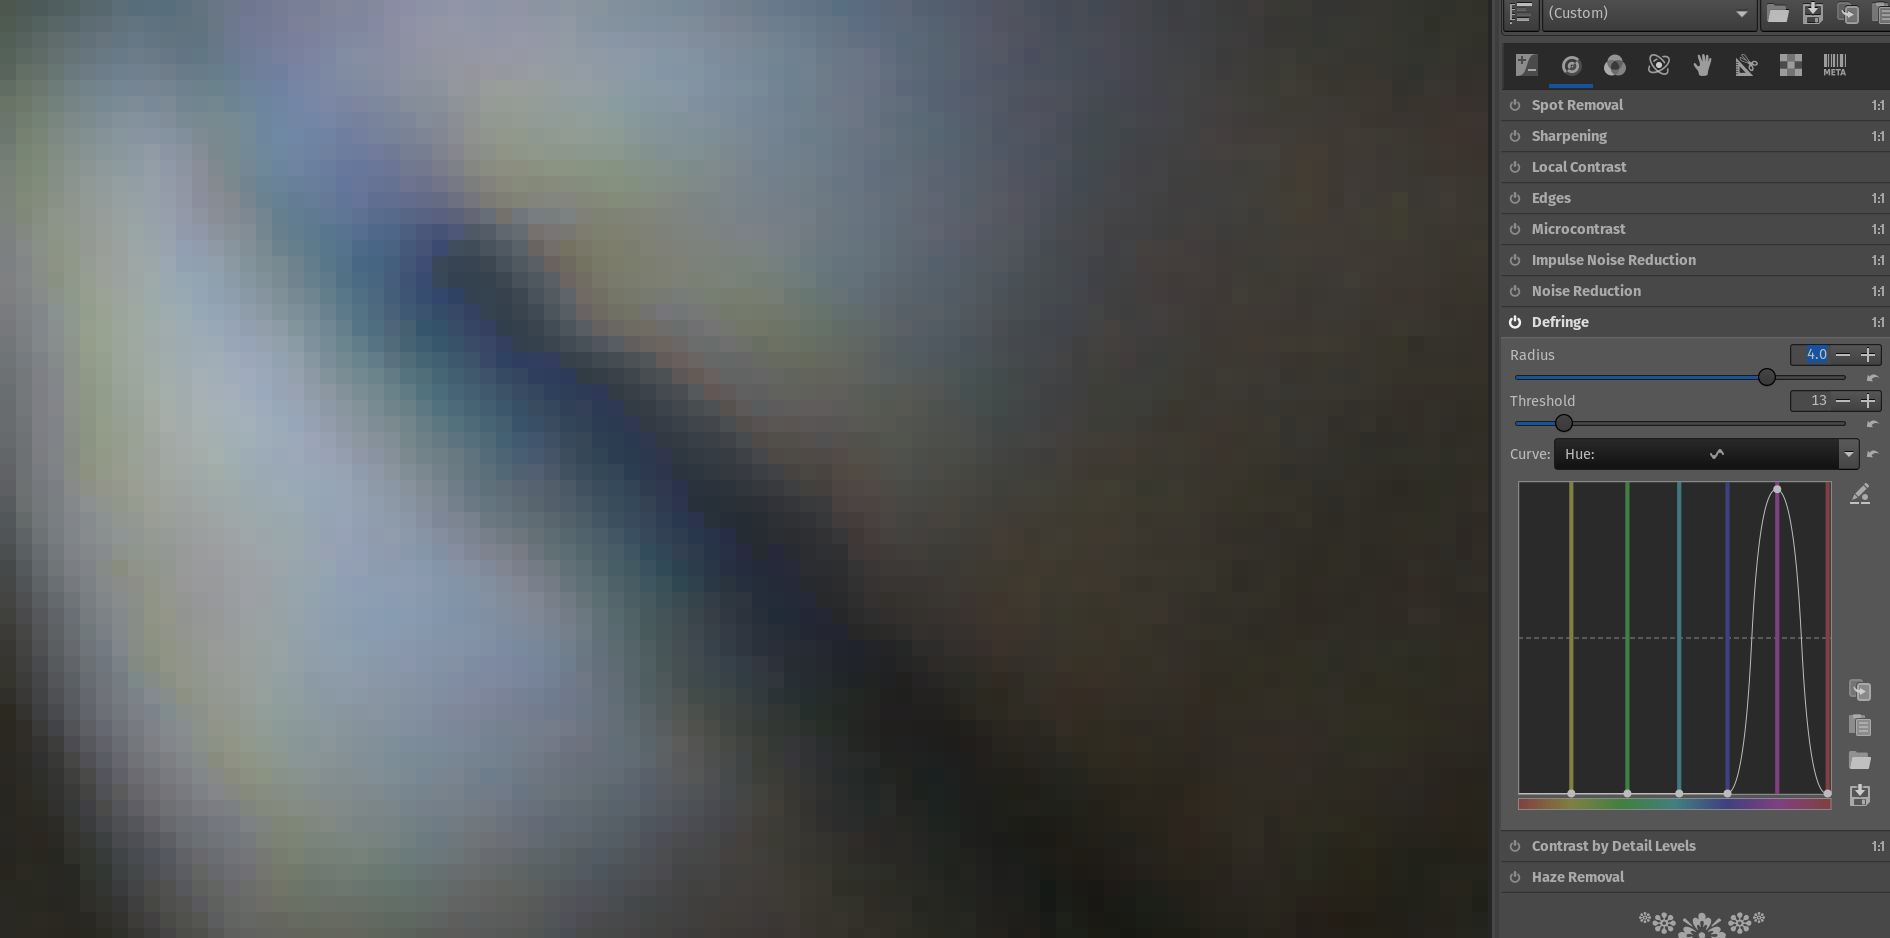
This is my quick take at it, just taking care about the fringes on that corner, without even looking the real interesting part of the image (usually the center) and checking if I’ve introduced other kind of artifacts…
If you need help with this tool, consider translating this Spanish explanation and remember that you have to thread with care with the settings if you don’t want odd artifacts here and there.
The Spanish page helped indeed. I guess the result you provided is the best that can be done using the defringe tool (I can still see some edges, but they are subtle). Thanks for the help!