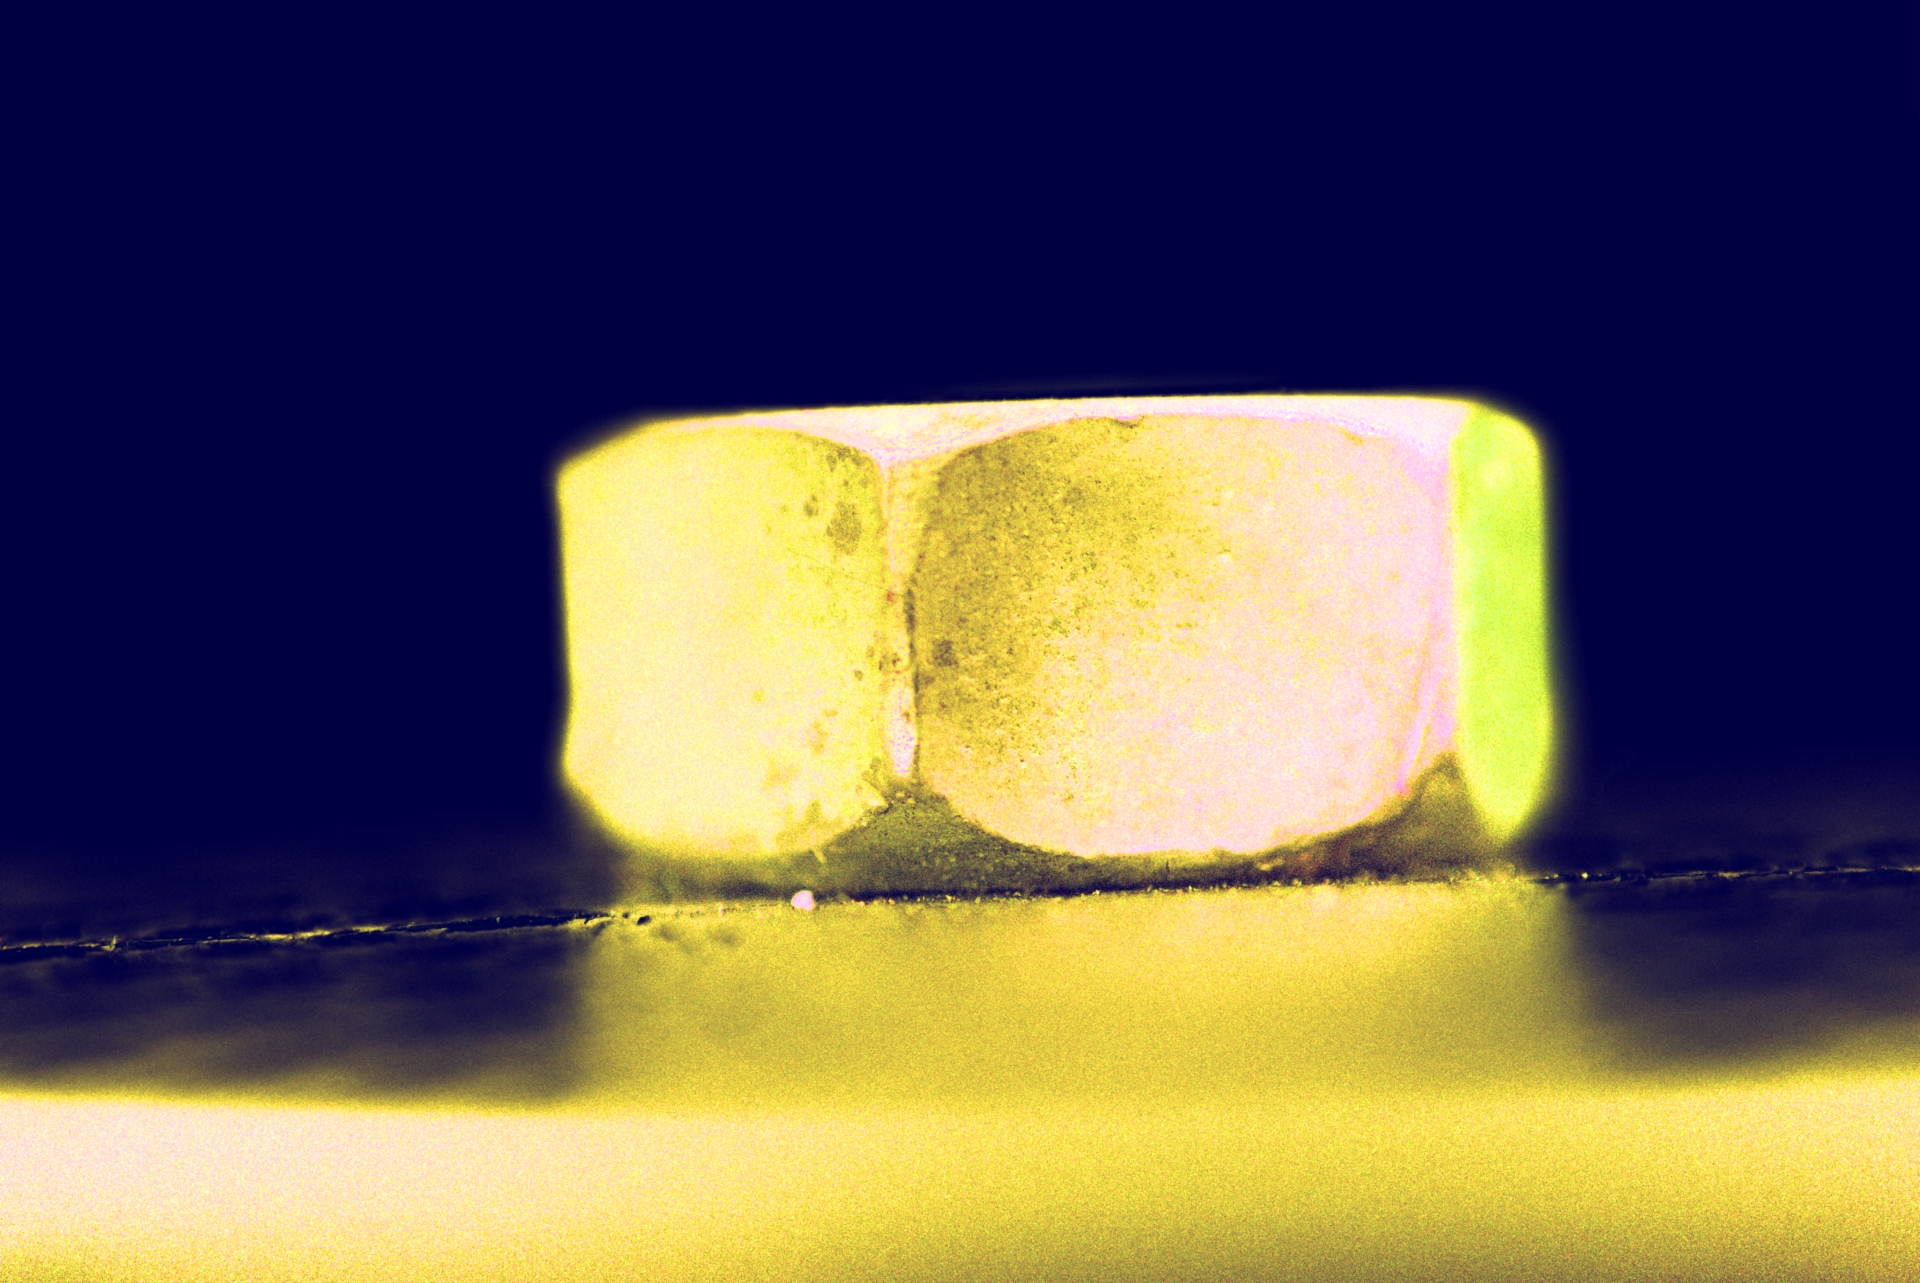
One nut to null them all. PhotoFlow (raw) and G’MIC (processing).
1 Like
attempt #3. A more complex channel mixer, placed before input profile (still using linear infrared BGR). Completely flattened contrast in filmic, and color balance to put some contrast back in.
The combination of channel mixer and input profile, in this order, with these settings, is amazing by the way, it might even become my default. I’ve tried it on a number of raws now and every single one looks better - more vibrant colours with correct hues. Including the hummingbird playraw from a few weeks back. I’ll post examples if anyone wants - or just try it out for yourself!

DSC08363.ARW.xmp (64.5 KB)
darktable 3.2.1
1 Like
That would be nice.
Very clever! I don’t know how or why it works but it looks pretty good to me.
How did you arrive at the channel mixer values? They’re round numbers so don’t look like you were watching while sliding. I see that for all 3 channels, the sum of the adjustments is 1.
Is that with the IR input profile?
Me neither! I’ve since tried it on about 20 images and found it is not necessarily more (subjectively) pleasing every time, but what I’m most interested in trying to work out is whether it produces more accurate colour.
Sum of adjustments = 1 so greys stay grey. Other values were chosen to produce natural colours in combination with the IR profile. I arrived at these values working on another image with greater variety of hues. I began by swapping R and B channels, which returns normal hues when doing infrared things, but the image looked very desaturated, especially green. Thus I boosted saturation of G in G channel, summing to 1 by reducing R and B equally. But the greens still looked washed out. Reducing them in R and B channel helped that, balanced by increasing B in R, and R in B. This gave everything a similar saturation to using 3x3 matrix, and correct hue (I think), though since posting I discovered it to over saturated greens, so made some slight adjustments.
Yes, although I still haven’t decided yet. Partly because I don’t really know why it works!
Here is the hummingbird playraw example. Only other colour adjusting modules used are white balance and filmic. All modules are exactly the same in both versions, except as listed below. Pipe order: Ch mix placed before Input Profile, placed before exposure. Used darktable 3.2.1.
-
Input: L IR, Ch Mix on
_MG_0113.CR2.xmp (63.8 KB) -
Input: 3x3, Ch Mix off
_MG_0113.CR2_01.xmp (65.4 KB)


In the original thread there was discussion about what colour the flowers ought to be. It was decided they were more blue than violet. (Link to the example he linked to: Salvia x 'Big Swing' - Big Swing Hybrid Sage) Yet we can see, using the standard 3x3 matrix and not shifting hue in any other module (except white balance), they appear more violet. In the IR + Ch Mix version, they appear the correct blue, AND have nicer tonal gradients in the highly saturated areas. [The reds appear the same. The greens in IR+Ch Mix version are yellower - I don’t know if that is accurate or not. Did I just get lucky once or twice, or is this the way to go every time?]
Here is the Erlaufschlucht playraw:
-
Input: L IR, Ch Mix on
P9120141.orf.xmp (70.0 KB) -
Input: 3x3, Ch Mix off
P9120141.orf_01.xmp (71.6 KB)


Hues are similar, but first has an increase in saturation. It looks more natural to my eyes, but I wasn’t there. @betazoid might have an opinion? I’d be interested for people to try it on their own images and report back whether it looks more natural, and how reliable it can be for a variety of different cameras.
New ch mix values:
Red channel
R: 0
G: -0.75
B: 1.75
Green channel
R: -0.25
G: 1.5
B: -0.25
Blue channel
R: 1.75
G: -0.75
B: 0
1 Like
The channel mixer clips its output, doesn’t it?
Yes, that’s one of the reasons you place it before exposure module. If you boost exposure beyond 255, and place channel mixer after, those values will hard clip and be lost. But if you place channel mixer before exposure, and boost beyond 255, they will still be there for filmic to bring back.

Yes, that is what I also thought.
As there is no “recognizable reference for color” i took the liberty to move around color by white balancing. Using a linear input working space helped as starting point. Adjusted color of the nut separately from the rest of the image (parameric masking on blue). Tried to let the nut appear slightly yellow, to account for the slightly yellow top light, as described in the top post. Removed the white ghosting above the screw, and the black spot in the blue background.
Darktable-dev 3.3

2 Likes
@urs, very tidy. Yes I see you have the WB temp at 25,000 !
I have some weird behaviour with this XMP - Load the raw, load the XMP, fine,
Reduce the WB temp, image goes bluer, fine,
Put the temp back to 25000, image does not change, now kind of stuck.
Is anyone else getting this?
@RawConvert Oh, I see, can confirm the same weird behavior here. I did use the dropper inside the white balance module (set white balance to detect from area). The selected area was nearly the whole image (default after selecting the color dropper). Tried this after messing with the temperature slider, and got the image colors reacting again.
Looks like the red channel coefficient can not be adjusted high enough by the temperature slider.
I have a theory now, though I dont know enough about the ir bgr profile to confirm. I also don’t know enough about camera profiles or the 3x3 matrix to confirm. But if the camera profile/3x3 matrix/spectral sensitivity of a sensor is anything like common working spaces, then the colour they least capture, and/or least accurately profile, is blue, cyan and aqua. I assume this is why those colours, when highly saturated, can be pushed towards Violet - the profile space does not contain them, and/or does not map them accurately. I also assume the ir bgr profile swaps the red and blue primaries (the greens remain Green but appearance changes because they now combined with red and blue differently), so that what the sensor captured as blue is displayed as Red, and vice versa. I further assume that in a sensor that has had the Ir filter removed, this profile is used to display correct hues - and perhaps specifically tailored to the type of spectrum a camera without IR filter is likely to capture. If, like common working spaces, that is most or all reds, and with the input profile these become blue, we get nice hue and saturation in blues. But used in a normal camera (with ir filter in place), in order to see them as blue, we have to apply our own channel mixer, otherwise we see them as red. As seen in above examples, this method can work really well on images with blue, cyan and aqua. I suspect the drawback is it doesn’t look as nice on images with orange, red, yellow. I think it’s safe to say this method can’t be considered accurate, and the channel mixer values can be altered as desired, but it can produce very pleasing results in certain scenarios, especially when the camera profile/3x3 matrix doesn’t handle blue, cyan and aqua well.
Lots of assumptions in there. Lots to learn.
I haven’t read the previous threads or looked at the relative pictures, nor do I know how channel mixer works. However, if you are referring to using an infra-red tuned profile on a non-infrared image what you could expect is lower reds in the latter. The reason is simple: in the first case a neutral color would have higher red counts than in the second (right?) all else equal, so the IR profile would be tuned to bring those down. If that looks more pleasing in this case (or perhaps closer to what was seen at the scene), good on you because the gamut-outlier setup in this thread is about ‘plausibly pleasing’ as opposed to ‘colorimetrically accurate’. And that’s the best we can do here.
Jack
1 Like
Color mechanic here, so excuse the abstractions and approximations. What I want to describe is my notion regarding the management of color in raw processing, assembled through the past two years of reading, then trial-and-error. Hope it helps…
Really, I think the term ‘color management’ is a bit obtuse regarding specific task of making raw data look nice; what we’re doing is taking the encoding of colors encompassing a wide range of our cameras’ capabilities and scrunching them into the capabilities of our displays. And, it’s not a ‘preservation of colors’ thing, it’s a ‘find a coarse approximation in the display space that looks okay’ thing. And the 3x3 matrix we’ve talked about here is not an absolute description of a camera’s color-encoding capability, it’s a rather coarse contrivance that makes the math work okay.

If you haven’t considered one of these before, it’s a graph of the xy part of a colorspace. The whole coordinate system is xyY, where the big Y is luninance, and we’re effectively looking down on the chromaticity. xyY is a cordinate system derived from XYZ, which is the reference colorspace of the CIE 1931 color matching experiments. The XYZ colorspace is important because in ICC profiles it’s the connection between input and output profiles in a color transform. If we didn’t use a connection space, each profile would have to be built for a specific input and destination. Anyway, what I’ve done with this one is to plot the chromaticity of two matrices: 1) the camera space for my Nikon D7000 profile, and sRGB, so we can consider the predominant colorspace destinations for displaying.
Note the triangle vertices; they represent the ‘reddest red’, ‘bluest blue’, and ‘greenest green’ of each space. The lines represent a boundary, but only in the math sense; each device probably has some sort of squiggly cloud-thing that really describes its capability. And, for the camera, they’re really meaningless in that sense; it’s the vertices that anchor the extremes of the three color components so the other color encodings have an anchor in ‘reality’, or really, an anchor with respect to the CIE reference observer.
Now, here’s the important point: using these two triangles to convert color from one space to another is entirely about marching that color down a line from it’s original position toward the colorspace white point, until it falls within the destination space. I’ve drawn a few lines to illustrate the path. If the color is already in the destination space, it’s left alone. This describes the relative_colorimetric rendering intent of color transforming; if you’re using only the matrices, it’s the only intent that preserves a color’s hue in that march. Thing is, all that matrix math knows to do is to deposit the color just inside the destination; if you have large areas of extreme color like the subject image of this play_raw, that’s why they’re “cartooning”.
This is where making a LUT camera profile comes in. The matrix is omitted in favor of a look-up table that is used to replace that arbitrary dump with some notion of gradation. It’s not a color-preserving operation, it’s a ‘look better’ operation. Still marches the same line, but the color is deposited in a more spaced-out segment of the line. In dcamprof, you can make a LUT profile in a number of ways: 1) with actual camera spectral measurements, 2) with a target shot containing a large number of patches, like IT8, or 3) using the dcamprof gamut compression algorithms.
Colors have to be crunched from camera space to display space, so to my way of thinking it makes more sense to use that operation to manage the transform than to use other tools in the pipeline. Well, at least to do the heavy lifting; the other tools are of use to maybe fine-tune it.
Definitely FWIW…
1 Like
@urs From what I can tell, the nut is indeed yellow from the light. In my post, I greatly exaggerated that.
Wouldn’t mind sailing in a hydrofoil so colourful. ![]()
In my youth oh-so-long ago, I owned a 16’ Hobie Cat with a rainbow sail. Gawd, those were fun boats… way before digital pictures…
Thanks for explanation, but I have an odd experience displaying saturated blue.
My display (that is low end by today standards) was profiled with displaycal aless than three months ago.
I output image in sRGB and prophoto. When displaying the two output, I observe that the prophoto image is displayed with more saturated blue.
So even on such a display, sRGB gamut doesn’t seem sufficient for blue color viewing.
note: as the background is a pure blue displayed on a LCD monitor, I tried to get the more saturated blue in my processing.
If your viewer is color-managed and each image is in the colorspace defined by the embedded profile, they should look pretty much the same.
Check to see if the respective profiles are embedded in the image files… 'bout the only thing that comes to mind…
Very helpful, thanks. I never knew why it occurred. Basically, the camera space is larger than the input profile, and has captured colour outside the input profile’s boundaries. Putting it back inside with relative intent retains hue but lumps it all at the border, thus a loss of gradation. So the answer to fixing it, is to either a) use an input profile that is not smaller than the camera space, or b) use a 3d LUT profile which is likely to be most accurate (but not perfect) for hue, and have better gradation.
However I still have a few questions:
-
Is the complete path raw rgb (camera space) > xyz > input profile (camera profile, 3x3 matrix or ssf) > working space > output profile (display).
-
In the hummingbird example, why did the 3x3 matrix turn the blue flowers violet. If relative intent keeps the same hue, why did we see a change of hue? (I can only guess the hue of those flowers in camera space were near the 460 mark on the horseshoe, while the 3x3 matrix blue point is closer to 0.1y 0.2x. If so, pushing it in a straight line towards white would see a subtle shift from blue to violet). Leads more broadly to this question…
-
Is there a resource plotting the 3x3 matrix on the horseshoe?
-
Is there a resource plotting either, a) camera space (raw rgb), and/or b) camera profiles, on the horseshoe as you have above? Do camera manufacturers provide this? I did a brief search yesterday but couldn’t find what I was after. If one could see the camera space and input profile plotted on the same diagram it would be easier to predict results.
-
If the ssf profiles are superior to camera profiles (made from colour chart), why haven’t camera manufacturers made these available?
-
Was the positioning of your horseshoe to place the white point in orange done purposefully? I guess the horseshoe white is that of your camera, while the plotted white is that of srgb? In which case, we get hue shifts.
-
You’ve plotted straight from camera space to destination, but I guess if there was an intermediate working space, you would plot from camera space to working space instead? Why not camera space to input profile? Or are we assuming they are the same in this example? As changing the input profile worsens or fixes the gradations problem, I don’t really see where the destination space or working space come into this discussion.
I love the various discussions around this subject at the moment, and greatly appreciate all the contributions.
In the raw processing workflow, the input profile is the camera profile. Each trip through XYZ is a transform, and the time spent in XYZ is on the order of milliseconds (depending on your computer… ![]() ). So, treating each ‘>’ as a transform, it’d be camera > working > output, where the first one would be done right after demosaic, and the second when the image is saved to a file or displayed. Of note is that dcraw doesn’t use a working profile, so its workflow is camera > output. Indeed, that’s what I’ve been doing for the past year or so, working on the image in camera space and not transforming it until display/output.
). So, treating each ‘>’ as a transform, it’d be camera > working > output, where the first one would be done right after demosaic, and the second when the image is saved to a file or displayed. Of note is that dcraw doesn’t use a working profile, so its workflow is camera > output. Indeed, that’s what I’ve been doing for the past year or so, working on the image in camera space and not transforming it until display/output.
There shouldn’t be much if any hue shift from a properly constructed matrix camera profile. While the matrix isn’t very sophisticated in its transform, the relative_colorimetric intent specifically drives the change along the hue line leading from saturation to desaturation.
The one I used to make the diagram above is a hack javascript web page I wrote a year or two ago. You can find it on my webserver: xyY Color Profile Plot. You can exiftool an ICC profile file, copy the Red, Blue, and Green Matrix Columns to the “exiftool paste” box, click “Parse XYZ”, then click “Compute xyY”, then move over and click “Plot xyY”. You can do this up to 5 times; if you put an entry in the “Profile” box, it’ll include that as a label when you click Plot. It doesn’t plot the white point, a glaring omission, sorry. Here are the exiftool primaries for Elle Stone’s sRGB-V4-g10 profile, just copy-paste straight to the page:
Red Matrix Column               : 0.43604 0.22249 0.01392
Blue Matrix Column              : 0.14305 0.06061 0.71393
Green Matrix Column             : 0.38512 0.7169 0.09706
There are other, much better, programs that do this, but I haven’t yet found a FLOSS one.
Note that the input profile is the camera profile. At any rate, you can plot up to 5 on my hack tool, and a plot of camera, working, and output spaces will readily show a larger-to-smaller progression.
Good Question!!! If they did, I wouldn’t be spending my time building little wooden boxes… ![]() Indeed, they’d probably do a proper calibrated monochromator image series, which would yield data sufficient to produce high-quality profiles.
Indeed, they’d probably do a proper calibrated monochromator image series, which would yield data sufficient to produce high-quality profiles.
Both camera and sRGB whitepoints are plotted; they’re just one atop the other. Indeed though, the input and output profiles need to be anchored in the same white point, D50 to accommodate the XYZ connection space. I wrote a little program to take D65 dcraw primary sets and make an ICC profile, and LittleCMS includes the tags to define the D65 → D50 chromatic transform.
Good observation; I omitted an intermediate working profile because I was trying to get it done before we left for a doctor’s appointment. Indeed, most will have a camera > working transform after demosaic, to put the colors in what Elle Stone refers to as a “well-behaved” state prior to being pushed around with things like filmic, etc.
I remember a few years ago, when I decided to include some semblance of color management in rawproc. The whole business was unintelligible to me; some of the big heads here were kind enough to answer my stupid questions. Now that I’ve written code to stitch this stuff together (with much praise and thanks to Marti Maria and his LittleCMS library), I want to give back a bit.
Edit: Looking closely at the diagram in xyY.html, which is loaded from a Wikipedia svg file, the color gradations are all wonky. I wouldn’t rely on them to judge hue…
1 Like