Done, I hope that is correct now. 
3 Likes
Thank you, these examples really help illustrate exactly what is going on.
This is a good rule of thumb
1 Like
New episode: black and white conversion part 3: portraits

21 Likes
Thank you for these exquisite series = clear, and very well explained.
Best regards,
1 Like
Thank you for these masterclasses
Cheers
1 Like
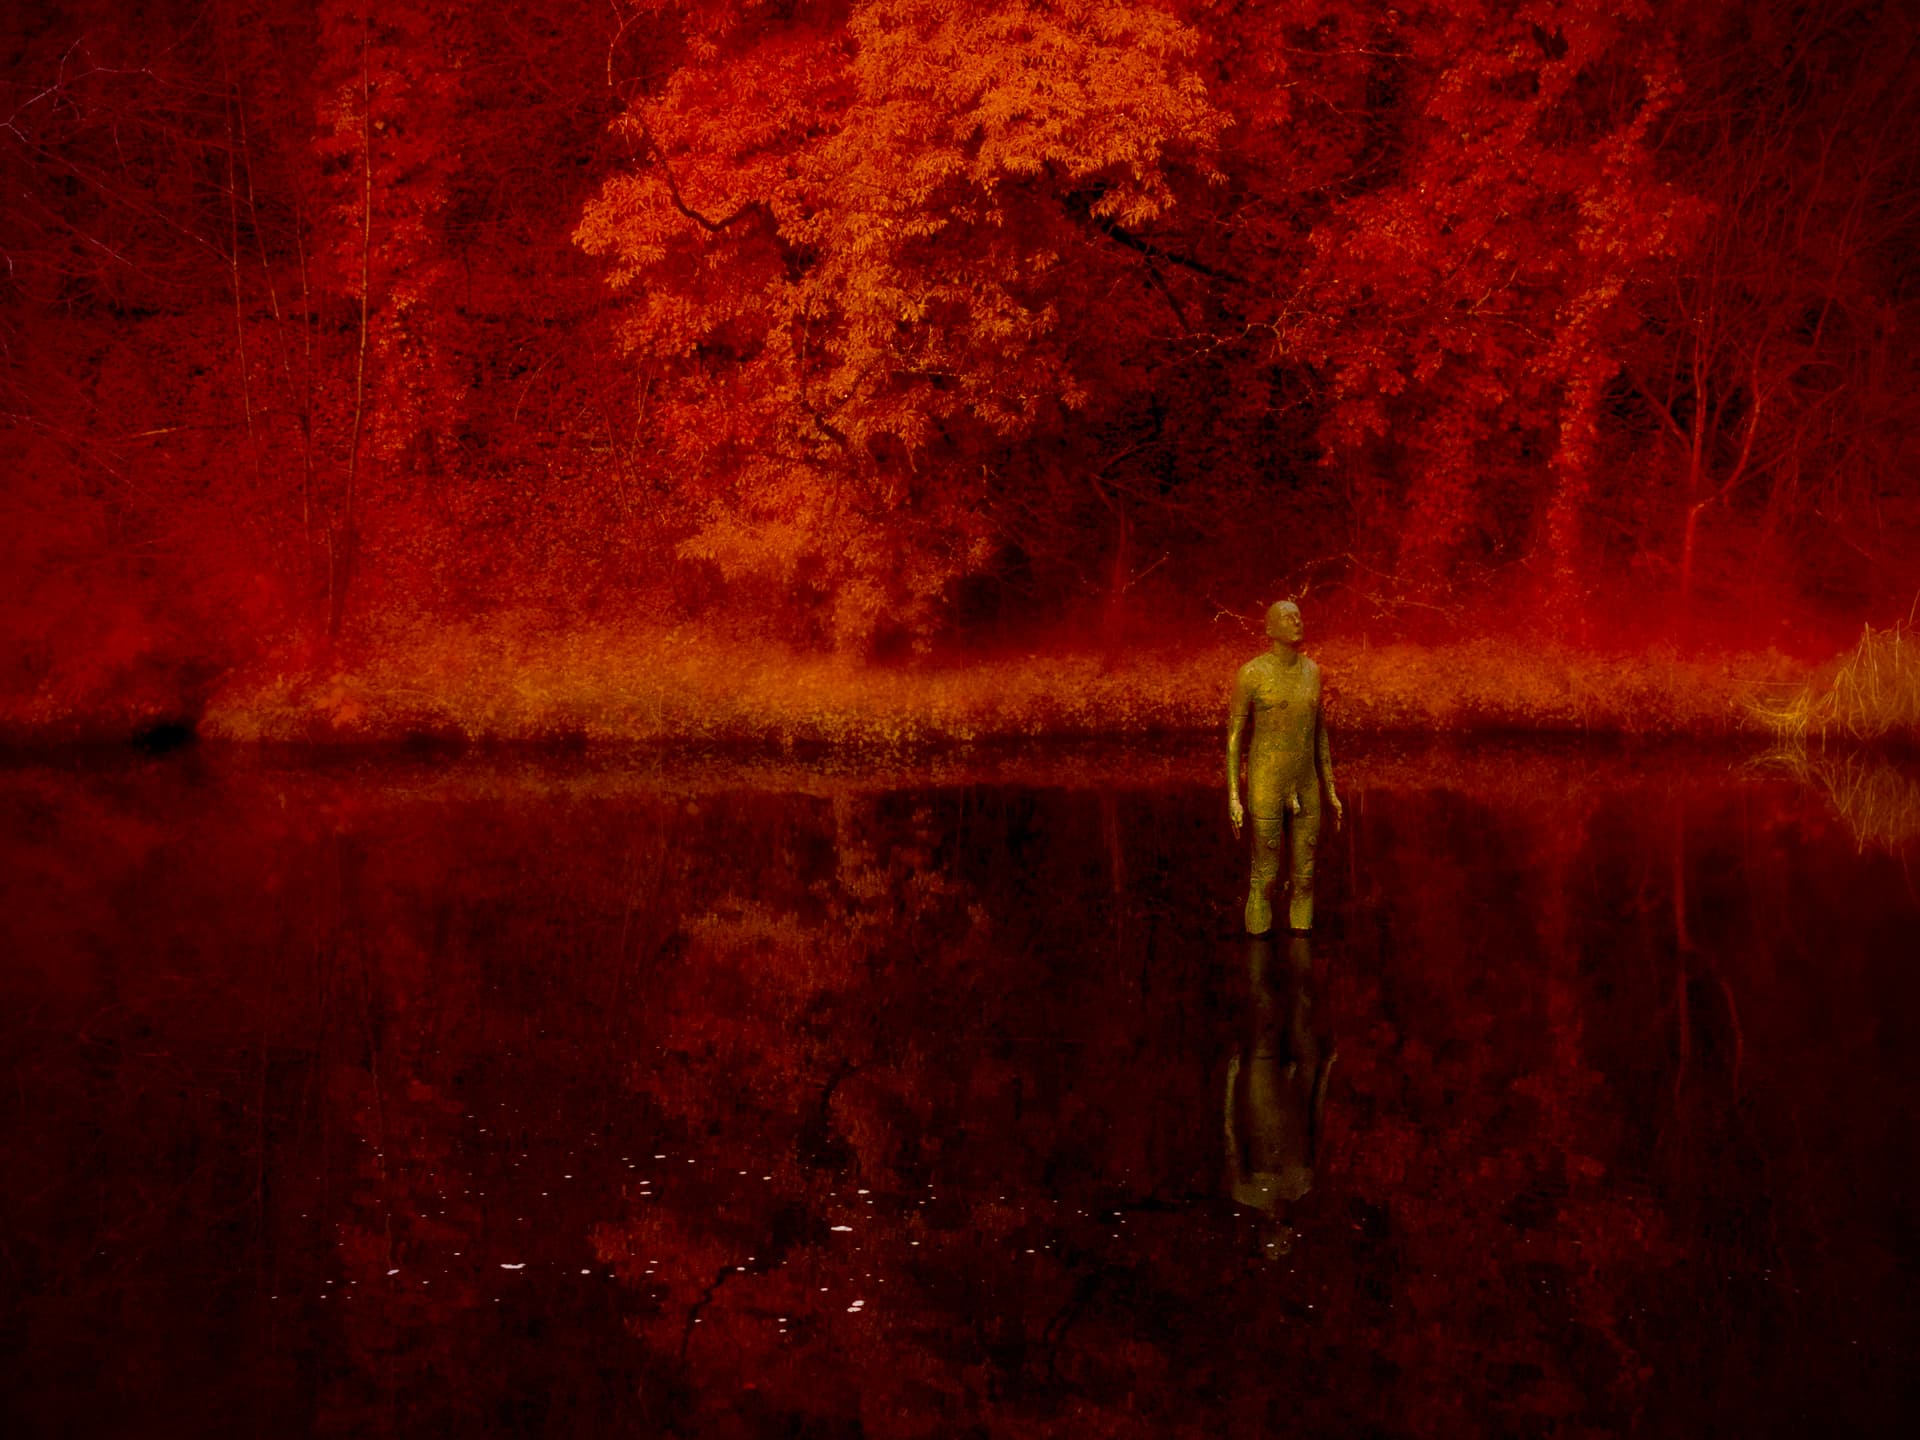
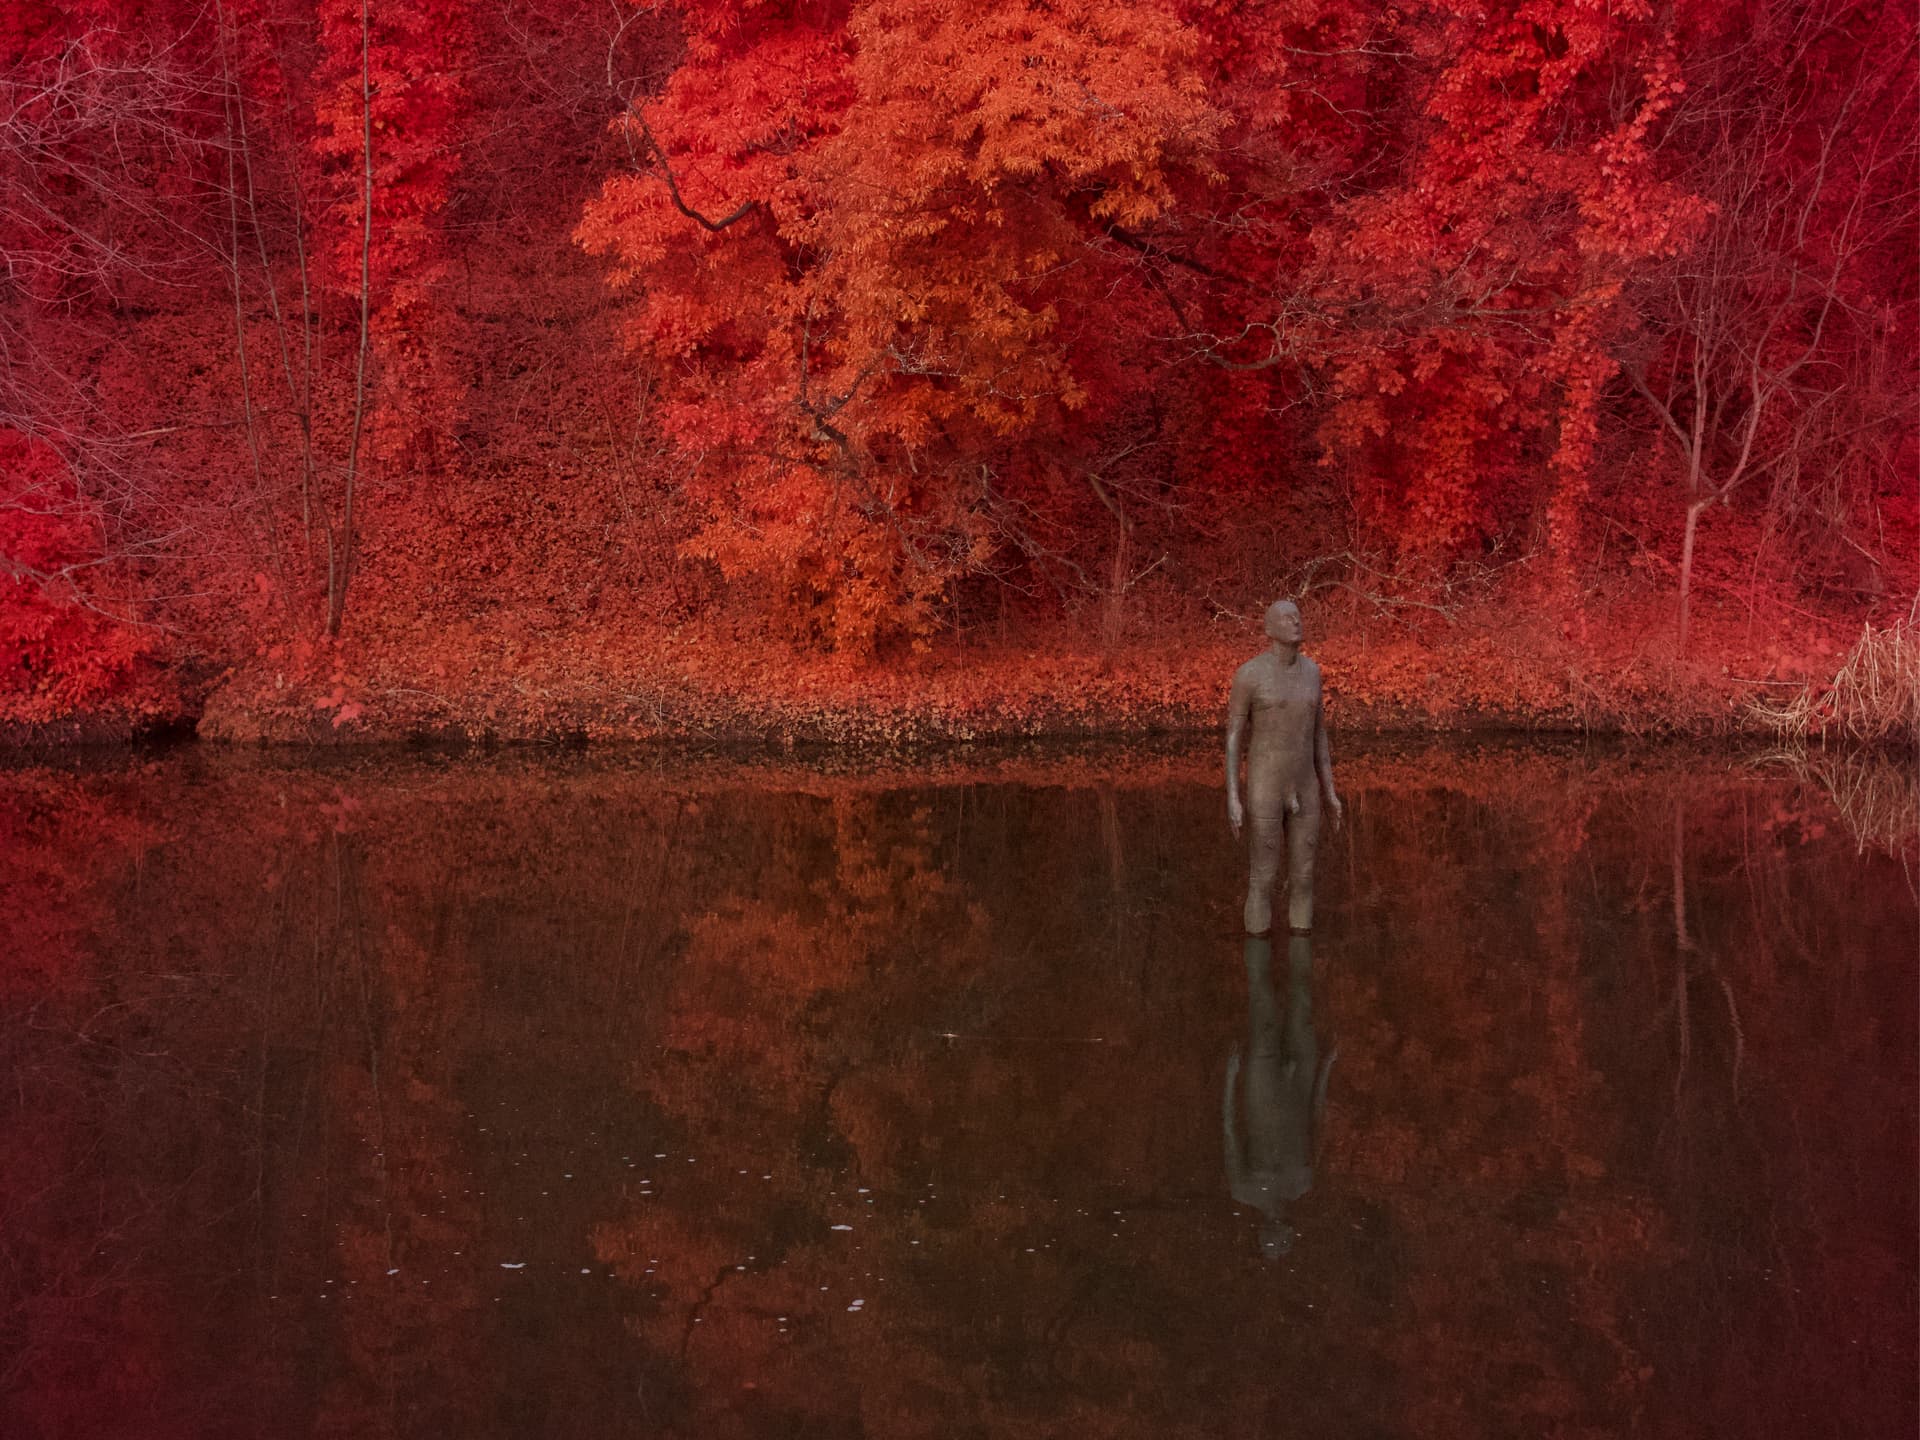
Thanks for these great videos Boris and the links you sent me on YouTube. I’ve read through some of this thread and now understand what you mean by using bloom and multiply to achieve soft contrast. I used it to get some glow in the leaves of a noisy near infrared pic I took of a local sculpture in the river. My attempt was not very subtle but will keep experimenting. Many thanks.
5 Likes
Welcome to the Forum Tony!
1 Like
Thanks for the BW series. Such a fantastic tutorial! Your image selection, your thought process for achieving a goal, module selection, frequent comparisons of before and after images made the tutorial such an informative enjoyable one.
3 Likes
New episode: diffuse and sharpen module in practice ![]()

21 Likes
Frankly, you learn a lot. Thank you for everything.
Regards
2 Likes
Hi Boris. Great video. Your illustration of directionality using the graphical sphere is interesting. It seems that switching direction simply moves the edge diffusion and definition to another part of the circle, shifting blurring from horizontal and vertical to diagonal locations. I wonder then at the global level of a picture, or even a masked part of the image, how a change in direction is supposed to make any significant difference? Thanks
Example.
Without using the diffuse and sharpen module:
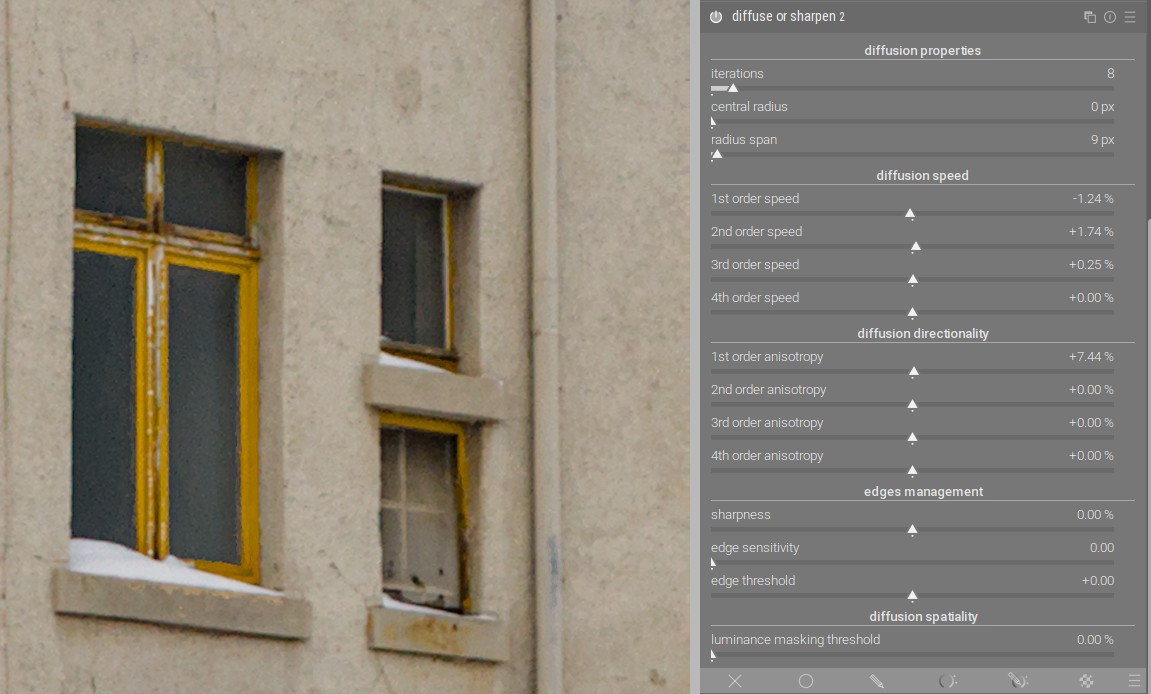
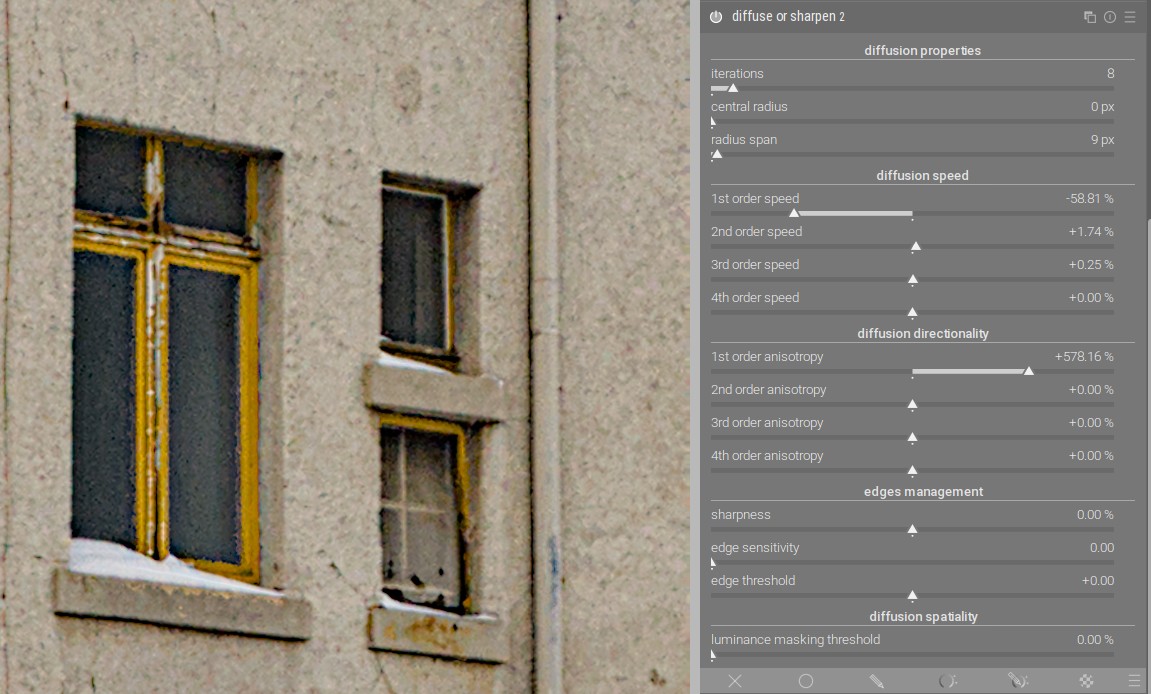
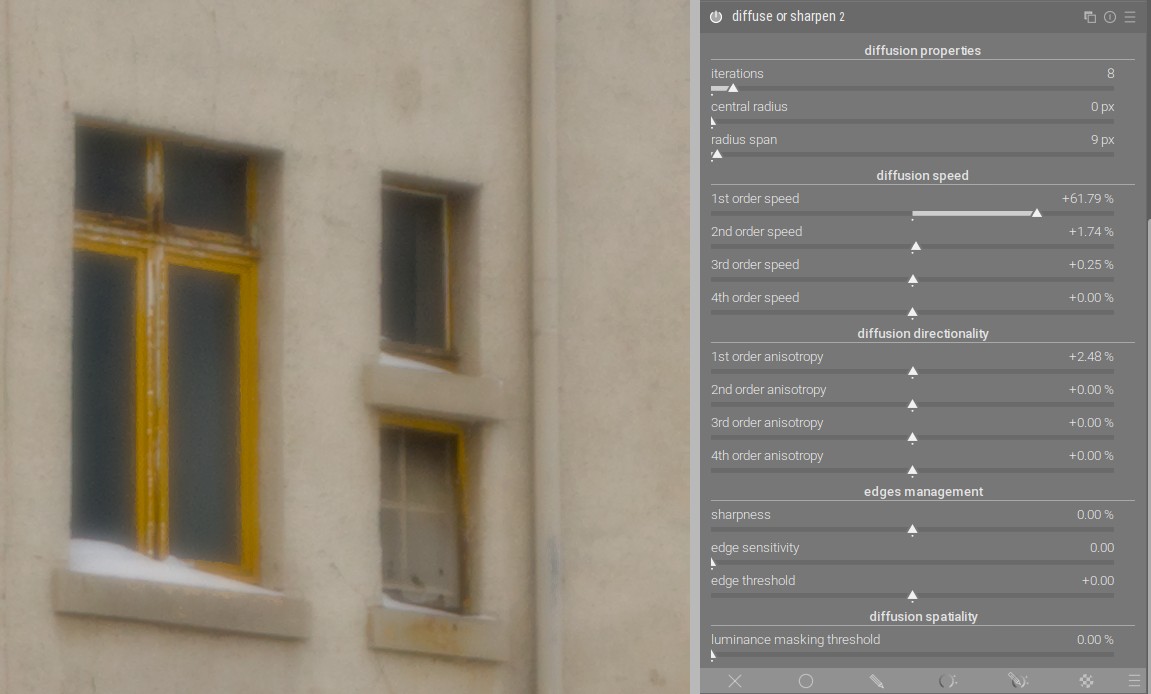
Sharpen. This is now extremely strong for the purpose of demonstration, so you can see the darker halos around the yellow window frame:

If I move 1st order anisotropy to the right so that the isophotes are followed, I no longer have these halos:
Here the same game with diffusion:
With 1st order anisotropy to the right I have protected window frames:

6 Likes
Thanks for the demonstration. It clearly works well, at the very least for mainly horizontal and vertical planes. I’m now trying to square that with what I see in your demonstration video with a circular object. I’m probably overthinking it.
Yes, that is correct. In the opposite direction, it affects the diagonals. I recommend experimenting. Find a simple graphic and test it out.
It gets interesting when you combine different order speeds and corresponding order anisotropy functions.
Maybe you will find some more useful combinations. ![]()
3 Likes
Ha. Yes, I will do some DIY. That’s really helped me understand the effect. Seems a bit of guesswork and trial and error is needed depending on the individual images. Thanks
2 Likes
Thanks for yet another great tutorial! I have made an investment into understanding the math behind the module, but the creative applications you present were unexpected to me, especially the diffuse with subtract. I agree that it will take some time to realize the potential of this module.
So far I have been using it as a “software lens upgrade”. With judicious tuning, I can get something resembling the sharpness from a much better lens than I have, without artifacts.
4 Likes
So far I have been using it as a “software lens upgrade”. With judicious tuning, I can get something resembling the sharpness from a much better lens than I have, without artifacts.
In order not to high-jack this thread:
Wouldn’t it be of interest to describe your experiments in a new thread?
Have fun!
Claes in Lund, Sweden
1 Like
That was simply a totally unexpected option … most useful. One of the difficulties that I find in dt is with the processing of snow and enhancing highlight texture.
2 Likes
Great idea, I will write up something after taking some test pictures with a tripod. But in the meantime, it basically it is the lens deblur: medium preset, tweaked, with
- 15–20 iterations,
- about 30–50px radius span (or less, depending on how far I am from the centre, my lens gets much softer near corners),
- 1% sharpness.
- edge sensitivity at 3–4
This is the sweet spot for me on an 1" sensor and low noise, with more image noise I decrease iterations, or tweak edge parameters if I get halos (rare, and mostly innocuous at typical view levels).
2 Likes
@s7habo Very informative video, now I have a much more insight in the working of this module. Understanding the math was beyond me but now I know the right path to choose for an image, thanks a lot.
I have still some confusion about 1-4 order speed can you please give example when to use a particular speed?