Fighting with clouds and contrast

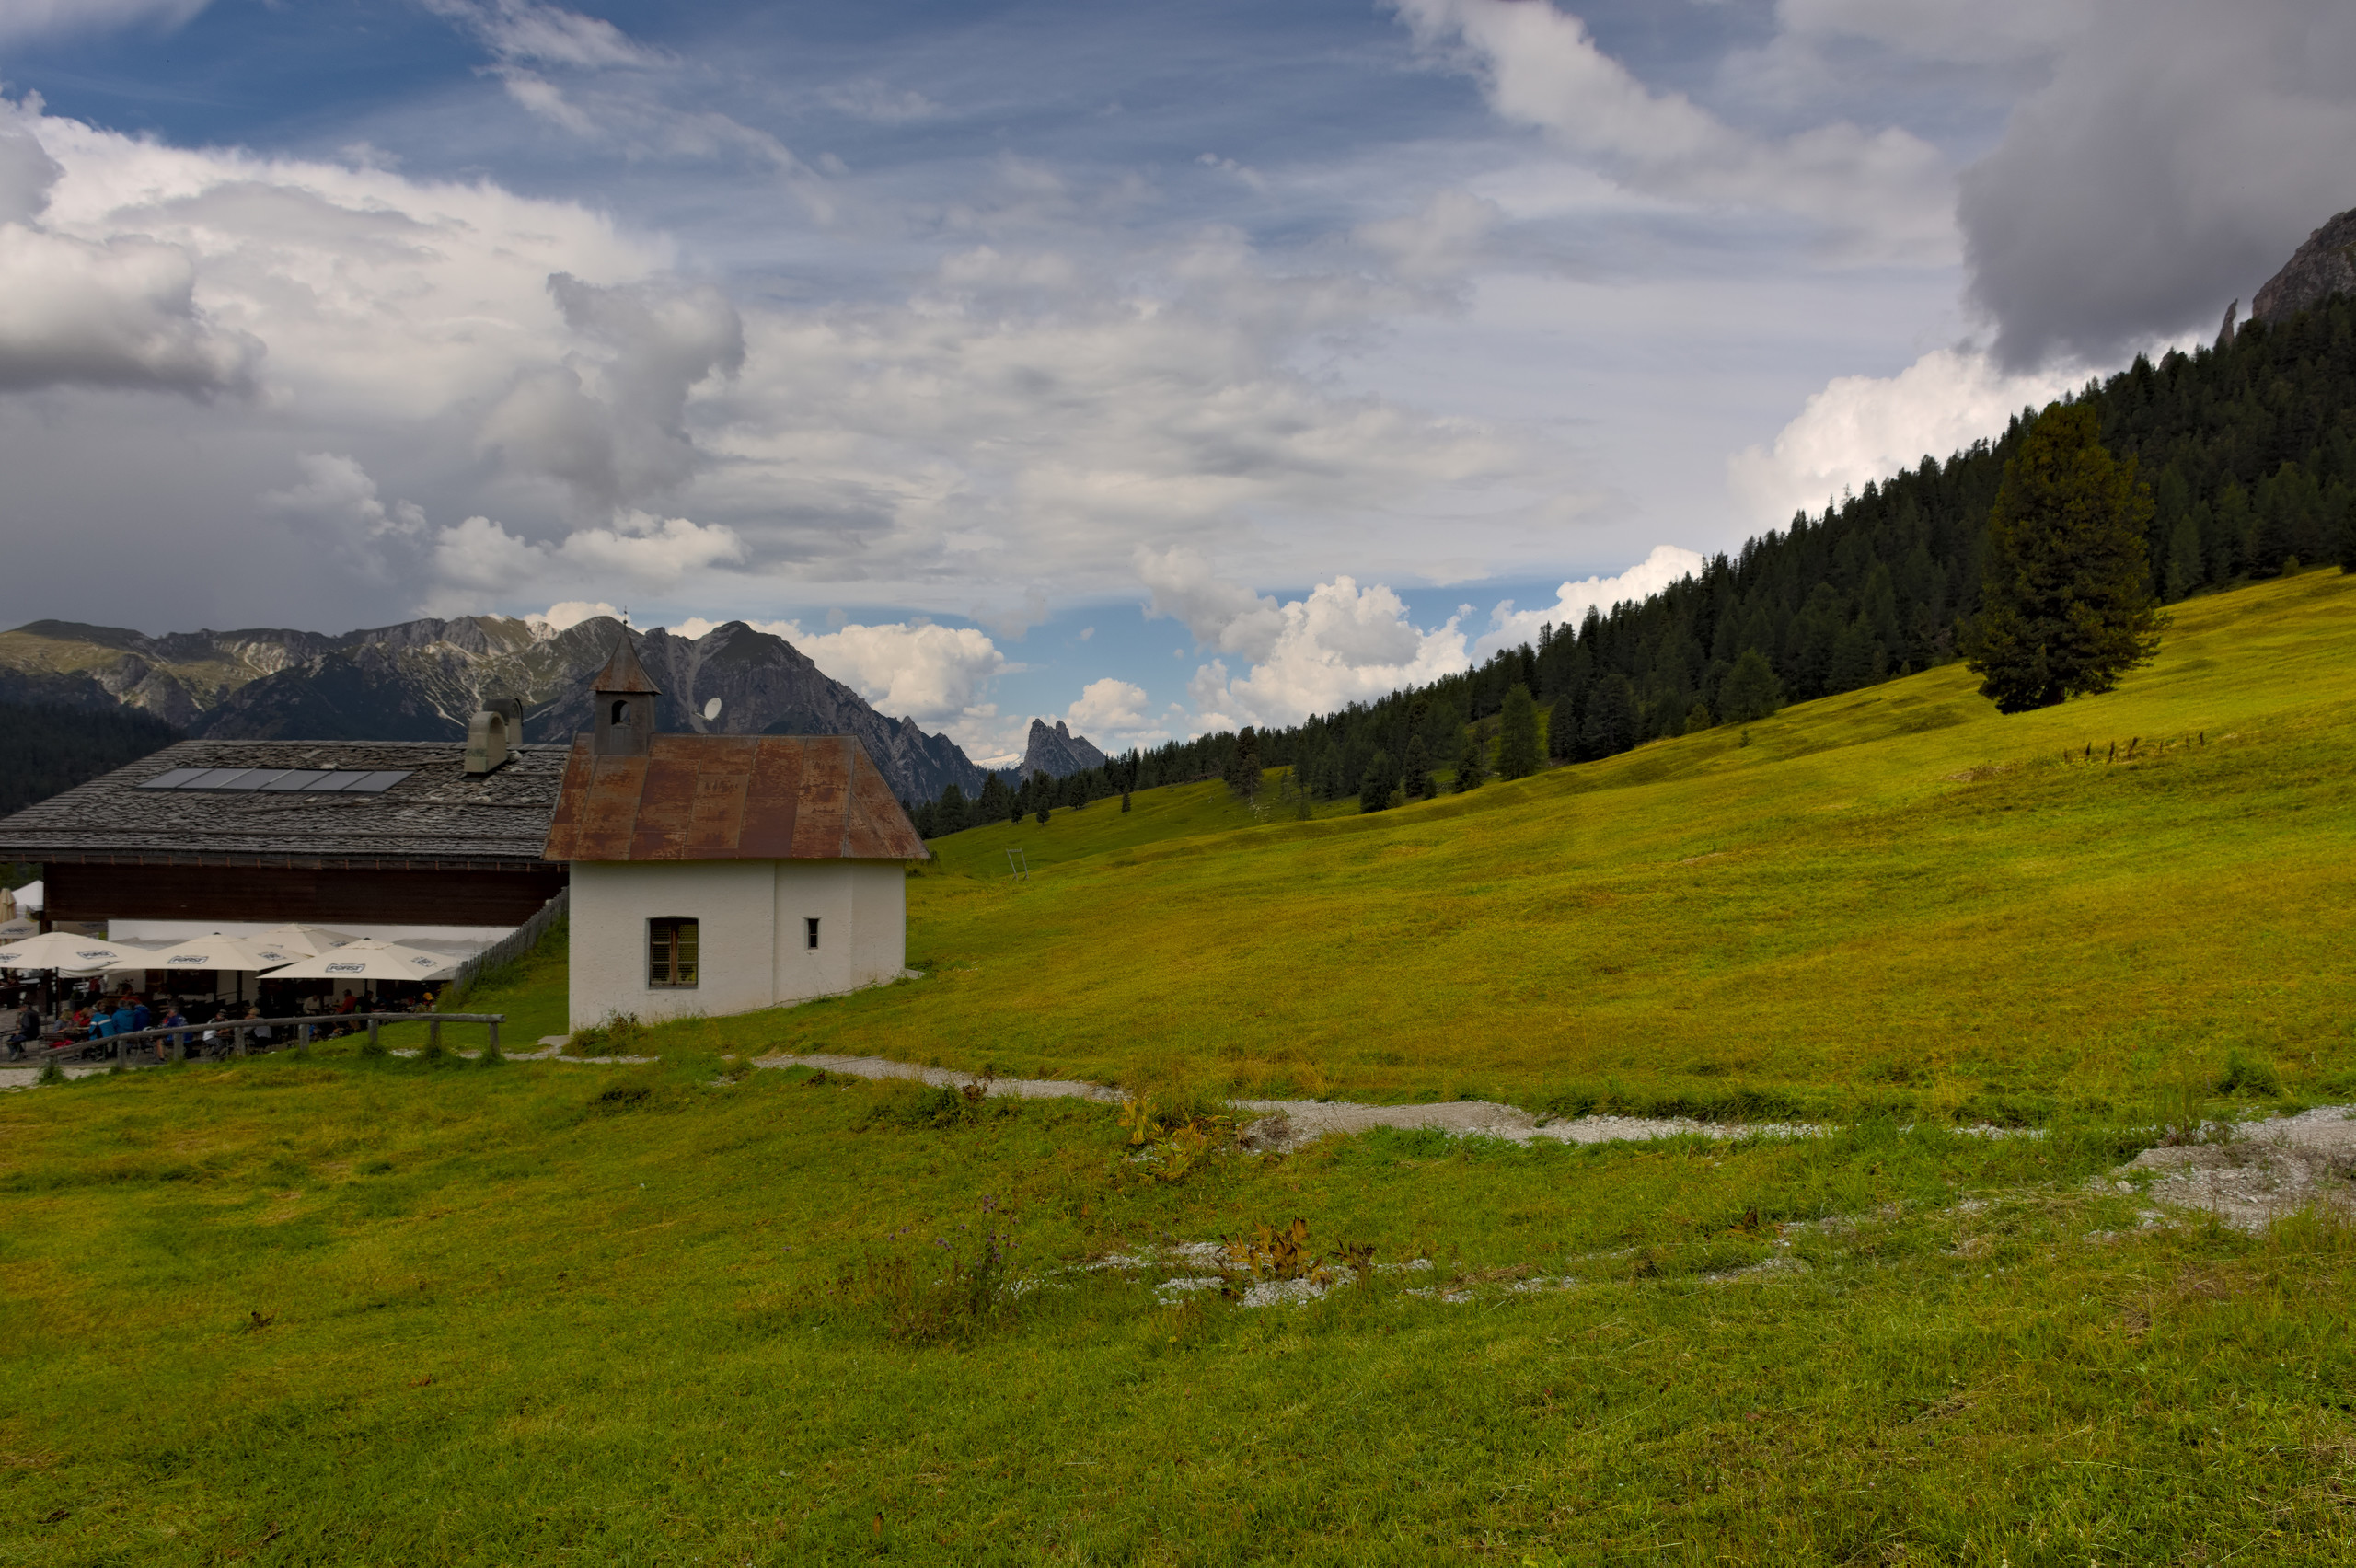
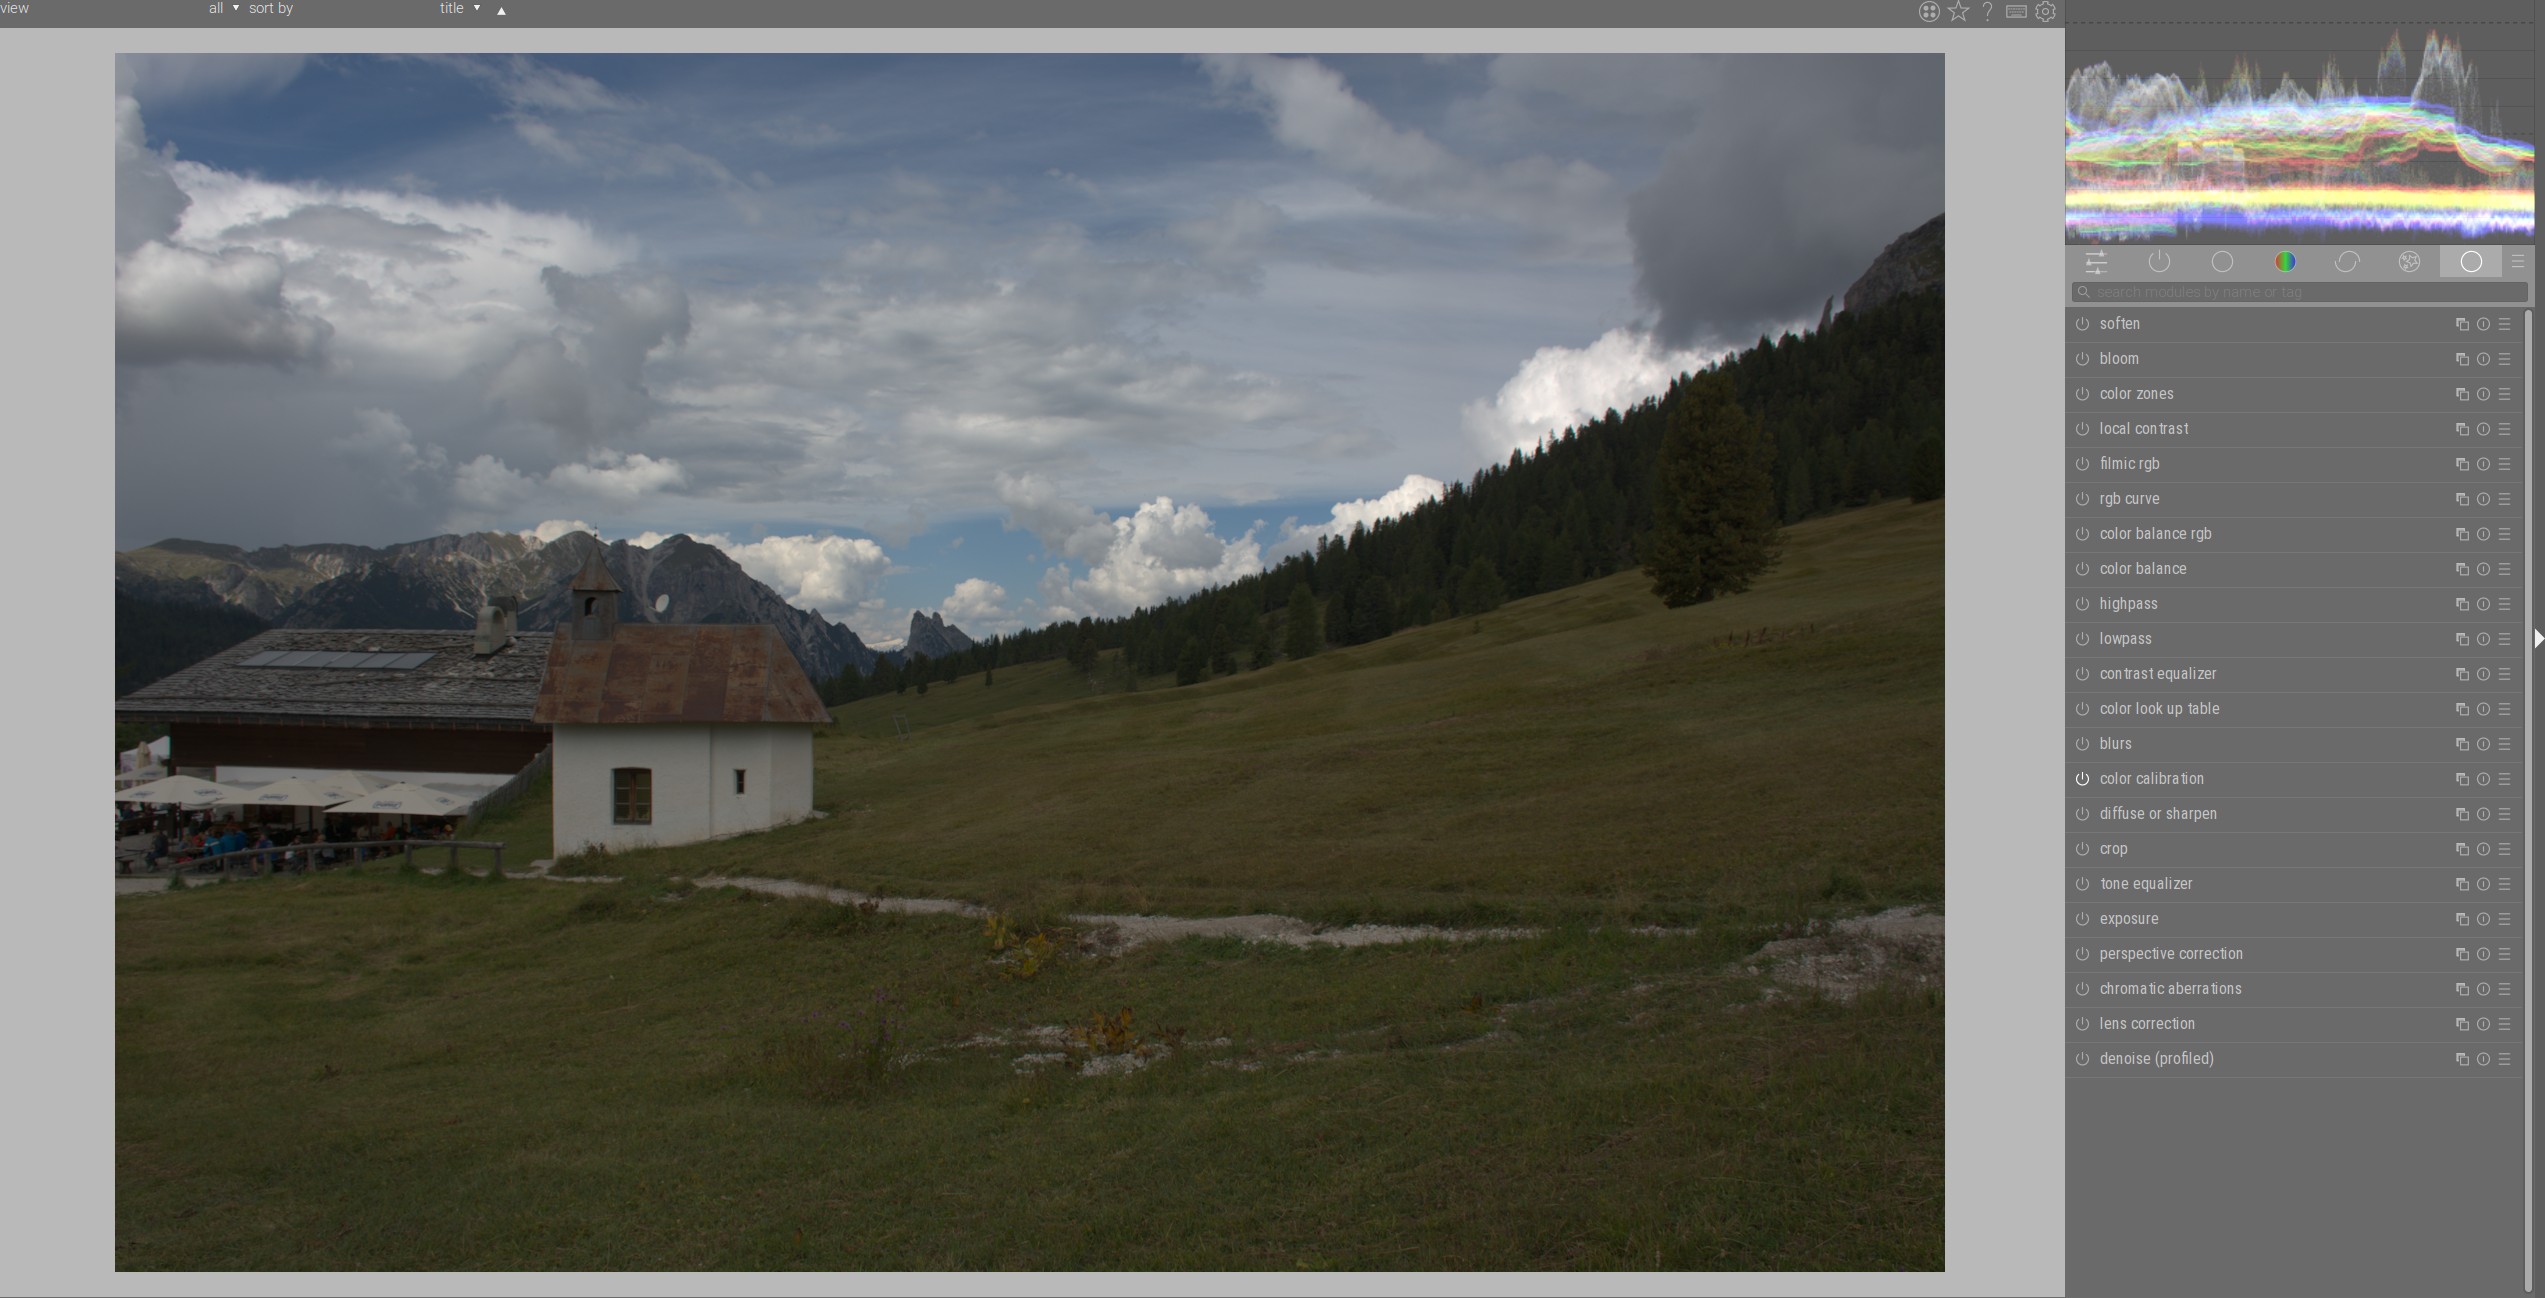
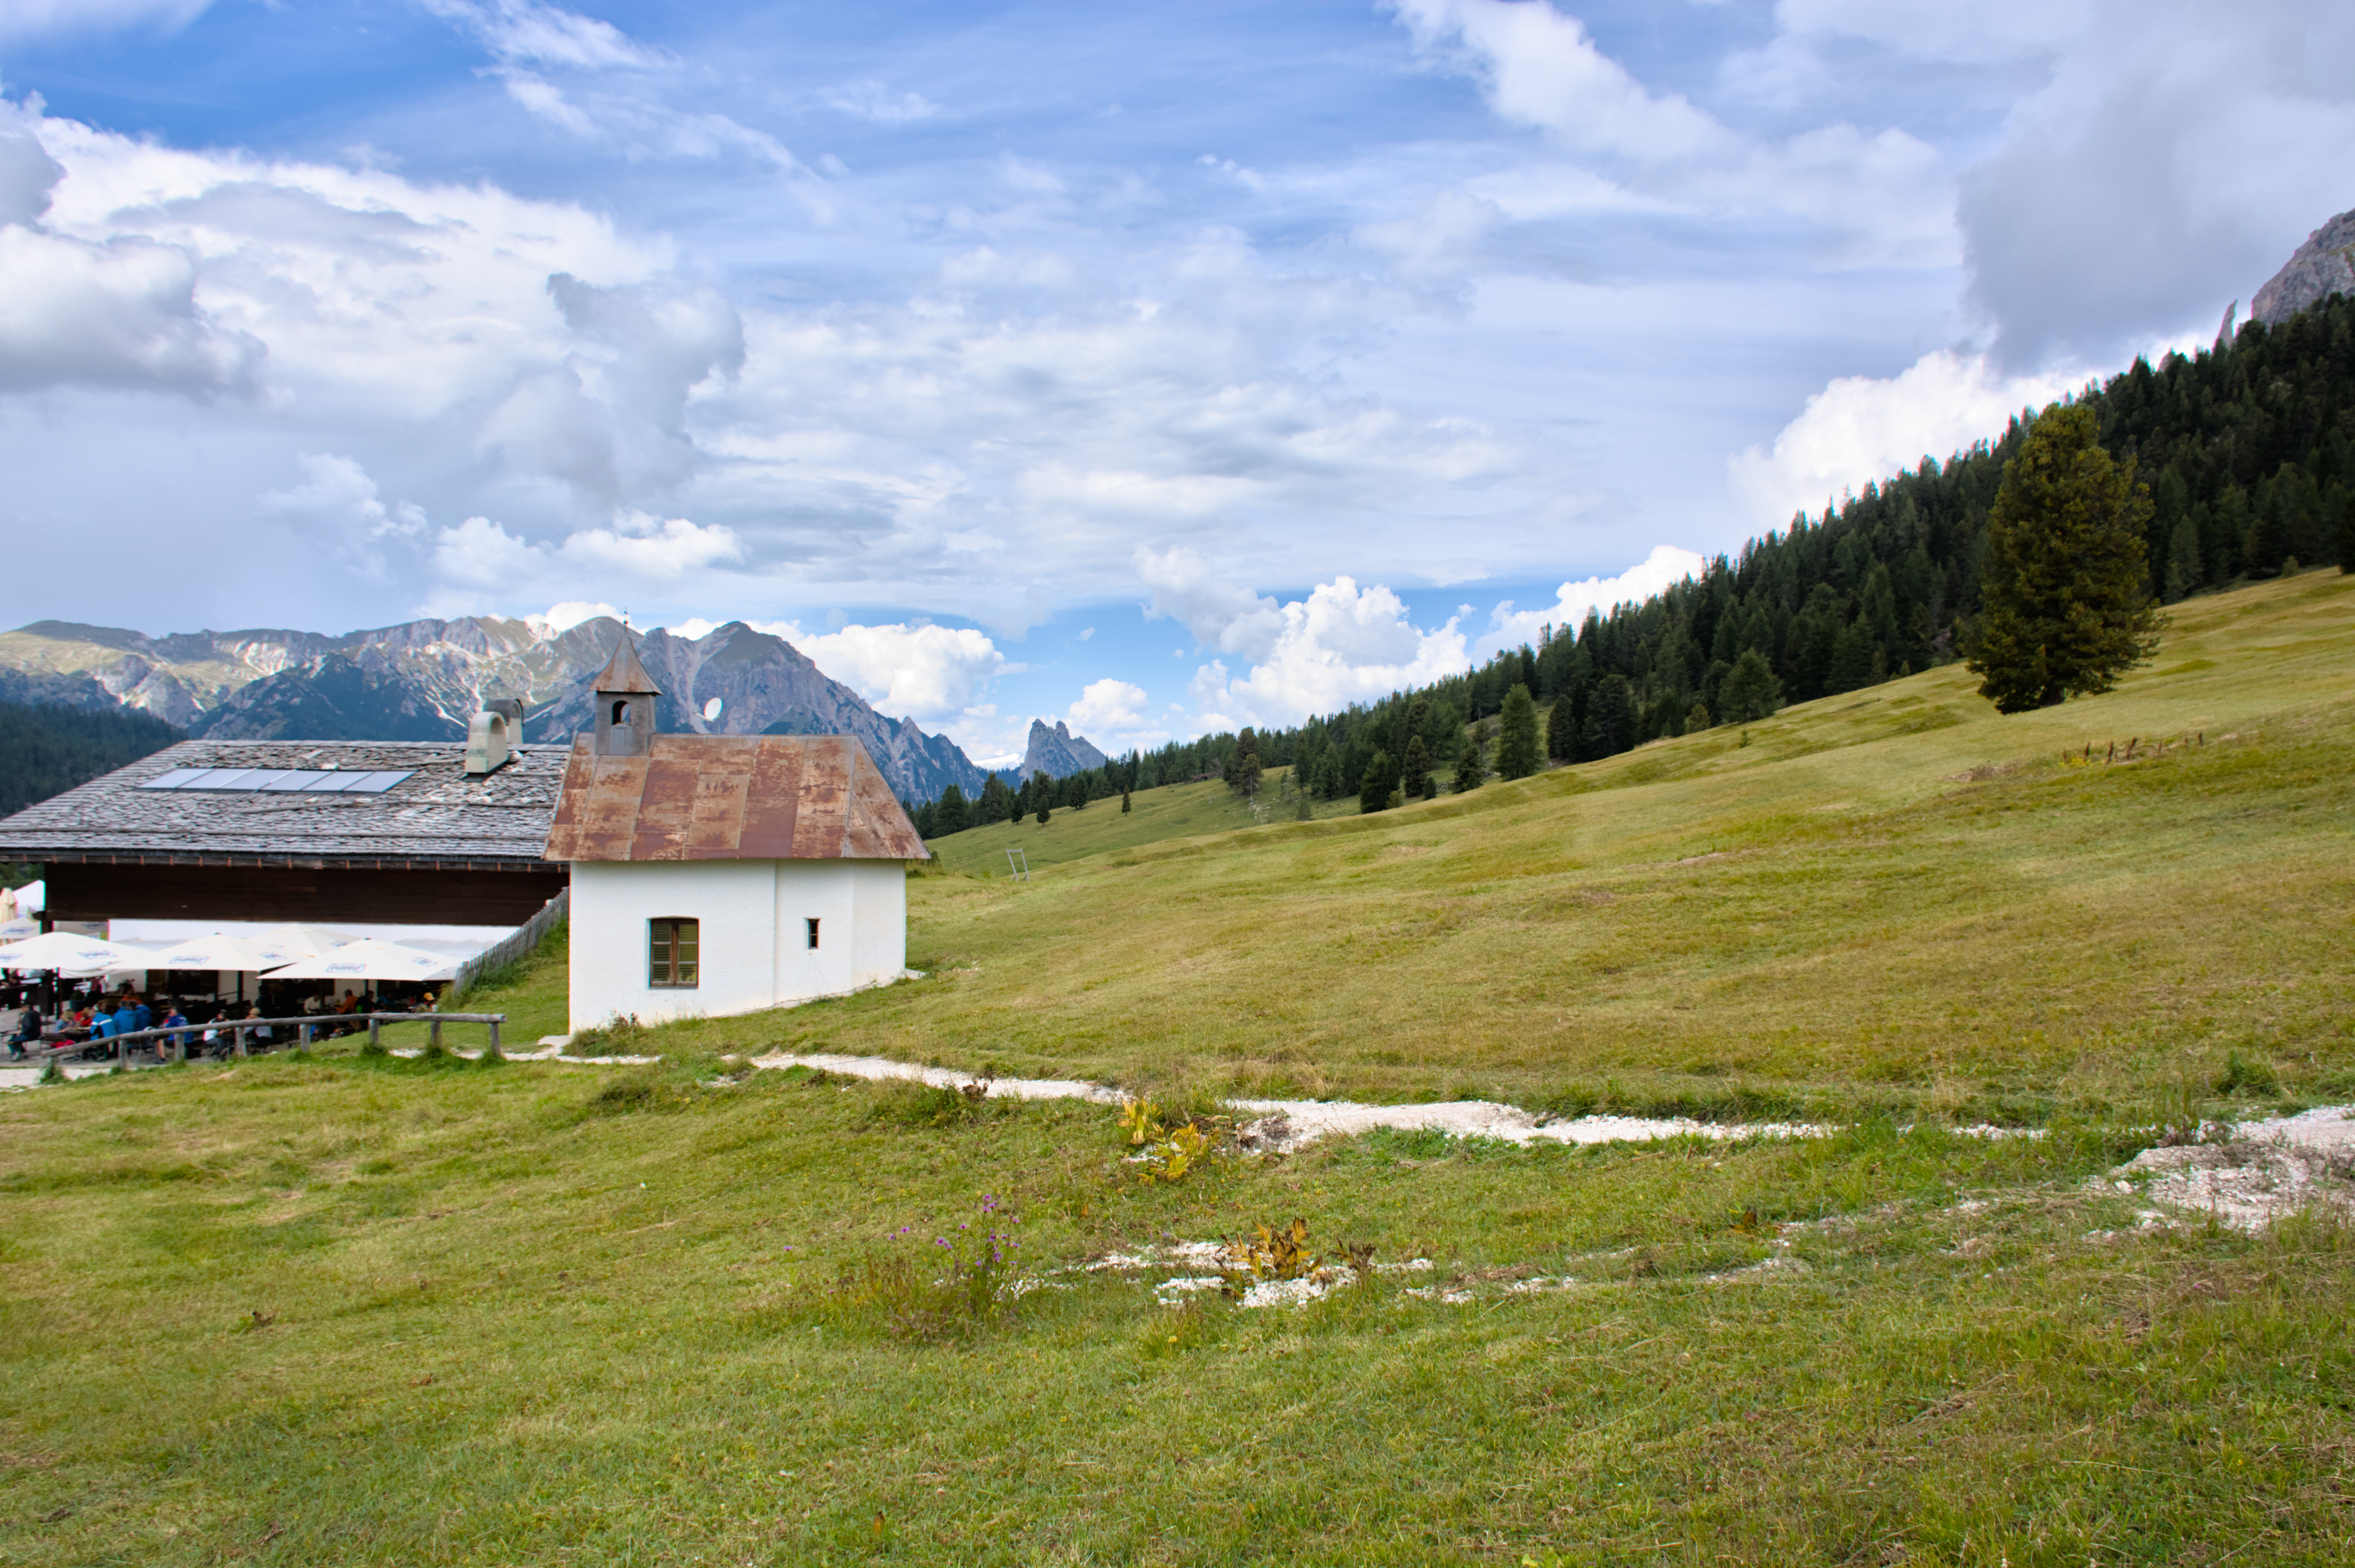
If it’s just the highlights, what I do :use the local contrast module after filmic (so above it) and use a parametric mask to only select the highlights.

For clarity in highlights, I still find the bilateral mode of local contrast easier to dial in.

Set local contrast to bilateral. Set contrast low (as in 3 or something) and move the detail slider up way high, towards or over 300%. It may look a bit overdone.

Enable the parametric mask, and enable the little button somewhere in the middle to view the mask. You get a yellow screen.

Now love the ‘l’ range of the slider up (both of them) and you should see the mask change. Keep going till you have only selected the highlights you want. Move the mask feather slider up a bit and/or blur up a bit to fix the sharp edges of the mask.
Now disable the yellow mask preview. Toggle local contrast off and on to see the change, it should only work on the highlights /clouds. At the top of the mask section there is also an opacity for the overal blend effect. Lowering that is a nice way to make the effect less strong if you think it’s too much.

2 Likes

Sounds interesting, I’ll surely try your hint.

Hi @dirksagwitz ,

Your photo has one issue. This is a problem that a lot of people face and is quite common. Let me illustrate that.

This is how your photo looks without exposure correction and filmic:

Now we increase the exposure and completely ignore the overexposure. We are now only interested in the meadow and the entire field up to the forest:

It is absolutely flat, there is hardly any difference in brightness.
Only when you increase the contrast very high, the structures and shadings stand out:

So there is a combination of two things here: not only is the main subject in the shadows, the shadow itself has hardly any differences in brightness. Both elements are, so to say, diametrically opposed to the absolutely contrasting, dramatic and very dynamic sky, that is, the third element that mercilessly attracts attention.

Here, so to speak, the “three-dimensionality” of the field that could counter the sky is missing.

This can be partly solved by using the technique of dodging and burning, by artificially creating the “three-dimensionality” through local modeling of the lighting conditions. For example, you can gently lighten this area here:

Result:

15 Likes

Thank you very much for your analysis and hints. You are right, when doing the shot I didn’t want to blow out the highlights so I exposed on the sky so that the rest of the image is almost underexposed and with very low contrast. So exposing on the highlights is probably not the best in those situations.

Just to illustrate, I had similar problem here:

Then I strongly enhanced the very subtle illumination of the grasses in the foreground:

2 Likes

No! You did everything right, it’s just the scene itself that is so ungrateful. It has nothing to do with the dynamic range. Unfortunately, the scene has two very separate areas that collide with each other. One flat and one very contrasty. One could think - I know this is not the case - that the scene is composed of two different photos; flat field and high contrast sky.

3 Likes

I think I should do some study in image analysis …

1 Like

As always, so instructive!

2 Likes

To darken the picture for the details in the clouds would ruin the feeling of fresh air for which people go up a mountain. I’m not sure I am successful in representing it though.


Photo20210904T124207_8498_04.nef.xmp (26.7 KB)

1 Like

My first edit is too bright and contrasty.
Here is my second attempt.


Photo20210904T124207_8498_03.nef.xmp (37.1 KB)

3 Likes

“Natural” look without filmic :wink: .


Photo20210904T124207_8498.nef.xmp (10.2 KB)

1 Like


fighting.clouds.contrast.pp3 (26.9 KB) RawTherapee

Interesting shot to edit.

I did include a sidecar for this one but this edit uses a new, not yet available, Local Adjustments tool (basically an improved CIEcam16) I’ve been testing. The flatness in this image was partially tackled with this new LA tool and also the Colour Toning tool. Both modules are capable of targeting specific areas.

2 Likes


Photo20210904T124207_8498.nef.xmp (7.4 KB)

3 Likes

That looks very good and represents more or less the lighting situation I have in mind when I did the shot.

Thanks for posting
darktable 3.6.1


Photo20210904T124207_8498_01.nef.xmp (22.6 KB)

2 Likes

A nice landscape. Two versions, to see what I could do with minimal intervention.

The first: straight out of Filmulator.

The second: after a few minor tweaks with Colours/Curves in GIMP.

1 Like

Underexposing on a modern digital camera (and some modern Canons) is not a problem and even what they are wanting you to do (or the camera even does it for you).

Underexposing will not alter contrast. But if there is a lot of ‘the same light levels’ in the scene, you will be fighting a flat picture. Just like if there are enormous differences in the light levels in the scene, you will be fighting that.

So yeah, your picture might always look a bit flat. And trying to add local contrast could work, but it could also be the thing you don’t want to do, or it does too little.

What @s7habo brilliantly highlights, is that editing could also be ‘changing the scene’ after the fact, by making parts a bit brighter or darker to make the picture more interesting. Dodging, burning, playing with masks, etc… You are then past simple ‘tone mapping’ and you are really ‘editing your picture’, but the results can be great.

I’m telling this because ‘shooting for the highlights and underexposing’ is awesome, and you didn’t do that wrong. It’s just that the light in the picture was a bit dull, and it might require some ‘lifening-up’ :stuck_out_tongue: to make it shine. I’m trying to find a nice way to say you took a great picture of a scene that wasn’t ideal :P.

BTW, why I talk about issues in the scene and then talk about ‘changing the scene after the fact’, is because this is where the scene-referred workflow shines. You develop the picture in a pretty normal way (exposure + filmic), but you alter the scene (the light) that your camera recorded (modules between exposure and filmic) to get it to where you want it to be.

4 Likes

thanks for a good scene for my editing practice Photo20210904T124207_8498_01.nef.xmp (14.6 KB)

4 Likes

A quick example to get to a ‘starting point’, although everything is subjective of course.

I demo that I start with filmic ‘off’ (but that is because I work from a DNG), so I start by raising exposure to something that looks OK. And then enable filmic. Reduce white to get highlights into range, and yes, it’s a bit flat.

Demo local-contrast and bilateral to increase ‘clarity’, and then limit it to only the highlights. Bilateral is to be deprecated I believe because it can cause haloing if you go nuts, but for parts like this I like it more than the normal mode, and with the contrast set to 3 in the bilateral mode I have yet to see any haloing, on any picture.

After that, a quick touch-up with contrast-equalizer to add some subtle local-contrast to the global image. Followed by a ‘color balance rgb’ to load the ‘add basic colorfulness’ preset, with a subtle boost to brilliance and vibrance… because I like it, no other reason :).

You can go many other ways, I’m not saying this is ‘the correct way’… And as @s7habo pointed out, you can really bring it to life with some creative editing. But this is my basic tone-mapping.

Personally, I’d be careful with adding contrast and details in the clouds here, because it can look very busy. Maybe even a sky replacement to get the dark rainy stuff out of there is an option :P.


I started with a DNG because I loaded your RAW into DxO Photolab, which I export to DNG with only optical fixes applied. I did it in this case because I was annoyed by the horrible chromatic shifts (the red line on the house?!) that I had trouble getting away in darktable, without messing with the colors of the people in the corner.
DxO did it right straight from its auto settings, including the vignetting and the distortion, which were all quite strong on this lens at it’s wider angle!

And it also makes my Darktable respond quite a bit faster on this simple no-gpu laptop :).

7 Likes

Nice edit…I use the same bilateral setting in local contrast also, sometimes dropping the coarse slider low to get some extra fine detail…but maybe diffuse will be the way to go now with this…
My only addition would be to try some tone eq on the clouds to see if some of the darkness could be revived as I find that interesting …but as you say decisions like that are person and done to taste…