I don’t know if many people have seen my other topic on using AgX as a Digital Film Stock, but I have been really enjoying that editing method. Here is a free DFS preset for AgX for you to download: codec_t1.dtpreset (1.2 KB)
What is Codec T1
Recently, I wrote several Python scripts to extract and interpret digitized film data sheets into AgX parameter values. It is all very experimental, but this Codec T1 is the result of my measurements/interpretations of a certain film stock. I hesitate to say which one, but maybe I will share later
If I had to try and distill my thoughts on Codec T1, I would say that it favors blues and suppresses reds, and gives quite a punchy black and white response (not super smooth). Note: this preset does not change target white or black points, since I wanted to leave that up to the user.
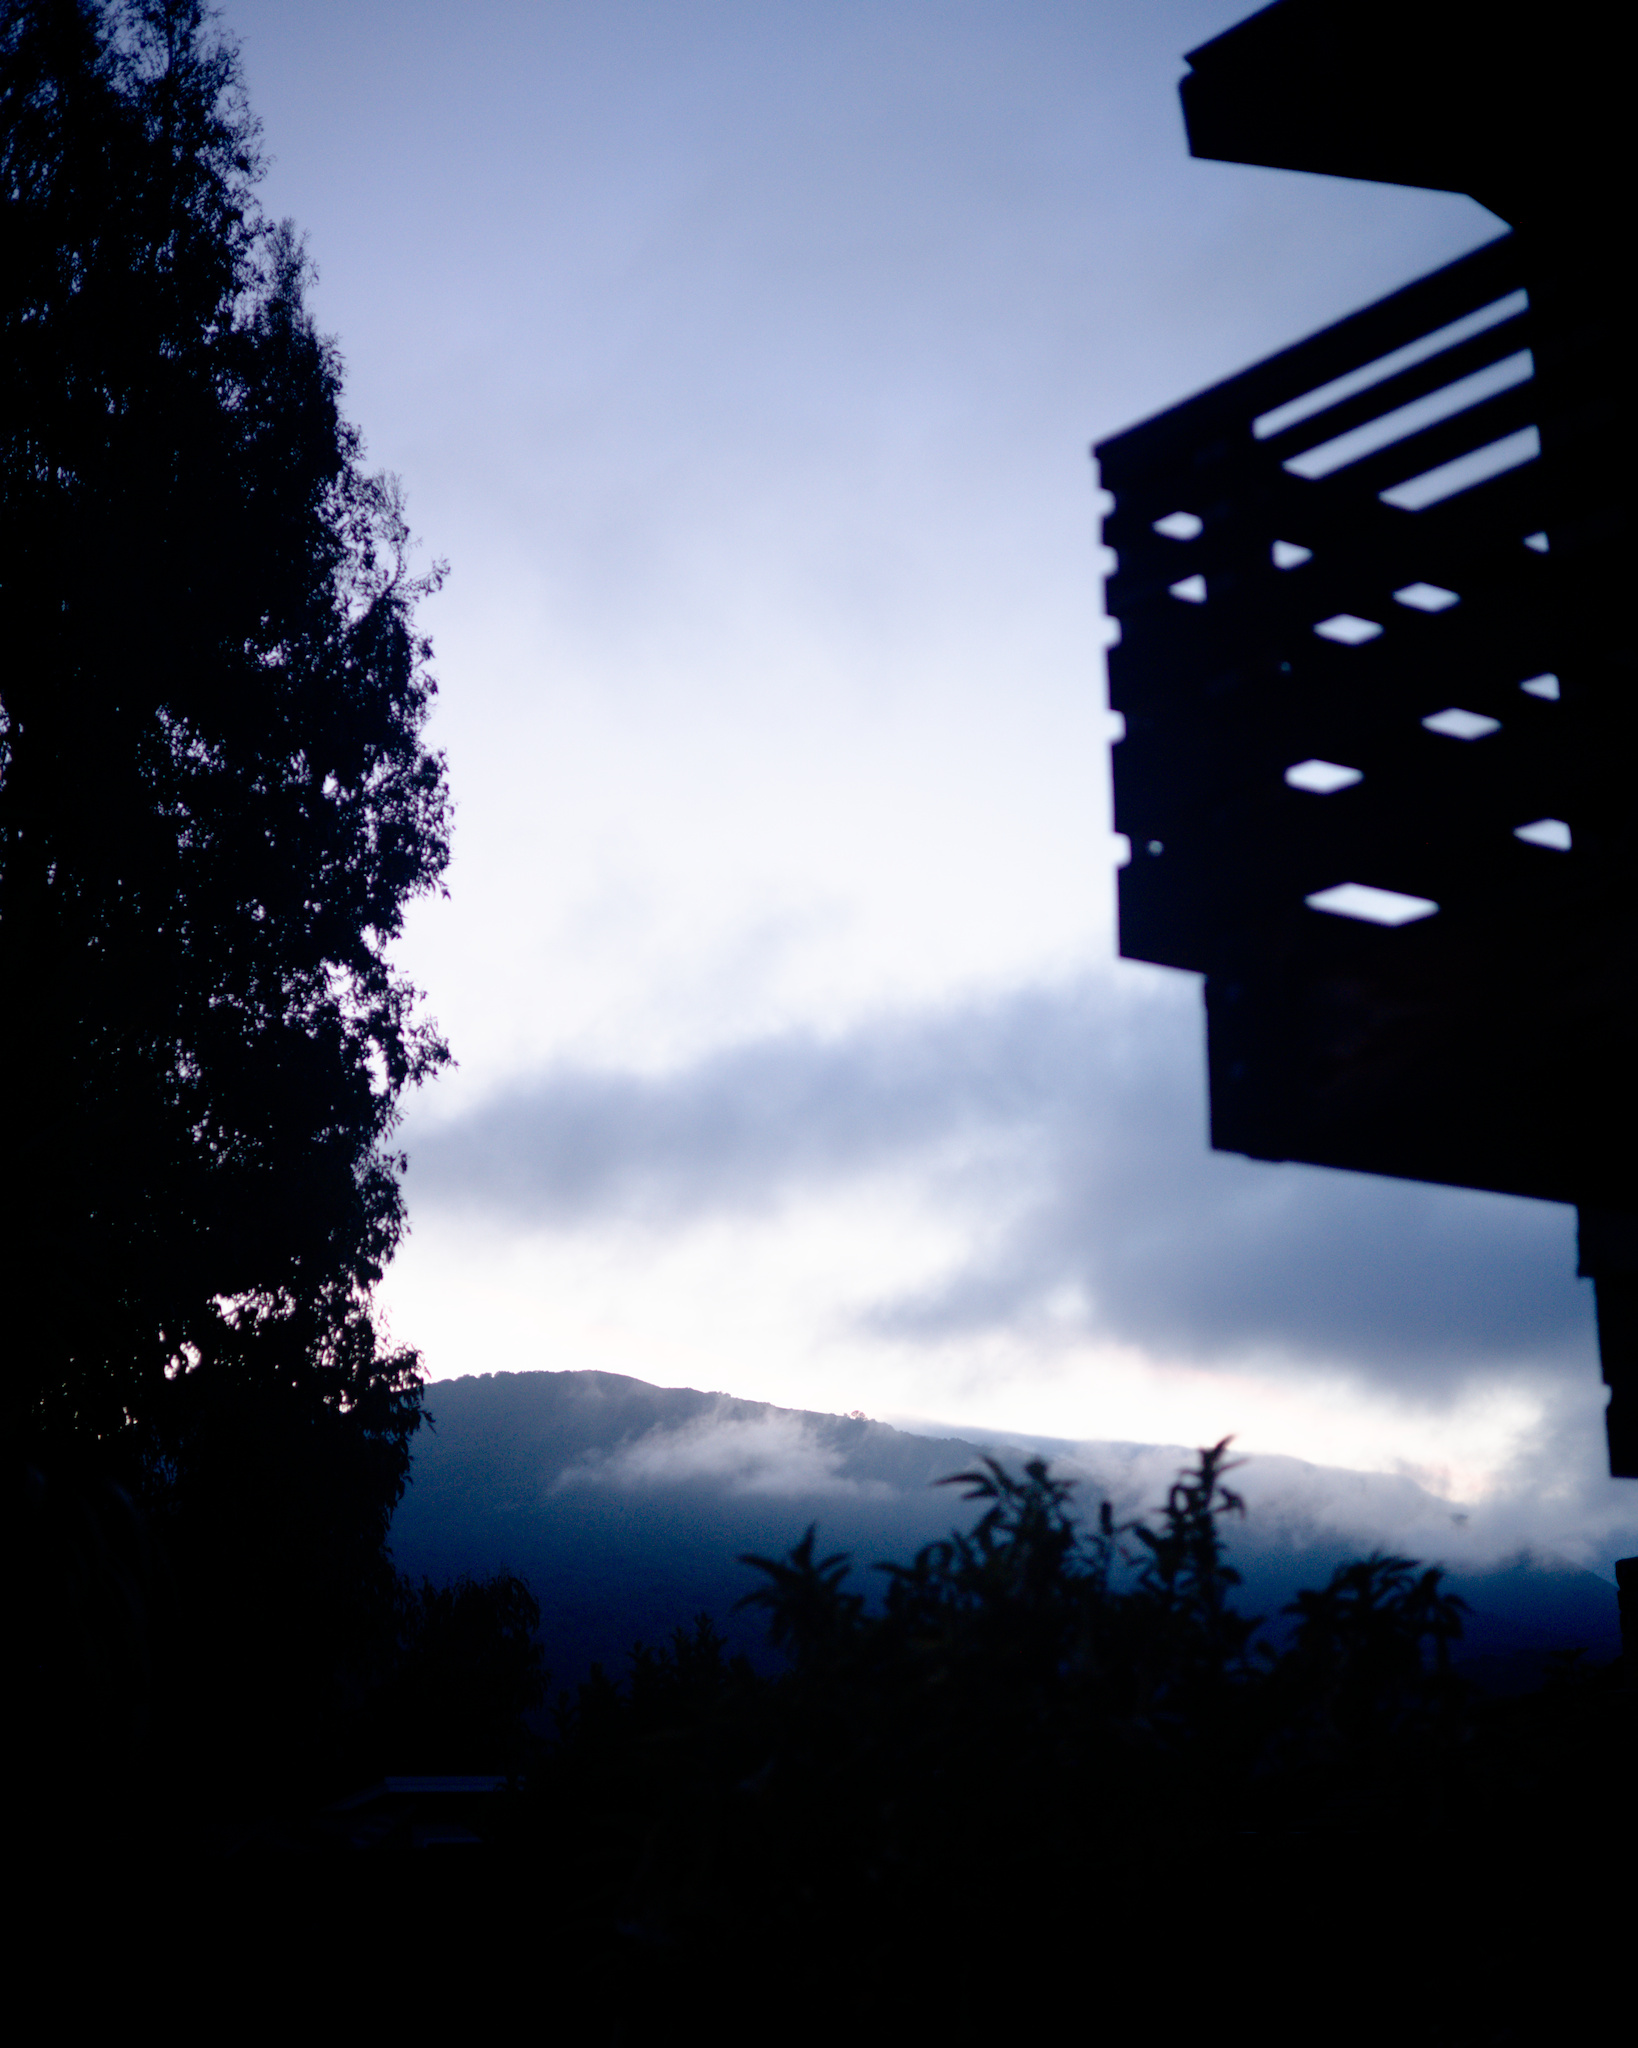
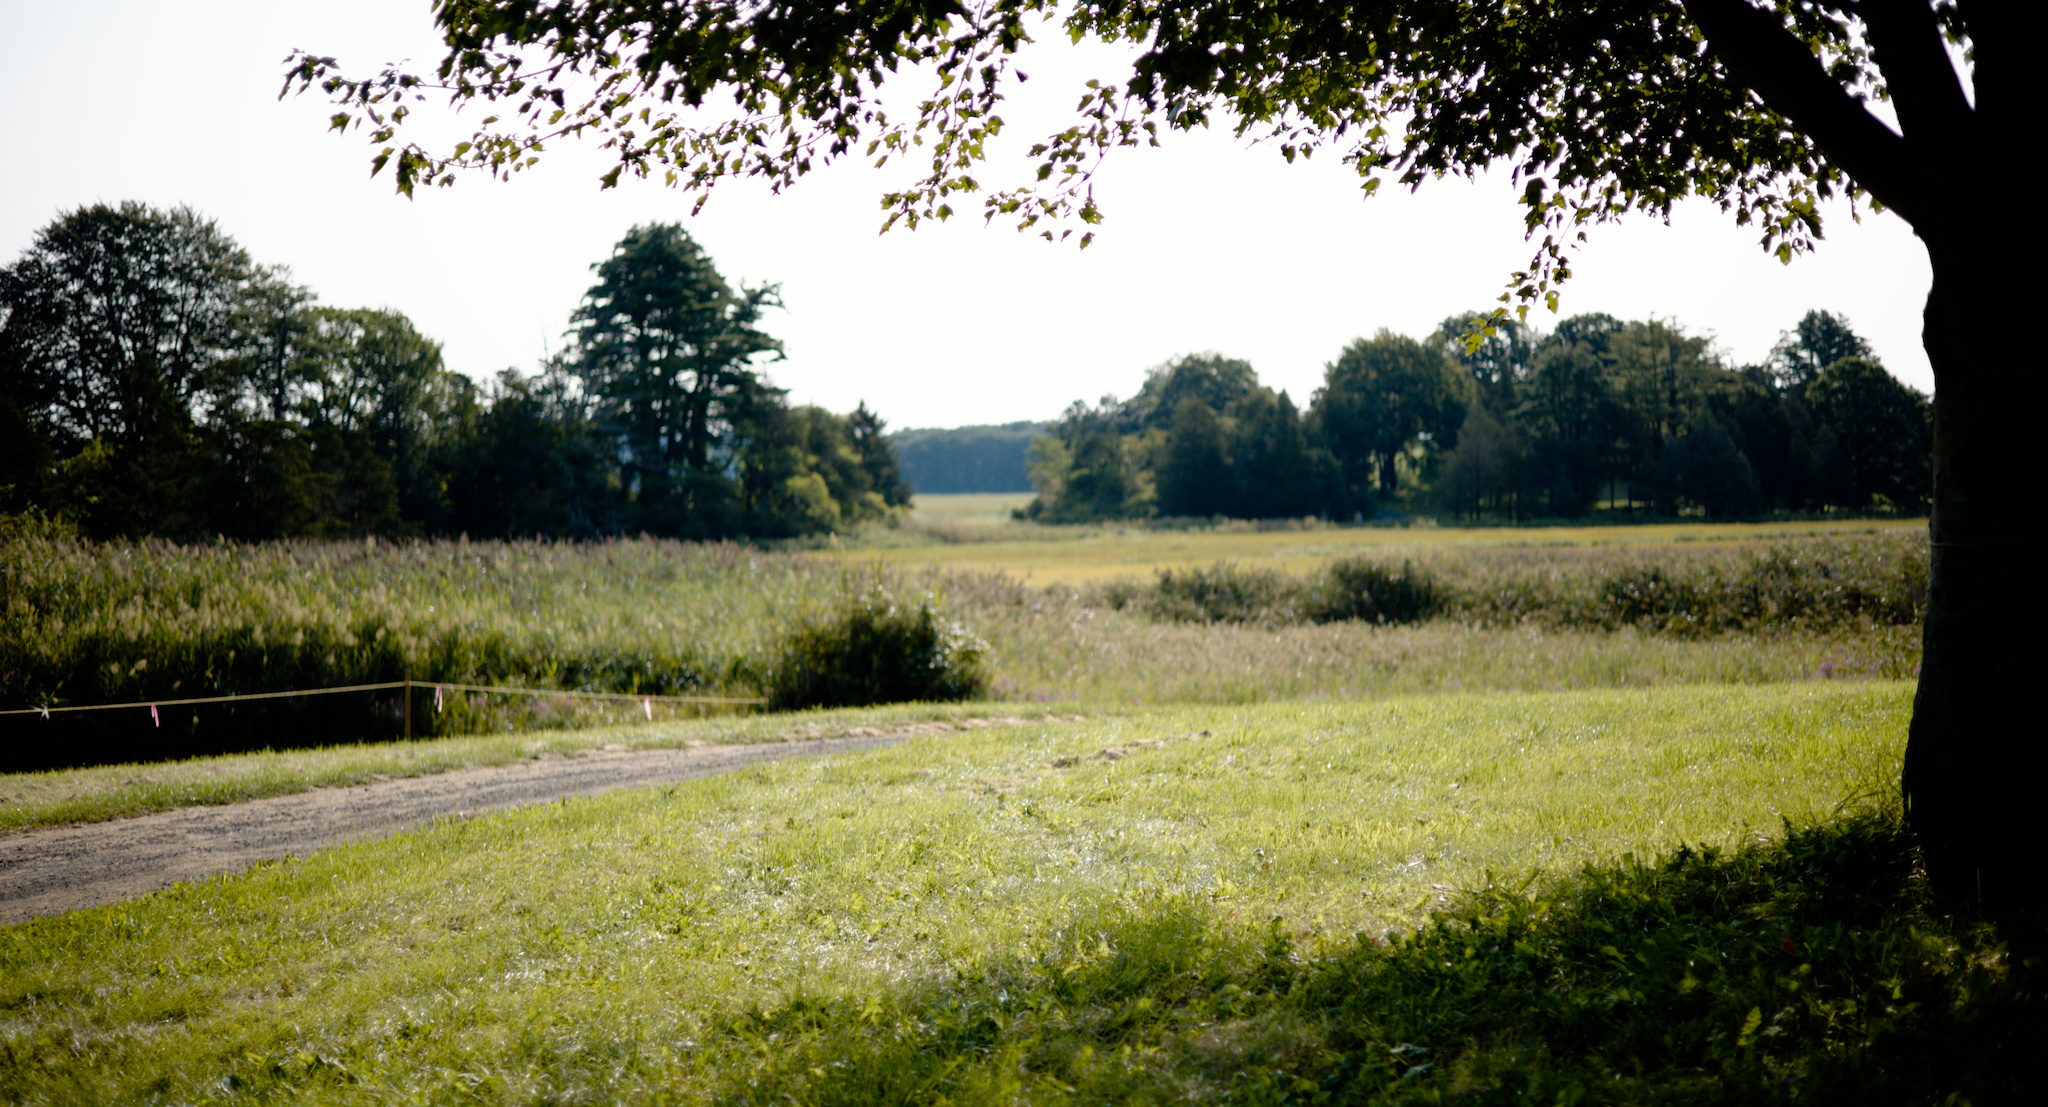
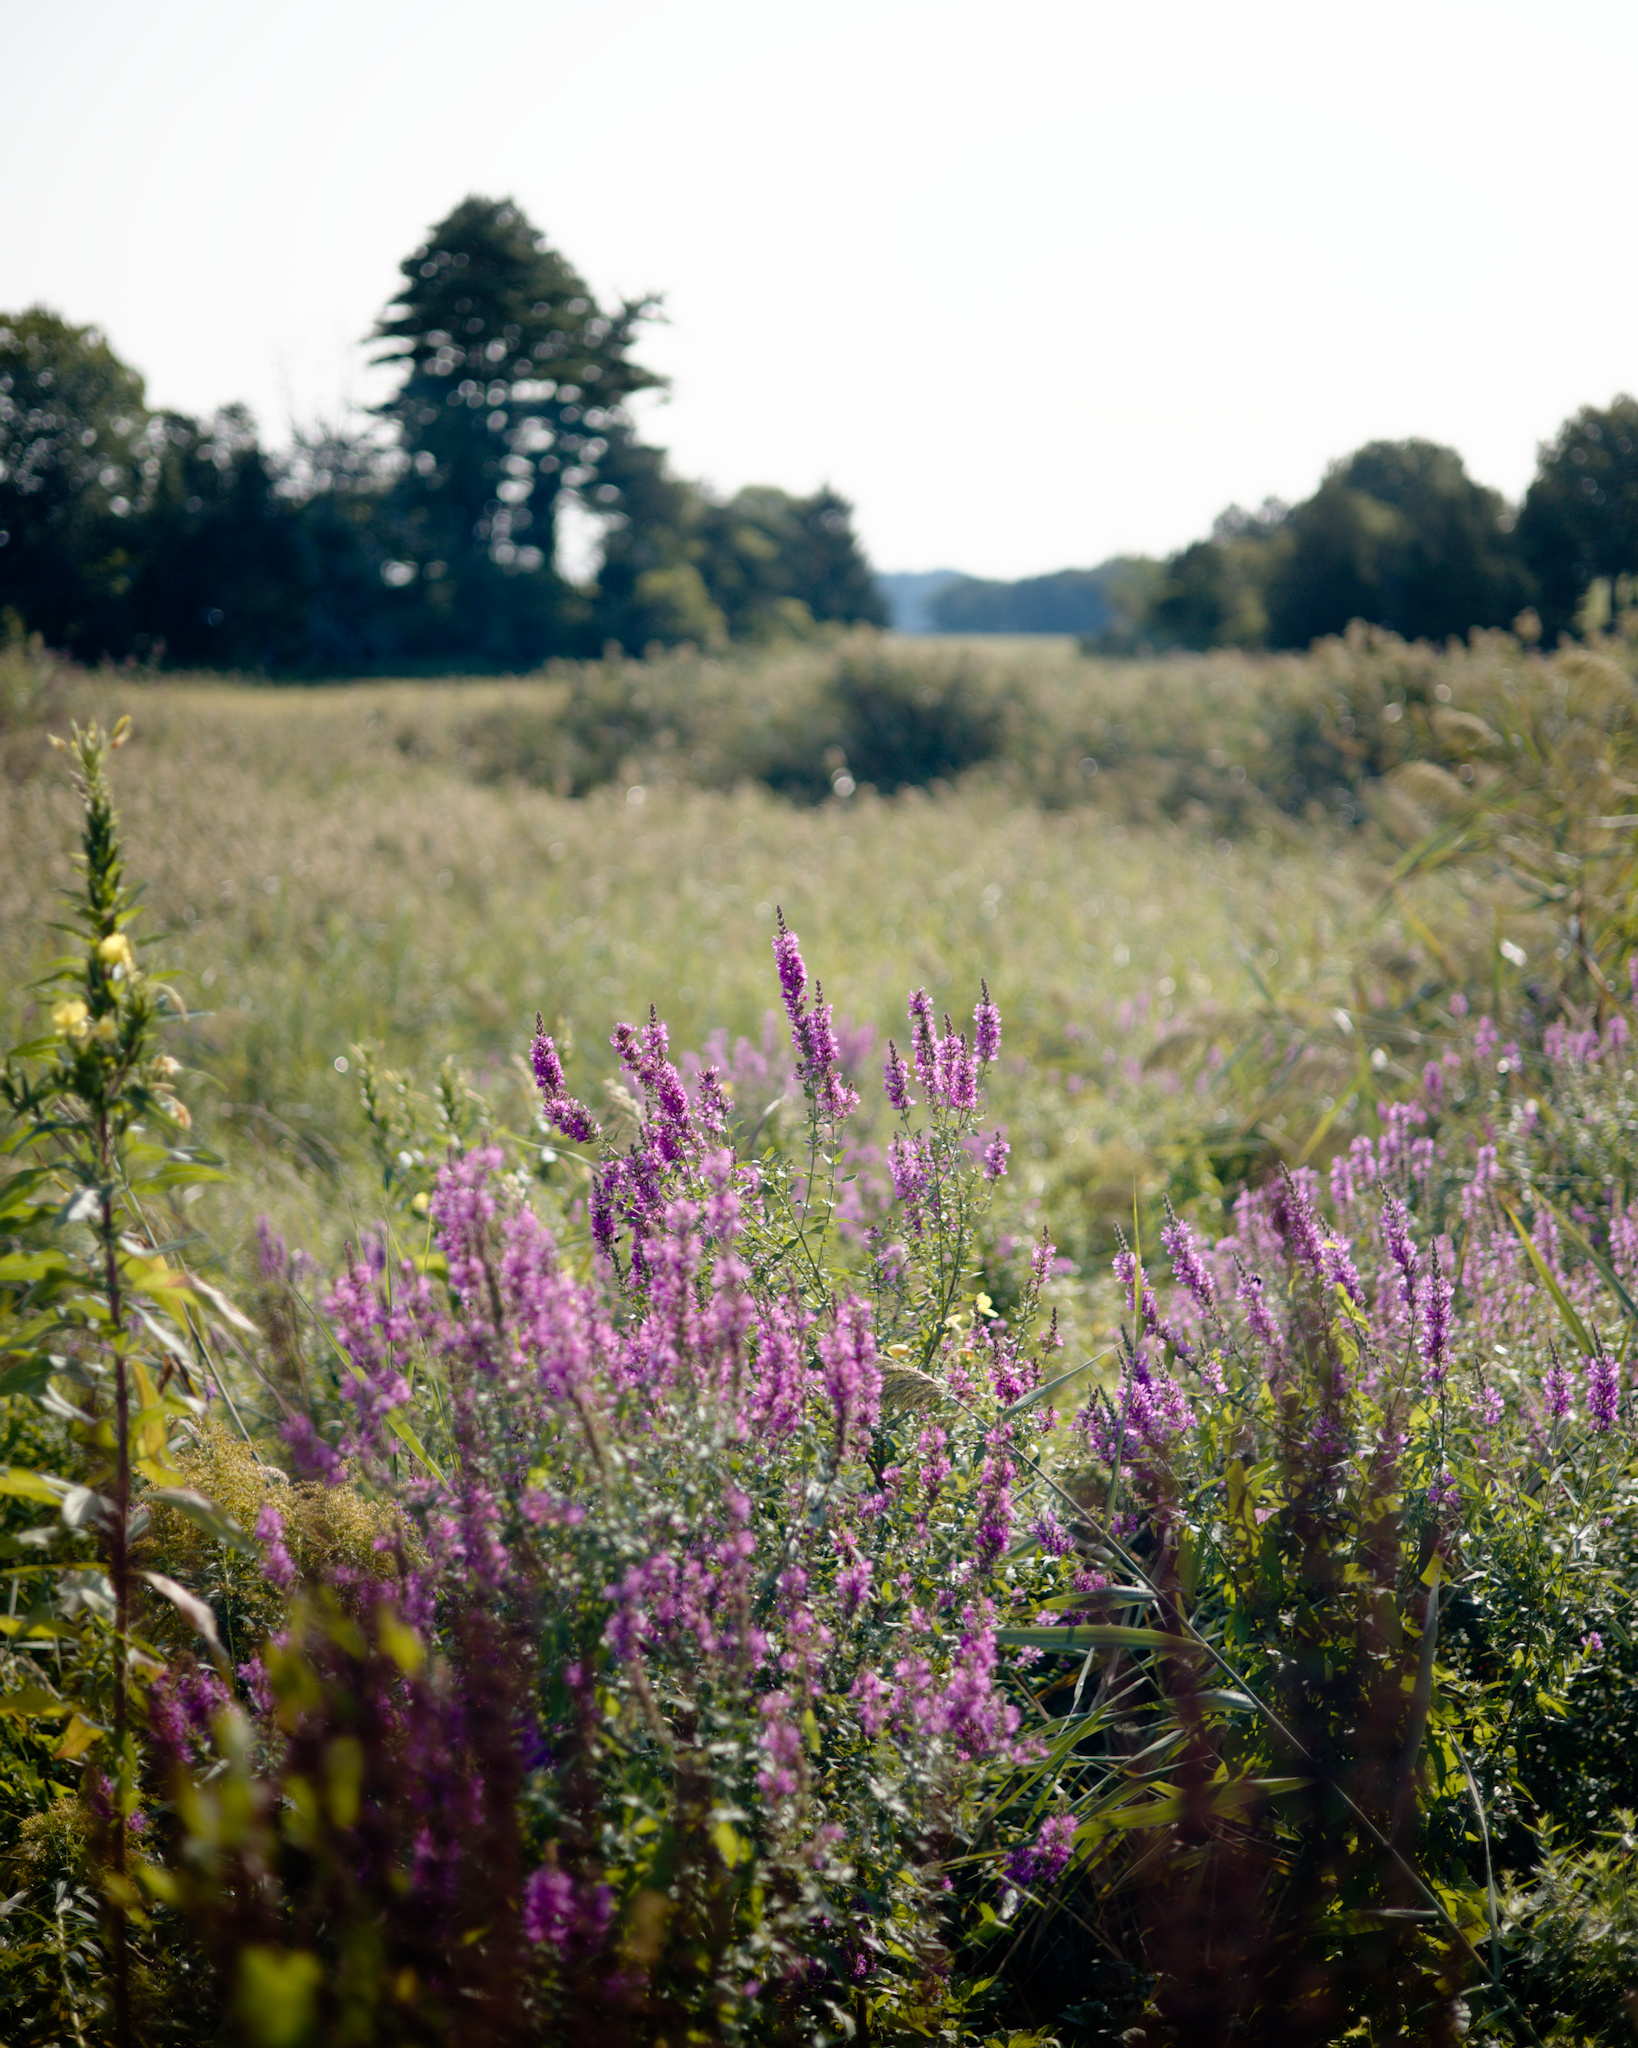
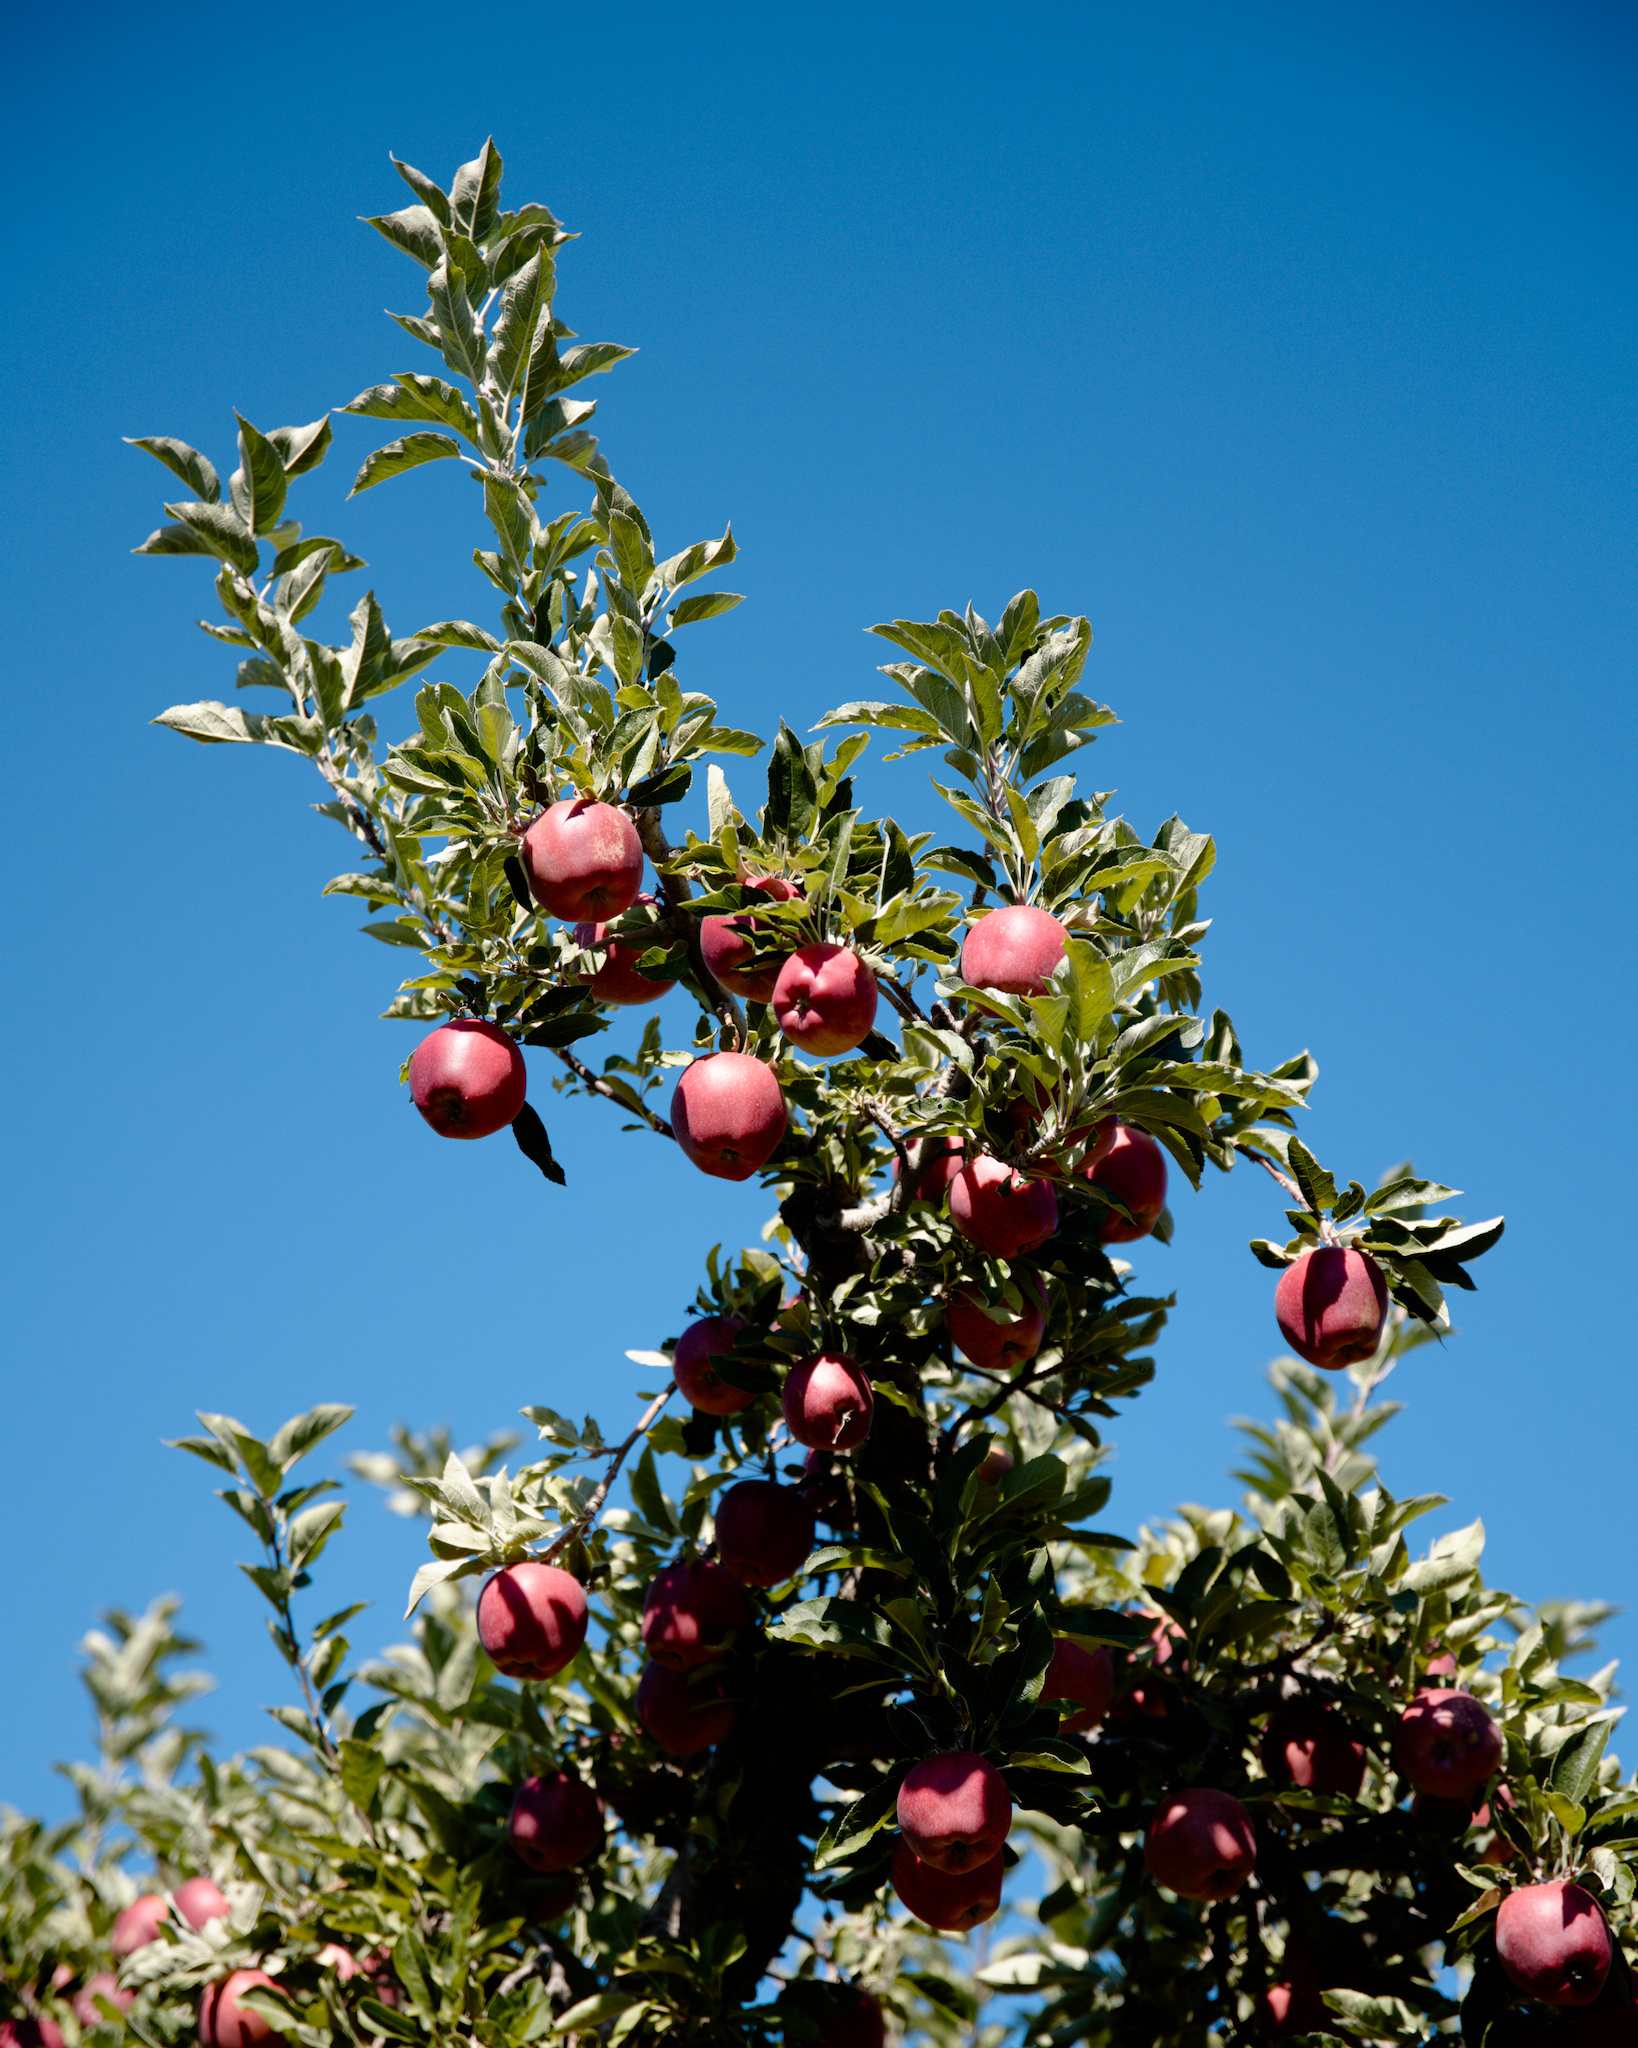
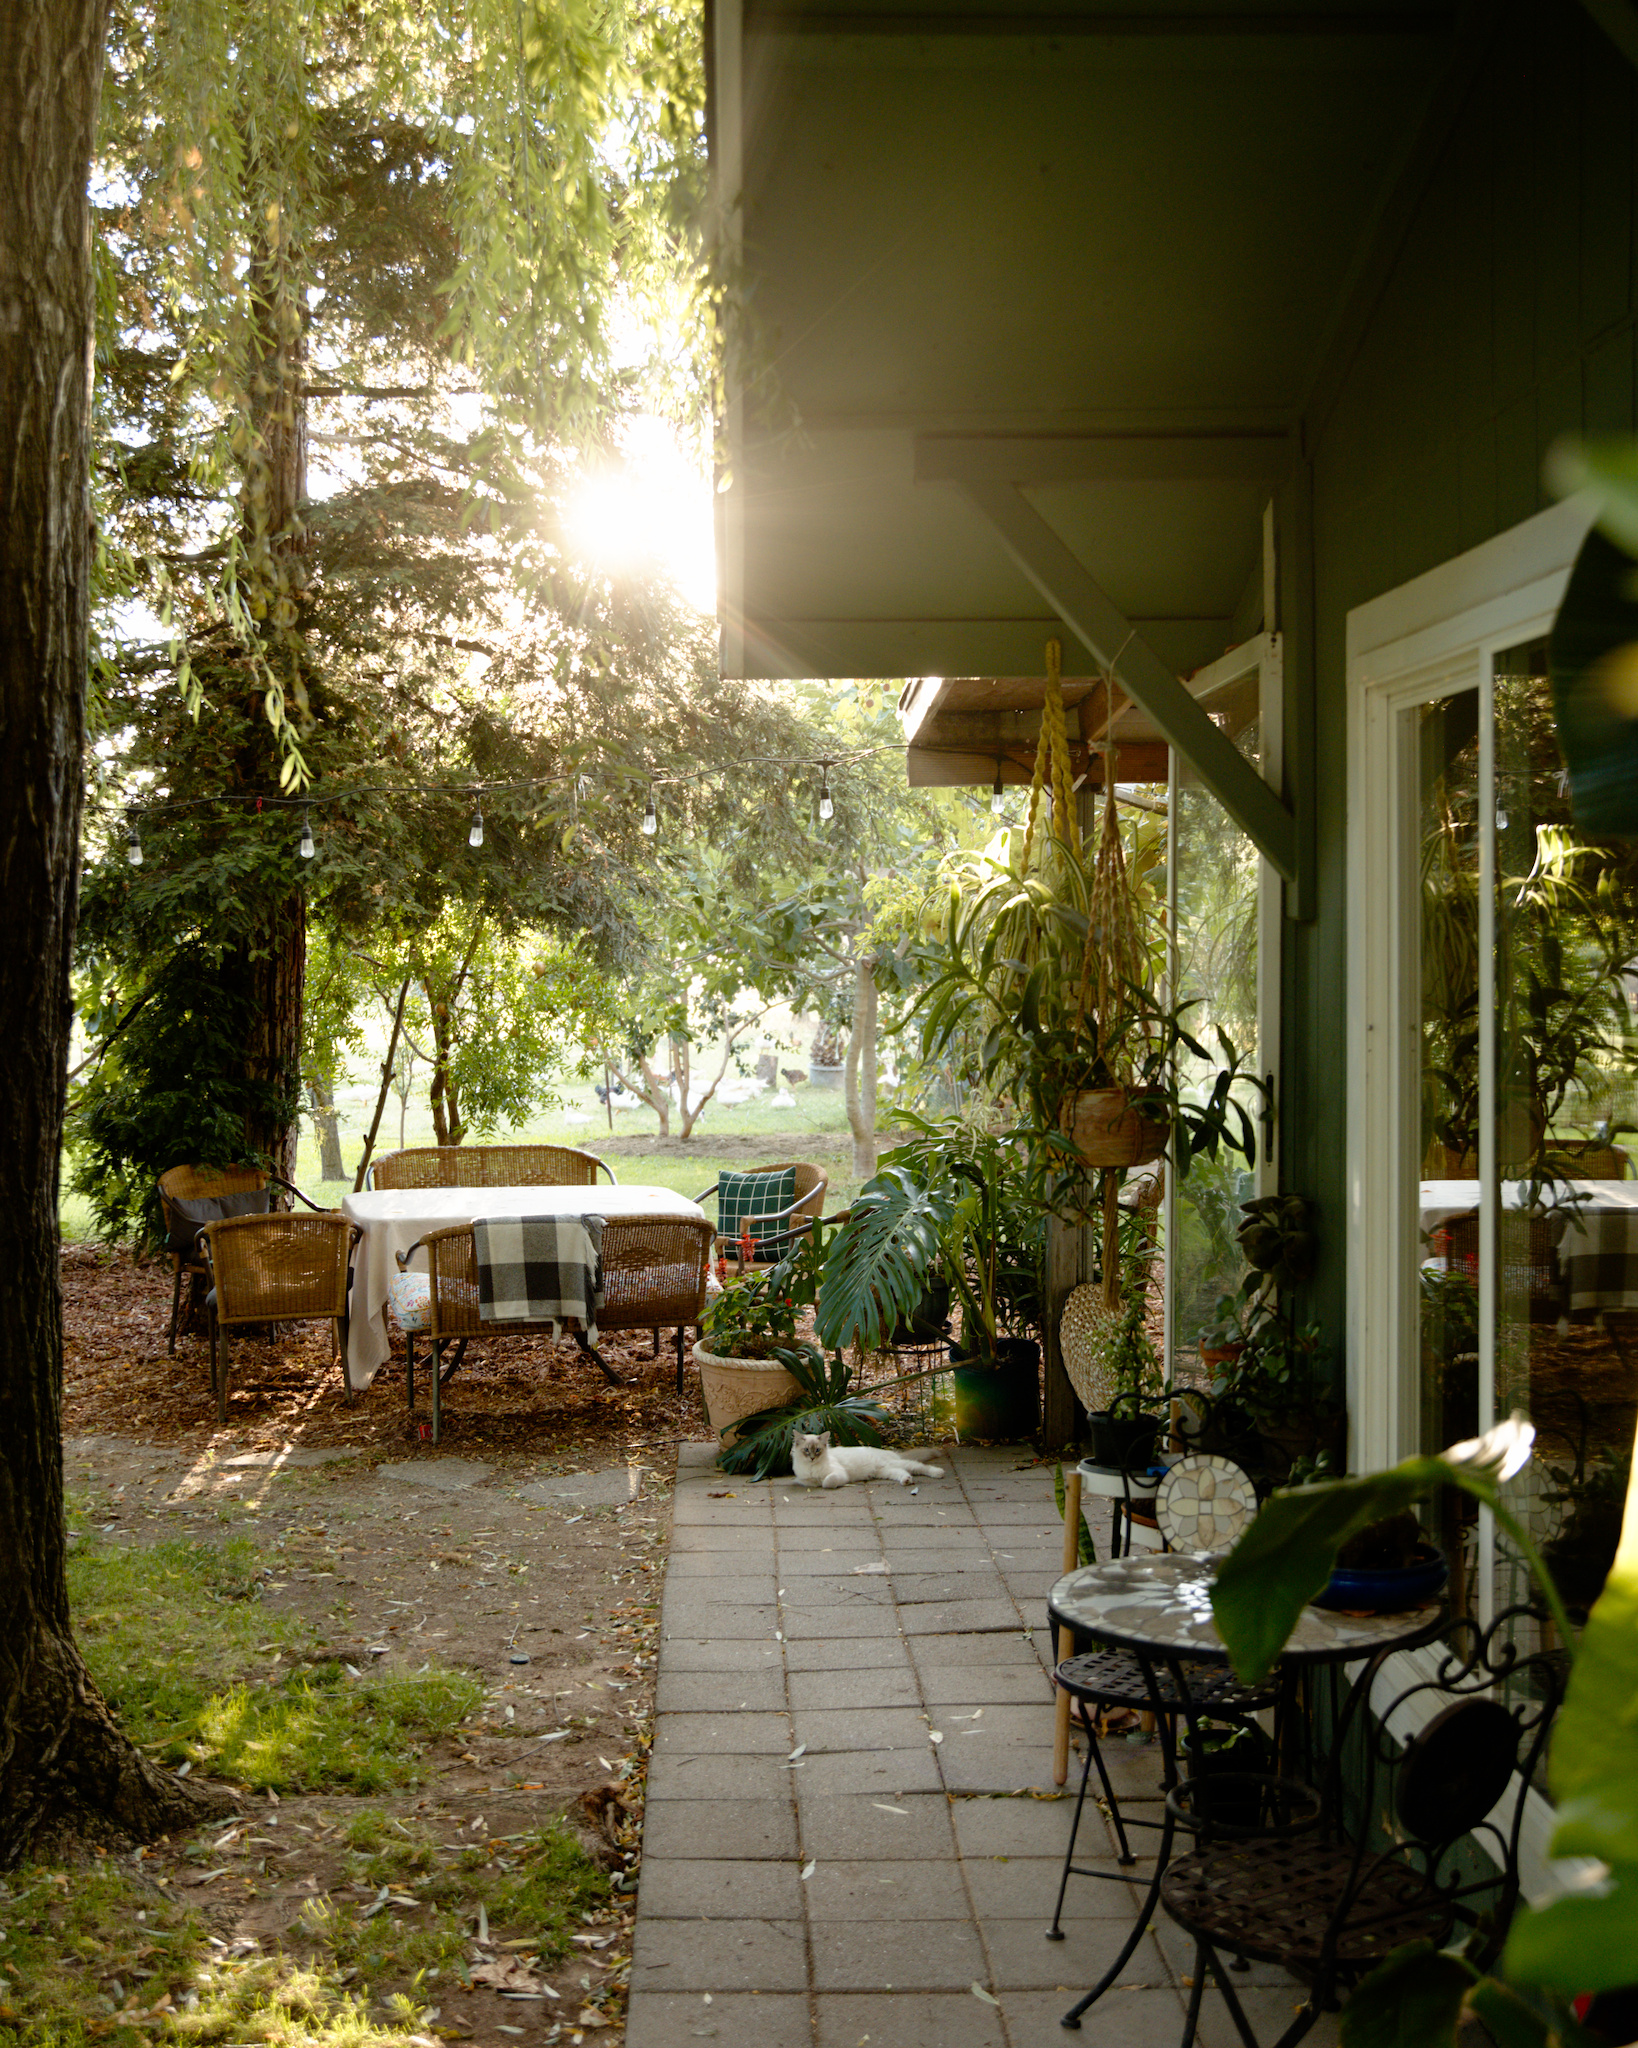
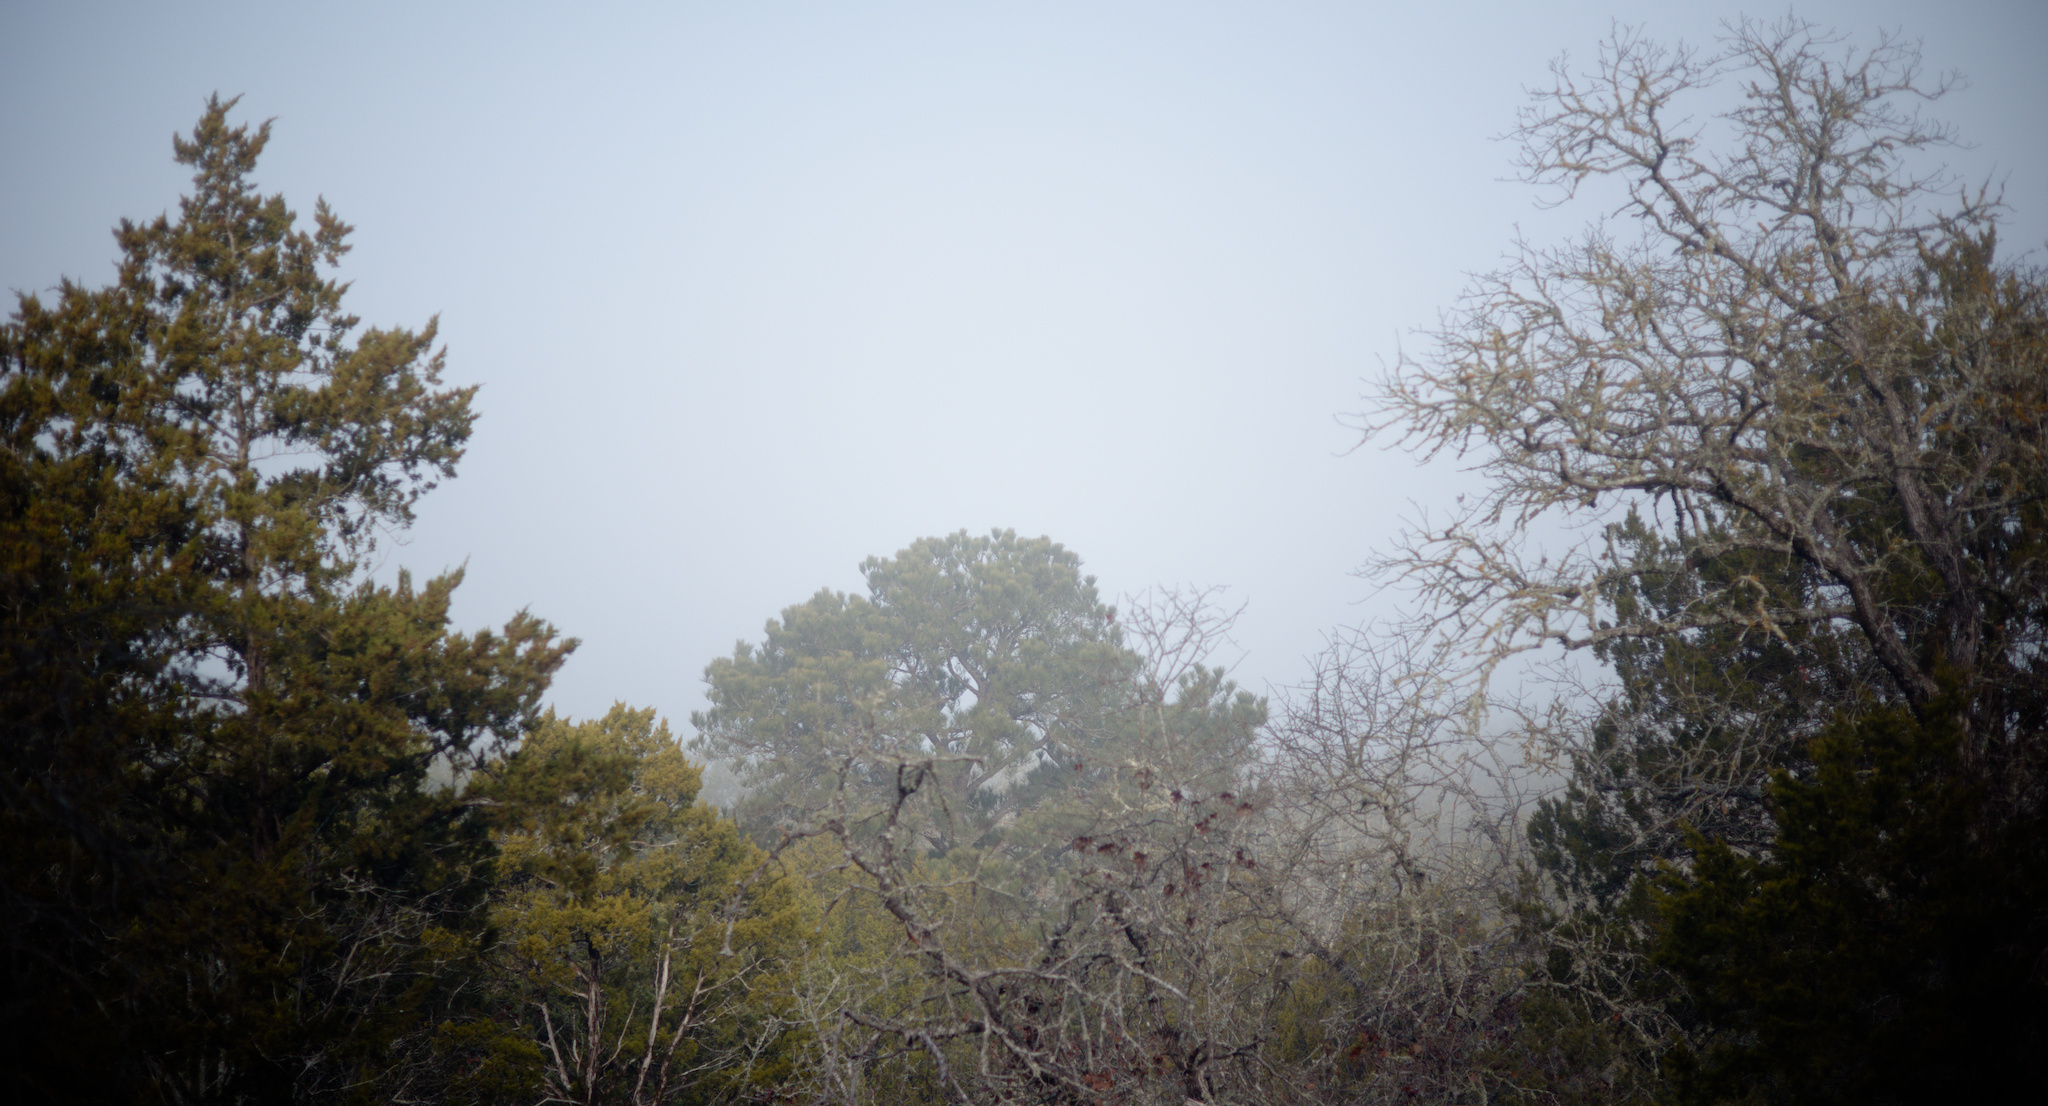
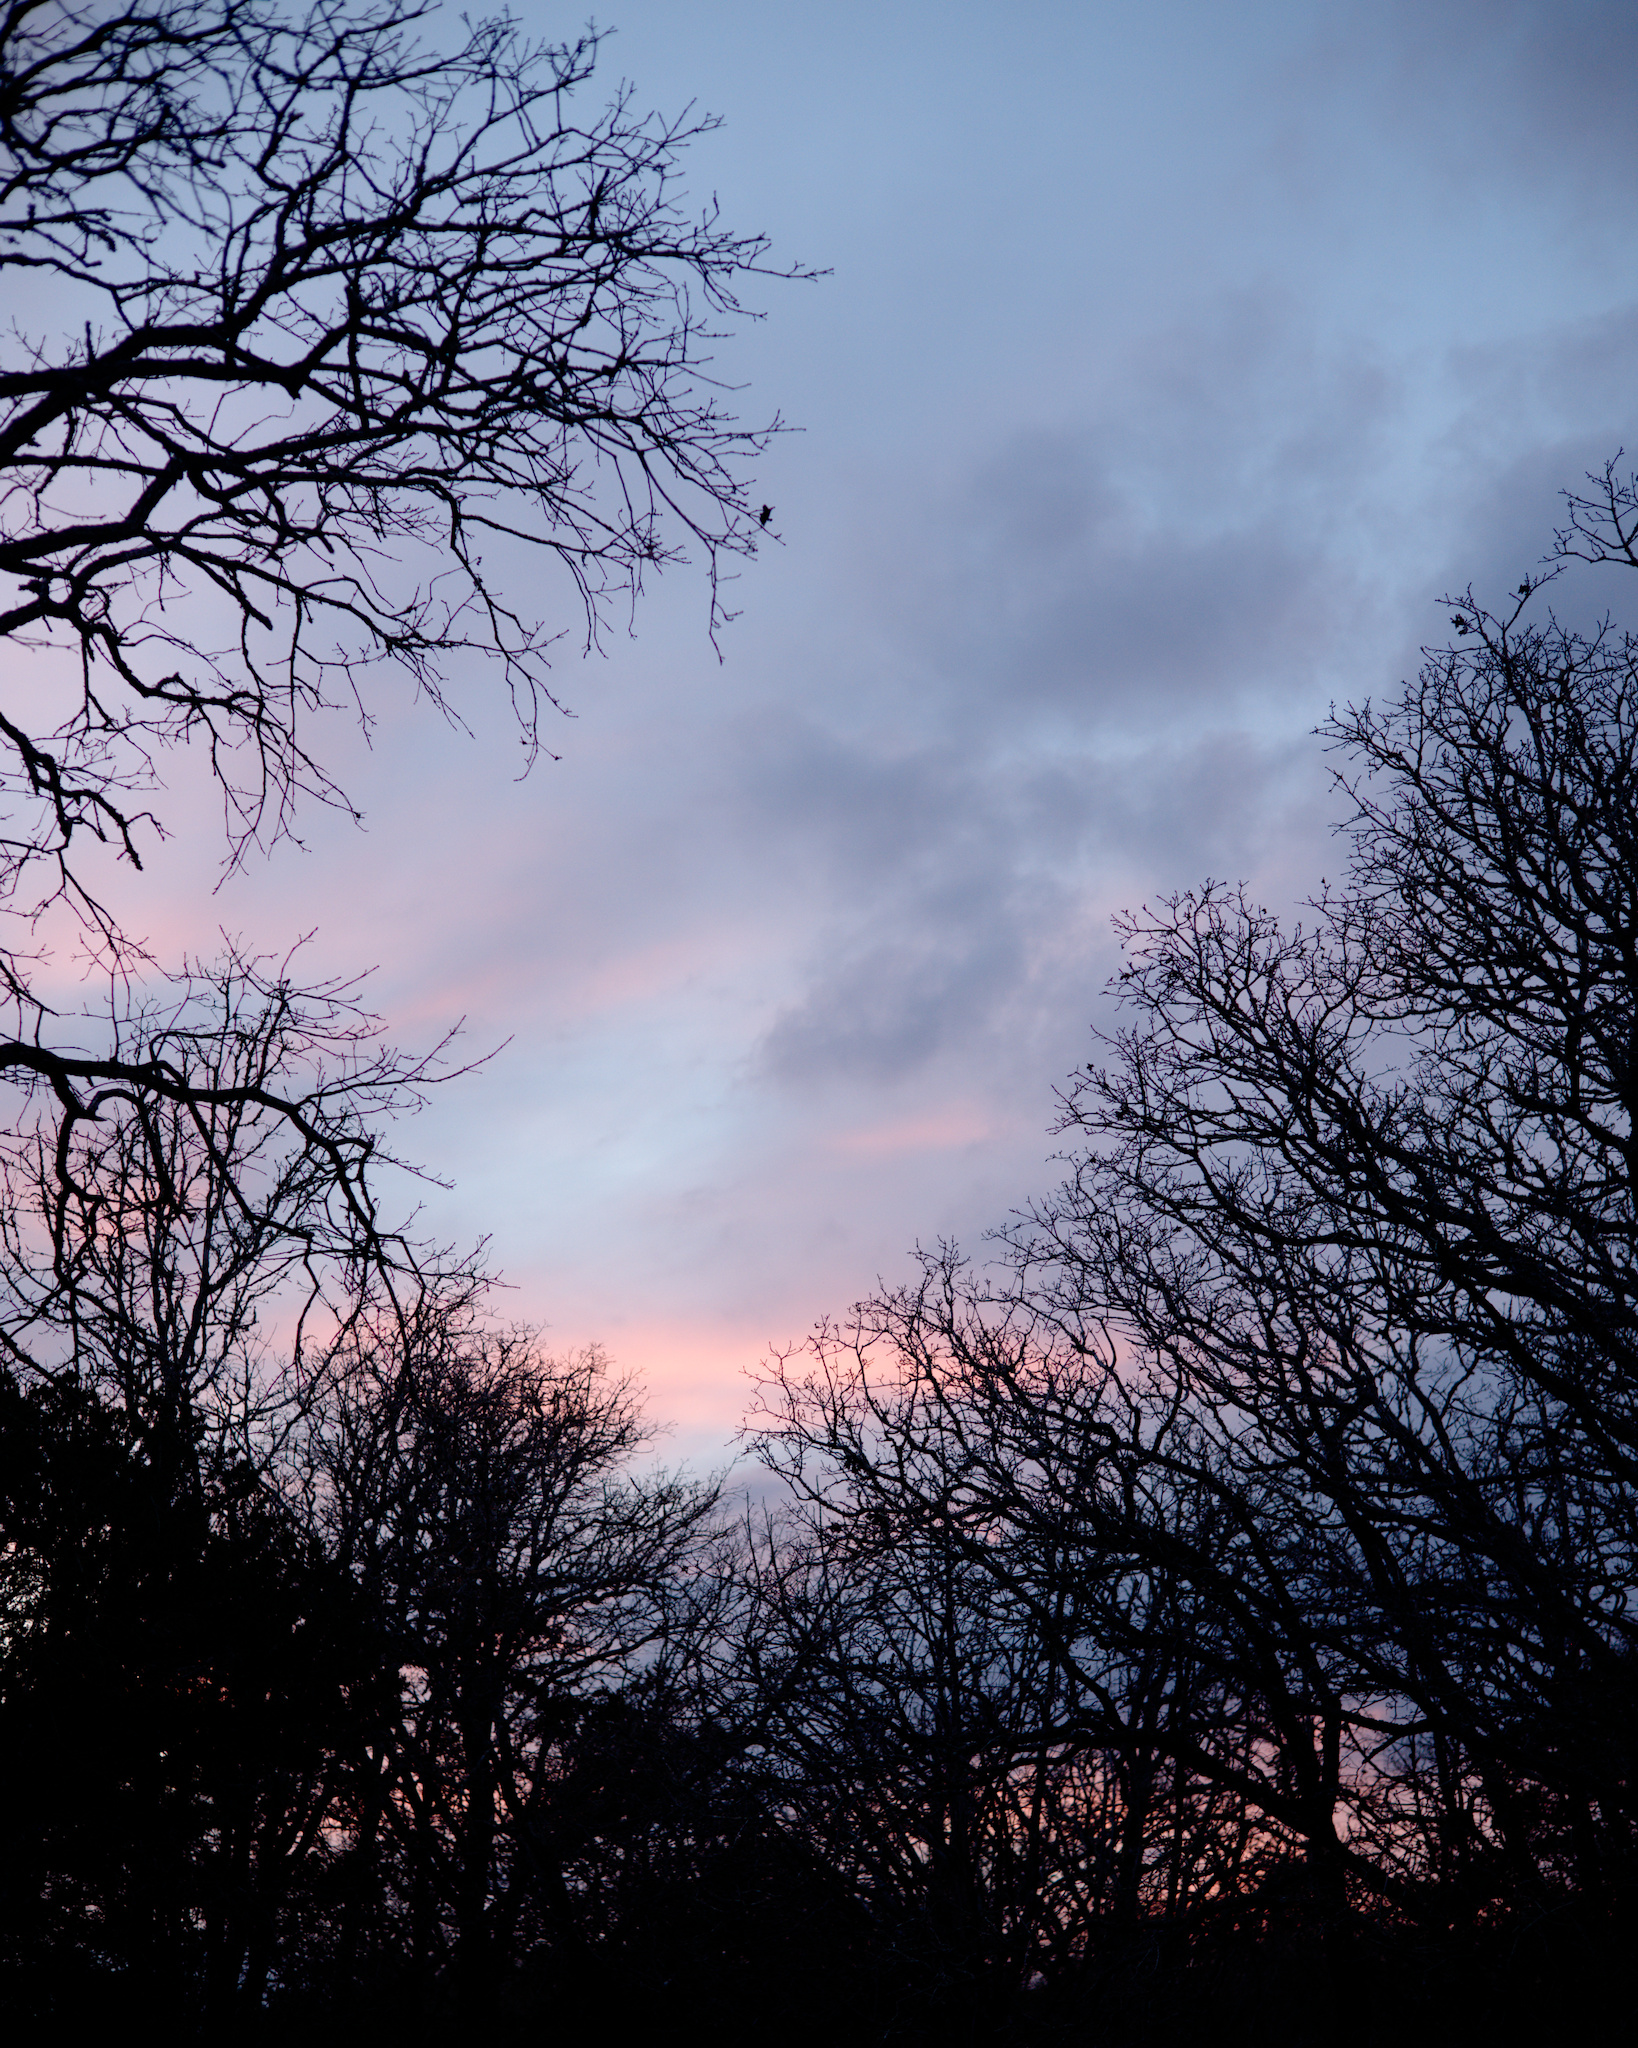
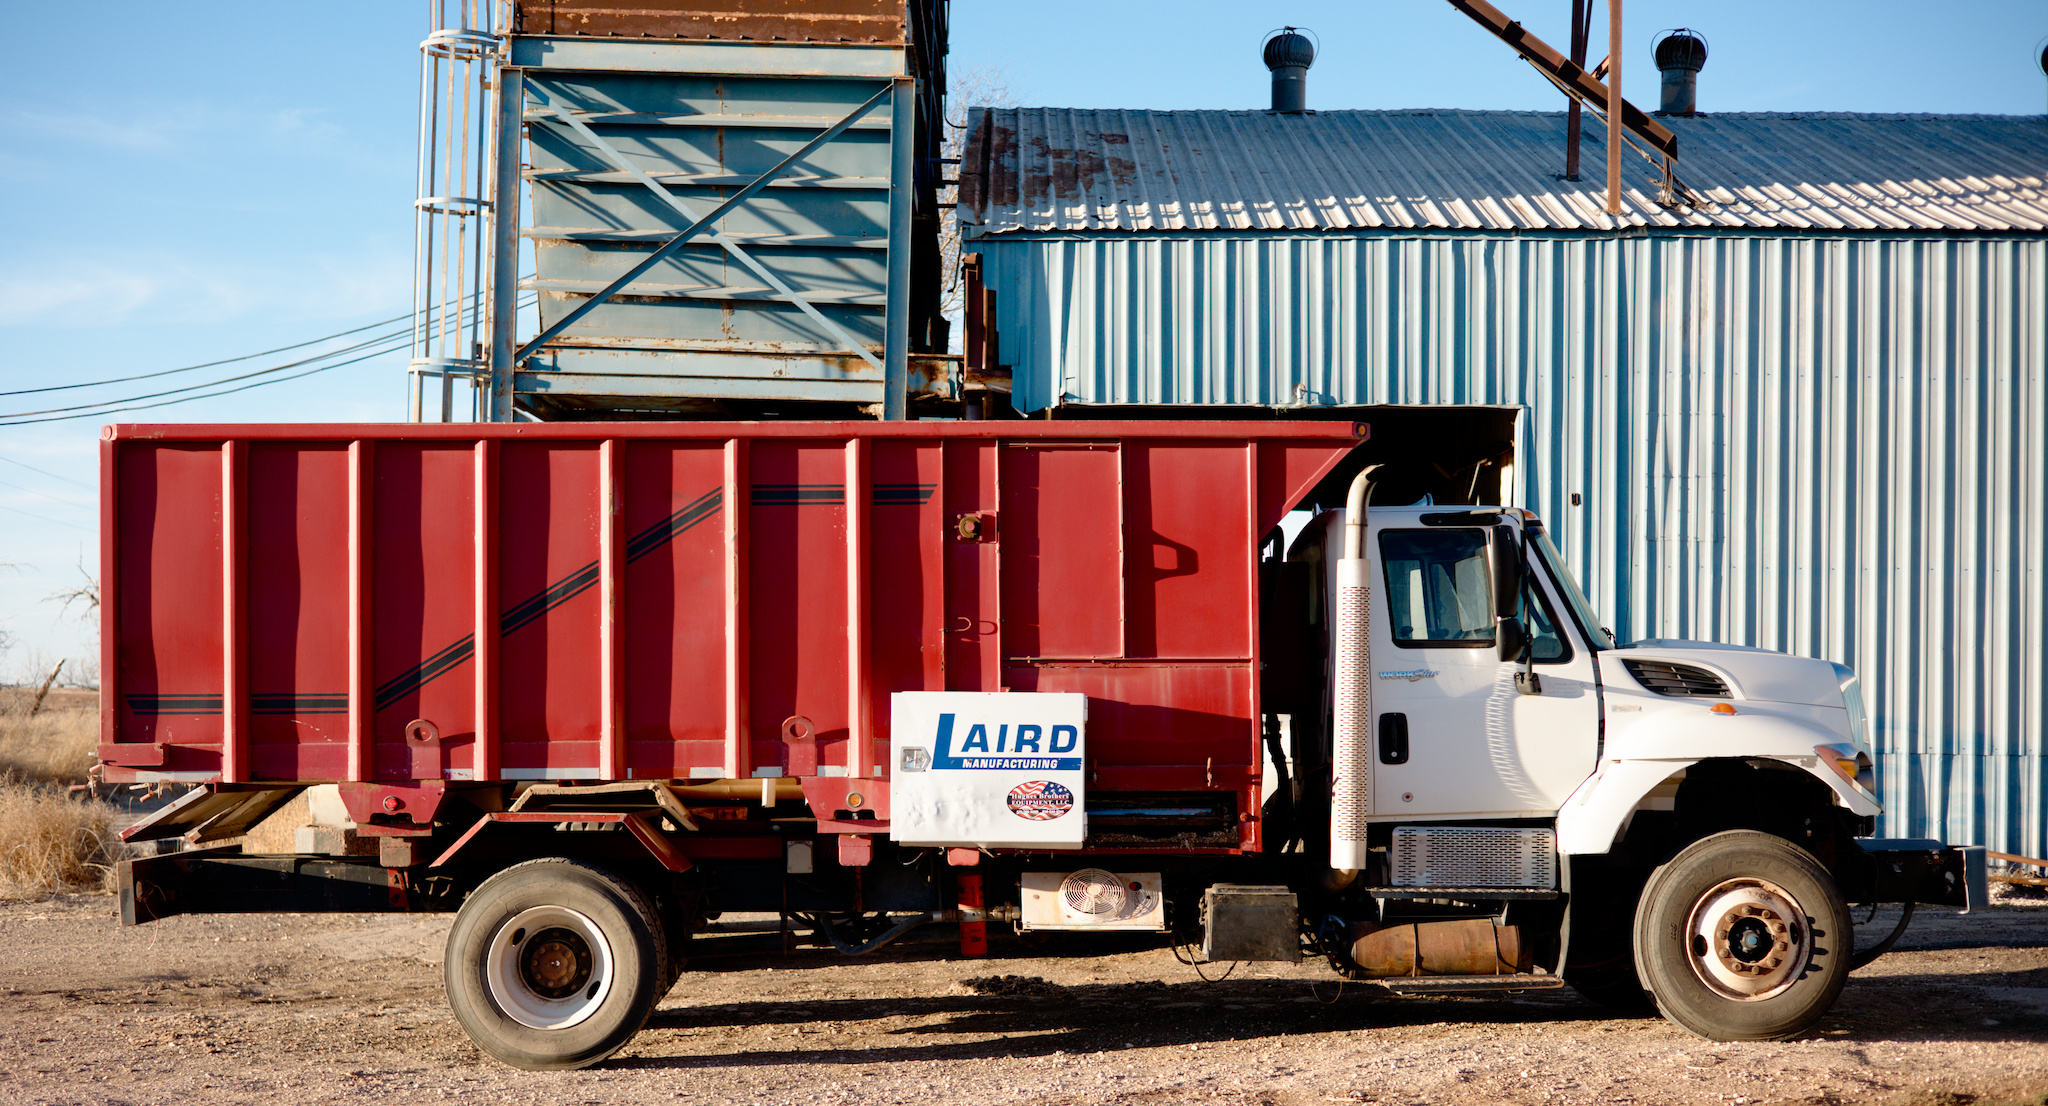
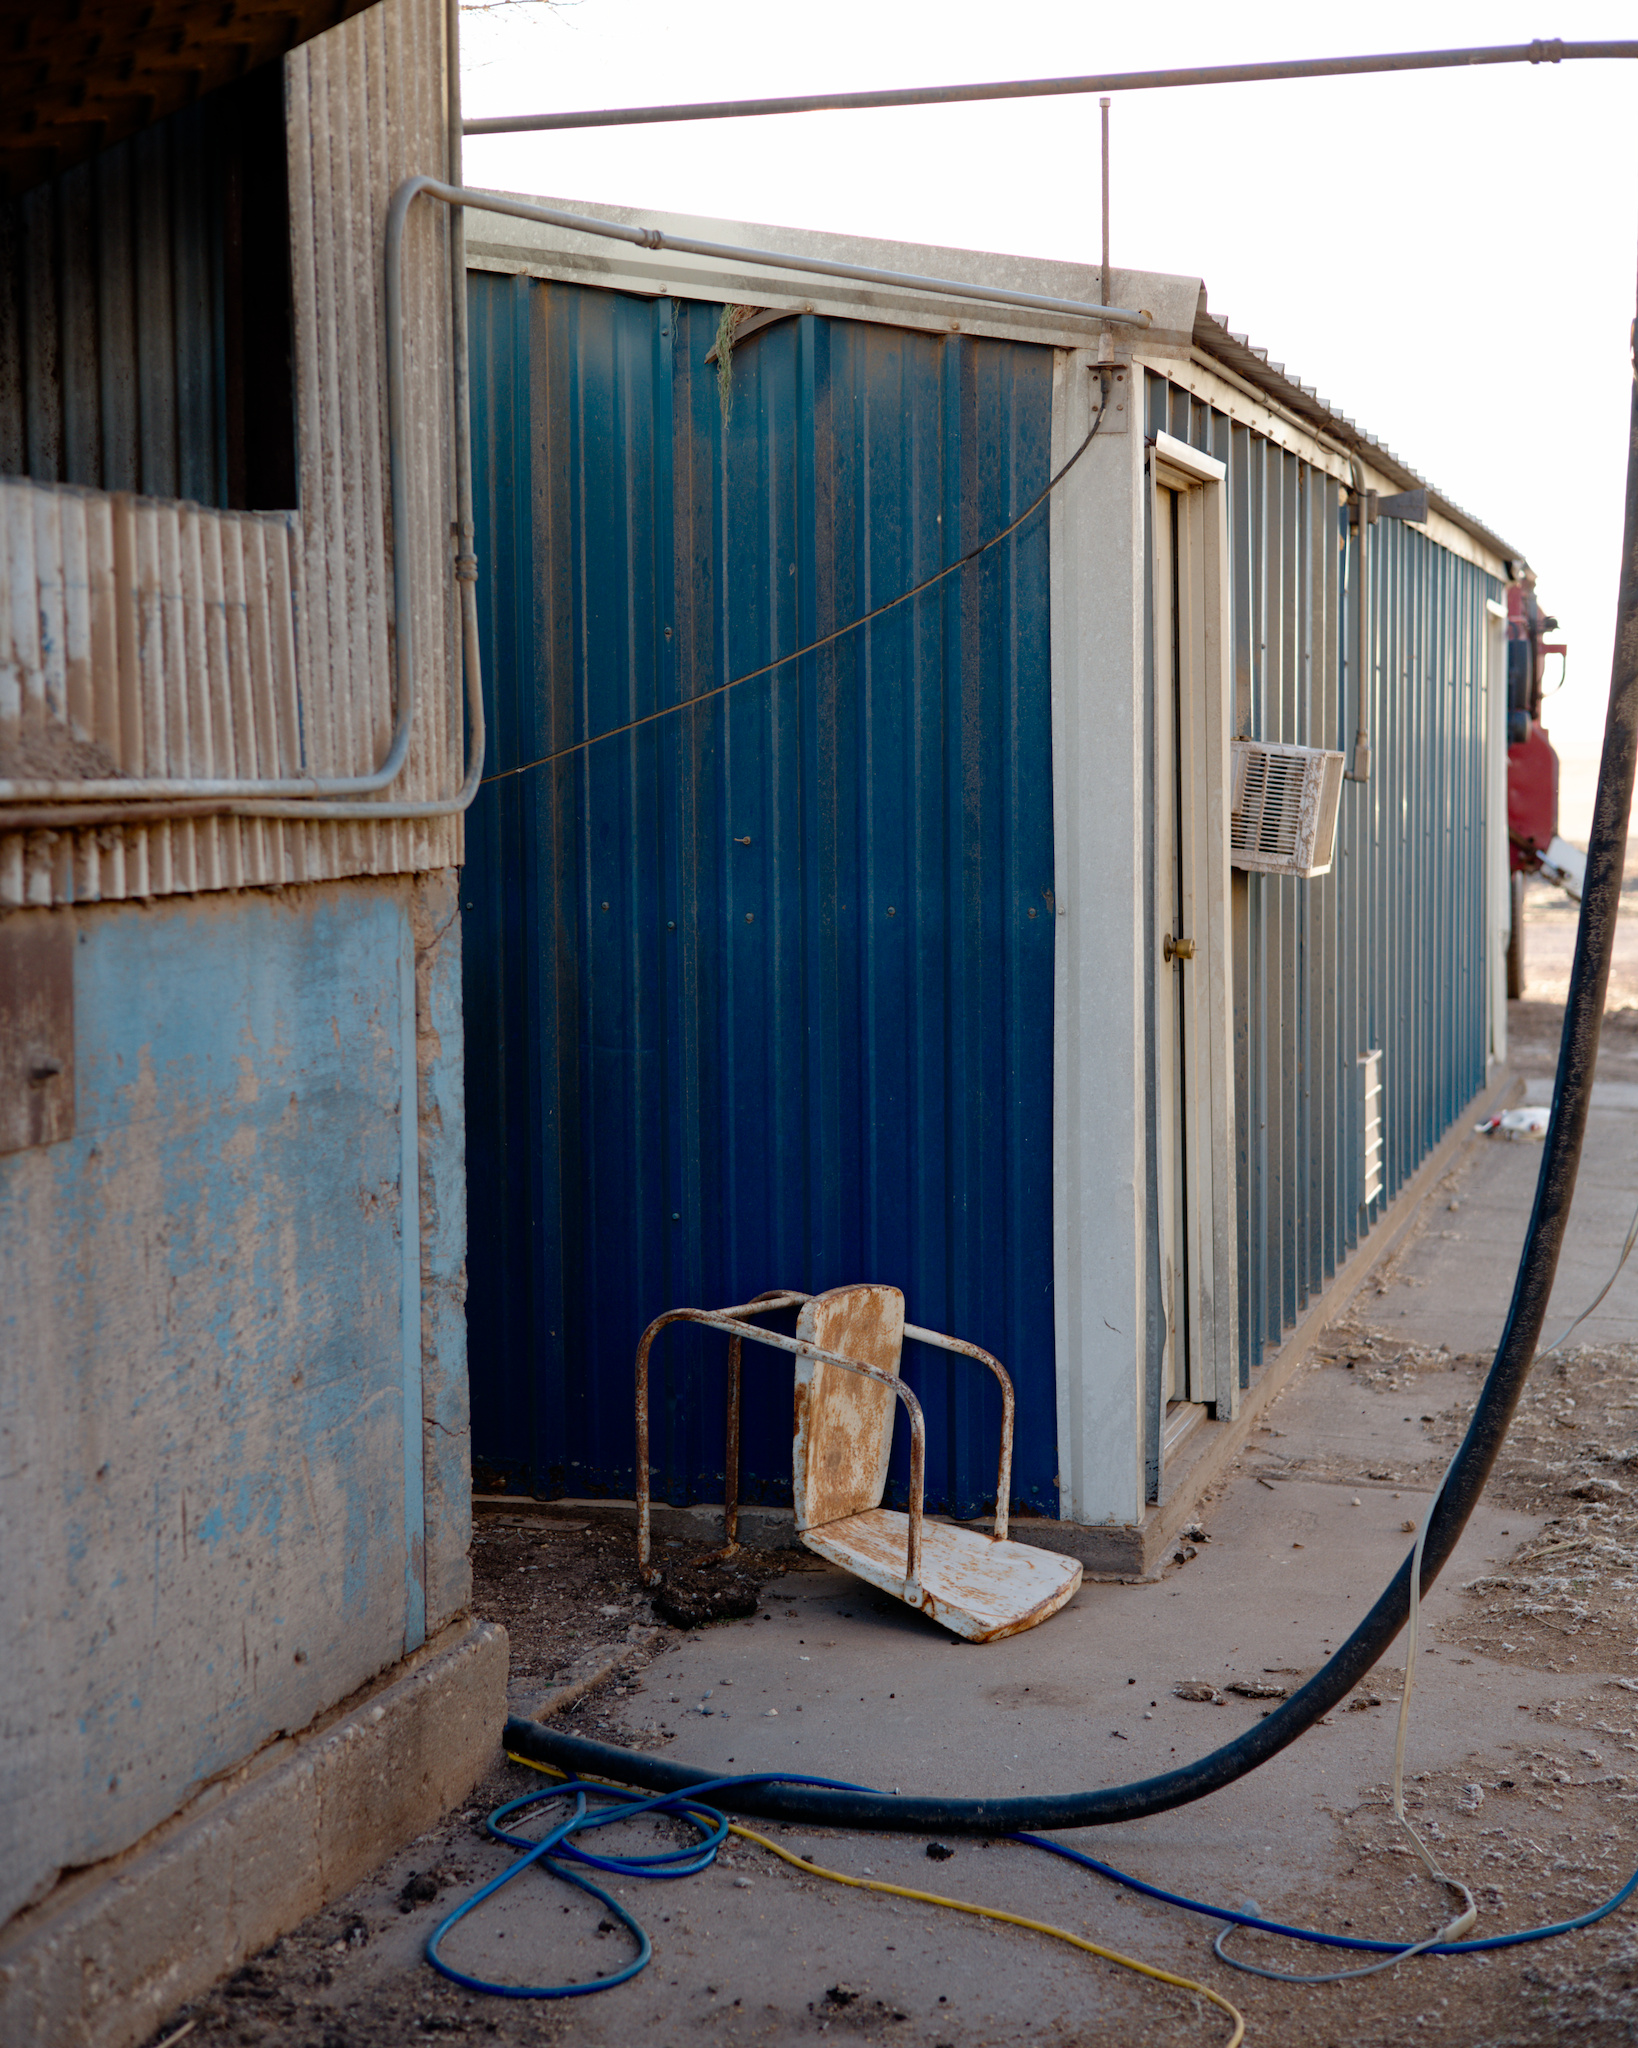
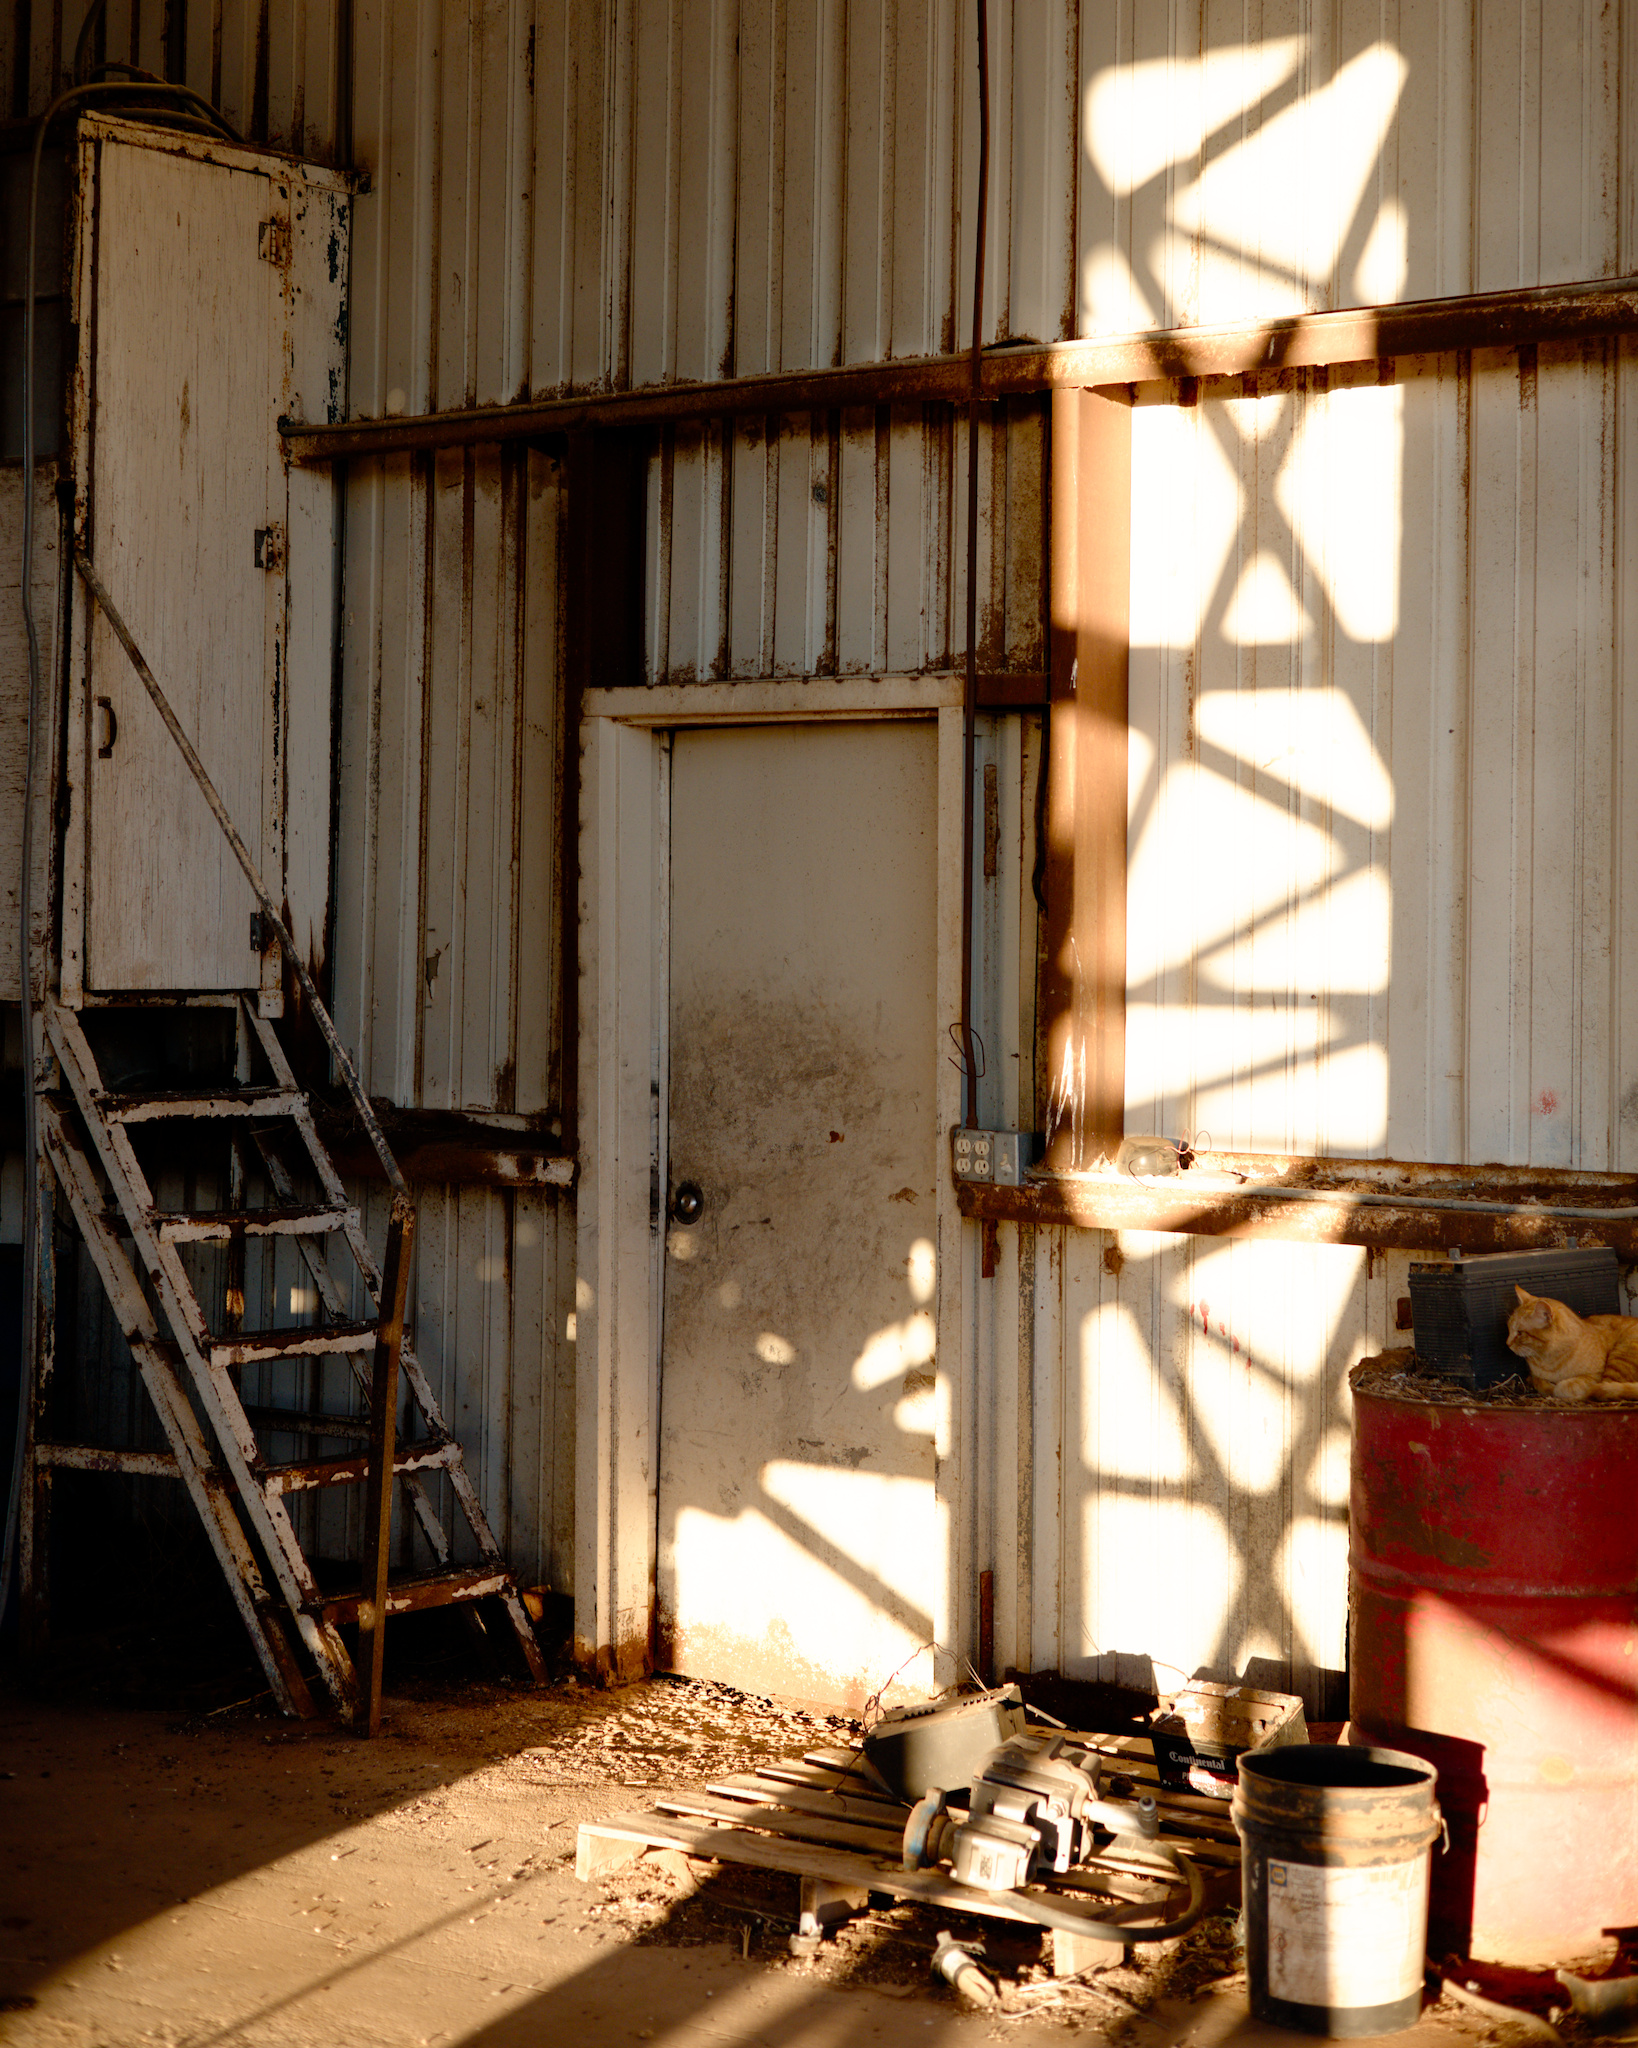
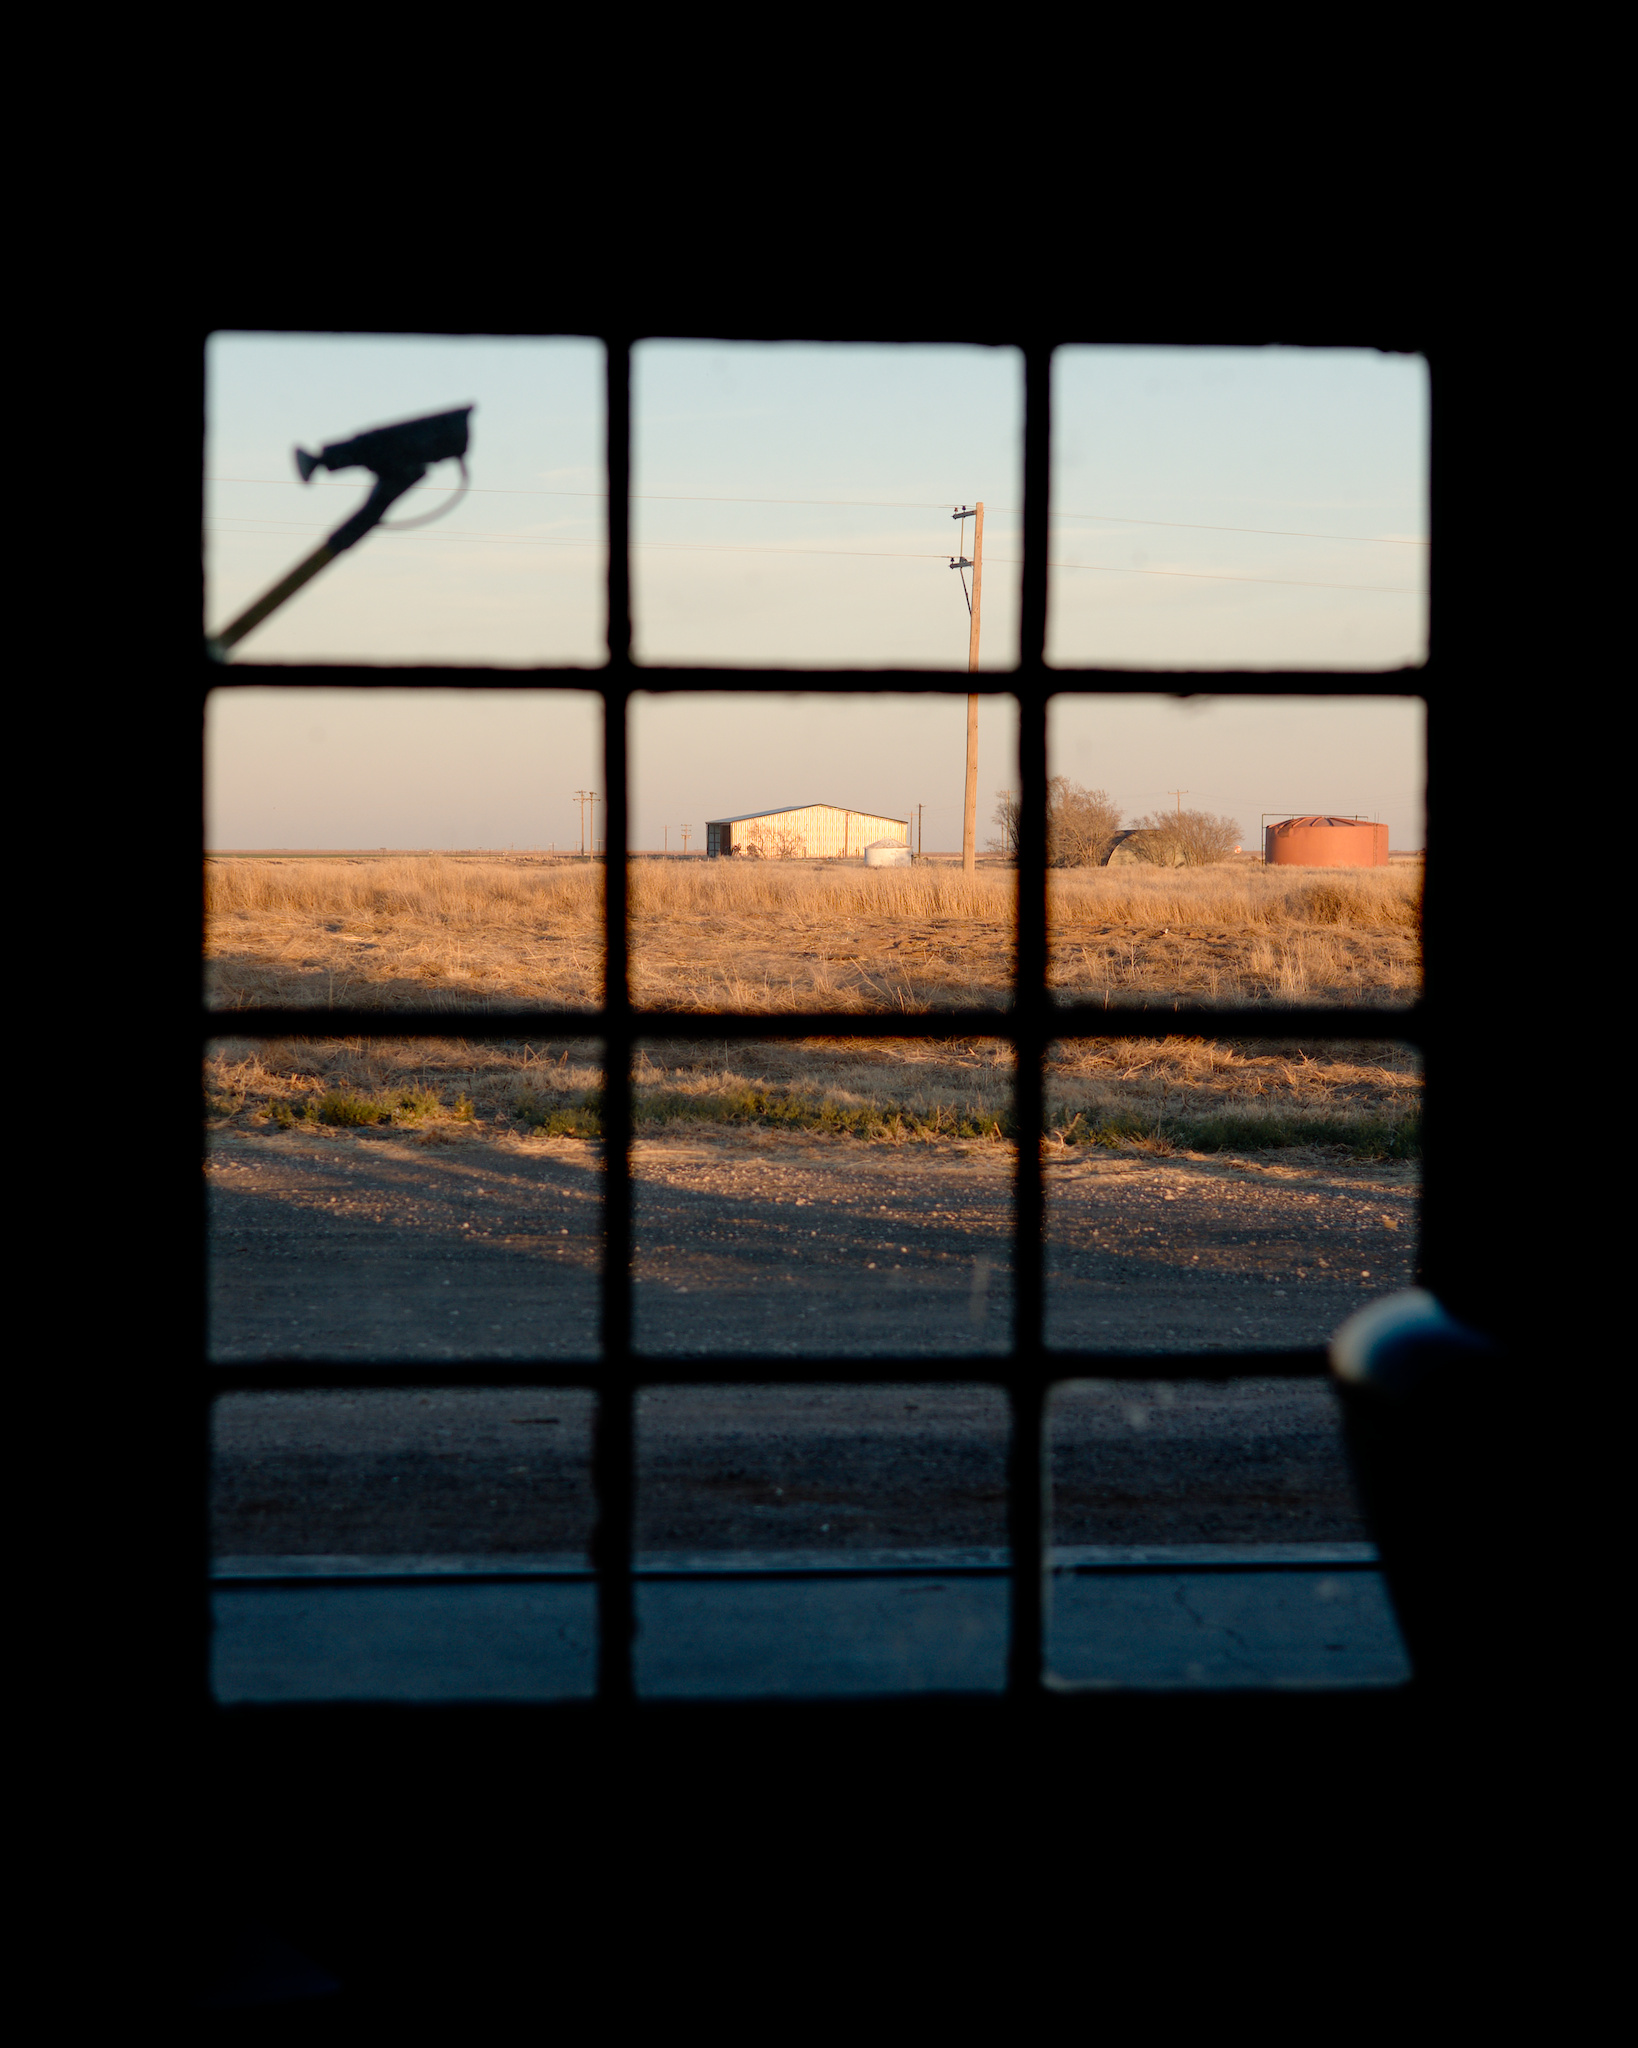
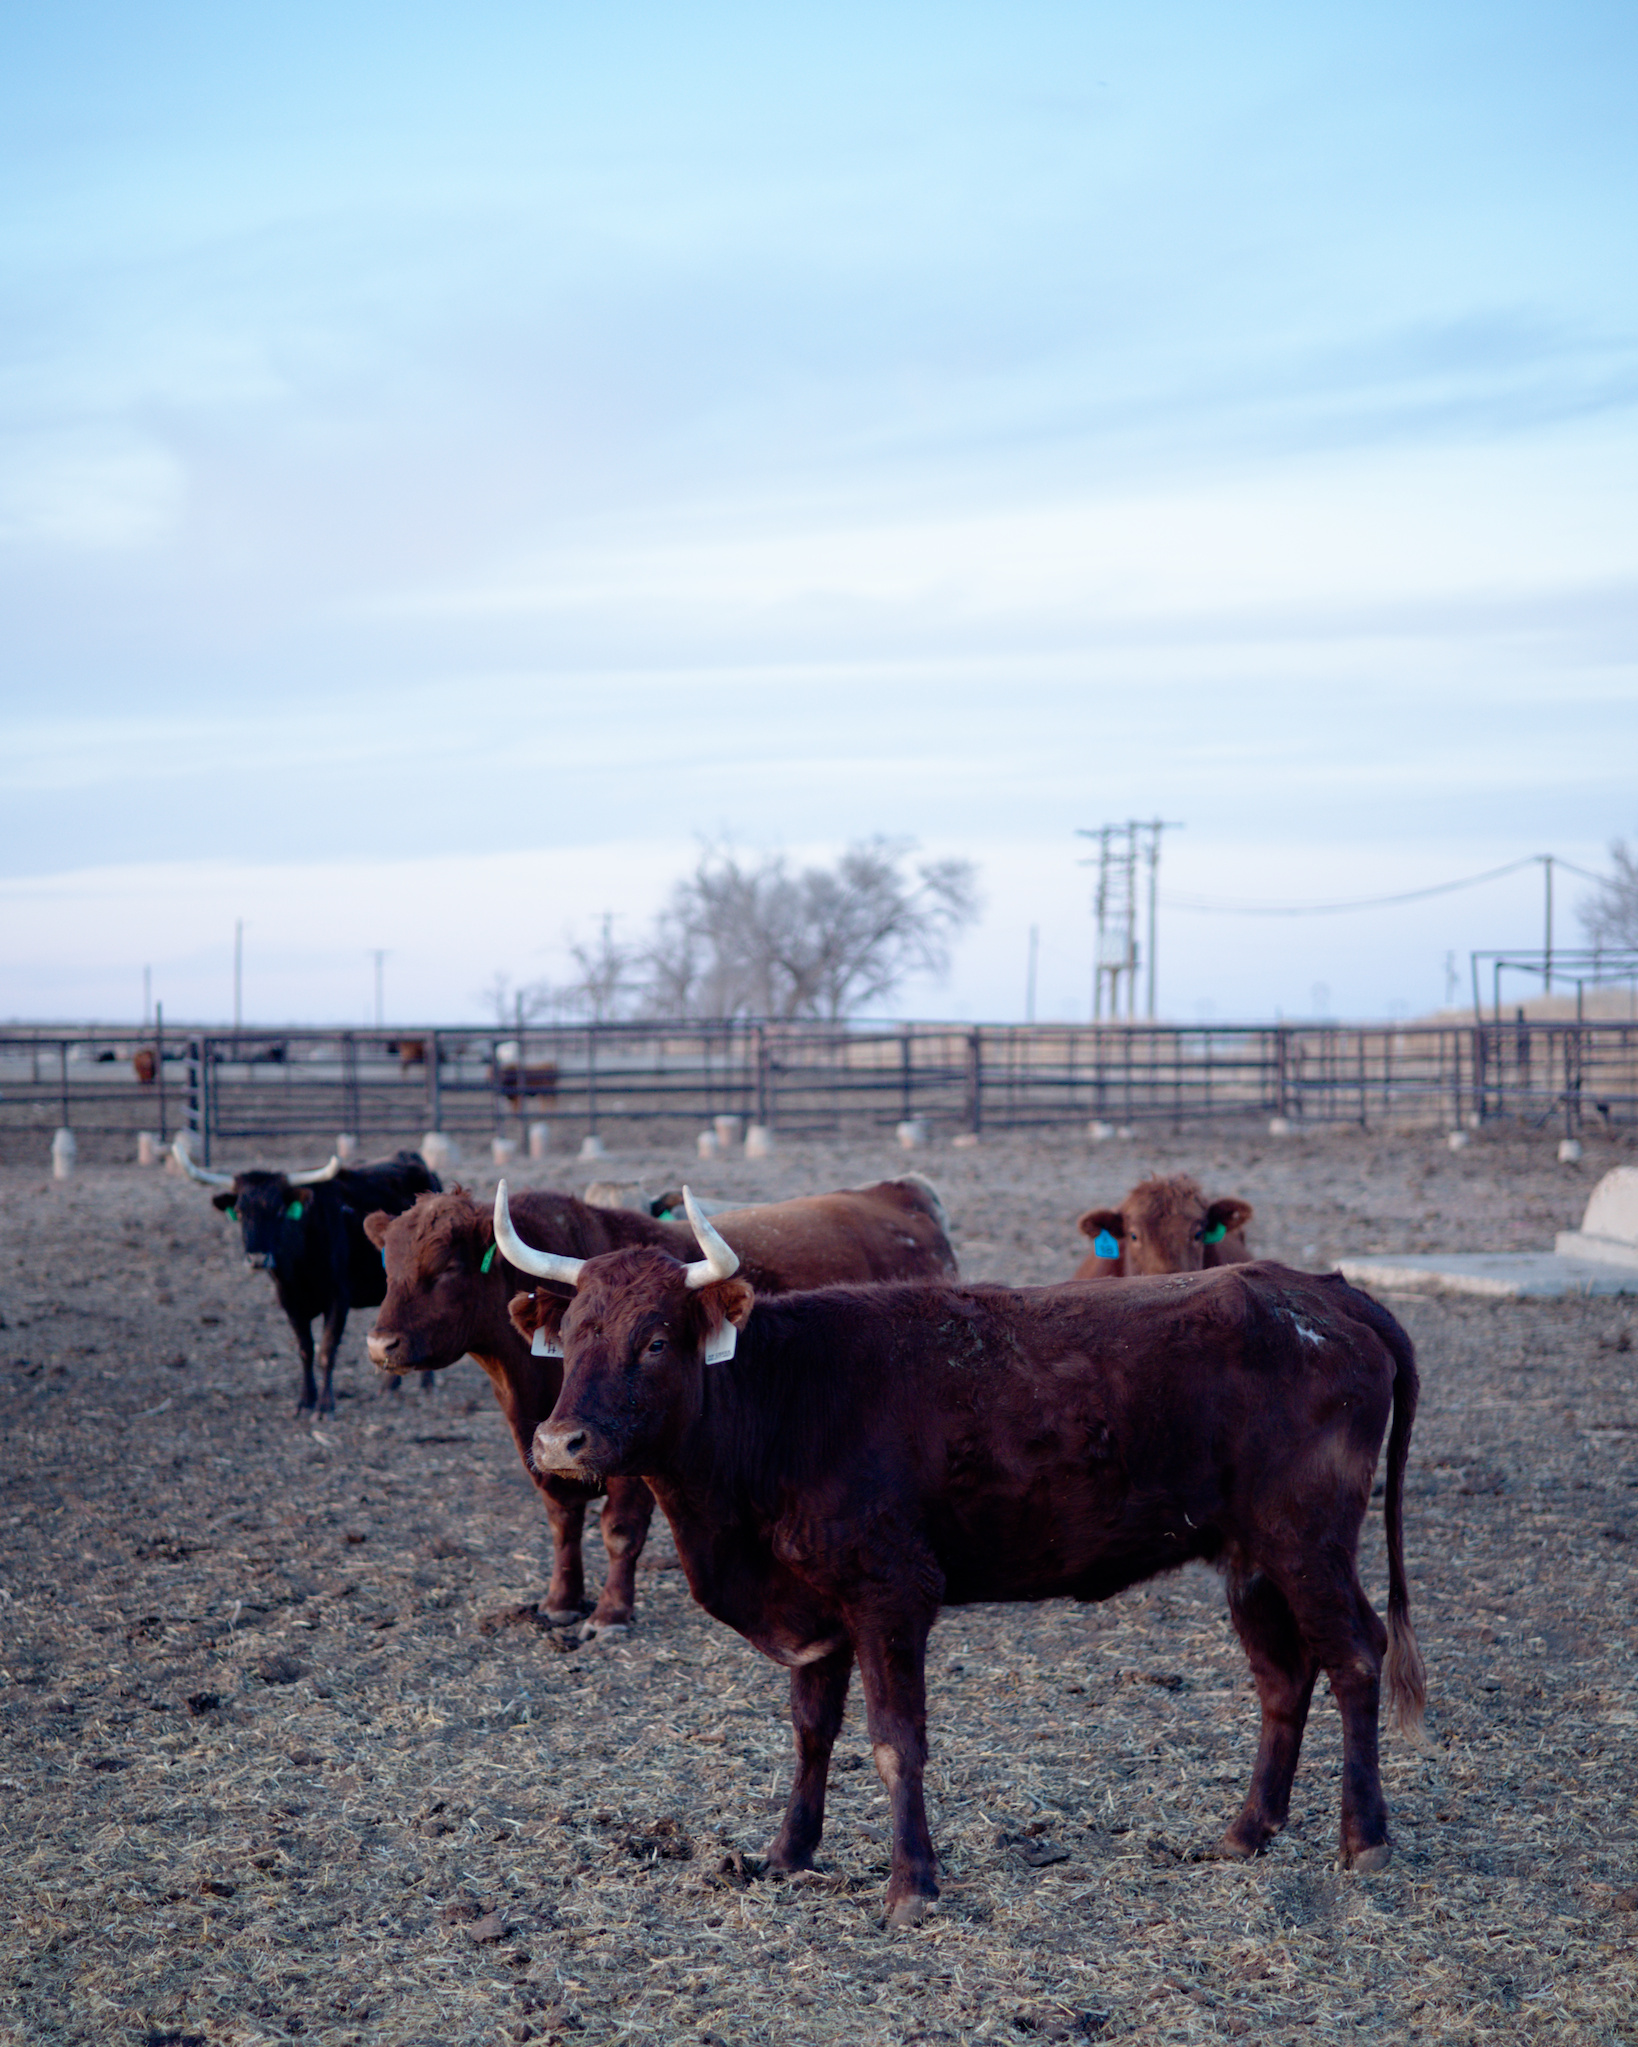
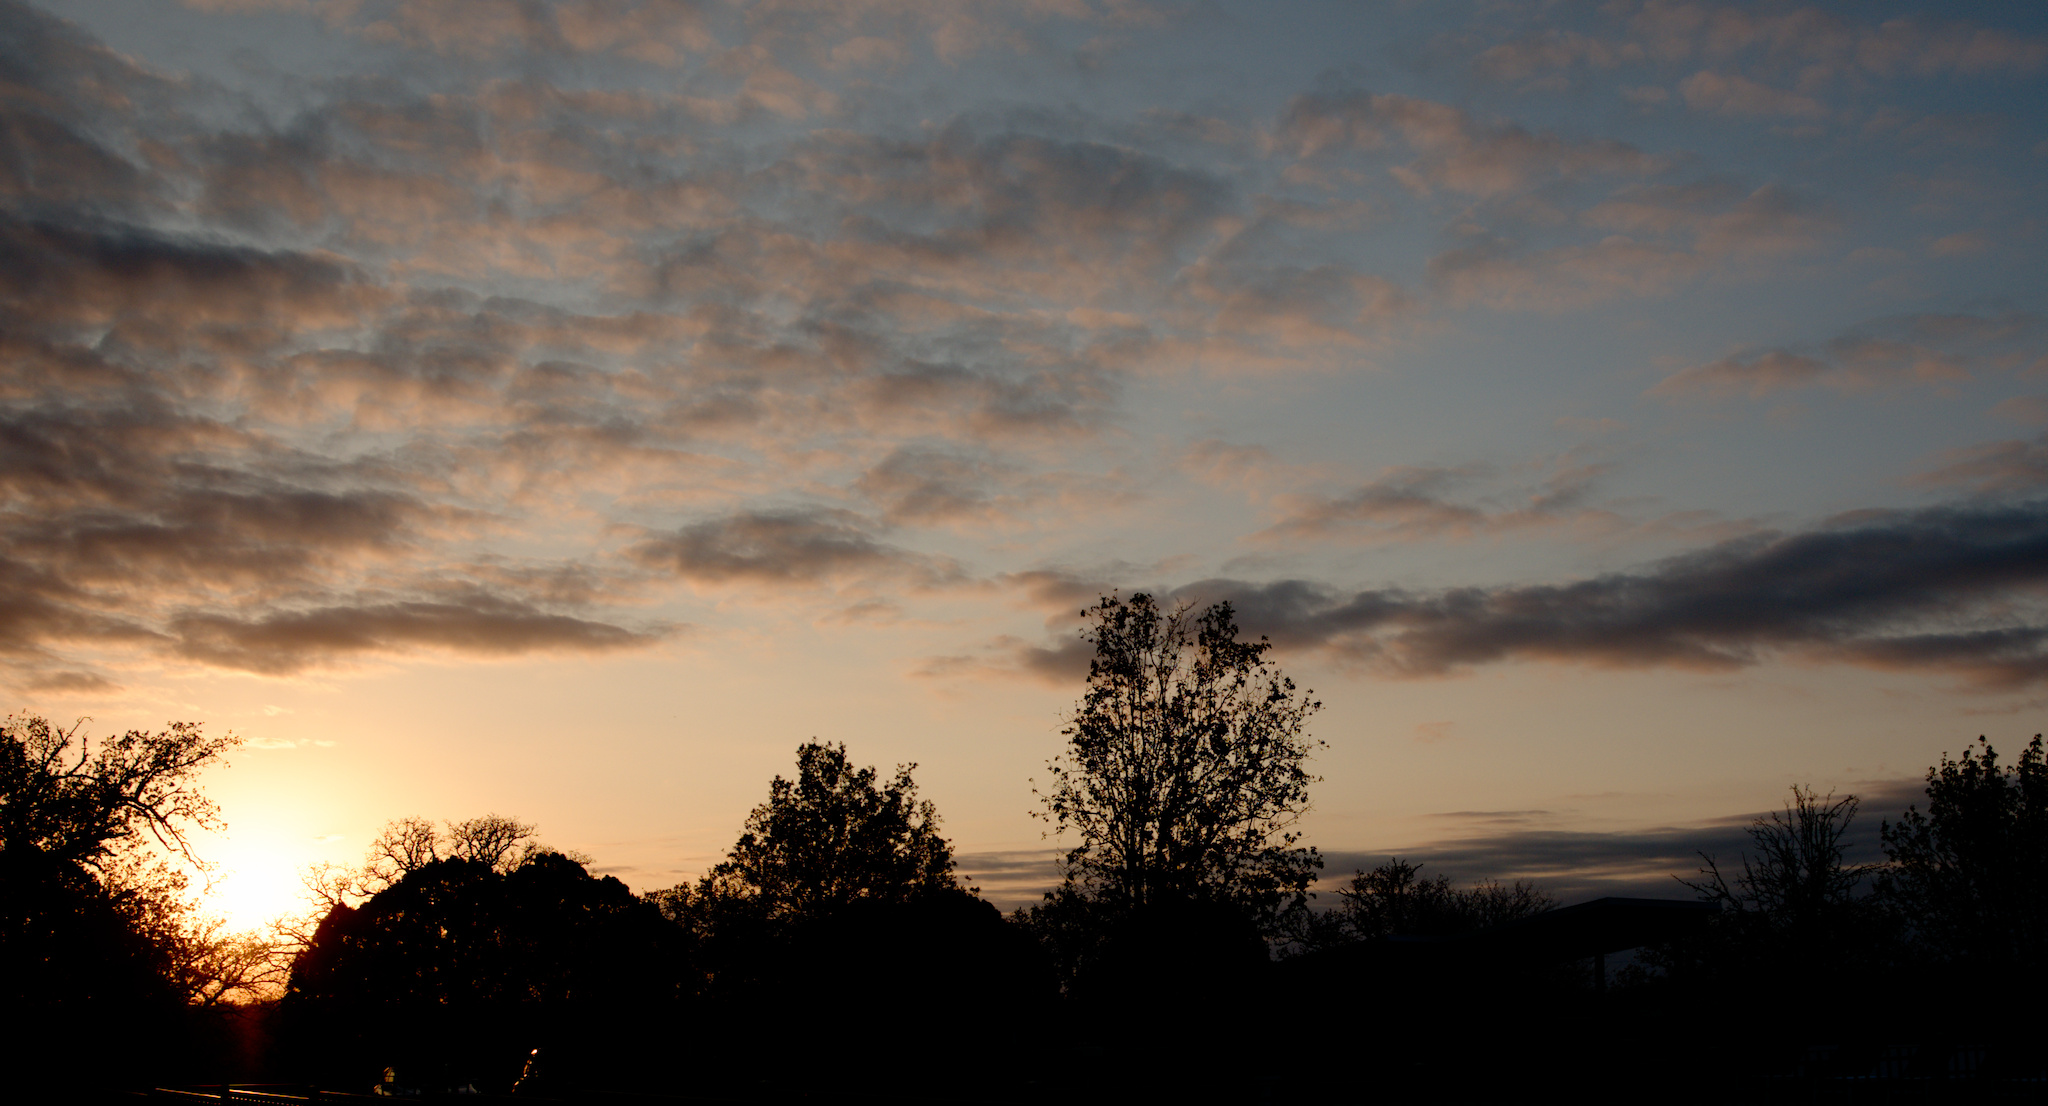
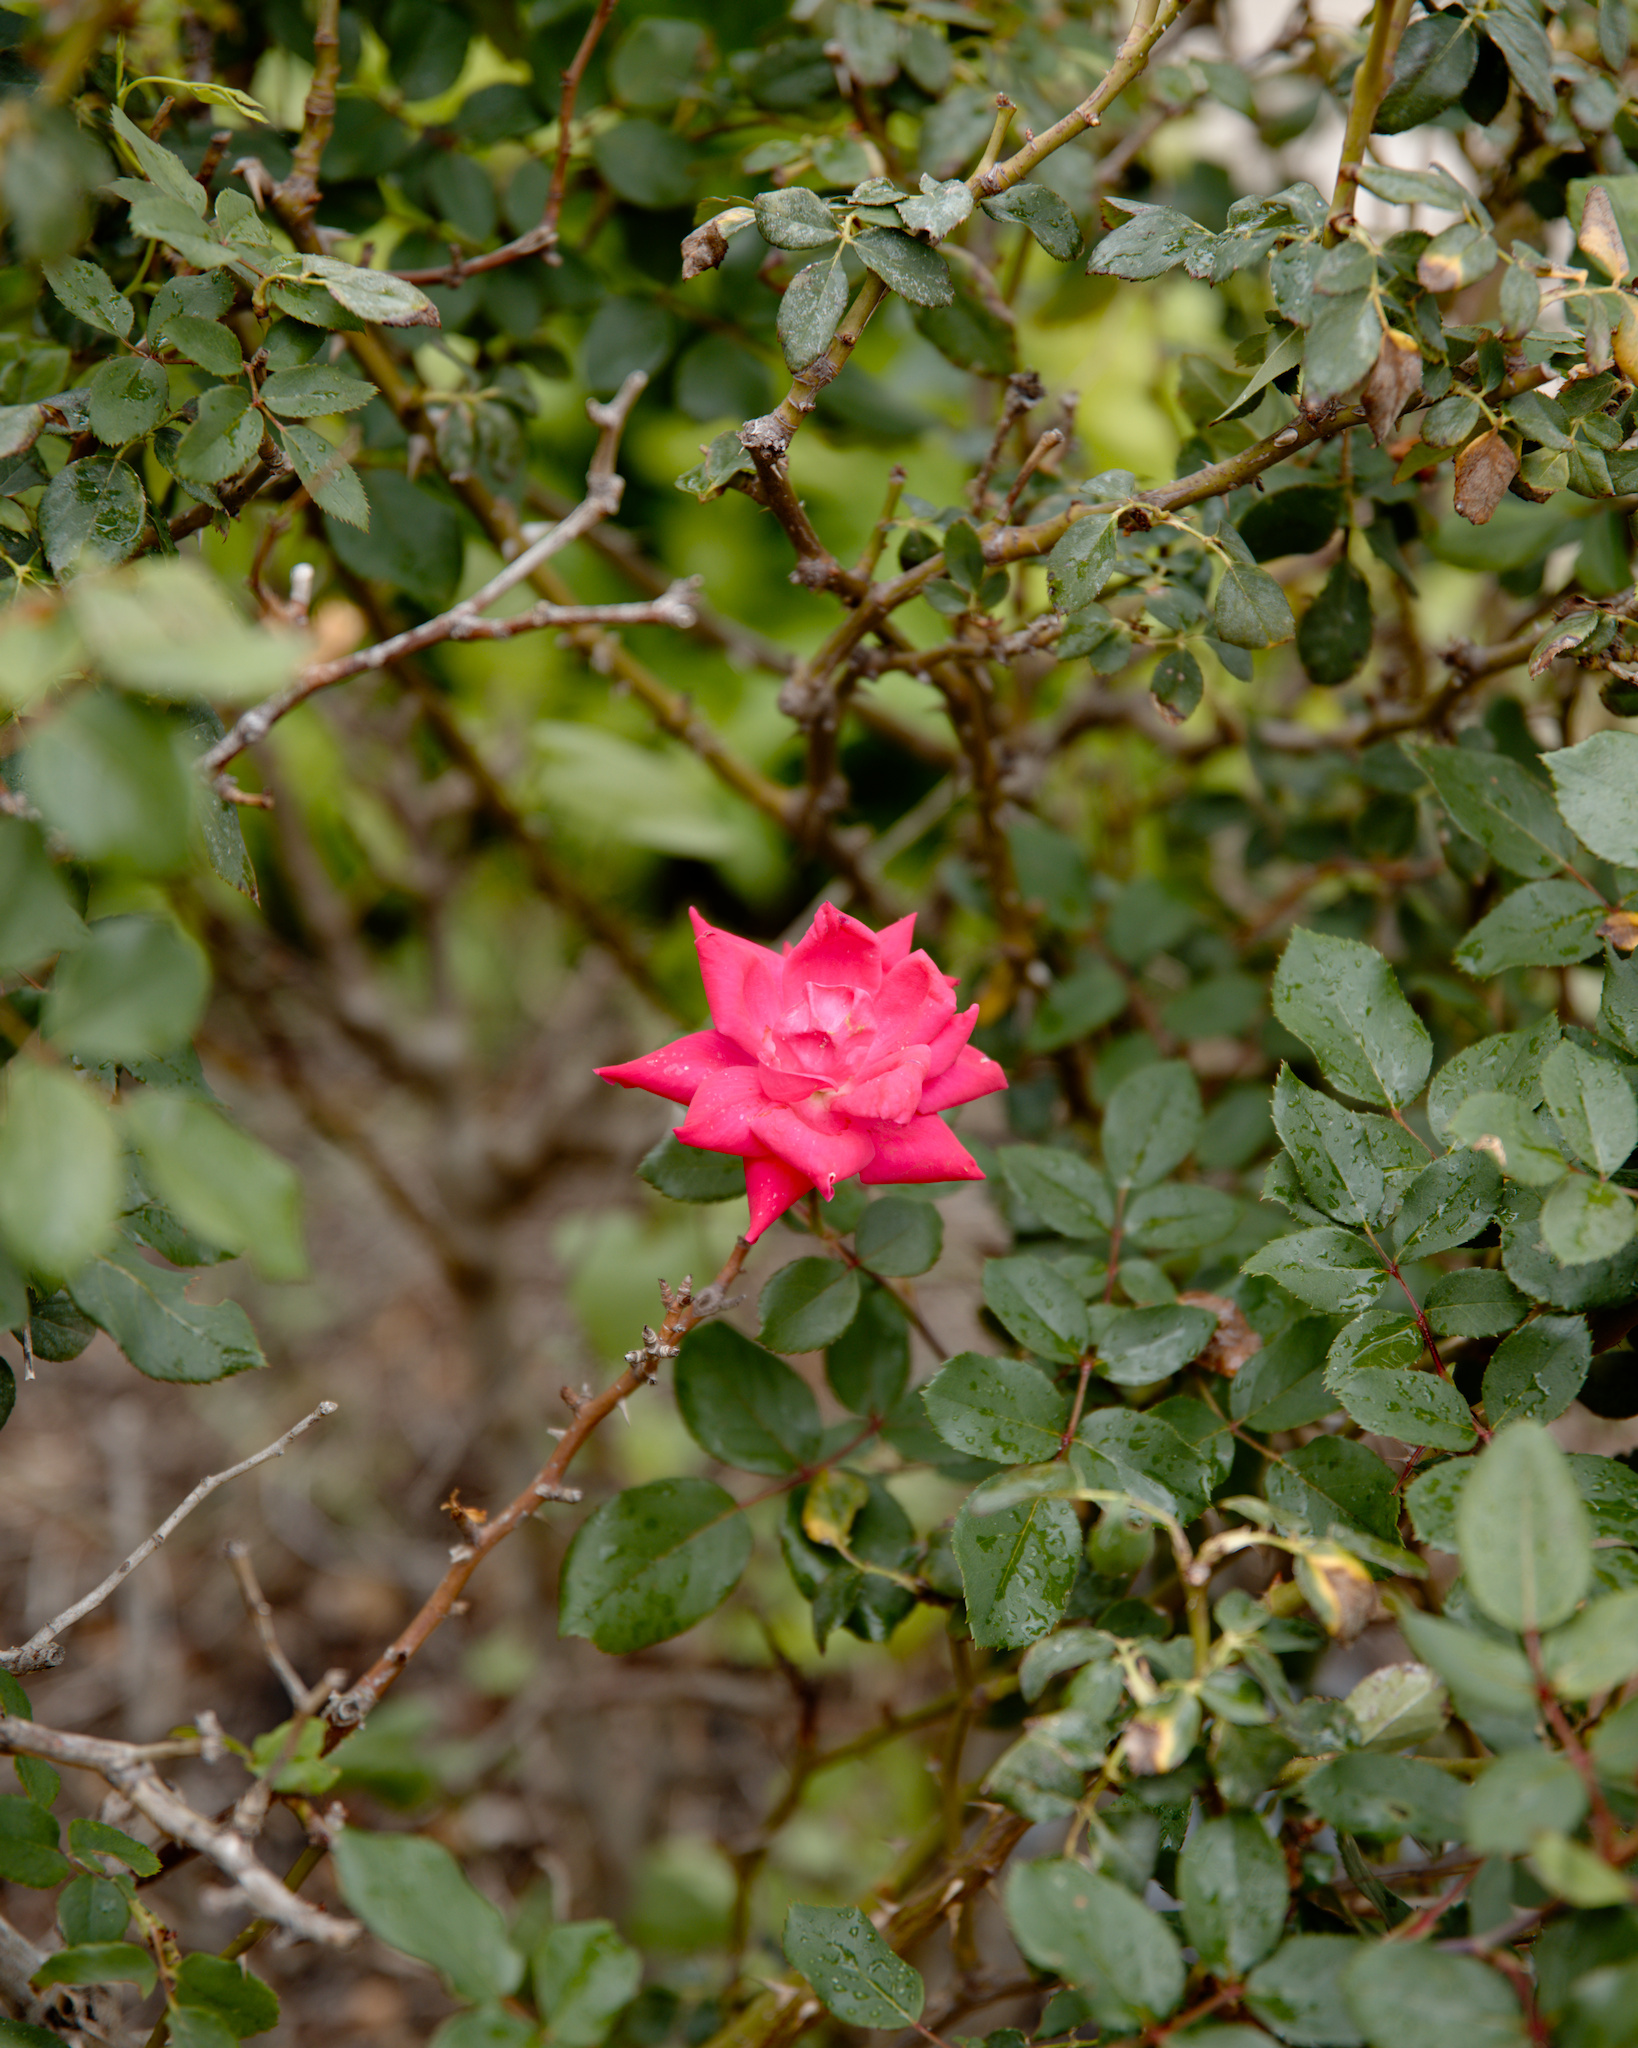
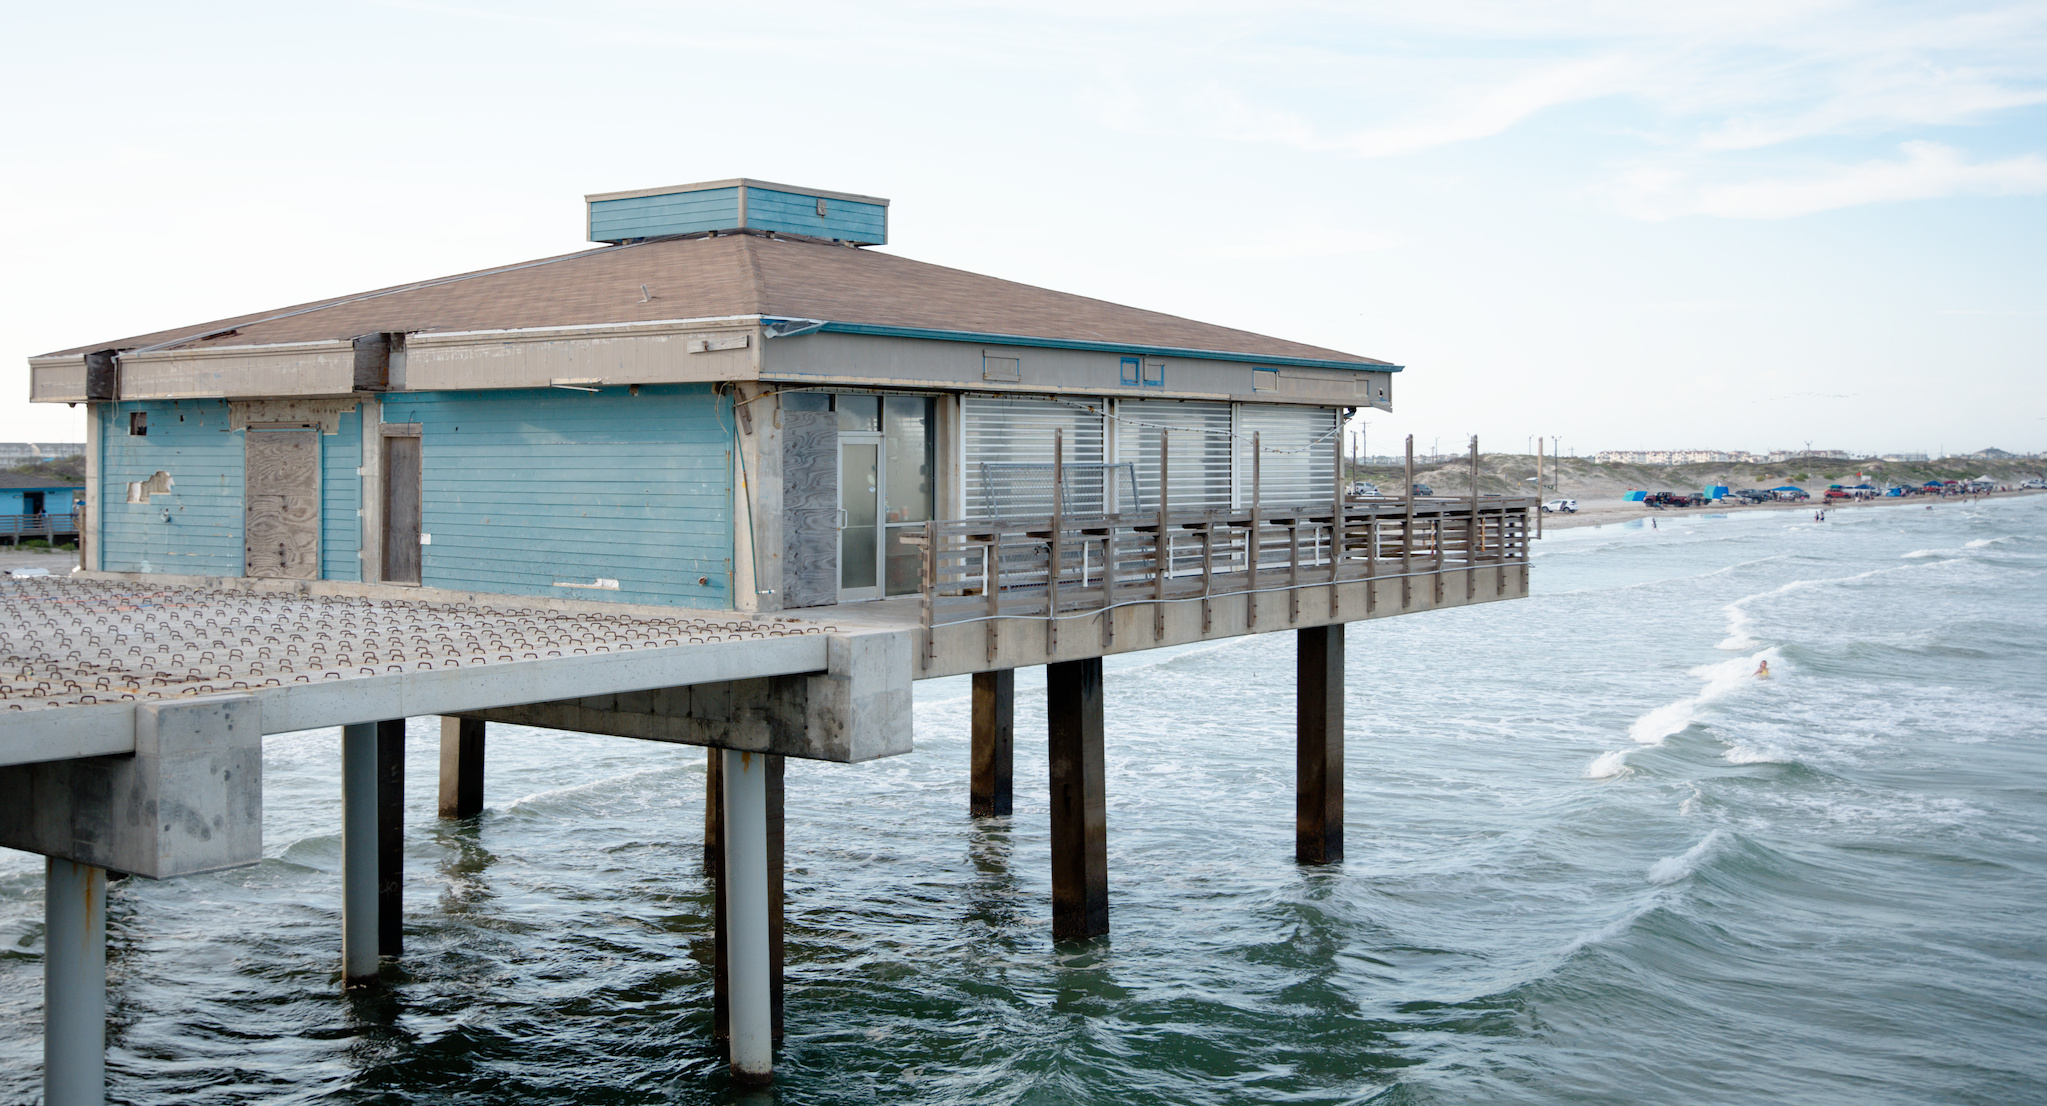
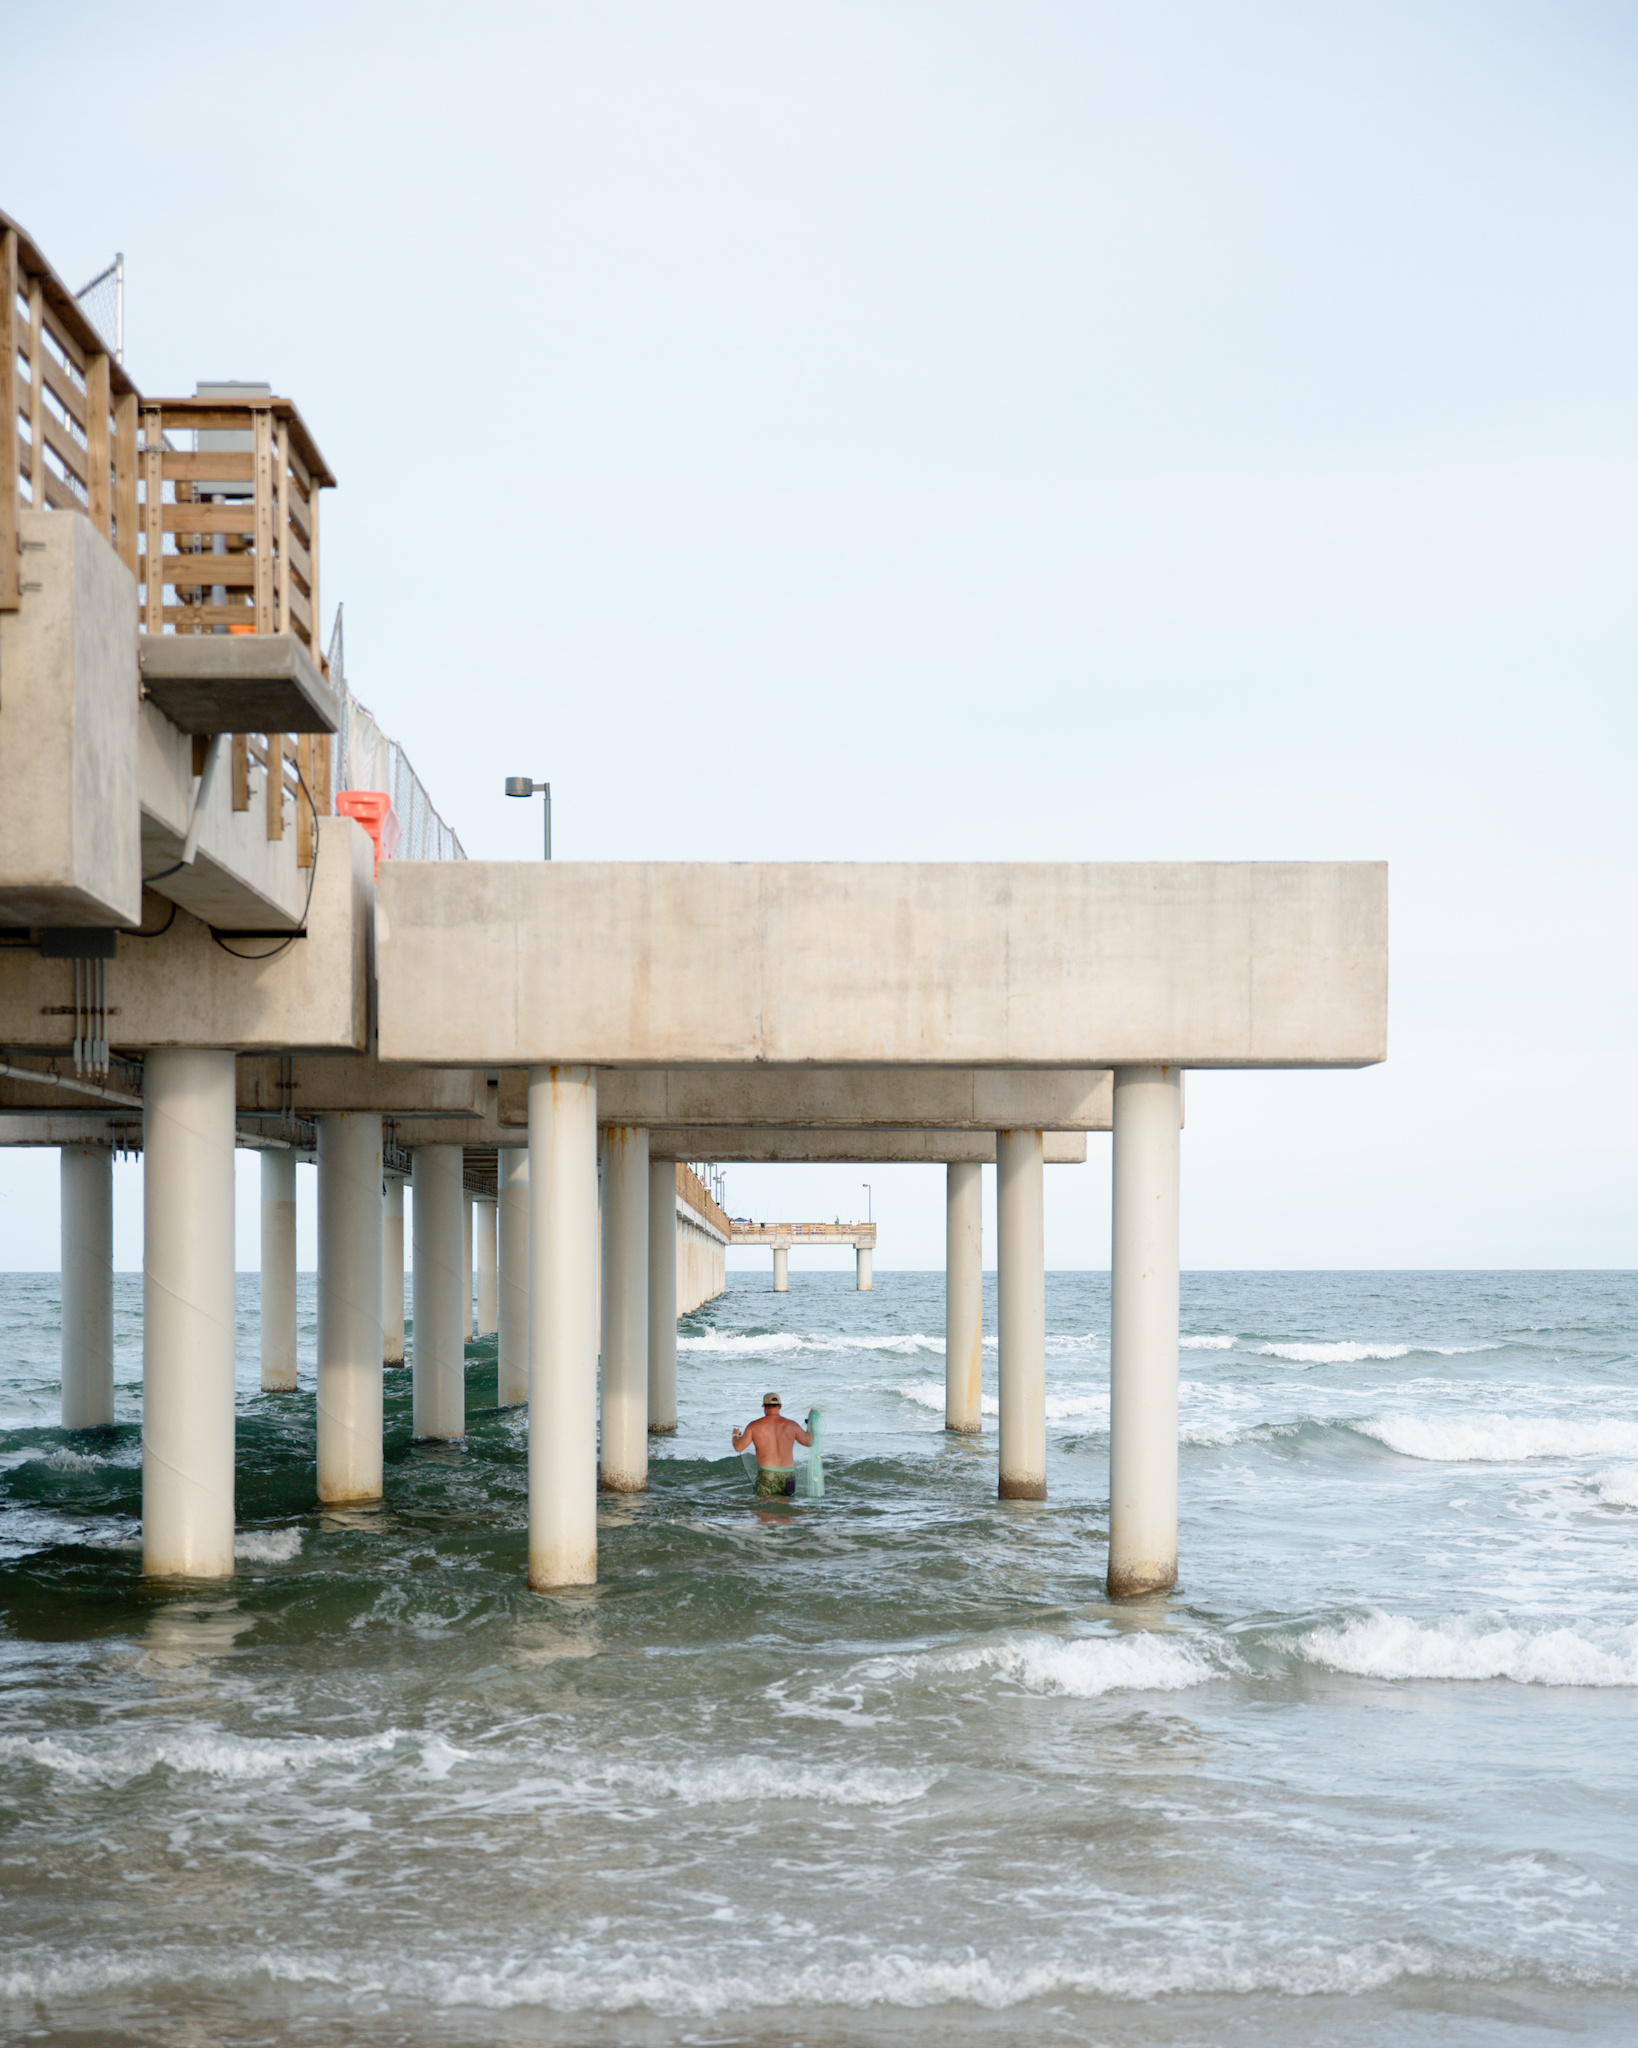
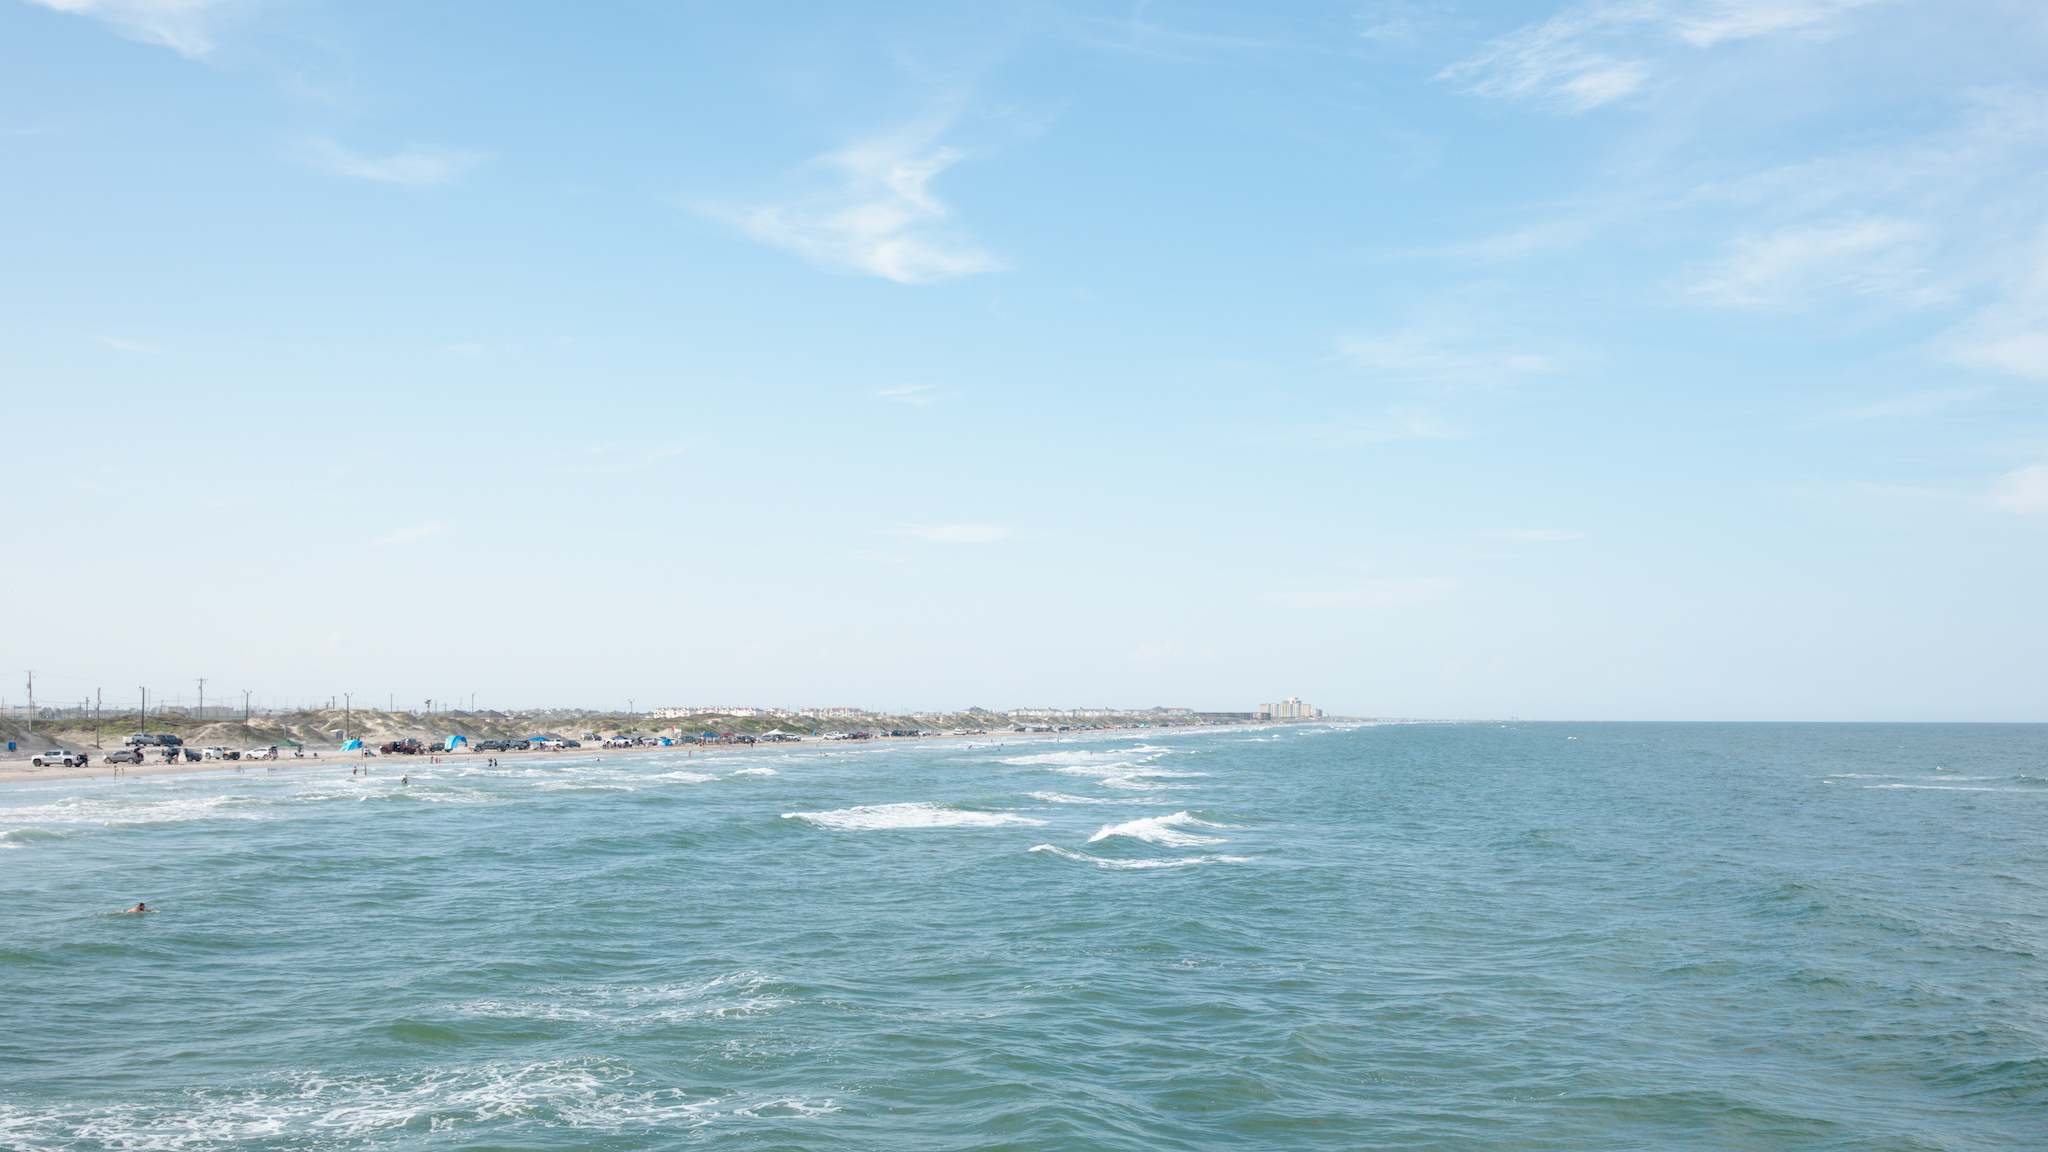
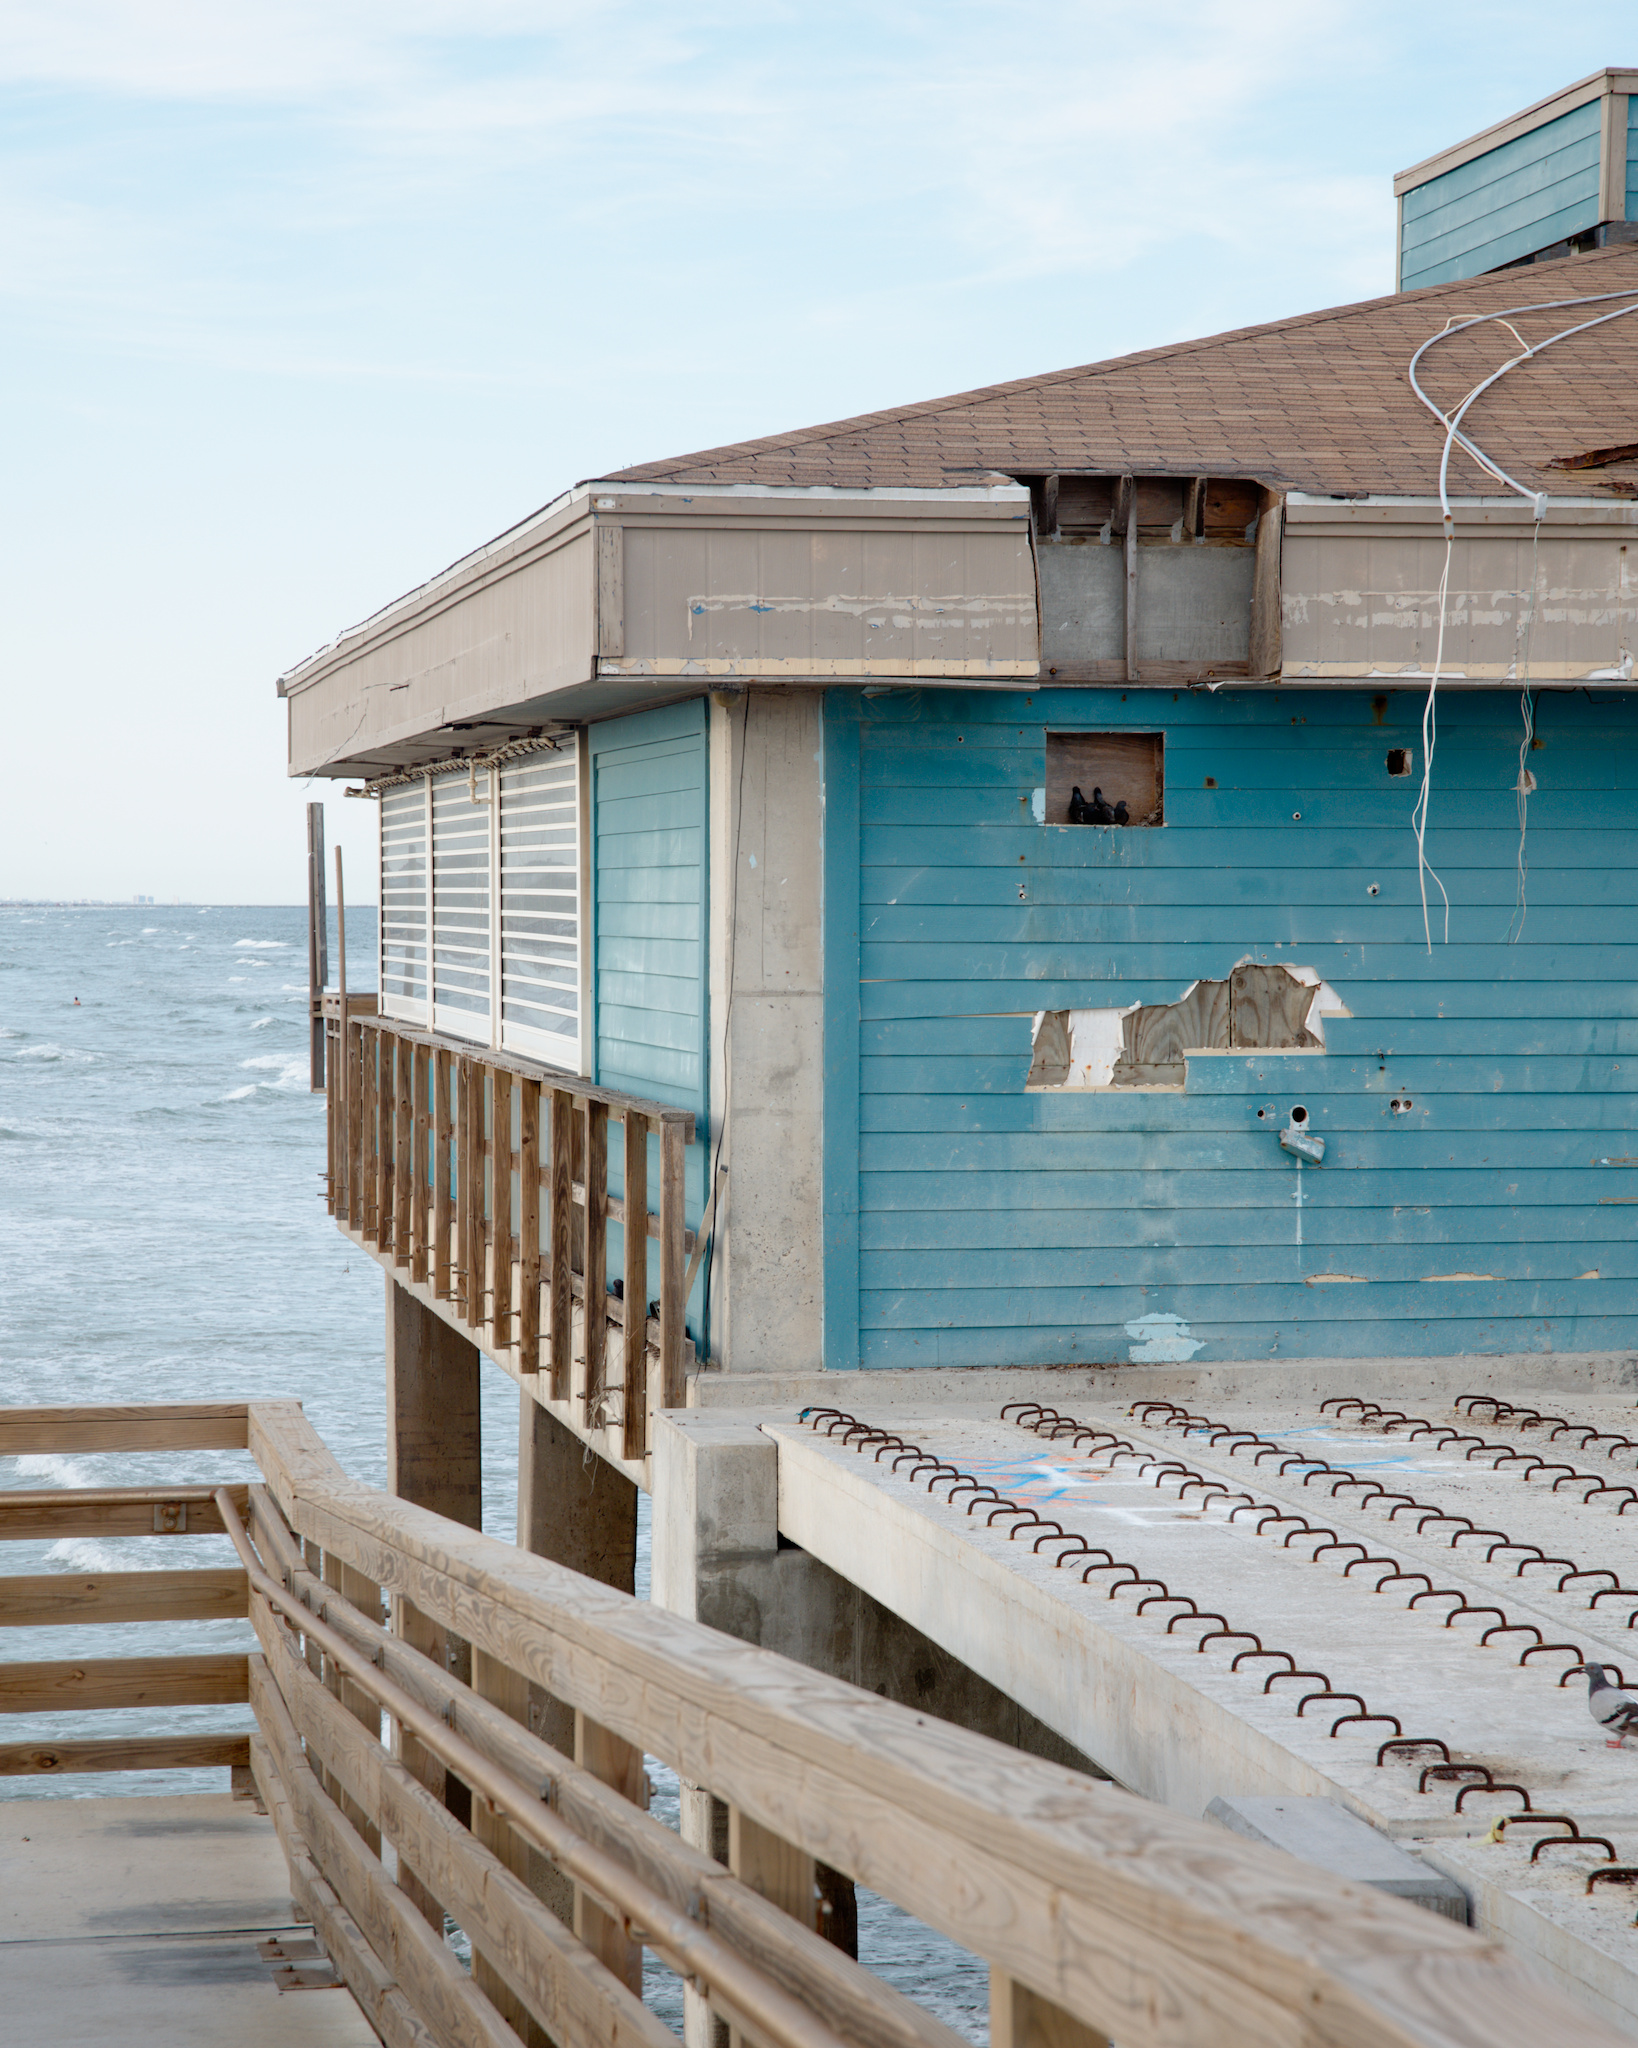
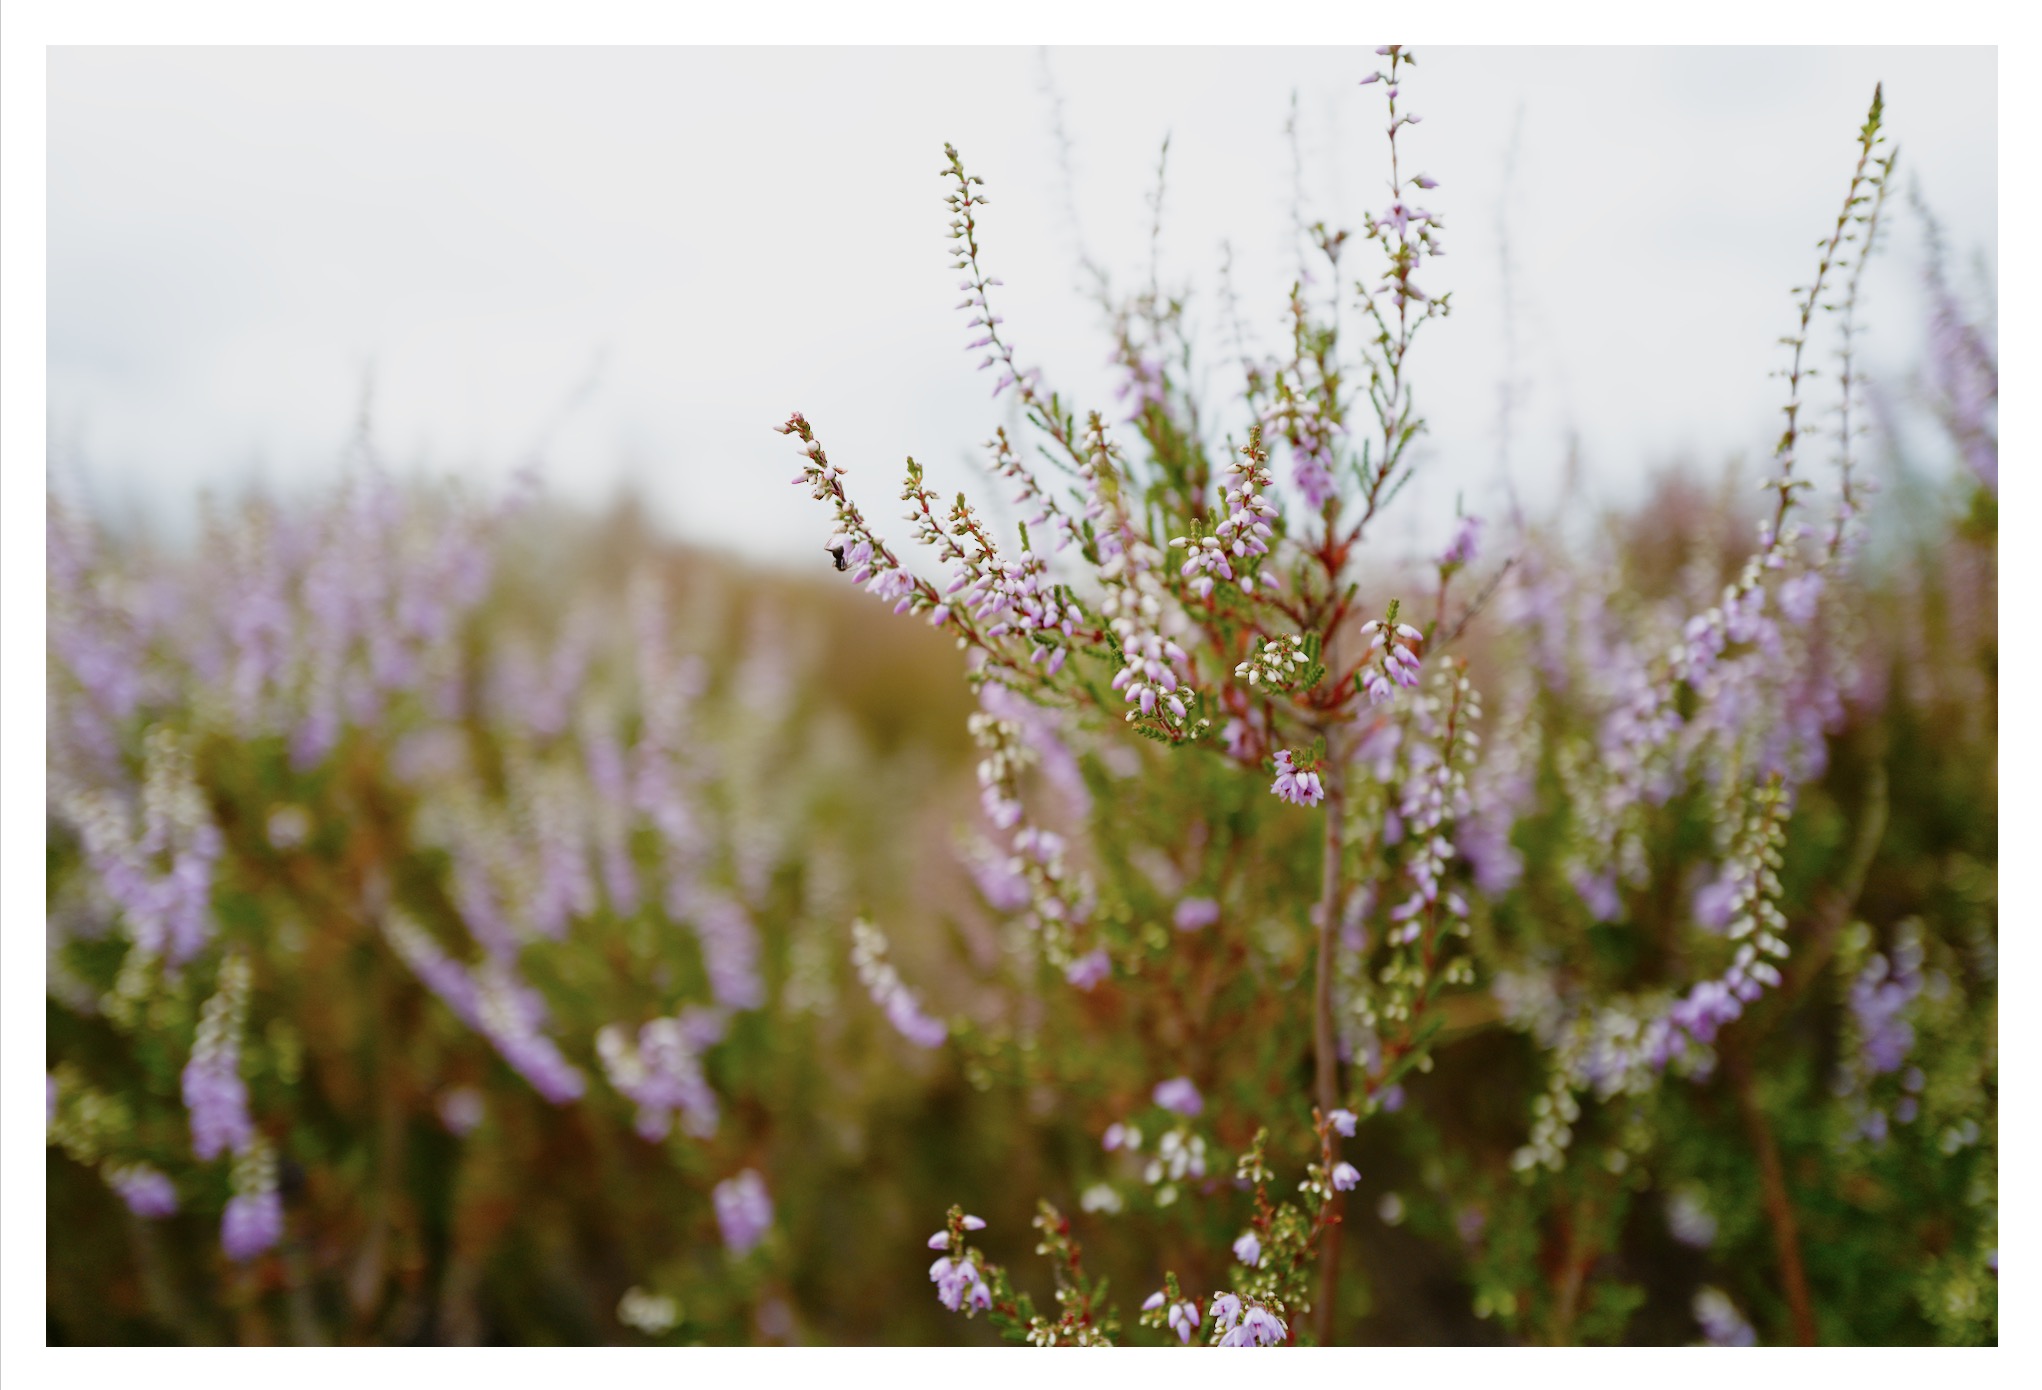
Example Images
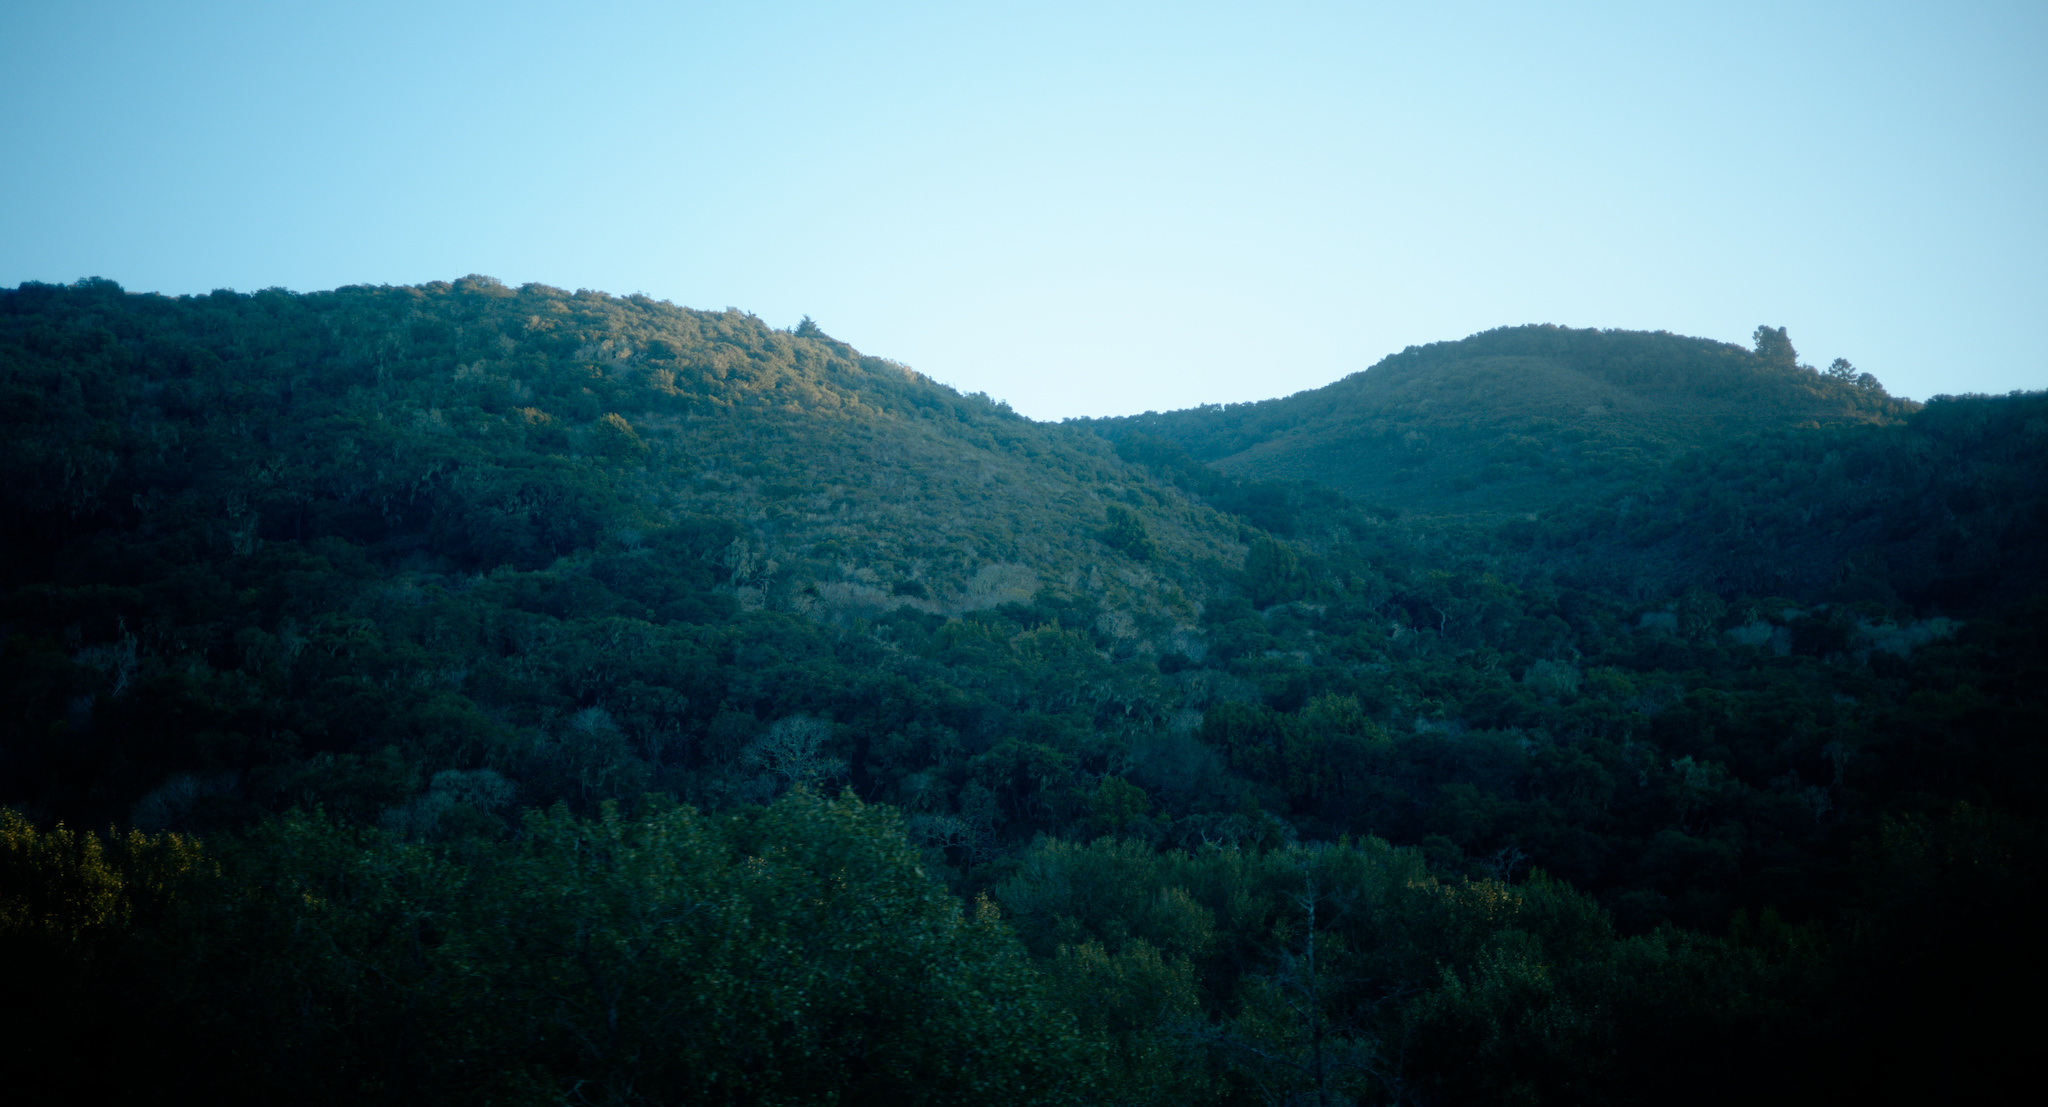
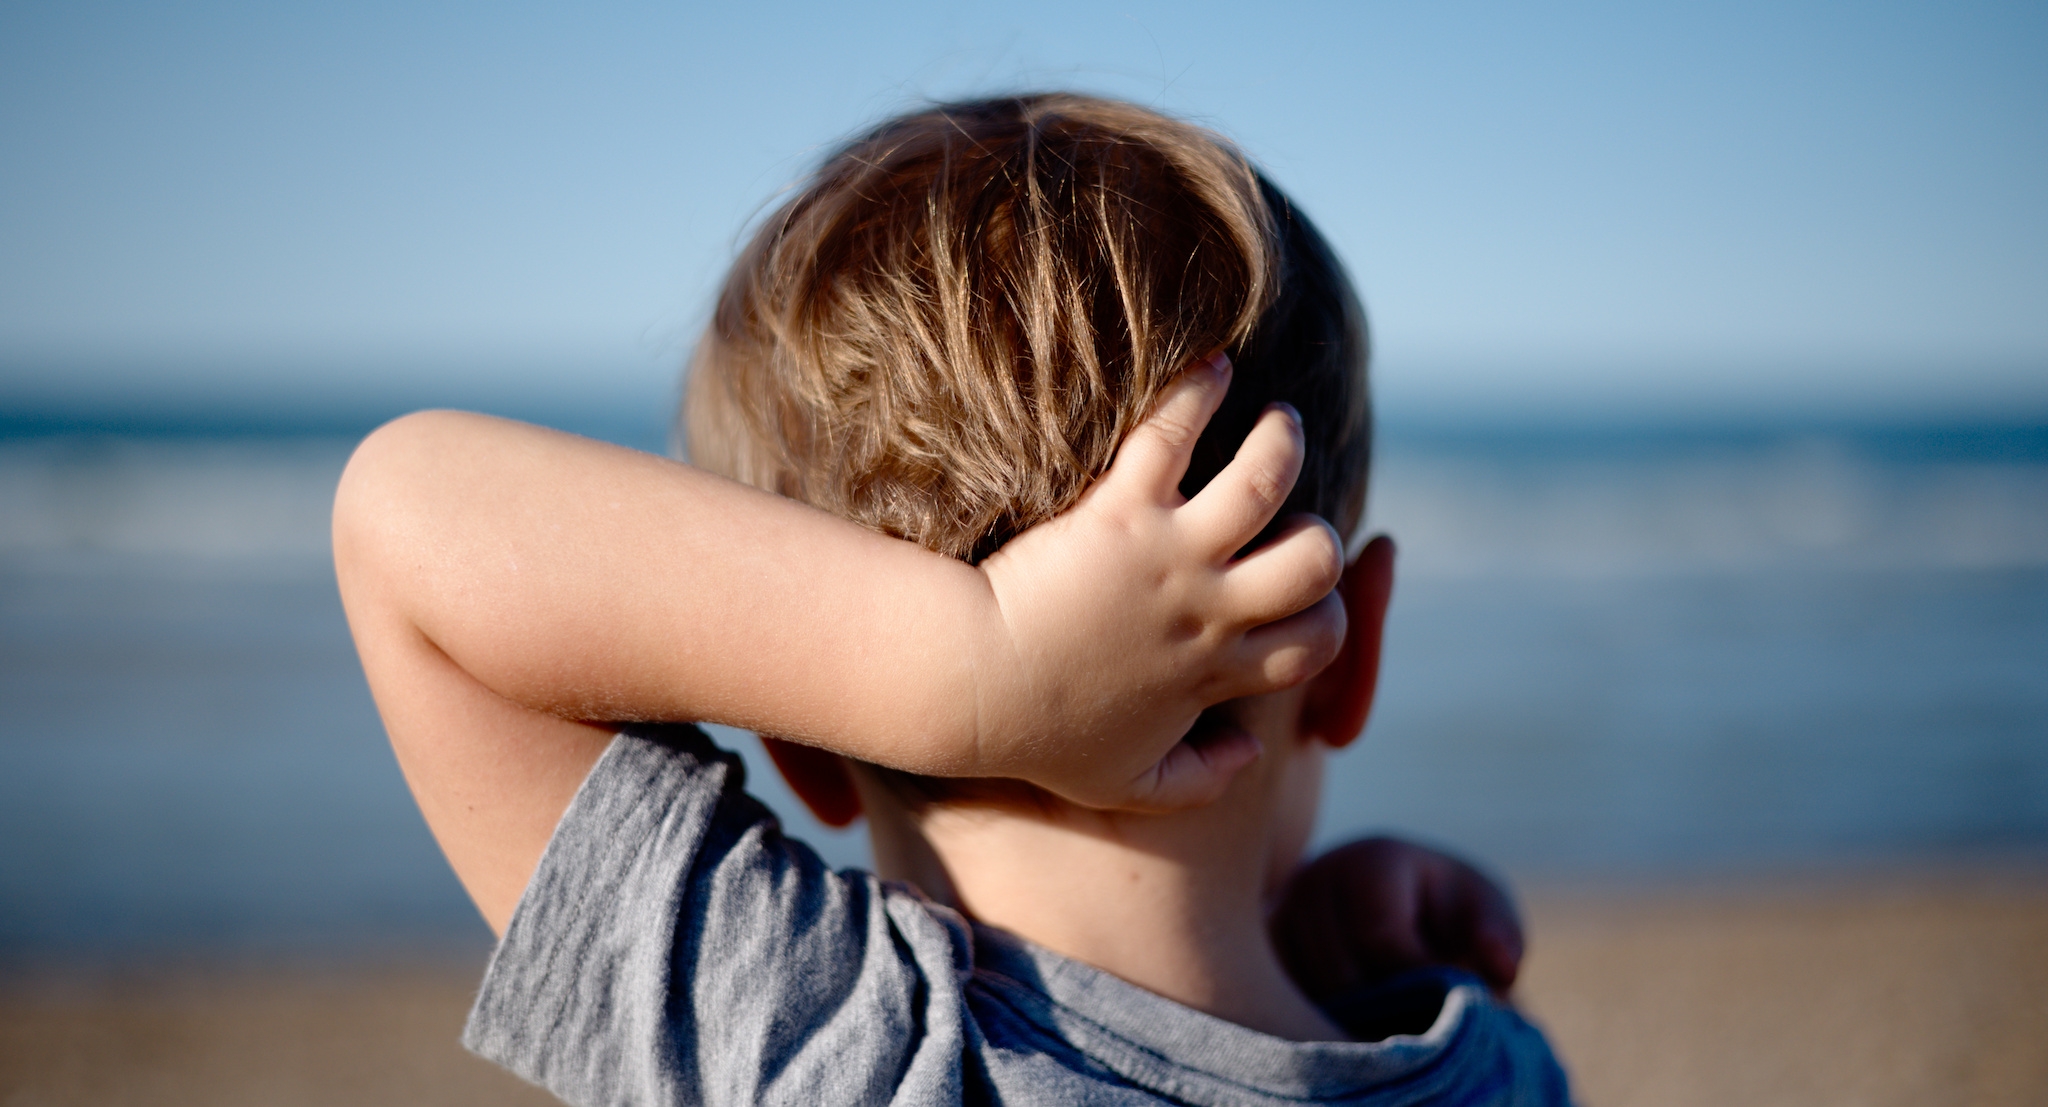
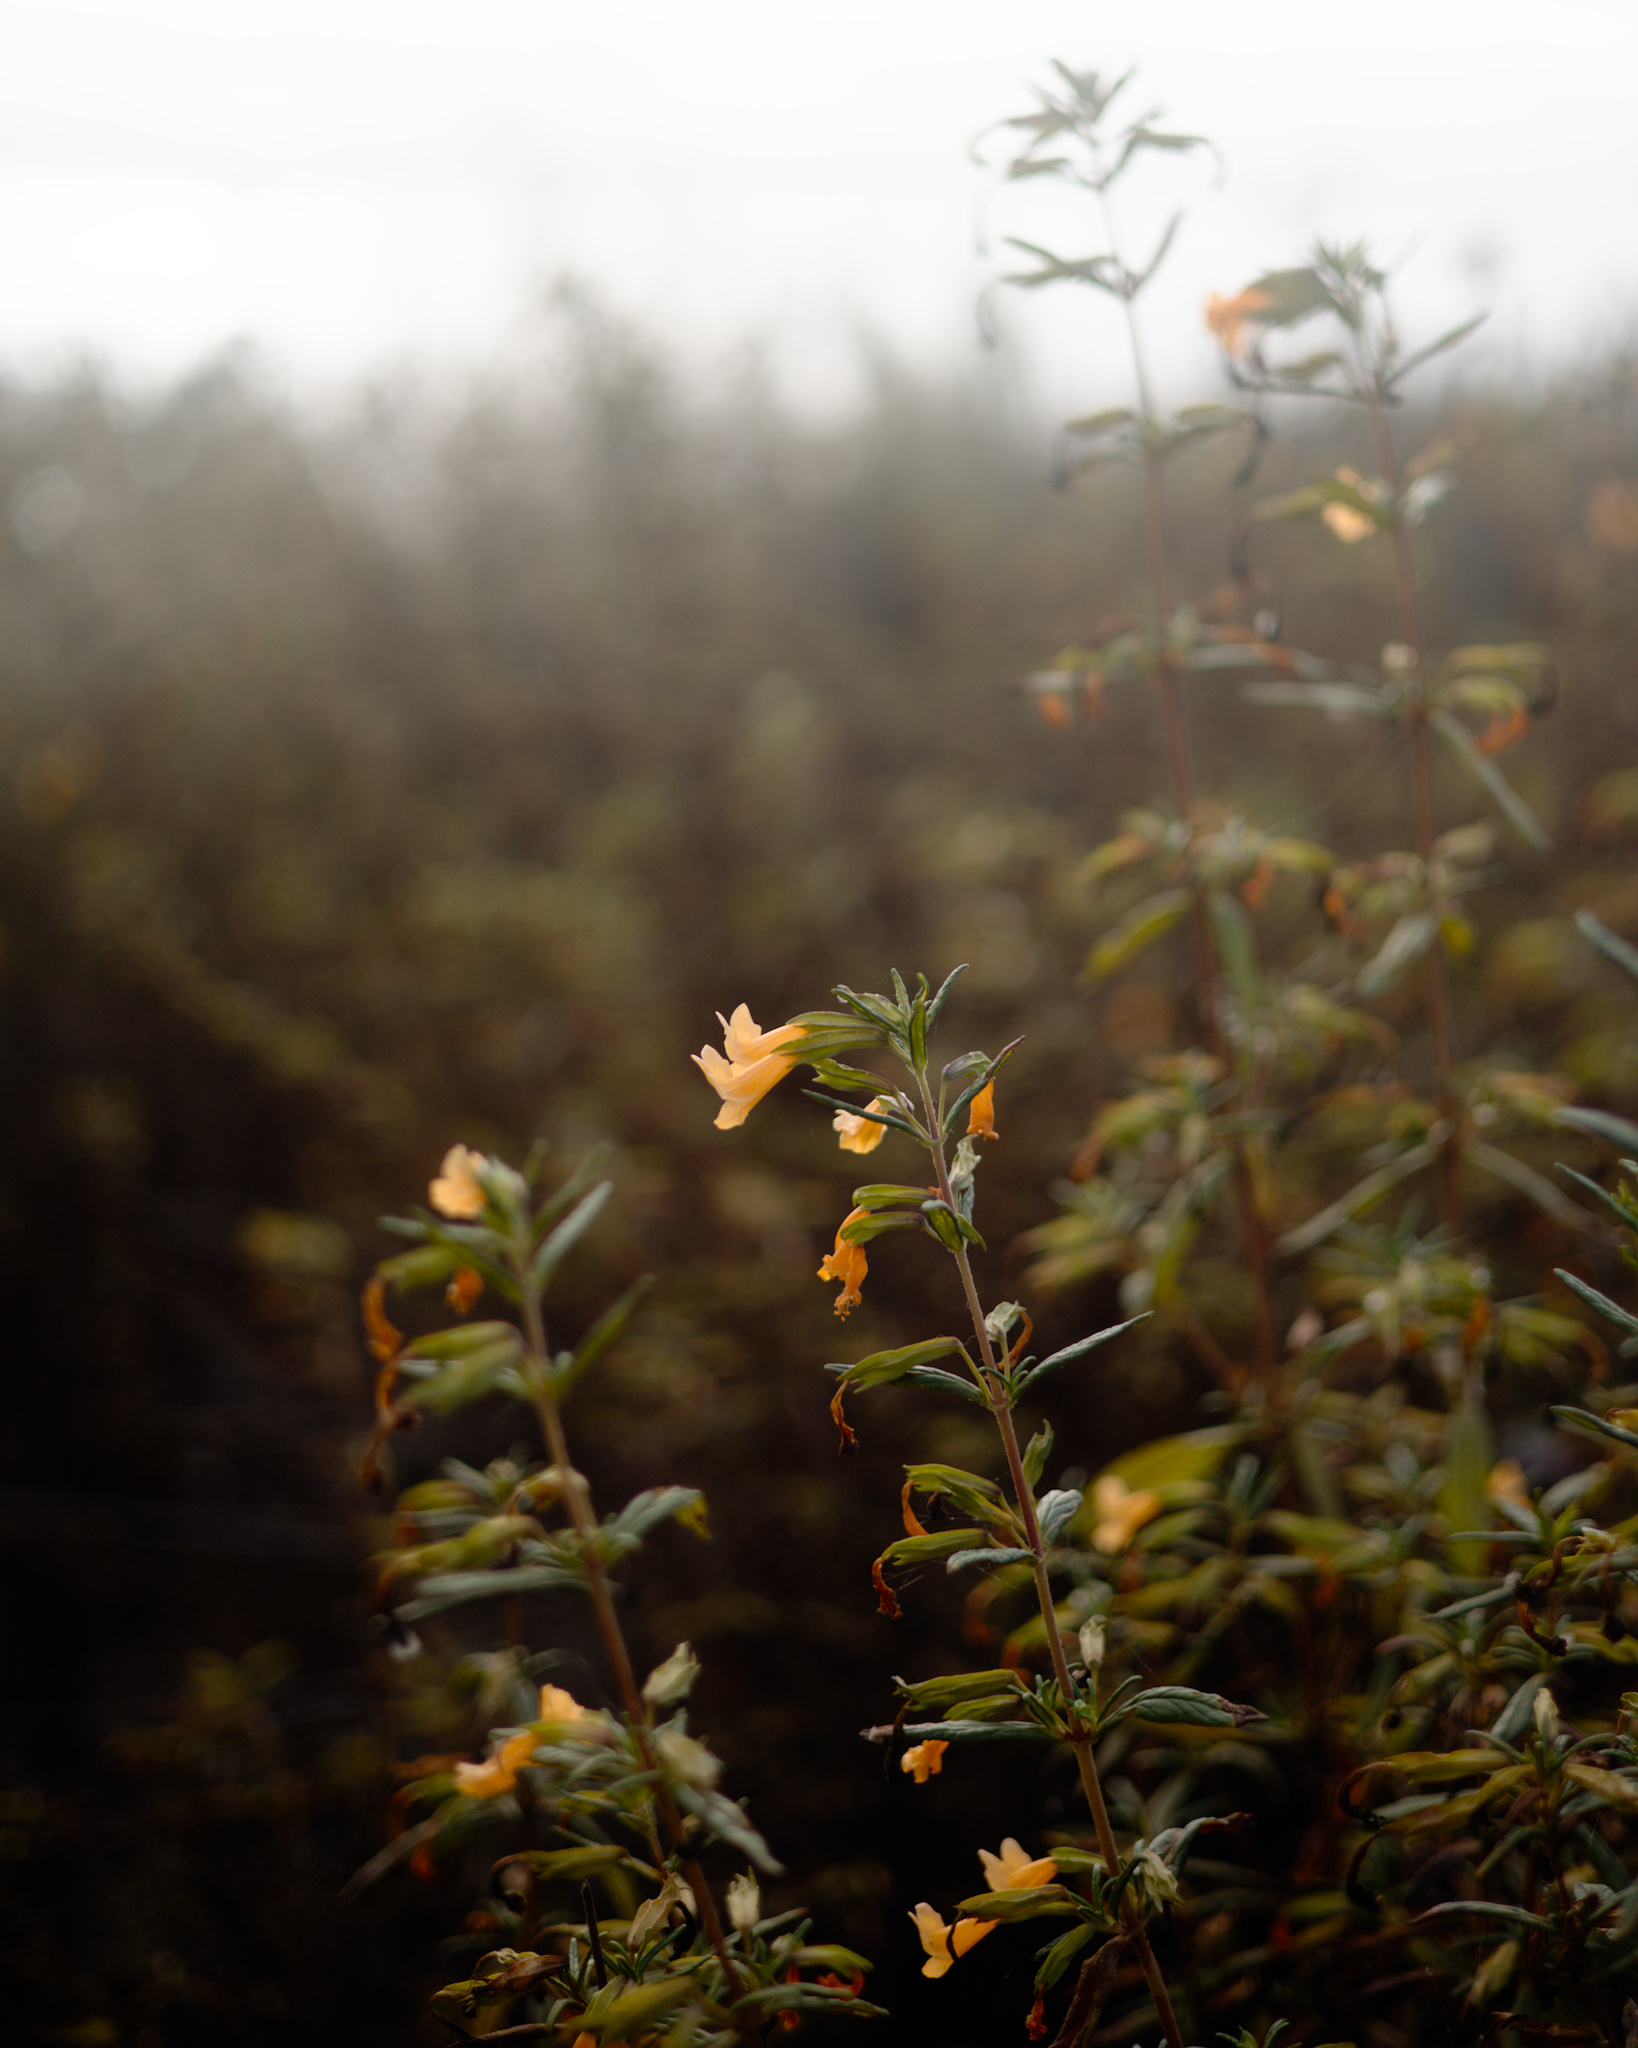
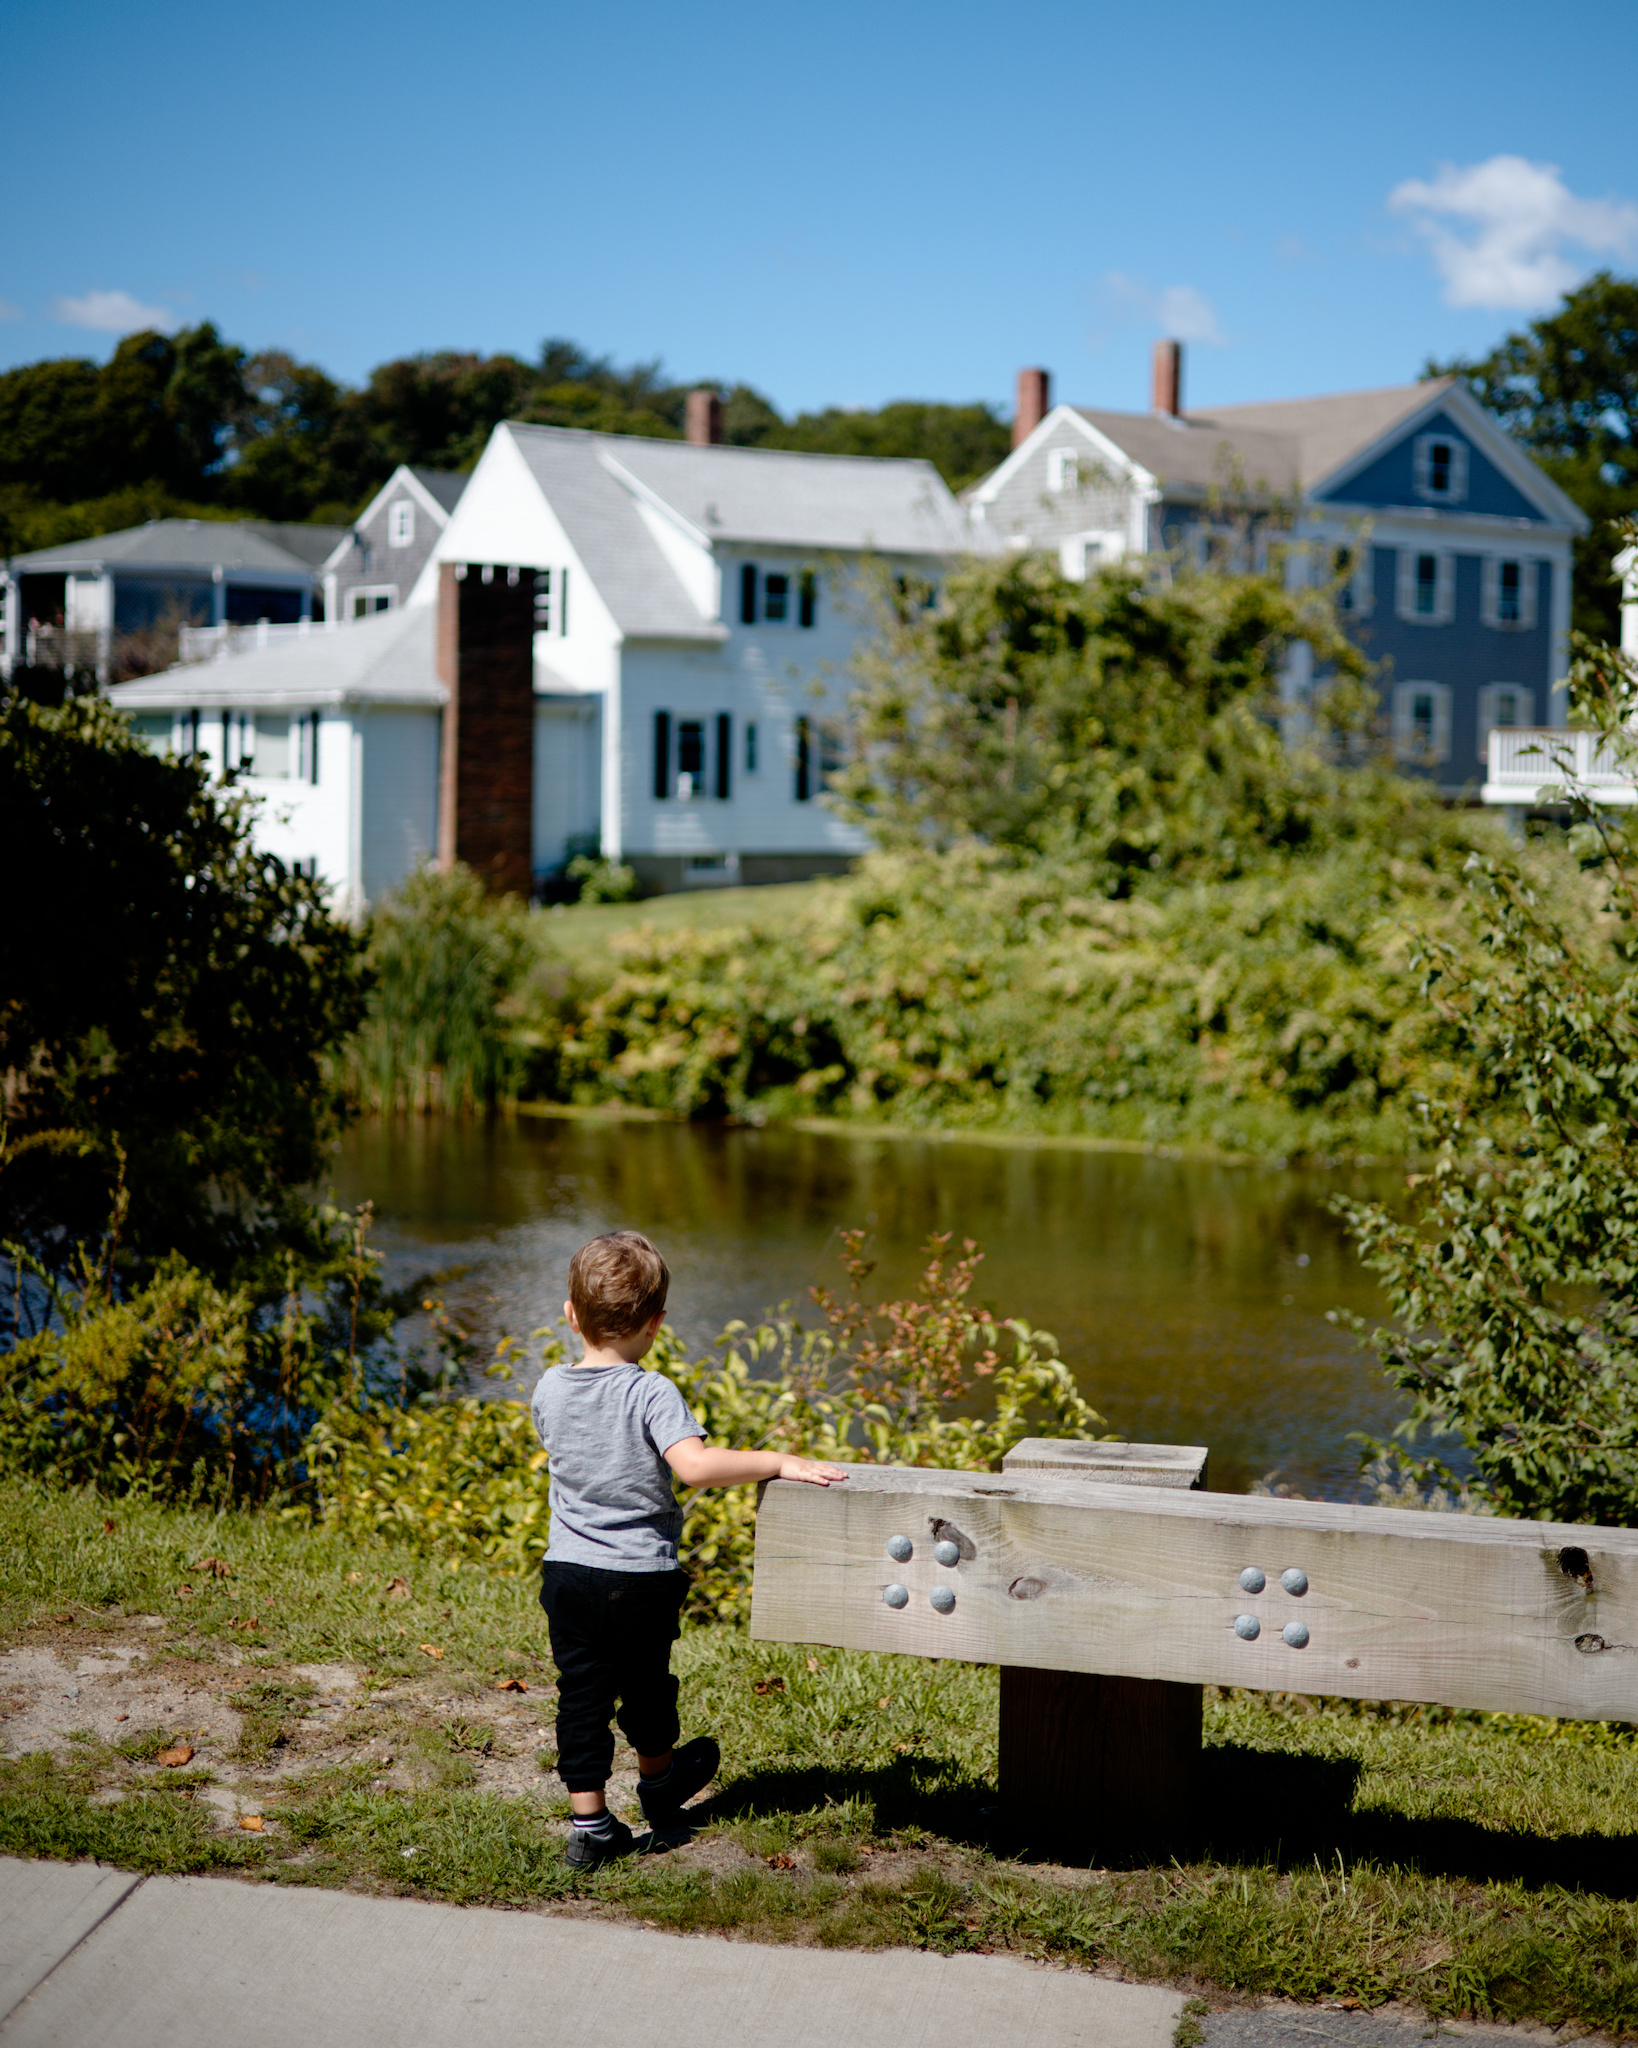
These were edited with only changes to exposure, rotation, crop, and applying the Codec T1 preset in AgX. They are not meant to be a display of a perfect DFS, but rather to give a good representation of how Codec T1 behaves in different situations.
Very nice! Thank you for the preset. It works just as you describe, with more blues and a bit less red than in my existing presets, plus some pronounced contrast.
I will try to learn from your use of different pre/post tone curve primaries adjustments. It’s a useful example.
About your target filmstock - Seems more like Fuji than Kodak, could this possibly be Velvia? Don’t feel obligated to answer if you prefer not to.
Please excuse my ignorance. I have studied the documentation on managing presets, but it does not tell you where to store a preset that you download from an external source. Would you tell me where to store your preset file? Thanks.
PS - Never mind. I simply imported it in the darktable preset settings, and it somehow knew to put it with the AgX presets.
User-defined presets can be imported from exported .dtpreset files using the “import” button at the bottom of the screen. You can export all user-defined presets to a single directory using the “export” button.
(darktable user manual - presets)
Well, it was actually based on Kodak Ektar 100, but my method of extraction/transfer from film datasheet to AgX preset is not based on physical modelling or actual comparisons with real film images, so it is not going to produce the exact characteristics of the source film. Instead, my interpretation scripts are primarily based on my own theory crafting about what different measures & dimensions present in datasheets could mean in AgX terms.
First time replying on this site - you brought me out of lurker status.
This is excellent and wonderful as a one-click to get you 80% or more of the way there. I’m looking forward to more as you work through the rest of the film stocks you have profiled.
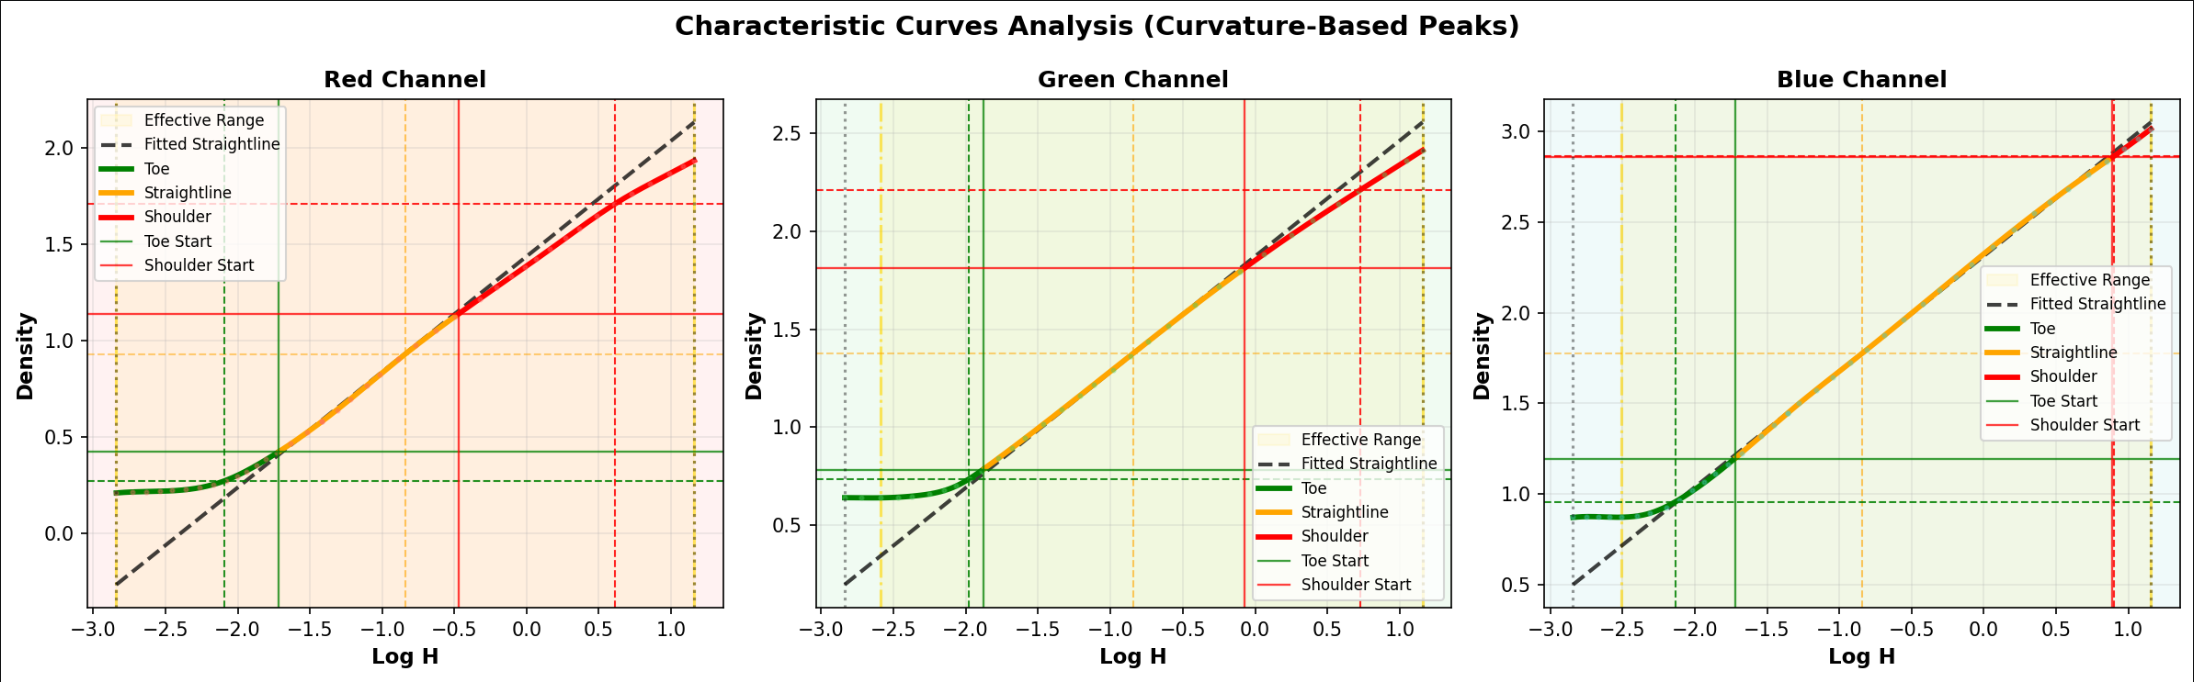
For some extra visual yum yums, here are the analysis graphs generated from my python scripts that I use to make sure they are doing what I want them to do.
Characteristic Curves
I have a set of variables I use to configure the thresholds for defining straighline portions, toe, shoulder, etc. The script is also doing some data clean up since my manual data extraction could be inaccurate.
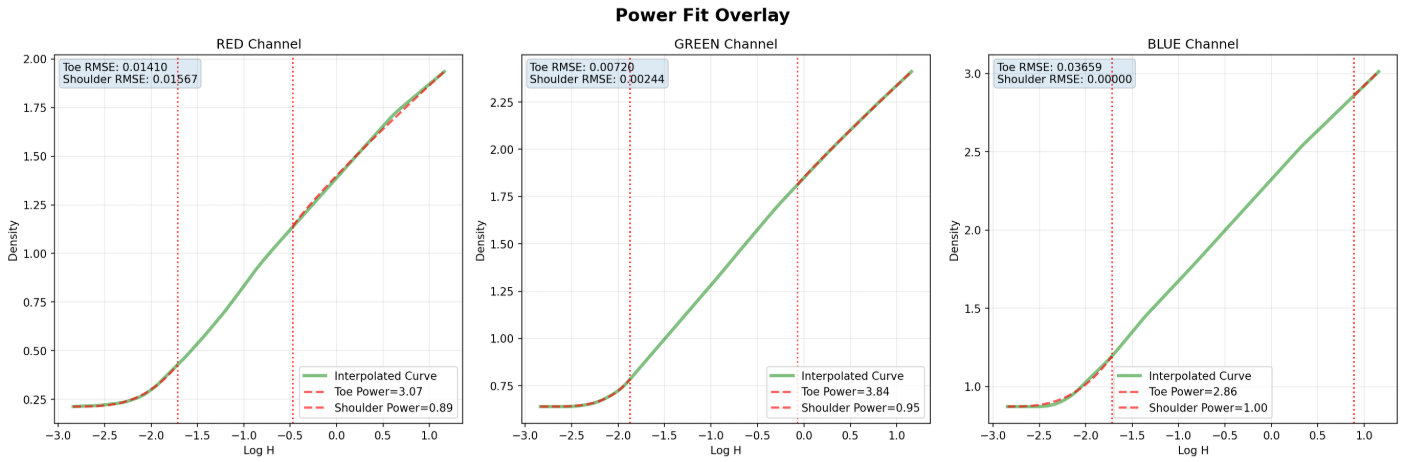
Part of the calculations based on the Characteristic curves, is some stuff to try and estimate what toe/shoulder power settings should be used in order to emulate the film stock. Here is the visual for that fitment process.
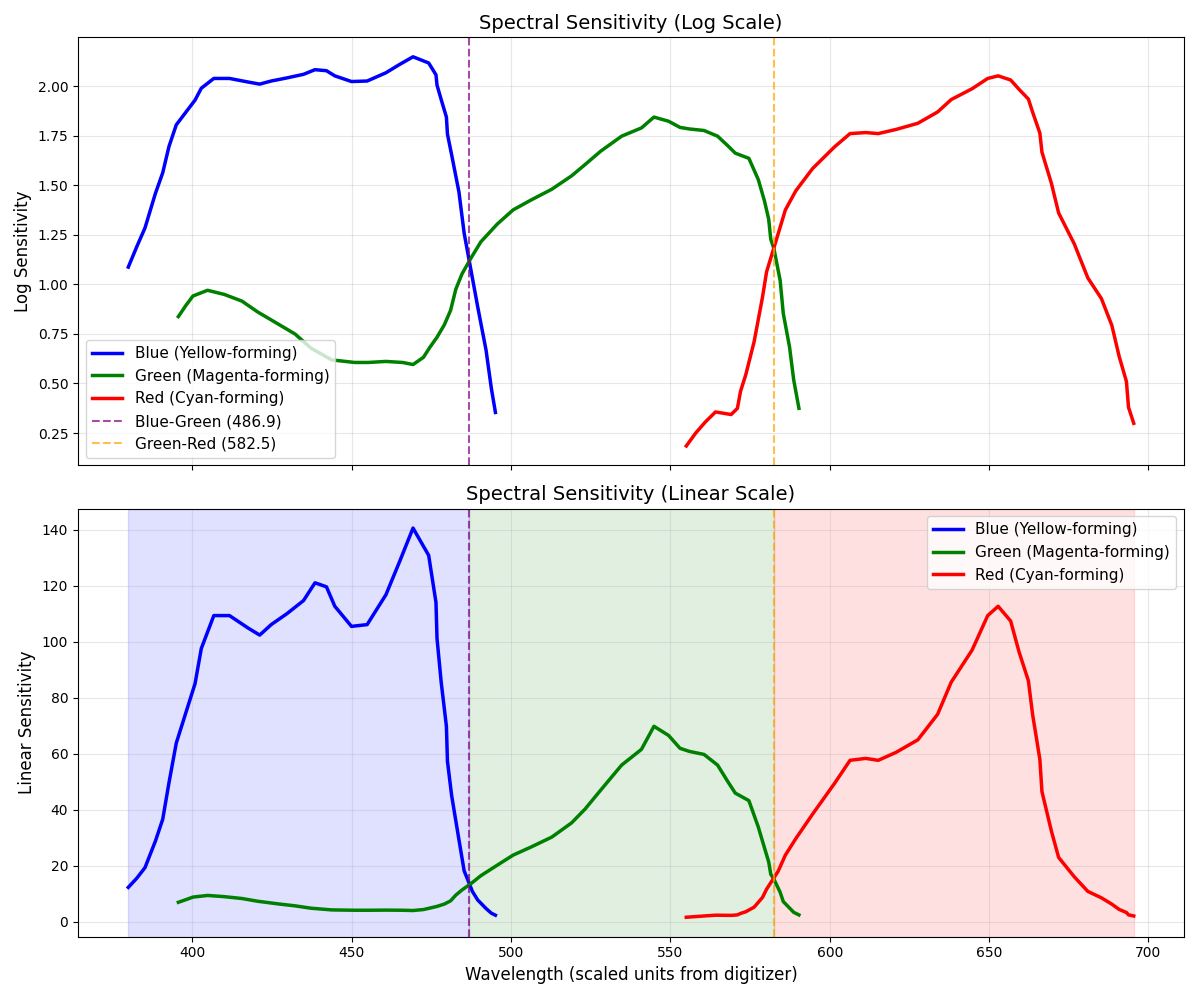
I am using the Spectral sensitivity curves for identifying how the input primaries should be configured, based on the overall sensitivity of each layer, and how much of the various wavelength ranges are “adopted” into other layers (For ektar, you can see that the green layer is partially sensitive to blue, meaning that some naturally blue tones will be transferred to green in the final image). I am using that information to calculate primary rotation. Obviously, this is pure theory crafting, with zero foundation in primary sources. It is purely my intuition, which is most likely wrong.
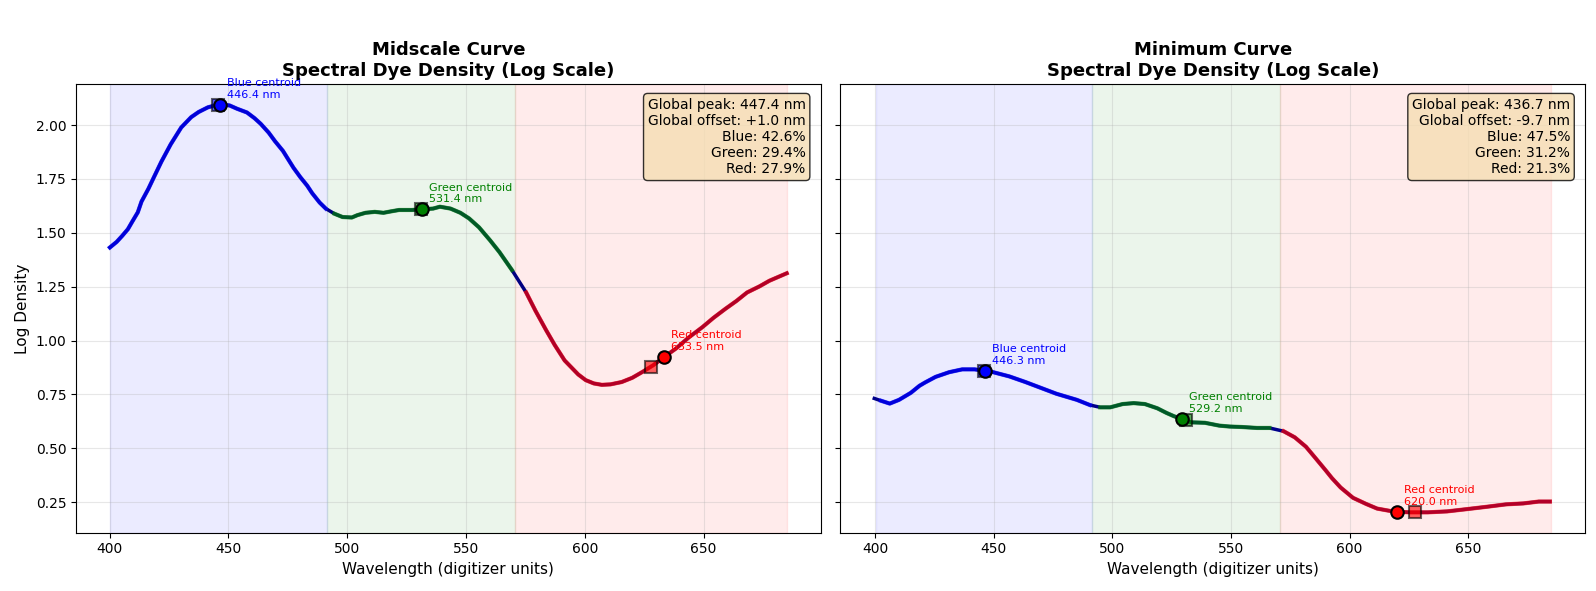
The Spectral-Dye Density curves are being used by me to set the output primaries settings. This is based on splitting the two curves by hue range and then calculating the centroid of each region as well as the ideal centroid (if the region was perfectly flat). The different between the centroid and the ideal centroid is used to infer the rotation of that primary. Also, the area under the curve for each region is used to set the purity boost for that region.
Thanks so much! I am looking forward to continuing this process and hopefully streamlining the manual work I have to do. Right now the whole thing is a little messy and split between manual data extraction, running scripts, and then copying numbers into an spreadsheet.
I’m glad you like the preset! Yes, it does have quite a serious amount of contrast, but you can always bring in tone equalizer to help tame crazy dynamics for certain scenes
Thanks Thumper for all your efforts in producing this DFS preset for AGX.
The contrast is way above my comfort level but the colors are wonderful.
I have tried it out on some extremely high contrast images (shot in midsummer around noon) and used the Color balance RGB contrast control to get things where I want them to great effect.
I am looking forward to you producing more of the DFS presets for different film emulations
Many of my example images are naturally high contrast, and the contrast level can look a bit over the top on images like that. You could create your own variant with a decreased contrast value (though this will reduce saturation) if you find that it regularly gives you too much contrast, or you can use tone equalizer to selectively bring back highlights and/or shadows that get crushed too much.
Also, remember that sometimes we get used to seeing certain control values within a certain range (what we usually use), but just because the literal number is higher that we might normally use, does not mean it is inherently wrong. I am looking forward to doing more of these emulation style DFS so that I can discover what other contrast values the other film stocks have.
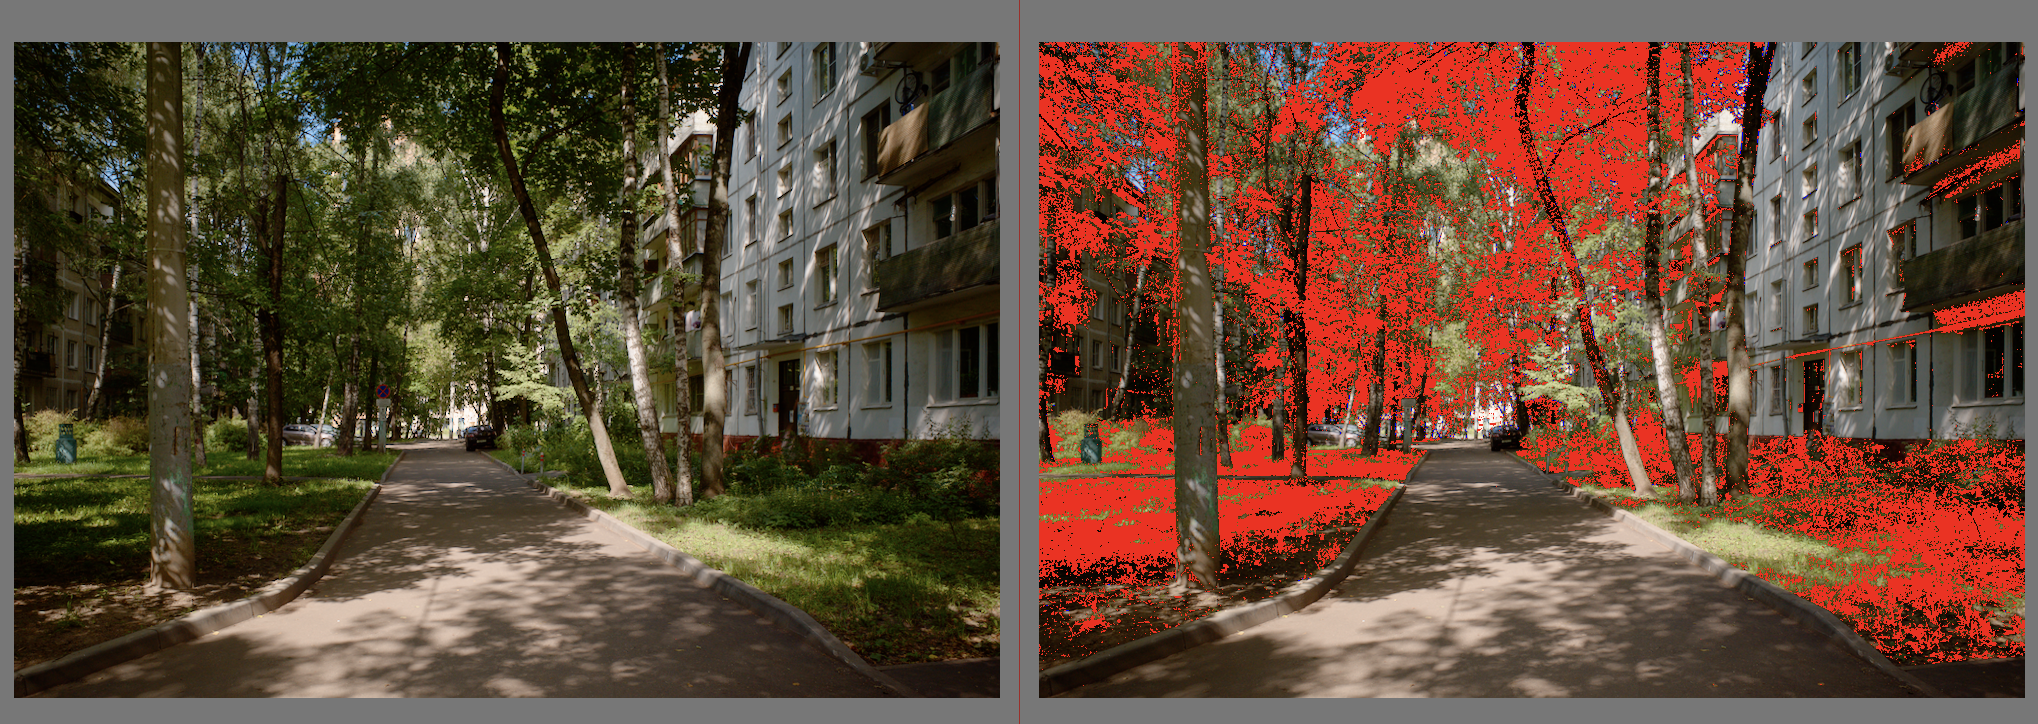
Like others have said, the contrast is too much for me, but I think I might respectfully yoink the primaries tab. I had this question back in the other thread but never ended up asking, so I’ll ask here: when you have lower attenuation of a colour than you have of its boost, does that not essentially mean that it will in 90% of cases be clipped or close to its clipping value? I tried the original version you had and now this one, just applying the preset alone leads to the sky being marked as being blown out of gamut. How do you deal with that?
Not necessarily. It depends on the photo. With this preset one needs to look at blue hues primarily. But I’ve looked at blue sky photos with this preset and those are ok, even if very saturated.
Now the high contrast set in AgX can push the luminance beyond warning thresholds on the clipping indicator. You may, of course, reduce contrast in different ways, e.g. in AgX (this will also reduce saturation). Or you could reduce contrast in color balance rgb, or in that same module tweak perceptual brilliance for shadows or highlights. But that goes beyond the intent of this module, which is as a nearly one-click grade.
I believe it all depends on the source image. If a specific channel is low in saturation to begin with, it probably wont clip, even if you don’t attenuate and you boost purity. But for channels that are already close to clipping, the simple act of applying the transfer curve with mild contrast could cause clipping.
I initially tried matching attenuation and purity boost, but that was simply based on an assumption that somehow that was benefiting me somewhere (though I have no evidence of that). That was also before I took the dye-density curves into consideration. I believe that the current translation flow is more correct from an emulation perspective:
characteristic curves → transfer curve, including toe power, toe start, contrast, shoulder start, shoulder power
spectral sensitivity curves → relative primaries purity (inverse attenuation), and primaries rotation before tone mapping.
spectral dye-density curves → relative primaries density (purity boost), and primaries rotation after tone mapping.
Now, I am certain that this is an imperfect emulation technique, and obviously it is not nearly as accurate as Spectrafilm. For example, I think that my method probably over-accentuates the color characteristics as described by the datasheet. I might need to scale the affect on the primaries attenuation/boost in order to get a more well rounded final product. Who knows… probably someone from Spectrafilm
This is actually why I chose not to call the preset “kodak_ektar_100”, and instead went for a custom name, because I am sure it is very different from Ektar.
I see, thank you for the elaboration. So the gamut warnings are safe to ignore in this case?
I have an example photo like this and, well, almost all of it is apparently clipping, no matter how I adjust the exposure (exposure module) or the contrast (color balance rgb module)