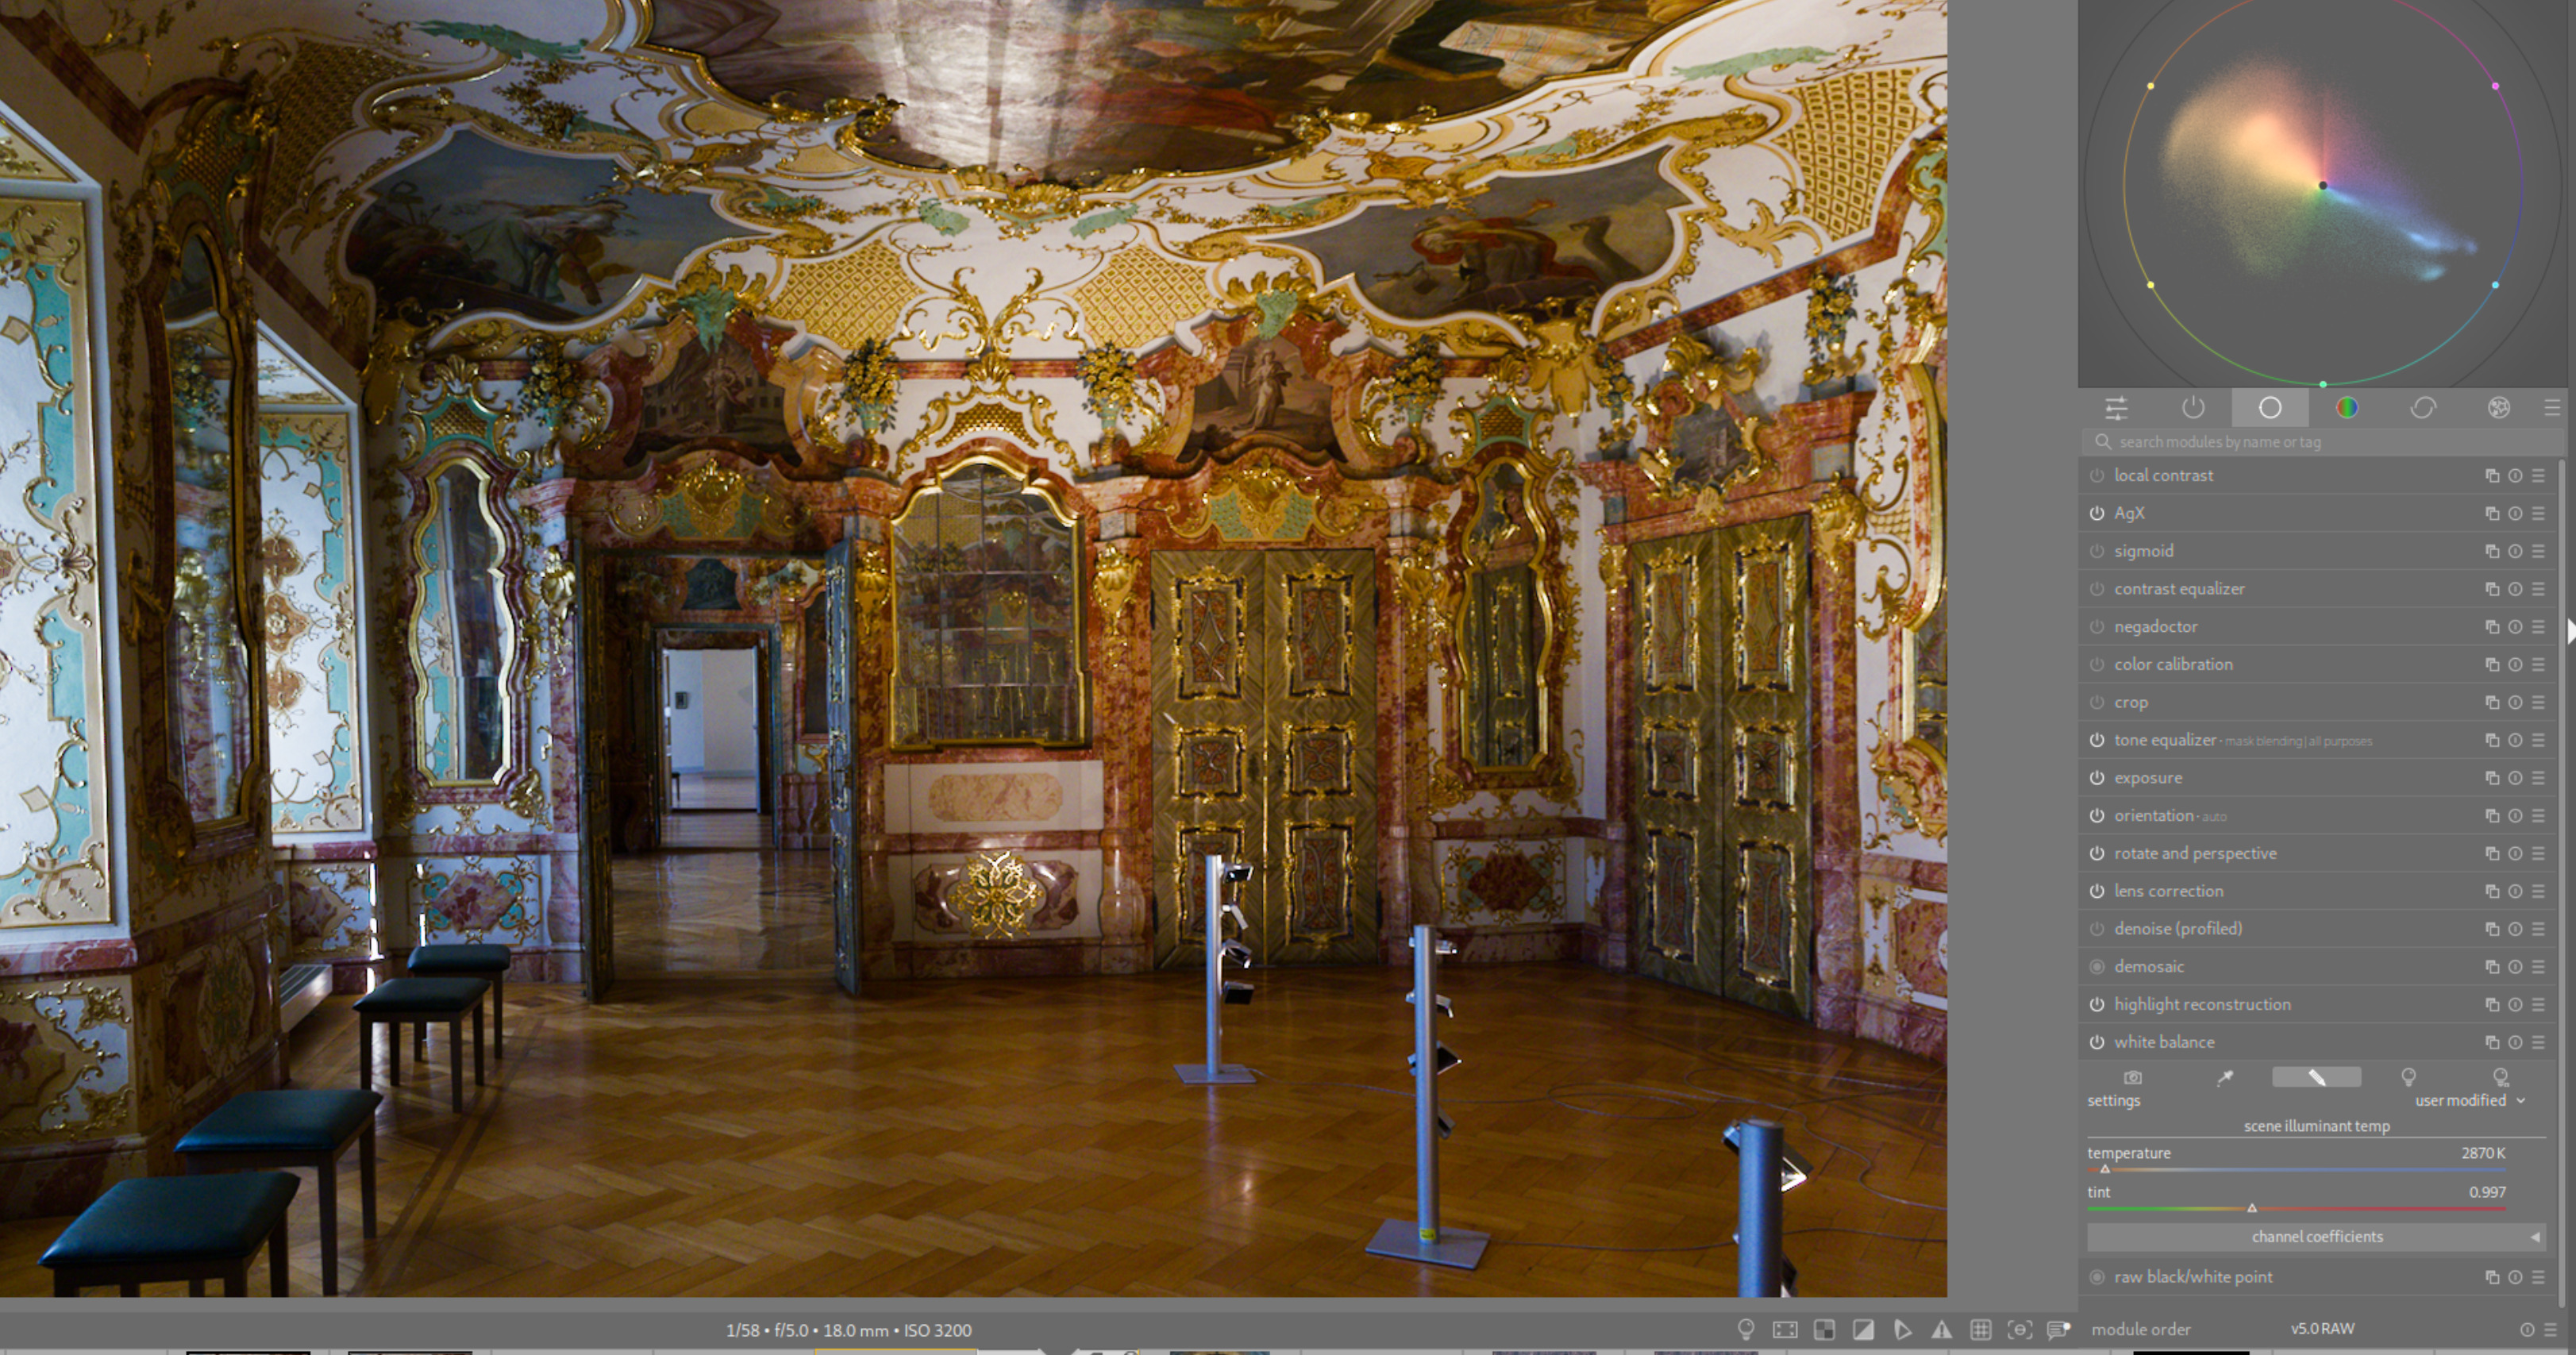
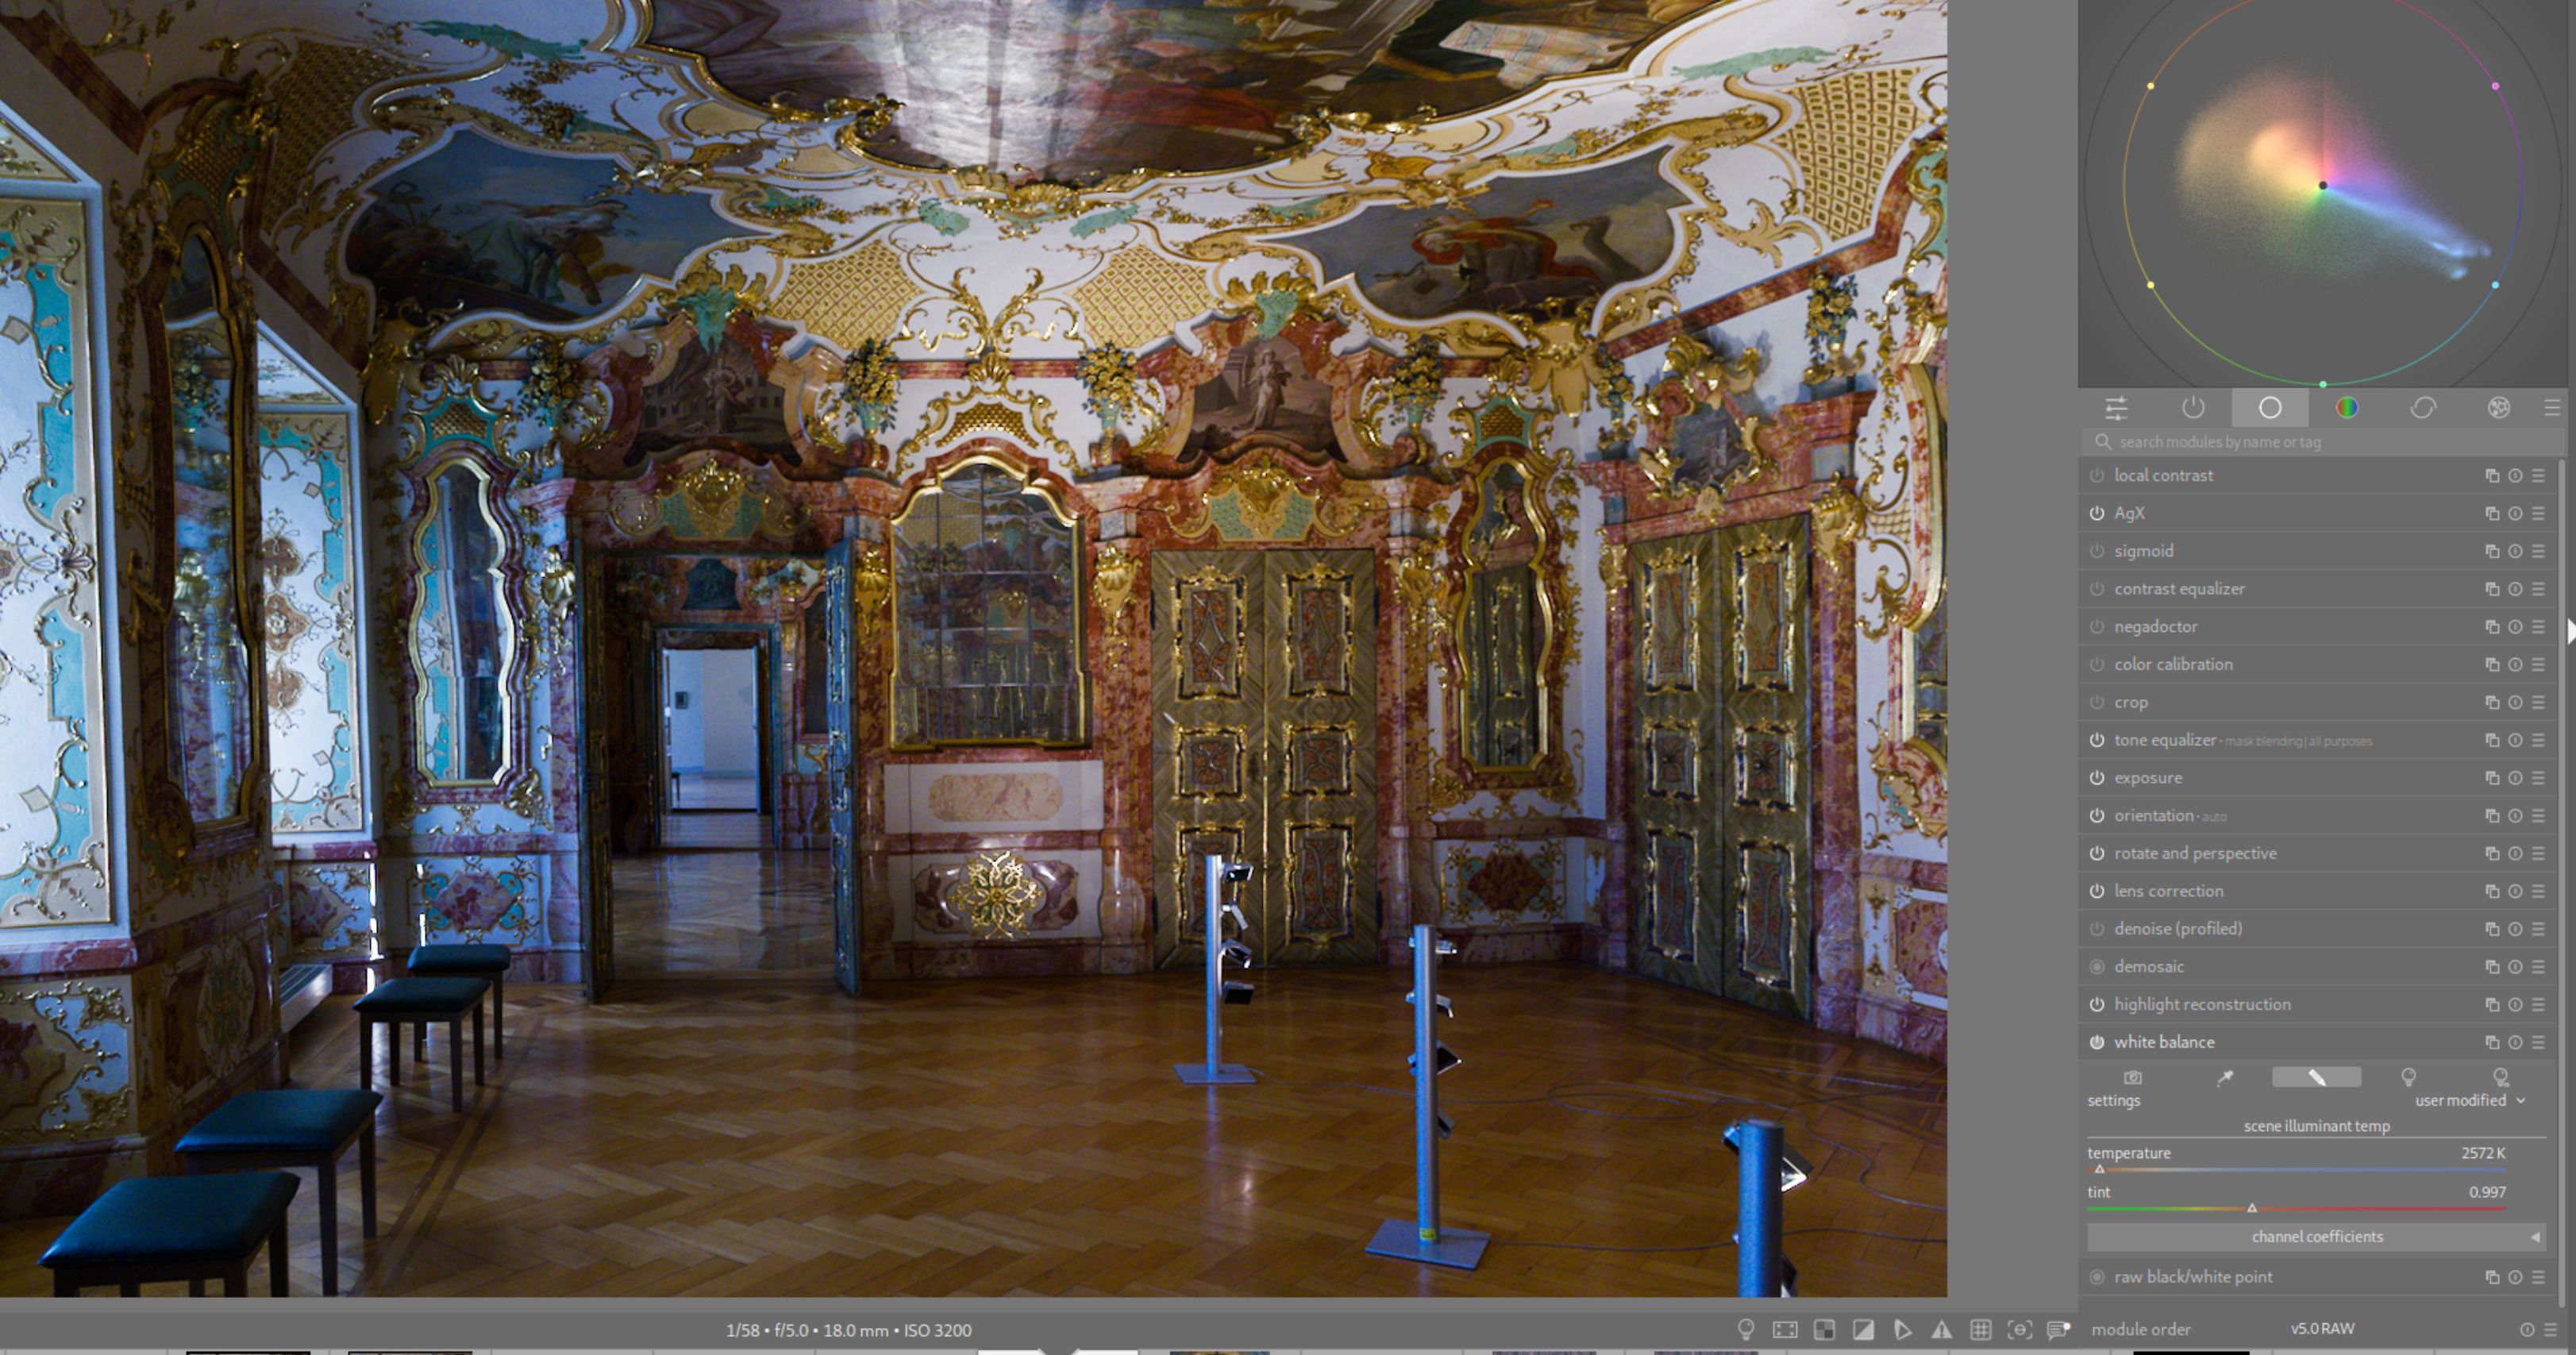
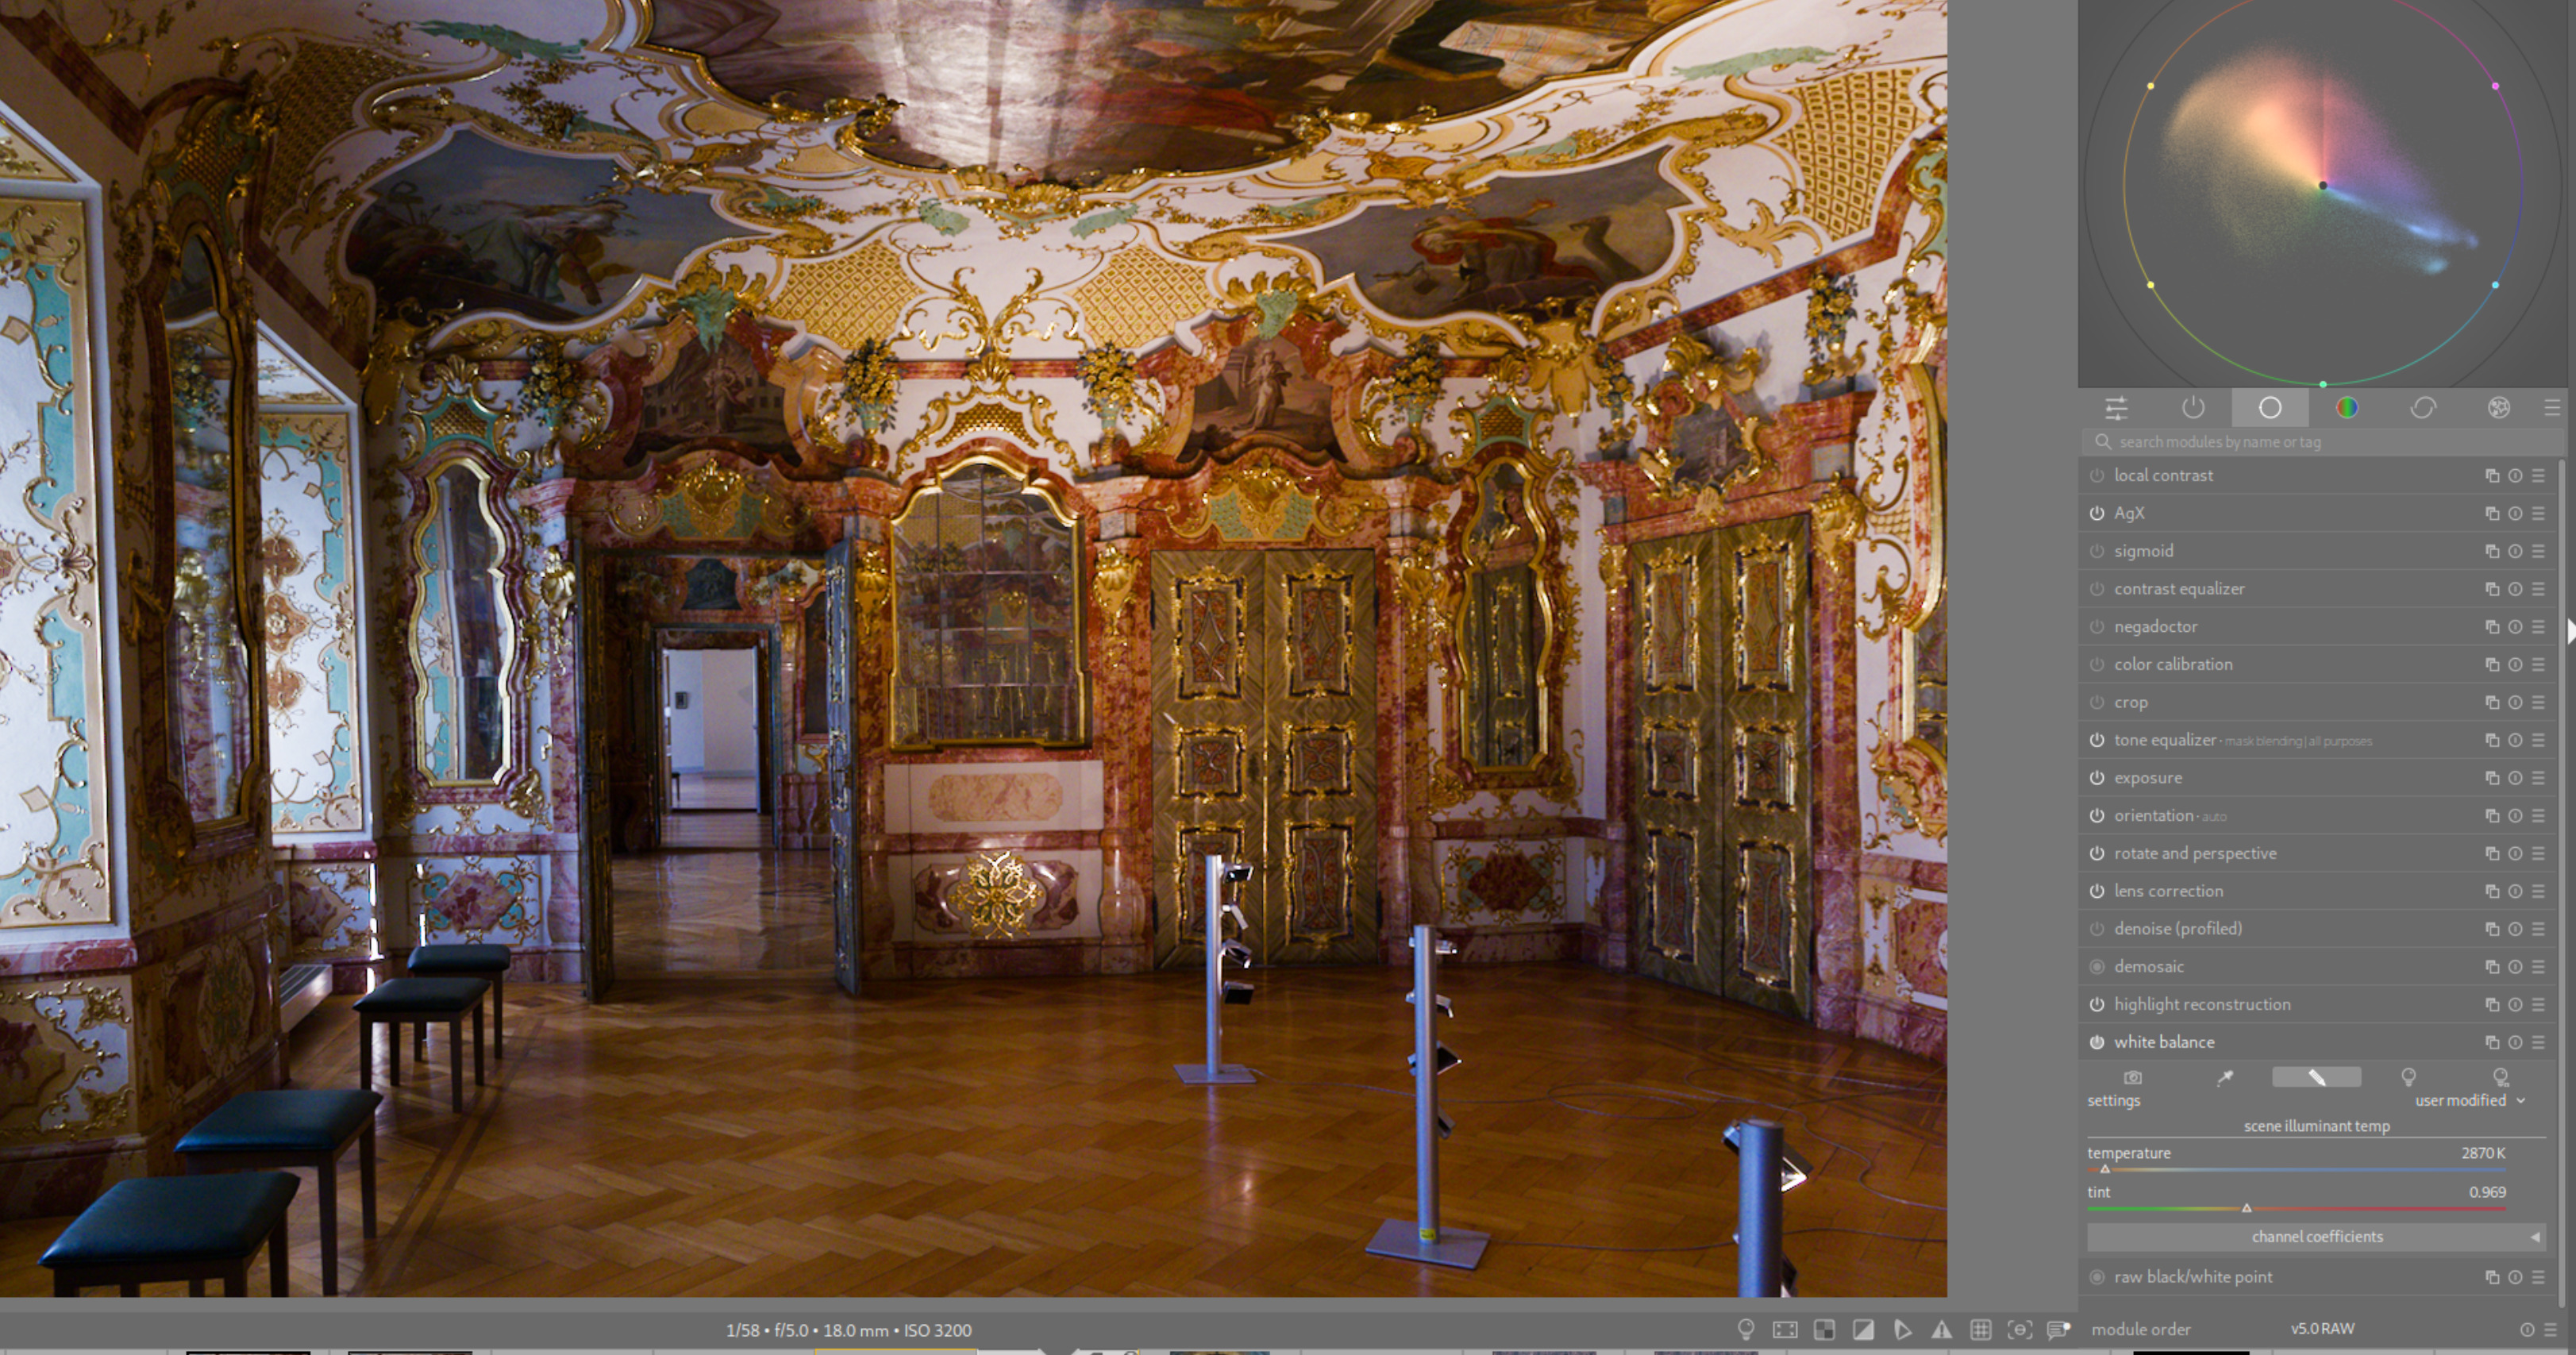
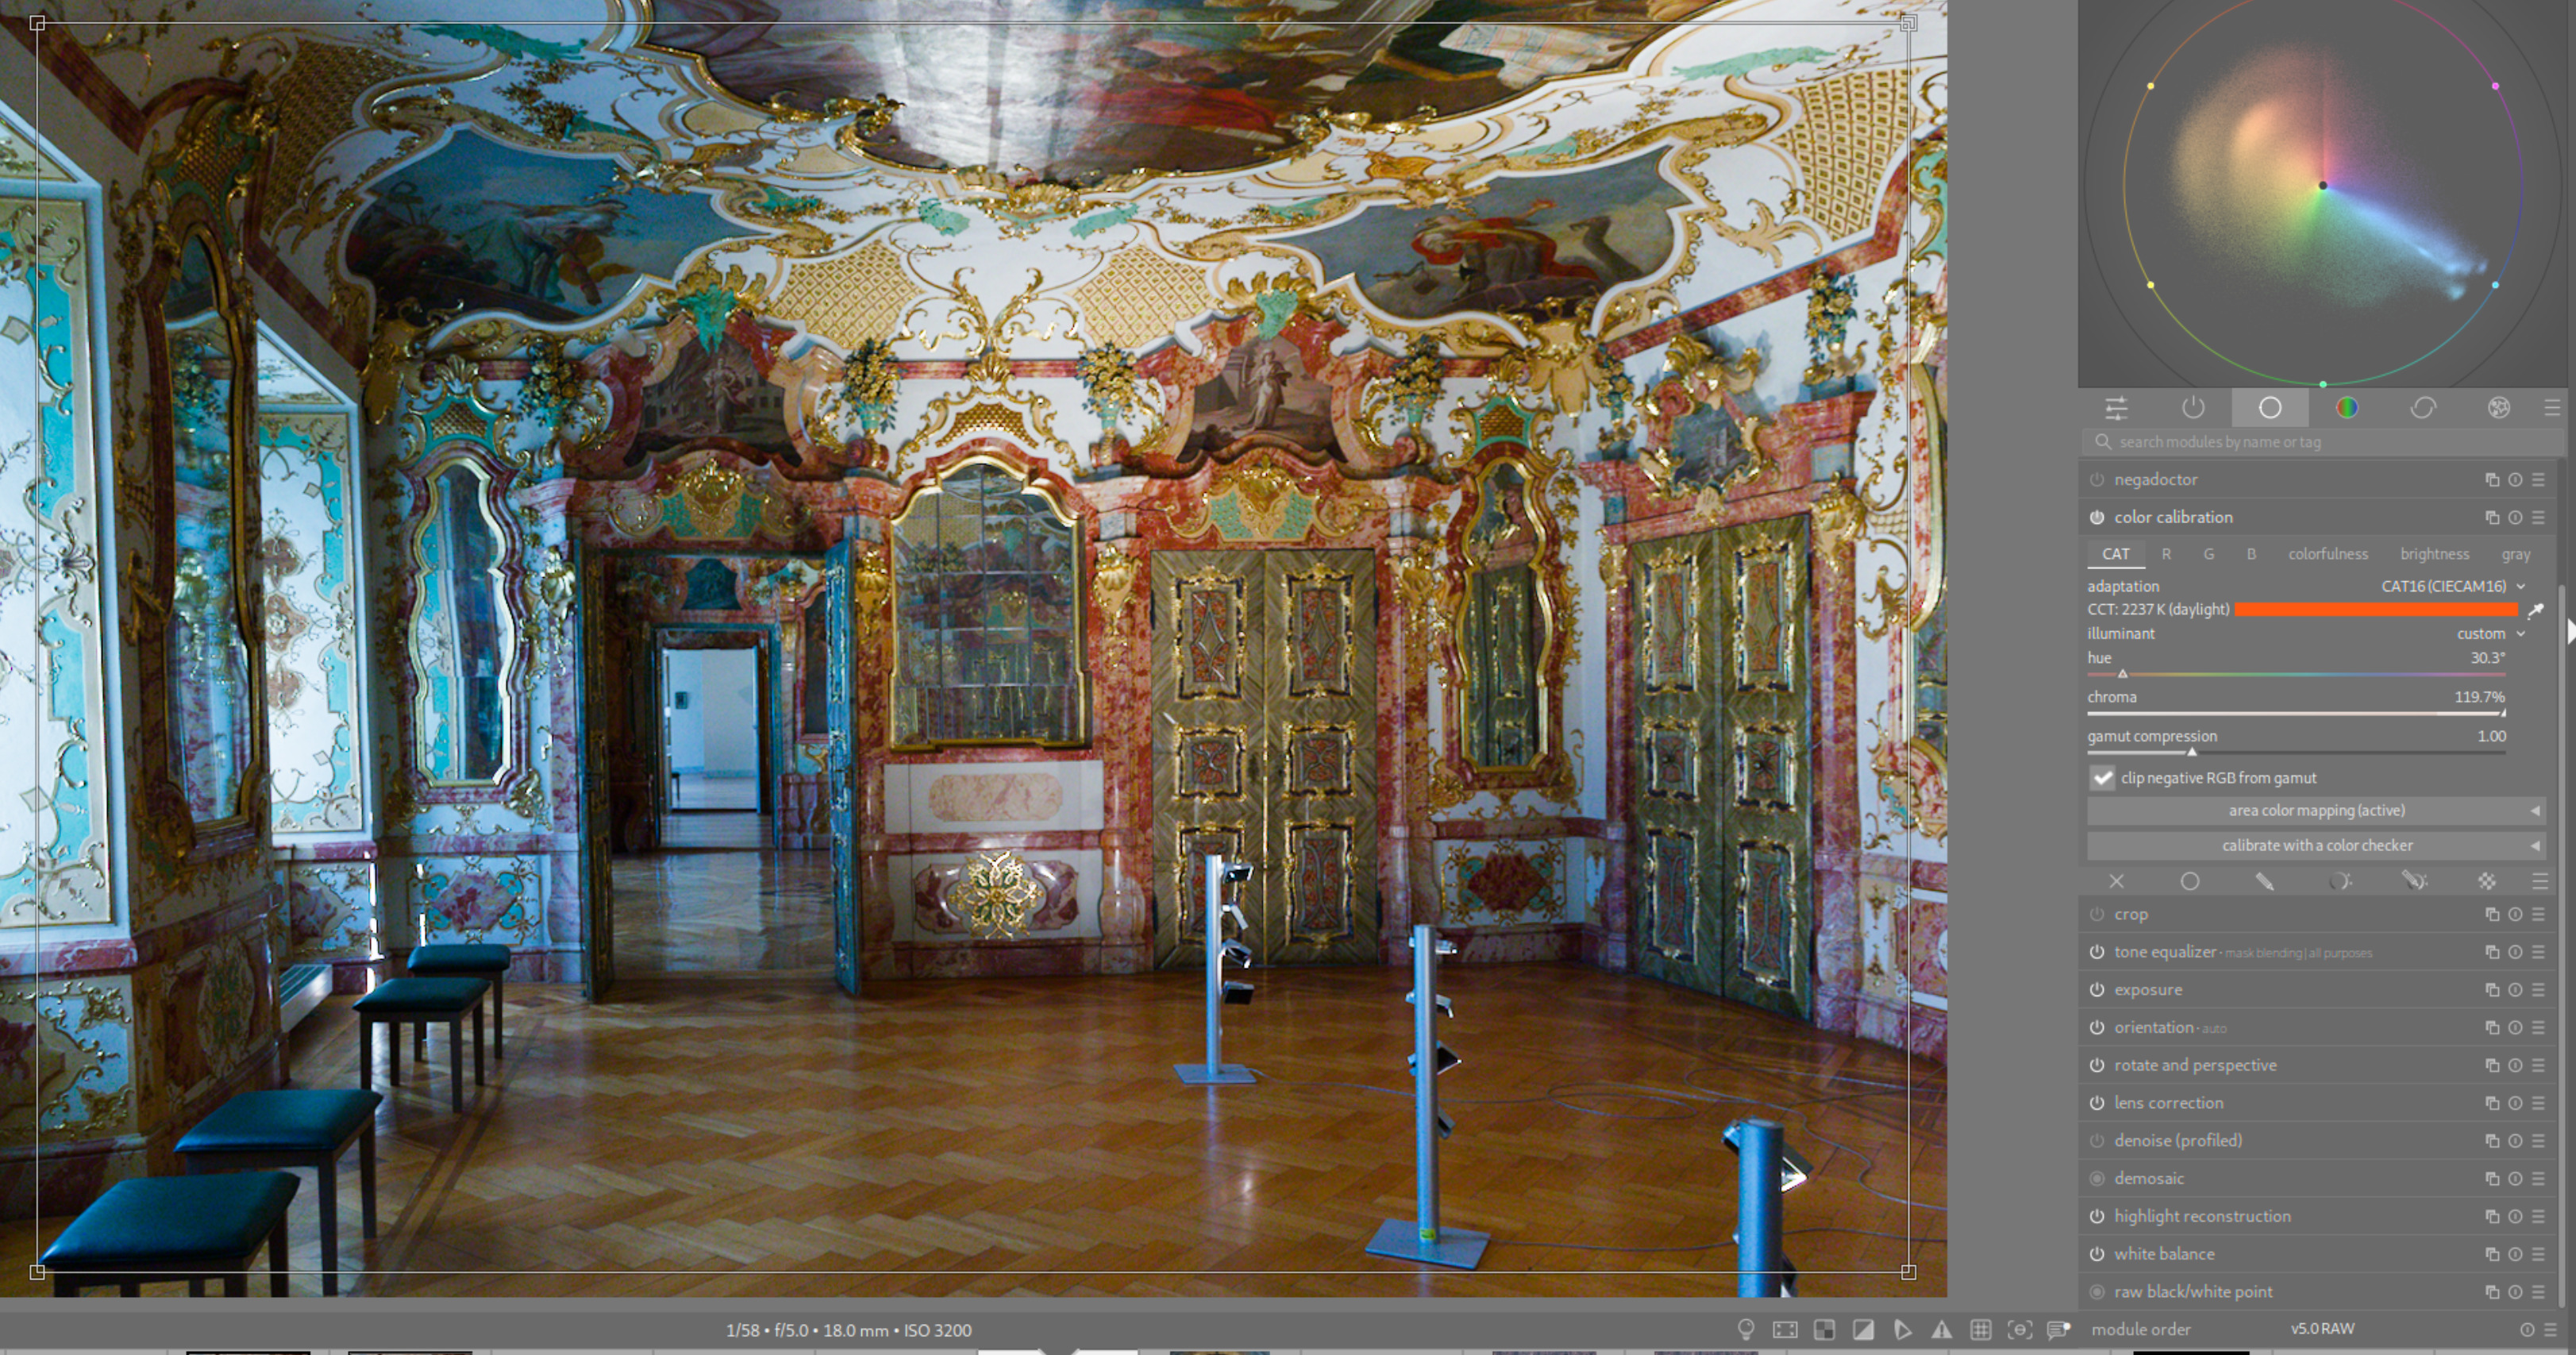
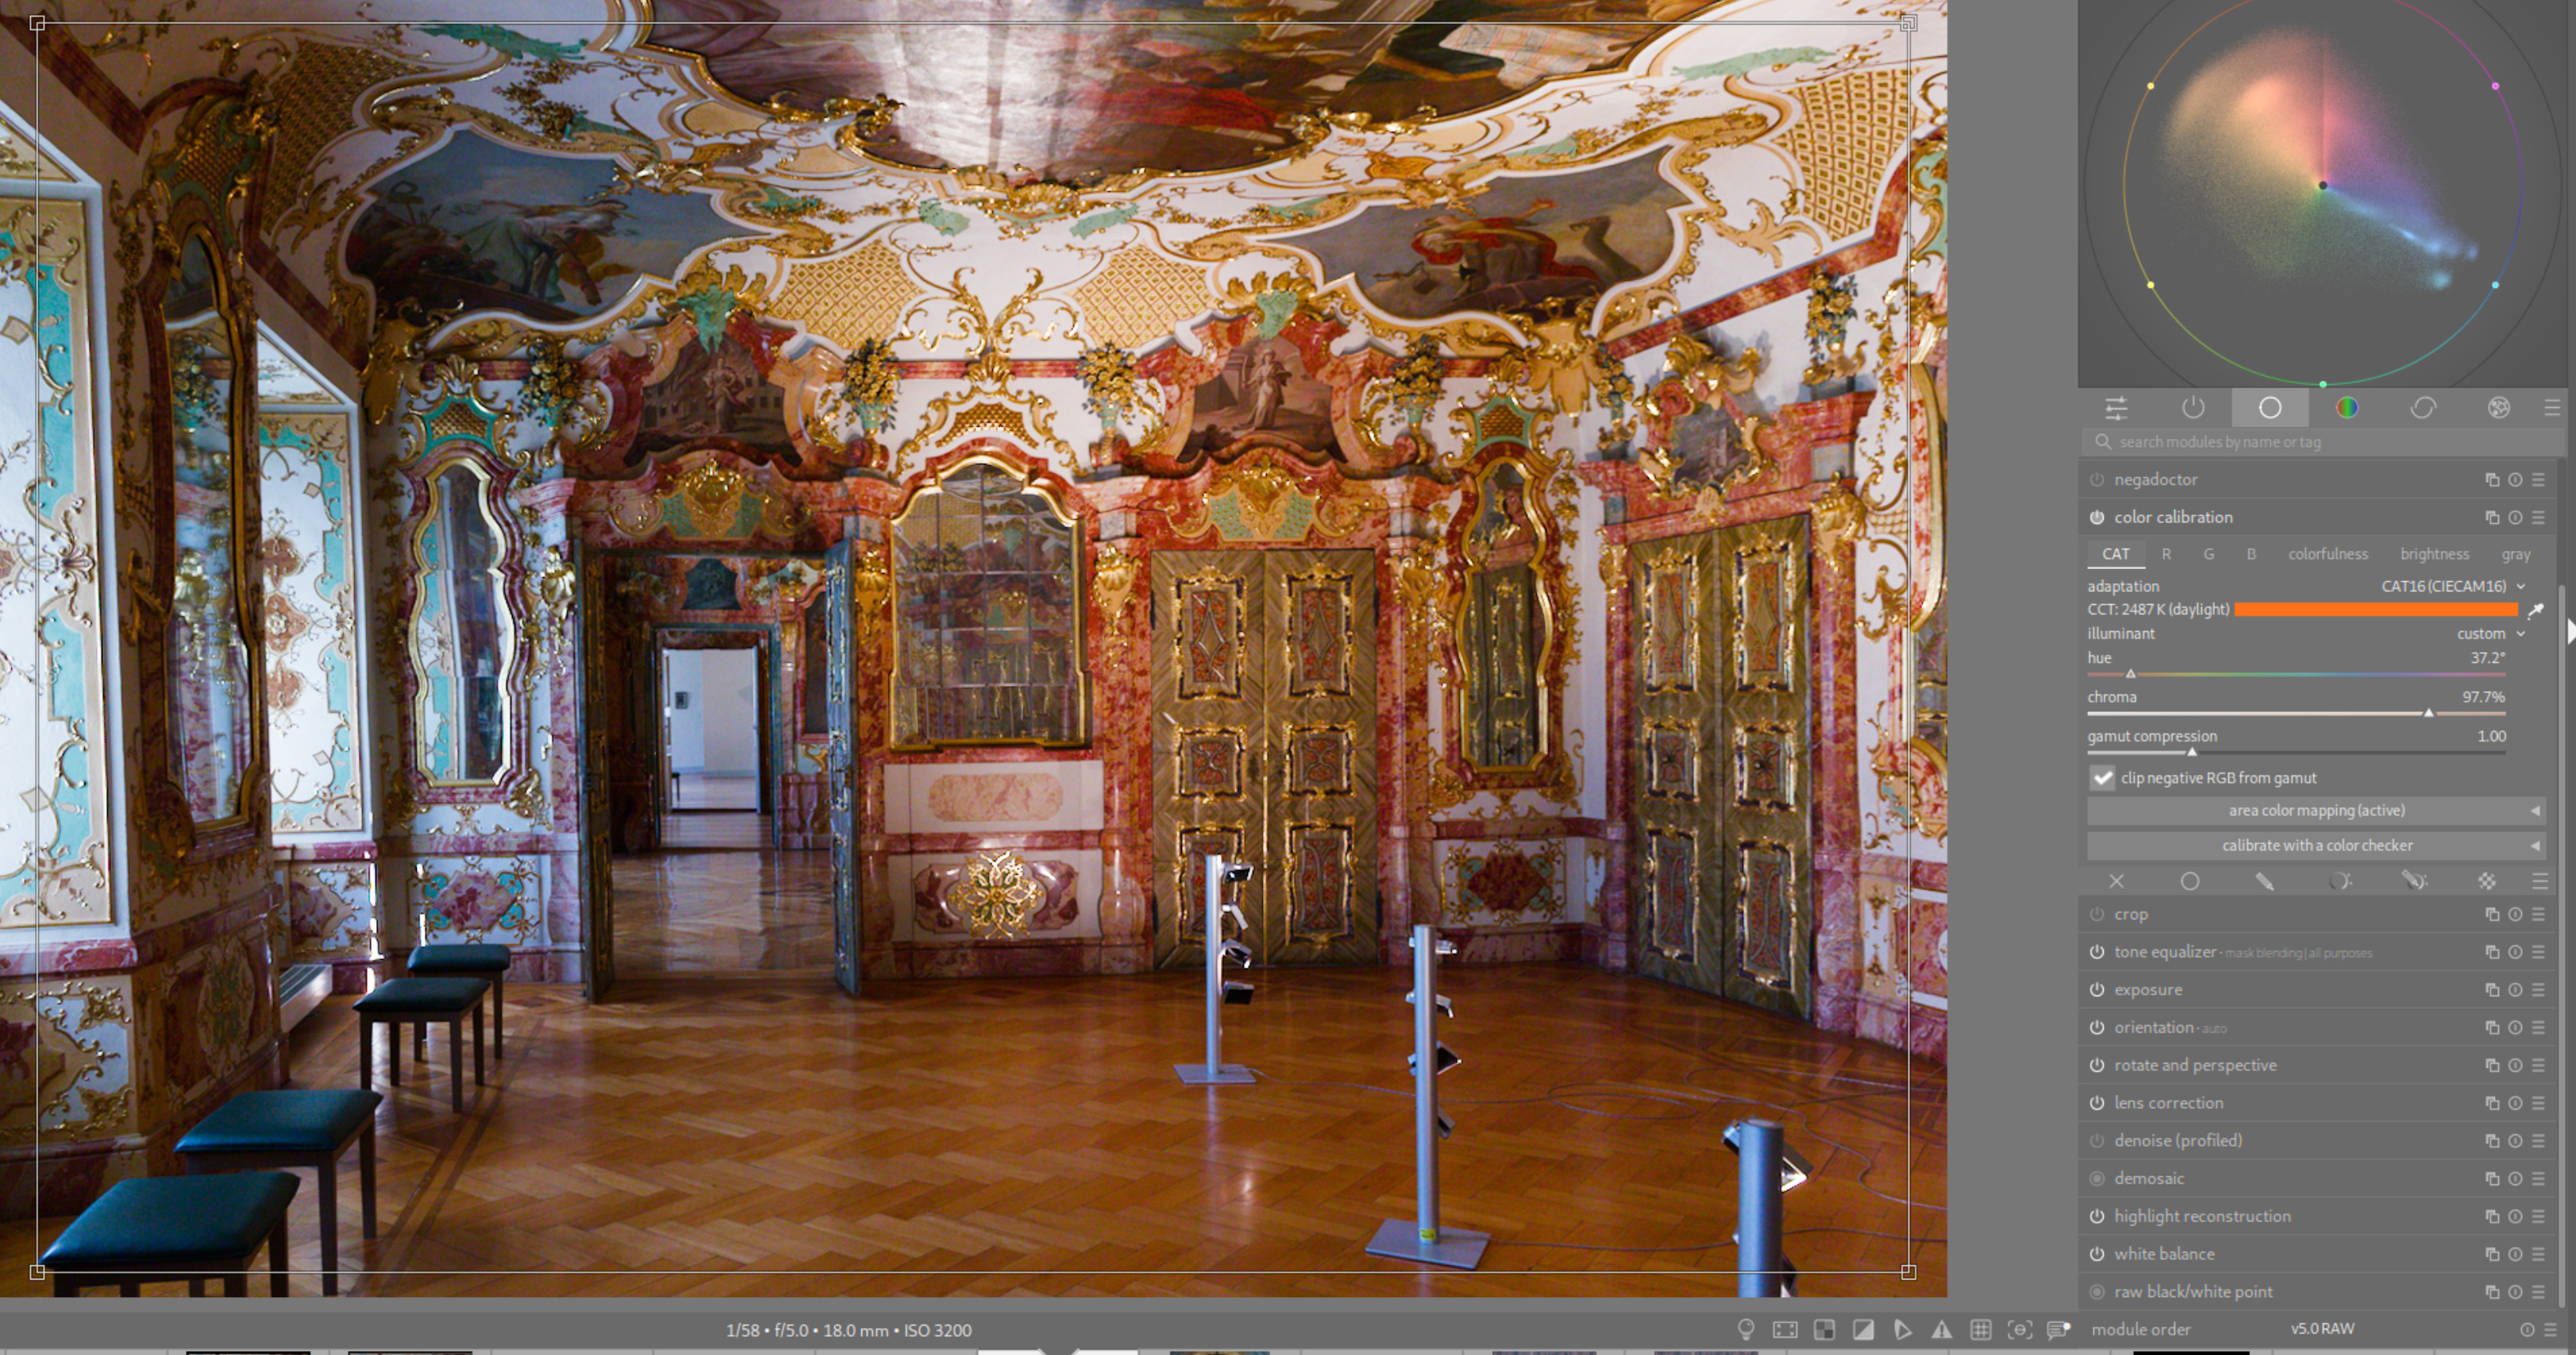
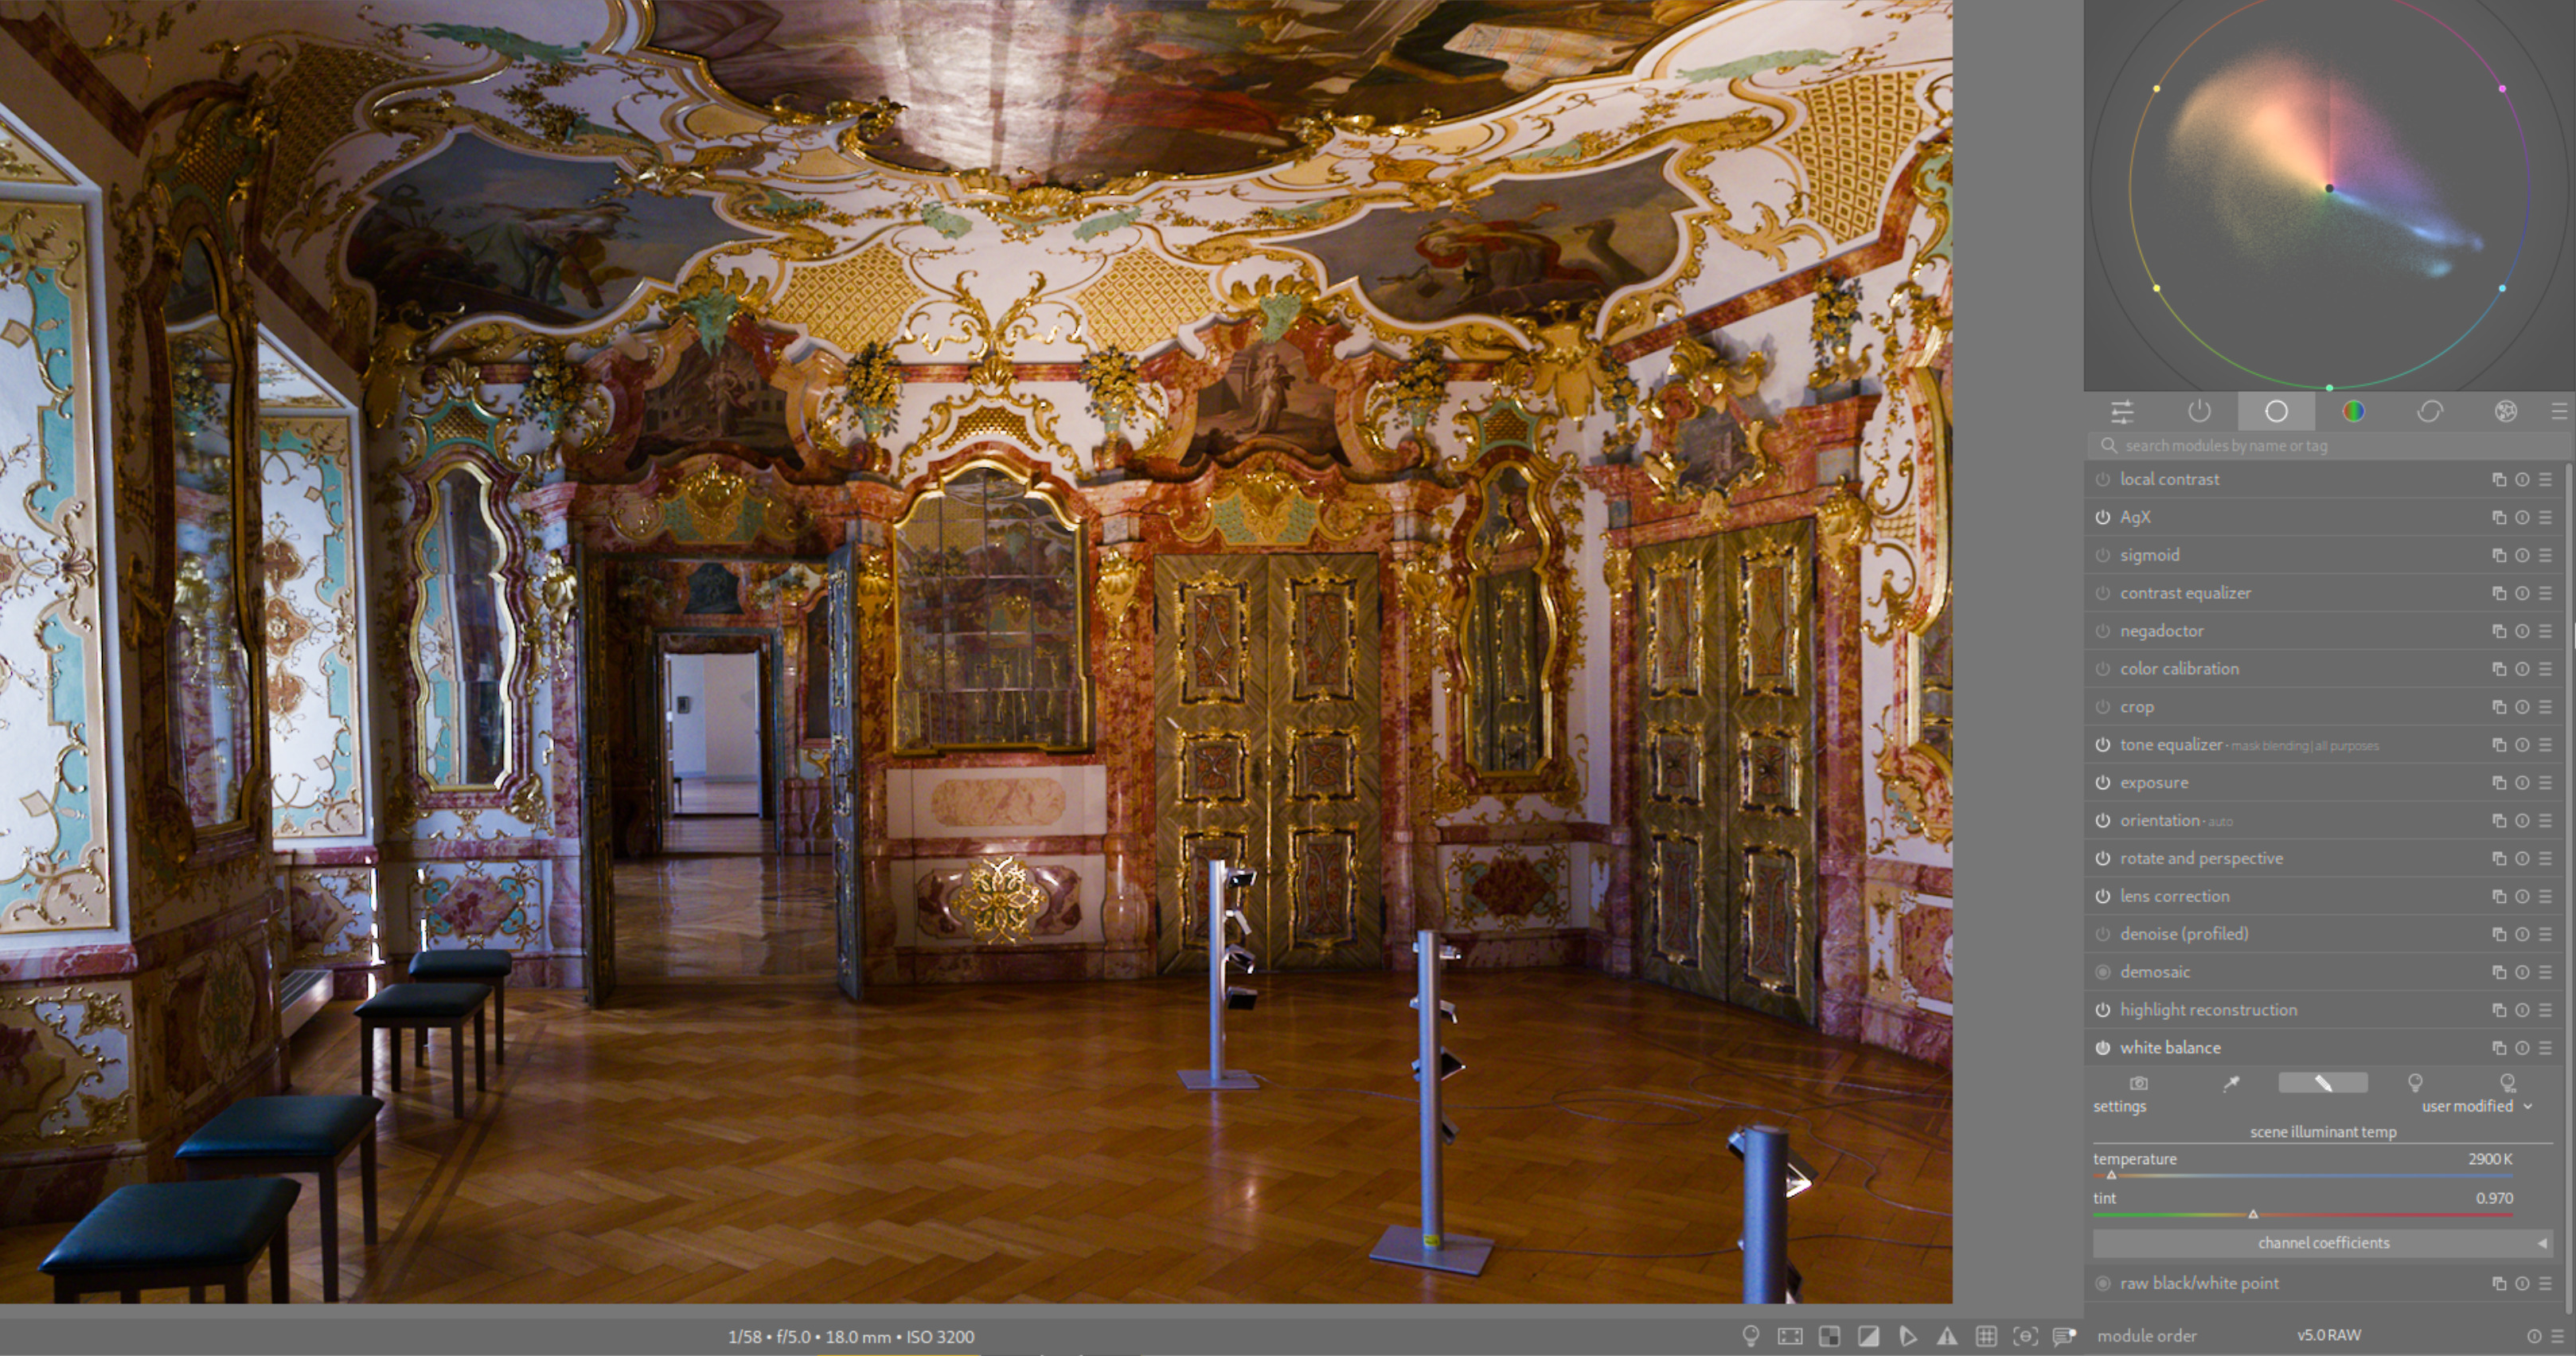
Just to summarise the white balance point, because I think the conversation has been surely had before.
I understand darktable is not meant to be a replacement for any other specific raw developer and wants to do things its own way, and I respect that paradigm. I will give another shot to the whole color calibration CAT approach, but seeing that it is such a poorly understood concept that even the current implementation is not self-consistent, I don’t have high hopes for my new attempt to learn it to be too successful.
Just one last question for @priort to make sure I understand your point (forgive me for not reading the resources you linked, but these are unfortunately not in the “digestible” category for me). You say:
Are you saying that by disabling the color calibration module and using only the white balance module I am NOT using full rgb data (whatever exactly that means), and am leaving some processing quality on the table? In other words, is the first of the four images in the original post on top somehow (how?) better than the 3rd or 4th?
You may or may not want the CAT approach introduced by Aurelien but it’s well explained at the link I shared and the DT manual.
I do agree that it introduces some complexity but at the same time it’s easy to just use traditional wb.
If people want “white balancing” in DT why are they simply not just using the wb module rather than trying to get CC to work like it… If they want the CAT for any usability or perceived improvement then use it and learn it… There seems like two clear options already available…With some corrections that @kofa may tackle, then the way that CC leverages and works with wb will be less restricted if I recall and there you have it legacy wb or scene referred illuminant correction… Use the tool that works for the user…
No, you may not want to use a white balance module at all (black and white cameras, for instance, those do exist).
“white balance” is a technical term
Using defaults for unknown parameters is an option. If you really want to know what all the buttons do, first stop is the manual (I know…)
basically any other RAW software uses/used display-referred editing, therefor users are used to it. Not a good reason to stick to a wrong model, I think (CCT is just wrong outside the narrow locus for which it is defined)
that would mean two modules with the exact same internals, just a different user interface.
My attempt to match using only WB. Colors on scope are “tighter.”
Of course, there are other color tools in dt, and one can start here and make a number of changes to colors. My preference is to select what I think is a balanced and “natural” image (unless there is a good reference in the image), then move on to more creative edits.
If you prefer things another way, that’s fine. There is more than one way to a good edit.
Sorry I’m just on my phone but wb is a partial CAT…You have 3 values used as multipliers on every pixel…all r values will modified by the r scalar of WB. The CAT takes into consideration the pixel’s RGB value and performs the perceptual correction on that from the scene to display.
Even if you scan the pdf I included…ignore the exact math details but just read between the line in the explanations of why and how you would use this as an approach…to “white balance”
plugins/darkroom/temperature/colored_sliders=no color
But I’m not sure what to change it to.
@Doug-Phoenix that image is also a good example with multiple light sources, where you can use multiple instances of CC to balance them separately (see my post in the topic). Although I don’t think RYB vectorscope is suitable for doing technical white balance, because it skews the hue wheel distribution relative to the RGB primaries.
I’m not going to argue that CC is always objectively better for technical white balance than the WB module, but here’s my way of seeing the CAT process:
Change scope to vectorscope with u*v* or AzBz mode. Imagine an arrow going from one side of the ‘circle’ to the other, directly through the centre. The ‘hue’ setting controls the base of the arrow, and the ‘chroma’ setting is the strength that it pushes things in that direction. chroma is mostly pushed in a straight line, with a little curving toward the opposite of the hue setting.
Yes, and you know better than I. I will make the change you suggest on the vectorscope. (RYB is more of an artsy thing, and I picked it because painting is where color harmony was “developed.”)
Thanks for the tip!
I don’t consider any of this to be true technical WB (or better, CAT). If we want to get into the details, well, it’s difficult to represent complex reflection spectra with just three numbers (etc. etc.). Also, unless there is a reference in the image (or a separate reference shot), CAT is just qualitative anyway. I just try to make CC look balanced and “right” to my eye.
I’m aware of your previous post on multiple light sources, and sometimes I do masking with second instance(s) of CC using the channel mixer. I did one recently in a PlayRaw. But that’s a bit more advanced than what we are discussing here, and I can’t say I’m particularly skilled at that. But I’m learning from you and other experts on this forum.
I haven’t done video capture and upload from a pc yet, and I’m not quite ready to try today. So here are my quick tips:
Set WB to “as shot” or CC to “as shot in camera,” depending on which module you are using.
How do colors in the image and on the vectorscope look? Add/subtract exposure or contrast as needed. If all is well just continue editing.
Your next friend is the color picker in WB or CC. Try looking for a neutral (white or grey) patch and select that. Or, maybe the whole image. How does this look?
If desired, next go to “user modified” (WB) or “custom” (CC). You have two sliders. If you start close to “good,” you just need to make small tweaks. It is challenging to make large changes and get a good result.
So, in the end, if you are making a custom white balance you have two sliders, and hopefully they just need small changes. With practice hue and chroma and just as easy to adjust as temp and tint, again for small changes.
I haven’t read all the posts here so apologies if I might repeat something that has been said. I personally have no problem with users disabling the CC module and just using the WB module. I like that in the WB module I get drop down options like daylight, shade and cloudy.
By default I have the CC module set to as shot in camera and all is fine most of the time. Sometimes however the color is a bit off so I create a duplicate instance of the CC module and use the picker to try and set the color. This often over corrects the problem so I use the opacity slider to decide the extent of correction required. This method works well for me most of my images.
you can have it. You simply can set default processing workflow to ‚none‘
Then you’ll start just with the mandatory modules needed to display the image.
darktable is highconfigurable - if you want, it doesn’t prevent you from schooling into your foot n)
BTW: if other raw converter better matches your expectations, why do you want to use darktable?
The other RAW converters only partially meet my expectations, but I’m having trouble with the CC module. I just don’t understand the point of this completely different approach.
But until I finally figure it out, I’m using it by selecting the “as in the camera” setting, and if I run into problems, I try to solve them…
Well, if you don’t want to use color calibration, the easiest solution might be to create an auto-applied preset which sets the “adaptation” to “none (bypass)” (not tested). That should allow you to keep one of the workflows, while still eliminating color calibration from the pipeline.
Then you can do the white balancing only through the whitebalance module (which, after all, has been good enough for years, and still seems good enough for many other editors).
Keep in mind that color calibration can be used several times (with masks) e.g. for images with multiple light sources, where a single WB for the whole image won’t work well.
I confess that despite being a longtime DT user I too don’t fully understand the point of the CC module. You could create a style to start your edits that includes disabling CC module and activates the WB module to as shot in camera.
Important points about WB module is that only one instance can be used and masking can not be used. However, CC module allows multiple instances and parametric and drawn masks can be used. The advantage of this is that effectively multiple WB solutions could be applied in the case of mixed light sources. That is the very big plus point of the CC module for me.
So if I go there (what’s “darktablerc” please?) and manually change from “no color” to “illuminant color” or “effect emulation” (I think without the quotes?) I should get my coloured sliders in the white valance module?
darktablerc is the file storing darktables configuration and can be found in the configuration directory. Many options contained in that file can be changed via the settings but there are lots more exotic settings only available by editing the config file.