That’s true, but it’s only a screenshot, so all relevant metadata is lost
You can get all the xmp data from the jpg…just go through the load sidecar and substitute the jpg…in most cases it will be as if you had the sidecar…you may have to toggle to allow selection of all files as the file dialog will be for xmp but you can get the edit this way
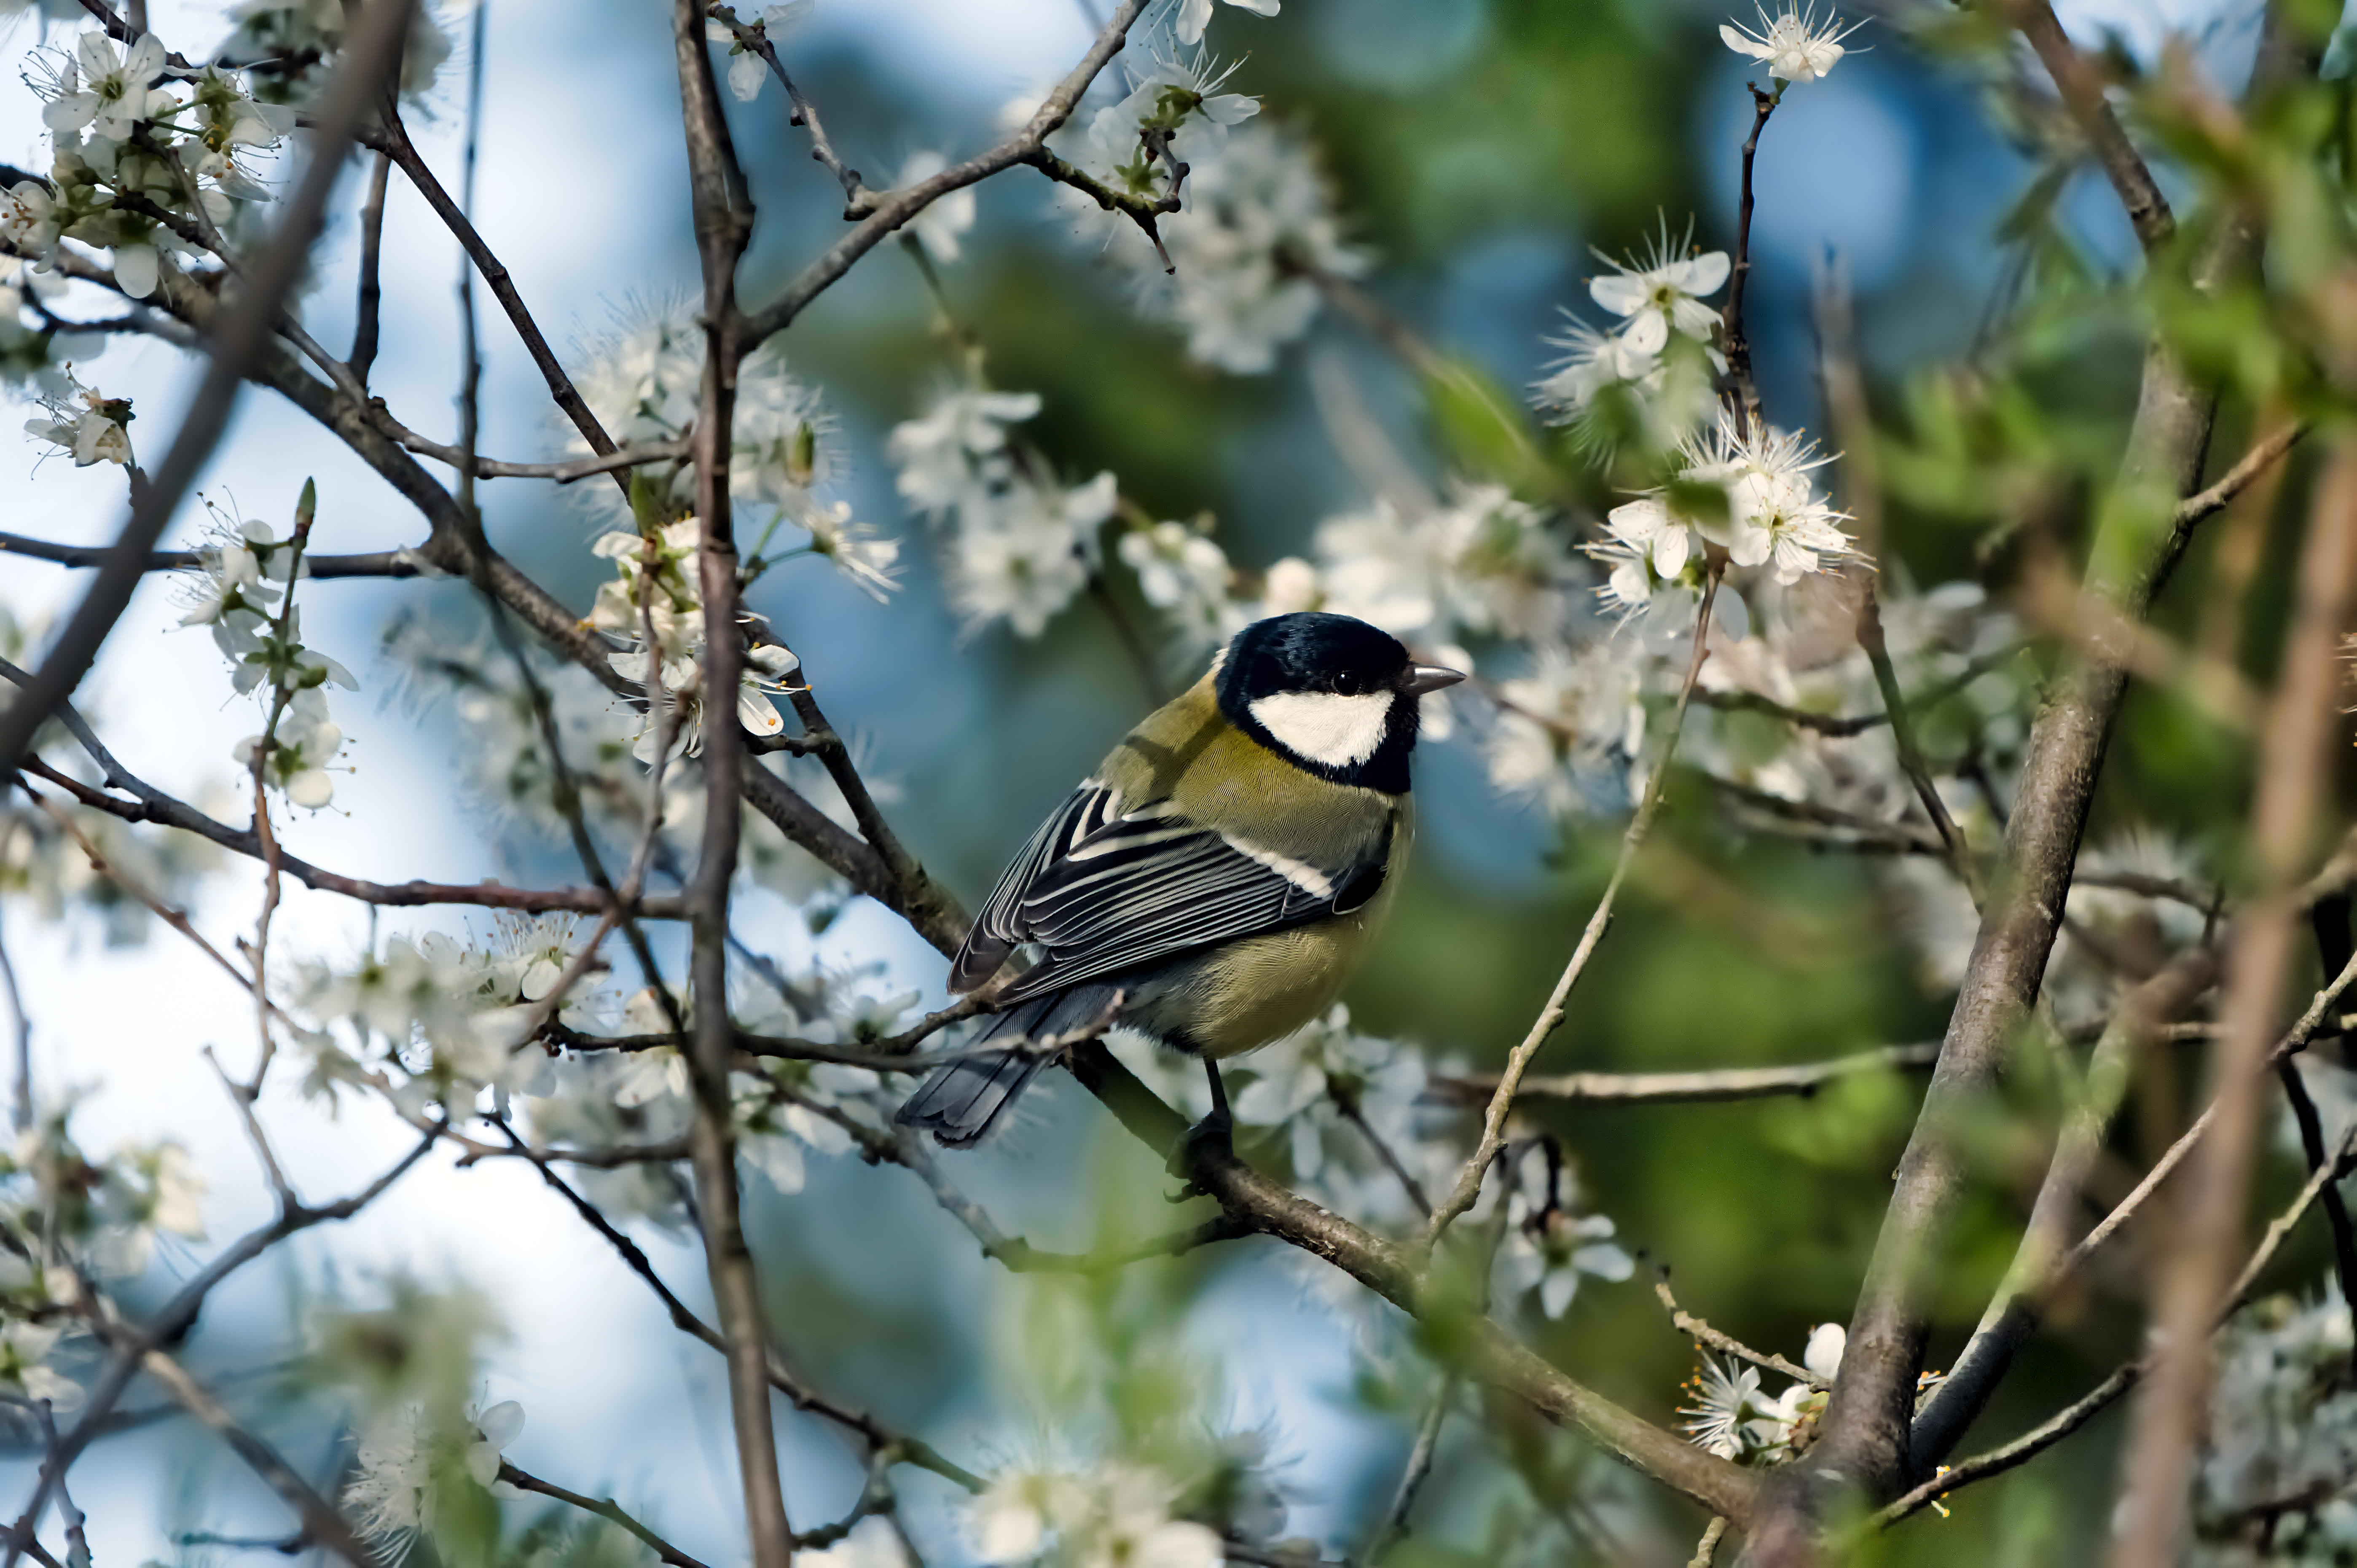
Nice " try " … but the colors within the subject looking off to a degree !!
The " yellows " are leaning way more to the green side rather than orange … in real life .
Not sure how the raw looks like … but the white face mask is " blown " with no visible details.
Just my 2 cents
But how? I looked at my exports from darktable and no image contains anything useful in the XMP metadata. When I tried loading that JPEG as if it was .xmp, nothing significant changed with the photo.
But also, in this case, Ikzk’s file is a screenshot and it doesn’t have any XMP metadata at all – so it shouldn’t be possible to use it like this.
… or am I confused about something?
Ya if the file you were referring too was a screen shot then no …sorry my error…if it was exported from DT and just missing the xmp from the post then that jpg should have the data most times…I think you can strip it too but by default it will or should be there…
check the preferences of the export module. There is an option “develop history” .
1 Like
Nice, this is what I was looking for. Thank you!
2 Likes
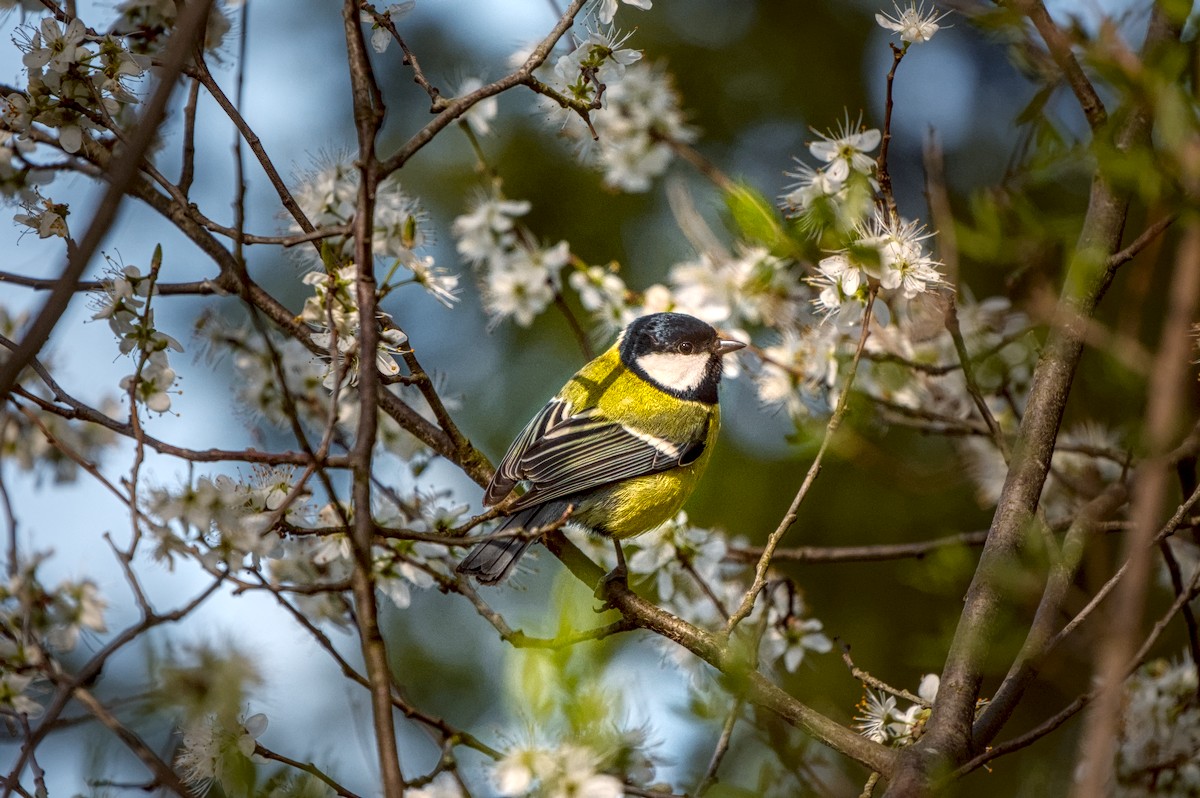
This edit was three clicks and one slider in DT for me and then another click to export the image. Who said DT is slow at editing? ![]()
20260314_0007.NEF.xmp (10.6 KB)

1 Like
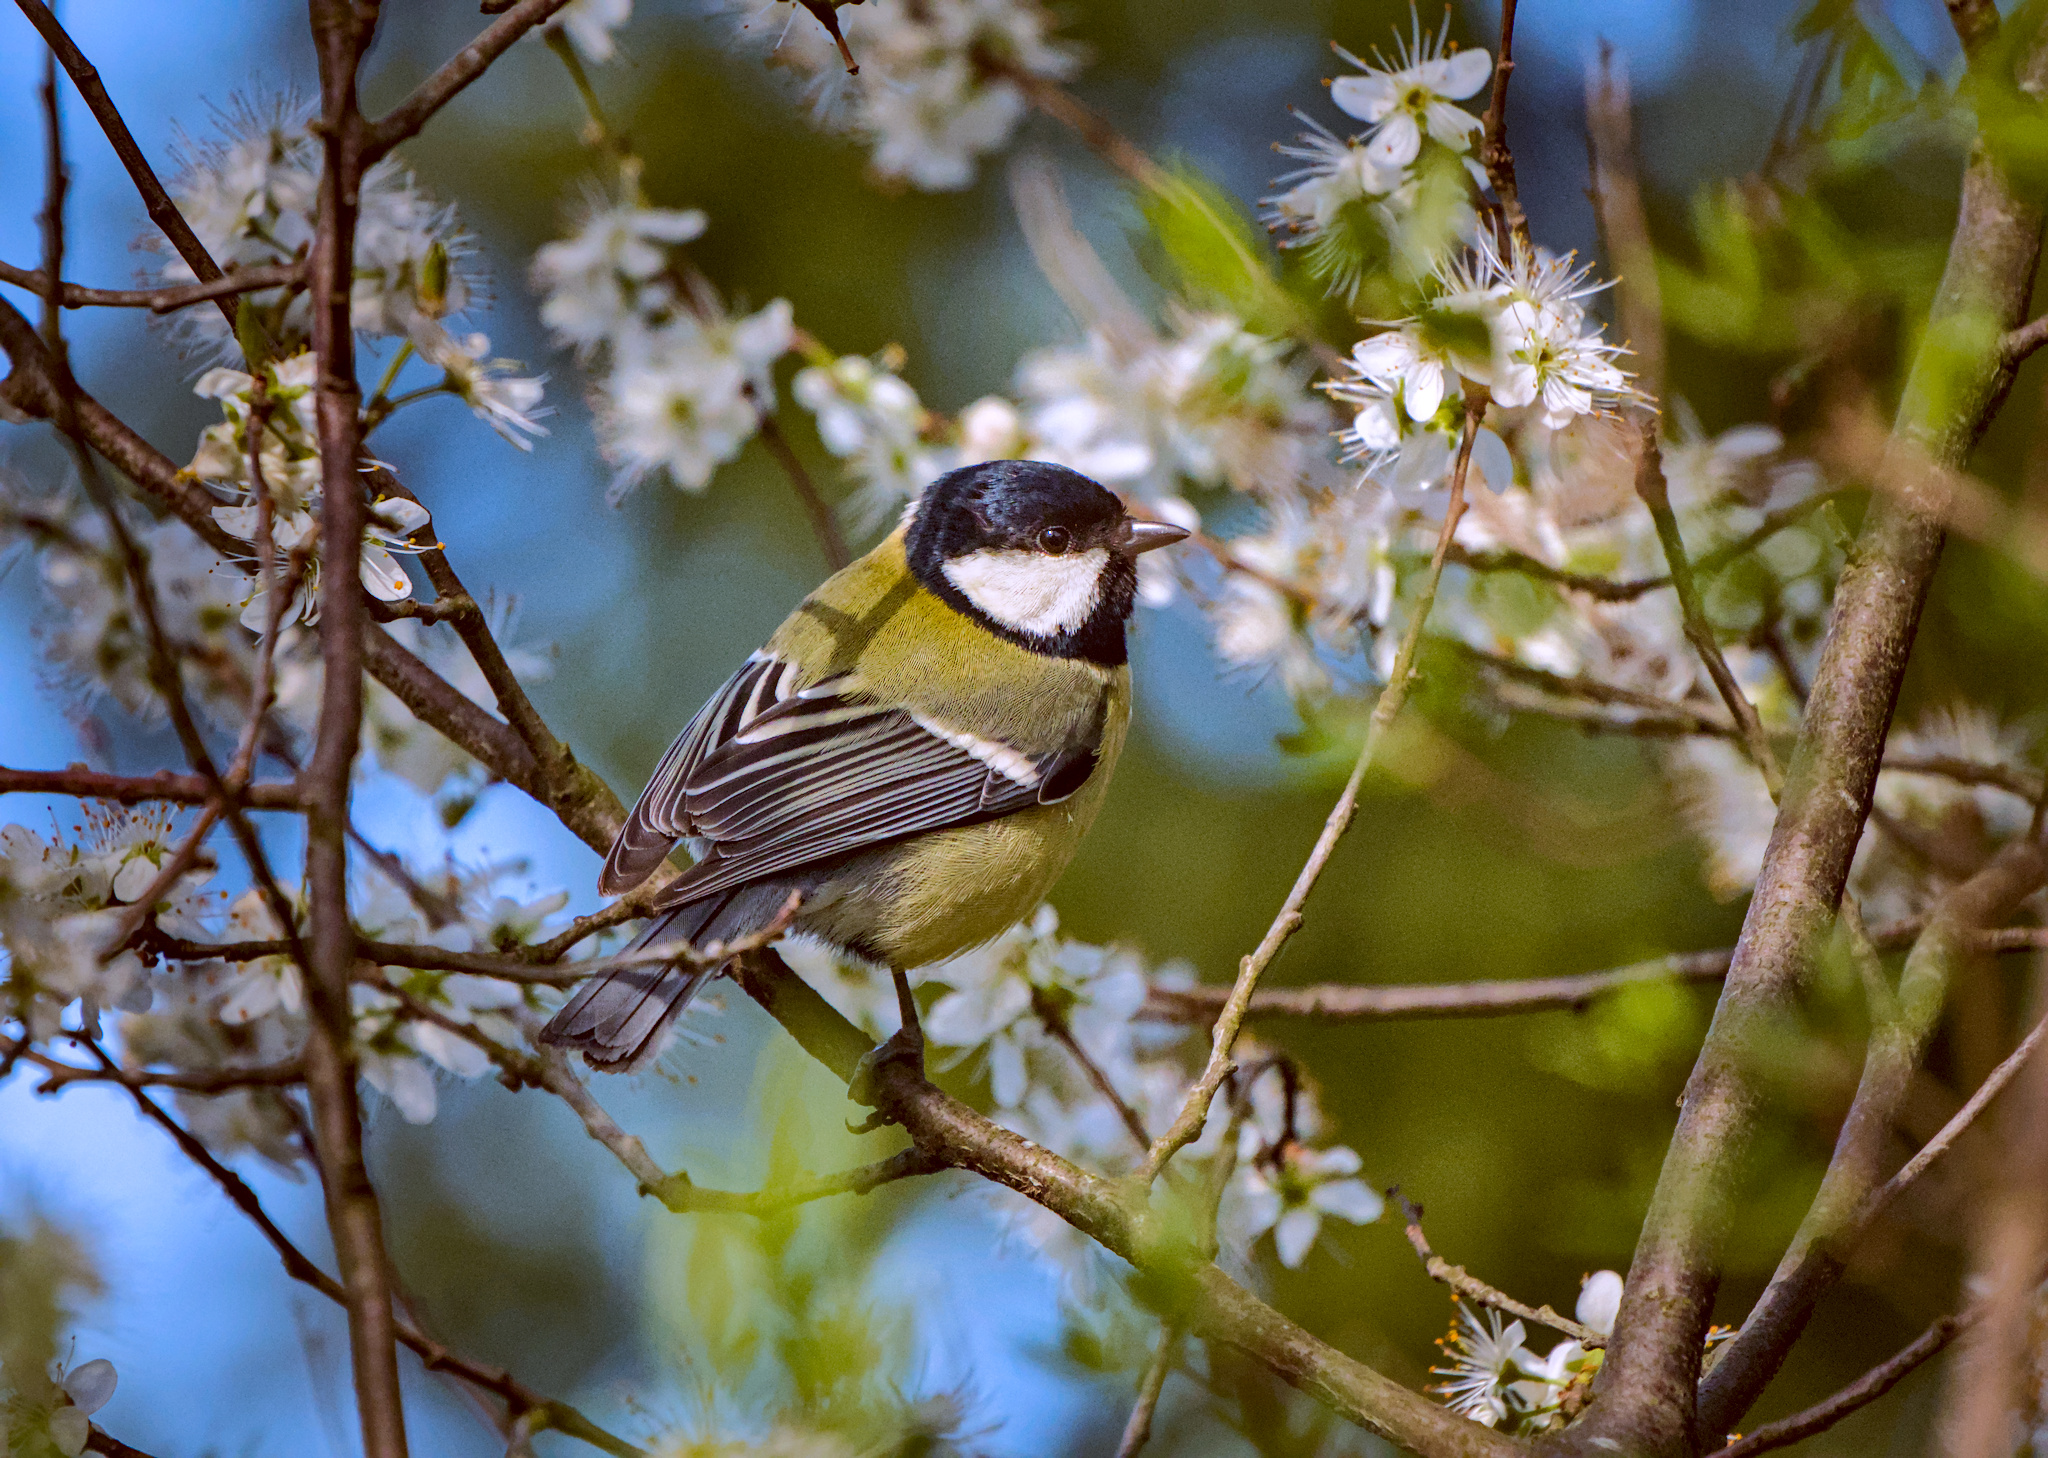
Here is an edit with a few more clicks. I wasn’t sure of the bird’s color so I used the picker on the bird’s black head. I cropped and then increased noise reduction. But still an easy image to edit due to a good capture.
20260314_0007.NEF.xmp (15.1 KB)

1 Like
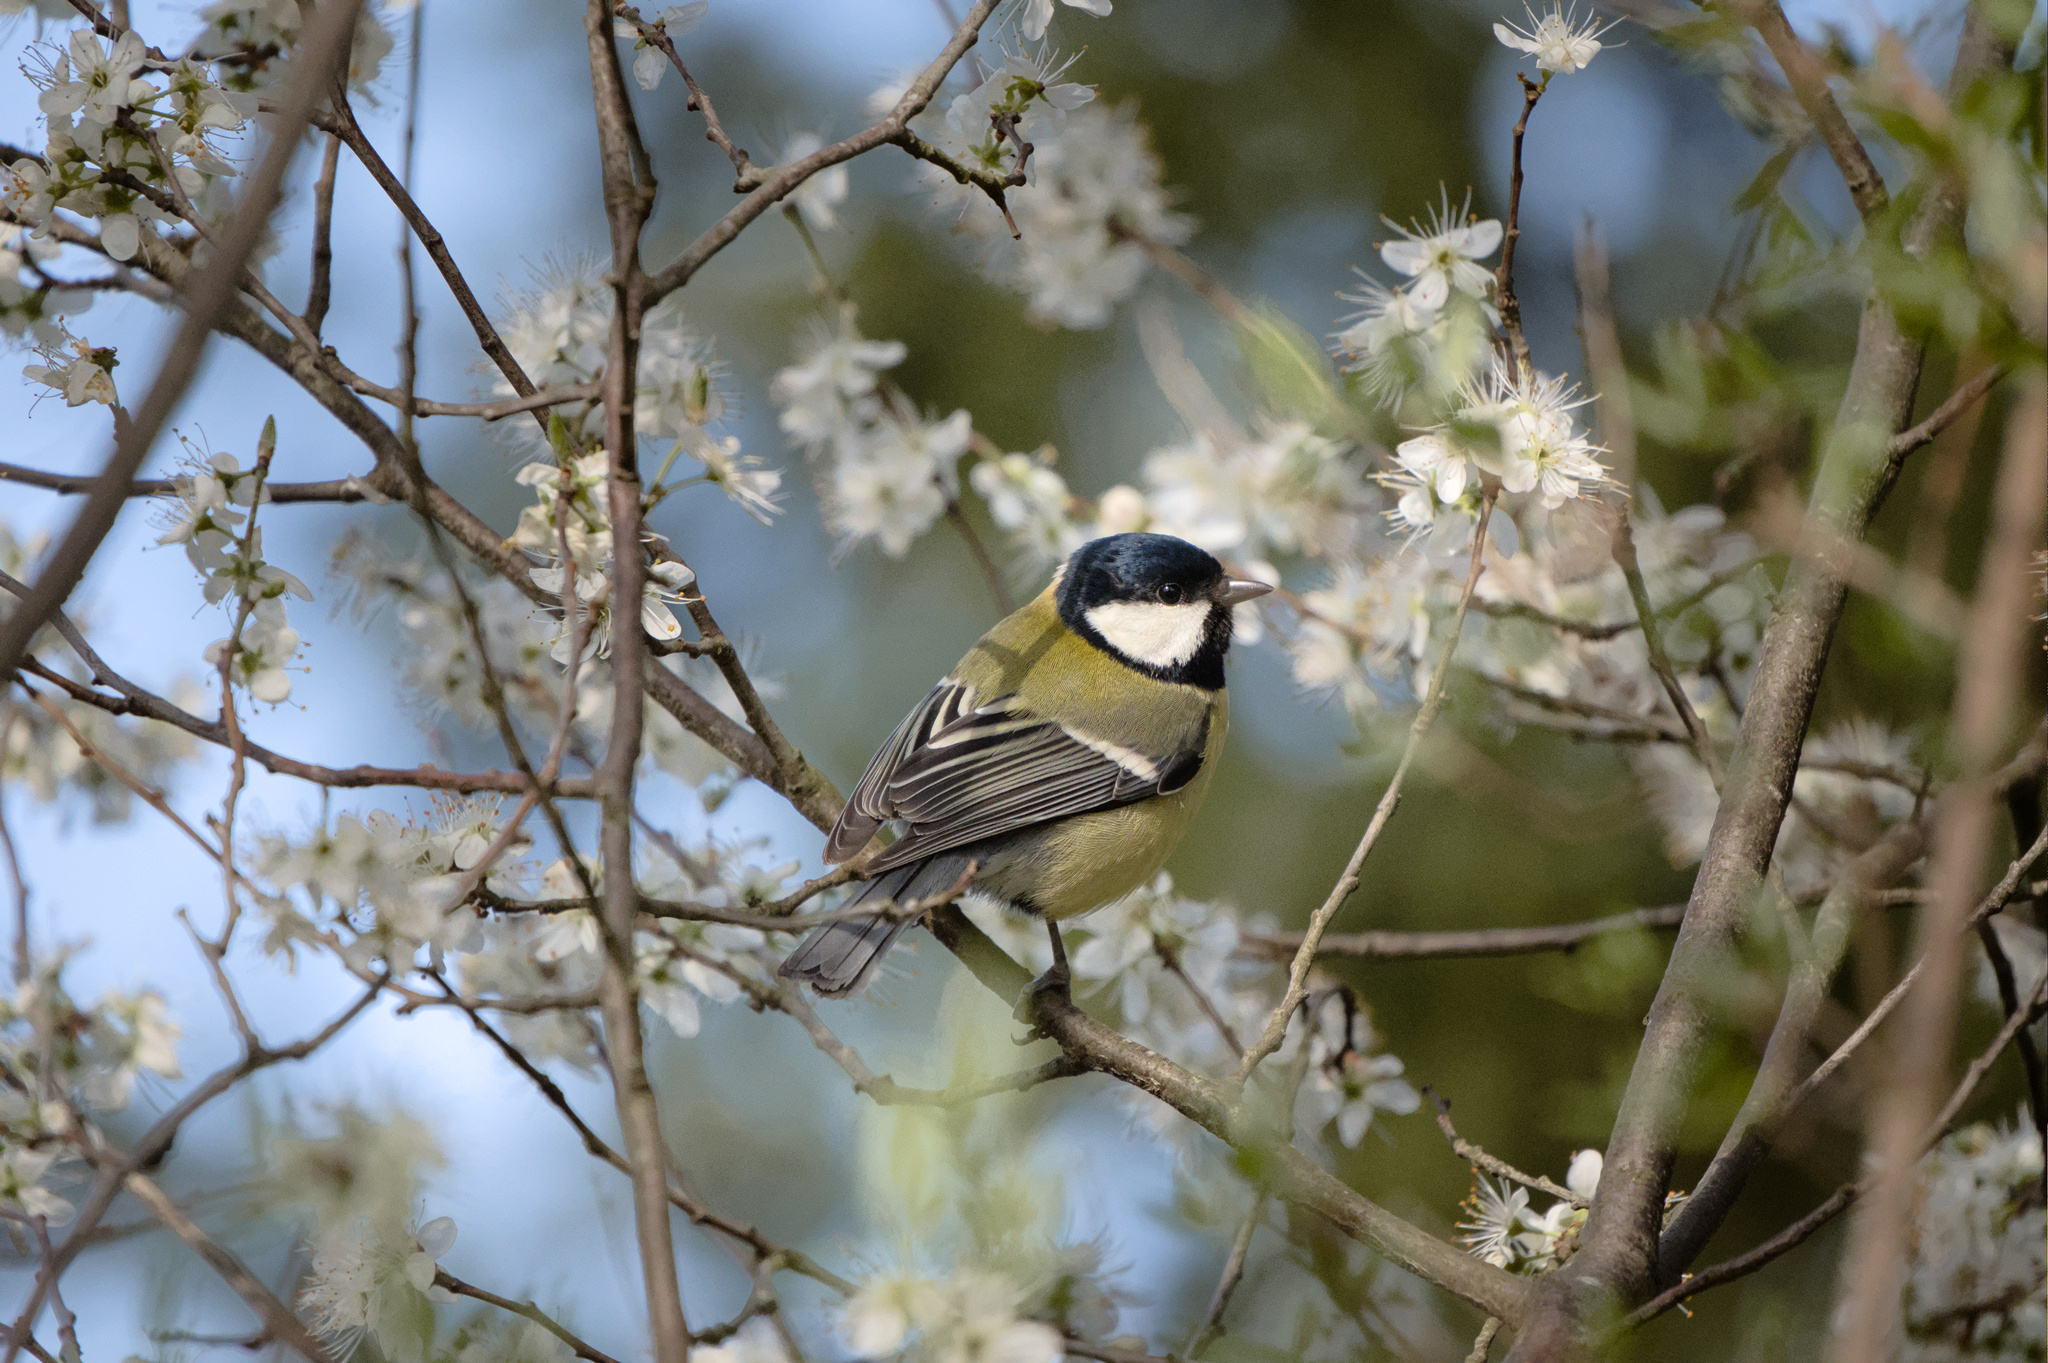
Oh, with pleasure: 20260314_0007.NEF.xmp (52.0 KB). I didn’t include it initially as I was only making a specific point on the white balance and not overall raw edit. I now did do that.
BTW: trying to warm up the image overall but without letting the tit itself go into orange-red territory, I now also added an instance of colour zones module.
Does anyone else feel that the complete freedom of setting nodes in the colour zones module makes it more powerful than the colour equalizer module that supposedly replaces it? For example, here, I can very precisely target the exact yellow-orange hue spike I want to adjust and then “flatten” it:
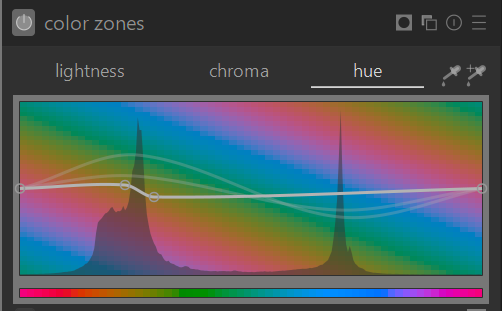
See how the slope of the curve follows the angle of the yellow hue in the background of the module?. This way, I am reducing the hue variability within the spike by essentially setting a range of various hues to a single hue. The colour equalizer module seems less powerful to me in comparison. Or - am I missing something?
3 Likes