I noticed that sunsets in particular looked off, with the new LUTs. I figured that this would be due to my training set not including many highly-saturated, very-bright colors.
But since there weren’t any vibrant sunsets forecast for the next few days, I figured I should be able to cheat by simply taking pictures of a bright color chart on my computer monitor.
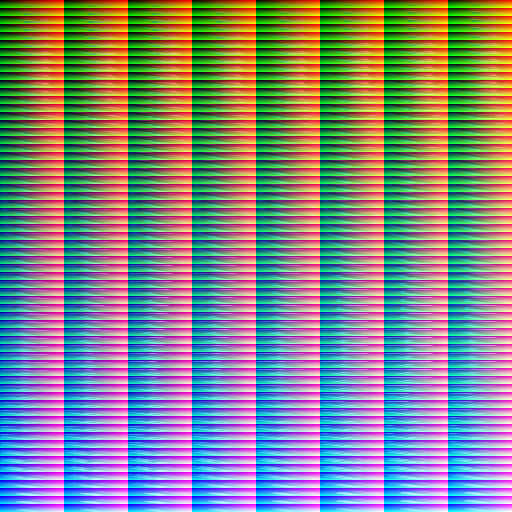
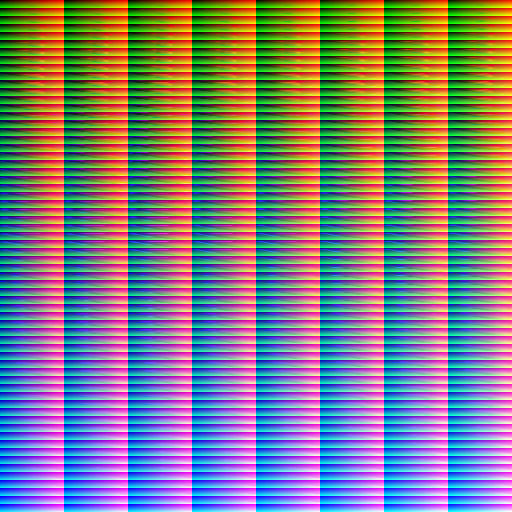
And indeed this changed something; most notably, the LUT PNG file sizes got larger, which I interpret as them containing more data. However, by accident, I happened to apply the LUTs to that very color chart I had photographed:
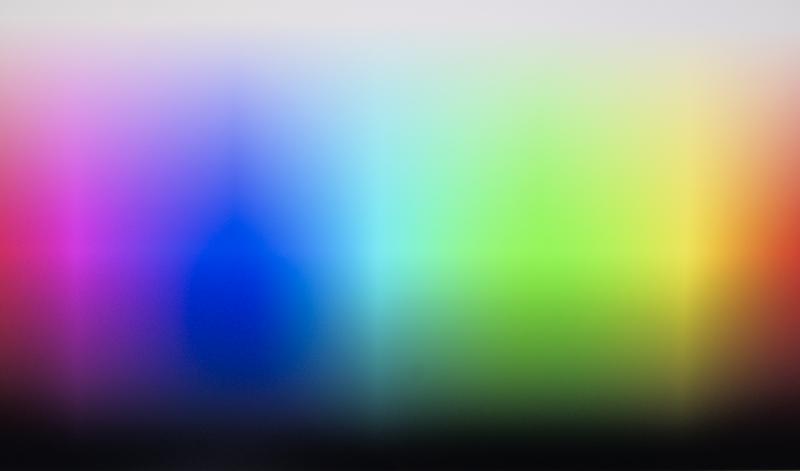


I think what we’re seeing here is that the LUTs need some smoothing, and that my training set is incomplete. Or maybe I’m doing something fundamentally wrong?
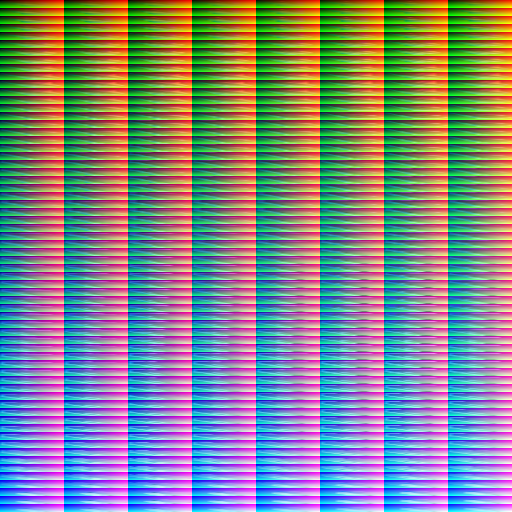
And for the record, here are a few more renderings of the same file:
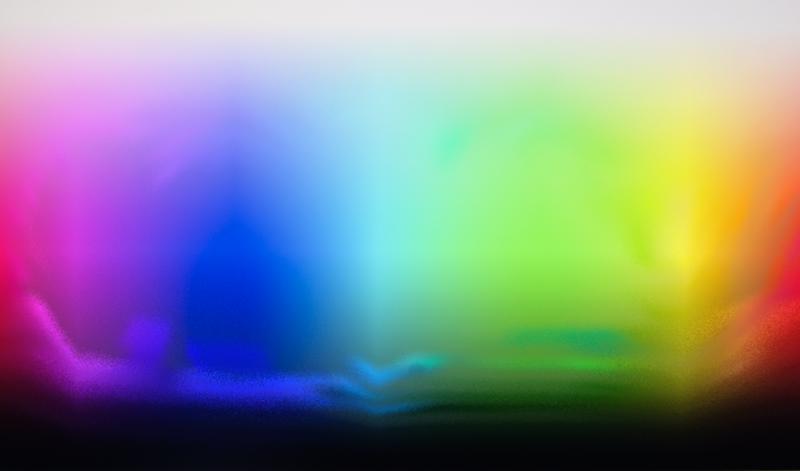
- Stuart Sowerby’s Provia LUT:
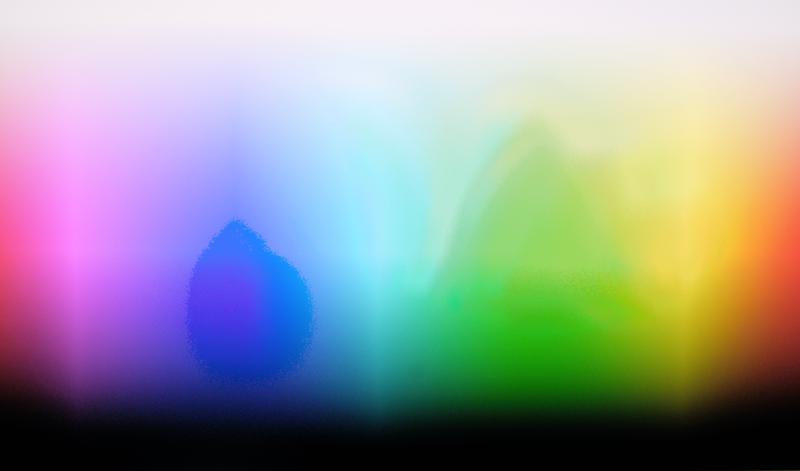
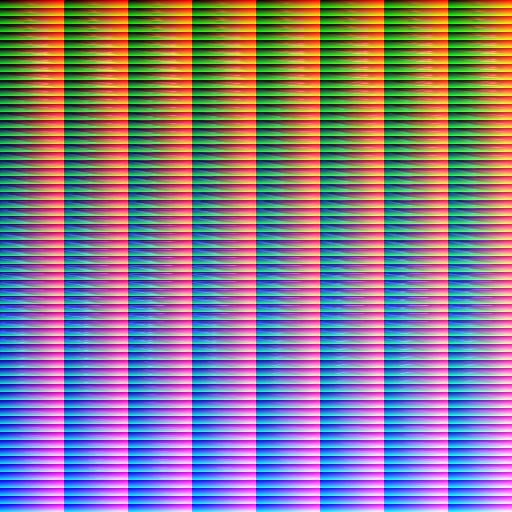
- One of G’MIC’s Provia LUTs:
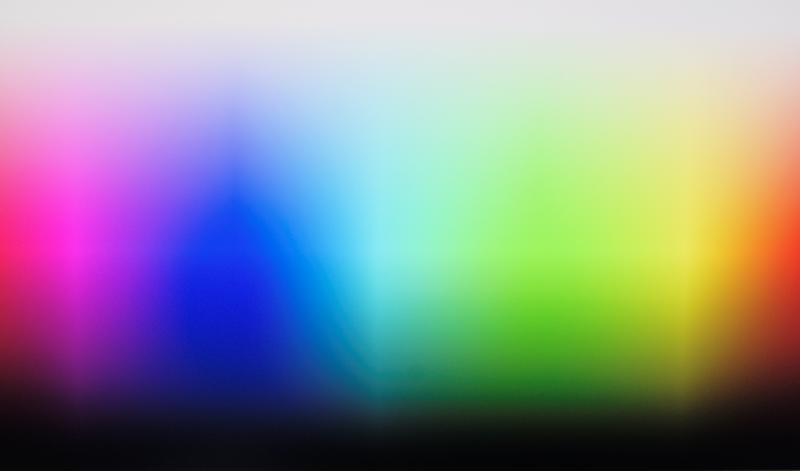
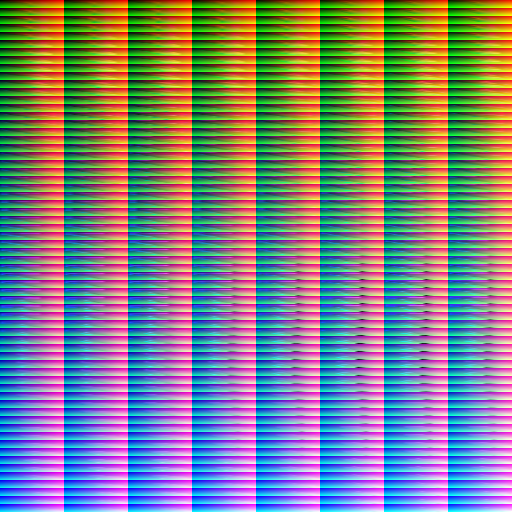
- An RNI Astia LUT:

(By the way, these test charts look wild, but in practice the effect is quite subtle for most pictures. I guess it’s only the colors I don’t have good training data for that come out strange.)