Hi,
There is an old discussion Looking for tips on manipulating the histogram about the Histogram.
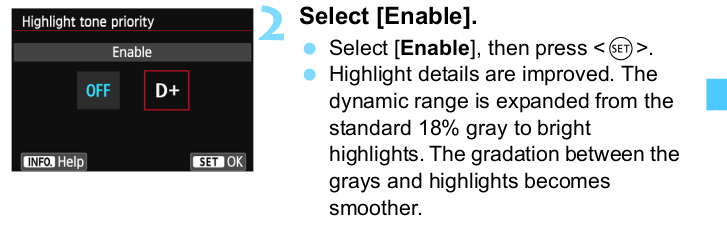
I am using Canon 70D. Within the settings there is something called “D+”
As per the manual - it gives priority to the highlights. To my understanding less chance of clipping them.
What I am observing is what the previous discussion points to.
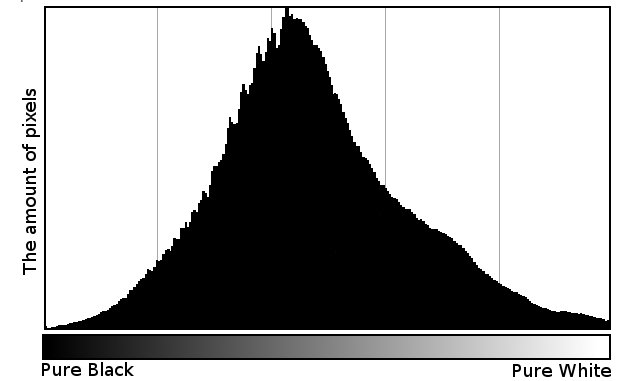
When I look at the picture on the LCD - the histogram displays similar to this
When I look in DT it is like this
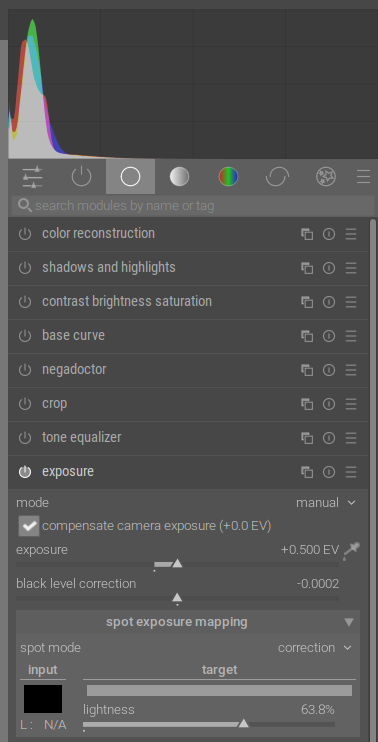
In essence - significantly pushed to the left.
Questions - when cameras display histogram - is it based on the RAW or on the processed embedded JPG preview?
Is the difference expected?
I remember discussion here about ETTR
https://docs.darktable.org/usermanual/4.0/en/overview/workflow/process/
However - since the type of photos I am taking are extremely frequent changes - travel / vacation - it is impossible to control the scene without a significant slowdown.
Choosing D+ appears to be the easier approach - preserving the highlights more aggressively so clipping is avoided but it came as a surprise to me how dark the shots look in DT.
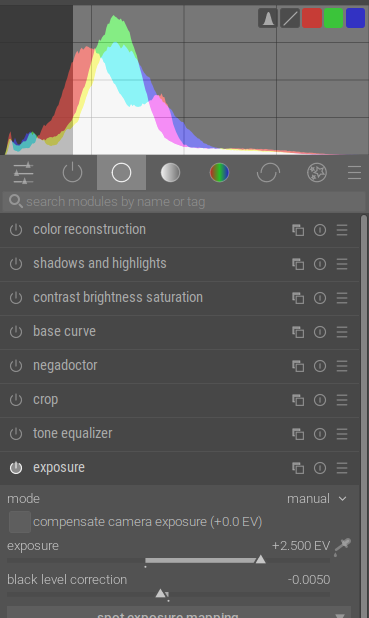
If I am to bring the DT displayed histogram similar to on camera displayed histogram - I have to adjust significantly
+2.5 EV and ease a bit on the blacks.
I feel I am missing the point - how to relate the on camera Histogram to Darktable.
Can you help me please to understand how these 2 are related? On camera LCD Histogram vs Darktable Histogram?
In my desire to avoid clipping highlights - would it be better if I am to abandon D+ and perhaps change to 1/3 or even 2/3 underexposed pictures on purpose?


 are just the same")

