Hi,
I currently work on scans from analogue color slides. The scanner tends to a linear chromatic aberration in x-axis. See examples:
https://www.filmscanner.biz/Forum/viewtopic.php?p=40869#p40869
https://www.filmscanner.biz/Forum/viewtopic.php?p=40871#p40871
So I want to process “Details → Defringe” first and after denoise with “Details → Impulse Noise Reduction”.
I think, it is better to correct the chromatic aberration first and then after do other processing, but it seems, RawTherapee does the denoising at first.
The files I work on are raw RGB TIFF with 16 bits per colour.
The order of execution of RawTherapee’s processing pipelines is fixed, you can not change the order.
Thanks for the clarification.
Additional question:
Is my assumption correct, that it would be better to first correct the chromatic aberration by “Details → Defringe” and then do the denoising in my use case?
What do others think about?
Maybe Darktable is better for this use case, than RawTherapee, because my scans are not real raw files from a digital camera, but raw scans from analogue slides from a slide scanner (I scanned with VueScan from Braun MultiMag SlideScan 6000).
Can someone share his expertize?
Anyway, I do not find a clear documentation of the processing order of the modules inside the “Details” tab. Is it from top to down?
And what is the processing order of the 8 editor tabs?
I think:
- the light comes from the scene
- the lens adds distortions and CA
- the sensor captures whatever light reaches it, and records it with noise added.
Specks if noise are not distorted by the lens, and no CA is added to such spots.
Therefore, denoising should come first. Lens and CA corrections should then work on the ‘restored’ (noise-suppressed) signal.
Thanks for your evaluation.
If the CA would come from the lens of the original analogue camera then it would be circular.
But the CA is only in horizontal direction all over the scan.
Red is shifted to the left, and green-blue is shifted to the right.
This is, why I think, the CA correction should be done first.
After I could “play” with denoising and grain reduction.
As a work around, you can process the image twice. Defringe then save as a lossless tiff. Open and process the tiff to taste.
(I can’t say if the results will be any better though ![]() )
)
The sensor is still the last step. No matter what lens ‘distorts’ the light, the sensor adds noise on top of that.
Or are you trying to correct film noise? You’re right in that case, I think.
I think in such a case it would be better to use GIMP and decompose the image to three layers for red, green and blue, shift the red layer and recompose
Unfortunately, since the current CA correction mechanism is intended to compensate for lens CA issues, I’m not sure it will work when the CA is so directional.
This is one of those niche use cases where doing some custom preprocessing in Python might be optimal, since you’re not having to worry about demosaicing.
Yes, that was my idea too. But I was in hope, I could do both in one pipeline.
Yes, that might work ideally perfect, but seems a lot of work, and the blue and green layer should be shifted too, and the ideal shift may not be exactly 1, 2 or 3 pixels, but in between. Additionally there would be needed an extra smoothing at the image edges, where the layers are not all existing then.
Not to think about to script a batch loop for my ~ 2700 slides.
So I think, I’m well served by the “Details->Defringe” module. See the perfect result by using a linear colour curve: Informationsdichte / Auflösung eines Fotos bestimmen - Seite 3 - Filmscanner-Forum
Anyway I’m really curious, if there are comparable tools in DarkTable, if it’s better suited for raw scans and if there the processing order could be controlled. Does anyone know?
1 Like
Yes, I suspect the film noise is the bigger part here in comparison to the possible sensor noise. If the sensor would have cold cells, one would see this as lines, not random dots, as the scanner has a linear sensor.
1 Like
The processing order is very flexible in darktable. I don’t know what can be done with that lateral CA - but if your could upload a PlayRaw, everyone, with any tool, could try to help.
1 Like
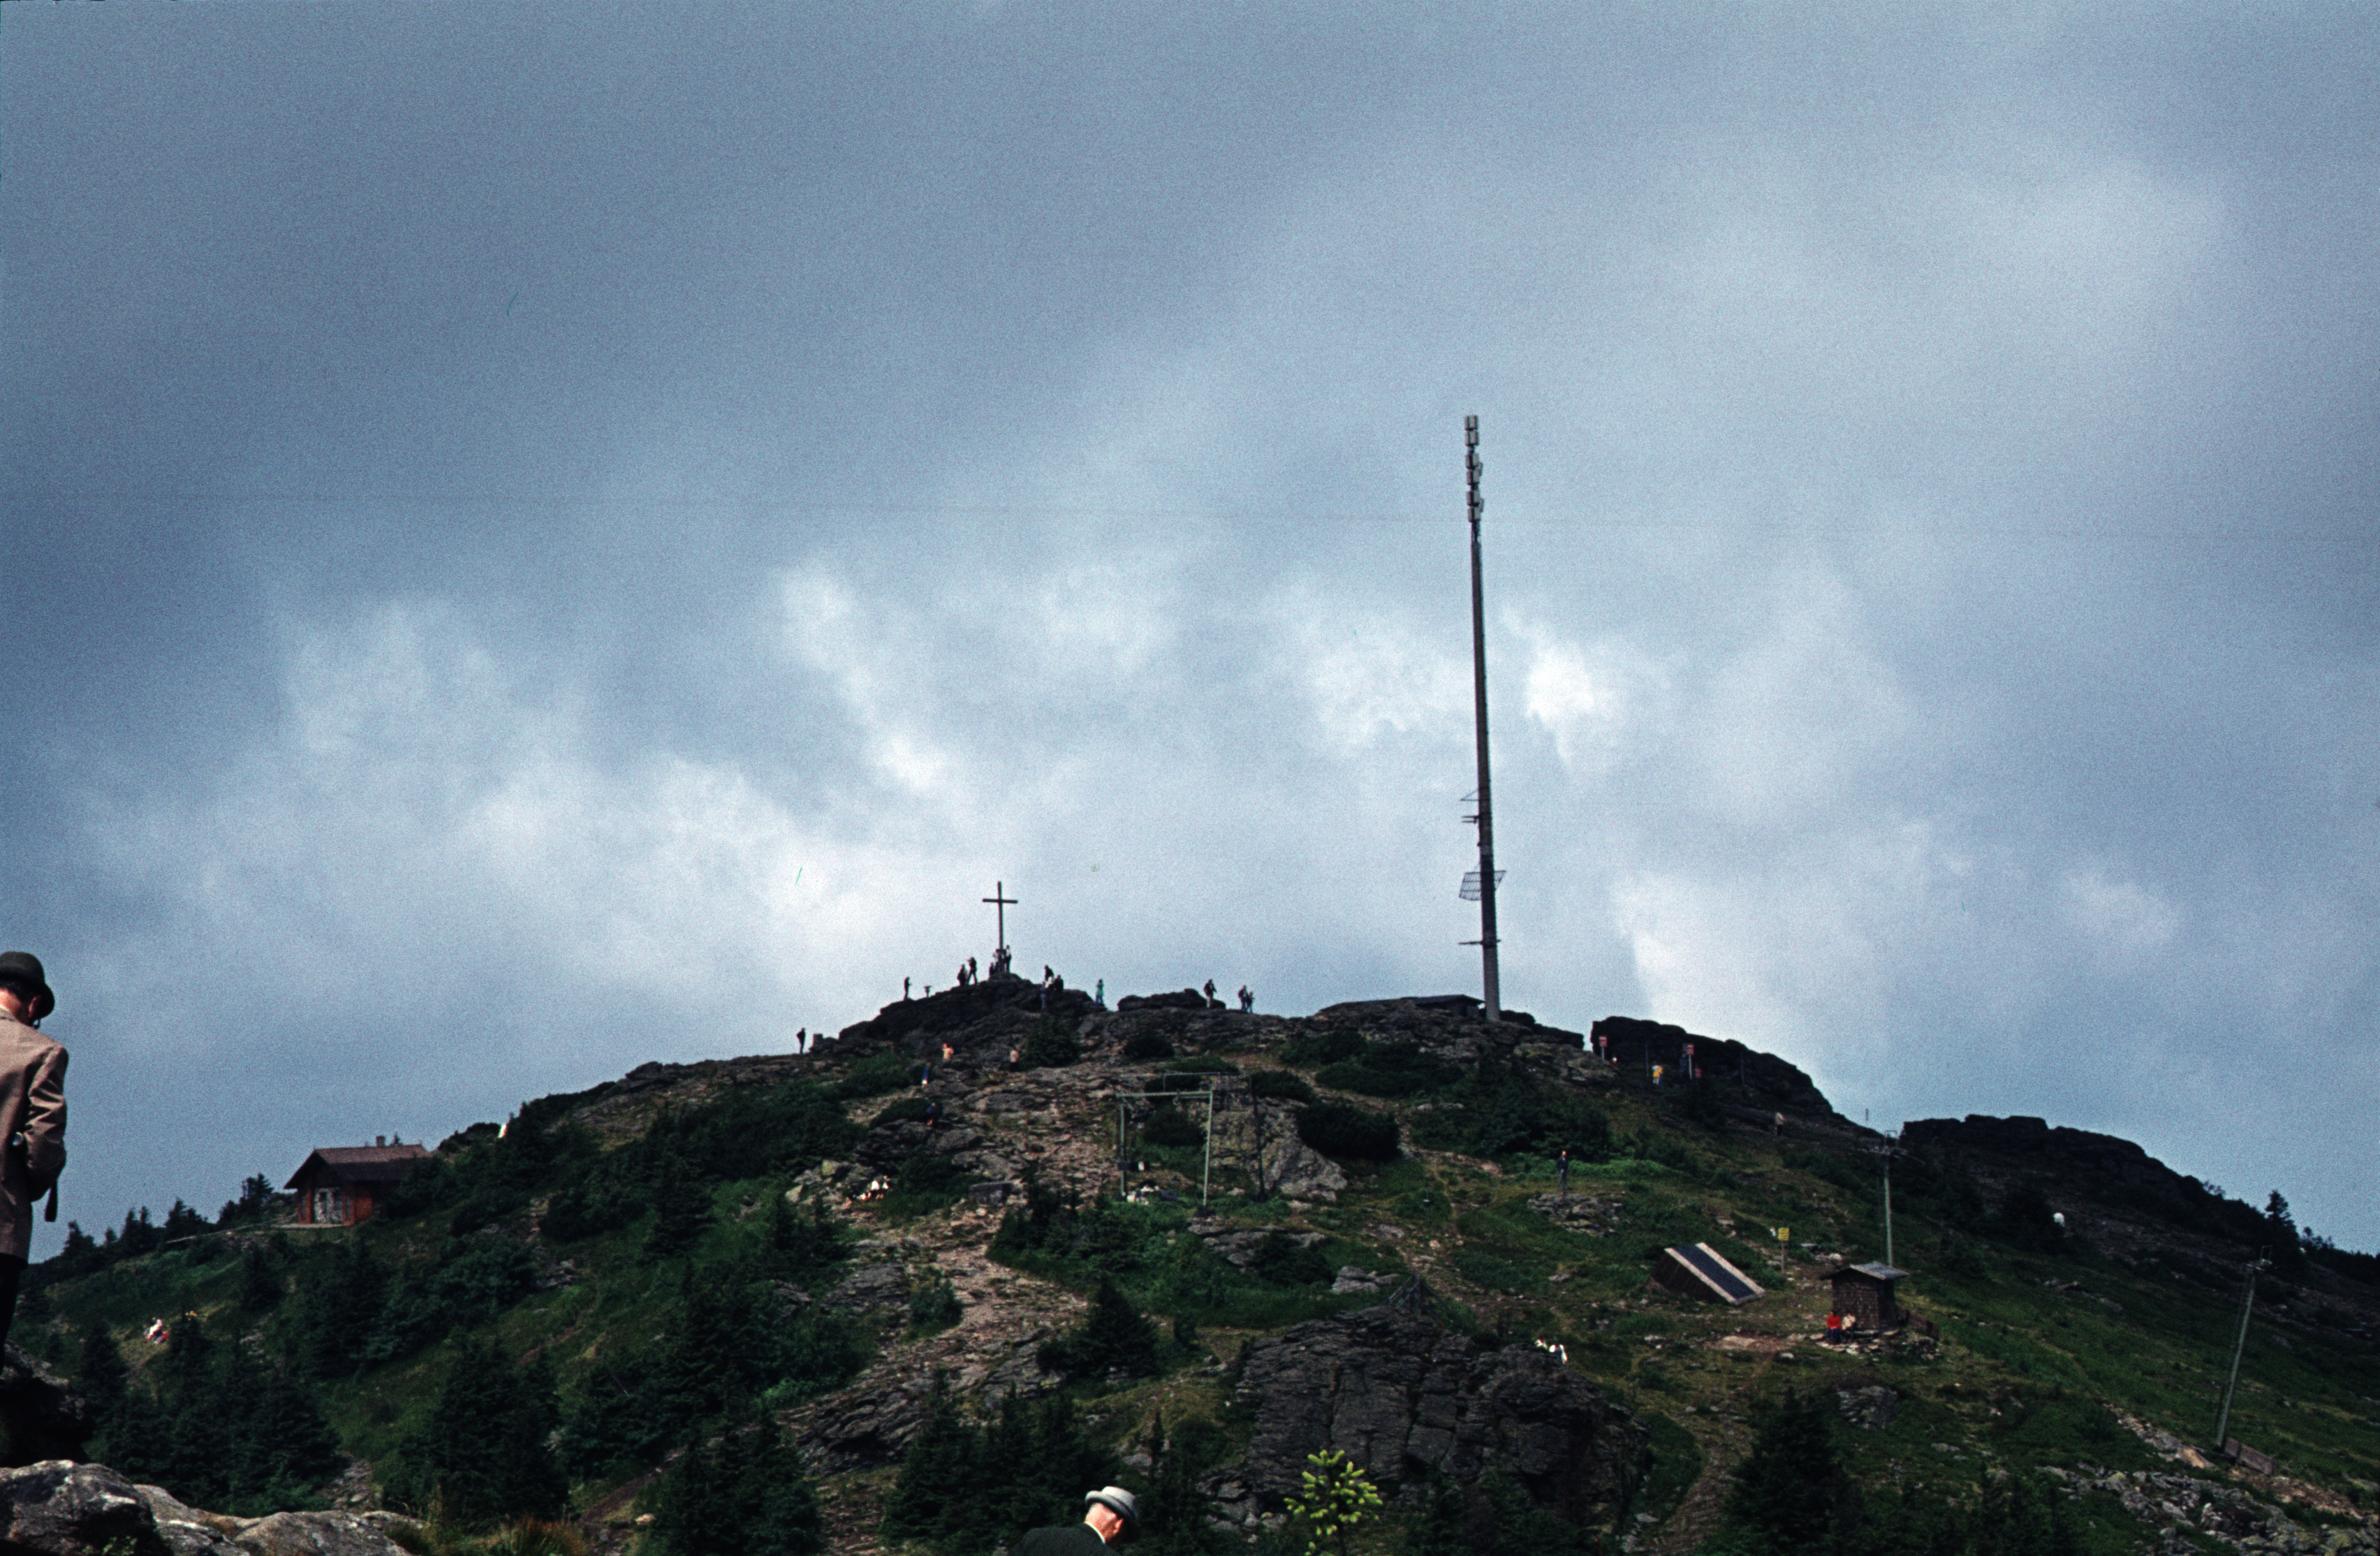
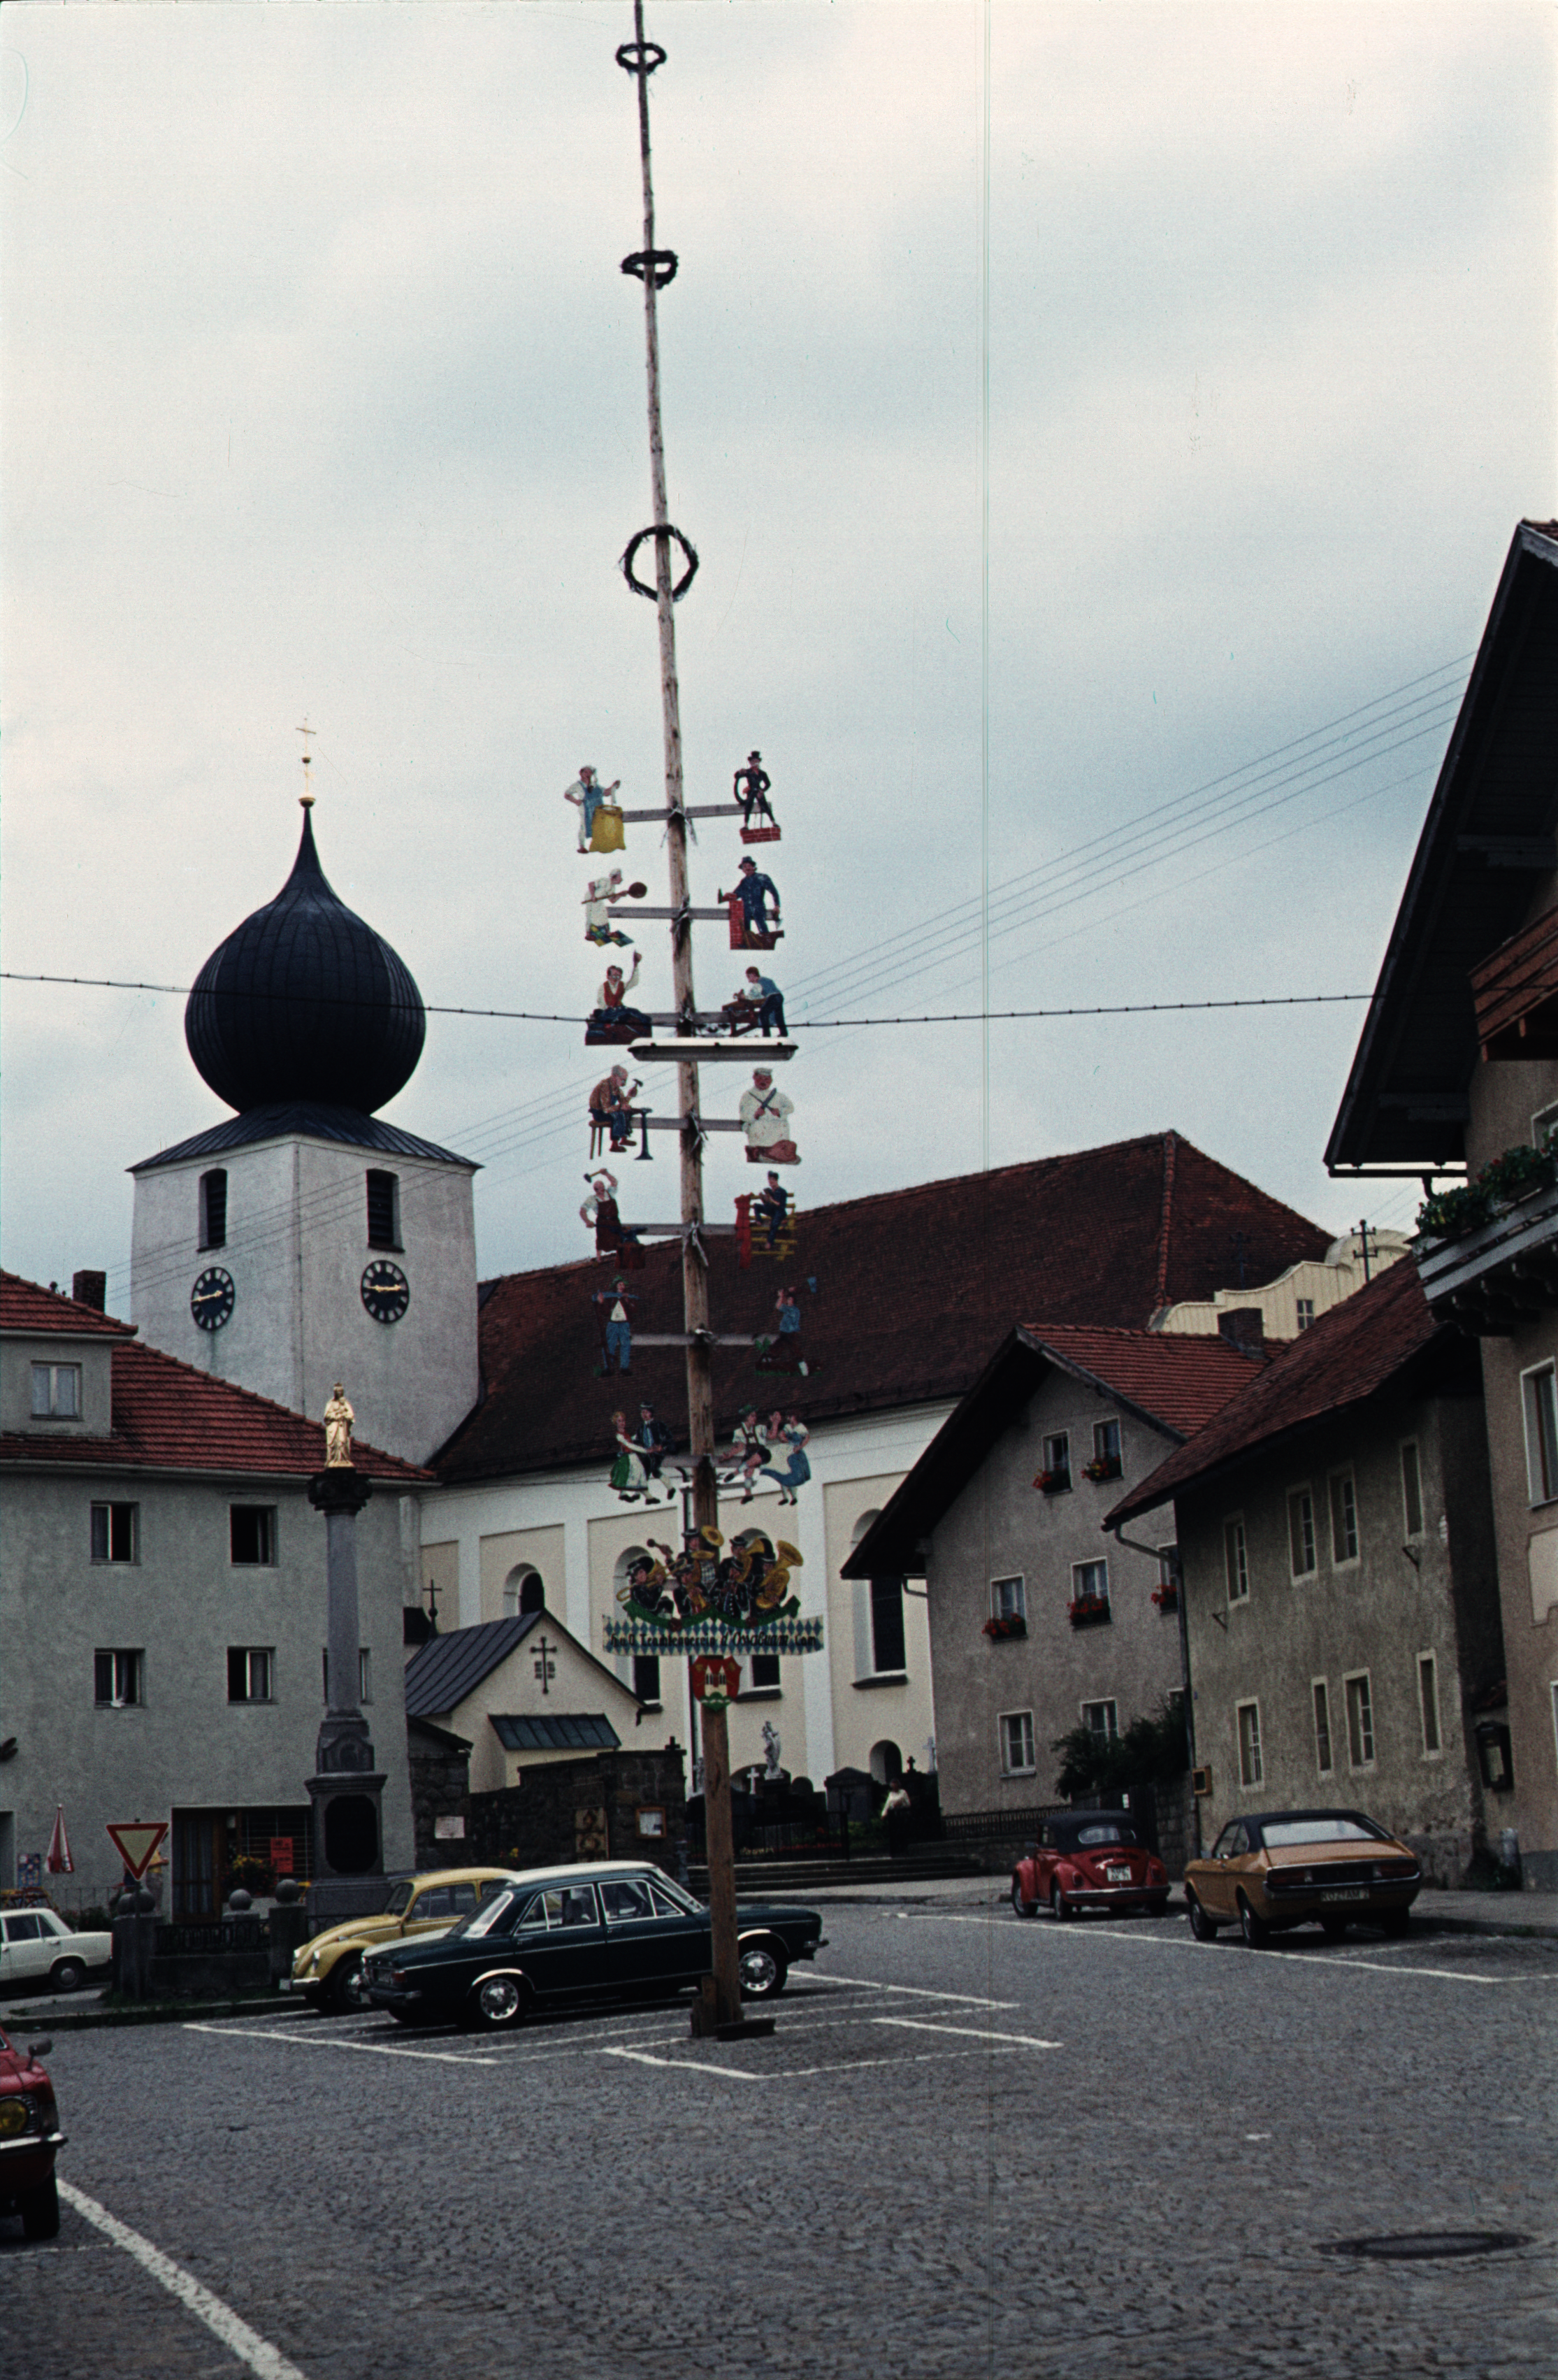
Oh, that’s a nice offer. Here are 2 examples:
If one has the patience, much thanks in advance.
As the scans seem quite oversampled to me in comparison to the real sharpness of the images, in the end I would like to reduce the resolution as much as reasonable, even for archiving the raw files as 48 bit per pixel TIFF.
please zip up your tiff files.
They are ZIP compressed TIFFs.
To download, please right click + open in new tab … then you can save locally.
I know how to save them, but it will cause issues for other users, hence why I asked you to zip them.
1 Like