Cameras support applying “creative style” presets such as “neutral”, “vivid”, “portrait”, “autumn leaves”, etc. This tutorial explains how to create HaldCLUT images which mimic those styles. As a HaldCLUT is used to map tones, if your camera applies local adjustments (e.g. “HDR mode”) then those won’t won’t be mapped correctly, so turn them off if possible.
You will need #software:gmic and #software:gimp or #krita. I used G’MIC-2.5.3 and GIMP-2.10.8.
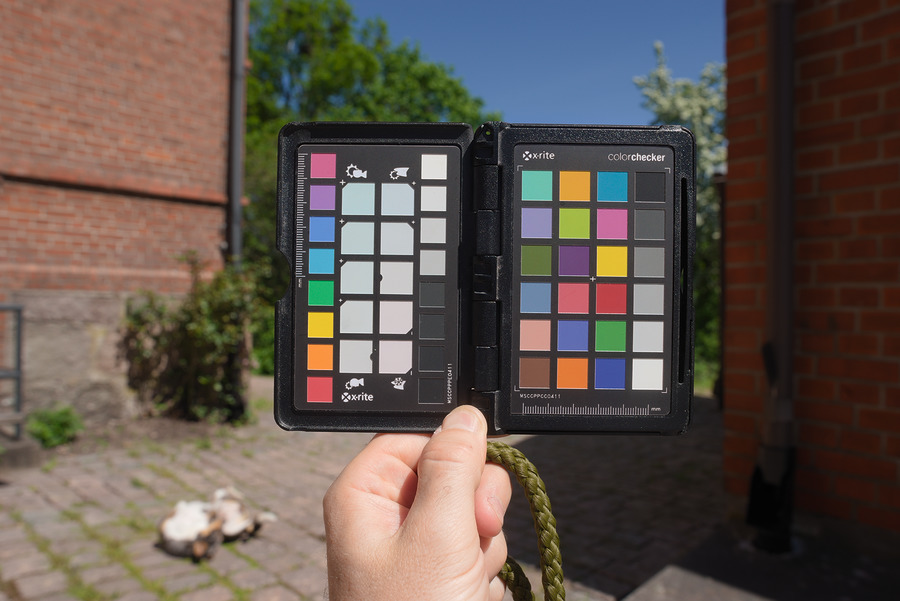
- Shoot a raw photo of a scene which has a variety of colors and light shades. Since creating the HaldCLUT involves comparing two images for difference, it is good if those two images cover as many possible hues and shades as possible. I included a color target in the shot only because I feel I need to use it more to justify the cost of having purchased it. The color target, as well as the out-of-focus dog, are optional.
- Now you need to create JPEG/TIFF images from this raw photo, where each resulting image is in one of your camera’s creative styles. Some cameras let you take a raw photo and apply various styles to that photo in-camera, then to save each version as a separate JPEG. My camera, the Sony α7 II (Sony ILCE-7M2) does not have that option, so I had to install my camera manufacturer’s raw conversion software in order to precisely mimic those styles outside of the camera. In this case, I installed Sony’s Imaging Edge in Linux using wine-3.21 (I used the
Edit.exeexecutable, and the “Creative Style” combo works, which is all we need). So apply the styles to your photo one by one, and save a TIFF or JPEG each time. Don’t forget to also save a “standard” version.
- Open the “standard” image in GIMP, then “open as layers” the rest of them. “Standard” should be at the bottom of the layer stack. Hide all layers except for “Standard” and the layer above that.

- Fire up G’MIC and go to “Colors > CLUT from After - Before Layer”, set “input layers” to “all visible”, and “output” to “new image”. Hit OK.
- Your first HaldCLUT is ready. Export as an 8-bit PNG with maximum compression.

- Hide the layer above “Standard”, and make visible the next layer.

The “Standard” layer stays visible throughout this job. - Hit Ctrl+F to repeat the previous G’MIC operation, and another HaldCLUT is generated. Export. Hide this layer, show the next layer, hit Ctrl+F, export. Repeat for all layers, and you’re done.


Now remember that these HaldCLUTs represent the difference between “Standard” and the chosen style. This means that when you apply a given style on top of a raw image, the result will only look the same as the out-of-camera result if your raw image looks like “Standard” to begin with.
As far as RawTherapee is concerned, since its default processing profile (“Auto-Matched Curve”) mimics the look of the JPEG image embedded in the raw file, and since this JPEG image is affected by your in-camera creative style, set your camera to “Standard”, take a raw photo, open it in RawTherapee, and now your starting point is something that closely looks like the “Standard” JPEG image embedded in the raw file. You can now apply these standard-based HaldCLUTs on top of that. I mostly use the “Portrait” creative style when shooting raw, as it makes the thumbnails and embedded images softer with more visible shadows. Since opening a raw file shot in “Portrait” style in RawTherapee will lead to the default raw processing settings matching that style, I would need to perform the steps in this tutorial using the “Portrait” style as my base style, instead of “Standard”.
I release these into the public domain:
Sony ILCE-7M2 Creative Style HaldCLUTs.tar.bz2 (4.1 MB)
Last note. The scene does not contain all possible colors, so we haven’t mapped what would happen to colors which are not in that scene. Results would be different if I had used a photo of a sunset instead of the daylight shot. Furthermore, the camera might perform scene analysis and tailor its processing based on that. These are only ever approximations.

