For those that don’t know him, these are some of his more iconic photographs.
I understand he exposed a single shot multiple times to achieve this effect and I’m wondering how I can get something similar with digital.
What I’ve tried so far is stacking multiple frames, shot at about 1s exposure times, with software like Starstax using Lighten or Average blend modes but the results are not quite there… Actually pretty far from it.
While I can throw all my exposure in GIMP as layers and just mask away, I’m looking for an automated way since I’m speaking of many dozens of shots.
Lighten blend mode in GIMP is the closest, but still rather far. It just takes the lighter parts (doh) of the image, while what I’m trying to achieve should take midtones as well.
The other options you mentioned make for a very washed out image, quite the opposite of what I’m trying to achieve.
If you do this manually in GIMP you’ll want to bring all the stacks in as layers, and set the opacity of each layer as a percentage of the total number in the stack, from the bottom up.
So for 4 images, you can do:
25%
50%
75%
100%
But really, the easiest way is to just chuck them into imagemagick if you have many images and try median/mean blends.
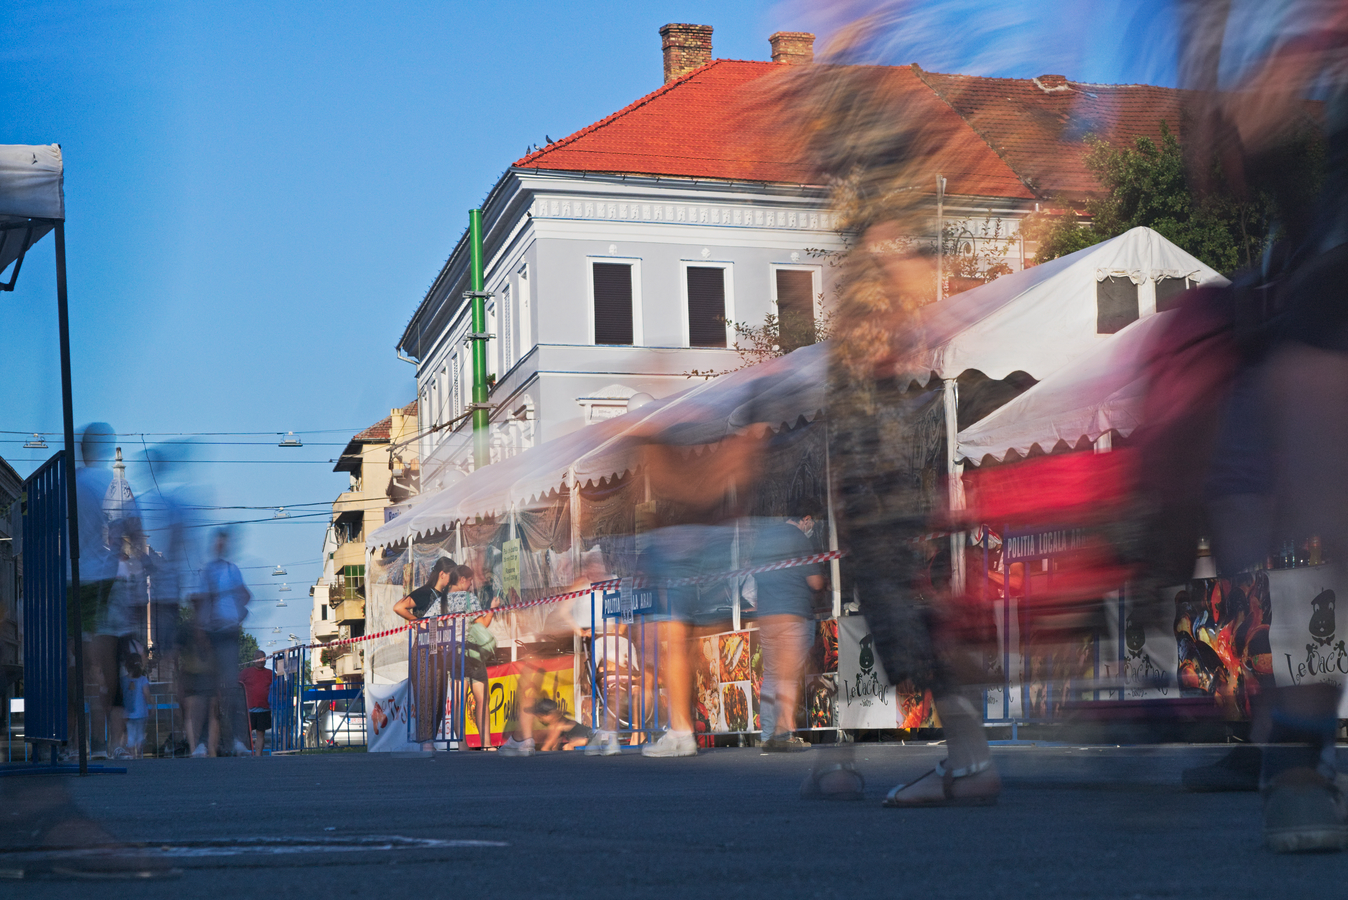
I think it is not only a postprocessing thing. I think the original photographer also used shutter speed on the slow side. If you look closely, the “sharper” elements are the ones that do not move or the body parts that are not always in movement: feet on the stairs and hands on the handrail.
When you walk, the feet and hands rest a bit longer in place than the other body parts between successive steps. Maybe half a second or so.
If I were to replicate this with a digital camera, I would try shutter speeds around 1/2 sec. a then try median or average stacking in post.
Thanks for your examples. From these, I see 3 things:
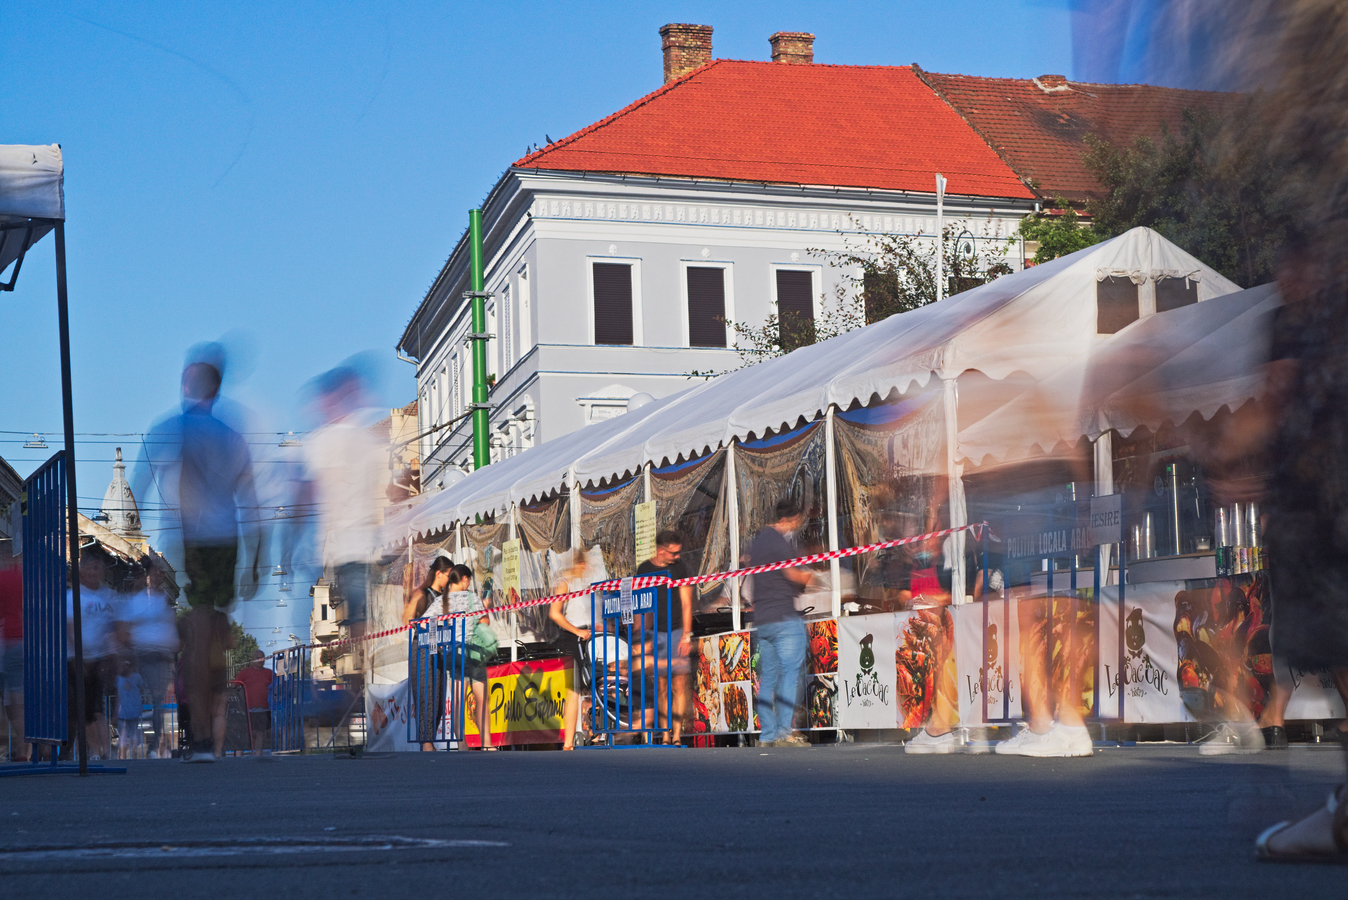
I think a mean stacking would be a better fit than median
You need either much more than 5 images to get enough people passing in front of the camera, or a much denser crowd. Or…
From Titarenko’s images, you can also almost follow each person moving across the frame, as if he shot in bursts (see what looks like an Adidas sneaker in the first example image, you can spot it at least 4 or 5 times on the same image). Taking your frames in bursts would probably help “densifying” the trace made by people.
I have about 200 images, stacking them all doesn’t make much of a change.
Good point.
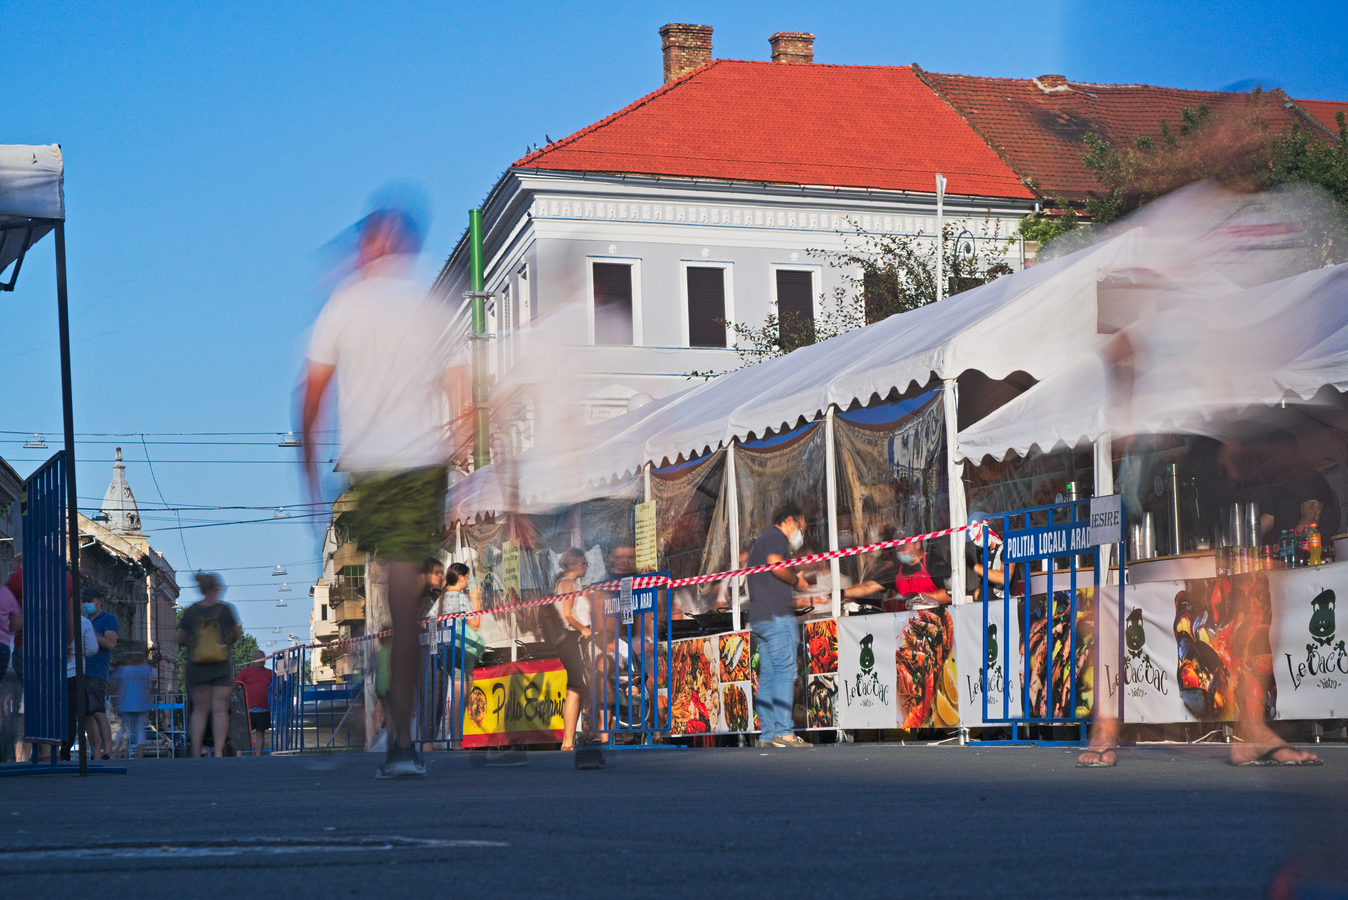
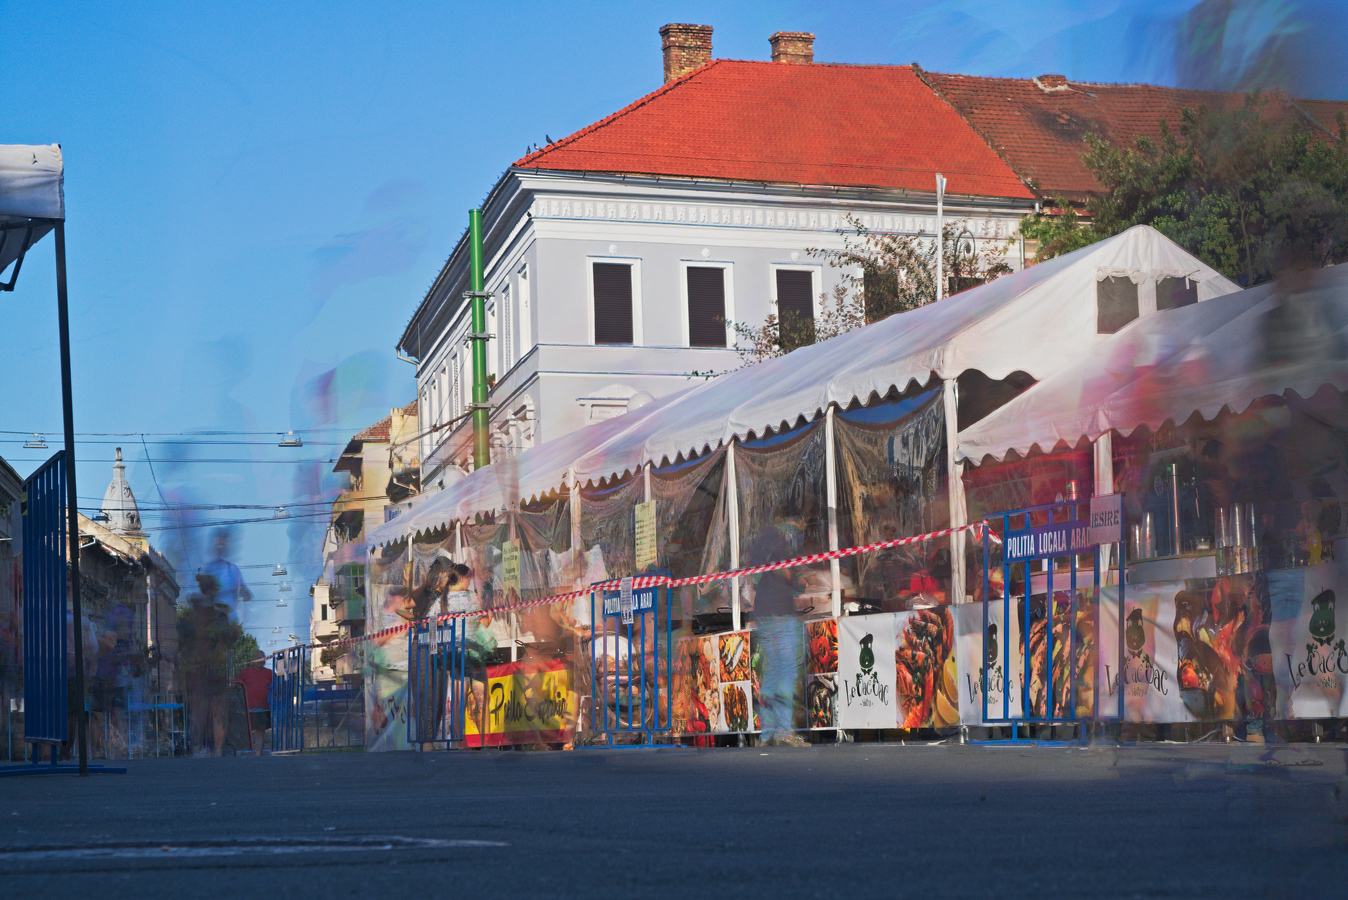
If you notice the rather garrish processing is because I intended to convert the result to monochrome, so I kind of pushed it with processing in color.
By “mean” stacking I thought “average”. Your average stacked image is smoother than the median stacked version in my opinion.
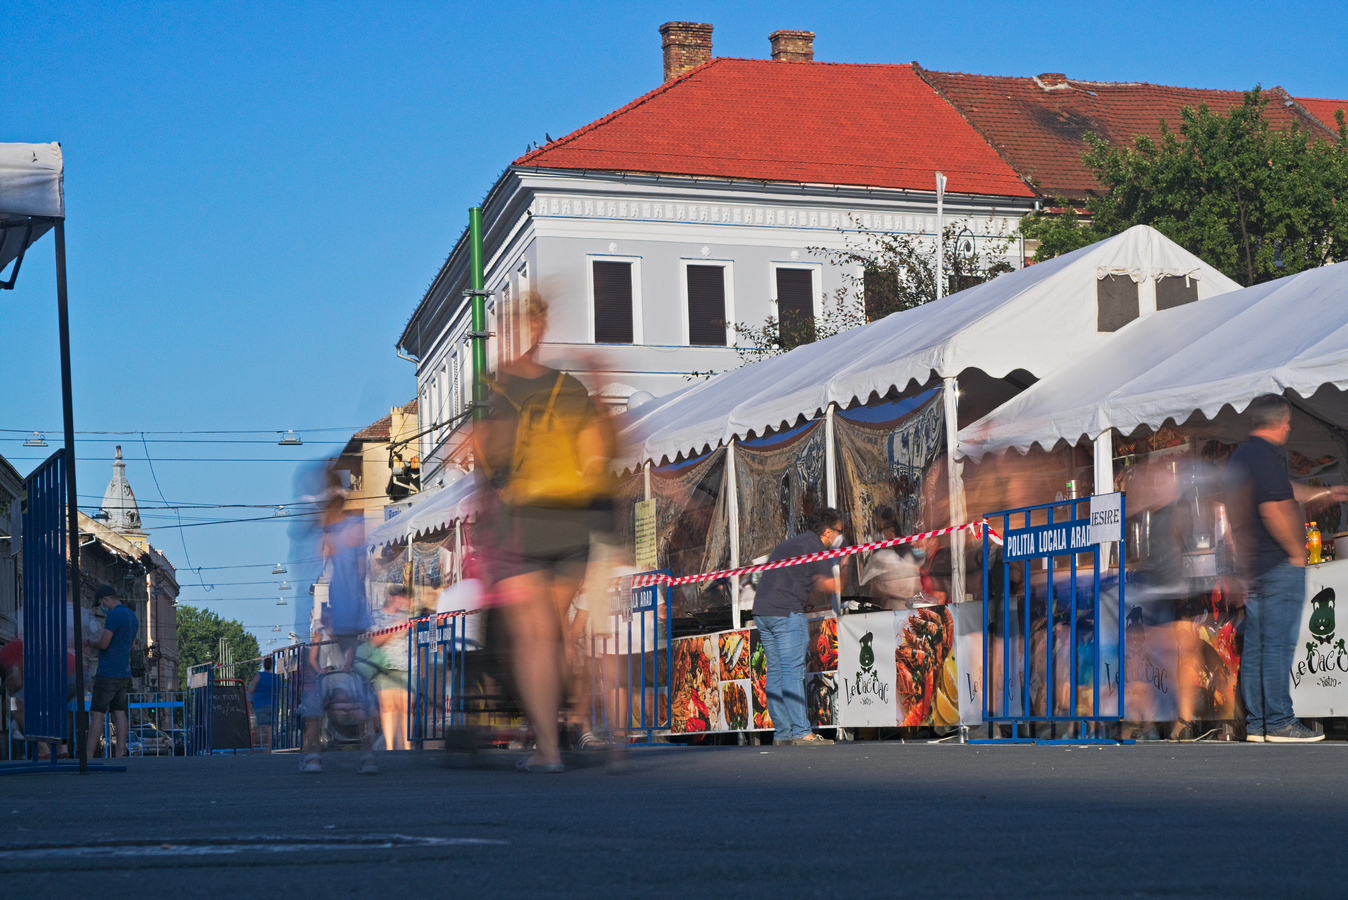
I’m sure Titarenko spent quite a lot of time finding the right combination of settings… You’ll have to fiddle a lot too! If 200 stacked images doesn’t improve, maybe it’s too many? Try several stack numbers (say 10, 20, 50, 100…) maybe there’s a sweet spot somewhere in between 5 and 200… That and shooting shorter bursts maybe.
Anyways, post your progress here, I find it very cool. I played with median and average stacks in the past for travel pictures to get something very different but “artsy”: by stacking all the pictures I shot from traveling into some cities, I got a sense of the dominant colors and shapes of each city rendered in something that looks almost like a painting (edit: here’s a showcase).
I think the problem lies in your scene: The background is lit by direct sunlight, while the people is in the shade. This will make people’s trails to be lost against the background in the long exposures.