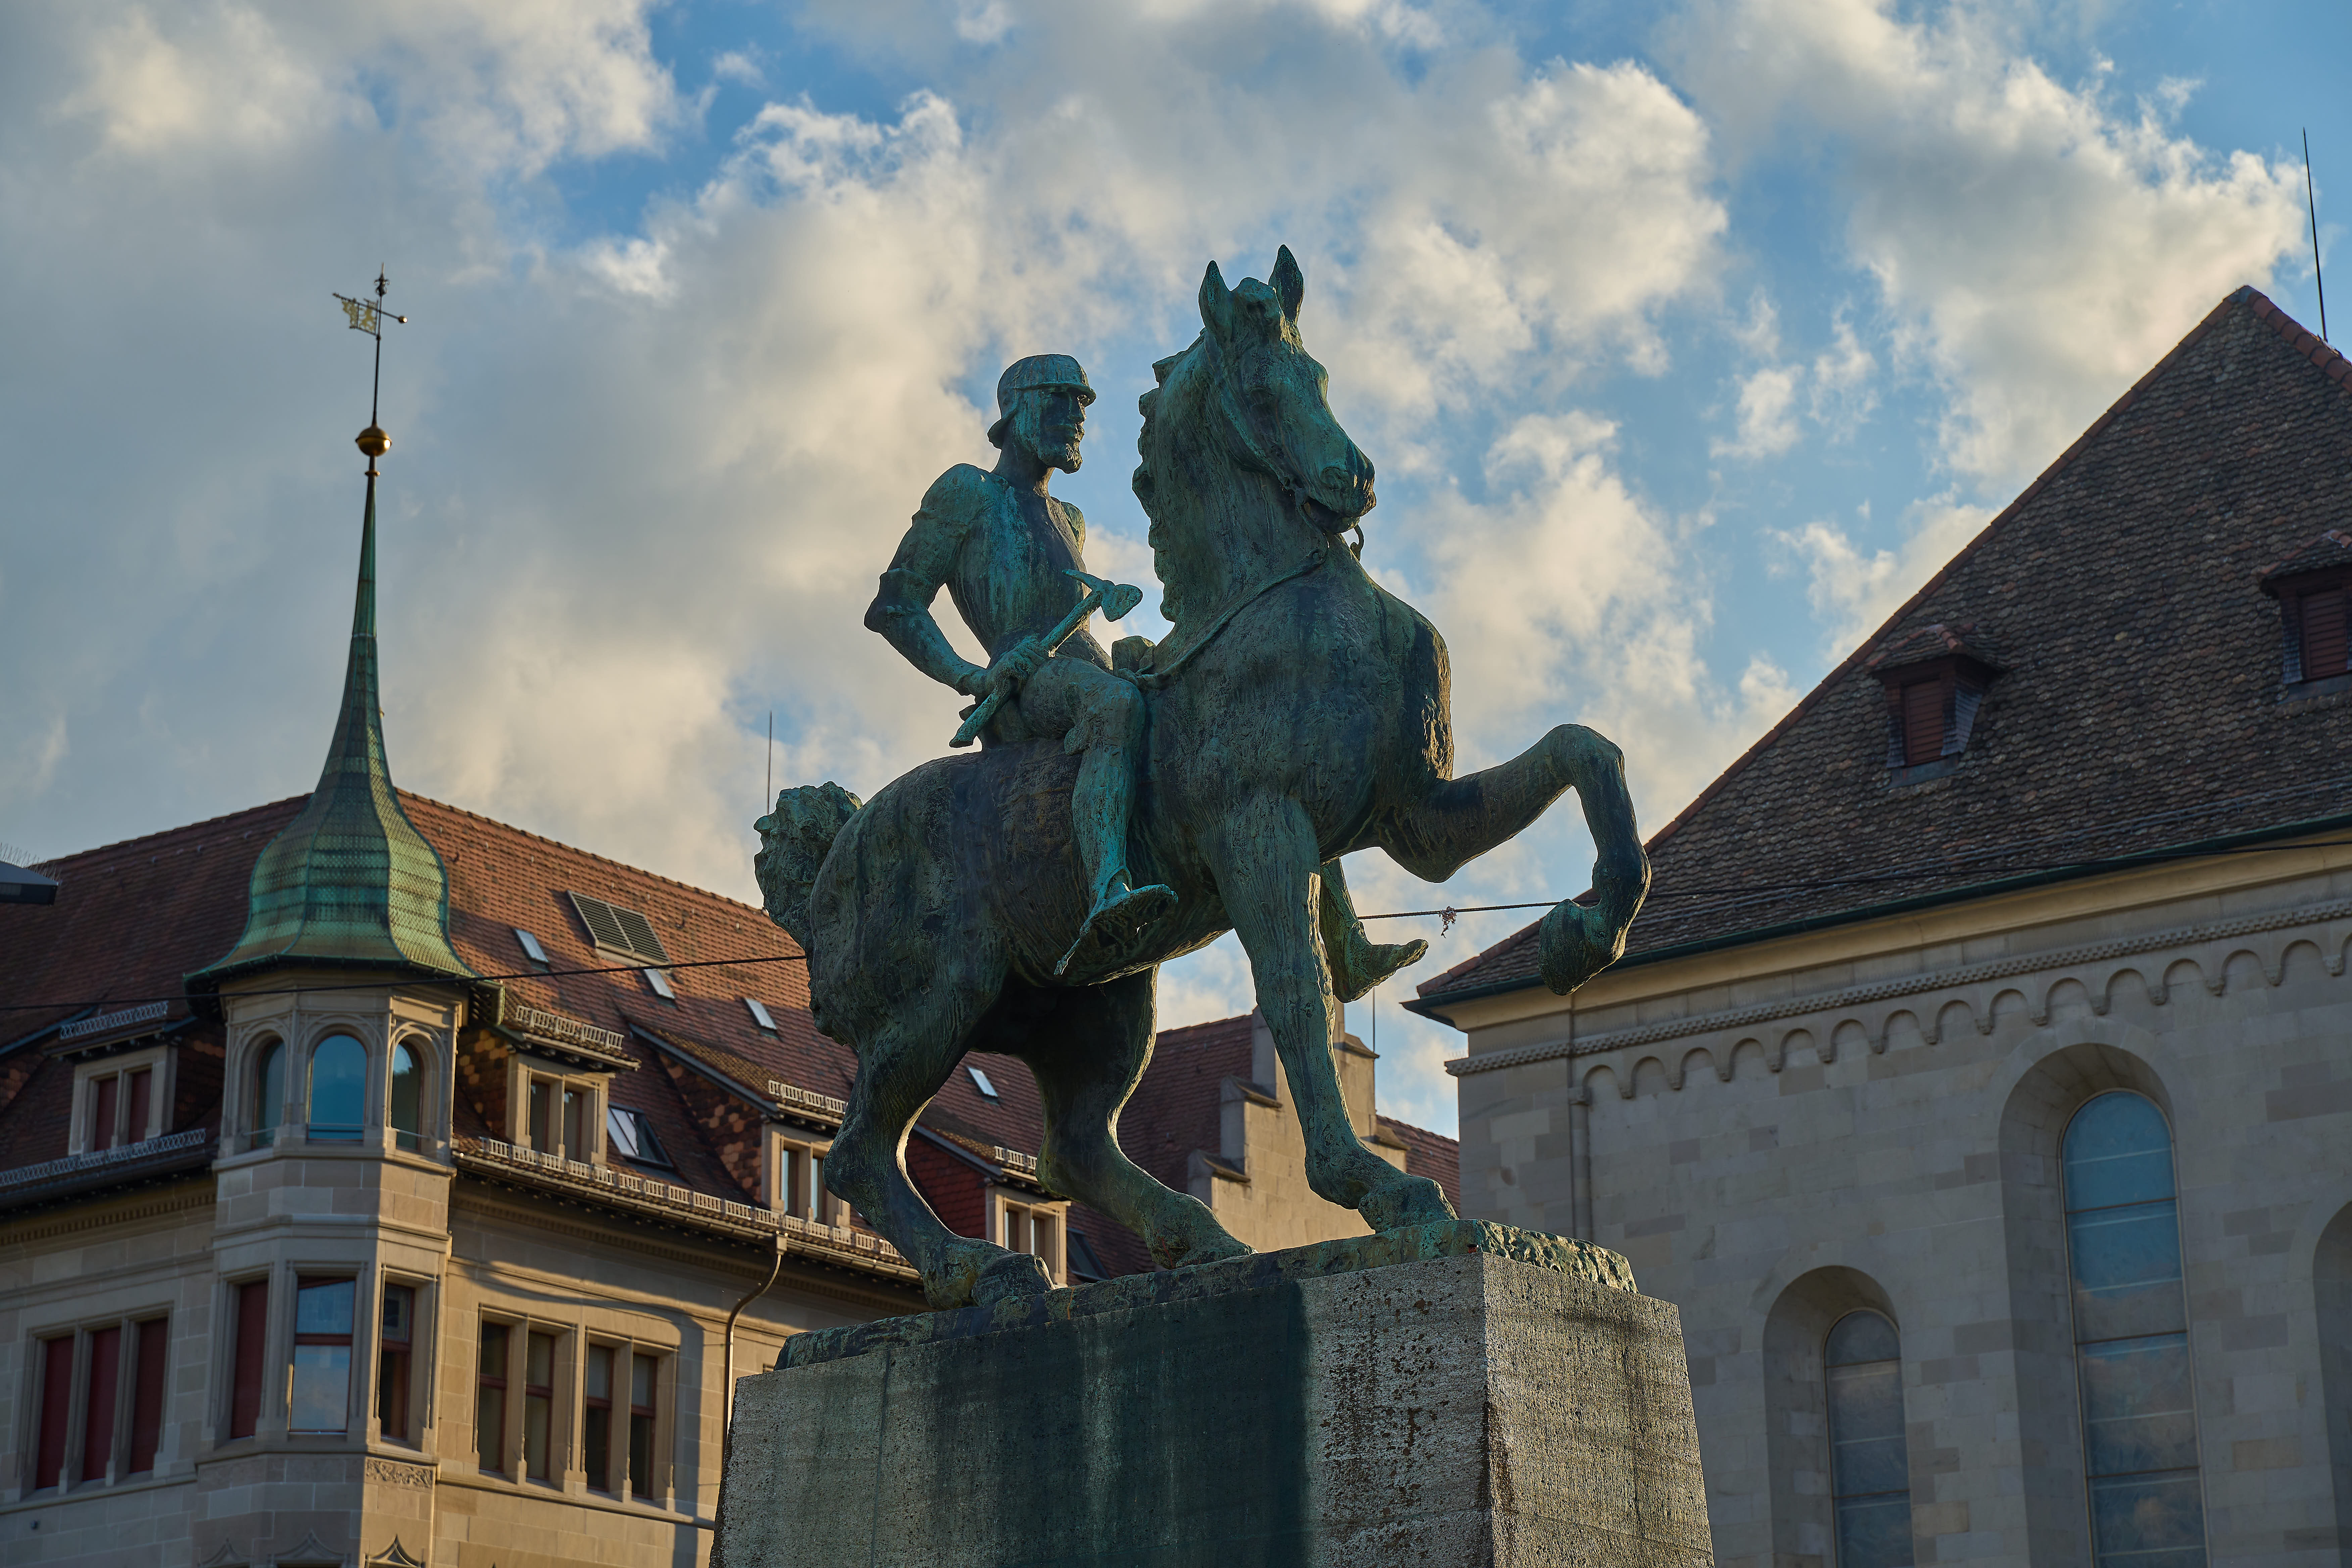
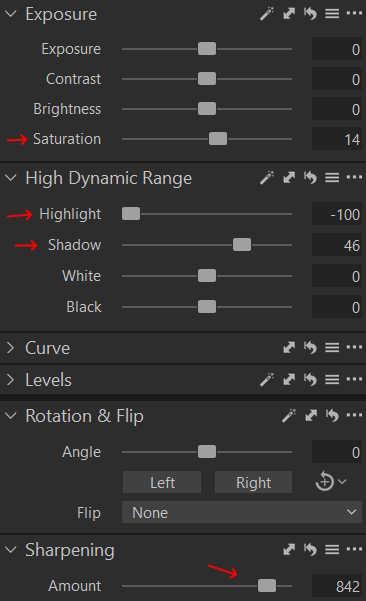
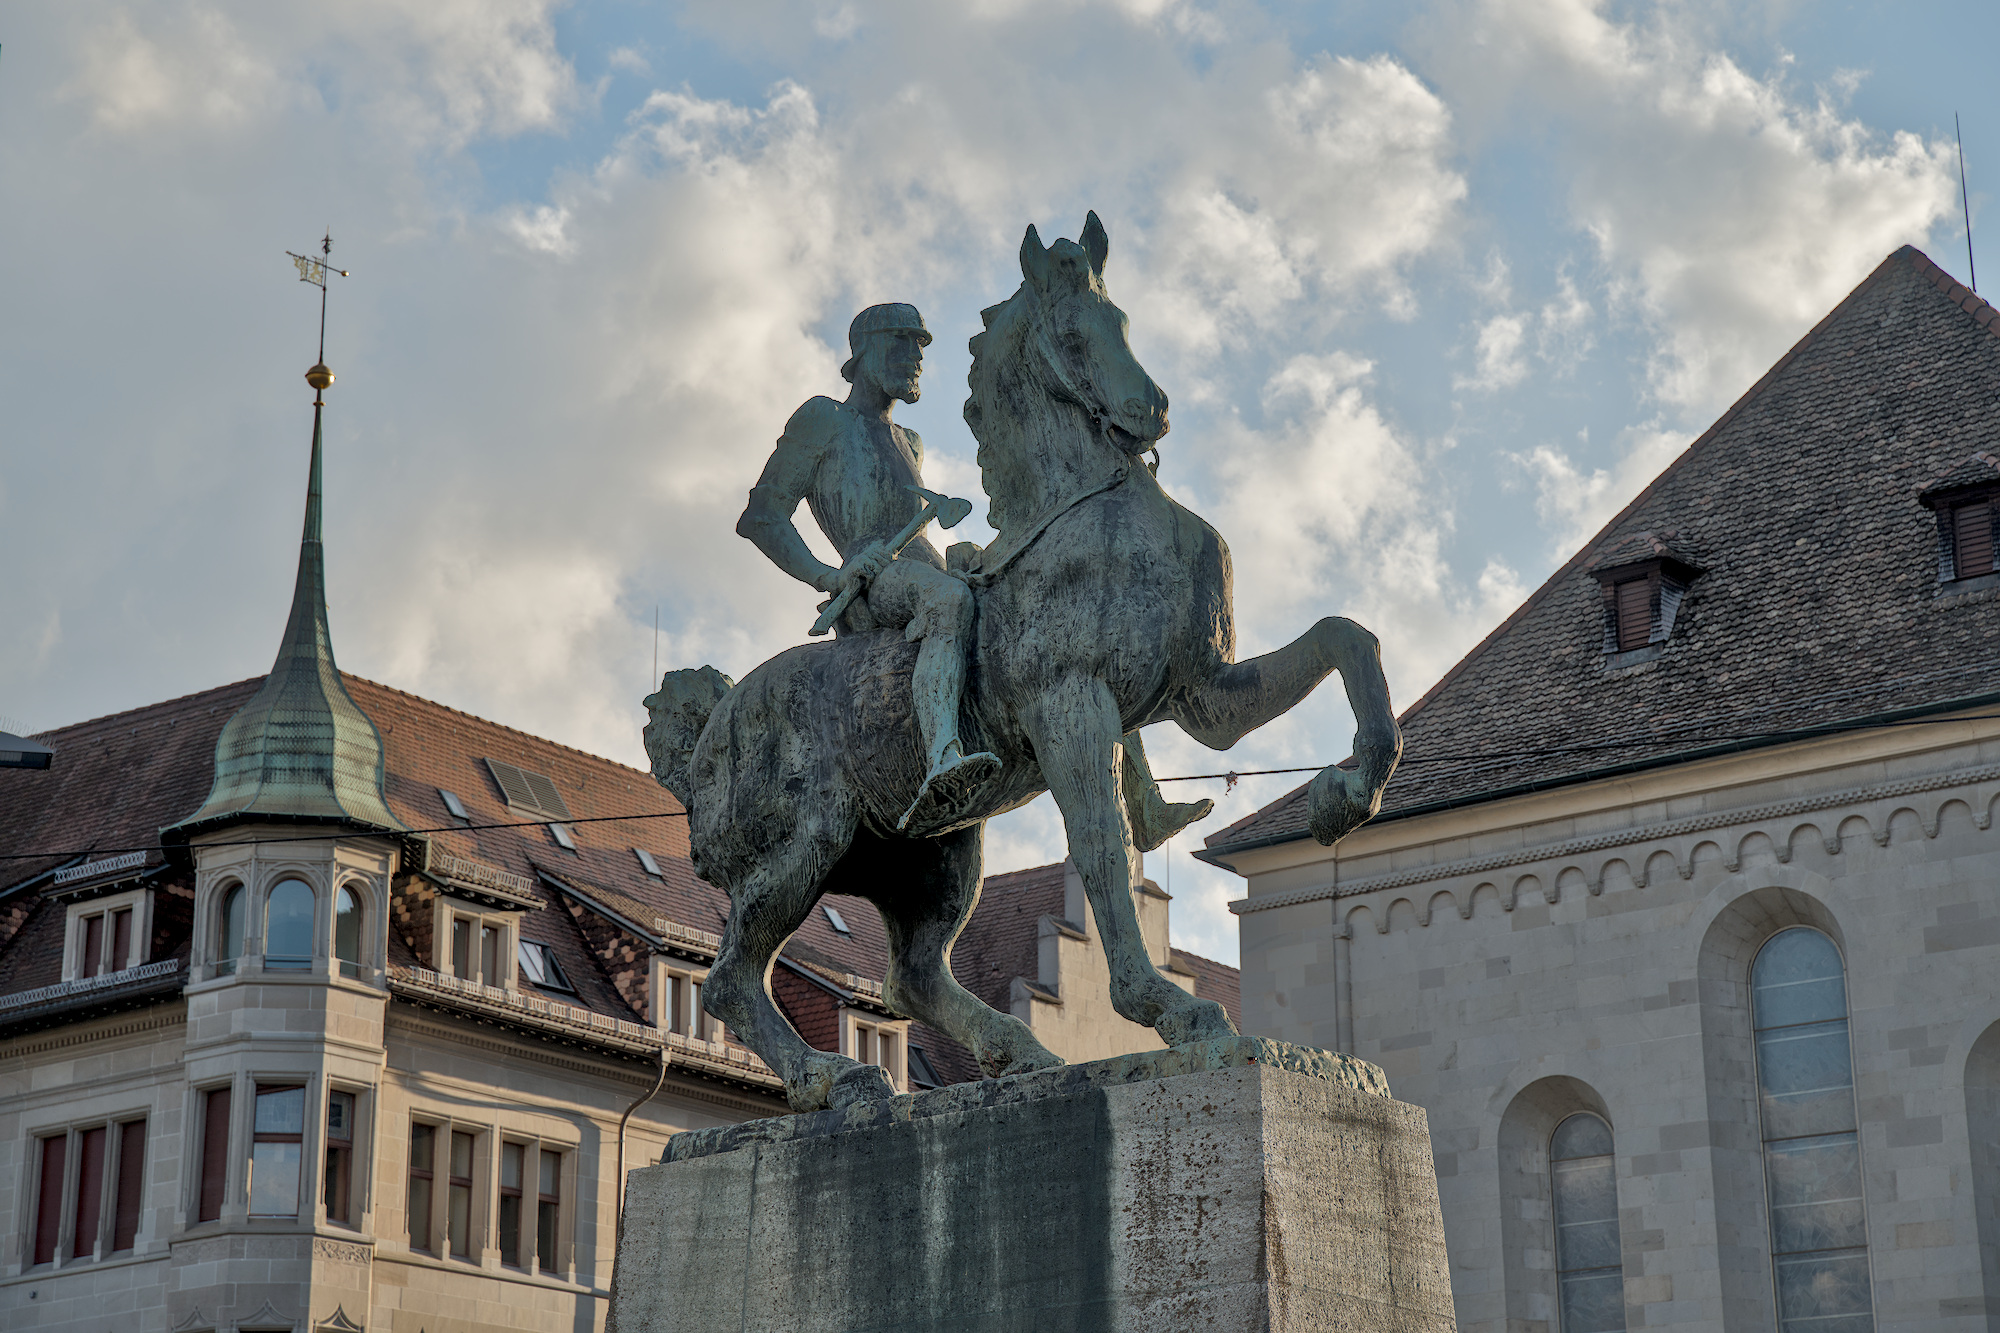
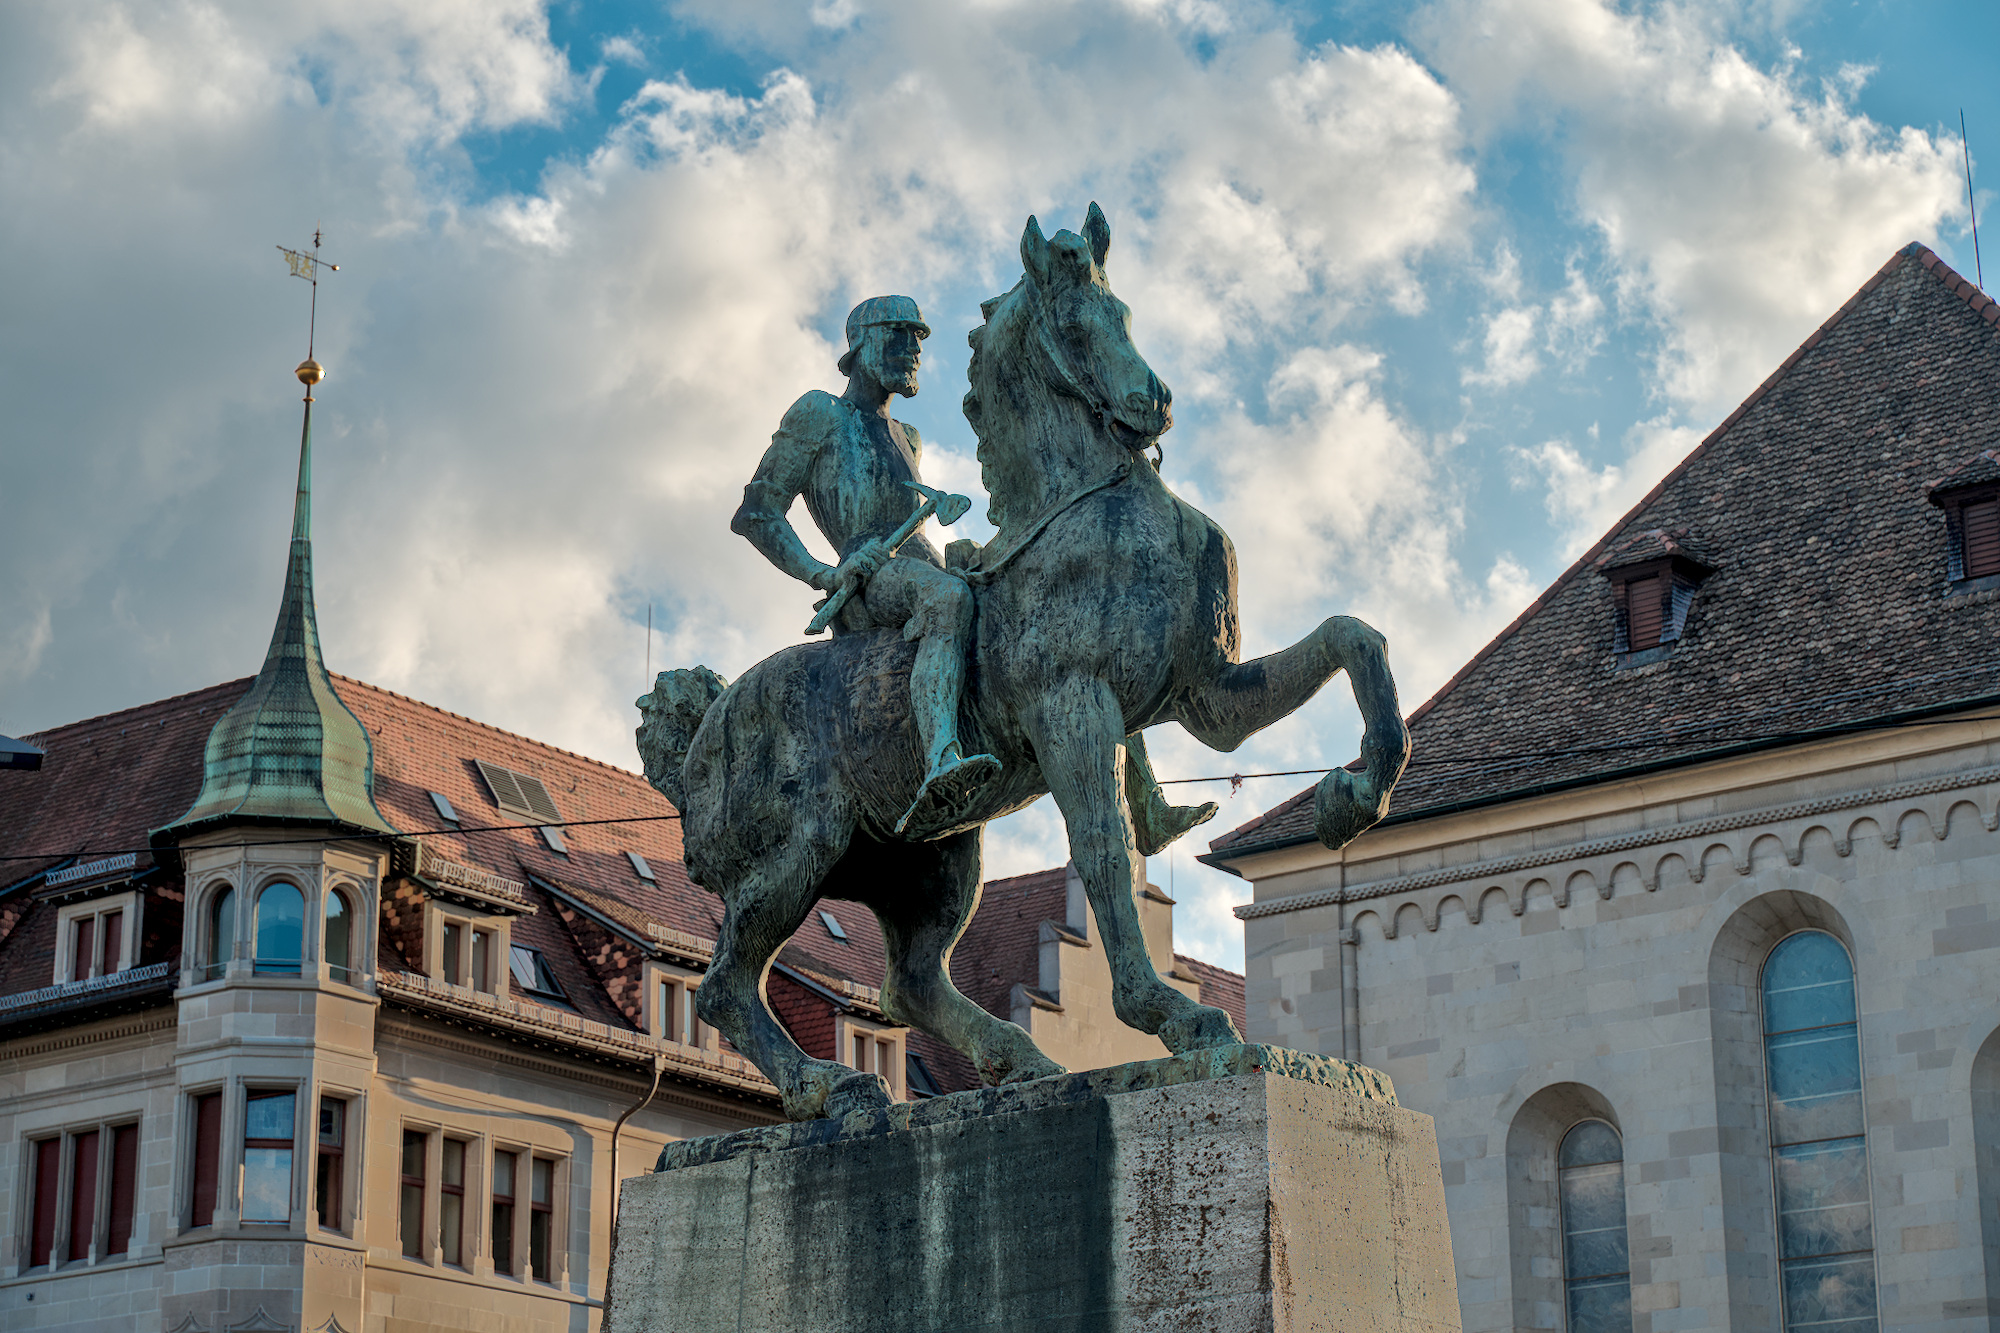
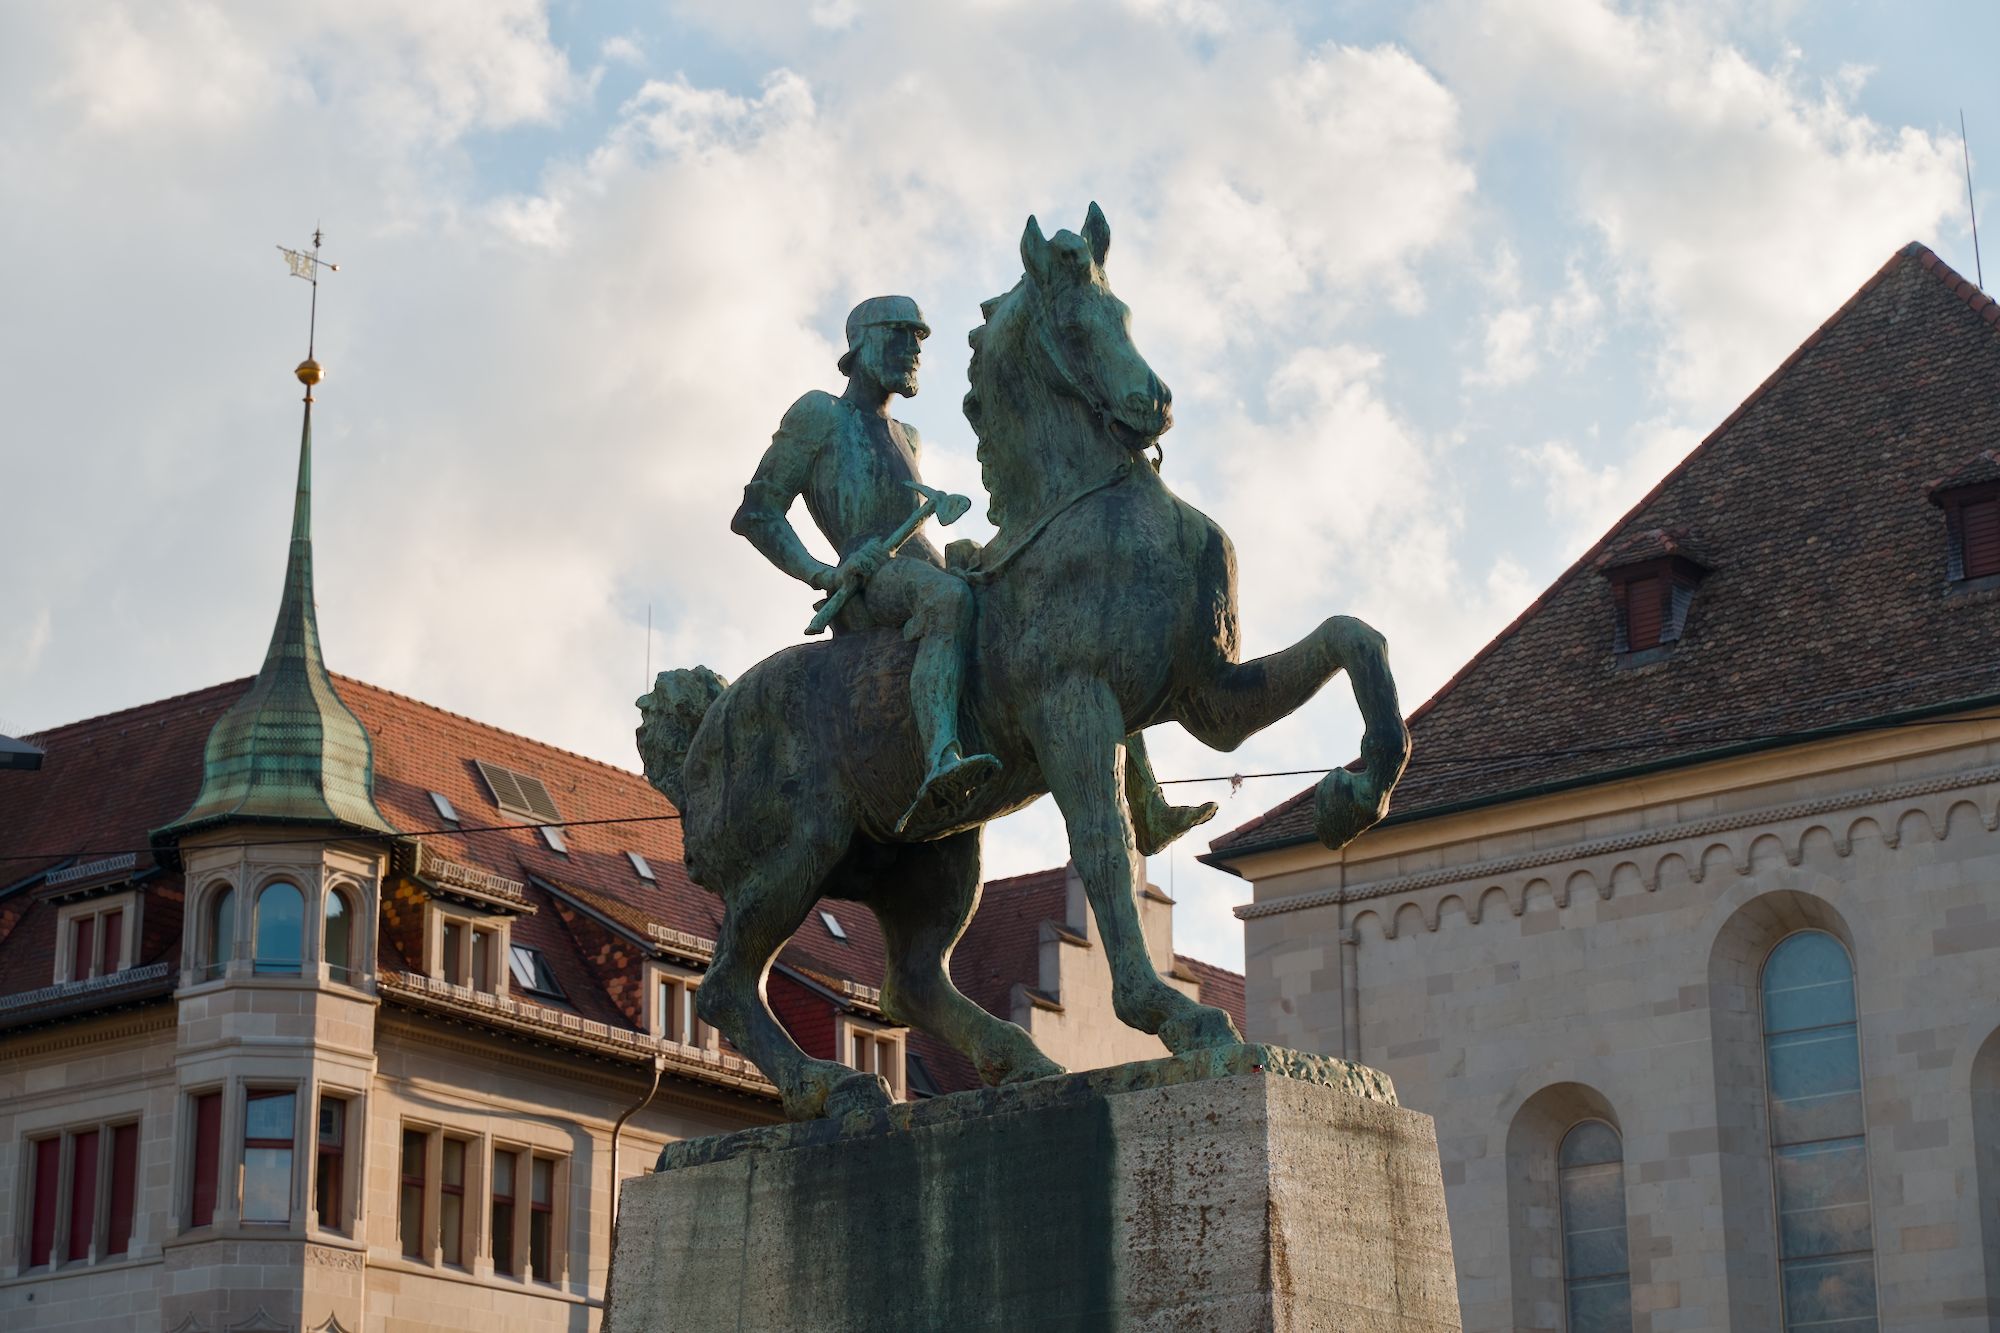
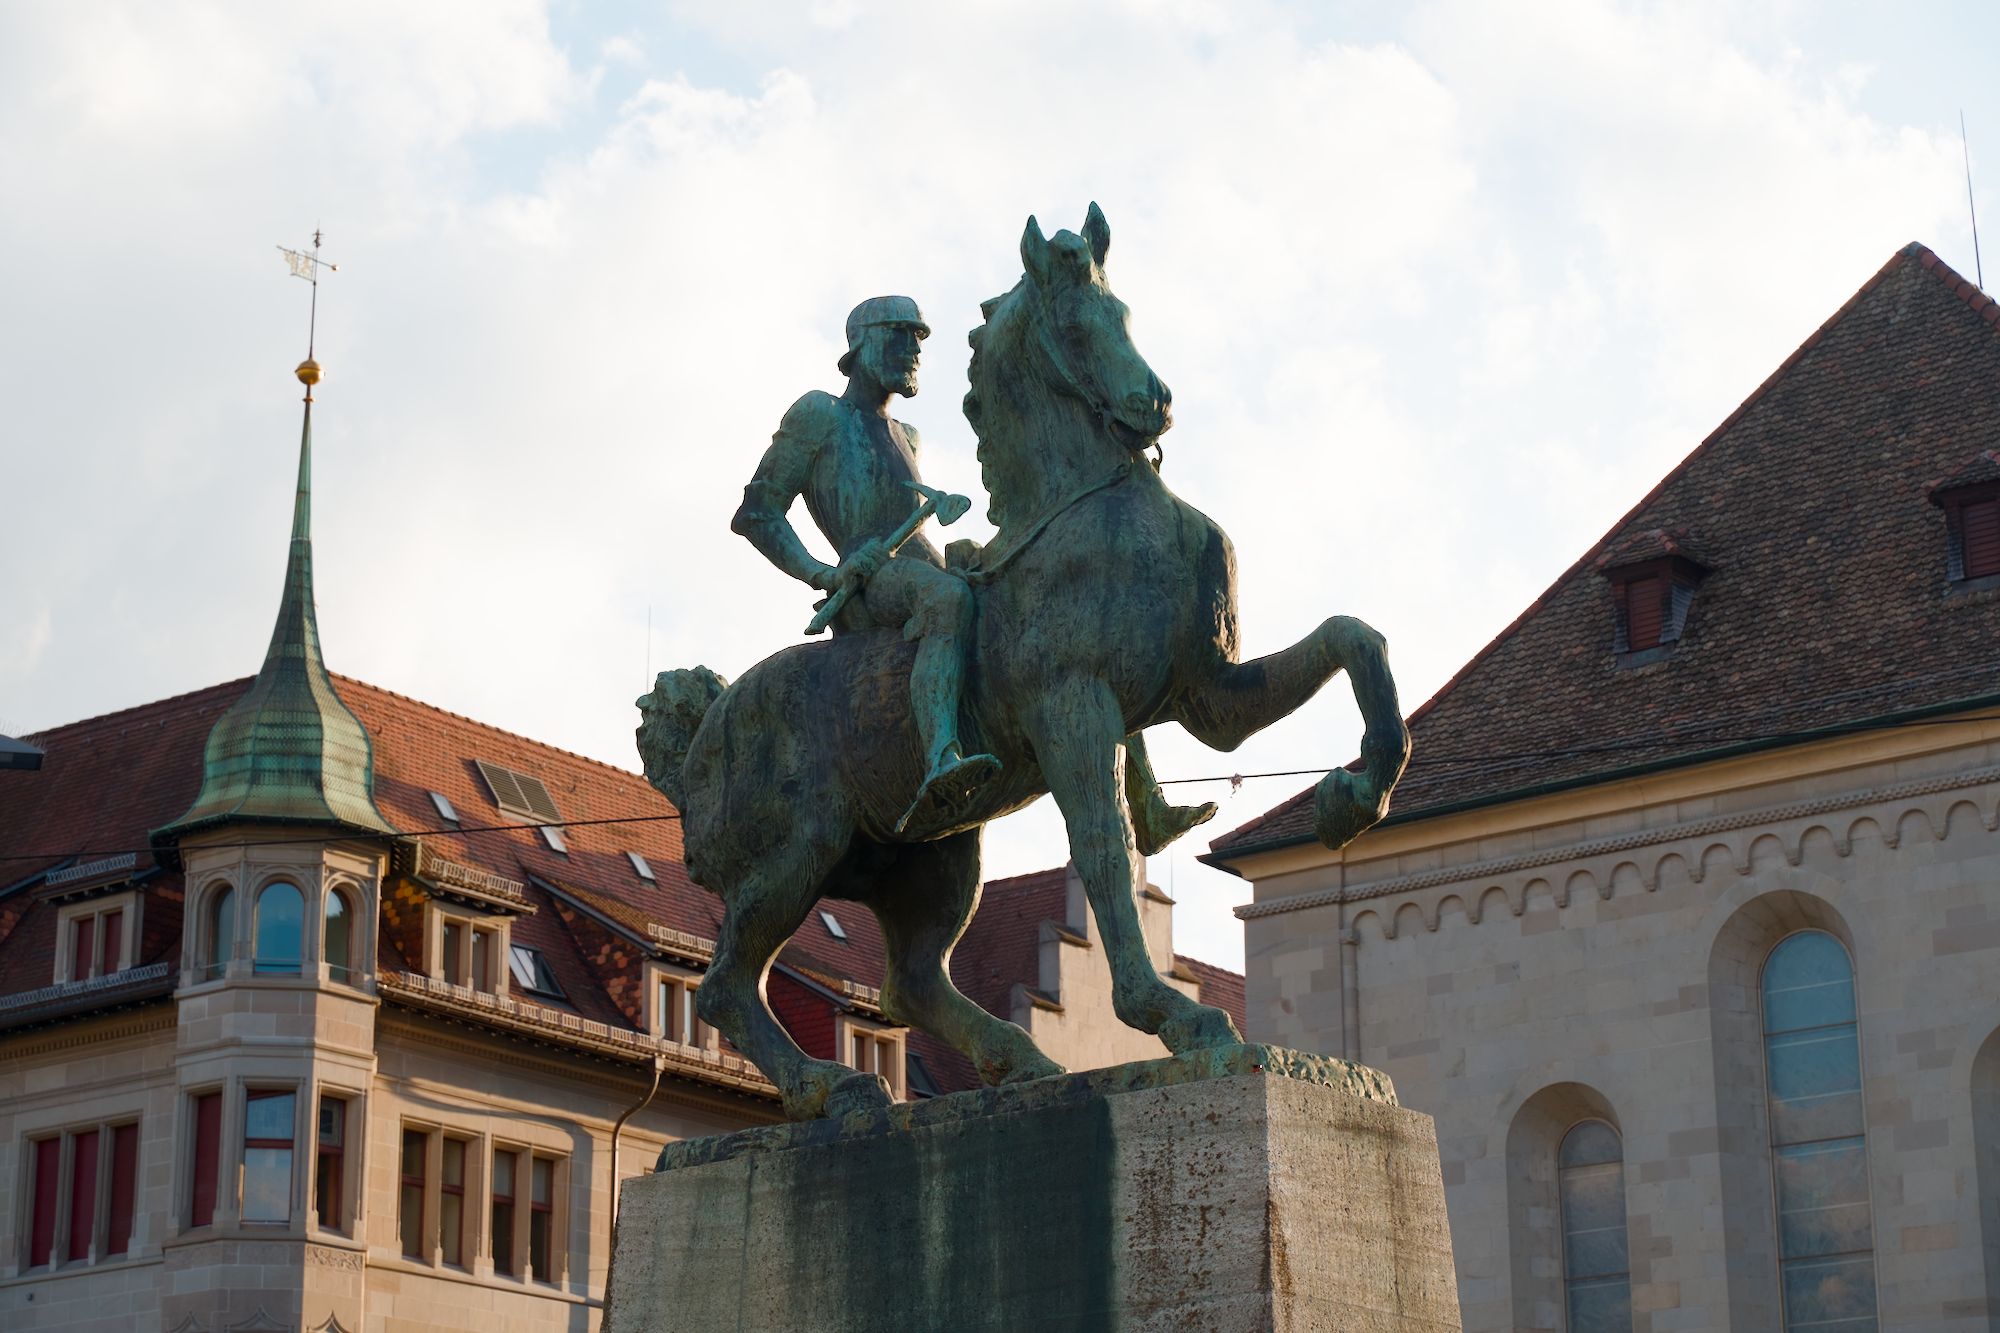
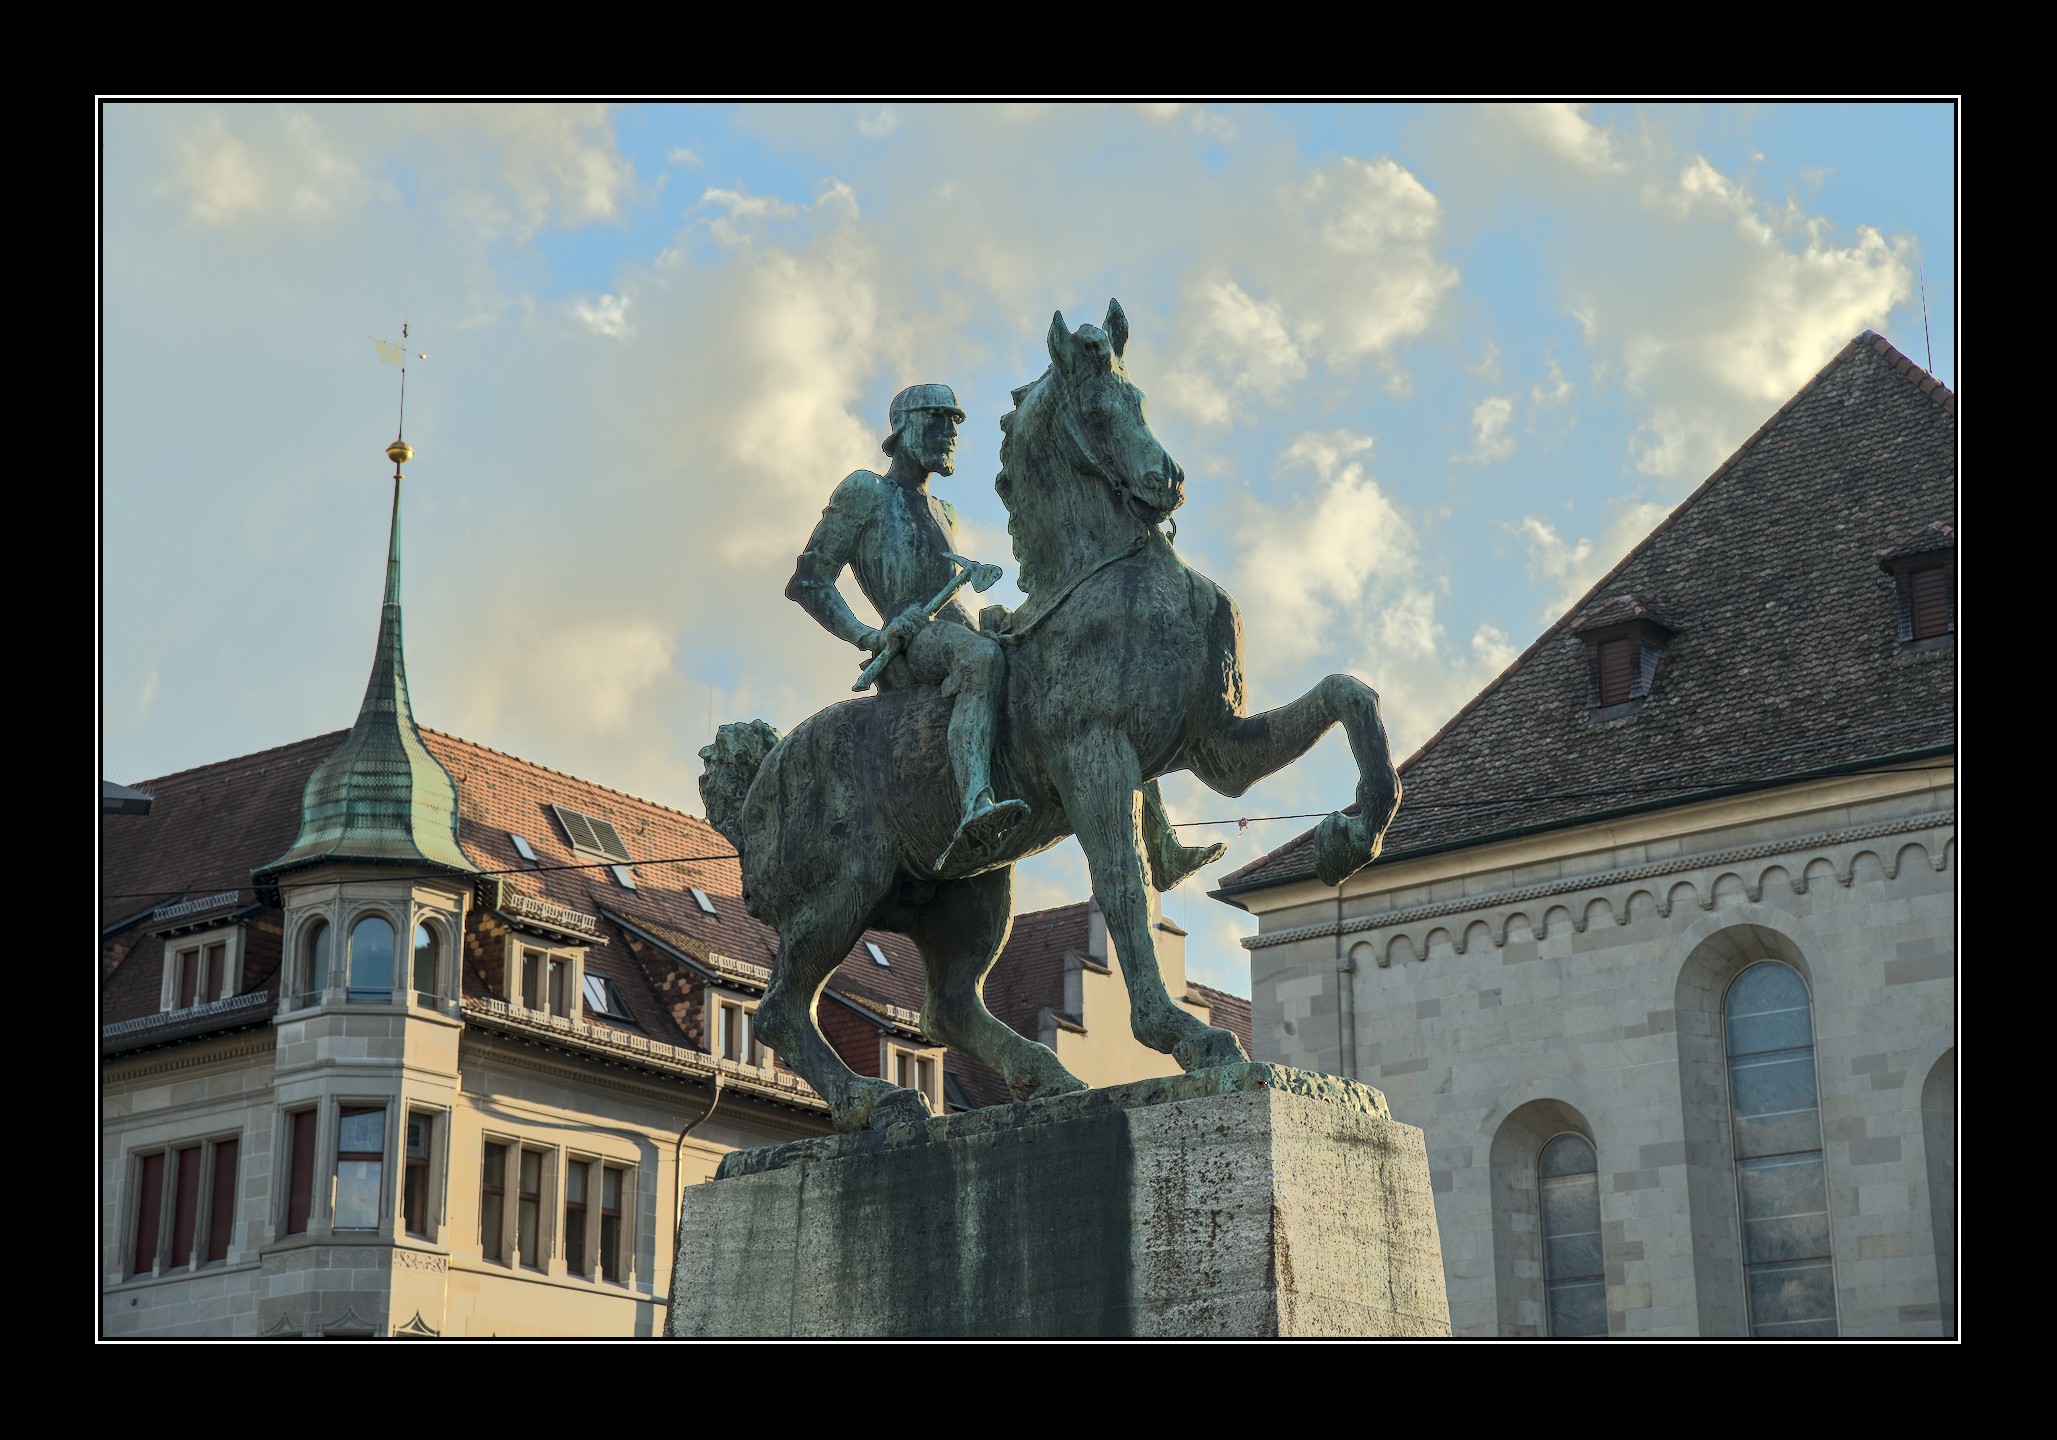
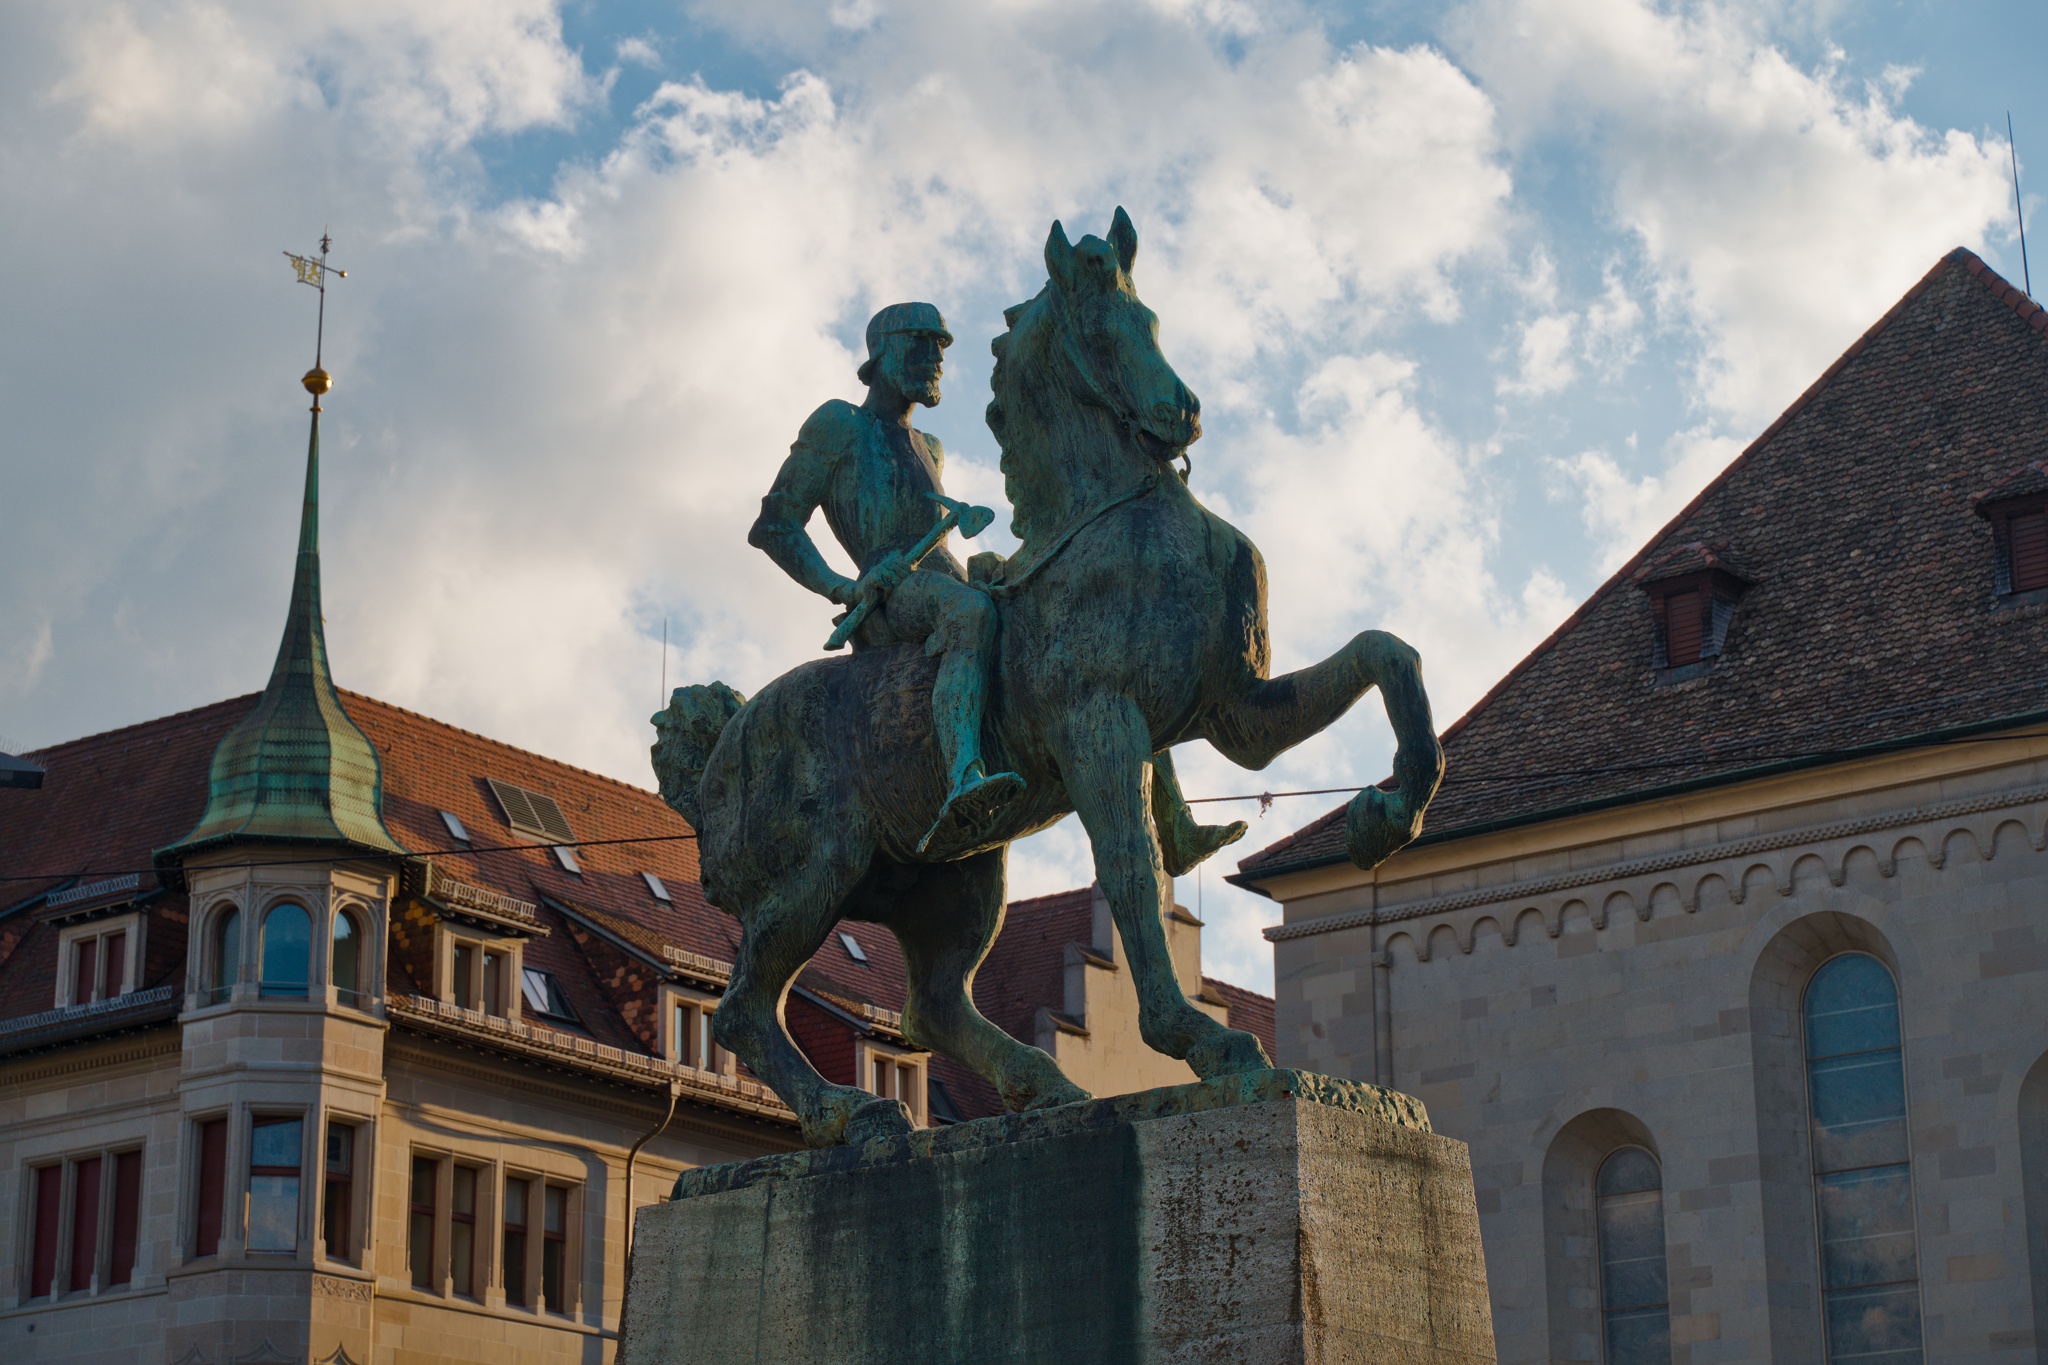
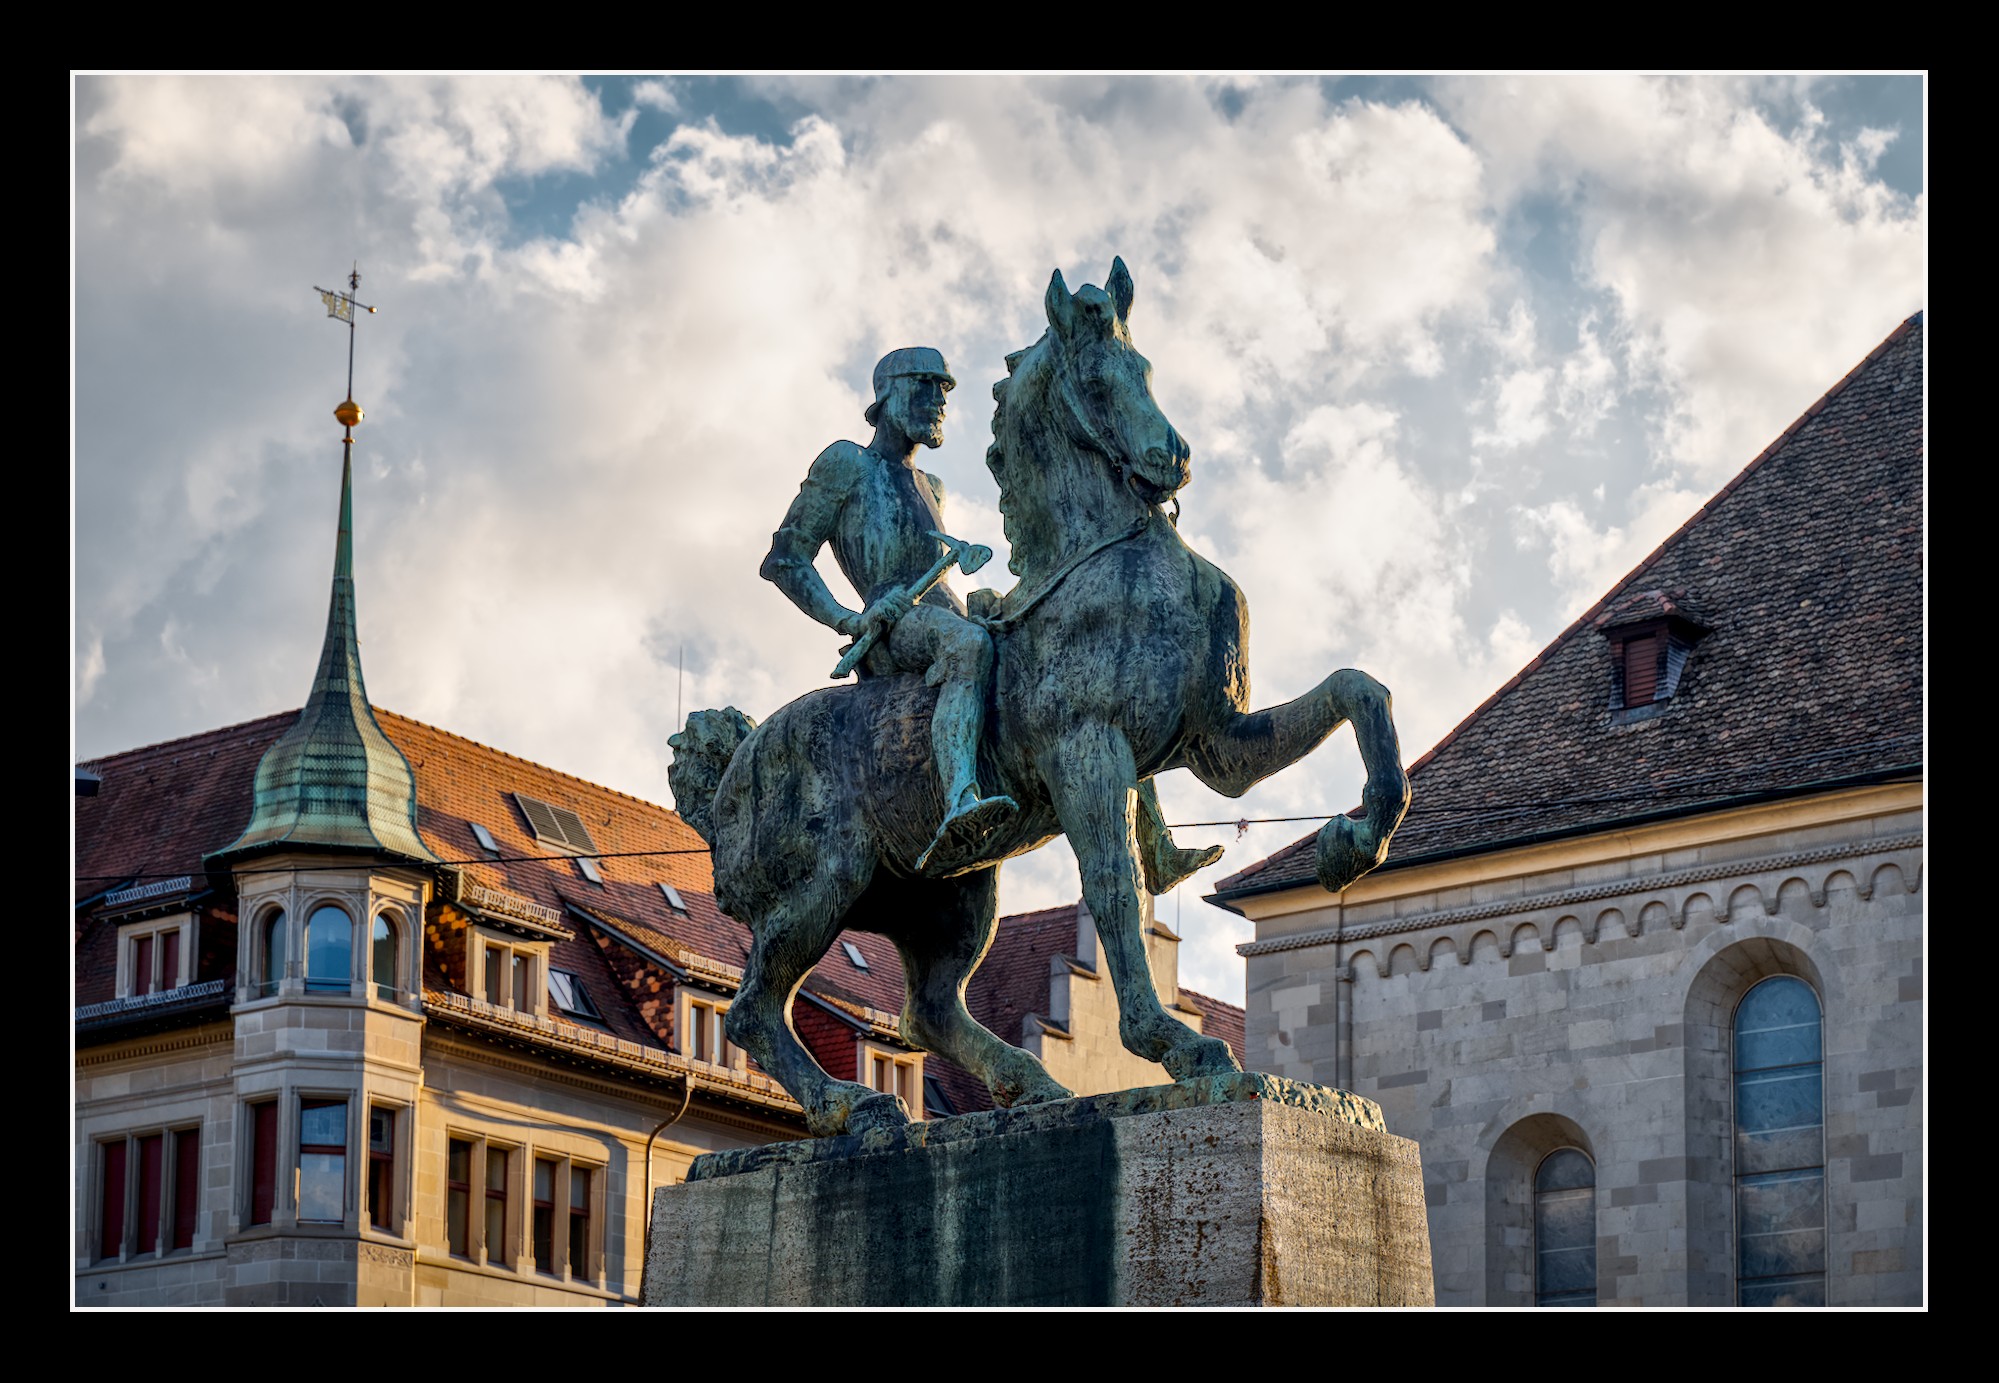
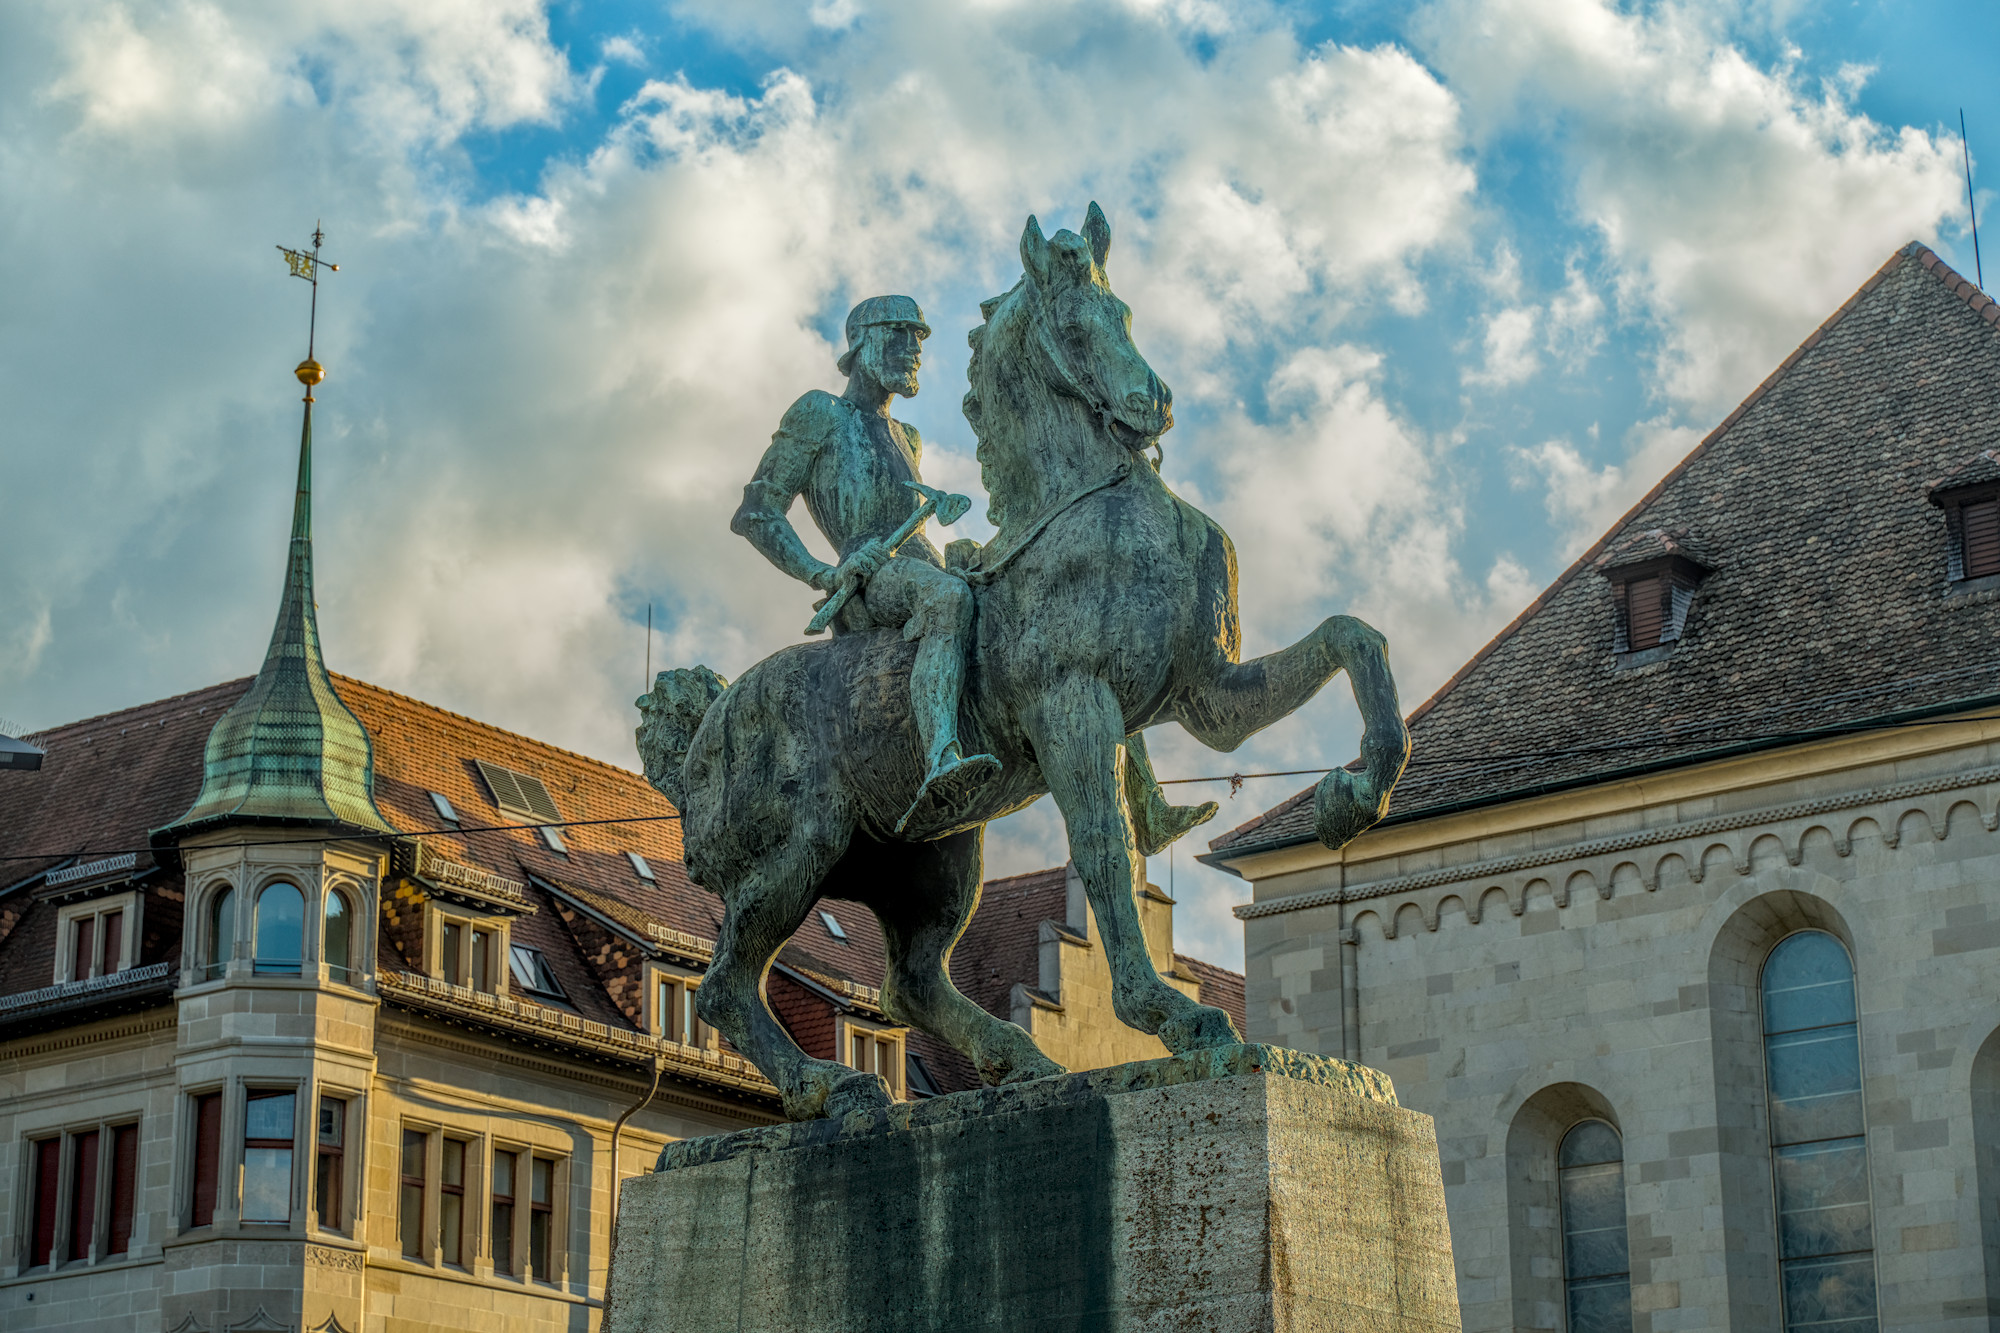
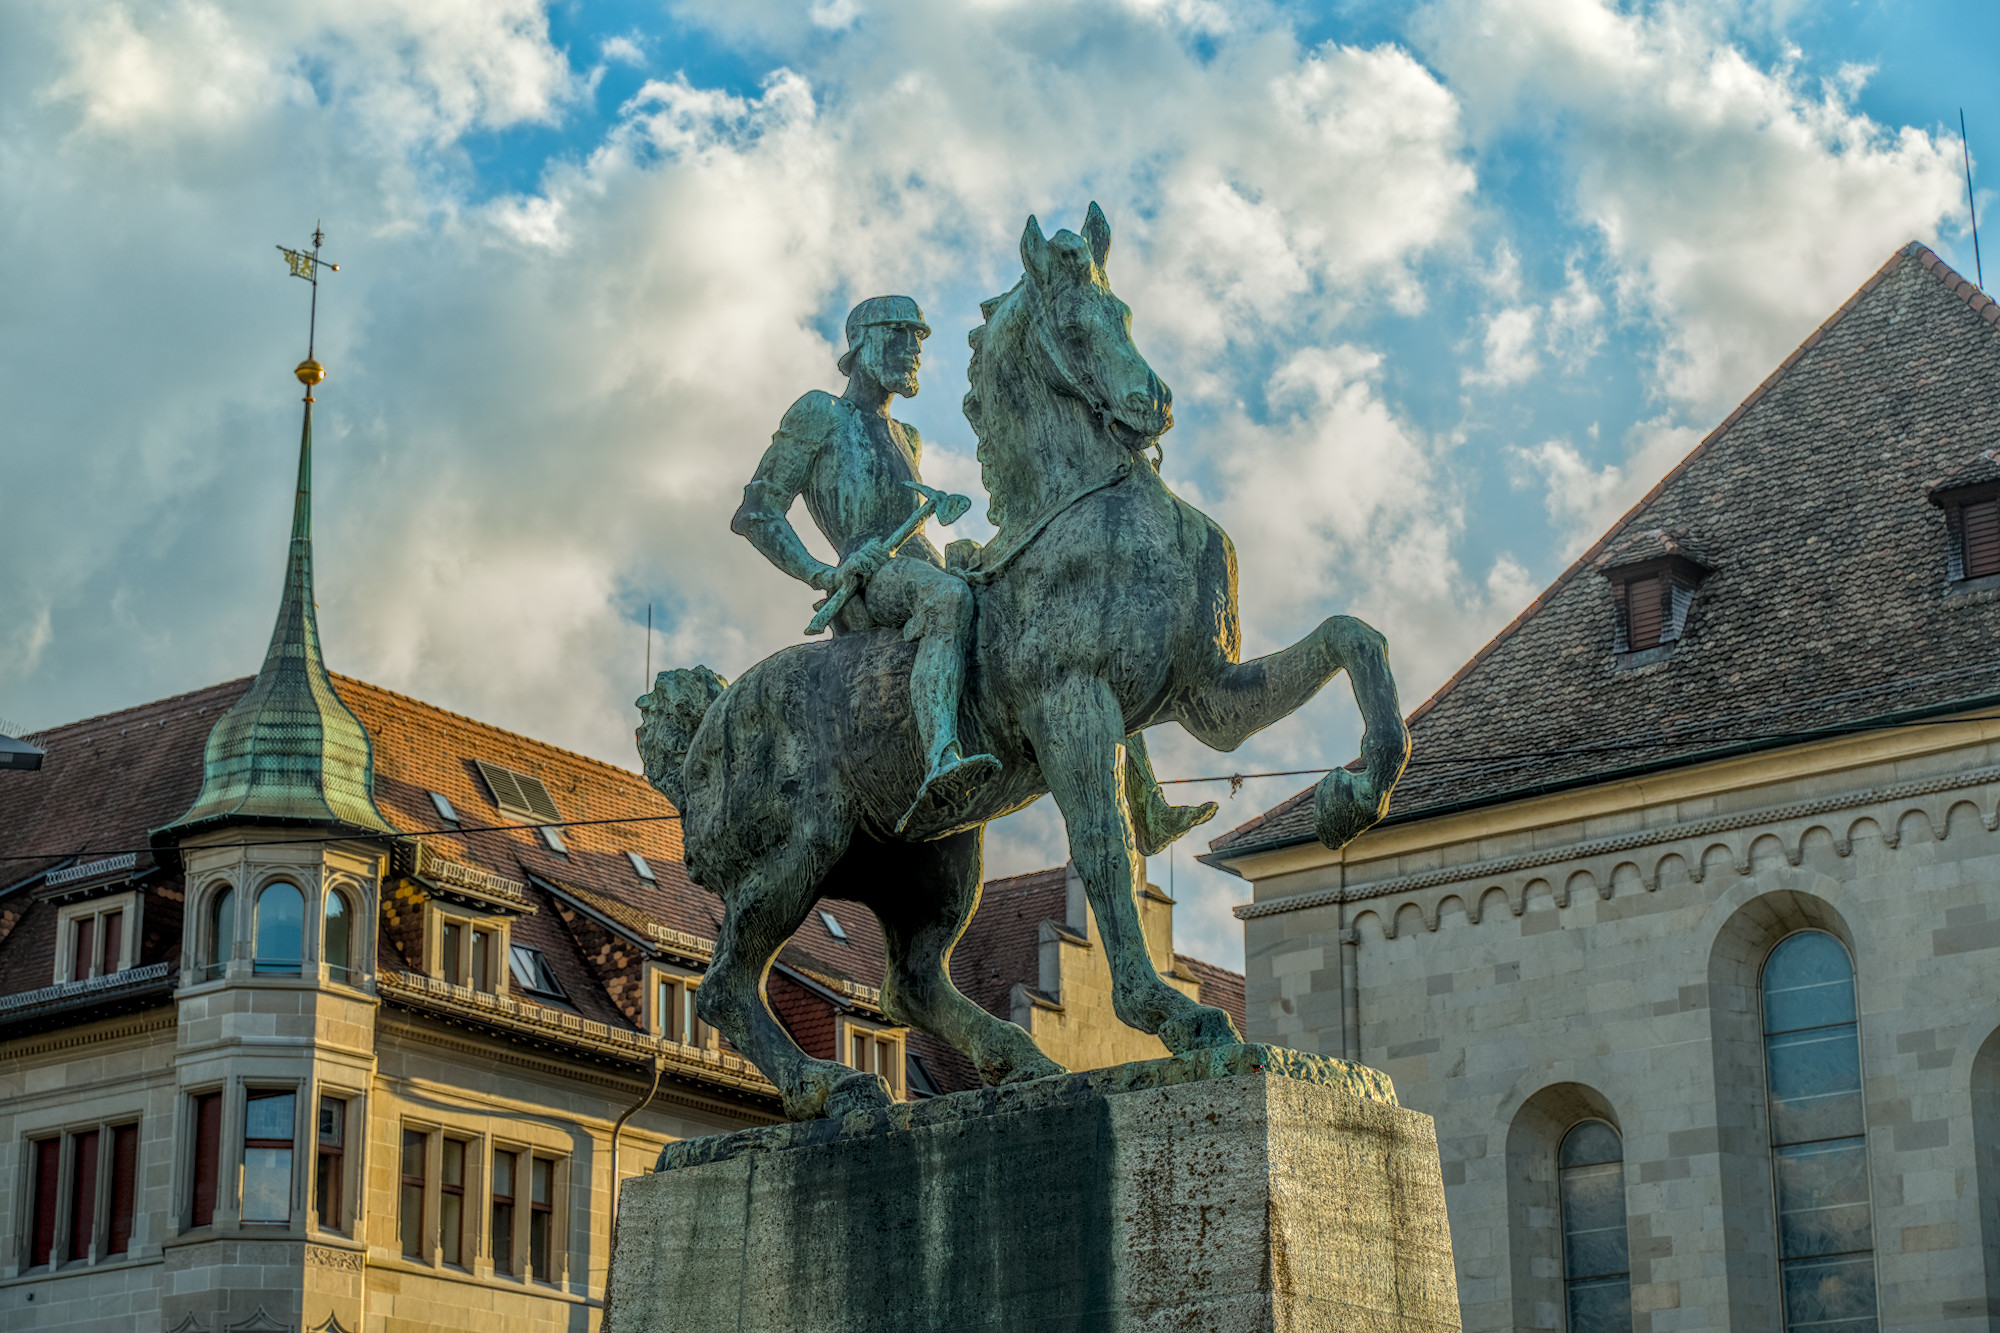
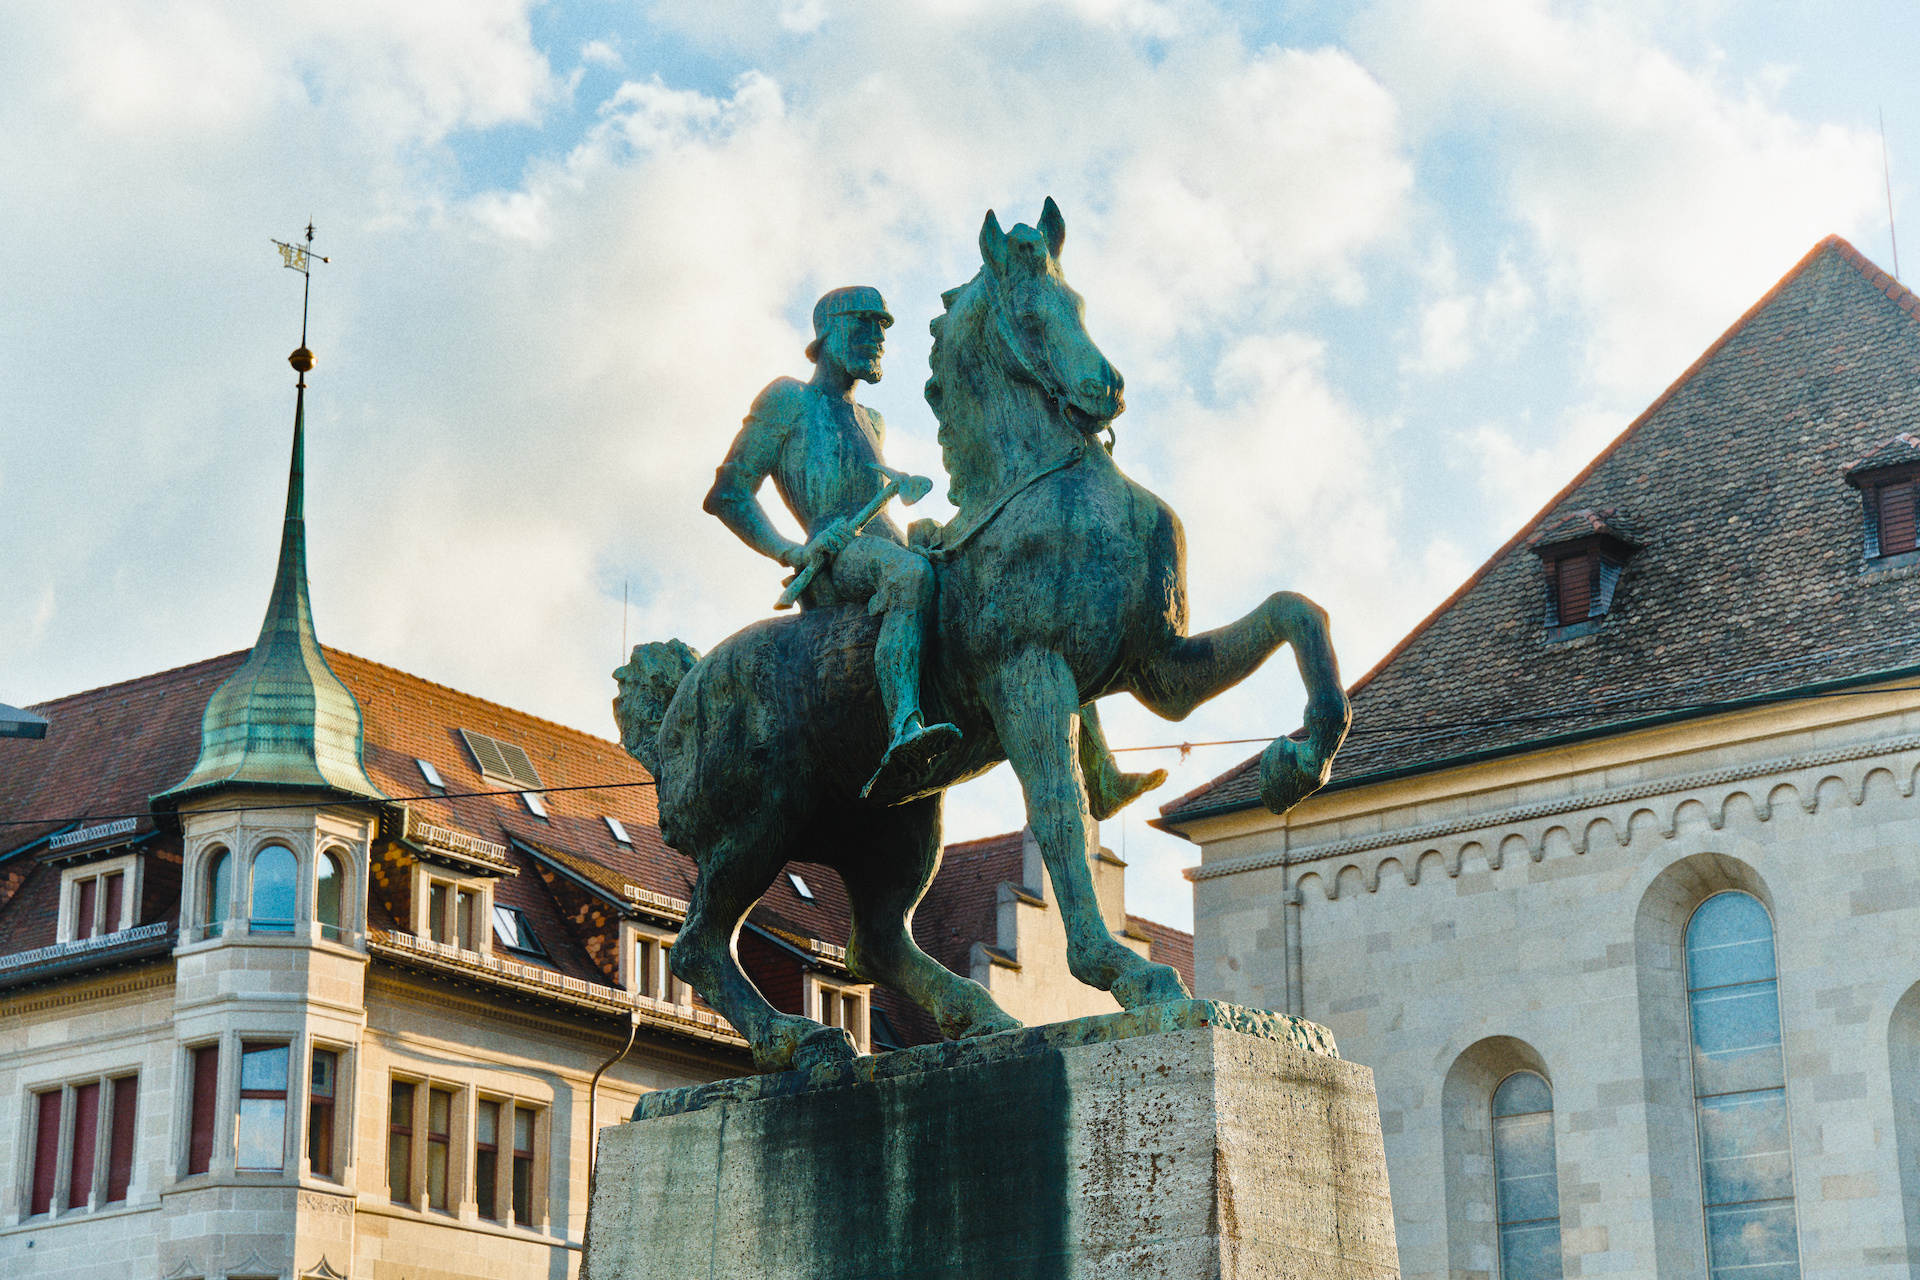
File ASD01606.ARW is own work and licensed [CC0] (Creative Commons)
Two years ago I moved from Capture One to darktable (now 5.6.0) because I replaced Windows by Linux, keeping the C1 v22 on an older win10 computer. In some cases I still develop the pictures also with C1 for comparison and learning. Normally I am happy with dt, I am using my styles and I am as fast as in C1. However there are special “difficult” cases, mostly concerning high contrast.
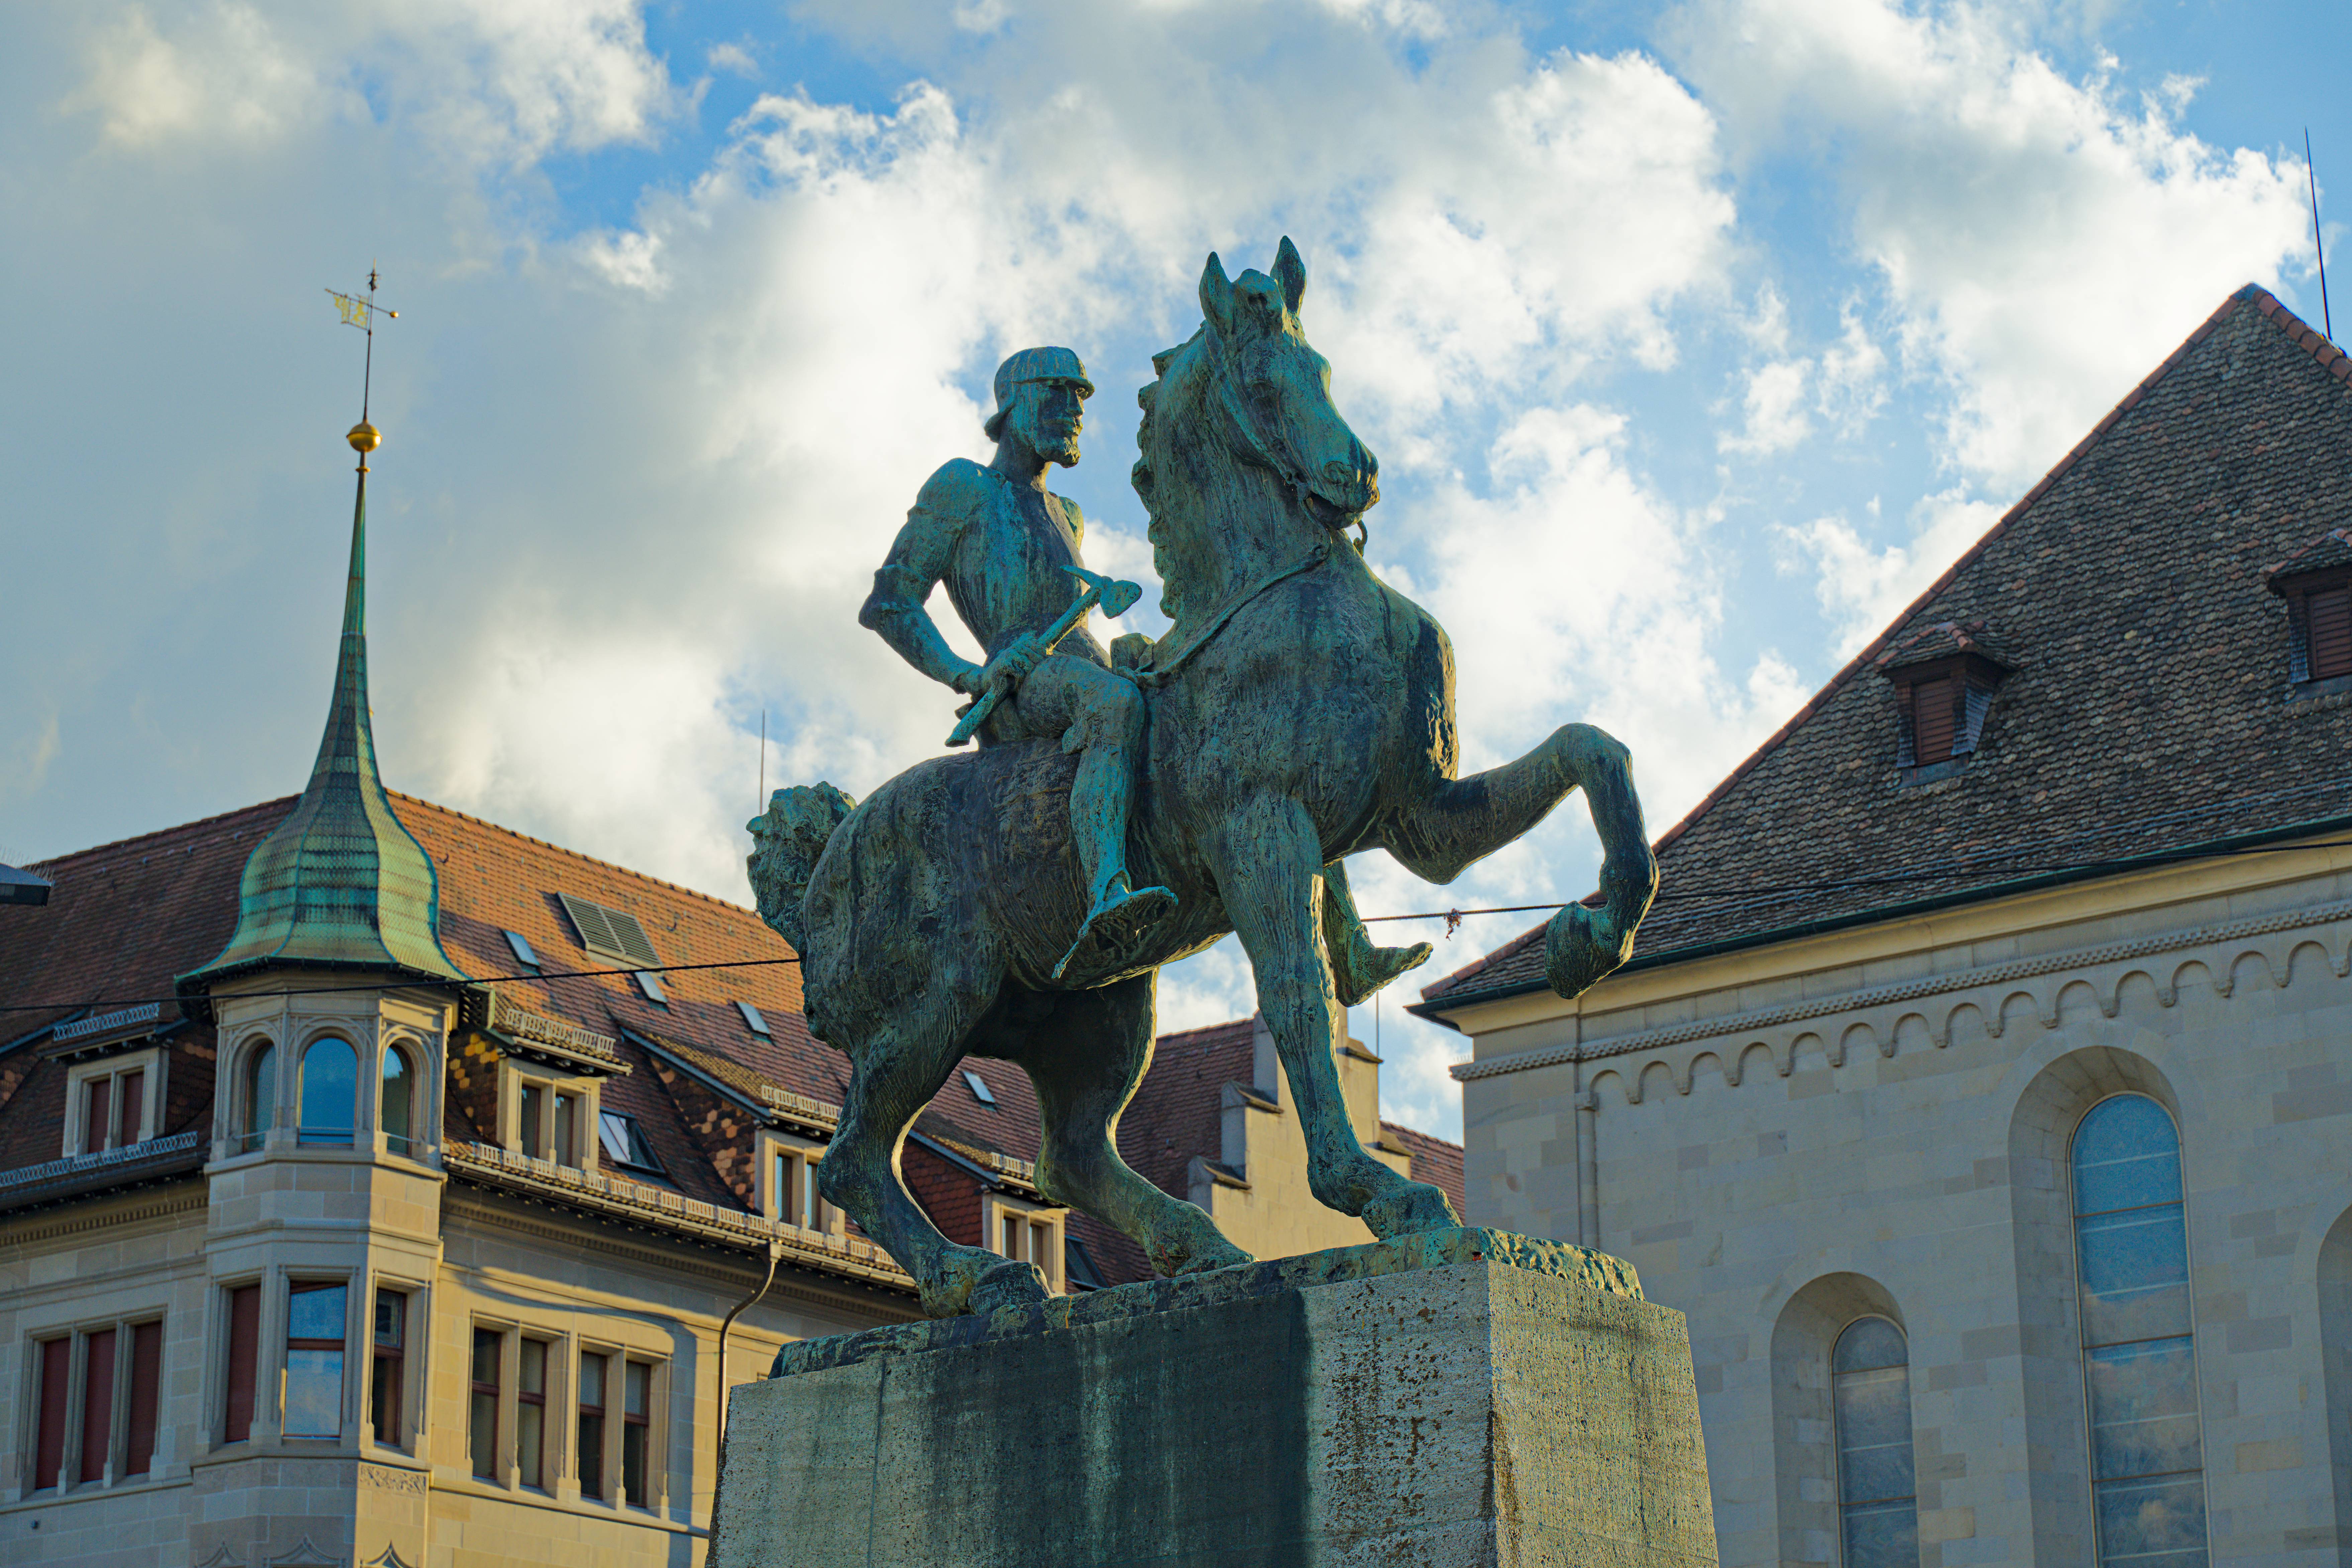
Then, in C1 I get a satisfactory result within a few seconds (moving 2 to 4 sliders) whereas using dt it takes me one hour or more to approximately get the same picture. I append an example of a sculpture (which is quite dark) and a cloudy sky. I want to see in the resulting jpg both the clouds, the blue sky and the blotchy surface of the monument. The first jpg is from CaptureOne:
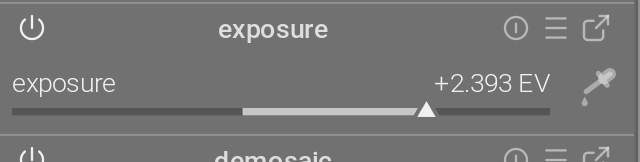
My experience until now was that the curve in “tone equalizer / advanced” should not change too abrupt and should better not leave the range -1…+1. To tame the high contrast I made also adjustments in exposure, AgX, and color balance RGB. There are at least 4 modules involved, each of them with several sliders, and there are raising several questions. For example: how to set the exposure (middle gray of foreground or average of the picture), makes it sense to combine brilliance in “color balance RGB” with tone equalizer, etc.
How would you develop this picture? Is there something like a recipe for the sequence of adjustments in such cases?
This is a really quick edit for me in DT5.6.
I left the exposure module alone but used tone equalizer to darken the clouds and brighten the shadows somewhat. I then used color balance RGB to lift the shadows and midtones a bit more. I then used AgX with the auto pickers for levels and pivot target output. Next I used the shadow and highlights module at default values. Finally I used the local contrast module at 150% value. Initial denoising and sharpening had also been applied at the start. ASD01606.ARW.xmp (12.3 KB)
Here is a second attempt. I used a fujifilm provia style as my initial starting point. I then used multiple instances of exposure with parametric masking to highlights and foreground. A few more adjustments as well, but also still quick to edit. ASD01606_01.ARW.xmp (15.8 KB)
Thanks, Terry for the quick response. However I am a little bit confused because I was following strictly the suggestions to only use modules built for a scene-referred workflow, so I did not even try to touch shadows-and-highlights or local-contrast.
I use whatever modules look good and I don’t care if scene referred or displayed referred. Obviously there are some limitations to how hard to push display referred modules and scene referred are more flexible. I usually work on brightening shadows with multiple modules including the shadow and highlights module. For highlights most recovery is done using the tone equalizer module.
Just about to head back to bed, but had the thought about C1. I doubt it has the restriction of concepts like scene referred and displayed referred. I suspect many of their shadow controls would be equivalent of DT’s displayed referred shadow and highlights module.
Don’t handcuff yourself to just scene referred modules is my view. Outside of DT I have never heard any reference to scene referred and display referred.
For me, ‘recovered’ clouds look pretty bad when the foreground is also bright, as it reduces overall scene contrast and looks unnatural, but I produced both versions.
I believe what makes this difficult for people is that they don’t use the exposure model to adjust overall scene exposure to the mid tones, like it is required for the tone mappers to work properly.
I tried to use DT for this photo and my skills were not enough to get decent results. But with ART it was pretty easy (exposure, dynamic range compression, log tone mapping, no masking at all).
Clouds are not blown, shadows are open, colors are nice (IMHO):
A few thoughts, as someone who started using darktable more or less 6 months ago (so not a super expert).
It’s understandable that you want to be efficient as you are in Capture One and saving time is obviously important.
However:
chasing a target result in darktable (I guess, in any editor other than the original) is going to be frustrating, time consuming and possibly never producing the exact same thing.
therefore, consider not aiming at reproducing the same image but learning how to become proficient with the new tool, learning how it works and what are intended and non-intended effects of each module.
I politely disagree with veteran users who suggest a “freestyle” approach where only the final result matters, even if it implies mixing up display and scene-referred modules, using “deprecated” or no longer recommended modules, stacking up a large number of modules and instances
I instead recommend using a relatively low number of modules: decision paralysis is a thing, not only with lenses and camera gears, but also with darktable.
Beginners need constraints, good practice rules and a method.
With time and experience maybe you’ll get to know how to dabble with the (frankly) too wide choice of tools that darktable offers, but… that time might not come and, in my short experience, the more I try to mess around overstacking and overcorrecting, the more I get frustrated.
Back to your problem: in terms of exposure and contrast, I think that you are maybe overthinking and IMHO all you really need is the Tone Equalizer with the preset “Relight: fill in”, before the Exposure module. Maybe tweak it a little bit to your taste. That’s it.
After that, stick with the “standard” AgX and go ahead with the other edits.
I’m attaching my xmp, which is really a little more than basic, done with V5.0 of module order and sigmoid replaced with AgX (which is irrelevant in my opinion, if the issue here is the relative exposure).
Perhaps you won’t like my result, but honestly I don’t think that it’s so bad: it shows both the cloudy sky and the statue clearly. Then the contrast and the chromaticity can be adjusted to own’s taste. ASD01606.ARW.xmp (8.2 KB)
I opted for a warmer rendering having the sun already low it seems.
Used:
exposure
tone equalizer
I use this a lot:
and to prevent halo’s
color calib at default
sharpening with: contrast equalizer and 2x sharpen, protecting highlights
color balance rgb
local contrast, protecting highlights no tone mapper
frame
For example with ART, it is just a matter of moving the Shadows slider of Tone Equalizer to 80 or so. That’s it: the statue is visible, the sky is not overblown. You can focus on the rest.
Maybe elaborate a bit more on what happens when you use so much time as your final edit seems nicely straightforward.
I set exposure 0.4 stops lighter then you did. But that’s easily corrected using tone equal or colorbalance rgb.
Of the basic modules I only would use local contrast where you did not.
And I would tend to use colorbalance rgb for getting intenser colors instead of contrast equalizer.
So possibly it mostly boils down to user experience with dt.
Have you tried it the other way round? How does it take you to reach nearly the same result like a darktable edit?
I never ever invested more than 20 minutes in a single edit. Usually my edits have to be finished in less than 2 minutes. The secret is to invest some days in a nice starting point, which fits for most of your pictures. From this point it’s usually not that hard to get where you want.
Who has made this nonsense suggestion? Is this really part of the manual?You are not the first one who is pointing this out and I really think if this is in the official documentation, we should change this!!!
Please use whatever brings you to your goal quickly. Just be aware, that there is the danger of clipping. But you have two eyes in your head which should tell you, if there is something wrong.
My suggestion, using all this silly tools like shadows and highlight, local contrast etc…
It’s not nonsense, it was the consensus reached between the developers, and if a module is deprecated it’s because there are serious problems with it, these decisions are not made arbitrarily or lightly. It’s all documented, just go read the docs and the PRs if you want to learn more.
Note: This module performs blurs in Lab color space, which can result in a number of issues when the parameters are pushed hard, including halos, high local contrast in highlights, and hue shifts towards blue in the shadows. You are advised to use the tone equalizer module instead.
I don’t know about a recipe…I have just come to know the tools well and apply them to push things how I see it…
I use likely about 20 modules and really about 12 as a standard set, but it depends what the image needs…color, tone or both etc… so I don’t know…
You can or should get to point where you can discover 2 or 3 key tools based likely off of some presets you stumble on to as you edit that you can re-use for color edits and then the same for other aspects of the image…
Here are 2 edits, perhaps too bright, too contrasted and too warm but all of these are easily dialed back with some opacity adjustments to taste…
The two versions here were just rendered with HQR on and then off…with ti off the zoomed out image will look more contrasted likely ASD01606.ARW.lab.xmp (13.2 KB)
You don’t want me to tell, that all modules of display referred workflow are deprecated!?
Suggesting to leave still active and not deprecated modules aside is in my opinion nonsense. We should write about the downsides of display referred modules but that’s it.
I can fill pages of examples showing the downsides of using tone equalizer if you push it hard. In my opinion worse than just some halos, which at least are quite obvious.