14 Likes
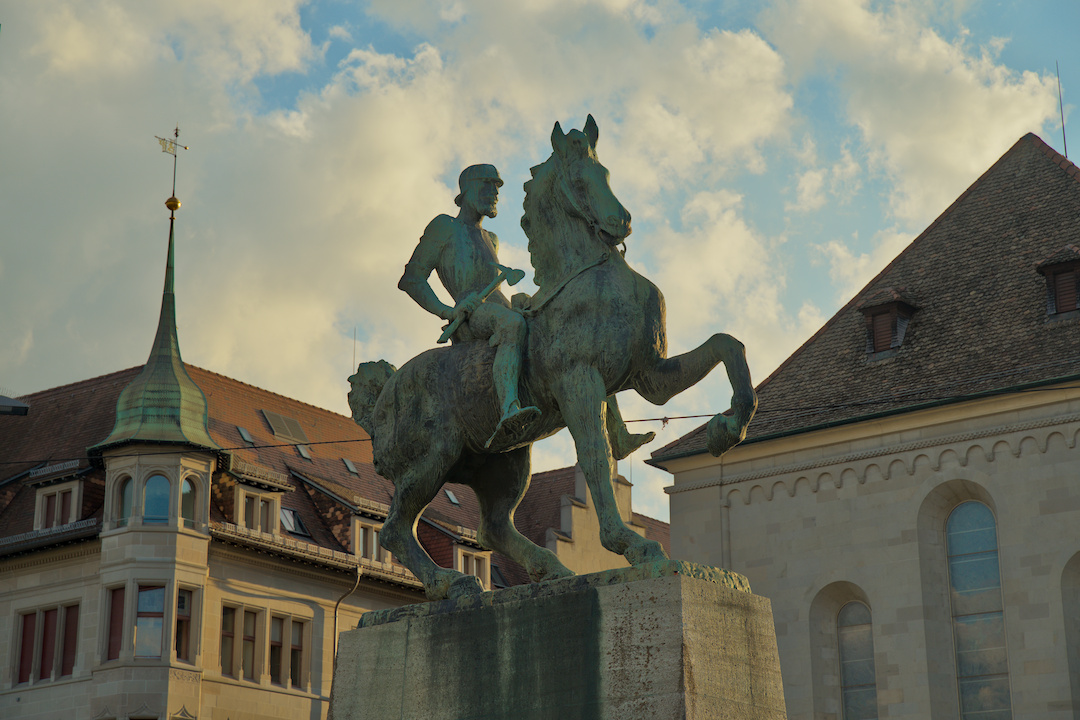
The base edit took me maybe 5 minutes. Mostly wasted time because I had set exposure based on the statue instead of the building in the background, so it was too bright and had to be redone. I also started with AgX, but it bleached the sky too much, so switched to Filmic.
- Lens correction
- Adjust exposure for mid-tones
- Black/white relative exposure and contrast in Filmic
- Lower highlights with Tone EQ
- Saturation in Color Balance RGB
- Local contrast with Diffuse or Sharpen
- Technical white balance in Color Calibration
- Add some warmth with tint in RGB Primaries
That’s about it.
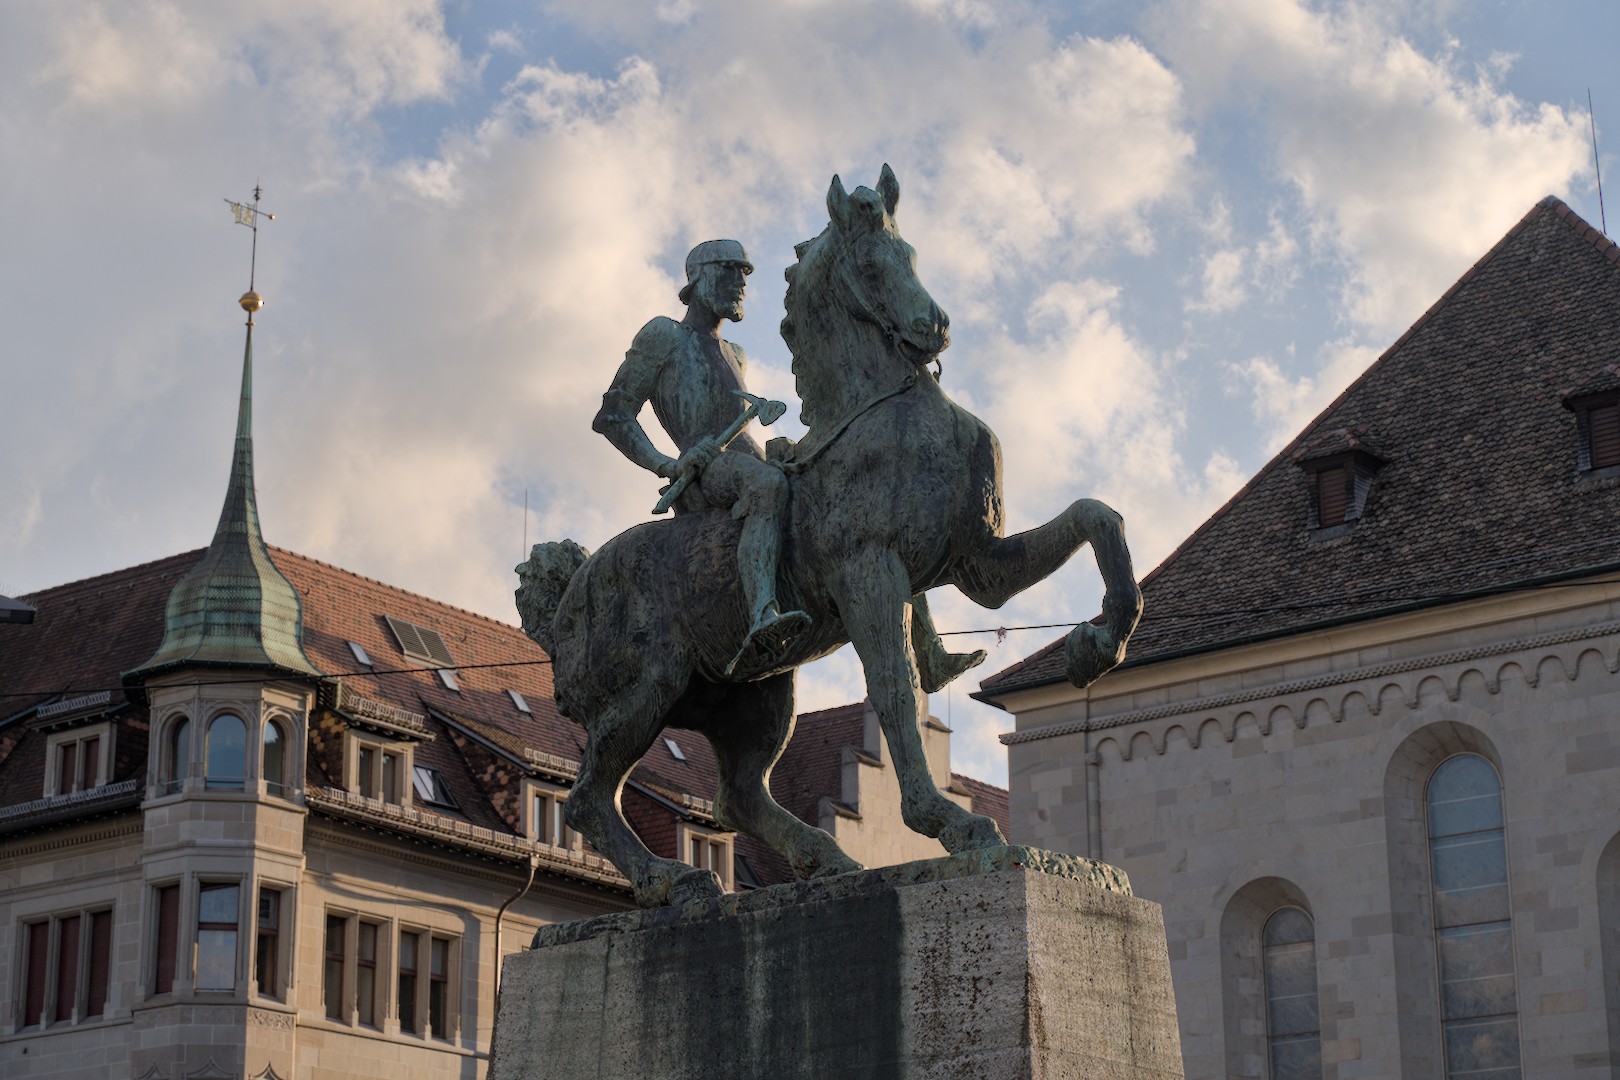
(59803) ASD01606_02.ARW.xmp (16.4 KB)
2 Likes
You are turning a suggestion or a recommendation into a rule. There are no rules. But we did get so so so many comments about not being opinionated enough that we finally made some base suggestions. The basic suggestion is that if you’re new to darktable and you want to learn some core modules, the modules you should concentrate on and learn first are the scene referred ones, especially: tone eq, color balance rgb, color eq, a tone mapper. If you can get good at those, then you will likely not need the others, or the others will be reserved for special effects or special looks.
I’m now finding much the same thing in vkdt too: I need a tone module and I need a color module. I need a tone mapper, a sharpening module. A few other utility-ish modules like lens correction, and then if I can have masks and multiple instances than I can get where I want.
6 Likes
Thanx for explaining. I got that and I support this. But somehow some new users seem to interpret these suggestions as well as a rule. So I’m not sure if it is formulated the way that new users understand it is just a suggestion.
I don’t see this as a problem as long as there is some proper scene referred replacement. Tone equalizer is a proper substitution for “shadows and highlights” even though it has its own pitfalls. But for local contrast there is simply no proper replacement offered to the user yet. If we make suggestions for scene referred only workflow. There should be a proper substitution for every important display referred module.
I know there is some replacement for local contrast in work, but up to now it is not in stable. So I still think we should really make clear that avoiding display referred modules is JUST a suggestion.
1 Like
There is a nice local contrast preset in Diffuse or Sharpen. Increase the iterations to increase the effect, or add some transparency to soften the effect.
3 Likes
That is your decision to make. You can say that middle grey is the statue, or the plinth, or the background buildings, or the sky. You can adjust the mid-grey point with AgX as well, so don’t feel pressured to get it exactly right with exposure. (Colour balance RGB’s midtone is set to 18.45% by default, but you can change that too)
I think that the ‘brilliance’ sliders affect contrast in a stronger way than the exposure module. Plus, it’s another way of handling brightness at a different part of the pixelpipe, so yes. Actually, their first purpose was to counteract perceived brightness changes introduced by the saturation sliders.
One thing to keep in mind: I like Contrast Equaliser for adding local contrast, but like with all ‘local contrast’ effects, watch out for halos at strong transitions (i.e. the sky and foreground).
Shadows and highlights module is really good for getting cloud detail and statue brightness in this image. Local contrast module is okay.
I’m fascinated by the difference I’m getting in the finest details between C1 and my own efforts. I feel like the statue on mine looks like a blobby mess in comparison.
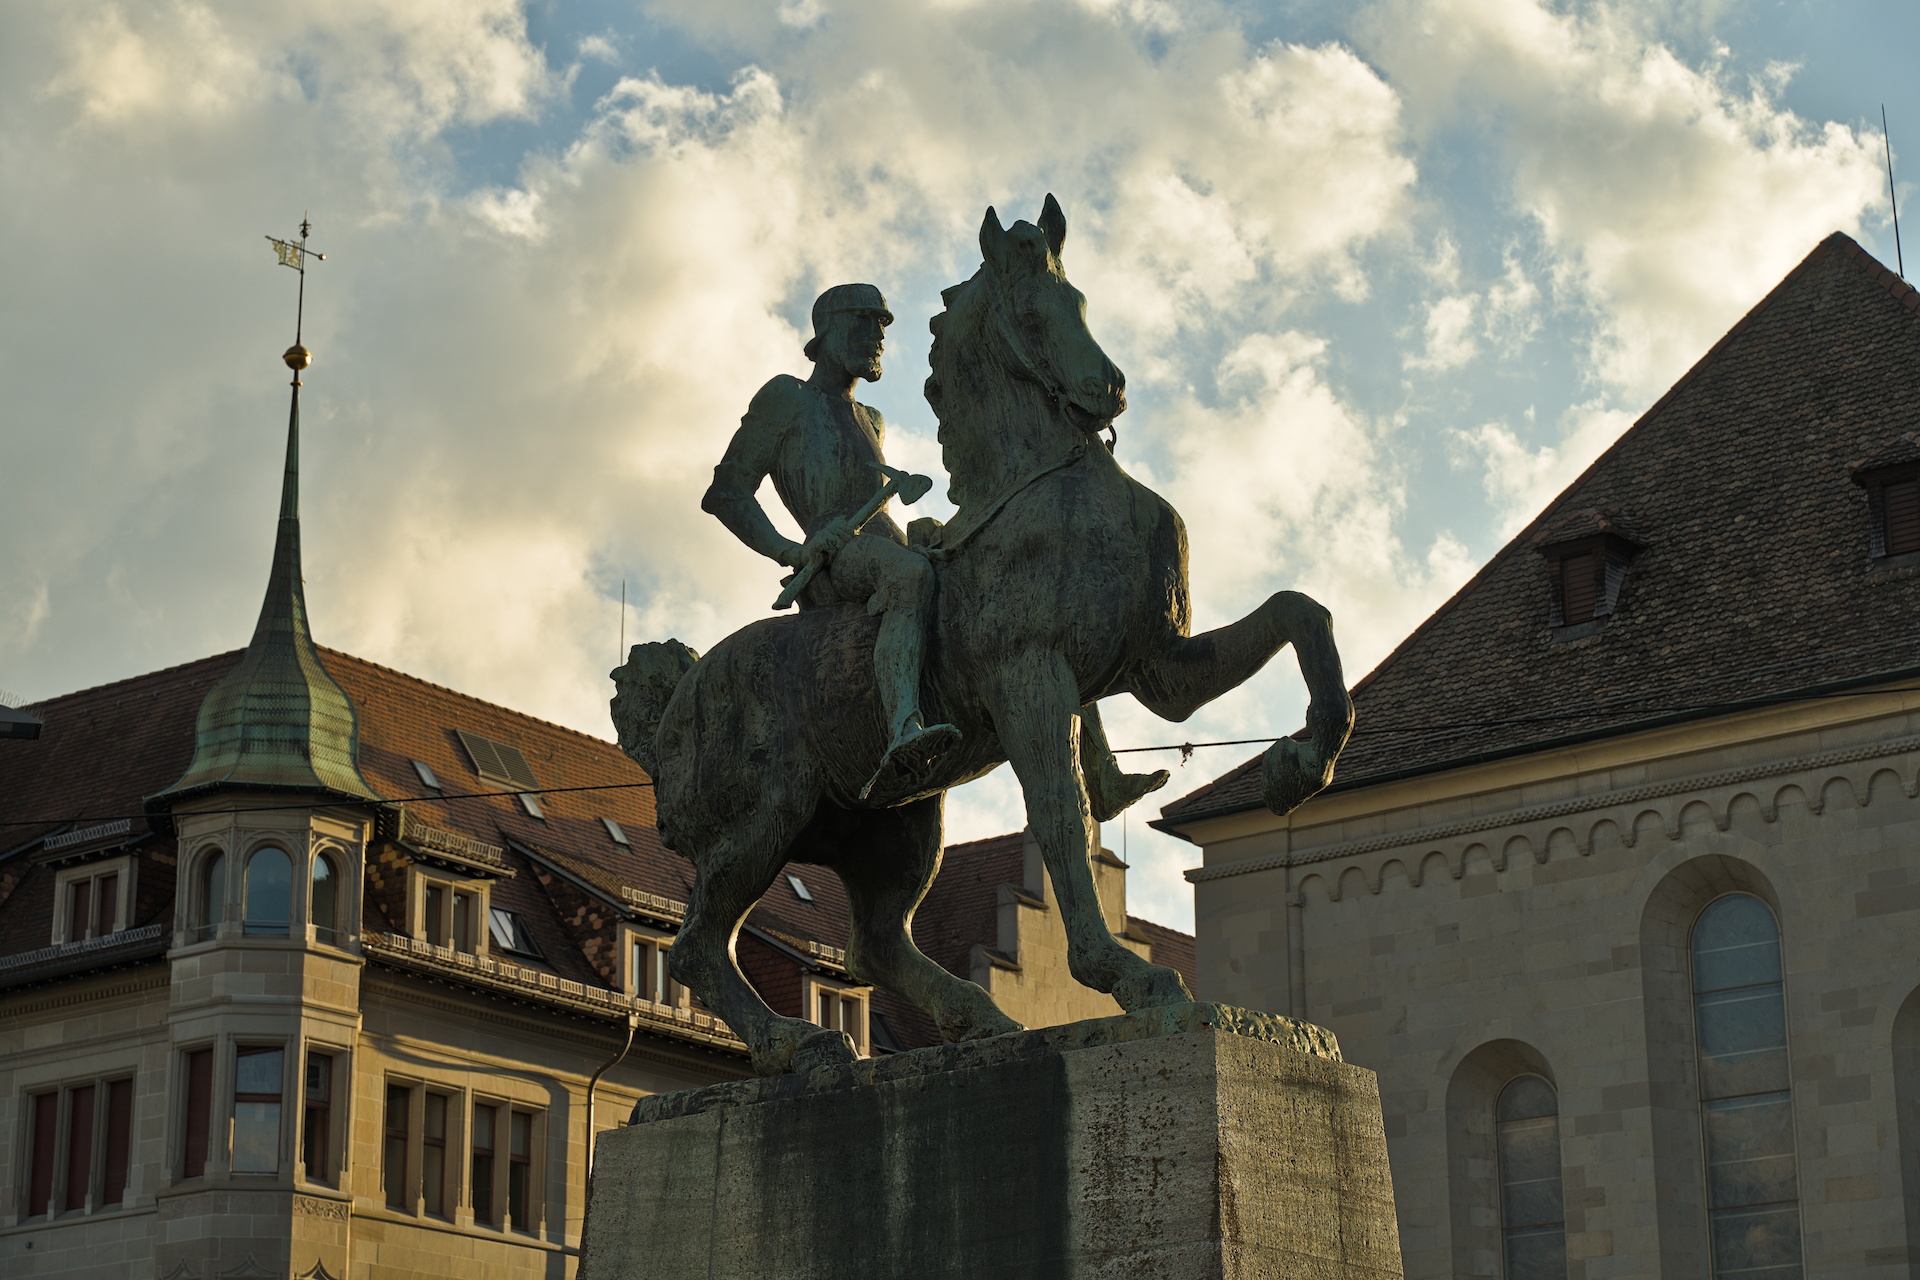
So, I’ve tried to keep it simple, but… I’ve used two instances of tone equaliser to reduce the sky brightness (it’s a preset that was brought up recently on this forum; it has a few adjustments to the mask from default values) (and in the time that I was fiddling with this, Boris creates and uploads a video showing the same thing  ); I’ve used Diffuse or Sharpen for local contrast, I dragged CB-RGB before DorS to give it a more full tonal range of input (it makes a small difference), and I used colour equaliser to take some green out of the sky and the buildings.
Edit: Please excuse my awful white balancing judgement.
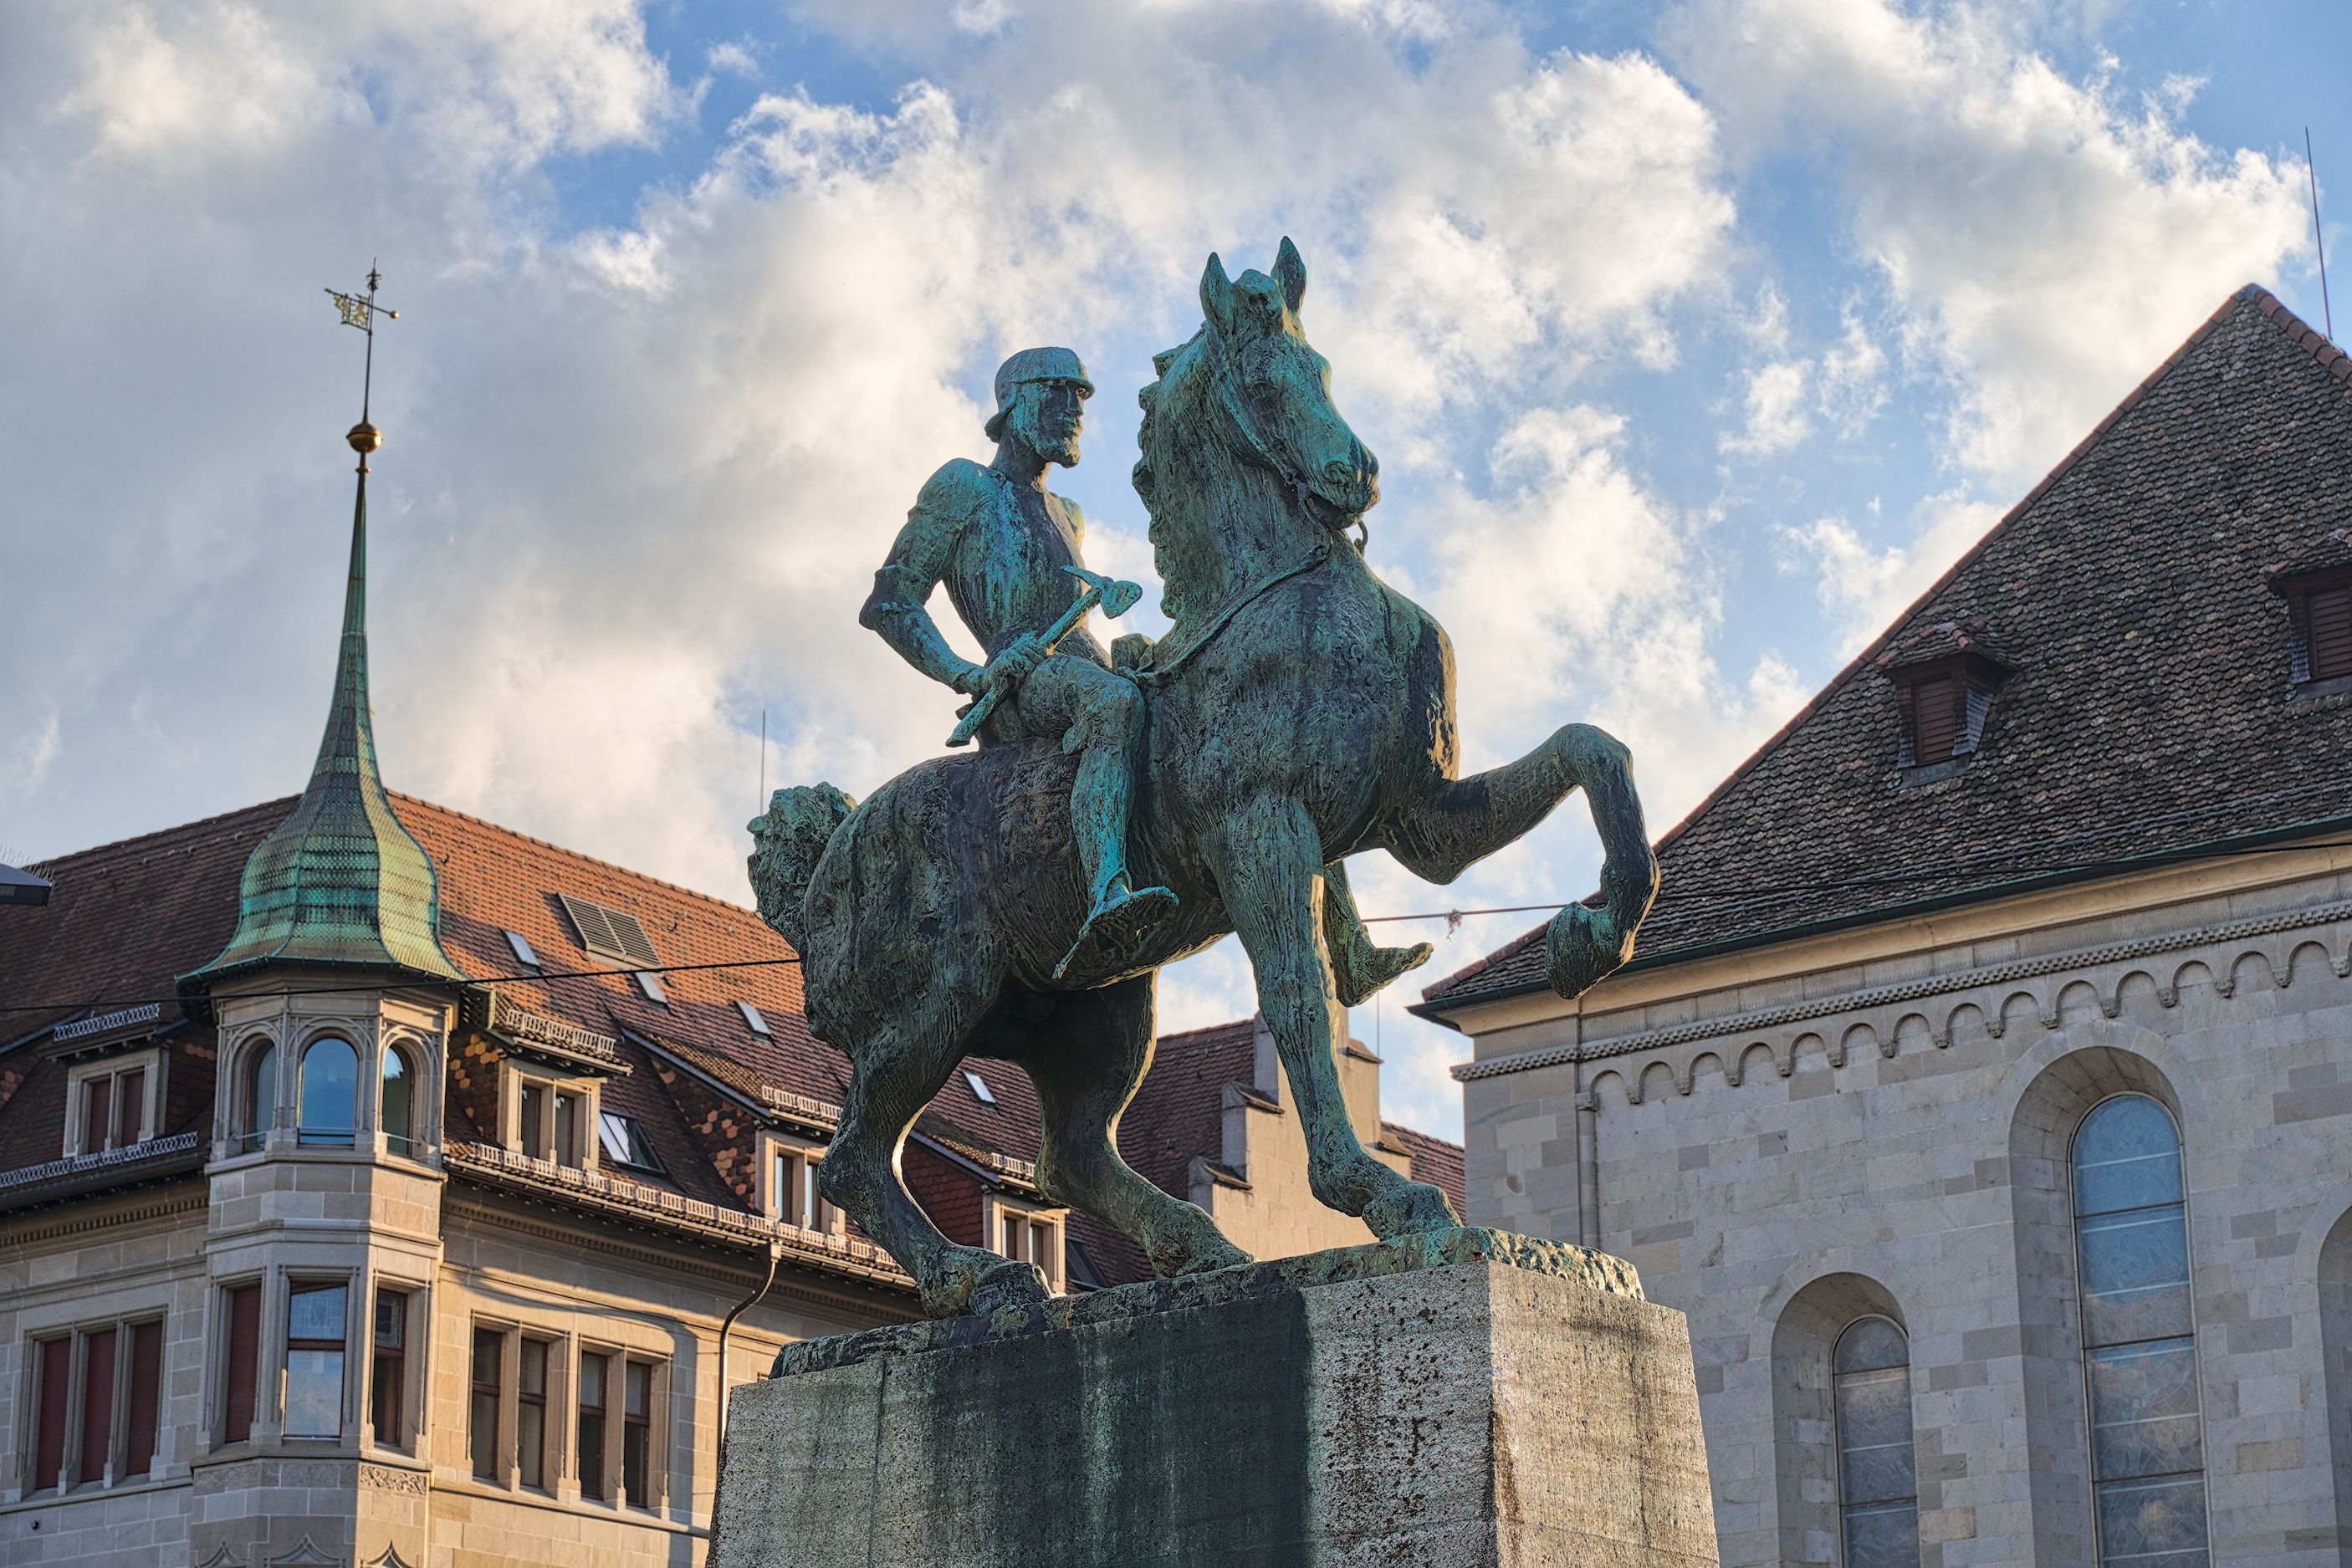
ASD01606_03.ARW.xmp (17.7 KB)
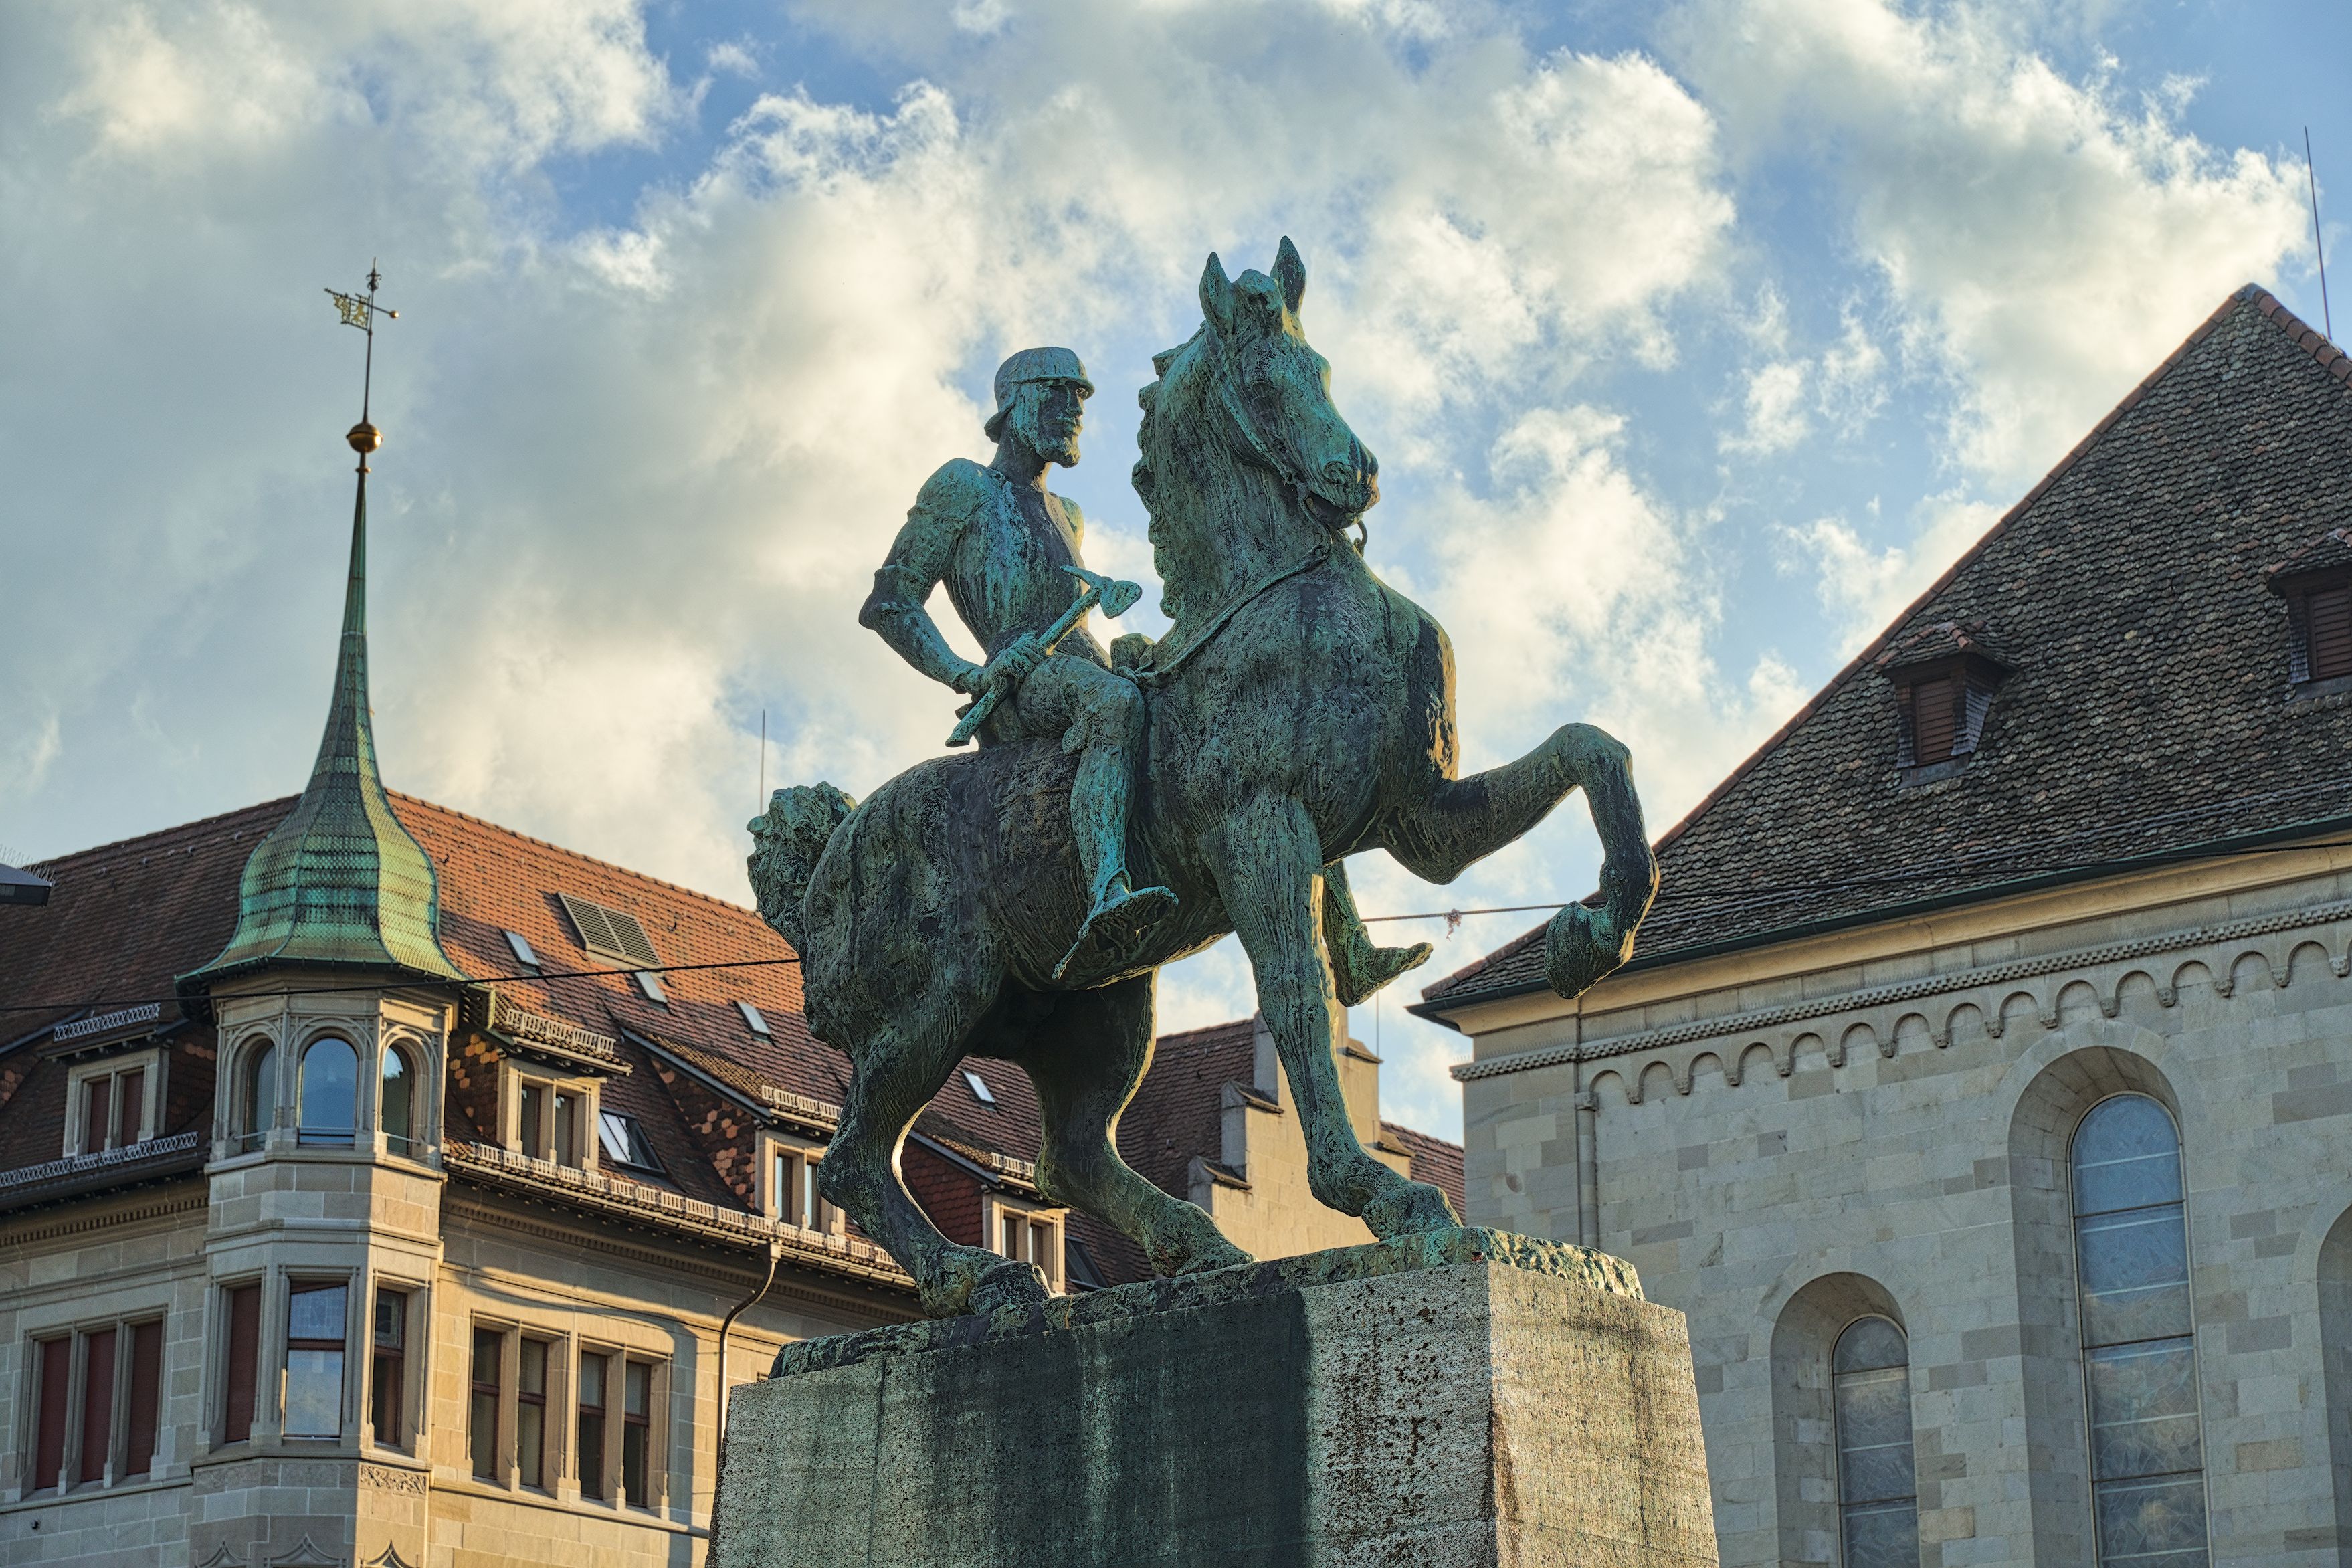
ASD01606_03.ARW.xmp (16.7 KB)
2 Likes
Do you REALLY want to advocate diffuse and sharpen for NEW users? That leaves me speechless. As mighty this module is, it leaves even very experienced users puzzled. And NO, I played with diffuse and sharpen for hours, it is NO real replacement for the local contrast module. Too complicated, not specialized enough on local contrast to reach what is needed in a fast and easy way. Too general to treat local contrasts in all its various ways.
1 Like
We can agree to disagree, that is fine. Unlike me, you might actually have the will to change some of it.
1 Like
I agree this is a problem. A well intentioned suggestion seems by many to be interpreted as a hard and fast rule as shown by the response to my edit in this thread.
I appreciate that there can be advantages working in the scene referred module. I love how much recovery of blown highlights I can achieve in the tone equalizer module. That is something that can’t be achieved in displayed referred modules.
But there is still a lot of tweaks that can be done in displayed referred if the the limitations of that working space are respected. For instance, shadows can be recovered in scene referred mode and I do this approach, but I find additional shadow recovery with the displayed referred module does it in a different way with a different look that can complement the shadow recovery from the scene referred options.
In the end we want editing to be a fun enjoyable part of the photography experience so I suggest use what ever modules you like and gives the look that you want.
1 Like
This is one of the uses I find for the displayed referred local contrast module. Increasing the contrast post tone mapper with the LC module can put the pop back into the picture. I am sure there are other ways of achieving this as well. DT gives a rich choice of options.
But Let’s step into the shoes of a new user for a moment… these posts feel like you are blaiming a new user for not understanding darktable, the caveats of using display refered modules (of which there are warnings in the manual about)
I think it’s very normal that new users come to that conclusion. There is so much new stuff to learn. And also the way it is communicated in that way points to that the word deprecated actually points in that direction, in the software world that says that this function maybe be removed in a next version, is old and the developer advices you not to use is.
So let’s have a bit of understanding and grace for new users here…
And if so many people interpret it as hard, well maybe just maybe the problem is not them, but how seasoned users have communicated it…
1 Like
Sorry not trying to blame anyone or even trying to be combative. I was trying to appreciate the issue from both the point of view of those generously creating the documentation and the beginner who is misinterpreting them. My take home message is simply meant to be to use which ever module looks good regardless of scene referred or display referred.
1 Like
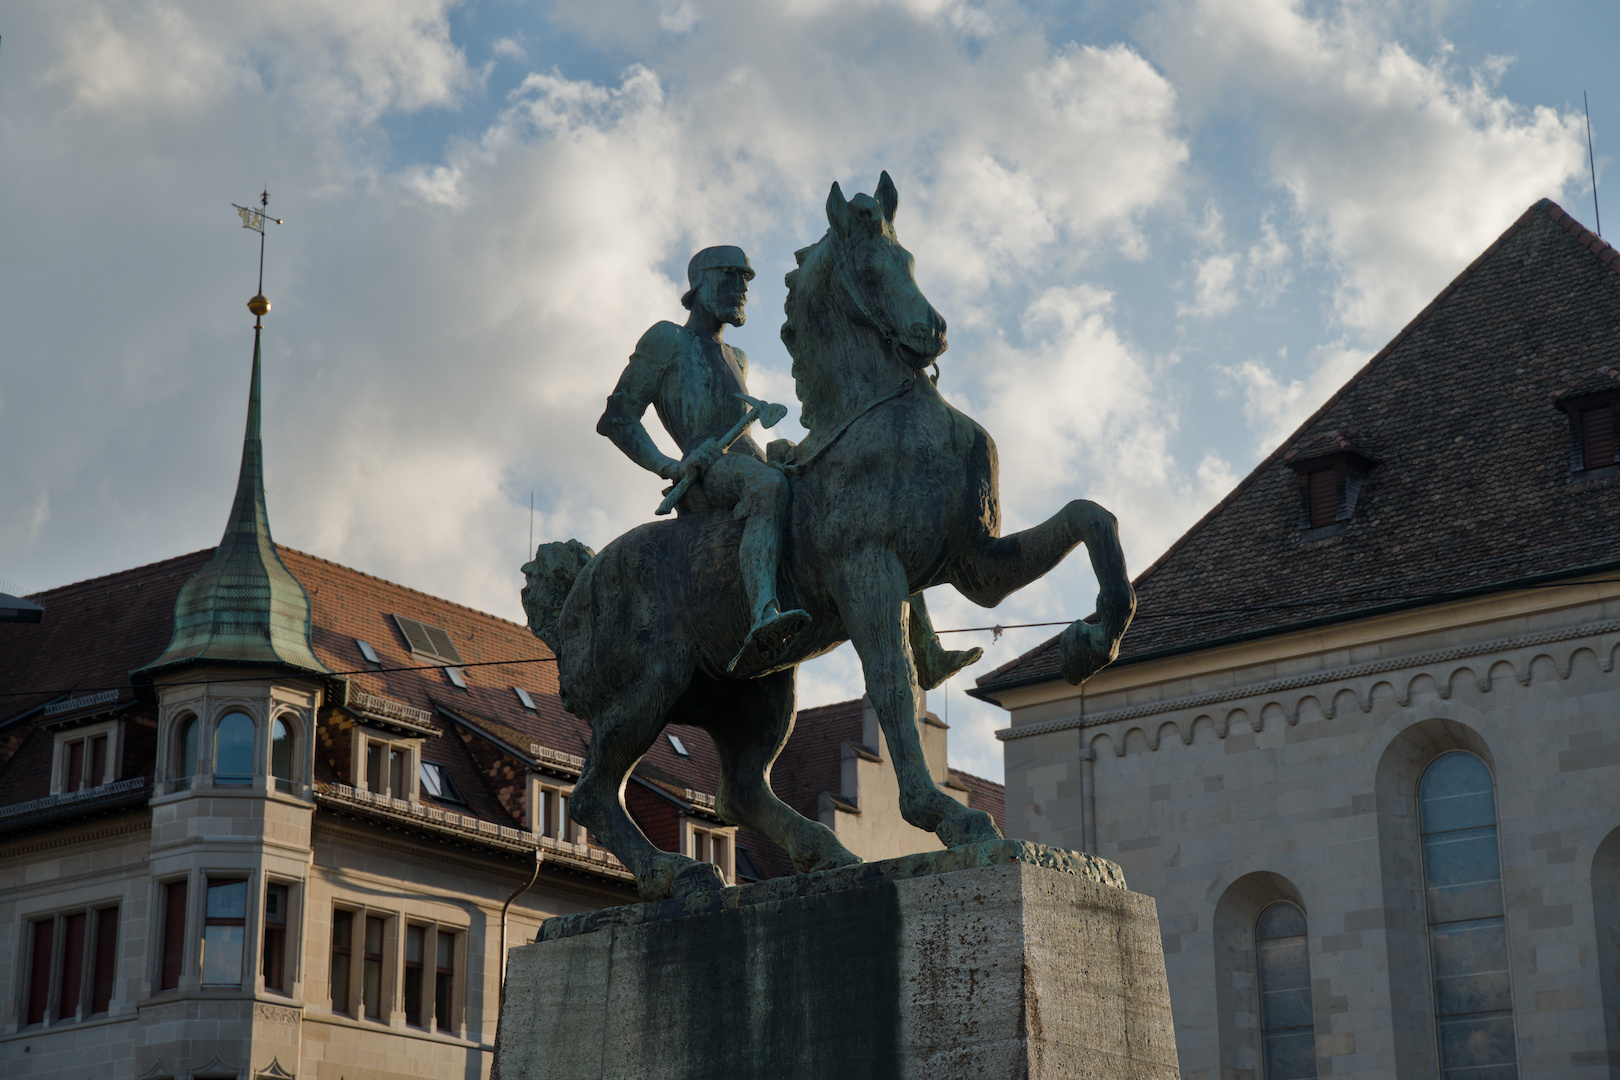
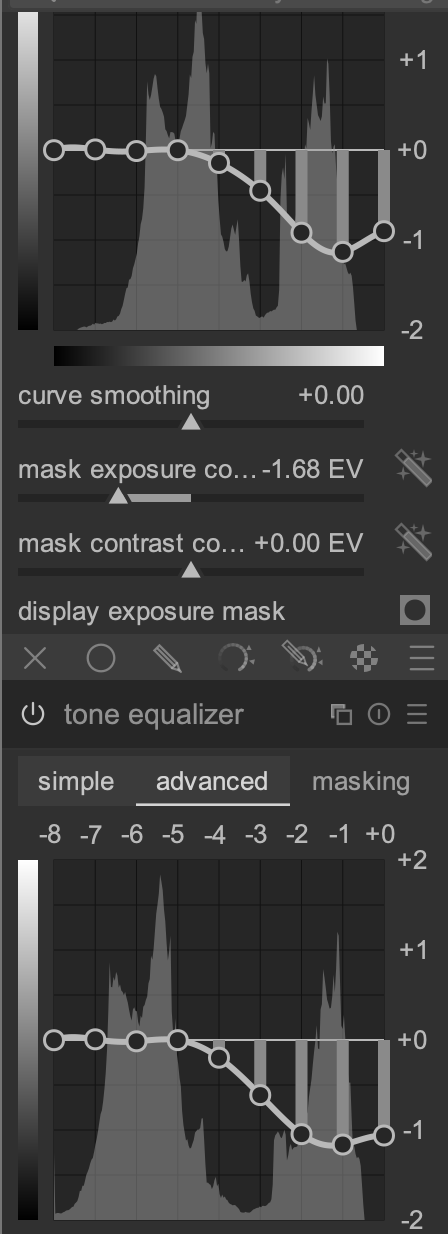
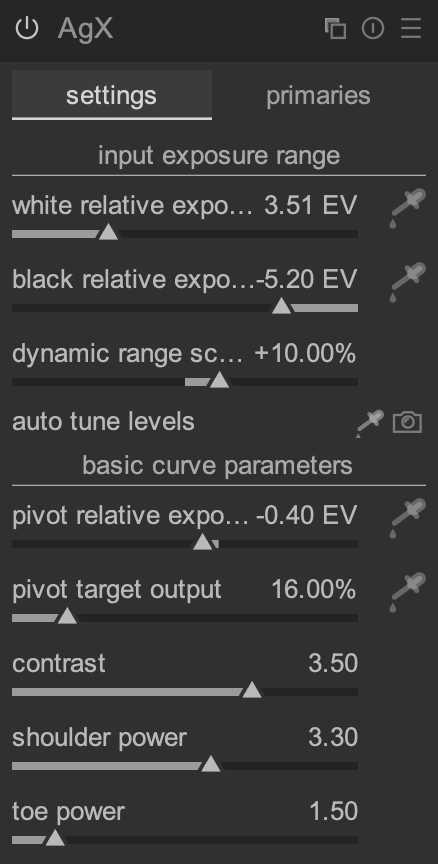
Pretty much just this. AgX settings are default beyond autopicked b/w levels and 3.5 contrast
For some photos it helps to maintain this upwards curve towards +0 because it preserves the contrast, while for other photos you can just go directly down with no curve
That said I still sometimes struggle taming the dynamic range on HDR shots
1 Like
nice shot! Here my take in RT 5.13, but since i am on my laptop, i am not sure about brightness and colors…
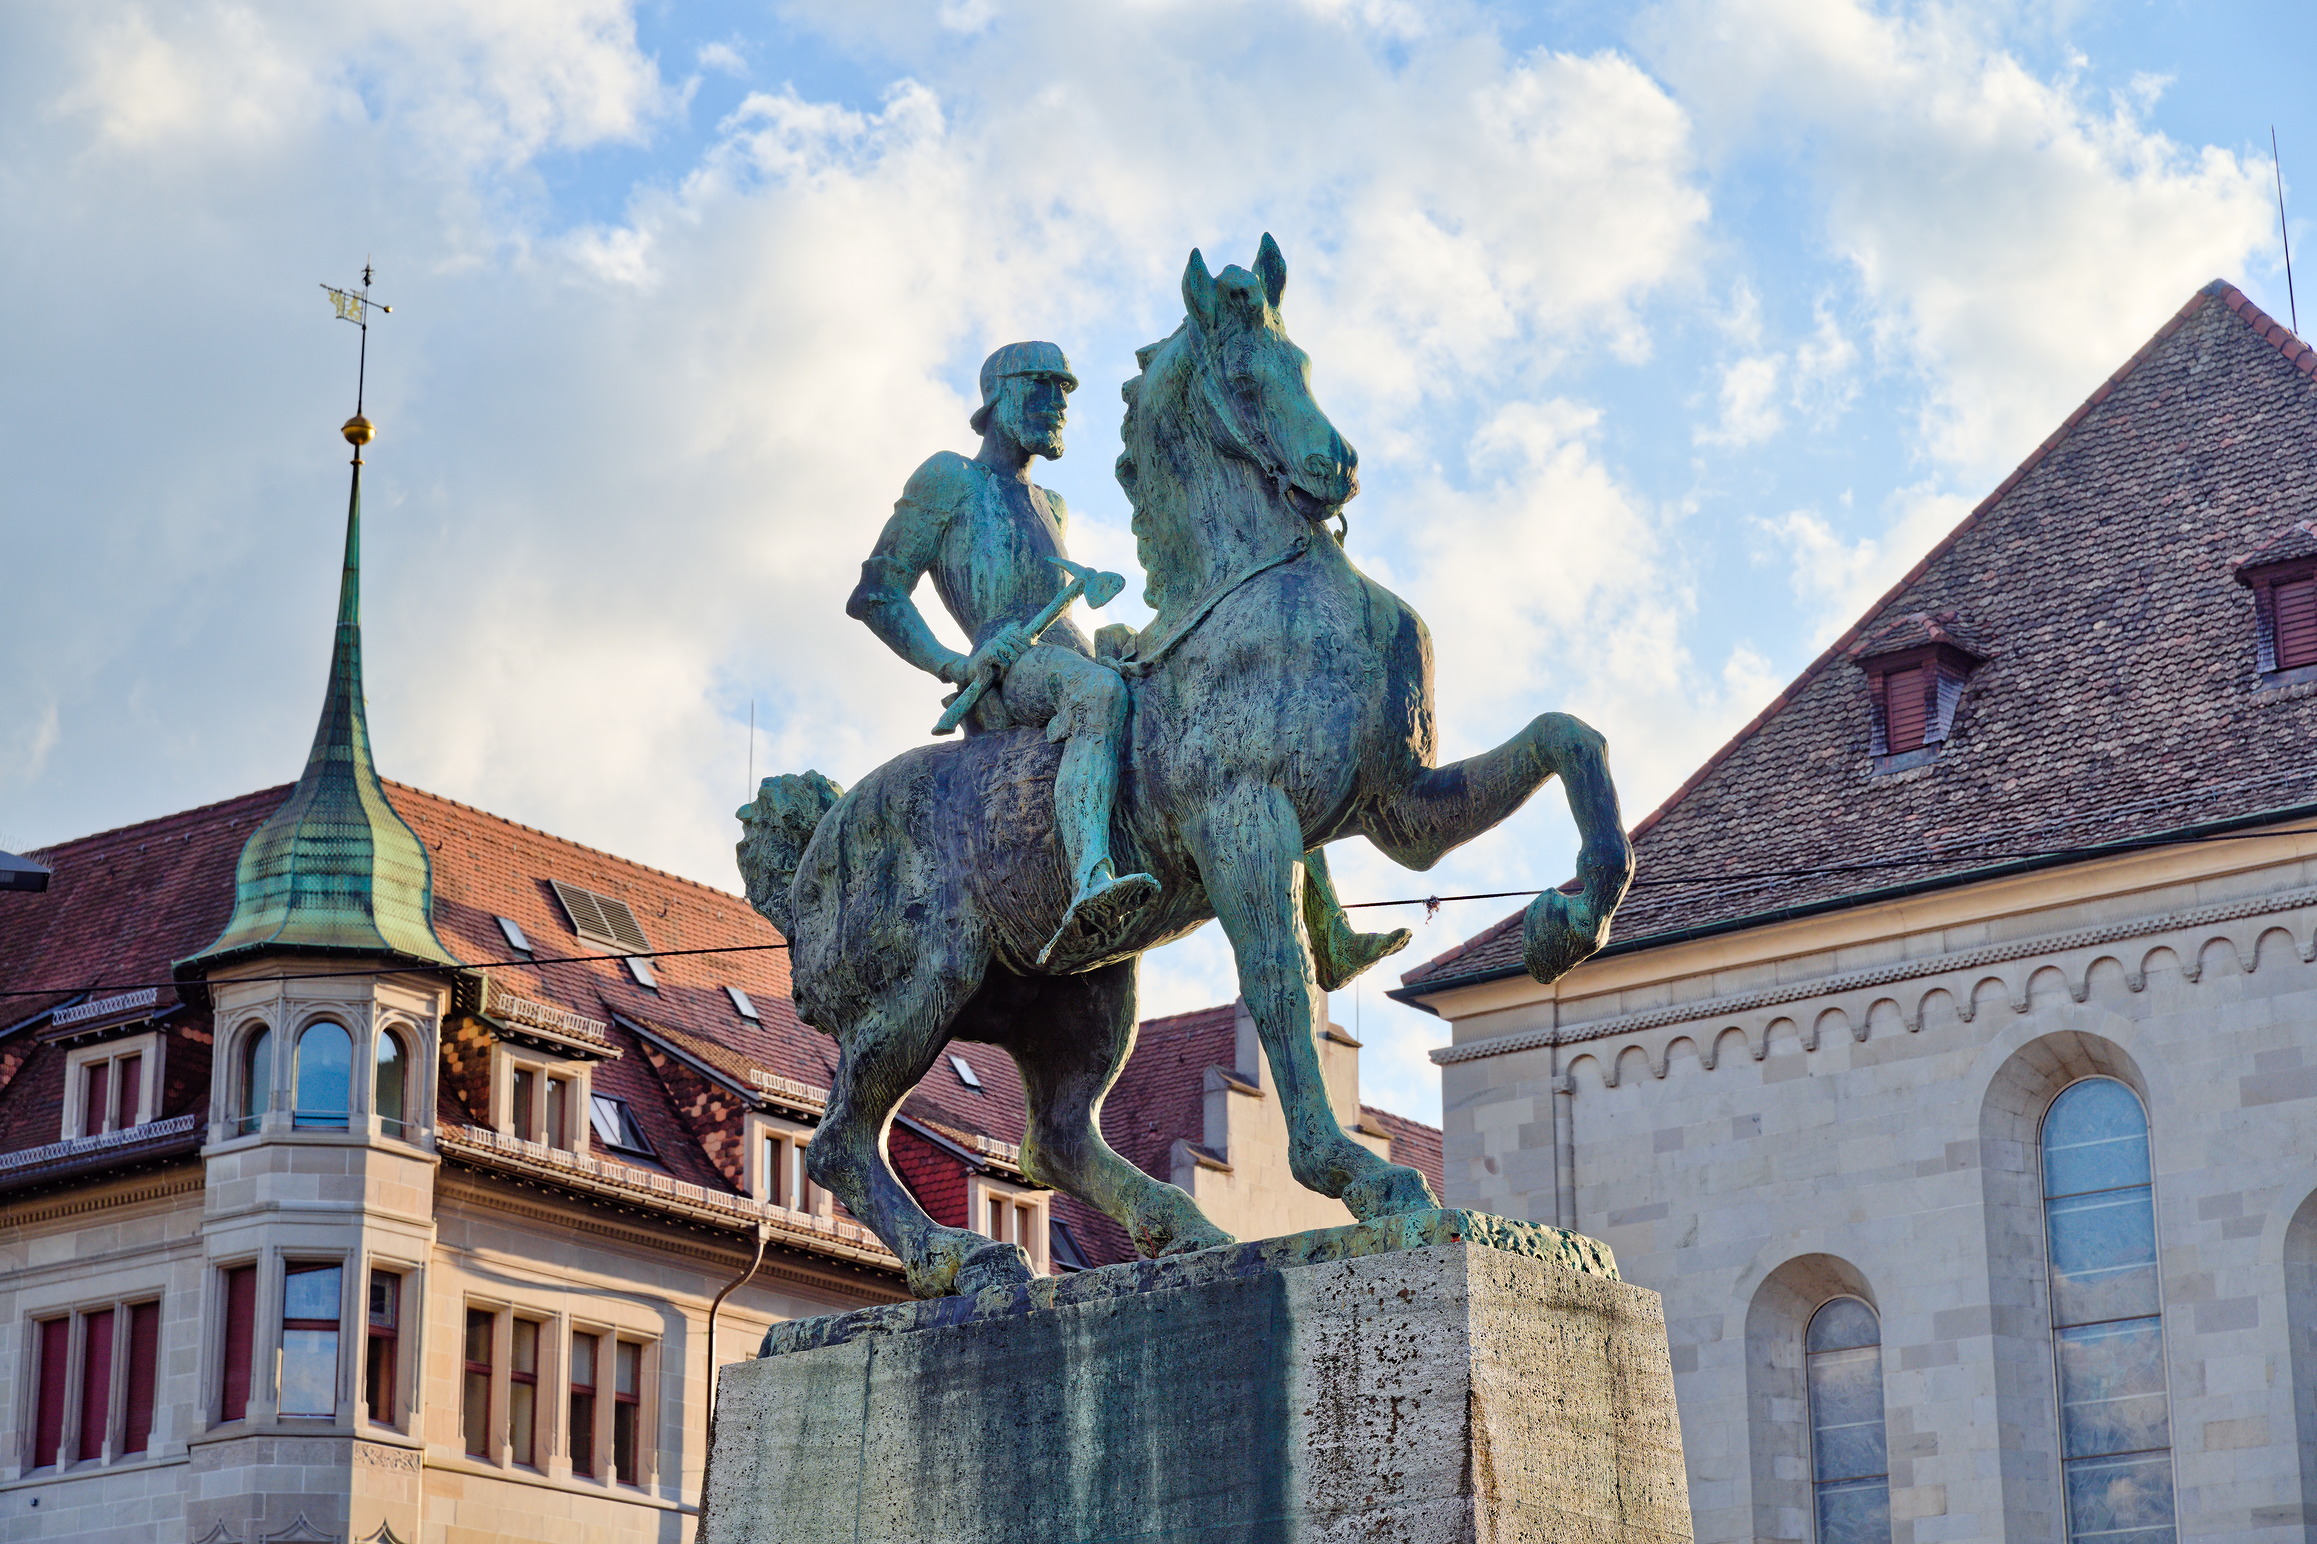
ASD01606.ARW.jpg.out.pp3 (20,3 KB)
3 Likes
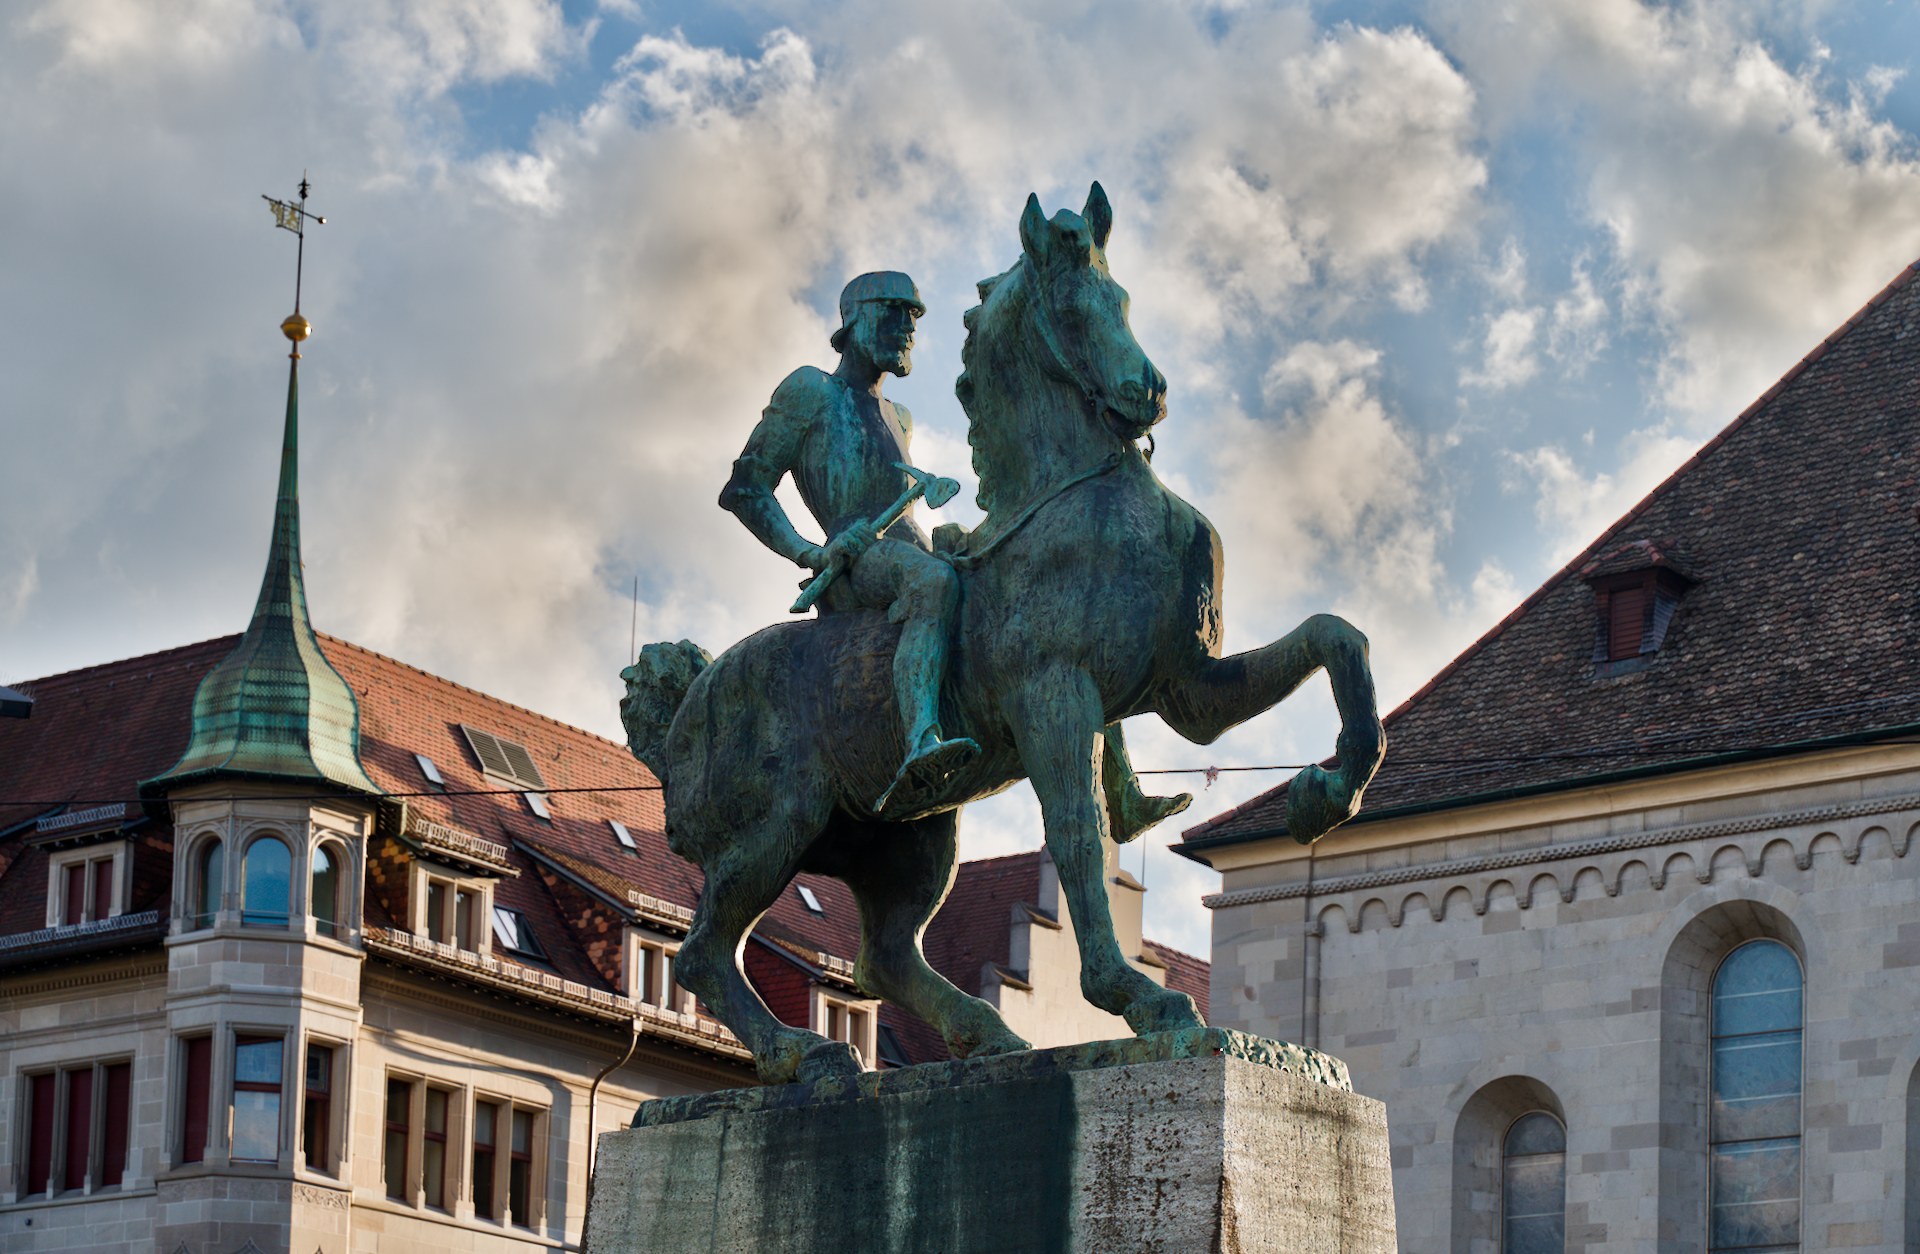
For sure not, as you can see above I’m blaming the manual. But as the manual is formulated this way by intend, I will not discuss on this further. It’s not worth the time, when things are concerted and settled.
i didn’t get that close - i found it pretty tricky trying to stick with agx - no reason why you can’t use whatever modules though.
ASD01606.ARW.xmp (23.0 KB)
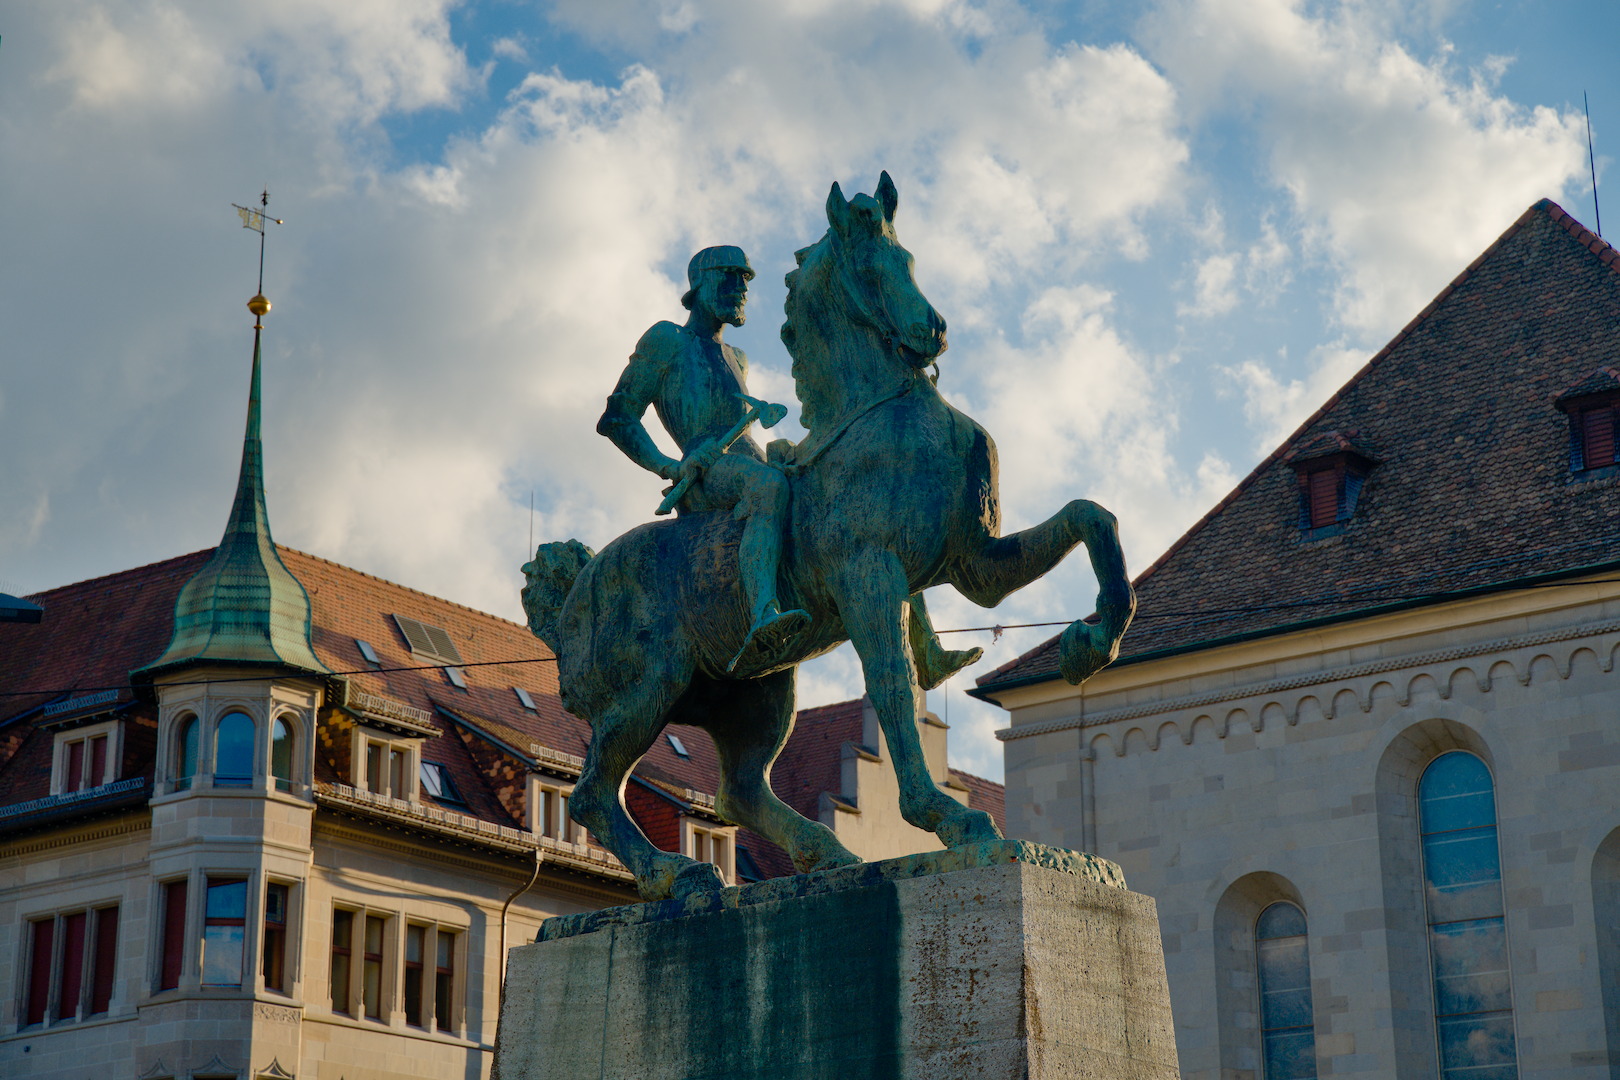
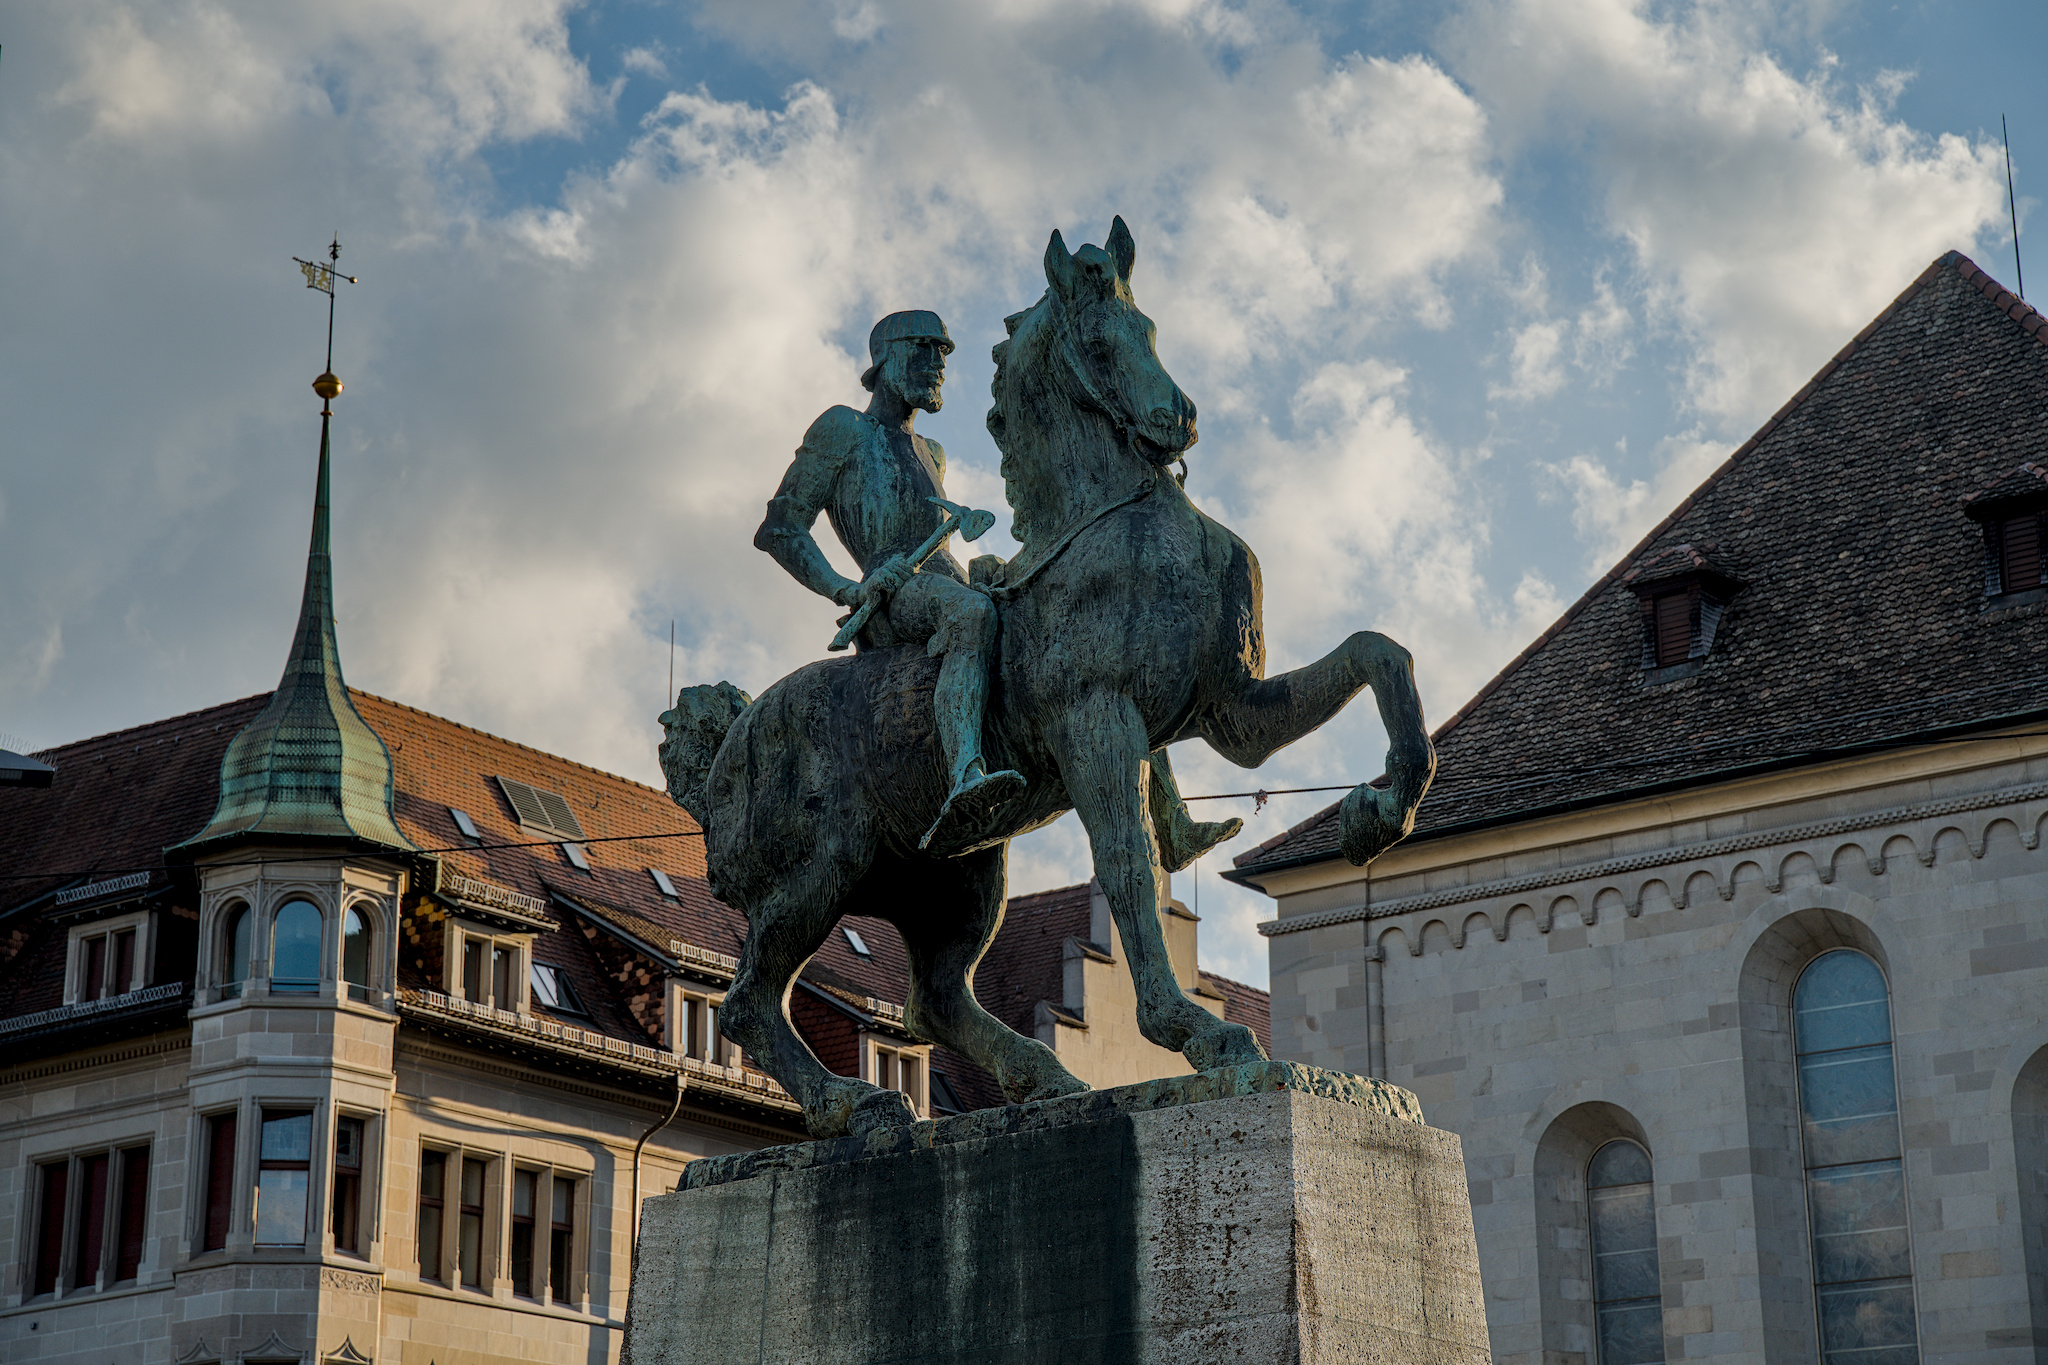
My edit is close enough for me to be happy with it. Here is a side-by-side, with my “matched” edit on the right.
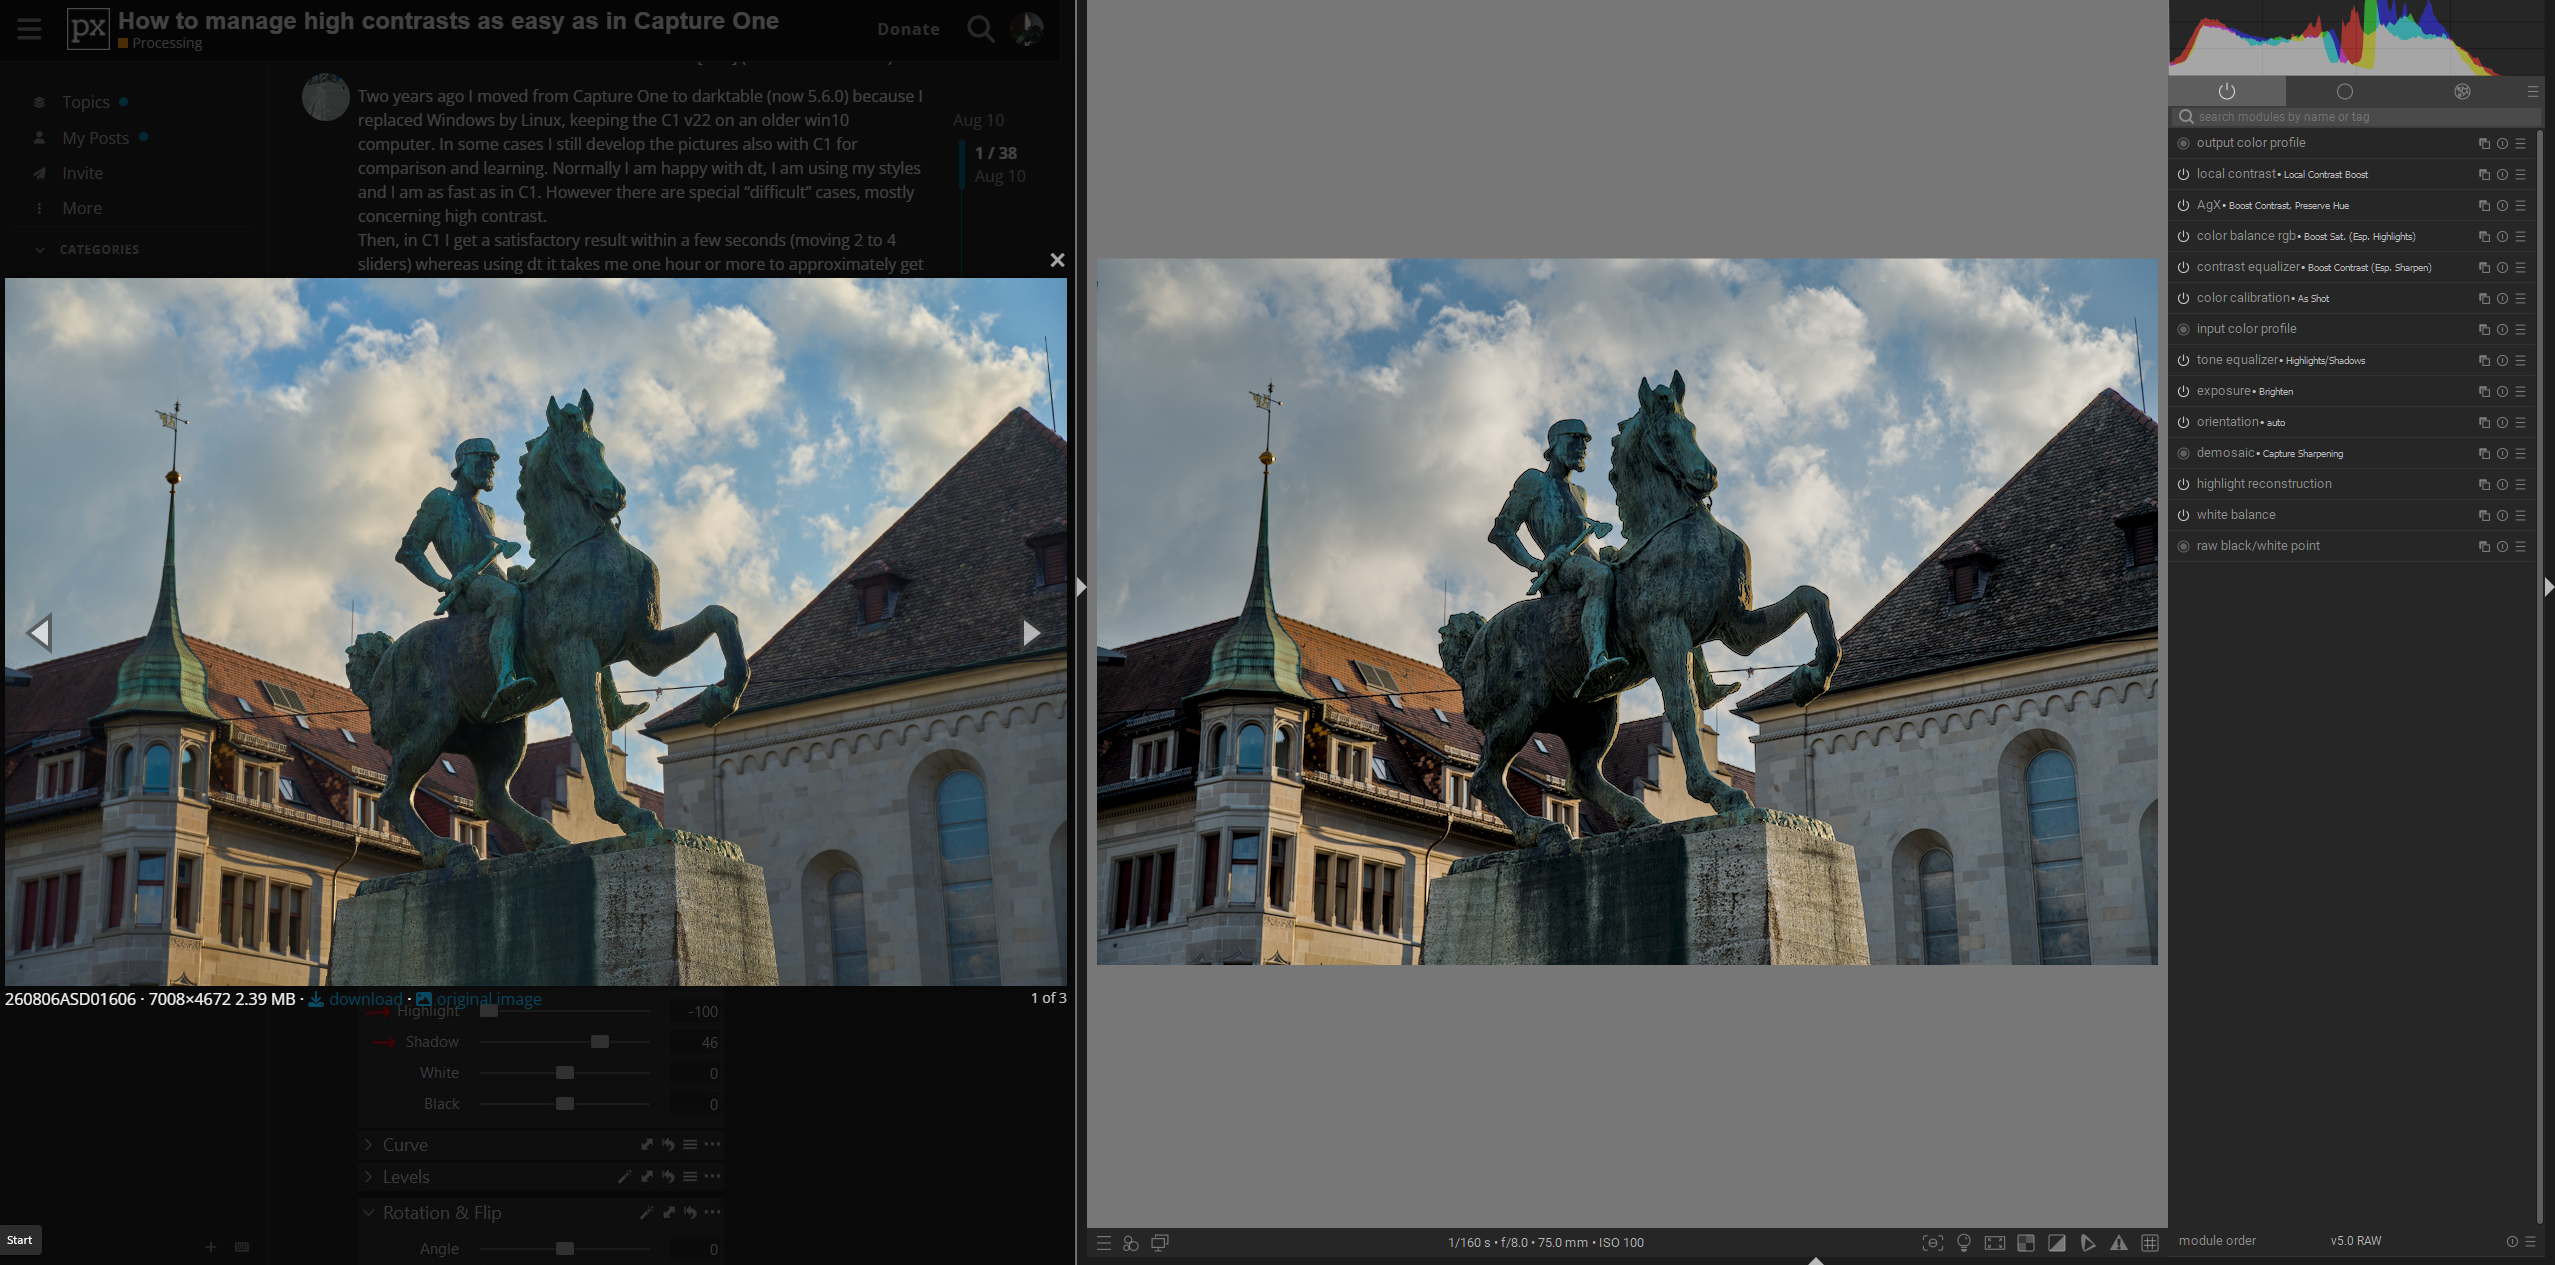
Here is that matched edit:
ASD01606.ARW.xmp (8.7 KB)
I accomplished this with a selection of display-referred and scene-referred modules. I find that when trying to match LR, or C1, it helps to use display-referred modules. I used mainly scene-referred modules to avoid visual artifacts, but local contrast module is too good at replicating the clarity look that a lot of software give you. I think going full display-referred, including switching to legacy tone mapper, would have been an even closer match.
I think one of the challenges with trying to match one software’s “simple” edit in another software, is that the underlying architectures and assumptions are entirely different, for better or for worse. This is especially true with darktable and other non-foss RAW editors.
For reference, here would be my preferred edit in darktable:
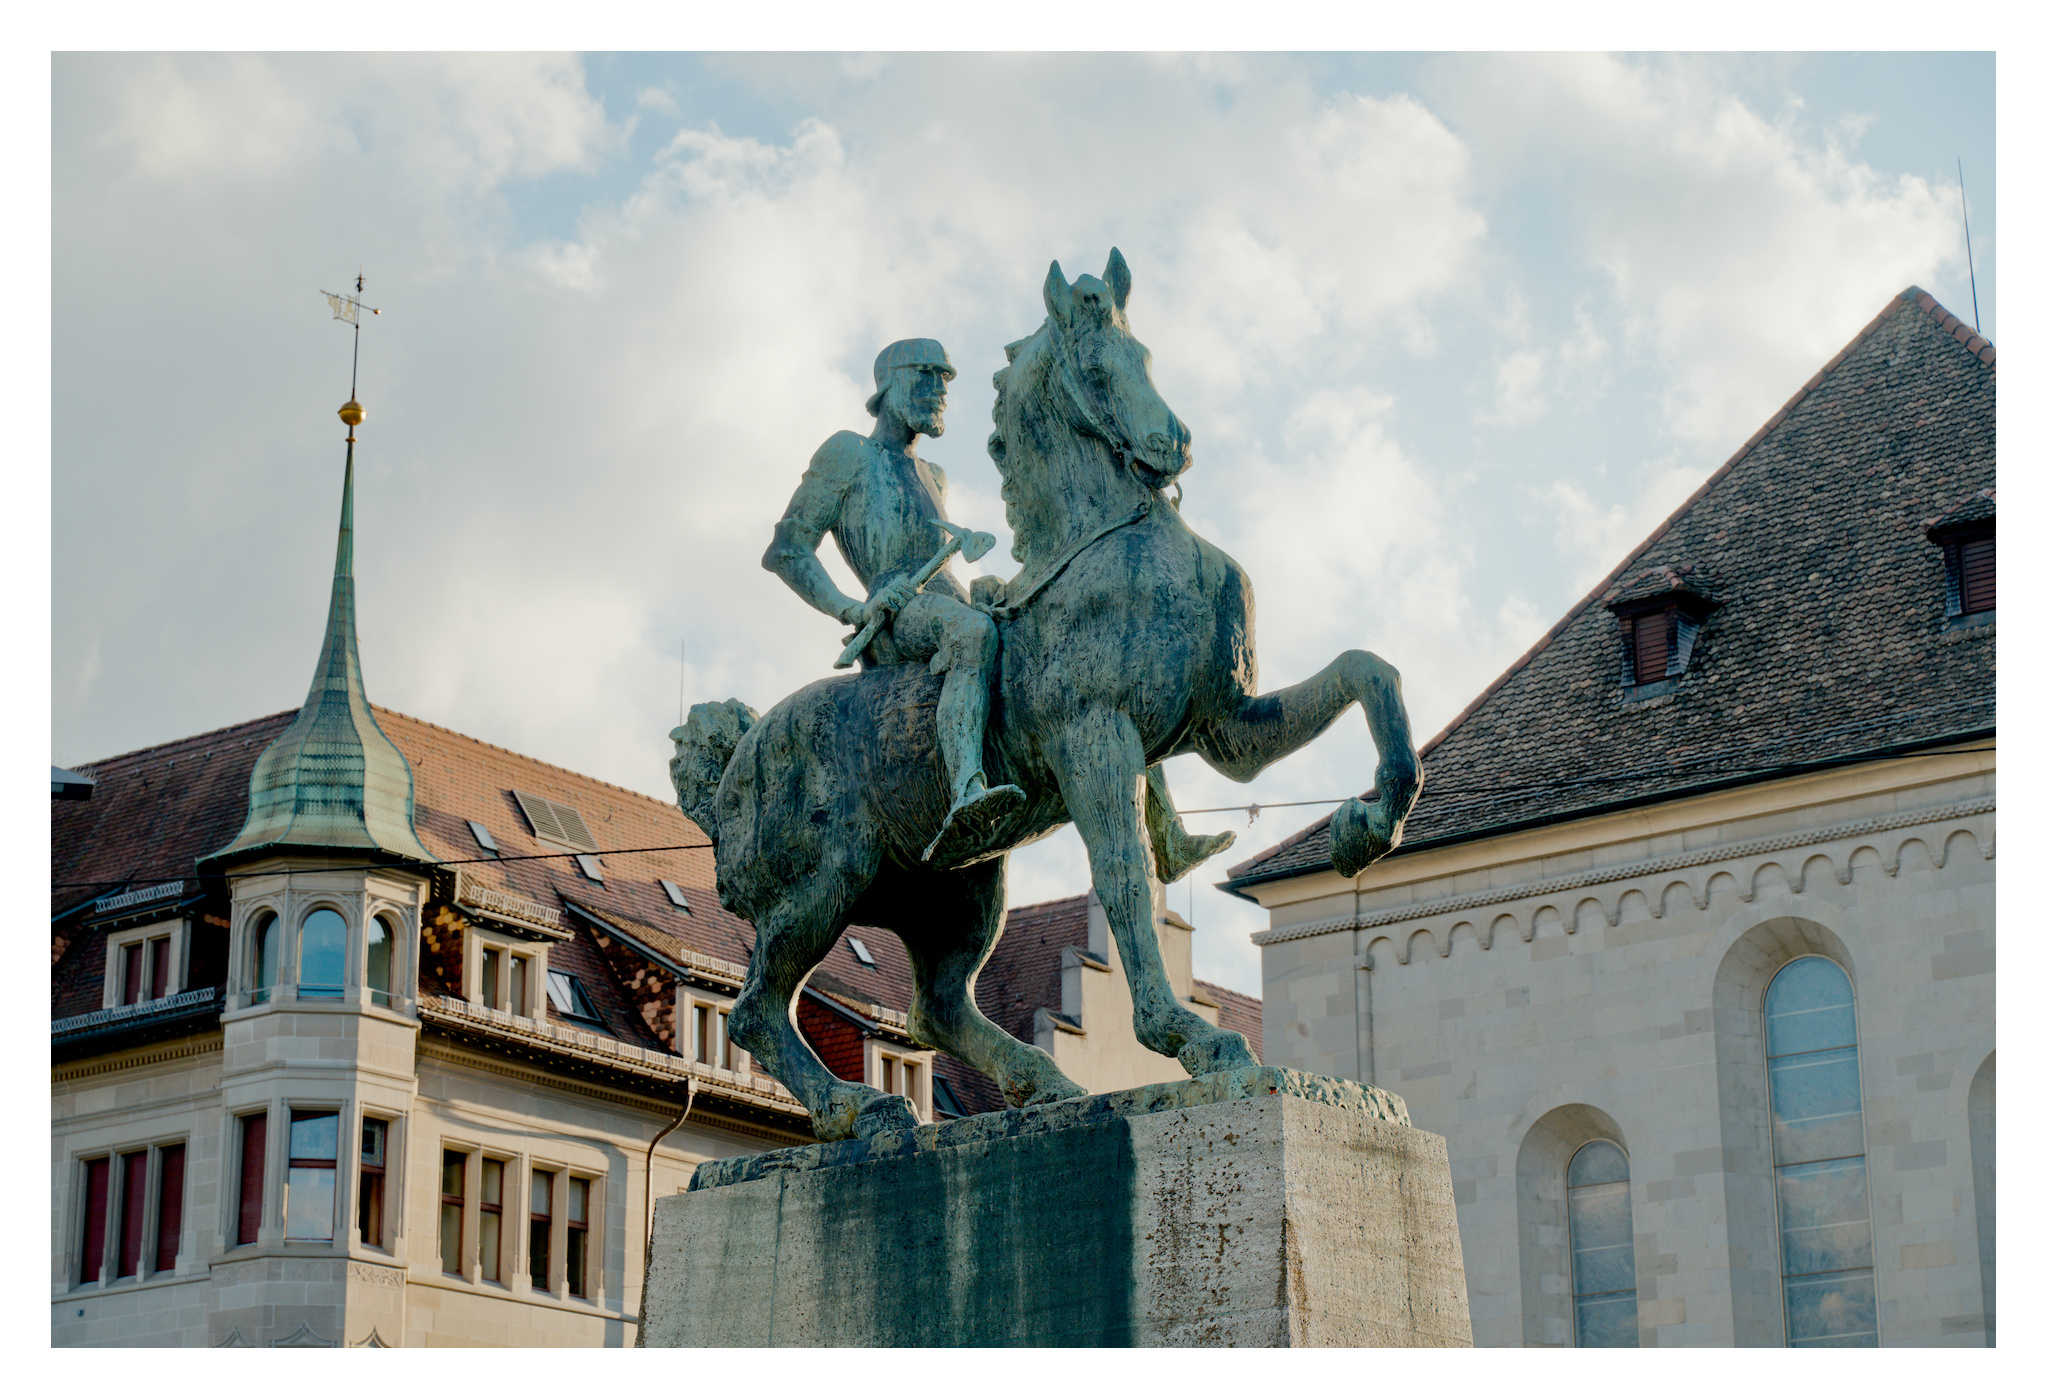
ASD01606_01.ARW.xmp (16.9 KB)
1 Like