I had a few weeks off work last year and I always wanted this, so I made it happen: Fujifilm Film Simulations (all except Sepia and Nostalgic Neg) as darktable styles, without using LUTs and reasonably high accuracy.
They need Darktable 5.4 because they rely on AgX, other than that they have no dependencies.
To make them, I wrote a Python tool I called dtsolve, which you can use to make your own styles for your own camera brands. I know that @Ge0rG is currently trying that for Samsung NX and already contributed a few README improvements.
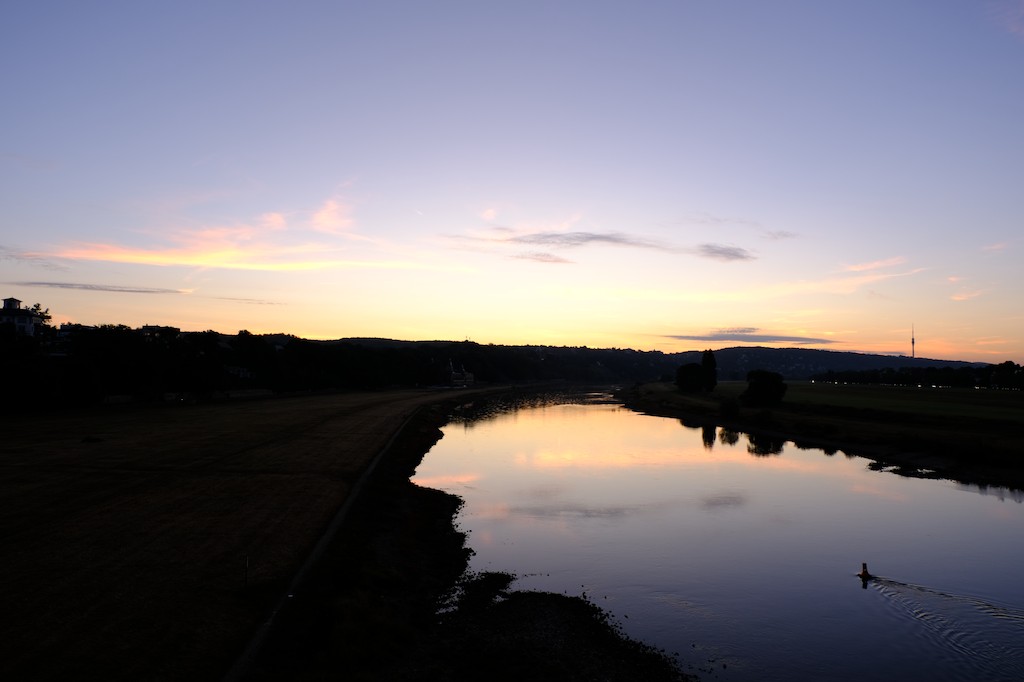
There’s a sample in the linked post, but I concede that it’s a bit contrived, so here’s another one.
This was one of the first pictures I took when I got the camera and it has been part of my benchmark of testshots for the Film Sim styles. It was shot with Velvia and this is the (downscaled) OOC JPEG:
If you’re asking about the HaldClut branch: there was a proposal to use LUTs in darktable that wasn’t accepted in the master branch at the time!
It was intended to be equivalent to RawTherapee’s “Film Simulation”!
Some of the algorithms from this development are in the 3DLut module.
I think that fujifilm applies a DCP profile before the film simulation, the risk with this method is that you are copying your camera DCP profile applied by fujifilm + the film simulation.
In thery the most robust way to use dtsolve is to feed a raw file with a DCP profile applied.
Hmmm… Can you elaborate? I’m not exactly sure where a DCP profile would fit in, but if I understand you correctly, it’d indeed make sense to exclude that from the solving process (by applying it beforehand).
In which case… how can I obtain the DCP profile for my camera?
Thinking again, I wonder: doesn’t darktable apply its equivalent of the DCP (as a color matrix) via the input color profile module already?
In the forums here, there seems to be a bit of confusion between DCPs-for-neutralising-an-image-for-further-processing and DCPs-for-mimicing-a-specific-OOC-look.
In any case, I did try the dtstyle files against my old Canon’s RAW files and I didn’t notice any adverse color cast or anything.
Thanks a lot for the references and the explanations.
I toyed around a bit by taking the X-T4 DCP profile from RawTherapee and converting it to ICC using dcamprof dcp2json and dcamprof make-icc.
The colours (without applying the styles) are vastly different from darktable’s defaults. I’m not sure if that is correct (for whichever value of correct). I also cannot spot a visual difference between the DCP-converted-to-ICC for the Canon EOS 400D (my previous camera), the one for the X-T4 and a random Sony profile I picked from RawTherapee’s folder. That means that either it doesn’t matter much or I my conversion workflow is severely borked.
I’m not sure what gets conserved when you convert to icc. The dcp profiles are dual illuminant and have tone curves and look tables to handle hue shifts… I’m not sure that command in dcam is going to give you an icc “equivalent” to what you see with the DCP on a given image…
As many others, I also tried to solve it using LUTs. I was happy with my most recent results, but having something that directly uses more “native” modules is nicer!
One thing that I did for my current LUTs is to factor out the tone curve after the DT tone mapper and make a LUT that is mostly color changes. This way, I can easily shift between LUTs without changing the overall tone of the image and needing to redo my edits (tone equalizer, exposure, AGX, etc.). The approach I followed was:
Shot an IT8 Advanced Target (ISO 12641-2), I used only the values of patches.
Export the raw with AGX (using the defaults)
Do an interpolation from raw → OOC using only the gray patches from the chart and L component of Lab.
Apply the inverse of the 3 to the OOC, but only to the L, to get OOC’.
Interpolate raw → OOC’ and apply it to a cube LUT (I use a RBFInterpolator between the color patches)
I believe I can do something similar using dtsolve, right? I’m trying to understand the code better and how to use it!
(Just as a reference, this is my current LUTs meant to be used after AGX and in linear ProPhoto RGB.)
You can. With a finished style like those I shared, you could just apply them to an image and then save a new style excluding the AgX module.
dtsolve has words in the README on the approach of making styles, which should explain the procedure. Basically, with dtsolve, the approach is to first solve the tone curve (using a monochrome reference image) and then solve the colour modifications (using a colourful reference image or even a test chart shot) while keeping the tone curve fixed. That leads to faster convergence and since the two are mostly orthogonal, it works out nicely.
There’s currently no way to then exclude the tone curve from the final dtstyle, but that can easily be done with a text editor or with a small code change.
thank so much for this. I love how these render colours, especially skin tones.
A question regarding AGX (which I love using)
I’m currently using the Auto Applied Scene referred defaults.
So
turn off auto applied scene defaults,
reset history
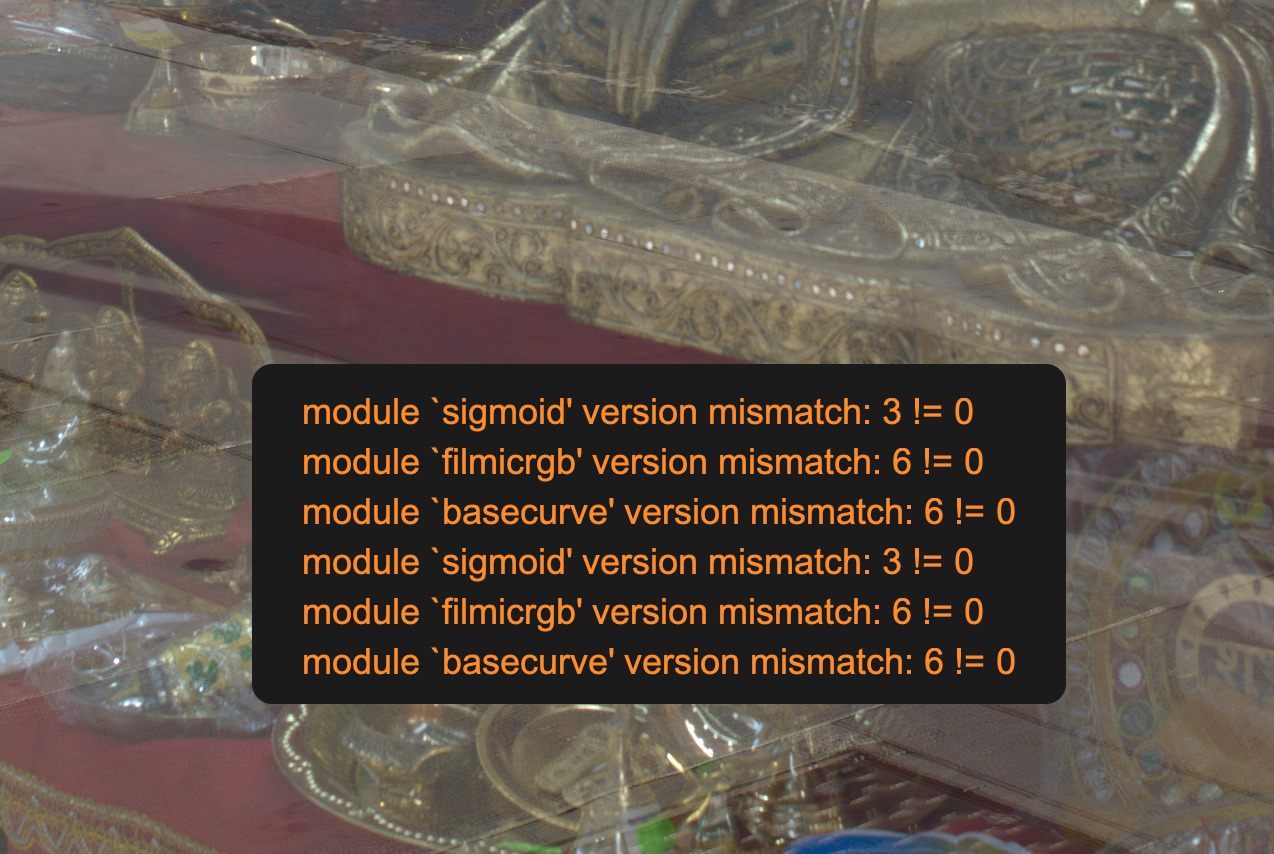
before I apply the preset, I get tool tip mismatch warning for sig, film, base, etc.
I run the style anyway
I get a pleasing result.
AGX is activated, with a steep contrast curve (orange warning)
Do I just ignore those warnings?
I want to be sure I end up with all active modules you intended.
Any advice how best to use them appreciated
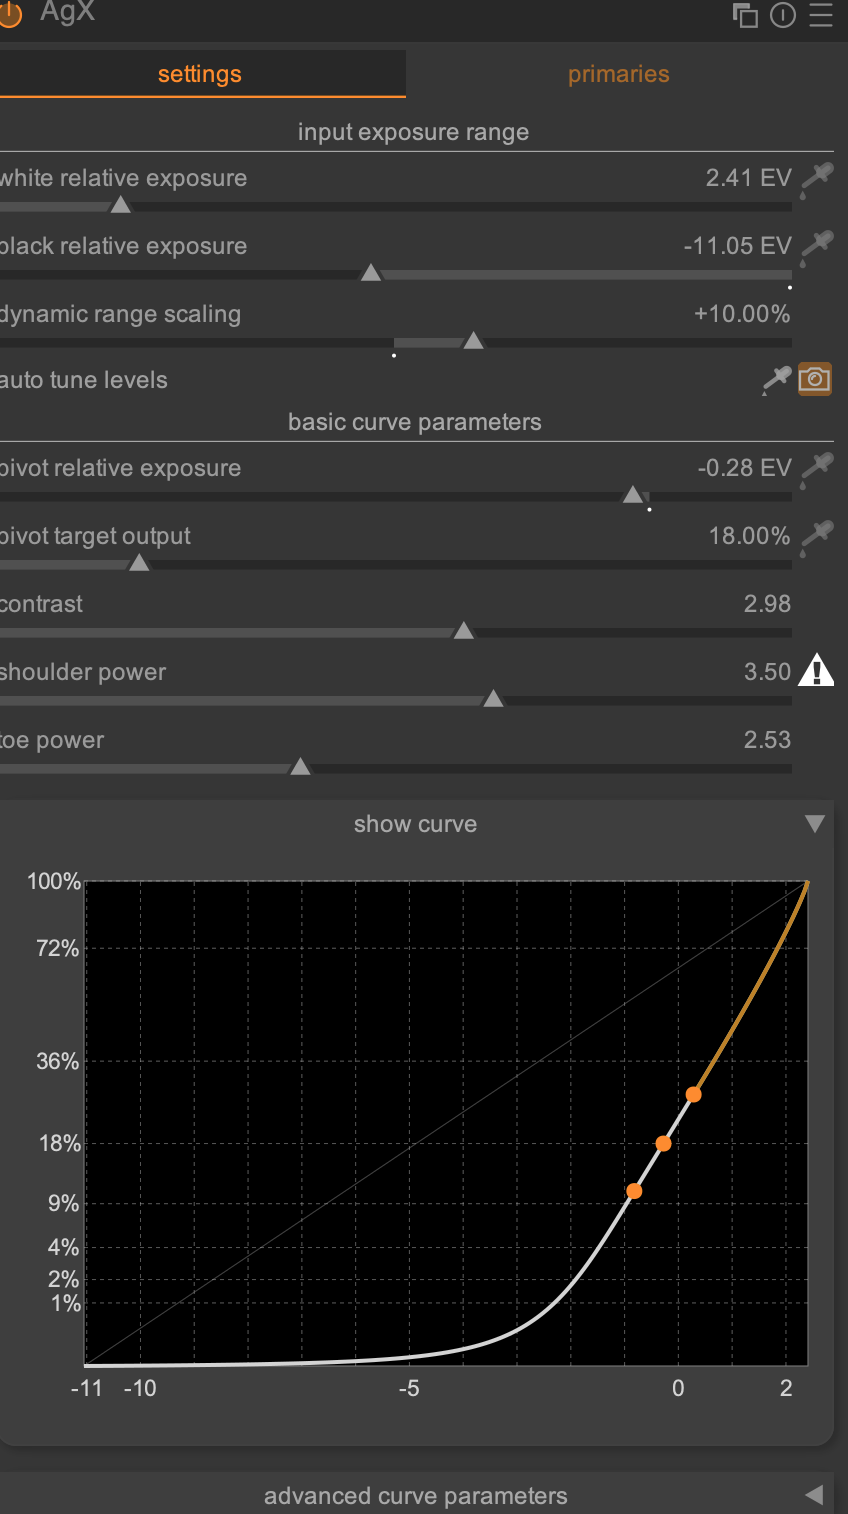
I apply ‘auto tune levels’ to bring AGX back into a more usable curve. This doesn’t seem to affect the result, but gives me a more natural curve to continue editing with
(is this wrong?)
Noticed it leaves orphaned instances in the history stack. I created duplicates and made one with just AGX tone modules (see pic)
If you reset history, you don’t need to turn off the auto-applied defaults. he style will override the AgX settings completely.
Also, with the 1.1 release I just pushed, you probably don’t need to reset history at all (unless you want to for other reasons, e.g. because you are using the color correction module and want to get rid of that before applying the style).
The 1.1 release fixes that, too.
Yeah, that tone curve is really steep in all modules and that’s simply what the solver came up with…
The styles take care of that.
Now this seems interesting. I would expect there to be a difference between the auto curve and the style. But it’s possible that it’s not visible in your particular image.
I let the solver find the AgX curve with a luma shot which went from all dark to blown out highlights in a single gradient image, so the AgX curve the styles come with are aimed at covering every situation. It seems that the Fujifilm Film Sims indeed have a very peculiar tone curve (from AgX’ perspective anyway).
All that warning says is merely that the shoulder is not a shoulder.
Not sure what you mean by orphans :). The disabled filmic rgb, sigmoid and base curve modules are intentional, to not cause issues for people who are still on “sigmoid-” or “filmic enabled by default” settings. Mixing AgX and sigmoid/filmic/base curve is generally a bad idea, so the styles protect you against that by forcing them to be disabled.