Thanks for the tips. 
I will practice and maybe share the result in a new play raw topic.
Thanks for the tips.
I will practice and maybe share the result in a new play raw topic.
It seems that selecting “no” for “preserve chrominance” in filmic makes a good difference.
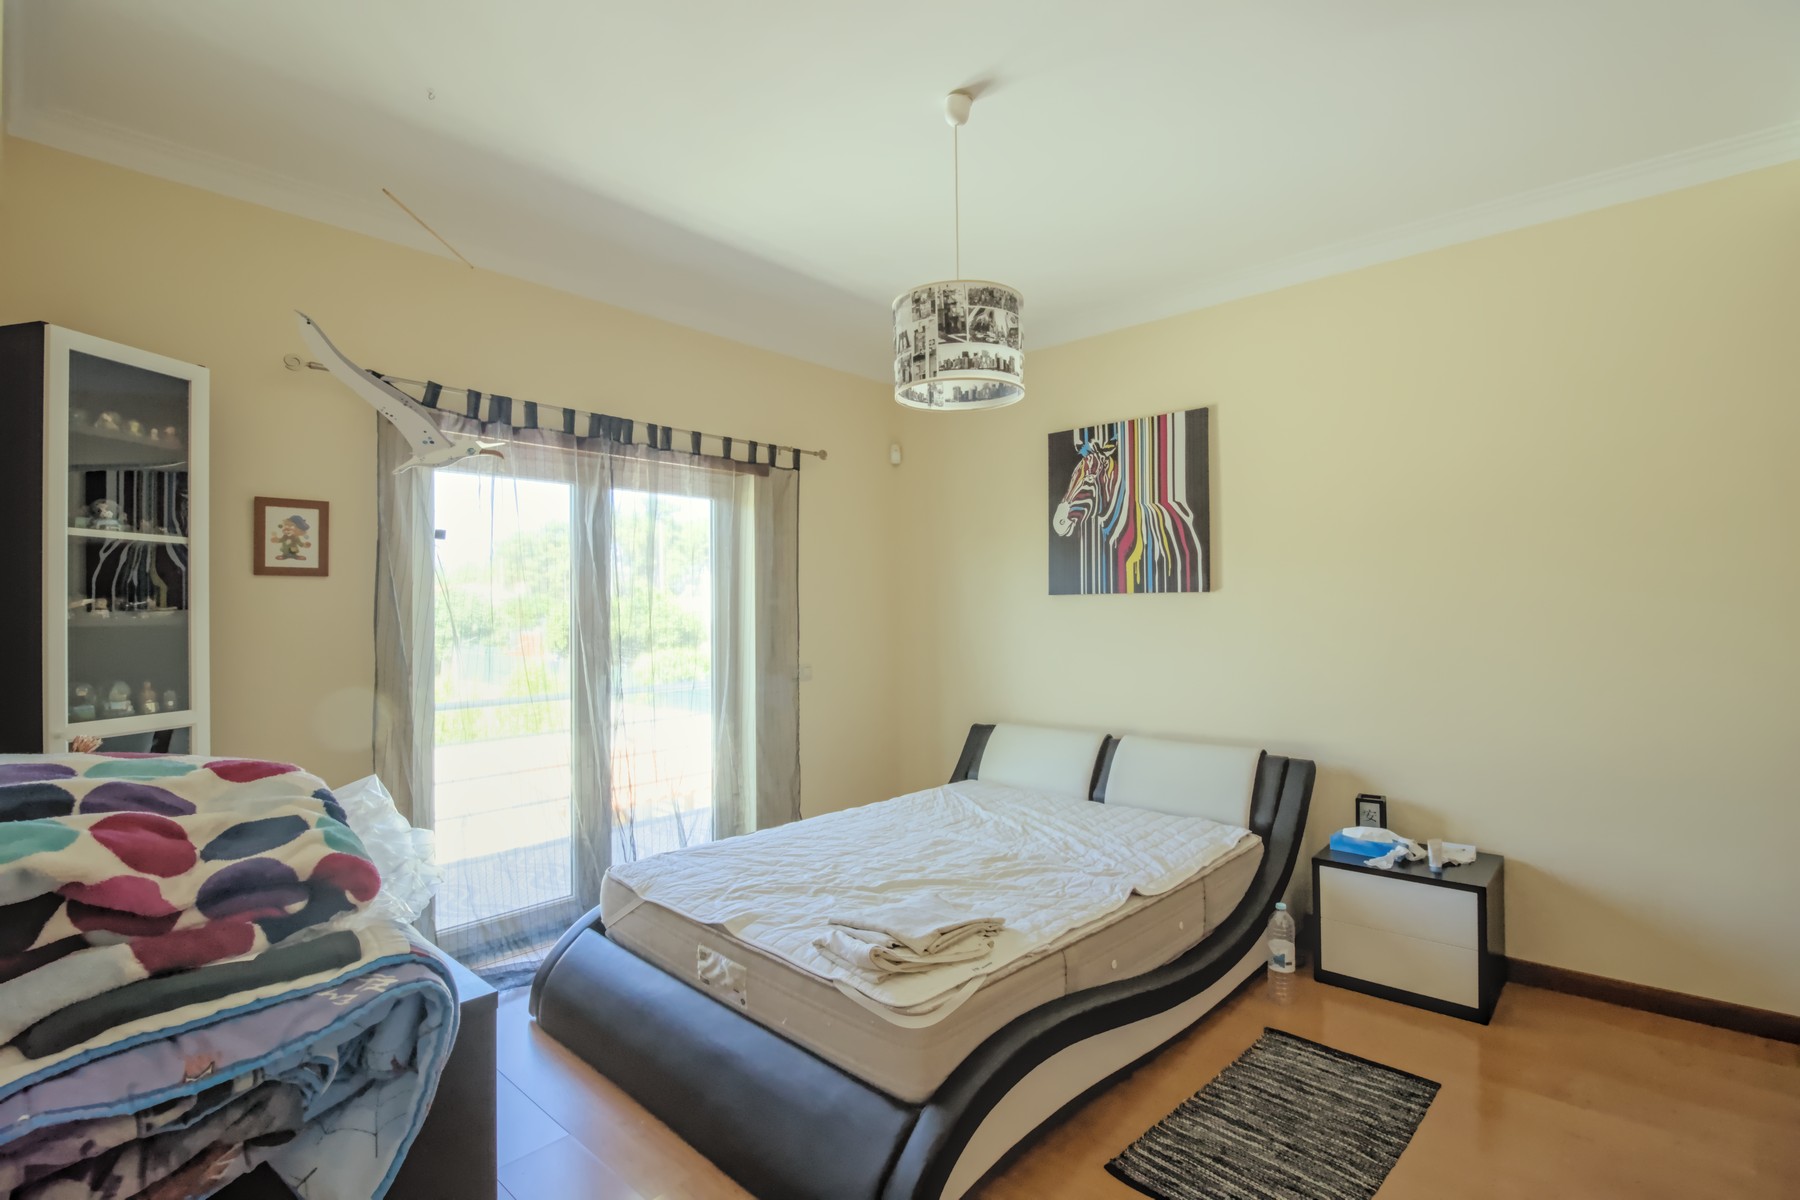
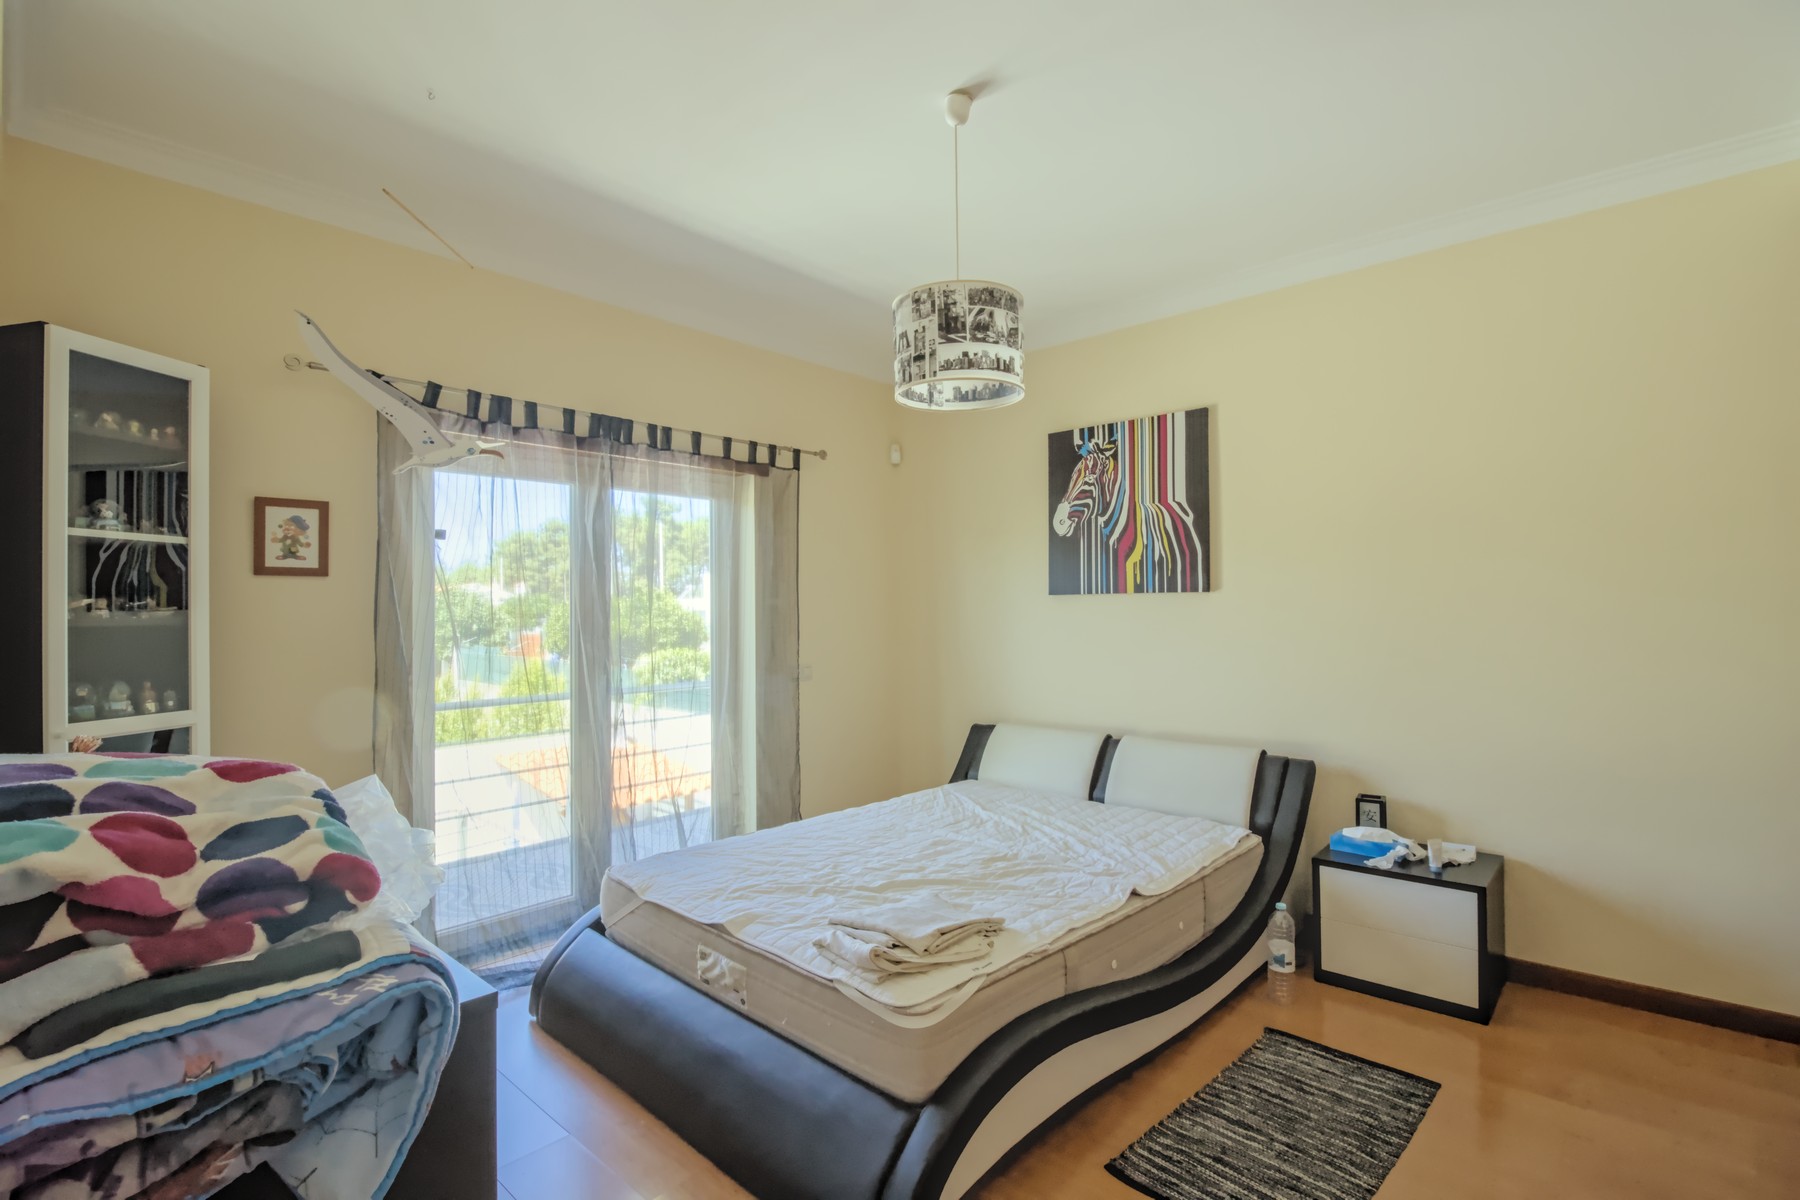
The result could have been better without clipped highlights outside, and I think that opening the curtains could also help dealing with the window (I couldn’t make the curtains as bright as I’d like without brightening the background outside too much, and I couldn’t darken the outside as I’d like without darkening the curtains too much; maybe this could be solved tweaking the mask in tone equalizer, but with the curtains open we could just decrease the exposure outside a bit more). Blooming the highlights with filmic, using a fairly high transition value, also seems to help.
EDIT: And looking at the picture again, I think desaturating those highlights a bit more maybe could make it look more natural.
Google window pulls…that is what you are trying to achieve…I think you might get better results if you use GIMP…here is an example…its photoshop but this guy has a great channel for real estate photography and you could emulate most of the techniques in GIMP and he give tips on how to take the shots… Window Pulls for Real Estate Photography - YouTube there may be other examples on his site as will for how to shoot and process…
Thanks for the tips. I will try this method too.
ART
The situation is not ideal to pull out some details from outside. The curtain is certainly not helping. I suspect there is a blue cast coming from outside which is not advantageous for an interior photo.
As @paperdigits and @s7habo suggested some light inside or an external flash could certainly improve the result and ease the postprocessing.
Incredible result ! I wonder if this could be achieved with dt too, but I have my doubts.
Thanks for the tips and for your approach.
Right… finally checked the files instead of just commenting :).
First off now I still got your attention:
I see in the metadata that you have a Canon 90d. Forget everything I said about doing it in one shot, that won’t work with a sensor like that. Shadows will be noisy.
The method still stands: Go as low and check every test show in something that shows raw clipping till you have the lowest exposure where highlights aren’t clipped. Then go up in steps of +2ev (in your case). In theory, you already have all the highlights, so every extra shot you take helps in getting rid of shadow noise.
Second point: I would like the original files instead of these DNGs, because Photolab can’t work on those :).
Anyway, I’m no real estate photographer, but the comment ‘wonder if this could be archived with DT too’ hit me, so I at least had to show how to handle the dynamic range.
This is done with only your lowest exposure shot. It’s noisy as crazy because of that:
Basically, I started with a basic edit (ignoring the window) like this:
And then I added a tone-equalizer under the exposure module, where I lowered the highlights in a curve-like manner. It can only go to -2ev, so you can duplicate that tone-equalizer a few times depending on what you want:
You’ll notice that the left corner of the bed, and the little bag next to the ‘circle blanket’ is quite dull (and you see the blue cast that @gaaned92 talked about very clearly on the floor between the blankets and the bed).
Those would be better left untouched (so the highlights nice and bright and maybe a bit clipped), it gives a nice contrasty look to the inside. But to reach that, you’ll have to resort to masking (letting the tone-equalizers work only on the window portion) and I didn’t have the patience to do that properly now.
I added a warming-lut (well, actually Nik Effect’s ‘skylight’ effect at 20%) to give the same color vibe as @gaaned92.
I did another attempt after thinking about the ‘dullness’ to tweak some other parameters of the tone-equalizer, and this I got in two different curves with some ‘negative masking’ on the parts I want to stay a bit brighter:
(edit: I notice the haloing at the bottom of the window. I shouldn’t have touched those settings, the defaults were fine as they were :P)
Not saying any of this is perfect, but just to show that it doesn’t have to be difficult to get in the ballpark.
And I’ll attach the xmp 
IMG_1614.dng.xmp (161.2 KB)
Having done some real estate shoots I can confirm this sucks. It’s also not always fixable in post. I have lost time chasing that rabbit and the best answer ends up being - just buy daylight balanced lightbulbs and bring them with you to replace lights. I had a bag of daylight bulbs just for this and the extra 10 minutes to go around replacing lightbulbs made post work so much easier… ![]()
I have to say Rawtherapee local edits using the warm cool and saturation tools really works quite well for this issue.
sorry, no play from my side…
on my Windows 10-Computer RawTherapee shuts down, when trying to load these dng-files…
Version: 5.8-3015-g35e6a0e40
Branch: dev
Commit: 35e6a0e40
Commit date: 2021-08-06
Should be fixed.
wow, such quickly…i am not yet finished with opening an issue on github … 
Edit: ok i should read more carefully on github, before opening an issue.
@heckflosse is a quick one at fixing and optimizing. 

@chaimav HDR greasy.
I am not sure what the term ‘greasy’ means, but I assume that you mean it looks too over the top with the HDR?
How is this one? I had the saturation cranked up too high in the first one.
IMG_1612-hdr-2.jpg.out.pp3 (22.9 KB)
You may not need to use mulitple exposures. I grabbed the darkest image (IMG_1614.dng). This is shot at ISO 400, f/23. You can get 4x as much light onto the sensor by changing that to ISO 100, f/11. This will give you almost the same shutter speed and exposure levels in thge raw, but you have 2x less photon shot-noise in the image and the reduced sensor gain will likely benefit both noise and dynamic range in the camera.
This is a render from an experimental processing path (open IMG_1614.dng in Photoflow, white balance off the drawers, apply noise reduction, apply +4.3 stops exposure, then render the resulting scene-linear data using Open Display Transform to generate sRGB data:
The shadows are noisy if you pixel-peep the 2048x2048 image, but that may or may not be a problem depending on what you want to do with the result (and you may be able to reduce the noise anyway by changing the exposure settings).