Your raw files are well exposed, which means they’re already taking away all the dynamic range. I always shoot 1 to 2 exposure values lower than the camera’s exposure metering indicates as optimal.
You have to compress dynamic range more with “white relative exposure” in the filmic and try to get more contrast in shadows with “black relative exposure”. Also in the “look” tab you can try to increase the contrast and/or even decrease the latitude to get more contrast.
An example of how to adjust filmic can be found here:
No there is a histogram profile…this is the colorspace used to display the histogram…you select it by right clicking on the softproofing icon
It determines the values of your picker and how the histogram is displayed…
I didn’t know that this could be set there, but the histogram profile was set to sRGB… changed to LinearRec2020 and the entire histogram “dropped” by at least 1/3
So here is what I have taken from some discussions and I am likely wrong…but FWF…
When you edit you let the profiles do the mapping …so at input you go wide so rec2020. During your edit if you don’t violate gamut then you should have no problem letting the output profile map this back to srgb for output. So in essence let your histogram match your working space and work to that and let your output profile map it back to sRGB
While this method seems to work fine its still not a clean data flow in my mind having read this
Because of the order of processing the data runs through the display profile before the histogram profile so it gets mapped/clipped as I understand this… it may not be a truly accurate reflection of clipping from the working space…
I am not really a gamut watcher…If something looks too saturated but I like the overall look I just use the gamut compression slider and look for a bit more detail to return to potentially saturated areas…
Thats just what I do…I don’t worry too much about it as I only work on personal images others may have more need to pay more attension??
A very simple remark if I may. I always found that the filmic-centric workflow of DT is very simple (once you saw Aurelian’s videos and made some trials) and give simply amazing results. IMHO much better and more consistent that LR. So kudo to the team of developers who provided over the years this workflow. Most of the time I edit my pictures very rapidly with that workflow and the color are always quite natural. The steps are logical and based on color and light science.
I found that for correctly exposed images, filmic is very fast to use, even for images with a large dynamic range.
Those high dynamic range images were harder to deal with correctly in a workflow based on basecurve
Where it gets tricky, is when there are clipped areas. But with a display-referred workflow, we didn’t really expect good results for such images. I don’t think it’s reasonable to expect anything different with filmic (clipped areas lack information, which you cannot recreate, at best you can approximate what should have been there)
Hello everyone! Thanks for making this thread, I have some question about how saturation is handled in the new scene-referred workflow.
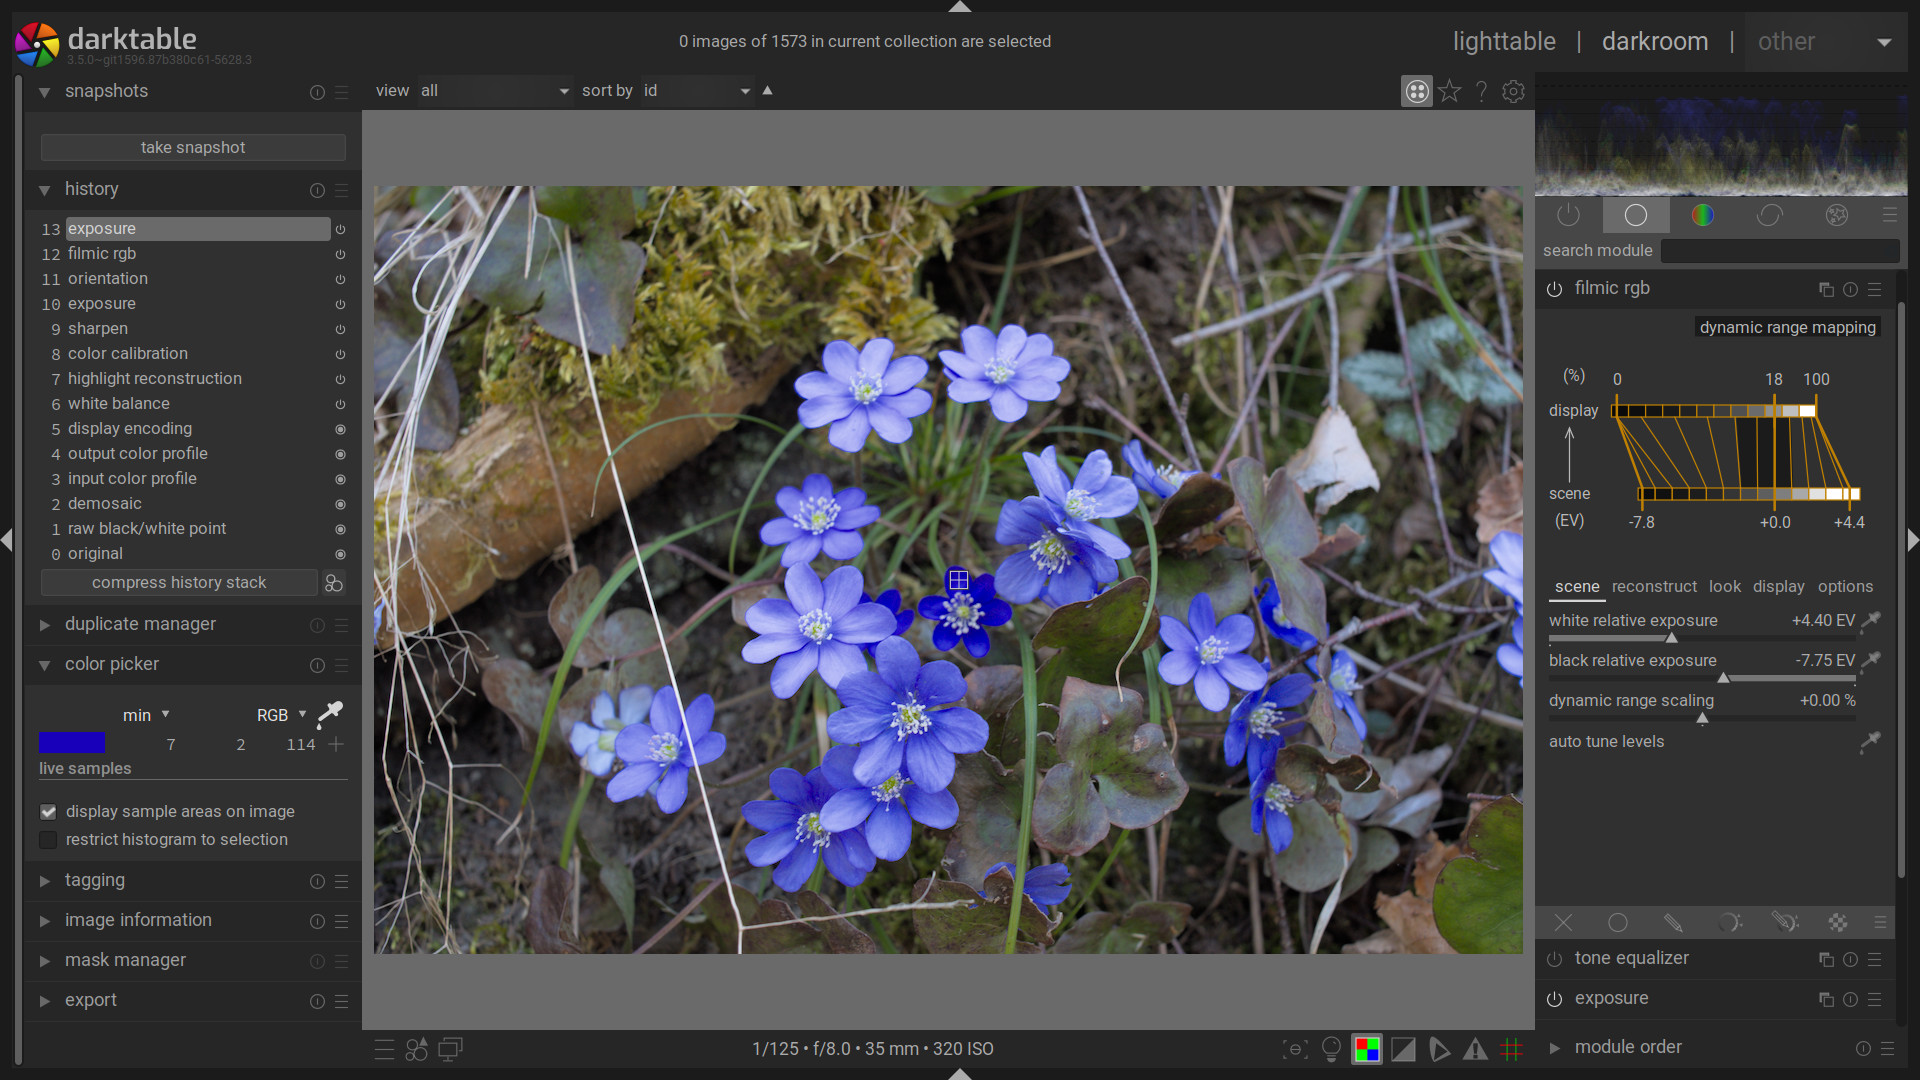
I have an example here of a photo that was taken in bright sunlight and shot underexposed to preserve highlights. This is what the shot looks like without any edits:
And now I observe something strange – that maybe I shouldn’t worry about at this point at all(?) – it is the saturation of the flower in the center that was shaded by the other surrounding ones and after exposure correction remains overly saturated. The color picker indeed indicates that it is very much underexposed and oversaturated.
So how do I fix this – or rather, do I have to fix this now in filmic, or should I do it somewhere else or later?
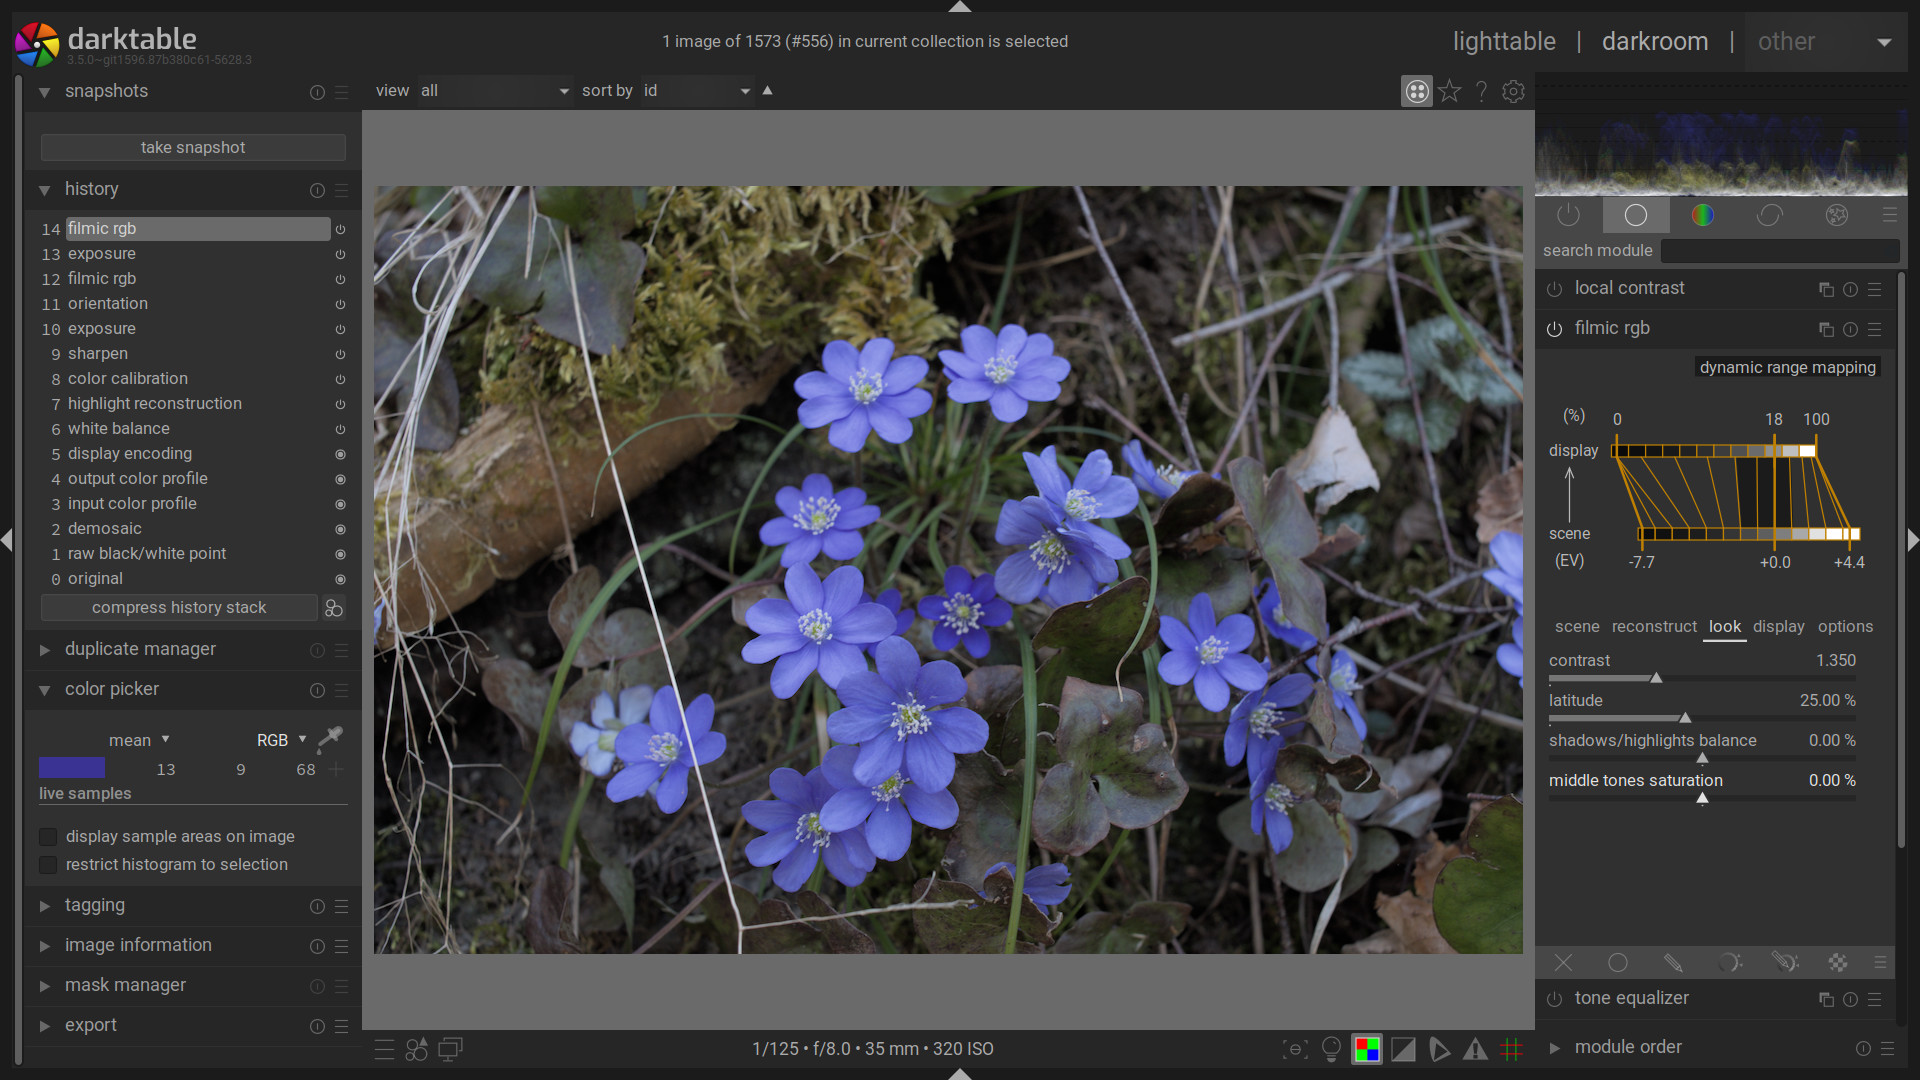
My naive approach was to set middle tones saturation from 10%(default) to 0%. And indeed, it kind of does the job. Kind of:
But is this the right approach? It says ‘middle tones saturation’. What maybe adds to my personal confusion is that the tooltip says ‘desaturates the output specifically at extreme luminances’ – what?! – I mean extreme luminance is not middle tones, right? And I feel like it doesn’t really do either of them but rather both. When I move the slider to positive values it just saturates everything, shadows, mid tones, and highlights. And towards negative values it seems to desaturate everything up to the point when at -50% everything is black and white.
When I compare with the jpg (with slightly corrected exposure) – and I don’t do that to judge the DT output on the basis of the camera jpg, but to compare with how I remember the scene, because when I take a picture I check on the camera monitor with the camera jpeg if it looks similar to reality or if I have a hue shift etc. and in that sense I compare DT output hue with the camera jpeg serving as a reference for the original scene hue – it looks very similar to the case where I set 0% for middle saturation (so why is the default 10% anyway?):
[camera jpg]
I would love to hear some clarification on what this slider actually does and if I use it completely wrong or not.
Another only broadly related thing about saturation is the color balance module. I tried to use this after filmic to control overall saturation of the image by pushing the input/output saturation sliders. However I feel like it does also change luminance and contrast (for example the lighter blue parts of the flowers that are pushed towards white) – maybe even more than actually affecting saturation as I understand the term. Saturation is to my perception really only affected in the background. What am I doing/understanding wrong, how can I fix this?
I have to apologize for I cannot demonstrate this as I cannot add more than 4 images to the post
Thank you so much for your effort, especially with helping people, this is really what makes the difference to some of the popular closed tools!!
DT rocks
The “extreme luminance” where desaturation occurs is defined by the “white relative exposure” setting. So increasing that setting should fix the saturation issue by moving the exposure level where desaturation occurs far above the exposure of the brightest flower.
Nice….it is really hard to predict the outcome so you sometimes have to try all of them. Honestly I often go with none and bump the saturation in filmic up or down to please my eye. I can’t point you to a reference right now but I am confident that AP has commented more than once that none are better than others just they use different math to try and manage rgb ratios to preserve color. Obviously depending on the content of the image some will work better than others for the desired end result I guess….They are fairly well explained here darktable 3.6 user manual - filmic rgb
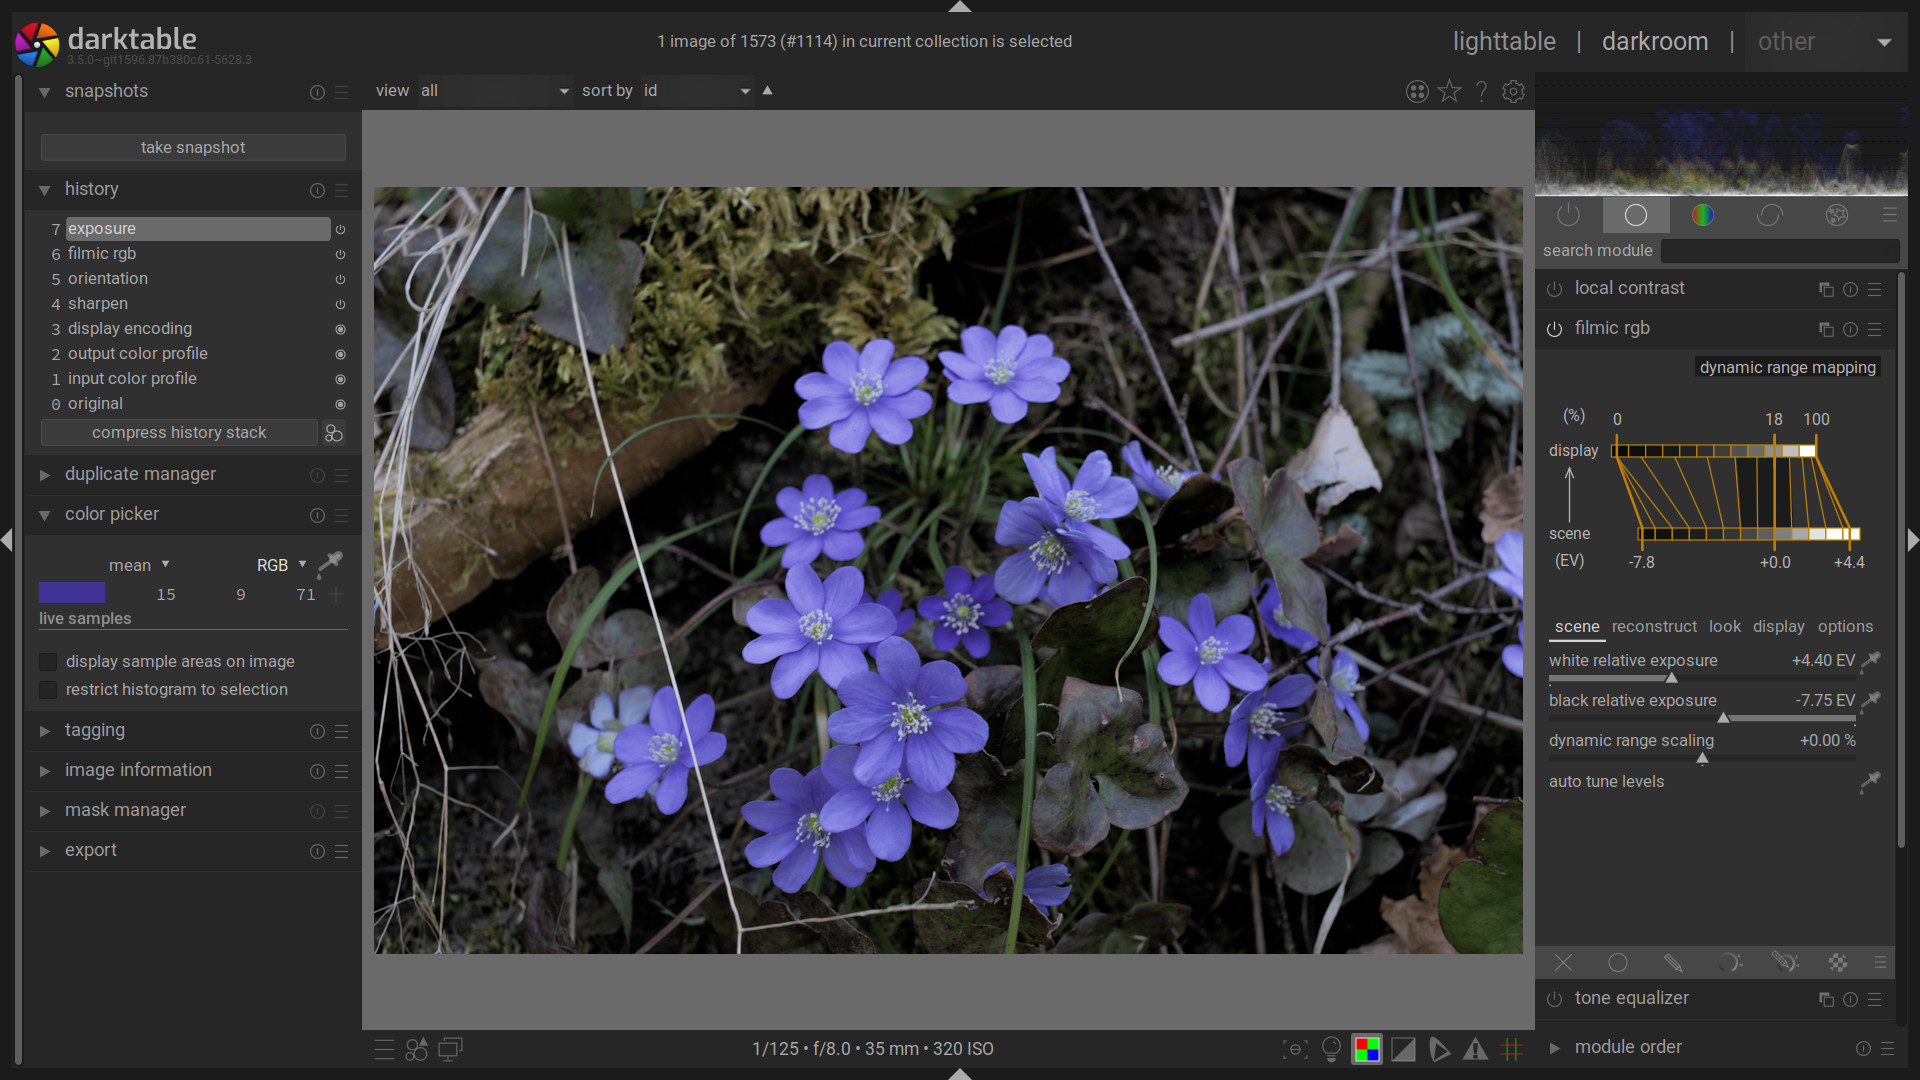
One more thing that I find hard to comprehend: … In some ways the ‘dynamic-range-mapping’ chart shows more clearly how filmic is reassigning the various tones. If I simply play with the chart I can clearly see how it is possible to expand or compress an incredible range of incoming data to fit onto my display.
But here is my problem. The number of tonal steps (in the display) always remains constant with just 2 steps above the 18% position.
Surely, as we move from high-key to low-key lighting the expectation that I had is that the number of tones above the mid point should change in the same way that we see the number of steps changing below the mid point.
Can somebody explain this to me …
I am using the latest daily git on Linux.