I’ve been a long time lurker but have just signed in to say “Brilliant, and thank you very much for taking the time to explain this so clearly and, above all, patiently”. Any chance this (or something similar) could find its way into the online darktable manual?
Indeed. You could have left it as it is or used Tone Equalizer to quickly adjust the highlights. What do you think could be the reason why I used filmic anyway?
The shadows are darker but the textures are still there. If you think shadows got too dark, what should be done to get more detail in shadows based on my explanation?
A hint: Both the raw file and darktable are free for you to use.
Is Filmic meant to define a “look”, i.e. preset a certain contrast and dynamic range, and use other modules to fit the image data into that dynamic range, or
Is Filmic meant to be used creatively, with iterative tweaking of dynamic range and contrast and reconstruction instead of modules such as the tone equalizer?
I realize it can be used either way, but I wonder which way is the one intended?
It’s thought as a technical module. Its main purpose is explained in
" the filmic RGB (or the base curve ) module, which translates between linear space (proportional to light energy) into non-linear (perceptually compressed) space,"
Yes, that is indeed a good question. @Lander_corleone has already given a good hint.
I’ll add that I don’t see filmic as a pure “transfer” from linear to perceptual space, but already as a creative element, because it already tries to reproduce “the tone and color response of classic film”, that is, to adapt the photo already in a way that we perceive it pleasantly.
In other words, this would already be a good “starting position” that, in some cases, is already enough to get good results (with some possibilities of “readjustment” in the module itself) or in other cases, as a good basis for further processing with the help of other modules that darktable has available.
This “flexibility” also makes it difficult to decide when I have exhausted its capacity of readjustment to then include other modules in the processing accordingly.
Many thanks for the insight into how you personally work with filmic.
I do not wish to send this thread off course, but I cannot find how to enable the blend modes that you refer to. All I have available are RGB (display) and RGB (scene).
May I also ask whether you always adjust exposure with filmic enabled?
There you choose which group of blend modes to list. The blend modes themselves you choose by clicking on the white circle on the same bar and then right (where it says “normal” click on the down arrow), you will then get the selection of blend modes.
Not always, but, my photos are often underexposed because I want to make sure I don’t have overexposed areas.
If the photo is well lit, there is no need to correct exposure.
And that is a “correct” exposure, you have to decide for yourself. It always depends on what the main subject of the photo is.
I do indeed sometimes move it after filmic and before exposure1. When I use tone equalizer before filmic, I do it to spare filmic too much compression and thus preserve contrast.
I’ve uploaded a video to youtube where I play with Filmic.
There, I try to show a method, using the color picker, that everyone can use with their own pictures.
I hope this could help.
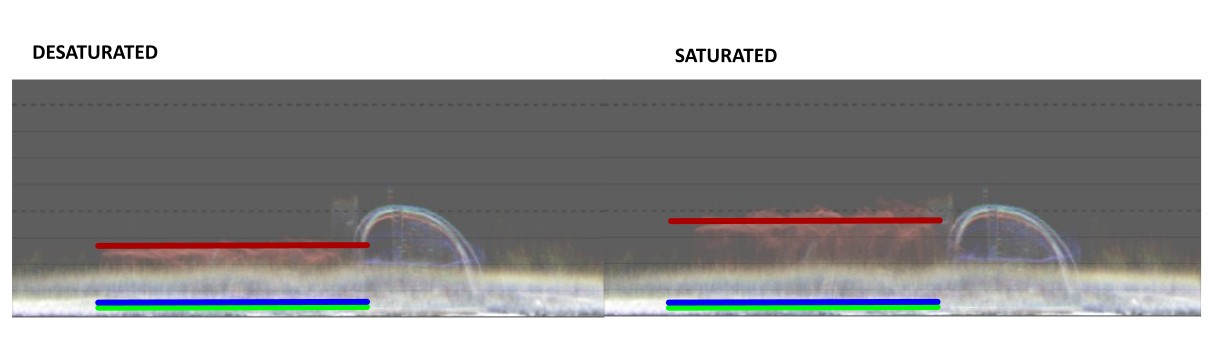
PS: I just realized that I made a mistake in the illustrations. Actually it is not called “saturated” and “desaturated” but “high saturation” and “low saturation”.
I think Dave is a former Math teacher. I love his videos. He comes up with some unique demonstrations many of which he provides as free macros or widgets…I found his videos after grabbing a copy of &^(&^^^(*^ last spring when they basically gave it away…
Thanks a lot for these example videos. Very very helpfull. But what puzzles me now is when I look at your 3 videos (images with low, normal and high dynamic range), the waveform of all 3 images is very “low”, “compressed”, they all hardly hit the middle of the Y-axis on importing.
Looking at my own raw files, the waveform is expanded almost over the entire height, even though my images are at very first step of the process and looking very dull and gray (which is to be expected with a raw file).
so
I must be doing something wrong, but I always keep my exposure in check.
You must be doing something very different when taking the image (underexpose)?
Waveforms from your 3 images (low, normal, hing dynamic range)
Example of one of my raws:
So as you can see I’m much ‘higher’, ‘wider’ on import so leaving me far less headroom.
Or am I missing something?