The above post of mine was meant to be replying to this post.
could you clarify what it is please.
I was replying to this line from kofa:
It uses the hard-coded values and the EXIF, because the information is not available when modules are initialised.
I’m asking if the inability for a module to get the information it needs at initialisation is a limitation which should be removed.
1 Like
Should be, but it’s not so simple. Modules are instantiated and default params are set before processing begins, and the exposure module only calculates the overall total exposure adjustment once it starts processing. By that time, AgX’s default params are already set.
But honestly, I don’t understand this fascination with that heuristic. It does not analyse the image contents at all, only the exposure adjustment, and then applies some seemingly arbitrary multipliers to the total adjustment. Oh well…
1 Like
add back local contrast, with the eponymous module, in the display-referred part of the pipeline.
Can’t we trigger a lua script running after the pipeline is initialized? It may be able to simulate a click on auto-apply?
That’s probably doable via the initial workflow script.
As Kofa mentioned you can put the pivot on the sky and then you will get more contrast there or mask and use local contrast as mentioned in the comment above… There are several presets around, one comes to mind, there was a thread about detail recovery for sigmoid and there were some presets offered up there…I think I copied them and could share them.
I also use the tone eq with 2 instances sometimes…I will start by using one instance blended in the blue channel…go to the area of the sky and add positive curve for blue and negative will add yellow…This can be a nice way to target an area of the sky to bring up the blue or yellow…Then I will use opacity to tweak this. WIth this I sometimes will duplicate the tone eq instance and switch the blend mode to normal…Now I have the same curve and I can raise or lower it to darken or lighten the blue/yellow areas that I modified.
Though maybe less likely to be recommended, but if you can mask the sky or add a gradient, then you can use velvia for a blue enhancement, exposure with multiply blend mode often bumps contrast and color and an older module color contrast can really nicely bring back blue to the sky and or manipulate sky colors with its two sliders if you are looking for a kick of color…Masking dehaze can work as well…maybe exclude some of the darkest tones and with all of these using a fair bit of global feathering in the mask adjustment tools can help it to blend… Also its not problem if the effect is strong try to dramatically reduce the opacity for a more subtle change if that is required… Experiment a bit and you will likely land on your preferred approach…
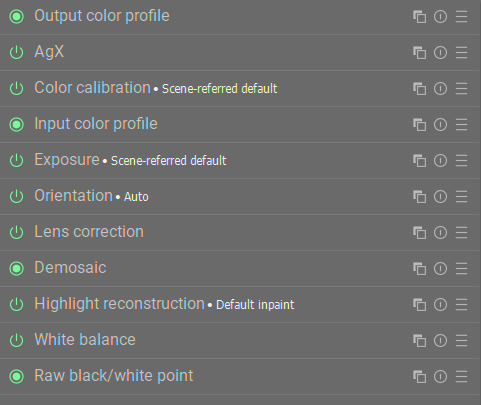
To match sigmoid’s ‘scene-referred default’, use:
- contrast = 3.07
- shoulder power = 3.7
- toe power = 1.4
(this is with hue preservation = 100% and disable adjustments = true in AgX, to more closely match the colour processing of sigmoid defaults)
There is some difference. It comes not from the curve, but rather from the somewhat different hue preservation:
If I set both AgX and sigmoid not to preserve hue, I get:
To match ‘smooth’, use:
- contrast = 2.98
- shoulder power = 3
- toe power = 1.6
There is practically no difference (‘smooth’ primaries in AgX, no hue preservation, just like in sigmoid).
@age, could you please try those, too?
agx_sigmoid-defaults.dtpreset (1.2 KB)
agx_sigmoid-smooth.dtpreset (1.1 KB)
3 Likes
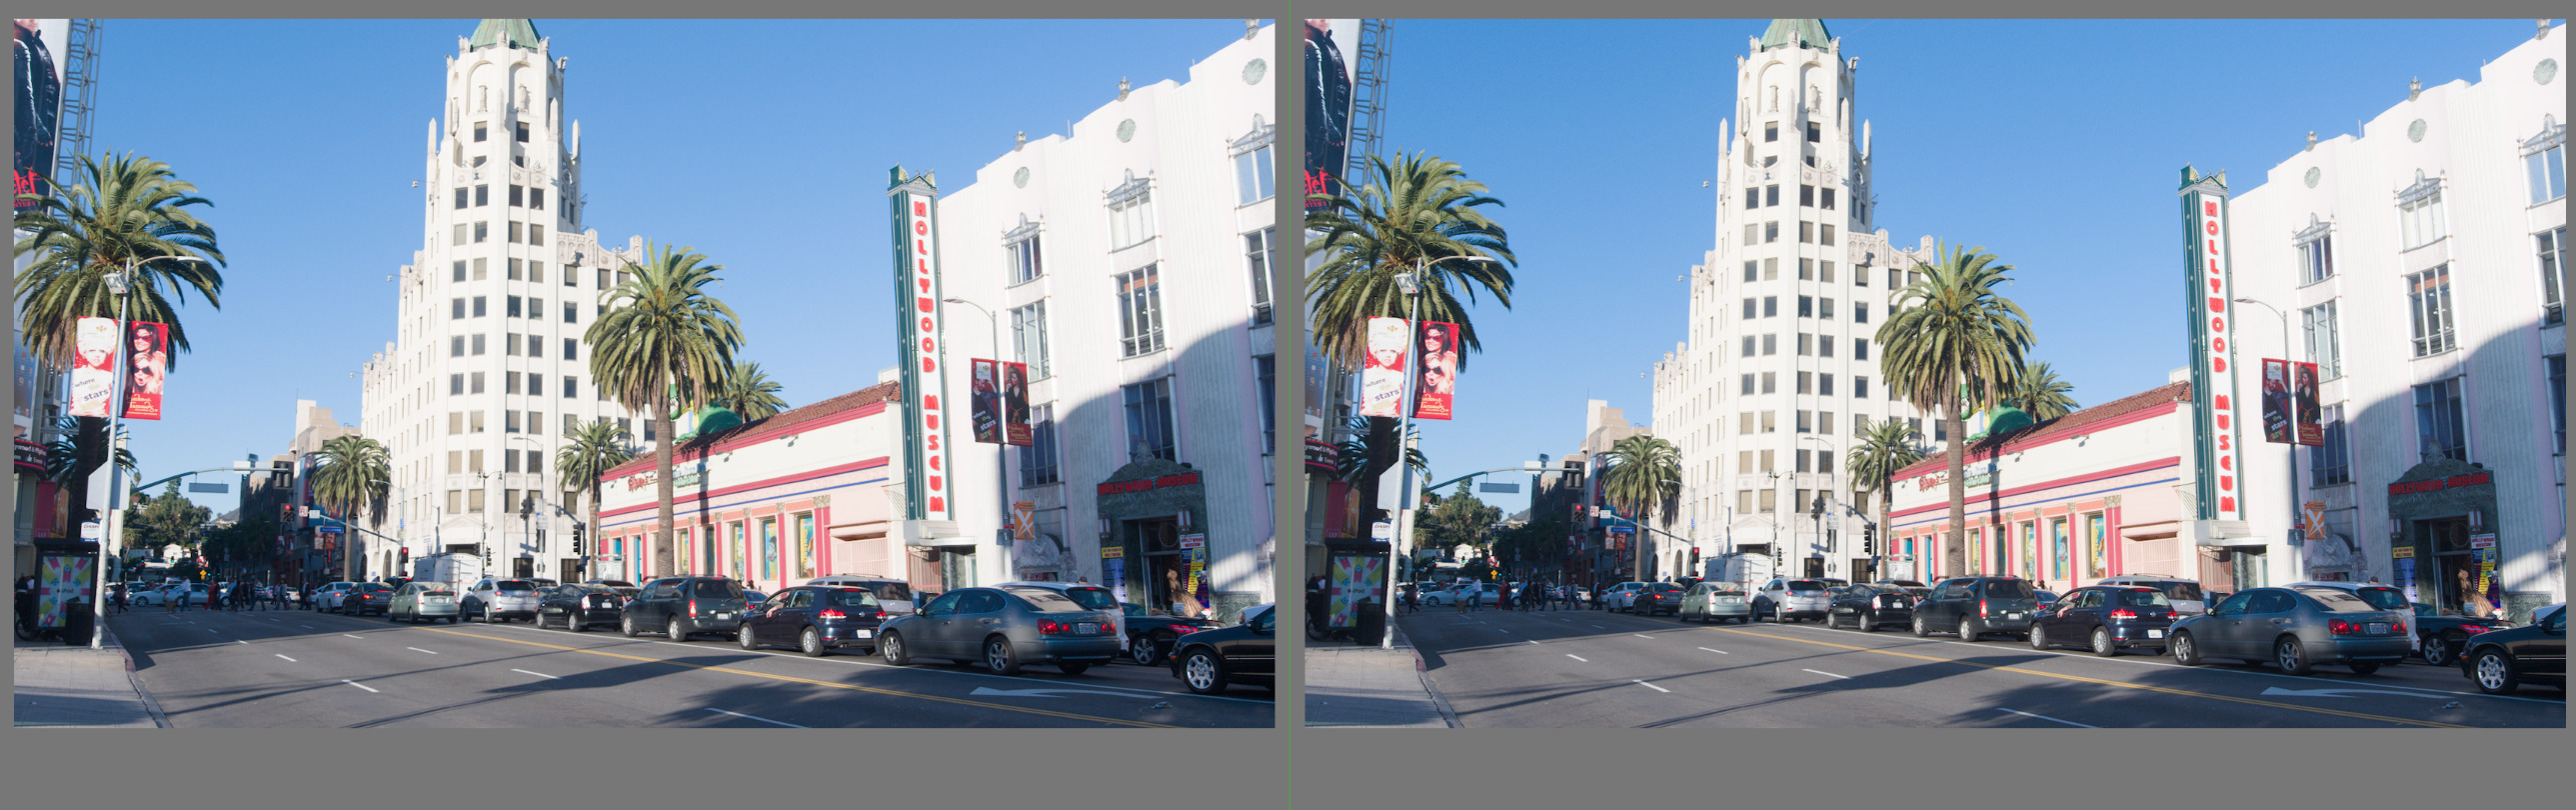
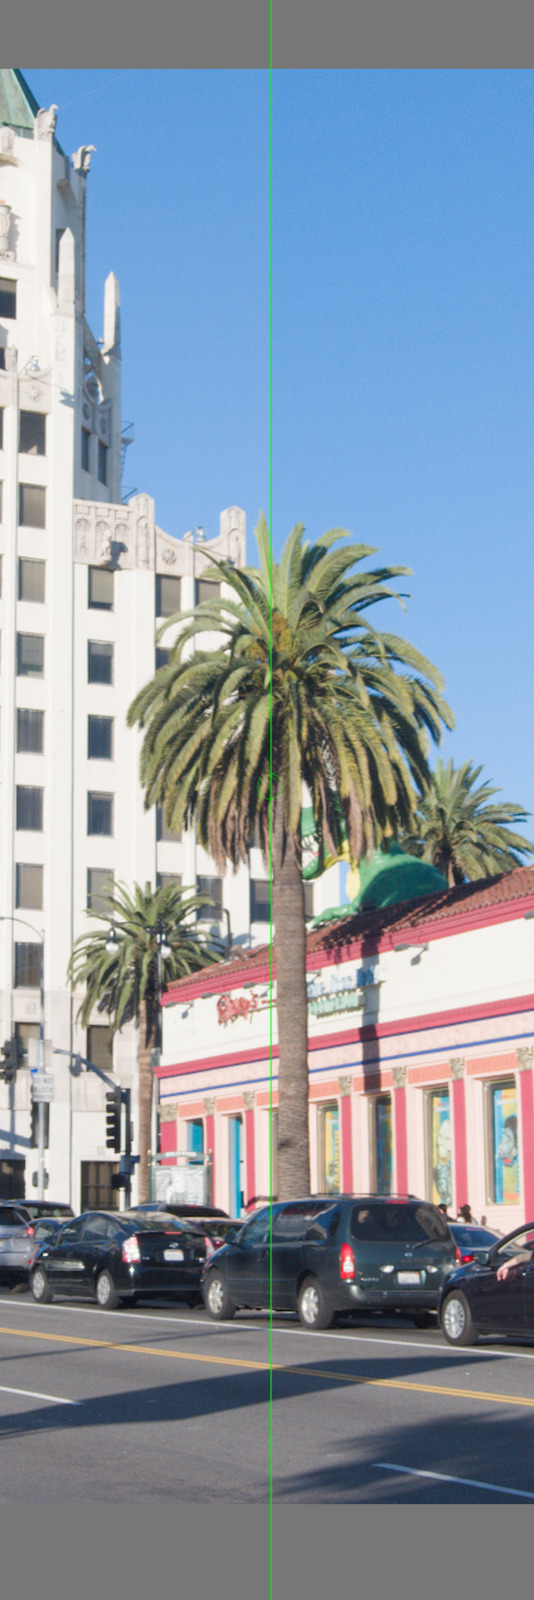
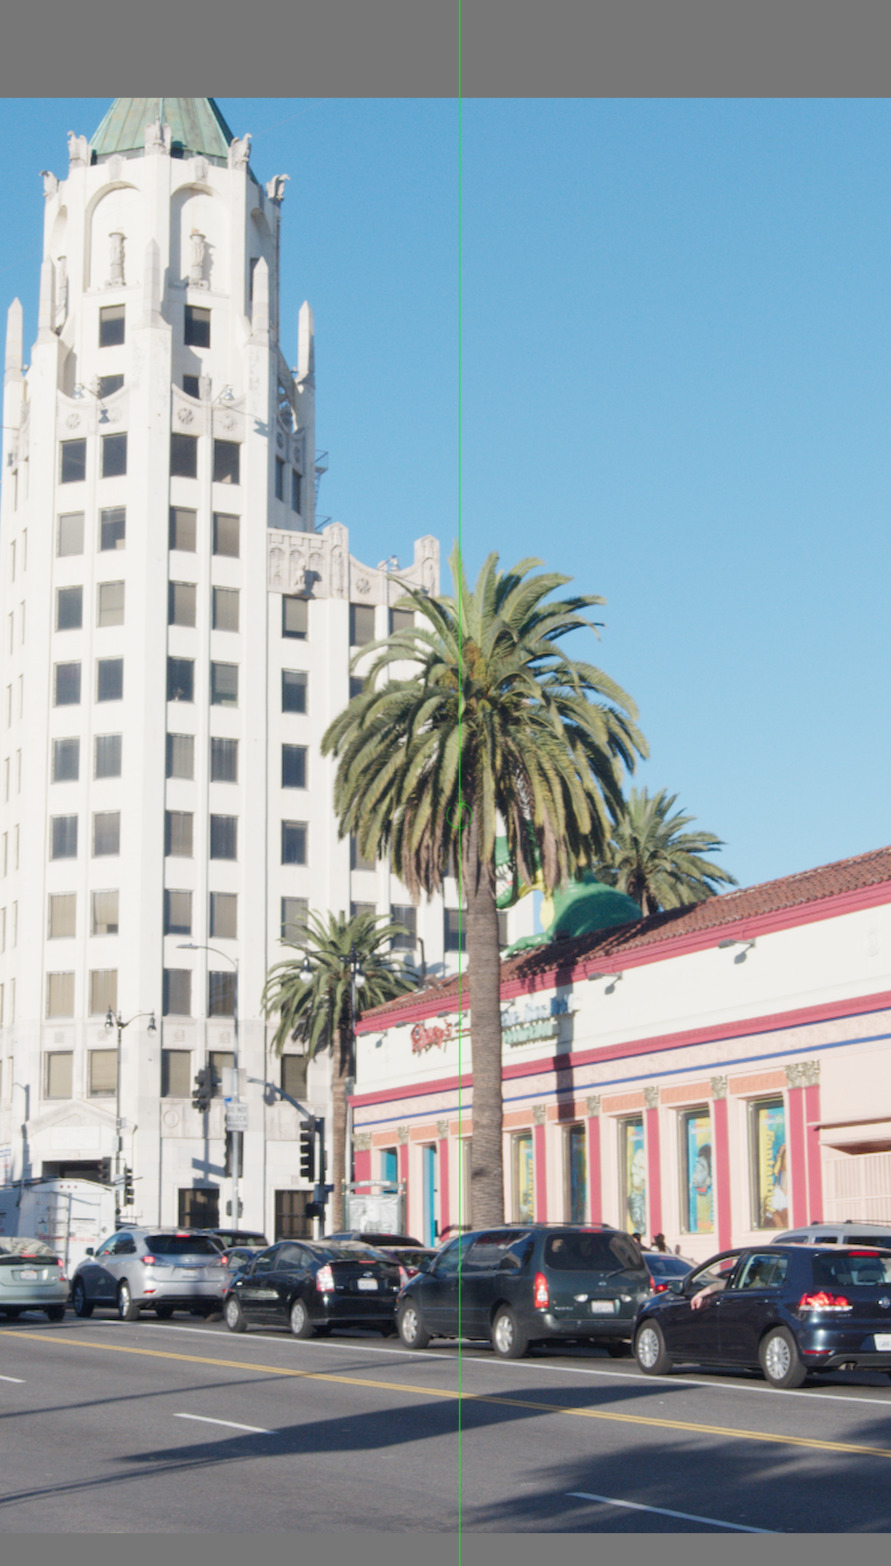
To demonstrate what @kofa, @Tim and @priort have already said, don’t be afraid to move the pivot into the highlights and play with the Primaries tab.
Here is a quickly processed photo with lots of highlights and a blue sky:
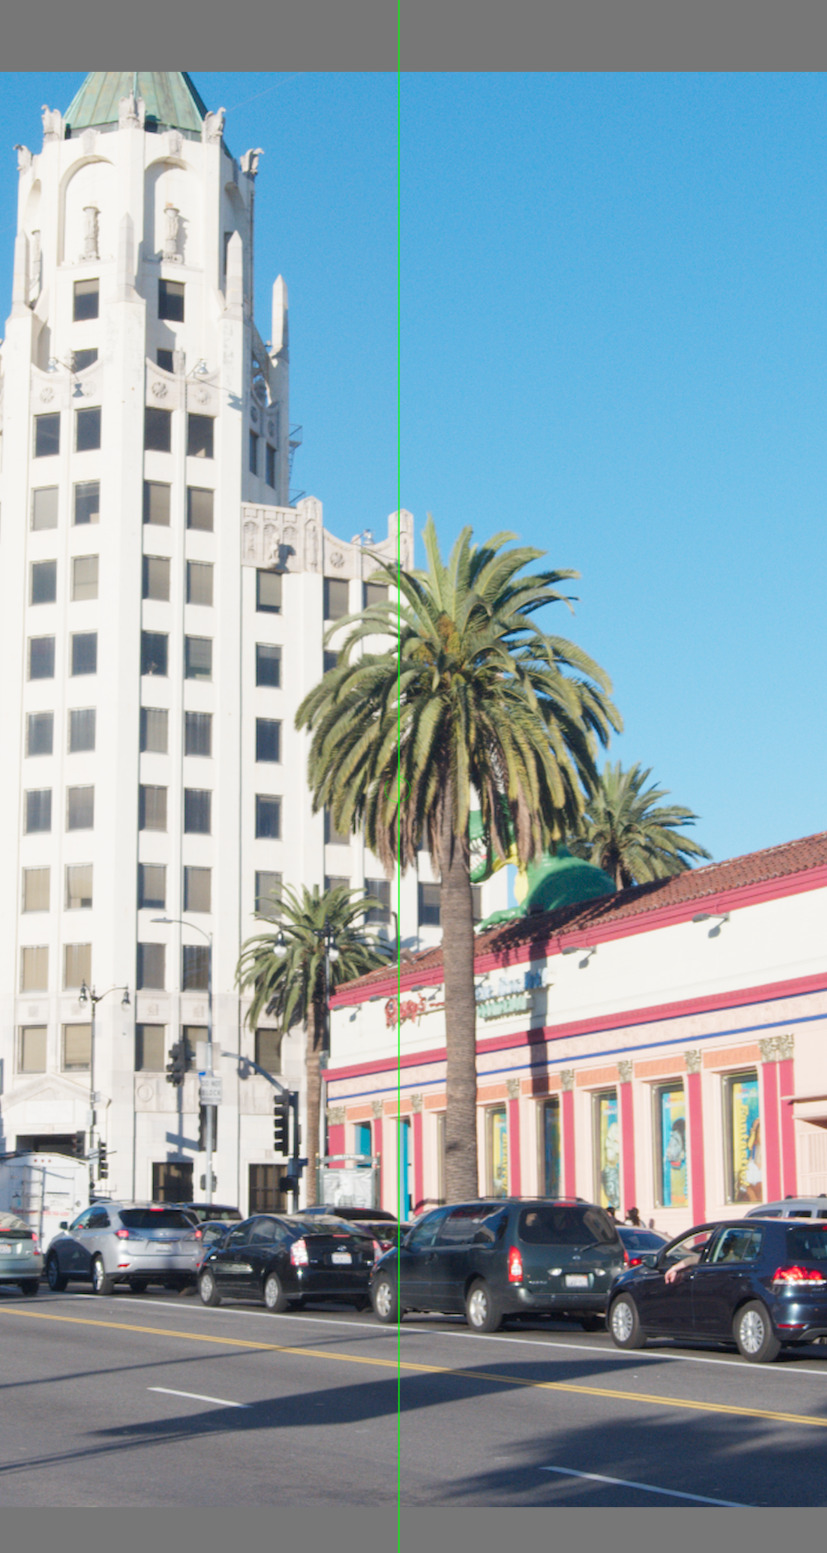
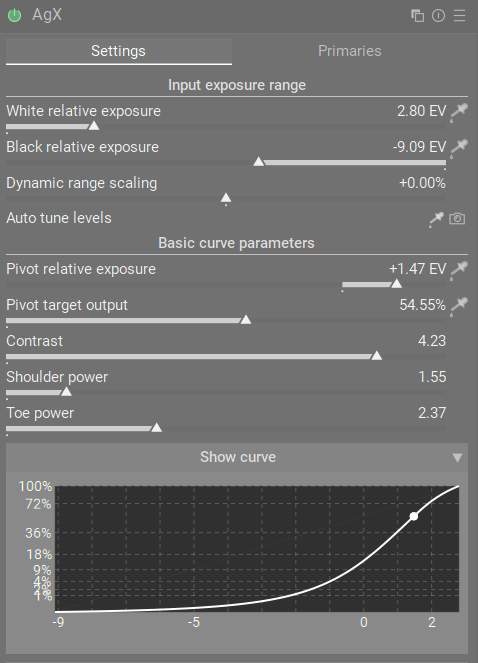
AgX showing the pivot moved towards the highlights:
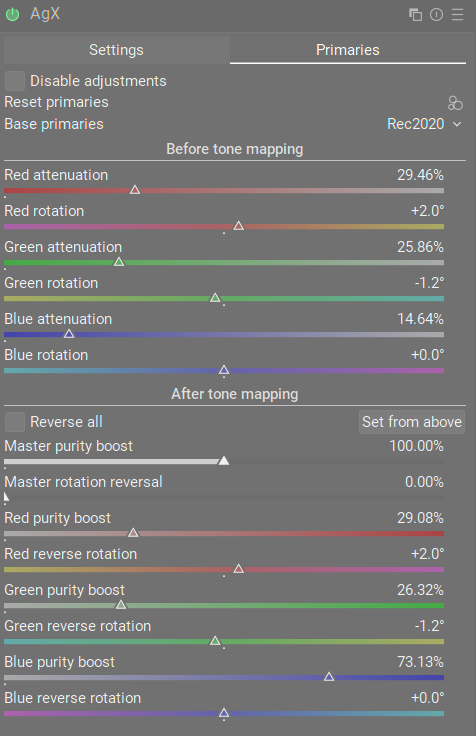
Blue sky bump using Blue purity boost:
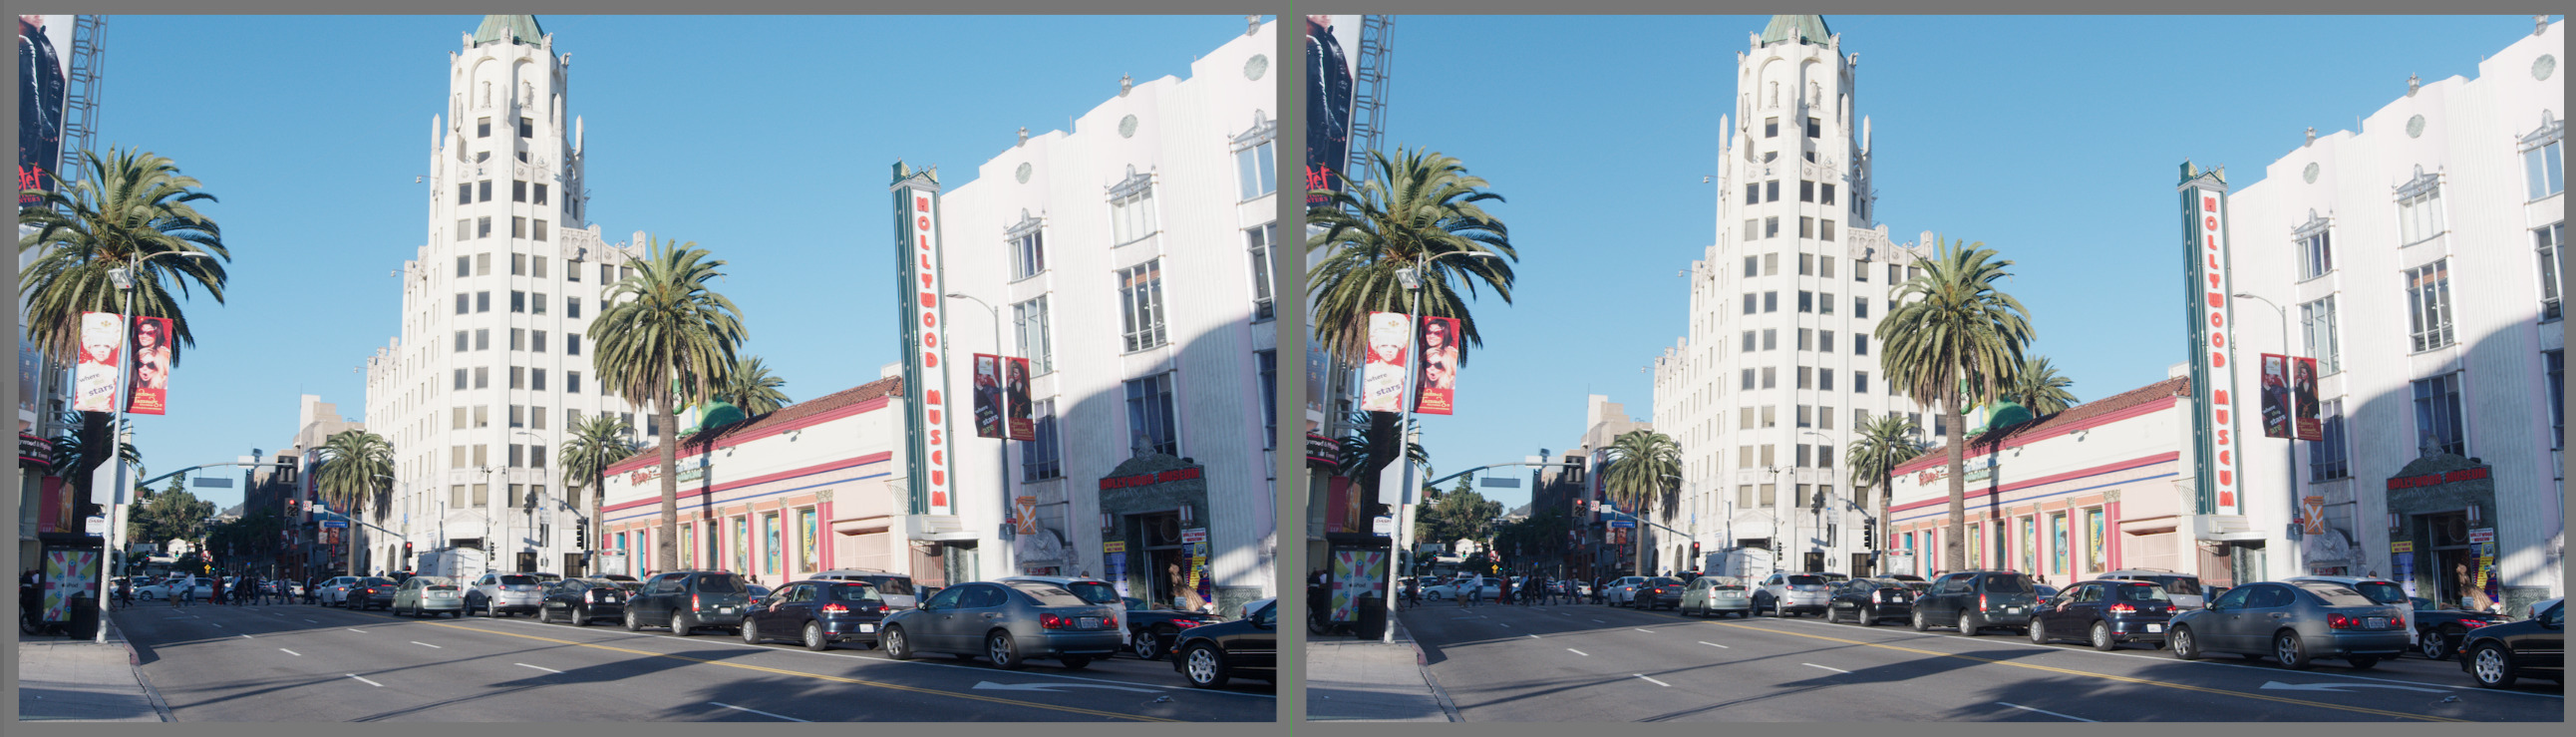
As you can see from my active module stack below, this was just with AgX. It’s not necessarily how I would process this photo, because I don’t usually try to do everything within the tone mapper, but it shows that AgX can be used on its own to create an almost finished edit.
6 Likes
Thank you ALL for your time and efforts to give me hints. The one to set pivot to the sky and increase blue purity was really helpful and did some magic. I may soon forget Filmic and Sigmoid. Just need to try AgX on more pictures.
1 Like
I don’t remember you contributing to the AgX POC development topic, and asking for a punchier look there, or ever before asking to match sigmoid, so this comment seems a tad harsh. Anyway, I hope you’ll like the parameters I proposed above, which actually match the sigmoid curve extremely closely, at least between -8 EV … +6 EV, relative to 18% mid-grey (and prove that AgX can also ‘get it right’).
7 Likes
Those settings are extremely close from my tests!
1 Like
They should be, I got a very low squared error sum for 1000 points between -8 EV and +6 EV when I fit the parameters. ![]()
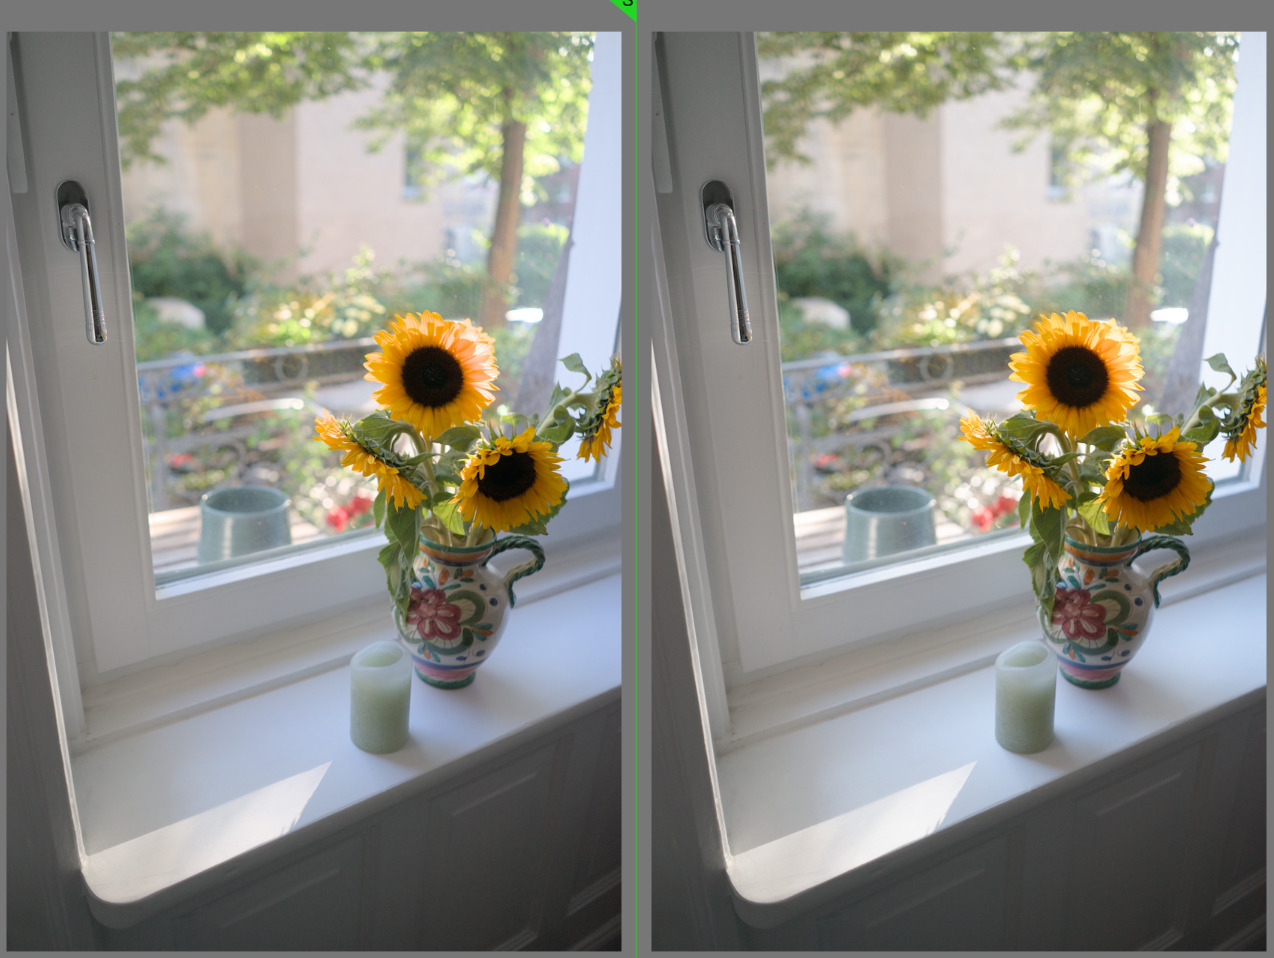
The input gamut compression is different between sigmoid and AgX, so there you may see a difference, and I did not include the extreme highlights (above 6 EV) / close to black shadows (below -8 EV) in the optimisation.
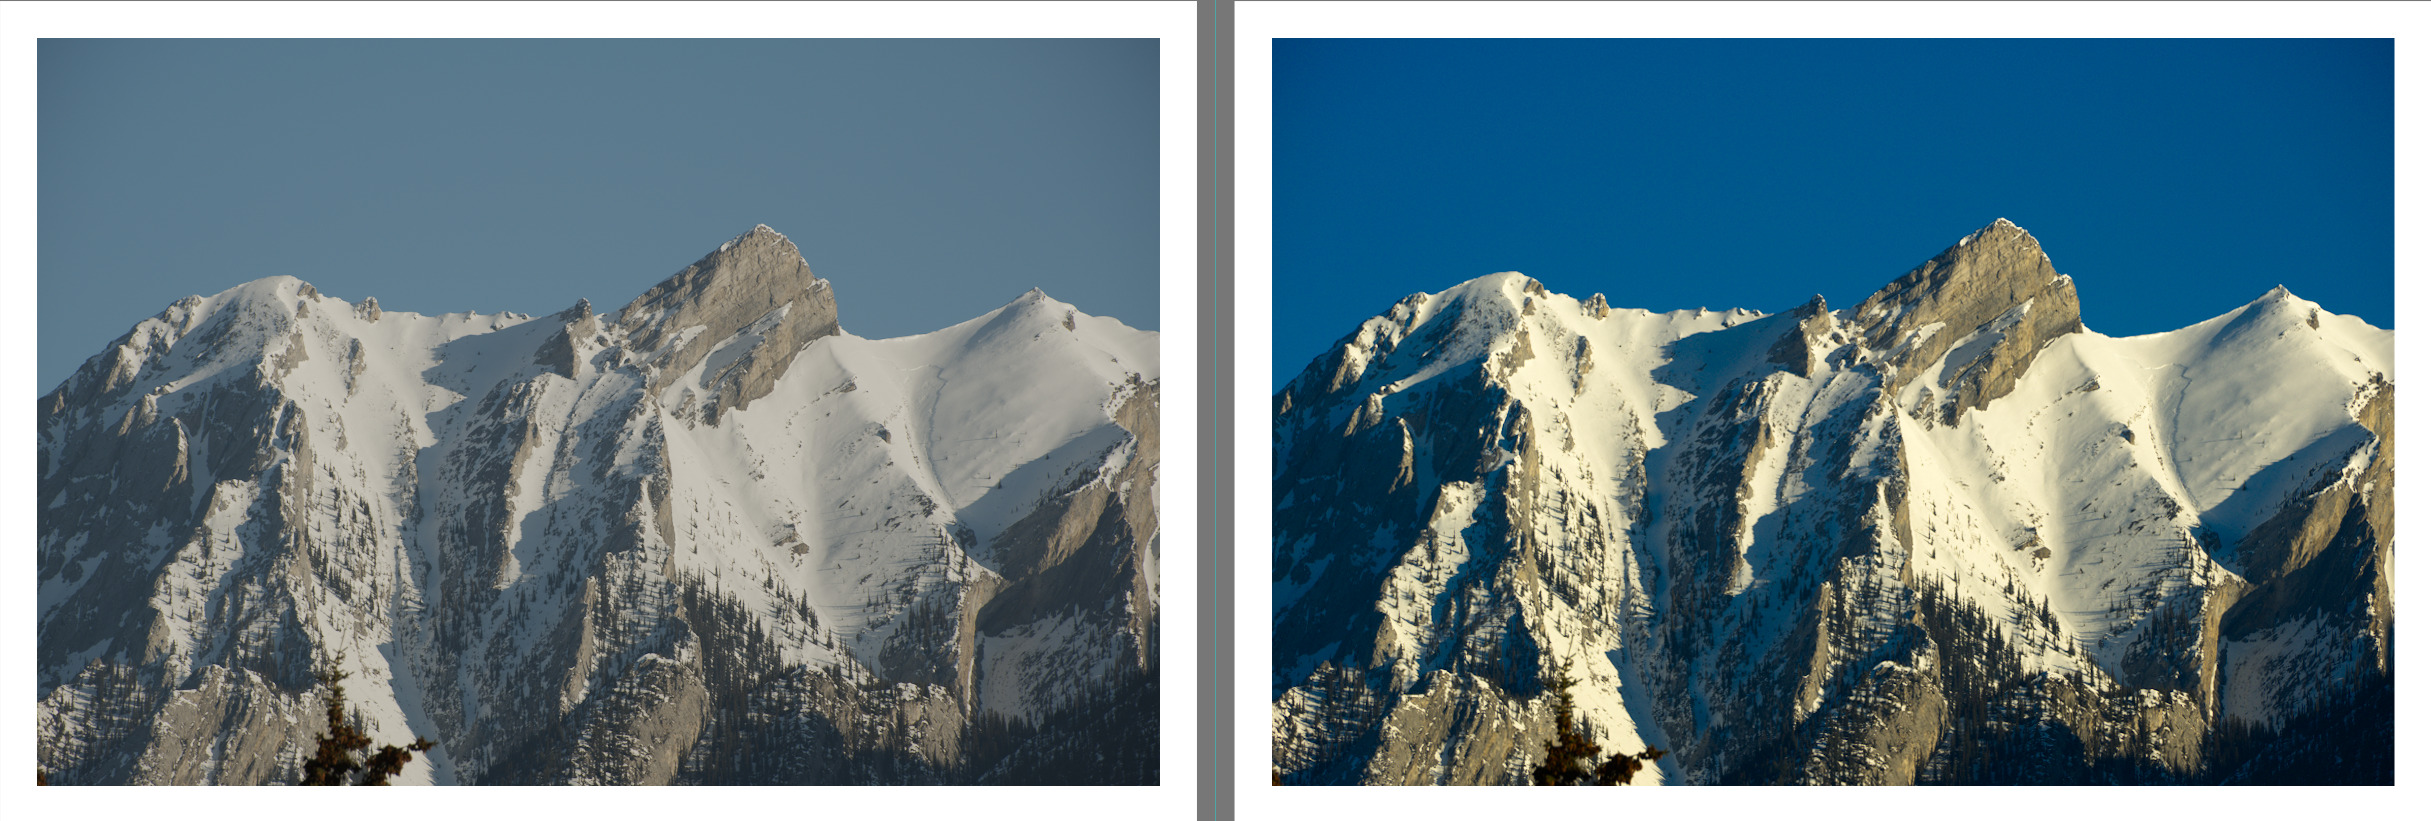
Here is one case where I found a difference:
2 Likes
The difference is small and nothing to be concerned about if anyone just wants to use those settings as a starting point.
Personally, I like starting with AgX from one of its presets anyway. The beauty of the module is that it is much more adaptable to the type of scene you have, so I don’t want a one-size-fits-all approach to it.
By the way, can you clear something about the pivot pickers for me?
The manual “guidelines” section recommends first using the Pivot Relative Exposure picker, then using Pivot Target Output to adjust brightness. As the Pivot Target Output picker adjusts both of these sliders, does that mean it is NOT recommended to use both of these pickers?
In other words, the recommended way is to use the picker for Pivot Relative Exposure, and then adjust the Pivot Target Output slider manually?
Is the Pivot Target Output picker a way to do both adjustments (set contrast pivot and brightness) in one operation? If so, why is that less recommended than the other method?
Oh, that’s probably outdated. I’ll update it.
But anyway:
- the picker next to pivot target output adjusts both the input (the relative exposure, reading the average luminance of the area you select) and the output (trying to adjust it such that the average luminance of the selected region does not change after the input is adjusted). You may then adjust the output exposure manually to darken/brighten the image. If you pick using the pivot target output again (from this same region), no change should occur, as the input region has already been used to modify the input, and the output should be adjusted by the algorithm to match the current luminance. If the region is not homogeneous, the mapped value of the average may not match the average value of the individual mapped values.
- the input (relative exposure) picker only moves the pivot horizontally, and leaves the output as-is; it will lead to a change in overall brightness (a different input tonal value will be mapped to the same output as before).
I hardly ever use the input slider, but someone asked for it, because they wanted to check if they set the pivot previously at some area, and they didn’t want to risk any brightness changes if the pivot was already set there (or something along those lines).
1 Like
Ok thanks, that makes sense, and it was how I was originally using the module.
So, the “output” picker will be the only one needed most of the time.
As for the actual pivot value, is it the average of the lightest and darkest part of the area you select?
darktable gives the min, max and average readings. That is what’s available to all modules.
To approximate filmic’s default curve (this looks more different, because filmic maps a ‘norm’ (a derived value), not channels, and colour saturation also affects the final mapping, plus filmic auto-tunes its black/white based on what it reads from exposure), one may try:
contrast = 2.72 (but in another run, I got 2.39, so maybe something around 2.5 would be OK?)
shoulder power = ??? (I get values around 7, which is weird)
toe power = 1.3 (but in another run, I got 1.82, so maybe 1.5?)
Contrast in mid-tones should be similar.
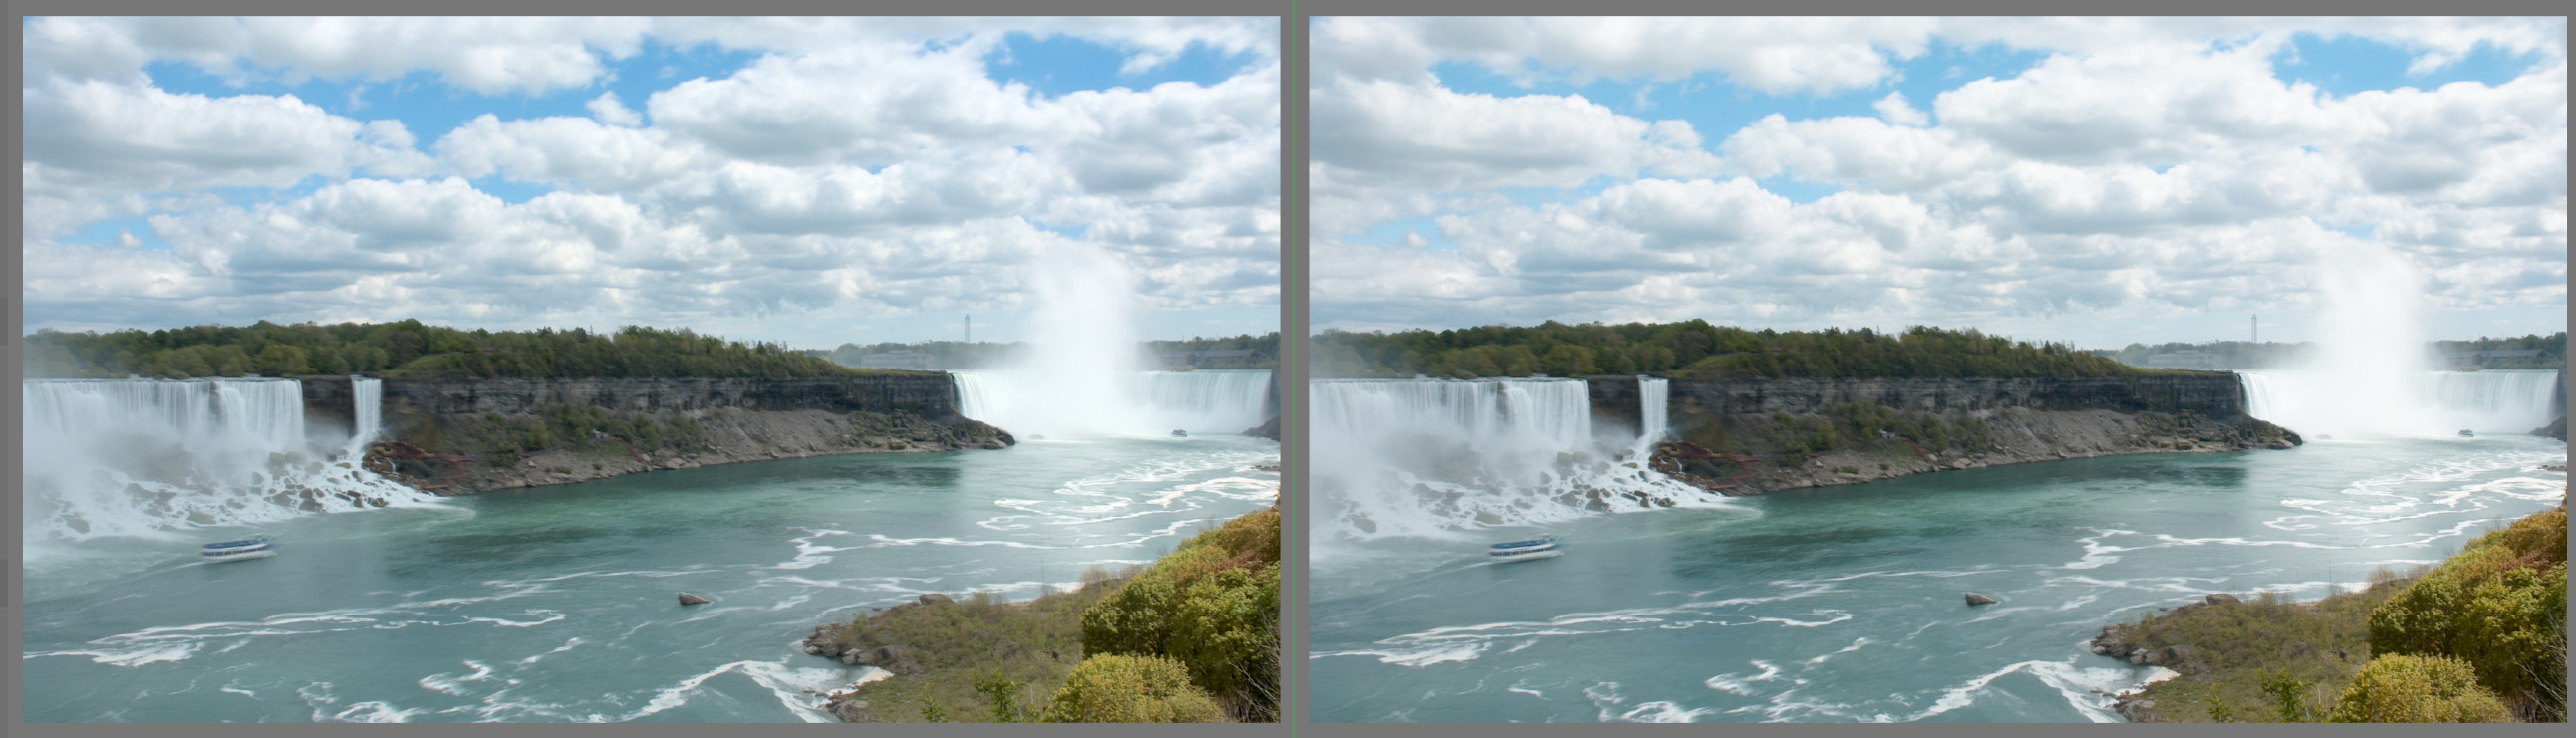
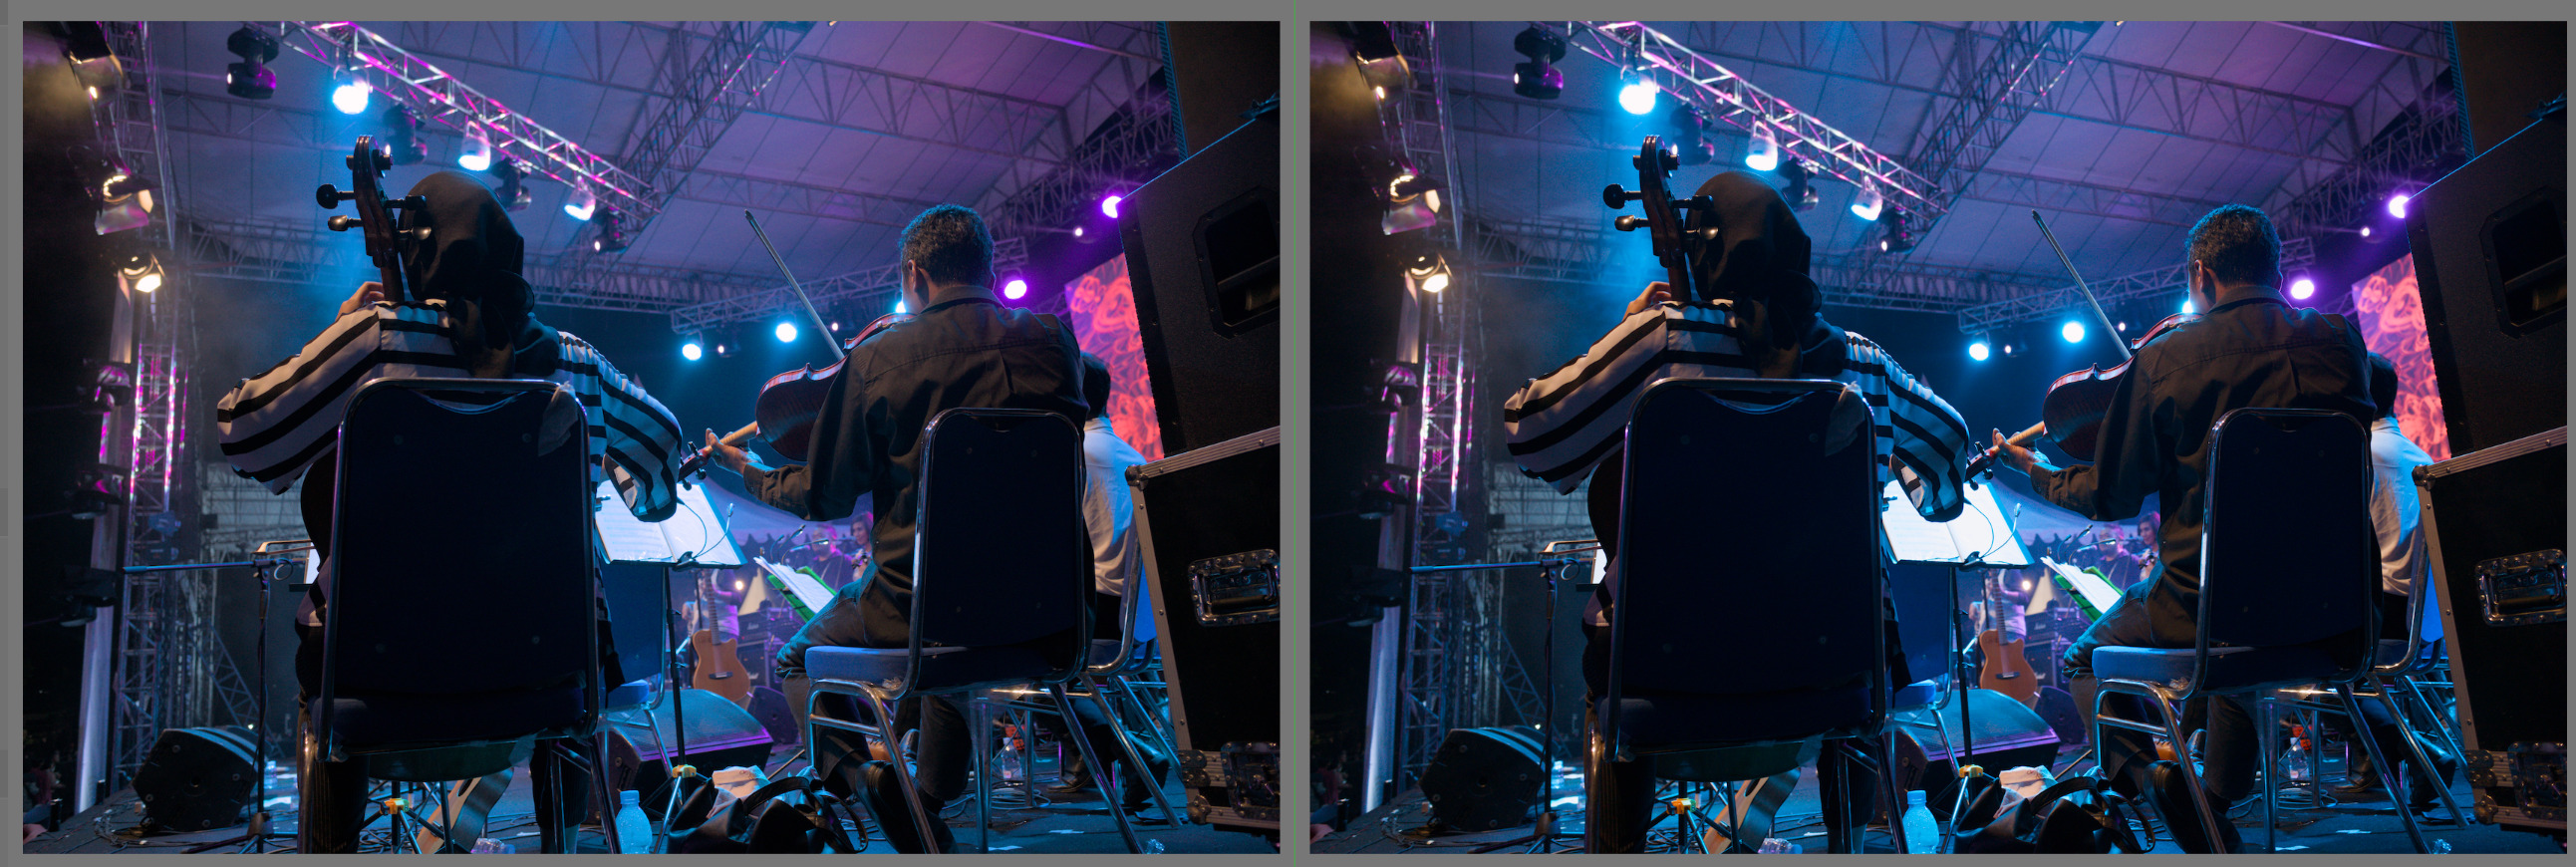
This last one is quite different (and also the score on the concert shot):

But for the purposes of the pivot with that output picker, we are basically just interested in the average value, right? I want the pivot to be the average value of the area I select, so that anything brighter than that value becomes brighter and everything darker becomes darker (assuming you want to boost contrast).
Is that right?