Hello
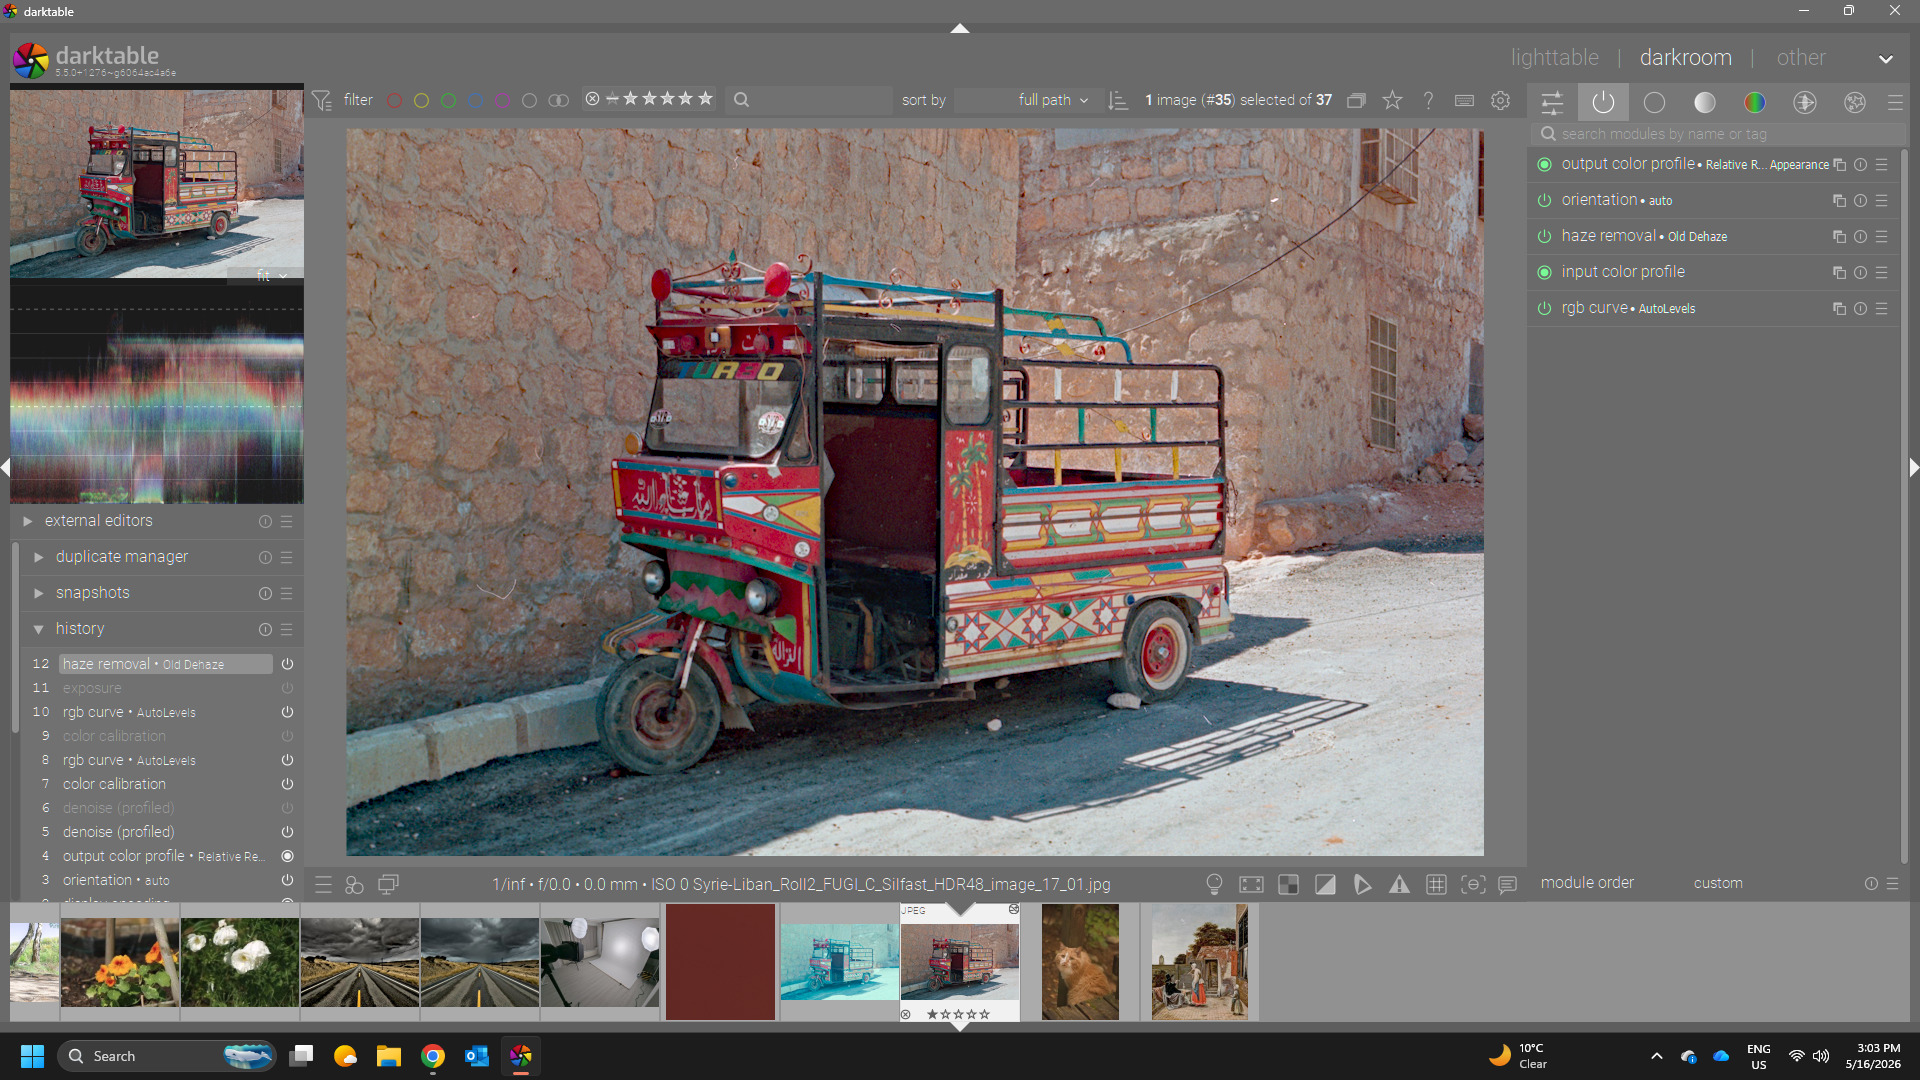
I’m trying to develop old negatives using darktable and the negadoctor module and finding it difficult to establish a consistent standard workflow.
My current macro workflow:
I scan with a flatbed scanner using SilverFast in 48-bit linear format
I set the Dmin using an unexposed area of the negative, entry color profil REC2020
I then use the color pickers for Dmax and scan exposure bias in the film tab, and the shadows color cast and highlights color cast pickers in the corrections tab
(Note: I believe there is an error in the documentation — the shadows color cast correction only works when the scan exposure bias is set to a non-zero value, while the documentation states the opposite)
In general this works fairly well, but results vary depending on the film stock.
Current issue:
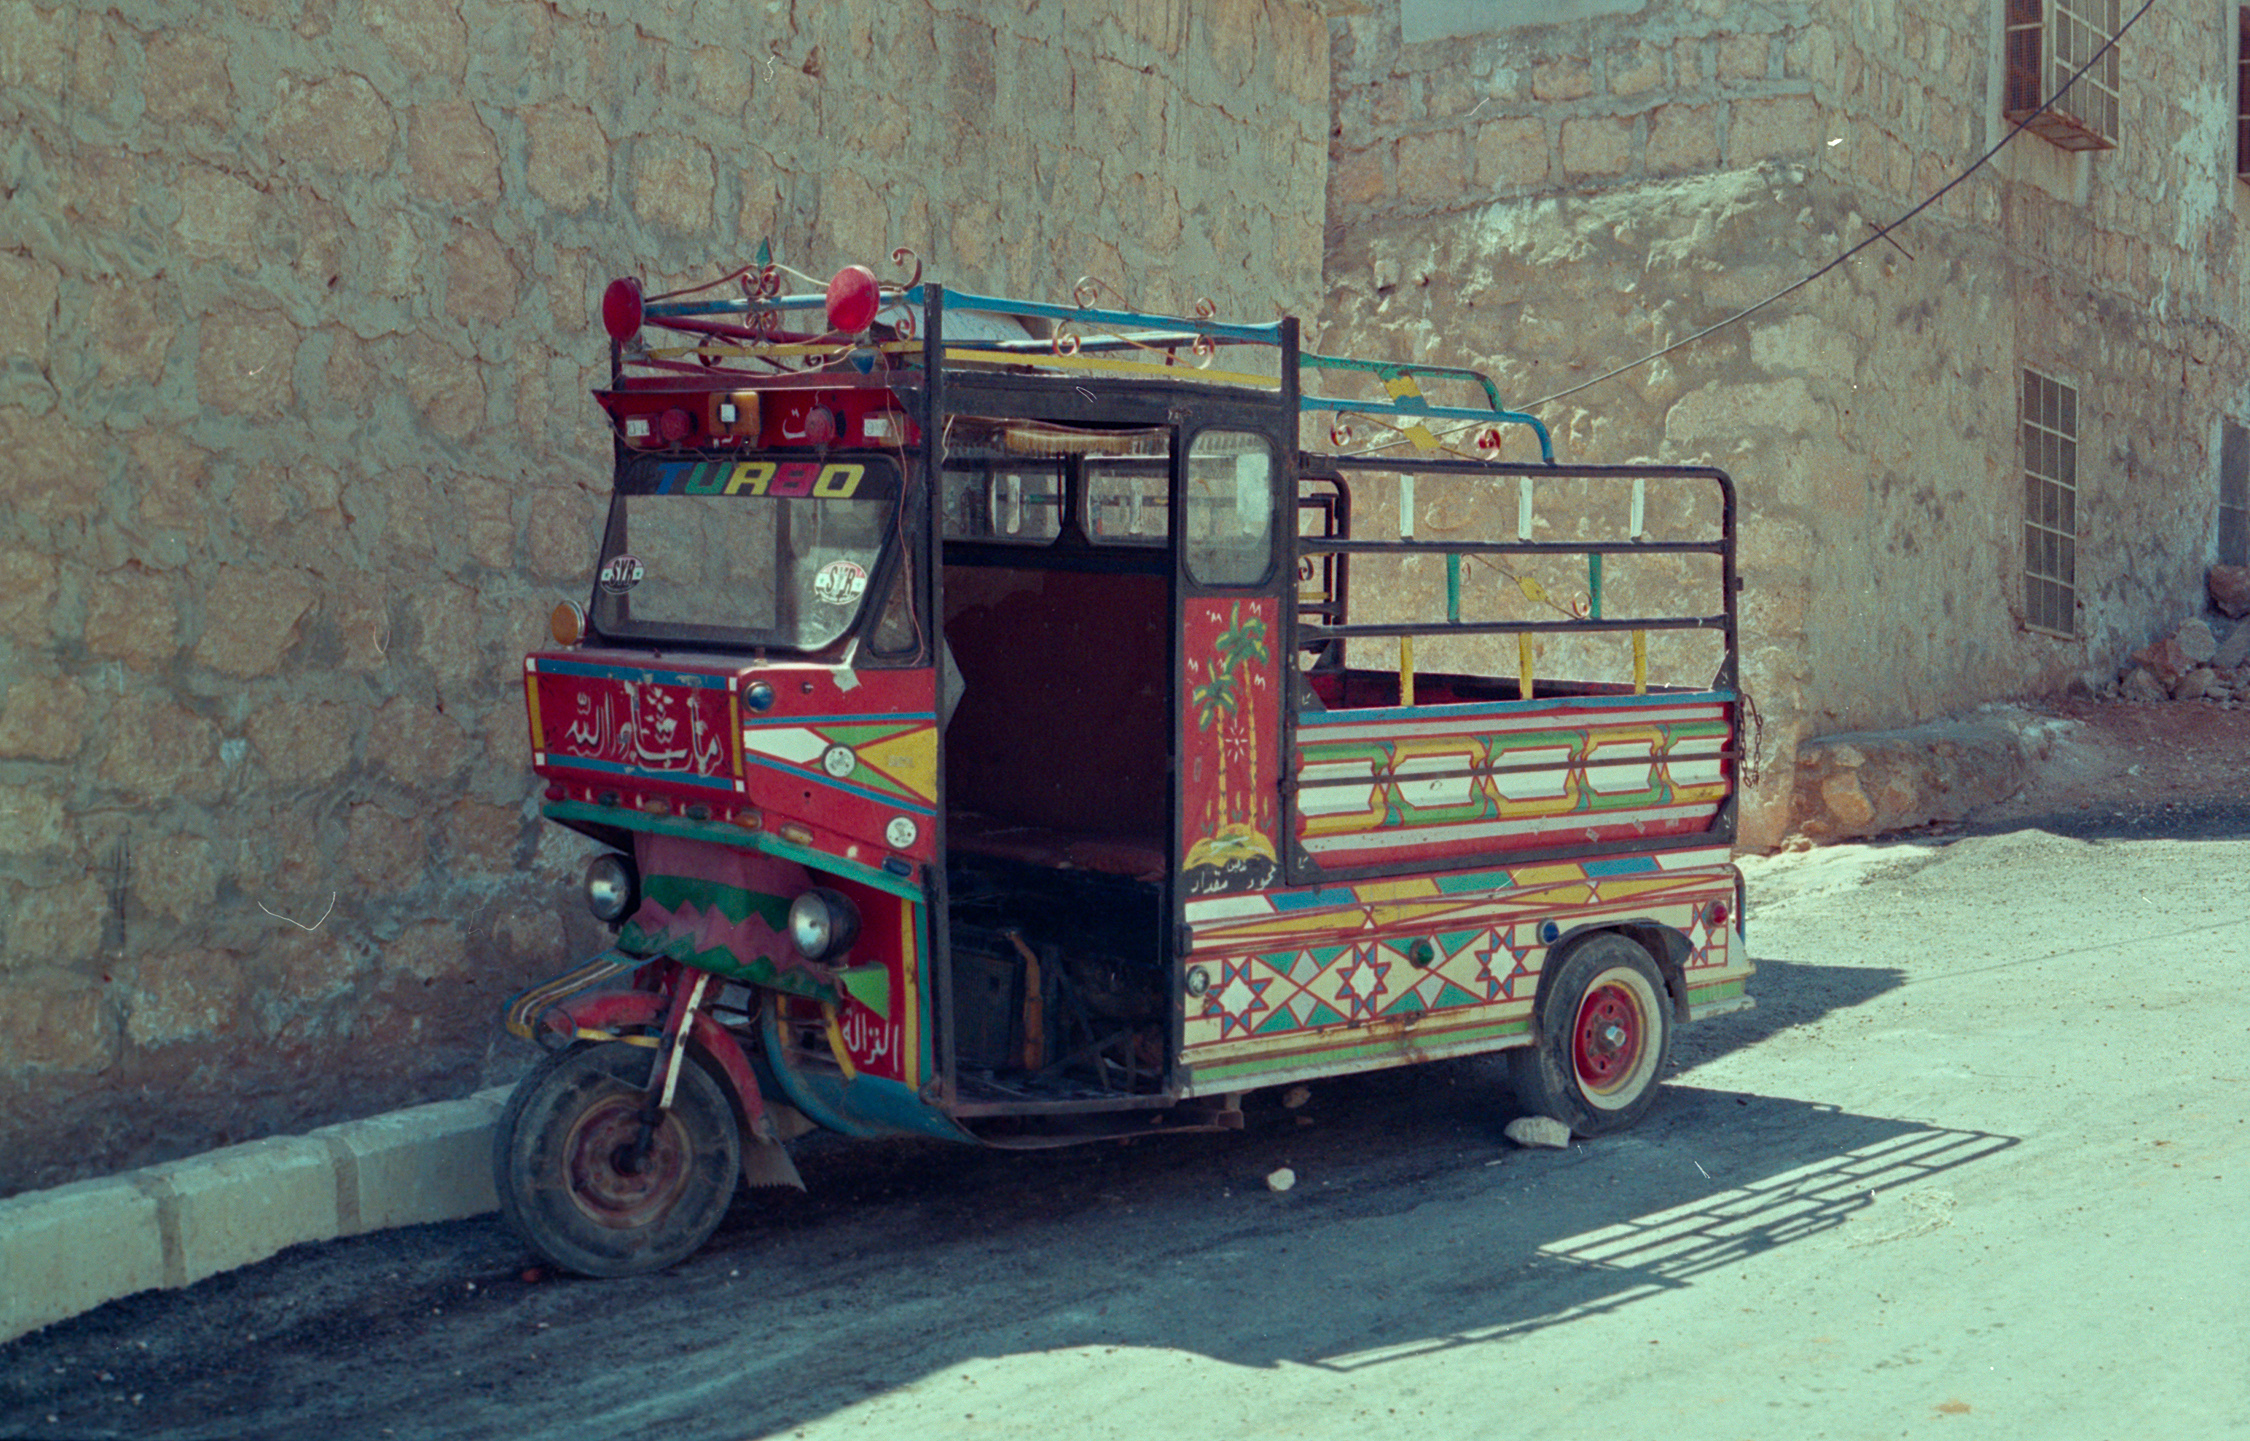
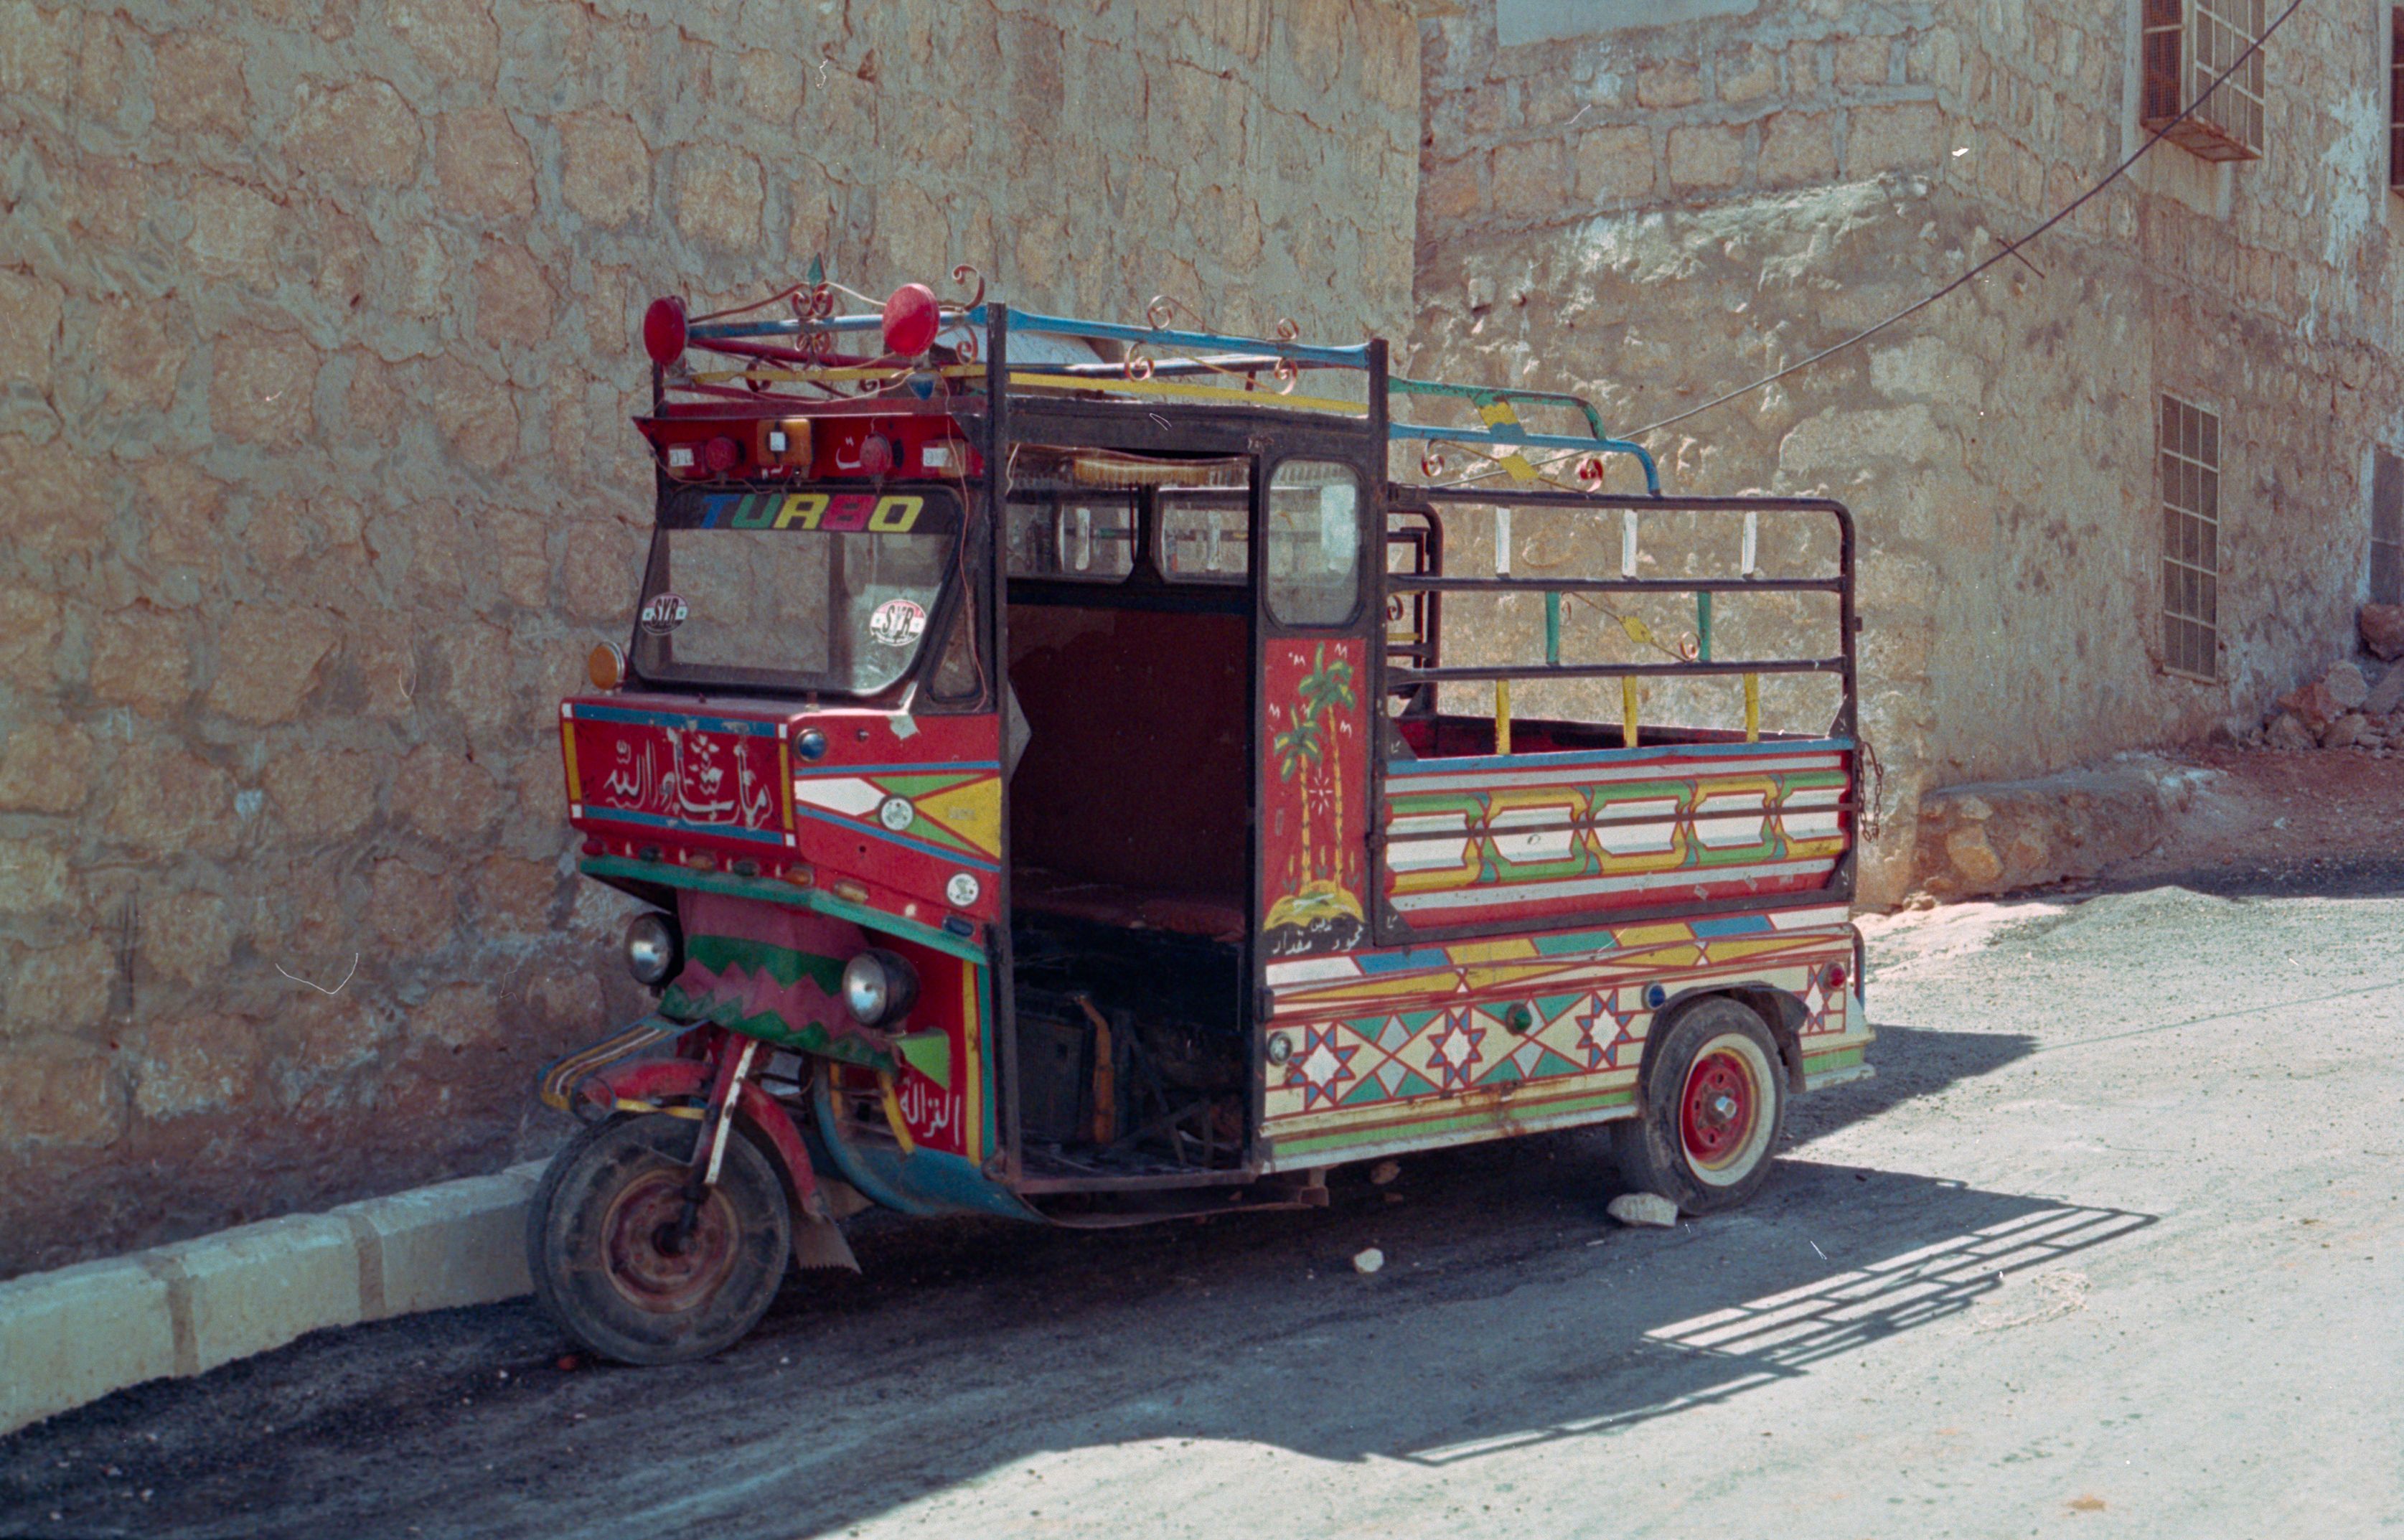
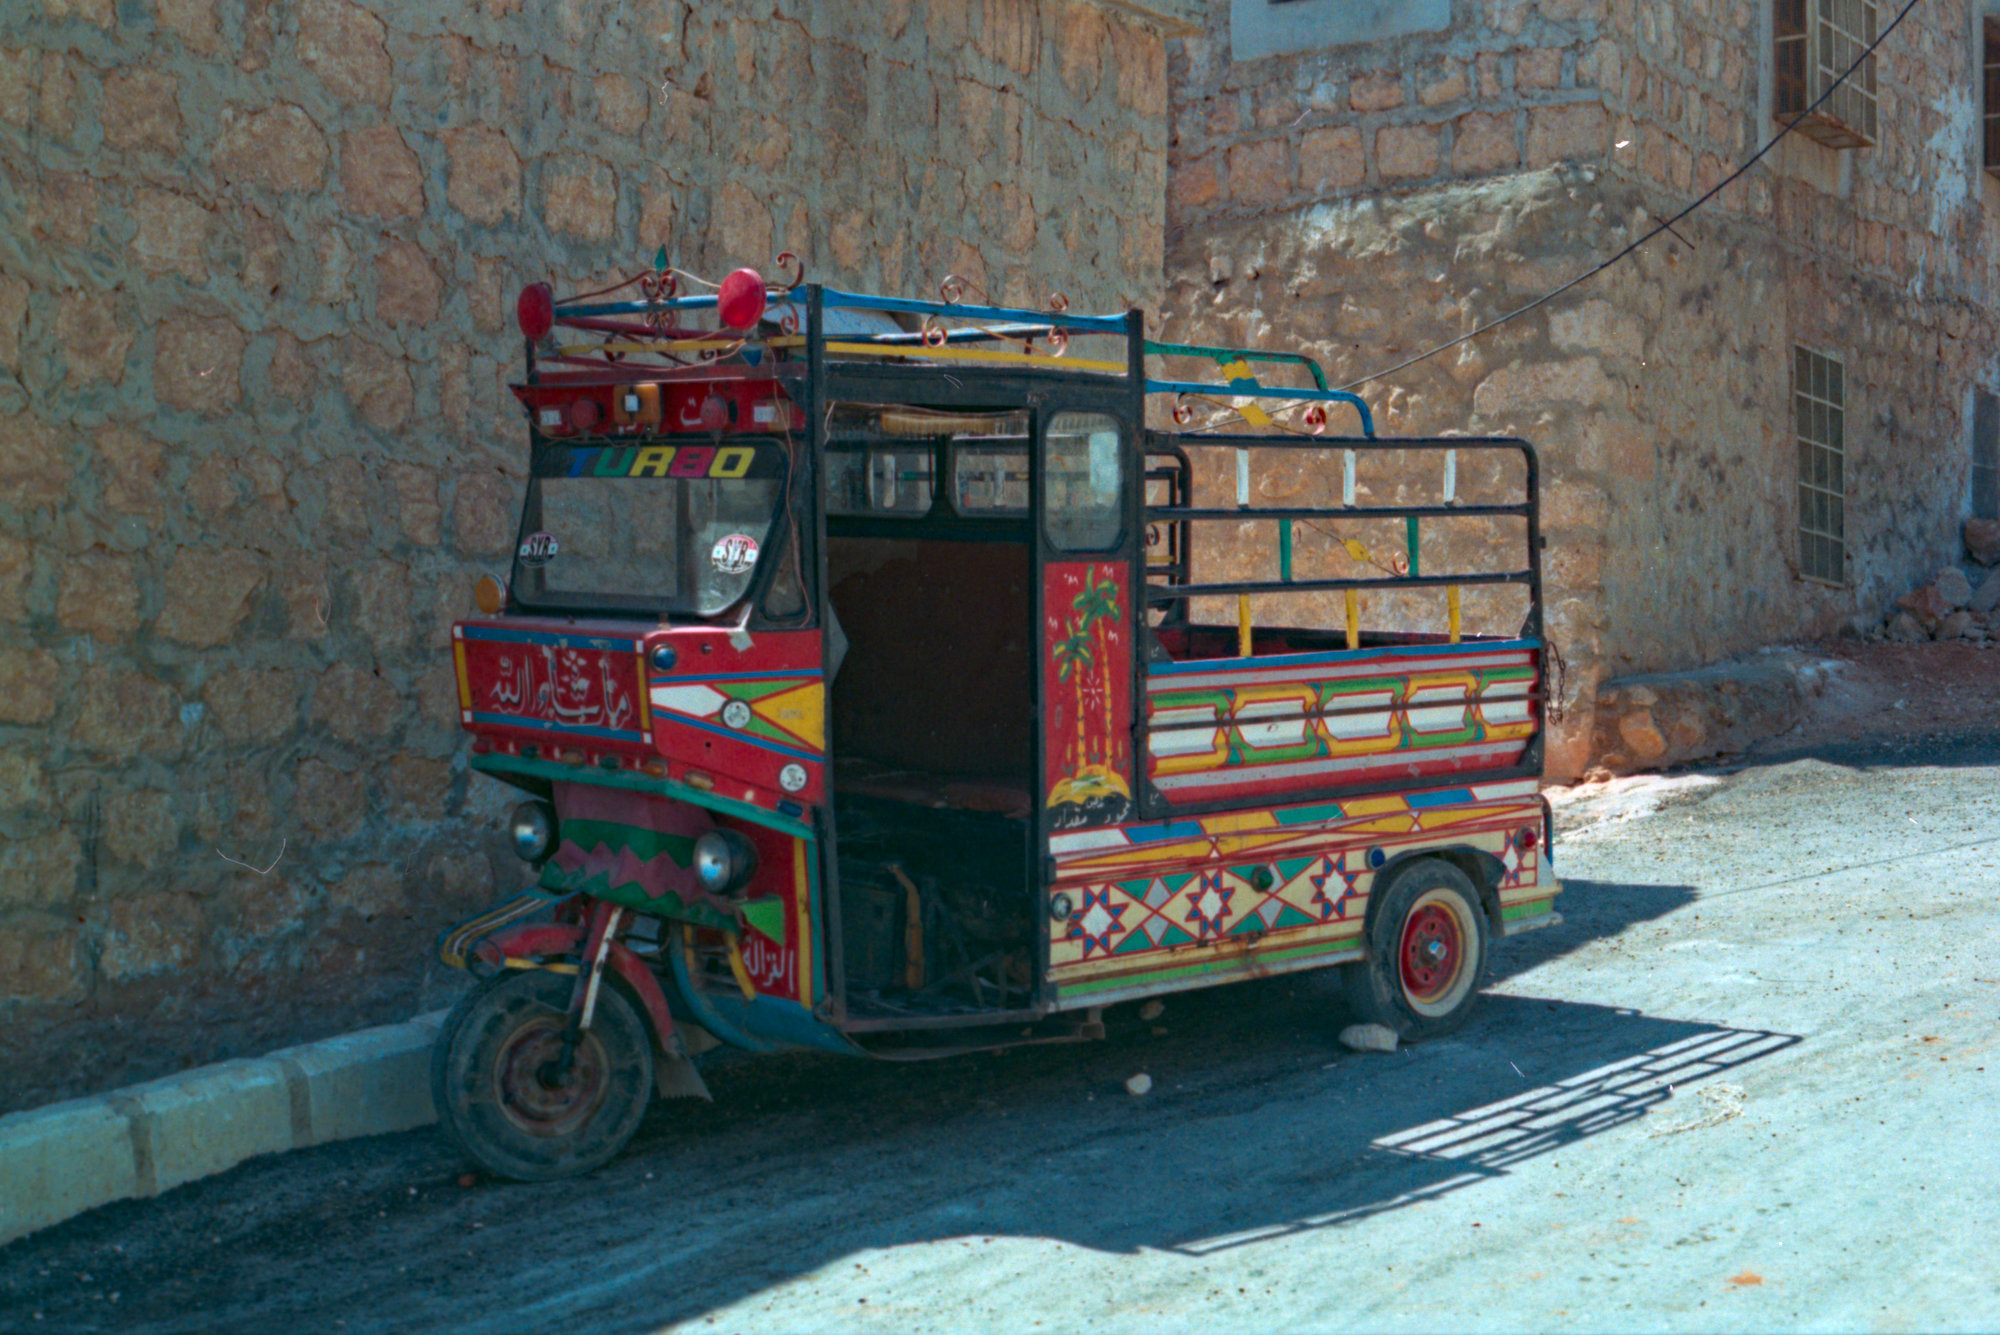
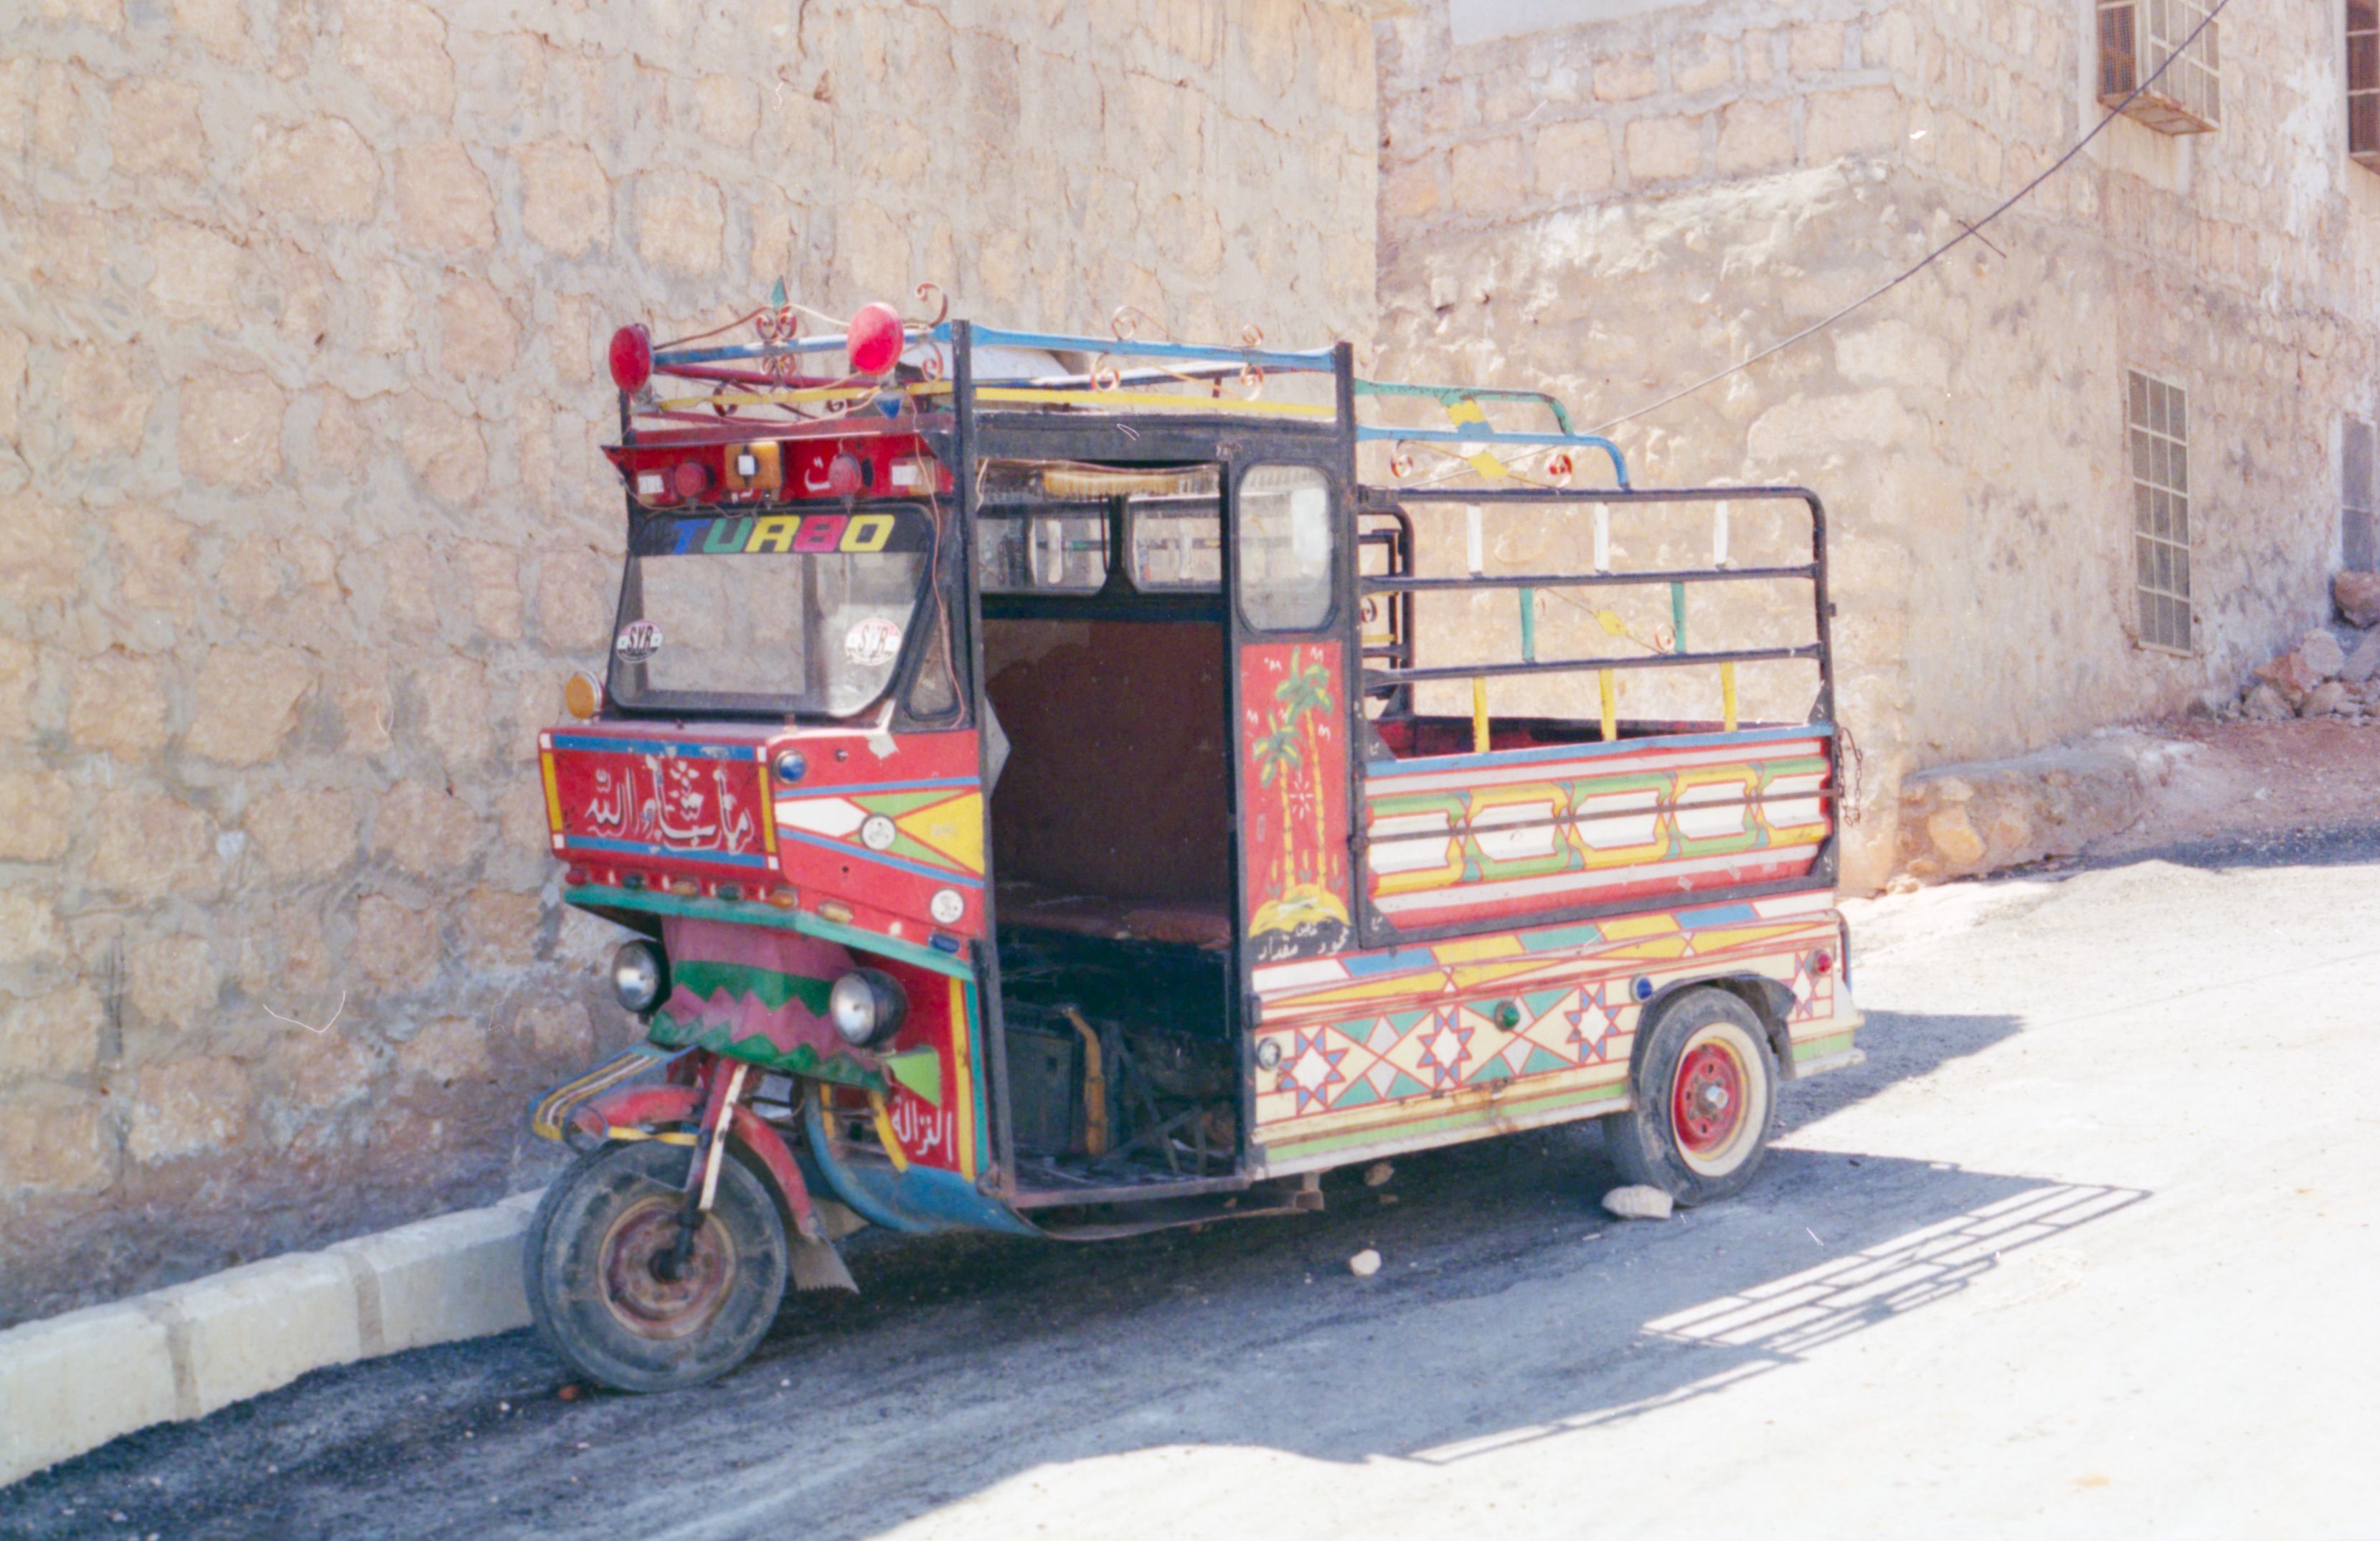
I have what I believe is an Agfa ou Fuji film with a persistent yellow cast that I cannot remove through negadoctor alone. I managed to get better results by pushing the scan exposure bias significantly negative, but this doesn’t work consistently across different frames.
The best result so far was achieved using the RGB primaries module (or color balance RGB), applying a hue rotation toward magenta in the shadows and midtones.
I’d very much appreciate hearing about your experiences processing color negatives with negadoctor and deal with color cast
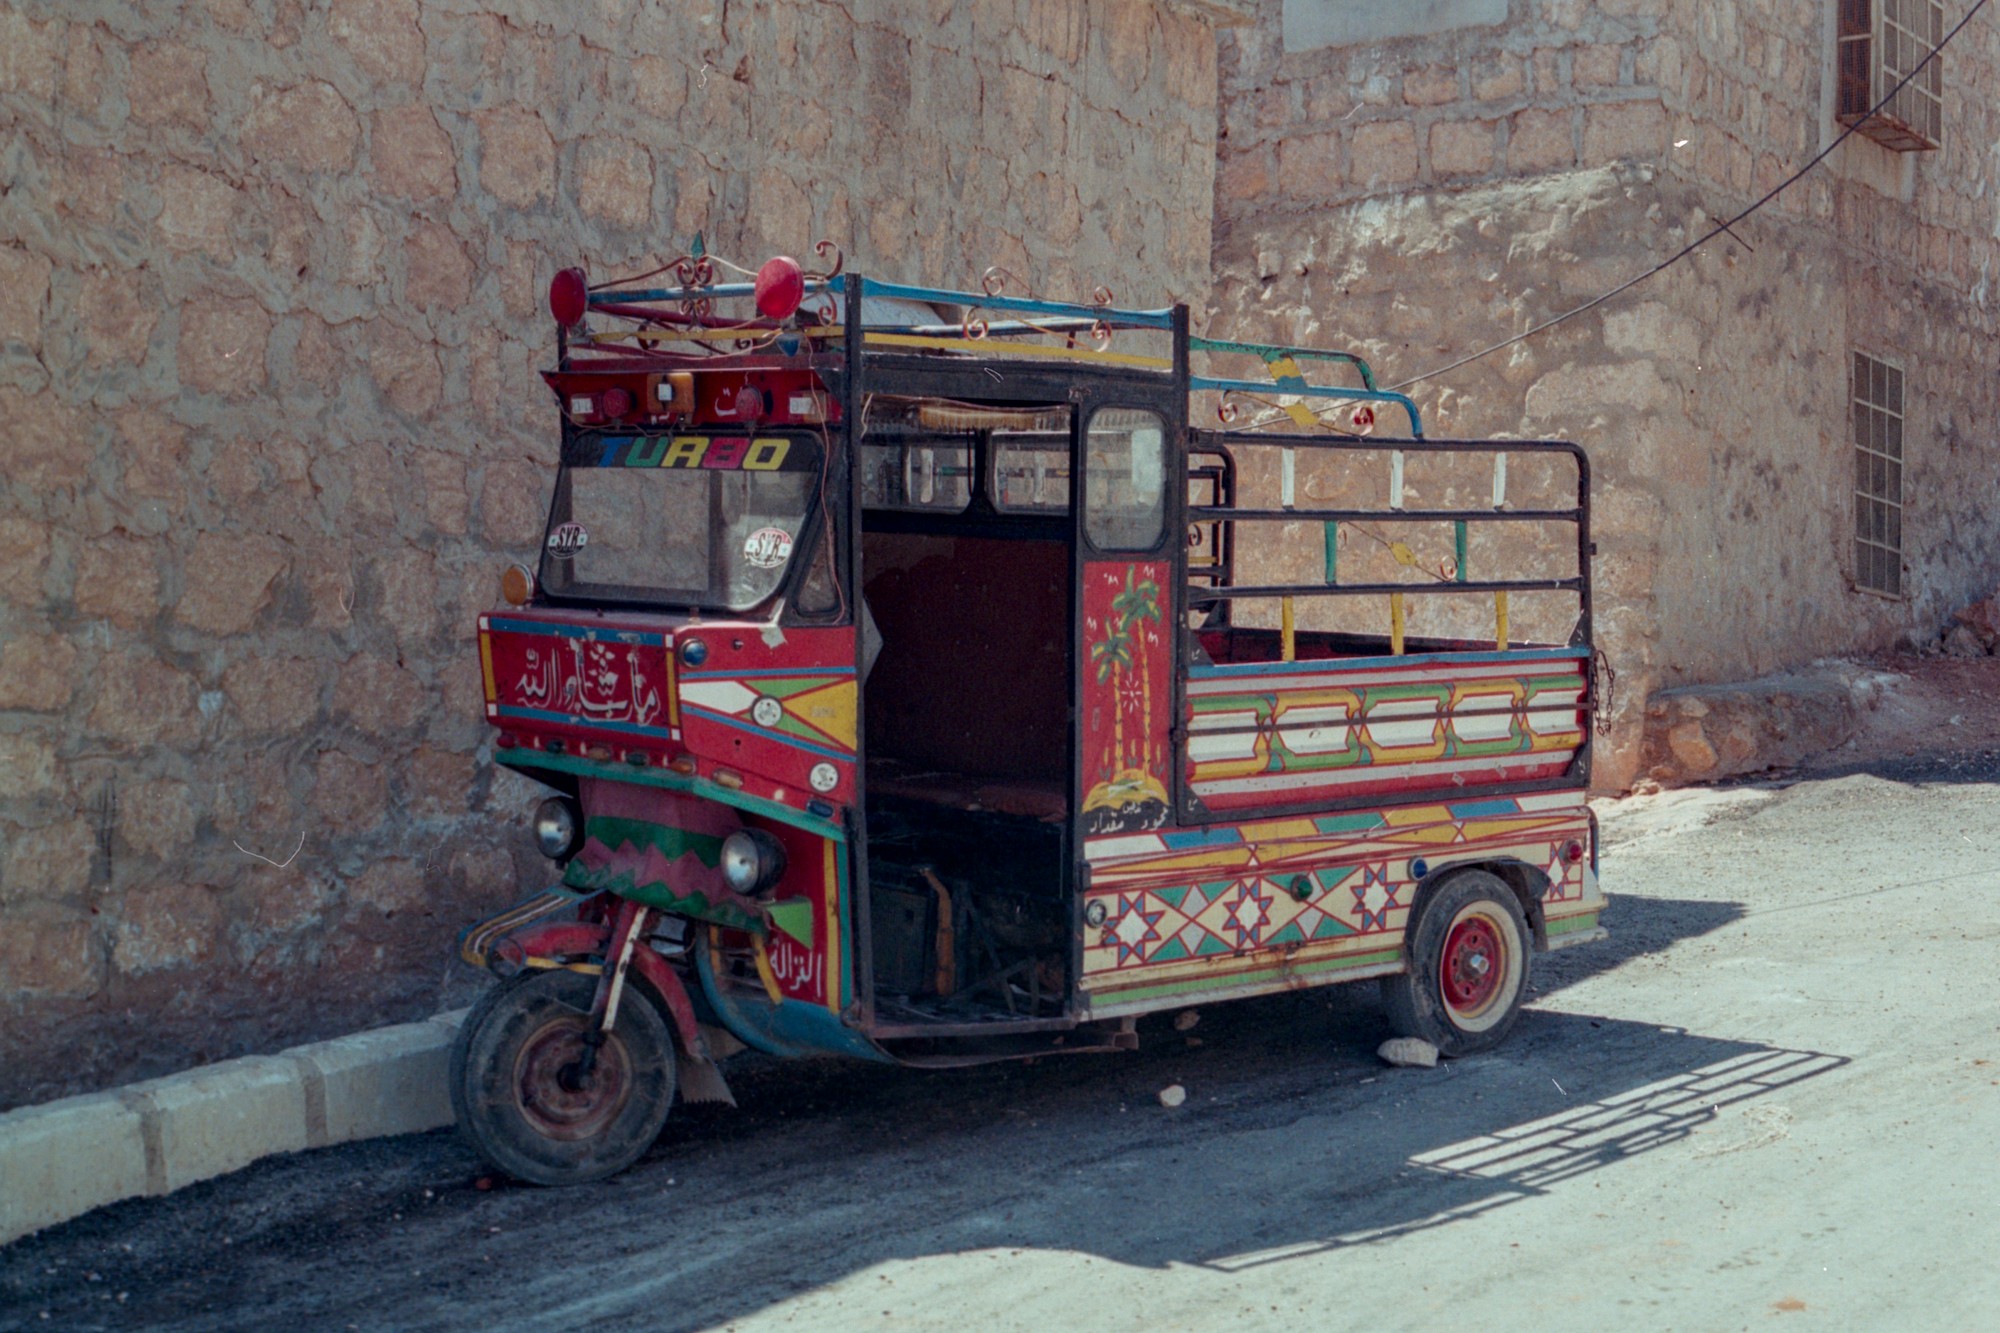
I don’t know how to use Negadoctor. So I borrowed your example and added some other color tools that are more familiar to me: color calibration and color balance rgb.
What if you simply use CC module and use the autopicker …here on the whole image but you do have some white spots…also just added denoise before picking…??
I was also going to mention Bruce’ latest video. I’m also reminded of the recent playraw of the print with the blue shadow cast/yellow highlight cast.
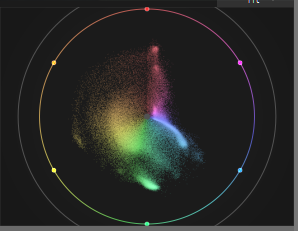
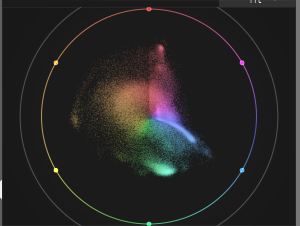
I had a go with RGB curves based on your xmp (because I also don’t know how to use Negadoctor), and it worked quite well. Used the ‘RGB parade’ scope view.
I realise now that this is not relevant to this thread, as it’s a film negative, but I had a thought about this sort of thing after Bruce’ video. If he’s dealing with prints, those will be made with CMYK, right? And if those prints’ colours are wrong, that means either C, M or Y have gone wrong in varying amounts? So if there were a way to do what RGB Curve module does, but in CMYK space, that might be the more accurate way to fix a print’s colours?
I know Krita can work in CMYK, and its curve filter also works in CMYK. But it’s a little difficult because there isn’t the detailed feedback of Darktable’s RGB parade available there…
(edit:typo)
(edit2: I uploaded the wrong xmp oops)
Thanks for the tips!
I’ll take a closer look at the Lua script you mentioned @priort
I really like the result. @Popanz How did you determine the Dmin parameters? They’re different from mine. And how did you adjust the scanner bias? The result is really impressive.
In principle, I went a similar way to your described workflow. But as I trust my eyes more than some pickers. I correct the values manually after using the pickers. I use the pickers for getting quickly to a good (but for me not perfect) result.
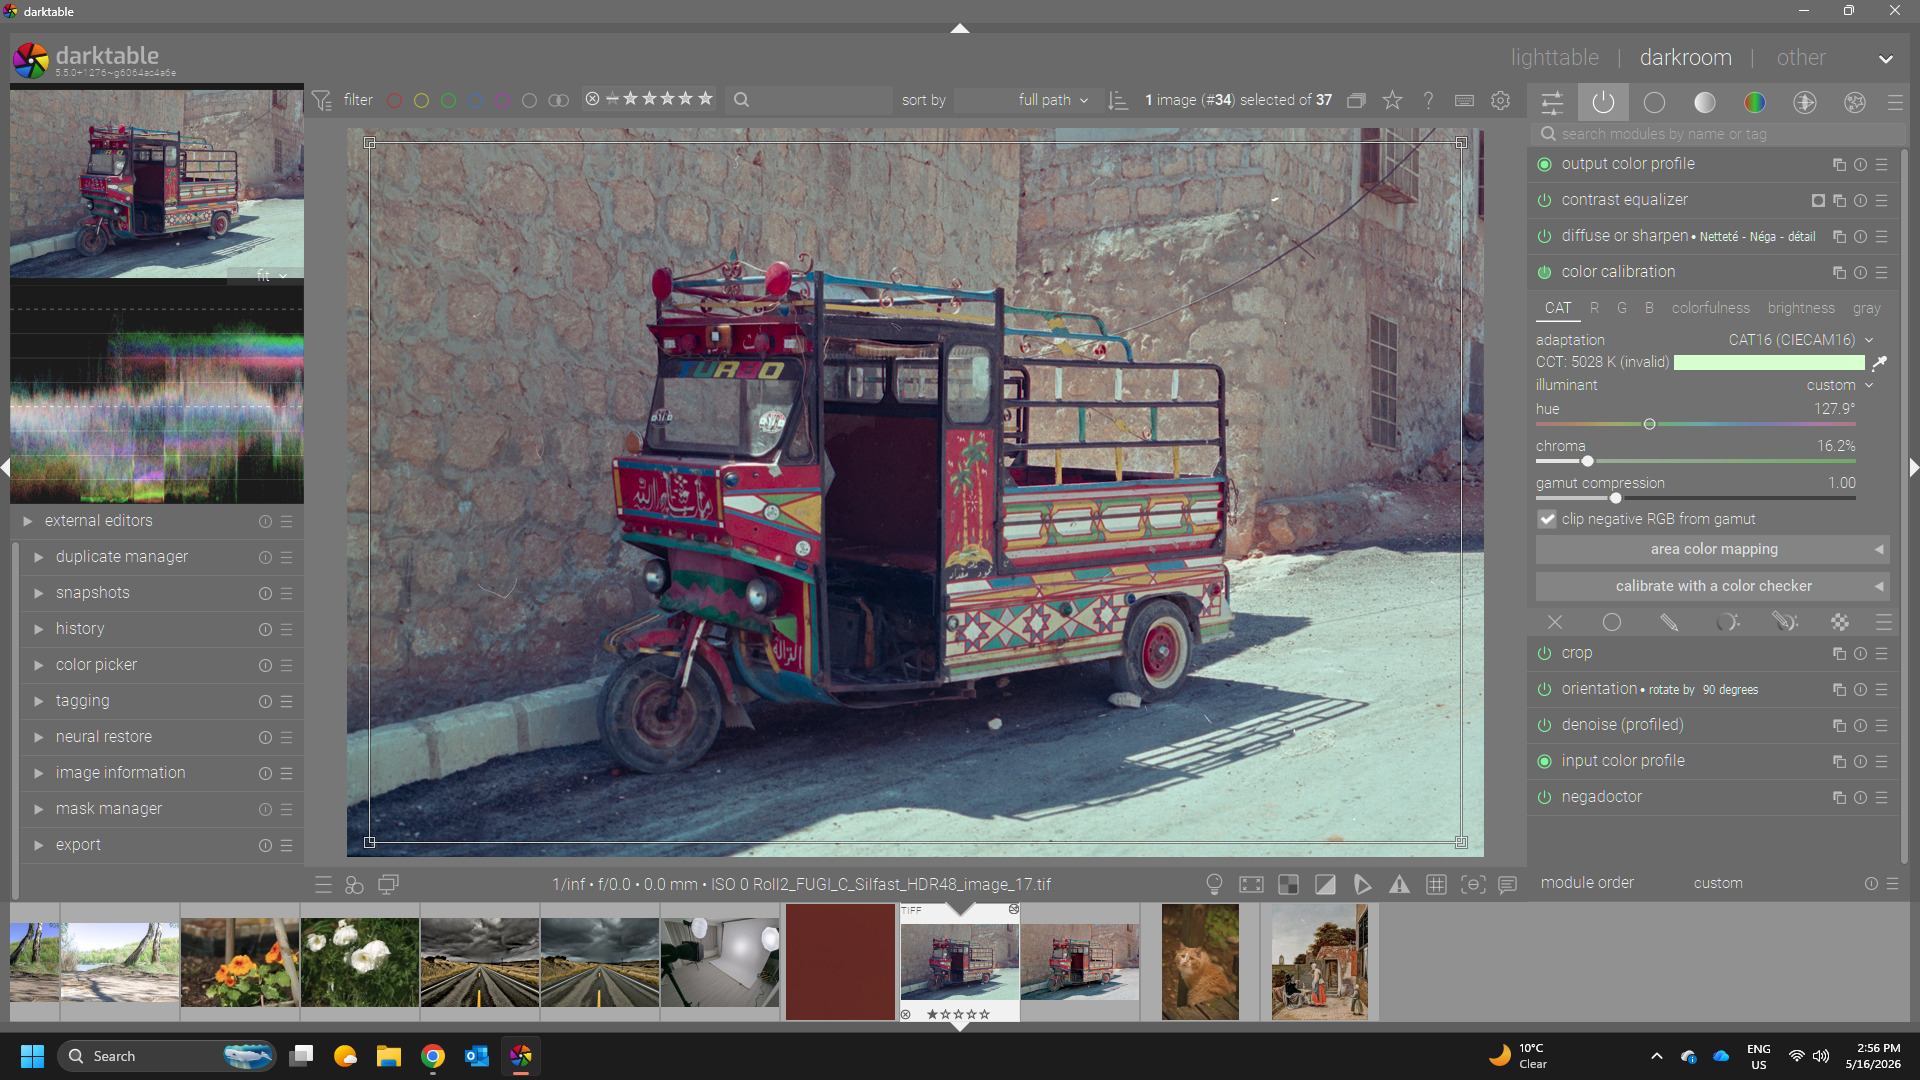
The tweaks I did above were on your jpg but honestly I think you did a fine job editing…to address the cast just adding CC to your tif edit really helps. Auto picking on the whole image or you could use a white part of the image if that looks better can help…the good thing about this is also if you happen to over correct a little ie it looks too neutral you can set the mode to custom which will give you the hue chroma sliders to tweak the correcting illuminant and just slowly reduce the chroma to add some cast back or increase it a bit to take more out…
Roll2_FUGI_C_Silfast_HDR48_image_17_02.tif.xmp (13.0 KB)
(This is pretty much a starting point to demonstrate where I got with Negadoctor, added exposure and slight CAT)
Made a small adjustment to my effort with colour calibration afterwards; it might need a little more on that chroma slider.
(if a channel is compressed then you’d need more than one instance because white balance would be different at different tone/colour ranges)
You might want to selectively adjust blues in the midtones after this, but I’ve been battling that cyan ground for a while.
Edit: I went back to it and gave it more editing now. Colour Equaliser literally did not want to touch those bricks, but Colour Zones can affect them.
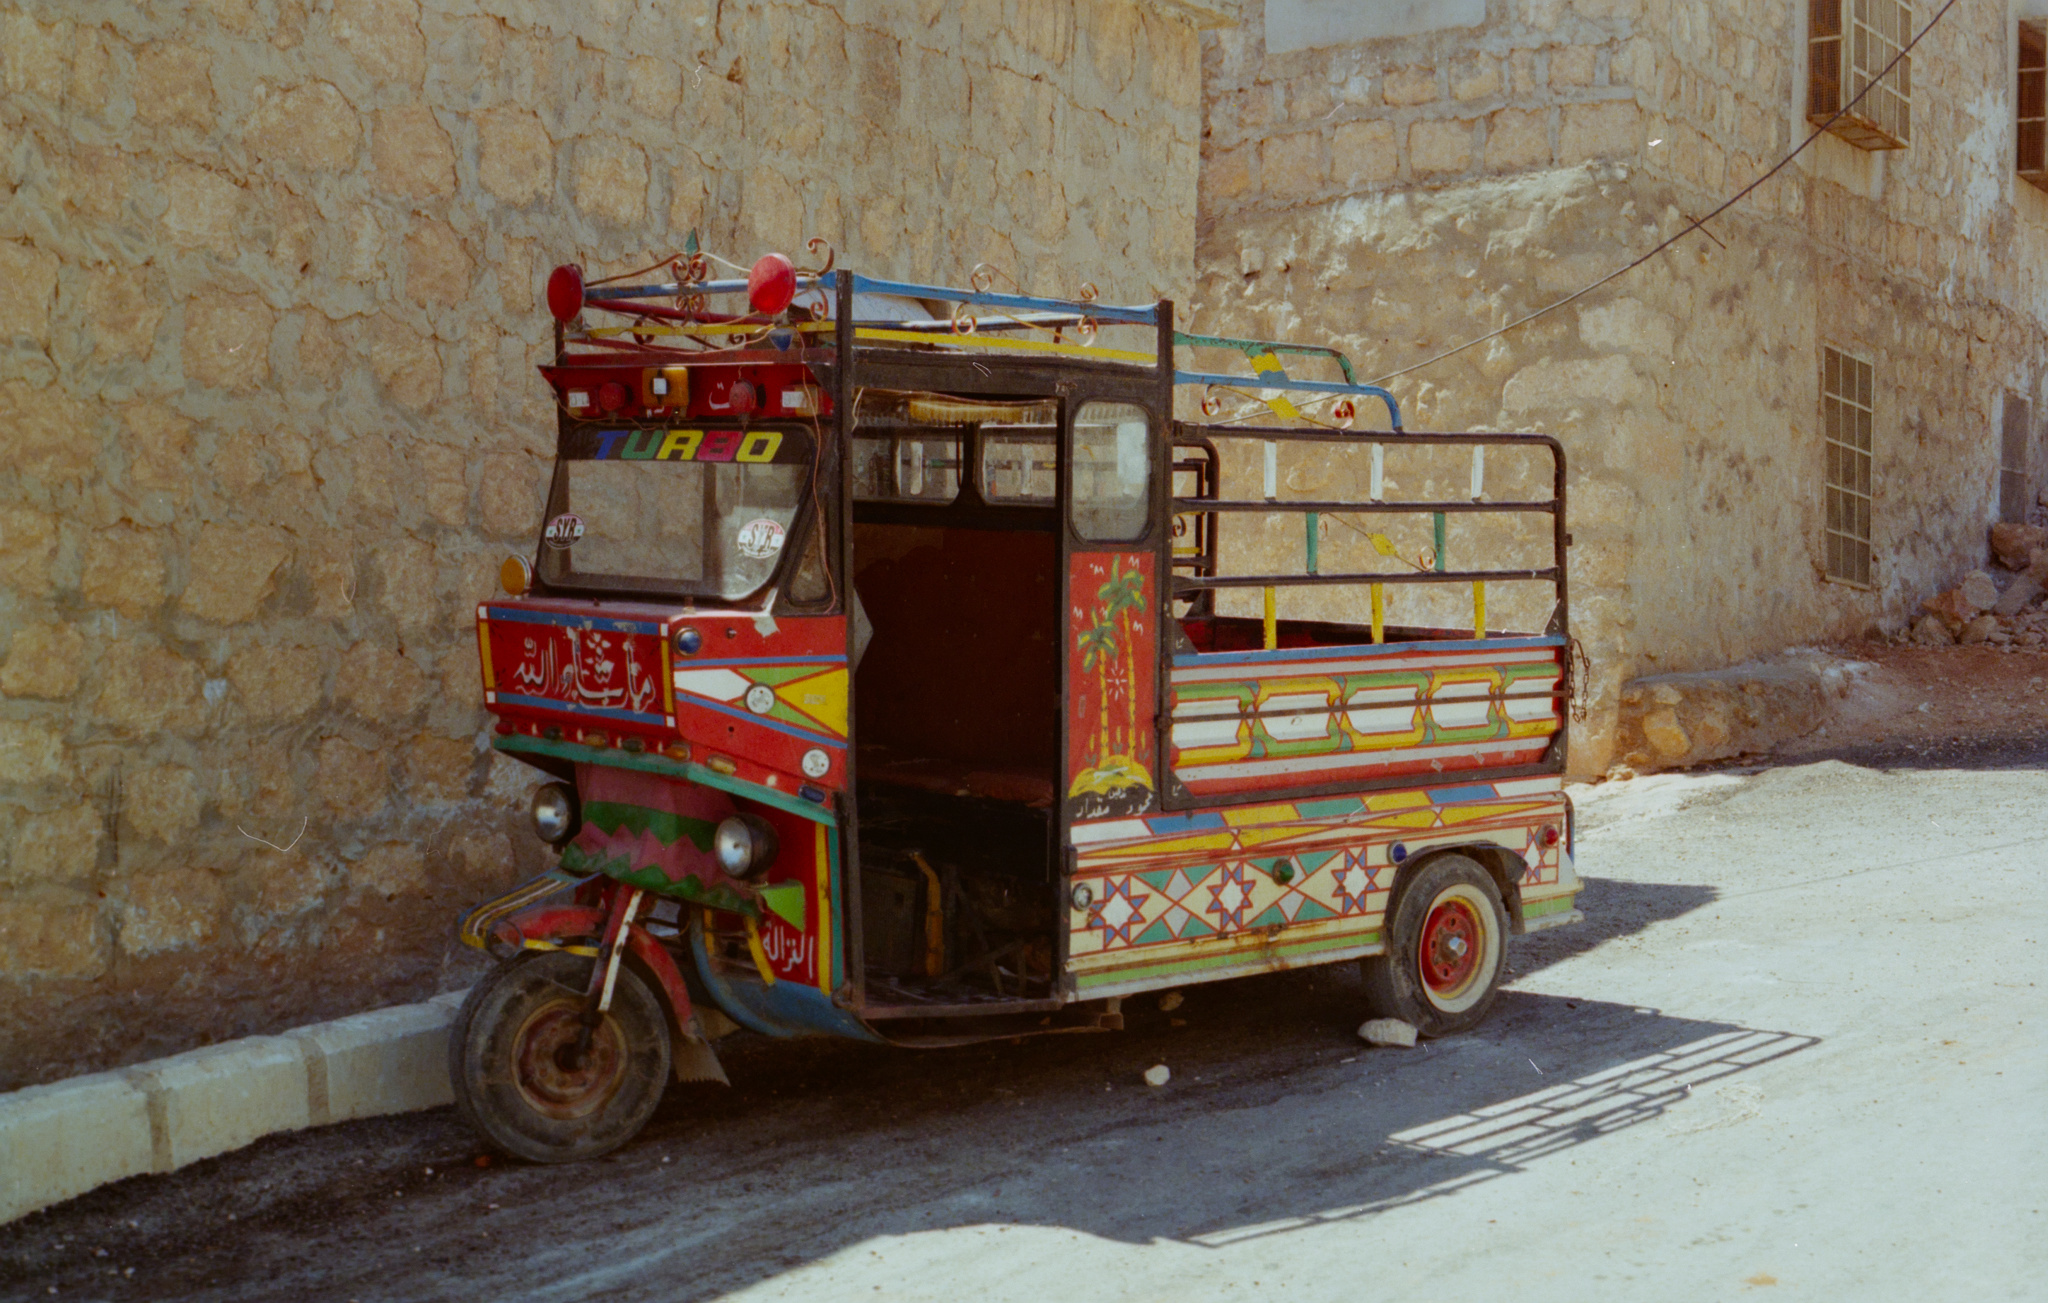
Thank you for your responses; they helped me refine my workflow.
Using the color calibration module instead of the RGB color balance is very interesting (@gwbarn, @priort ) . And indeed, with 2 or 3 instances for shadows, highlights, and midtones, I get good results.
And finally, a shot of autolevels (Lua script for automatic color correction)
I tried retroshine and I’m impressed; the curves to correct each color can be quite complicated and hard to find by eye. Even though I have the “Autolevels” menu in Darktable and the “autolevels” script that works in command-line mode, I haven’t managed to use it from within Darktable—it tells me the installation is missing.
I have been thinking about this for a while. The prints have been made in CMYK indeed.
But when we digitize it, and process it darktable it because an RGB based image, right?
From the manual:
Input images are either RGB files (like JPEGs or TIFFs) or camera RAWs. Both store visual information as a combination of primary colors (e.g. red, green and blue) which together describe a light emission to be recreated by a display.
So while the digitized medium is the different (and thus the effect on the decay or time), the approach can still be the same?
It’s an RGB representation of a CMYK image. One could store/work with it as CMYK and the conversion to display RGB primaries can happen later to send the data to the display for viewing.
Not sure how to describe my thought process on this. Like the CMYK data could be jumbled or non-linear when converted to RGB?
I haven’t done any testing of this idea to know if it’s unnecessary. Maybe discrepancies in CMY primaries will show up in the opposing RGB primaries? CMY are just complementary colours of RGB.