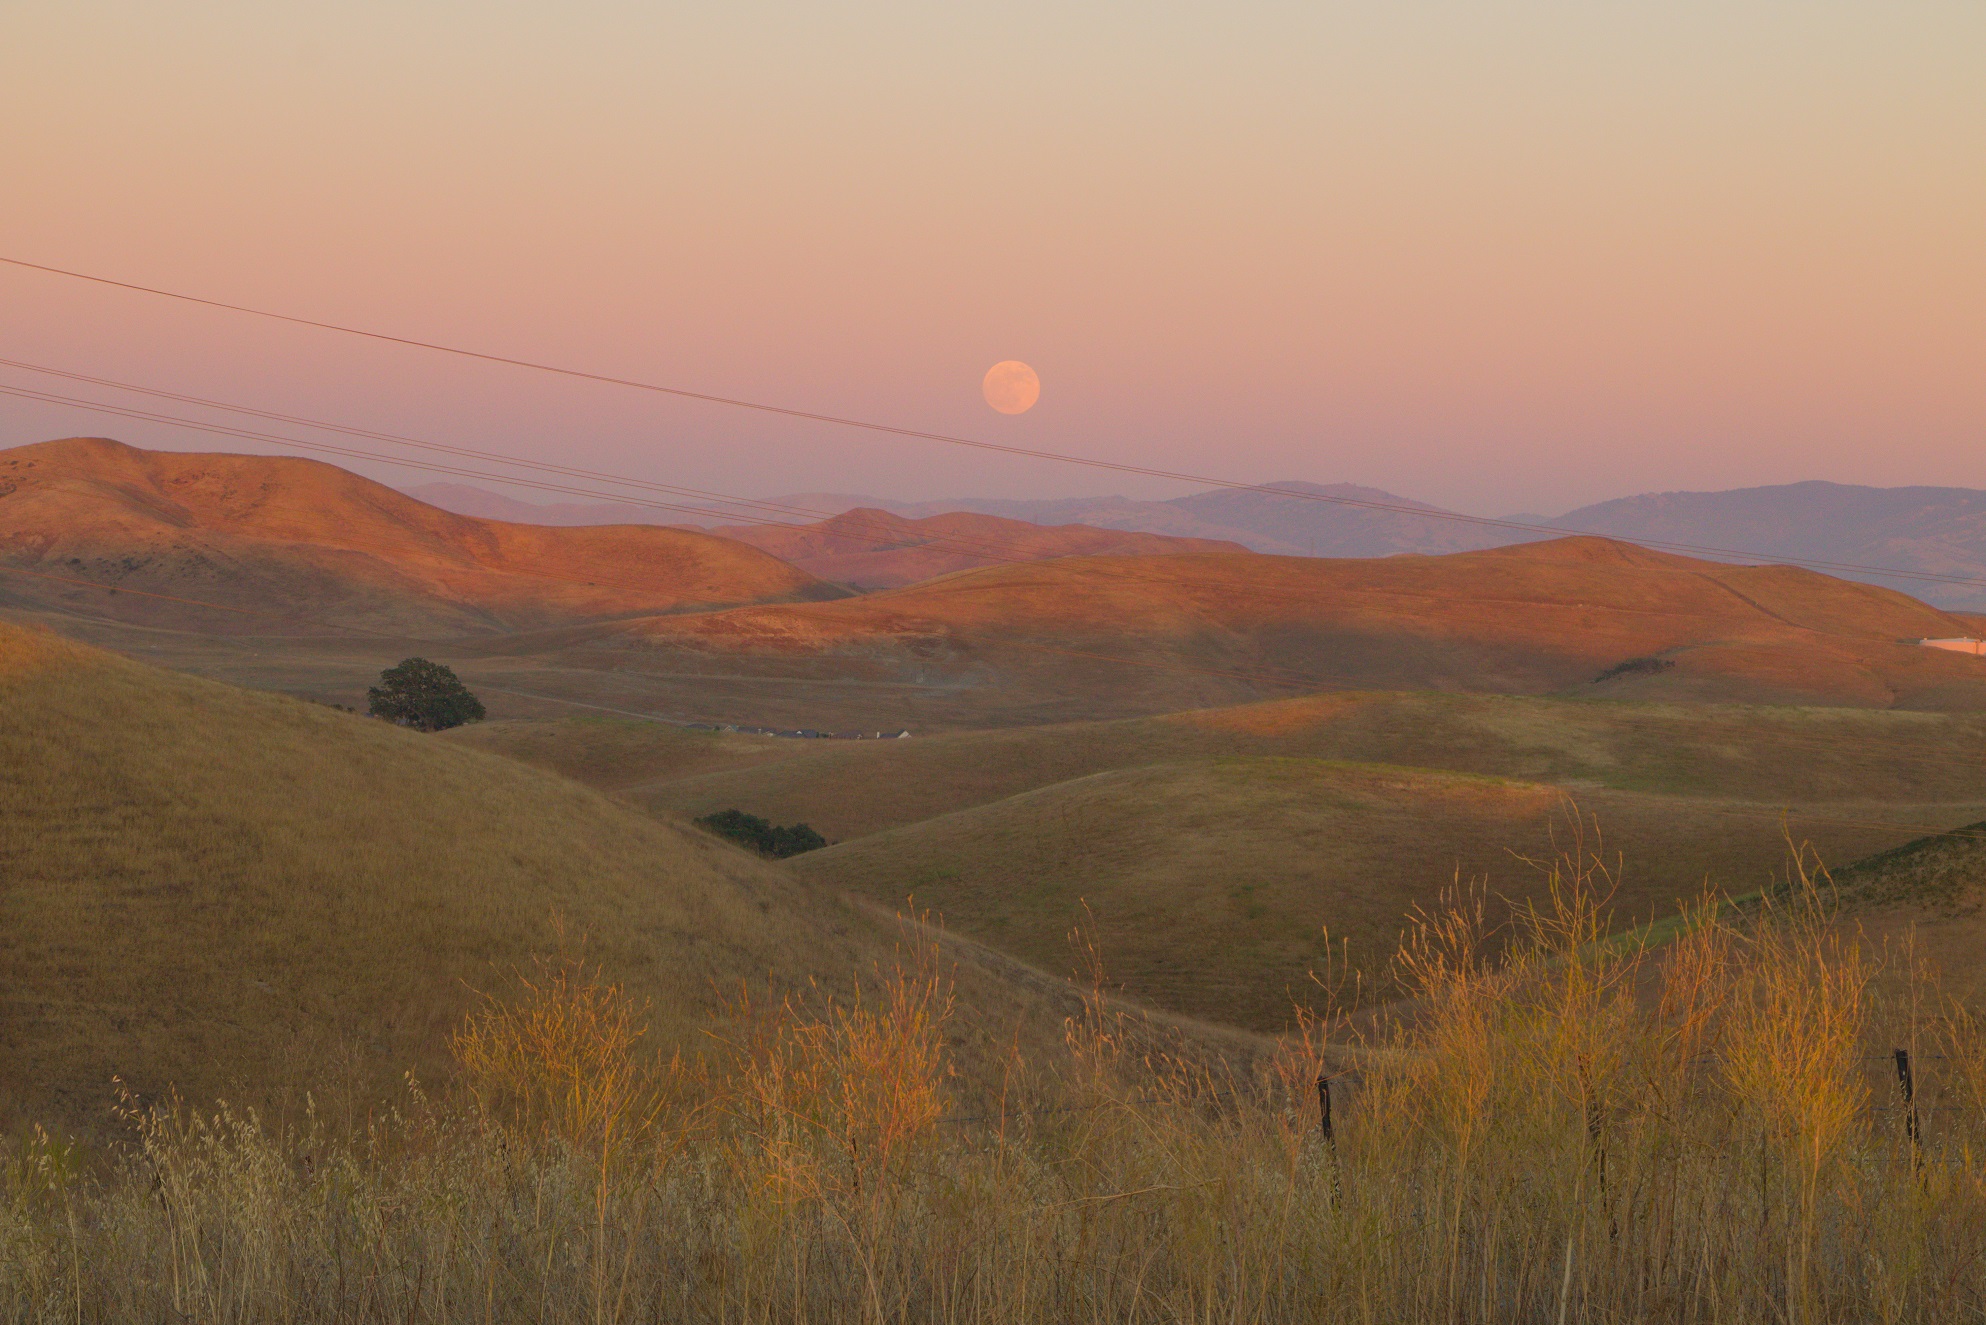
I did a lot of post processing on these images but one challenge that consistently stands out is the wide dynamic range when shooting at sunset. The full moon either comes out as blown highlights (when processing RAW to bring out shadows if not blown out at time of capture) OR the surroundings are too dim. One solution I have found is to use the reduce dynamic range option in Raw Therapee but then
IMG_6054.CR2 (27.2 MB)
I am not sure if that makes the moon a little dimmer than usual. Any comments/feedback on the attached file / image is welcome. I also attached the corresponding JPEG file for comparison
4 Likes

1 Like

moon.rise.jpg.out.pp3 (24.0 KB) RawTherapee 5.8 Development
BTW: I don’t think dynamic range in this shot is an issue. If I look at the RAW histogram I see that you have plenty of room to spare (+/- 2 stops to full clipping) and could have pushed this one +/- 1 1/3 stop while taking the shot. You do have to keep that 2/3 stop margin due to the prominent reds.
Anyway: Nice shot and I’m rather glad to see one that hasn’t got blown highlights 
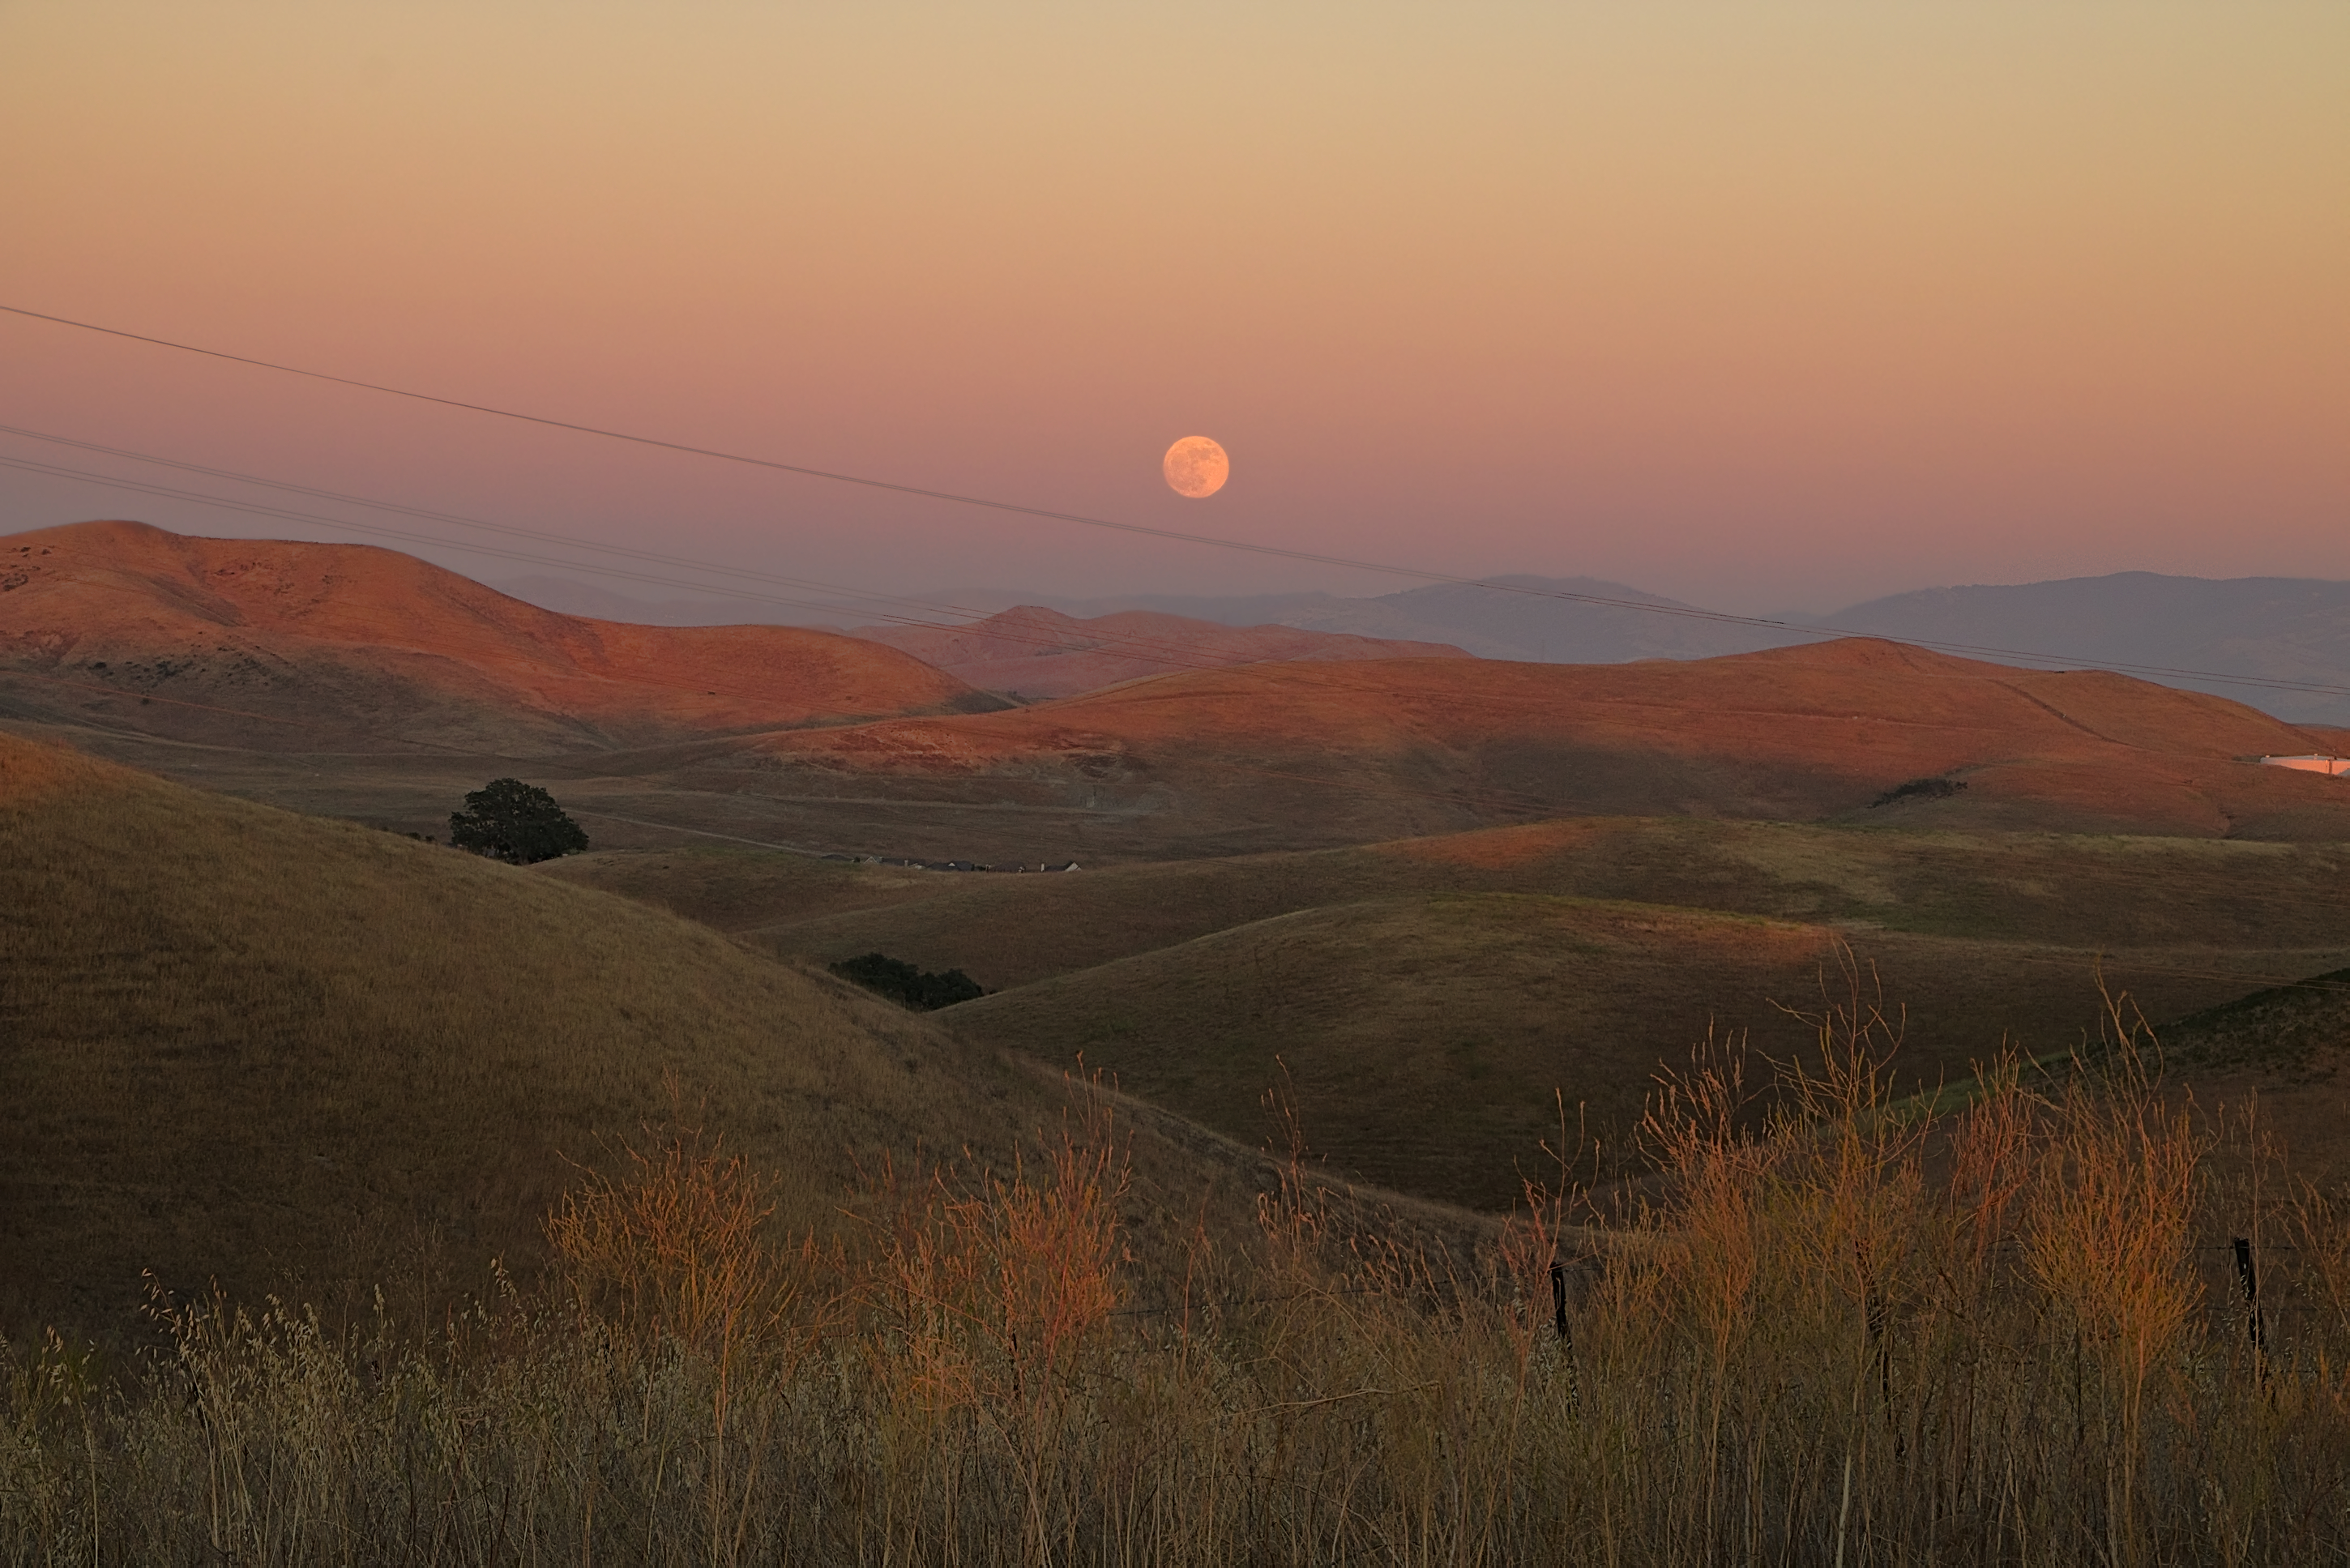
Alternative edit:
RawTherapee 5.8 Development sidecar / input profile
3 Likes
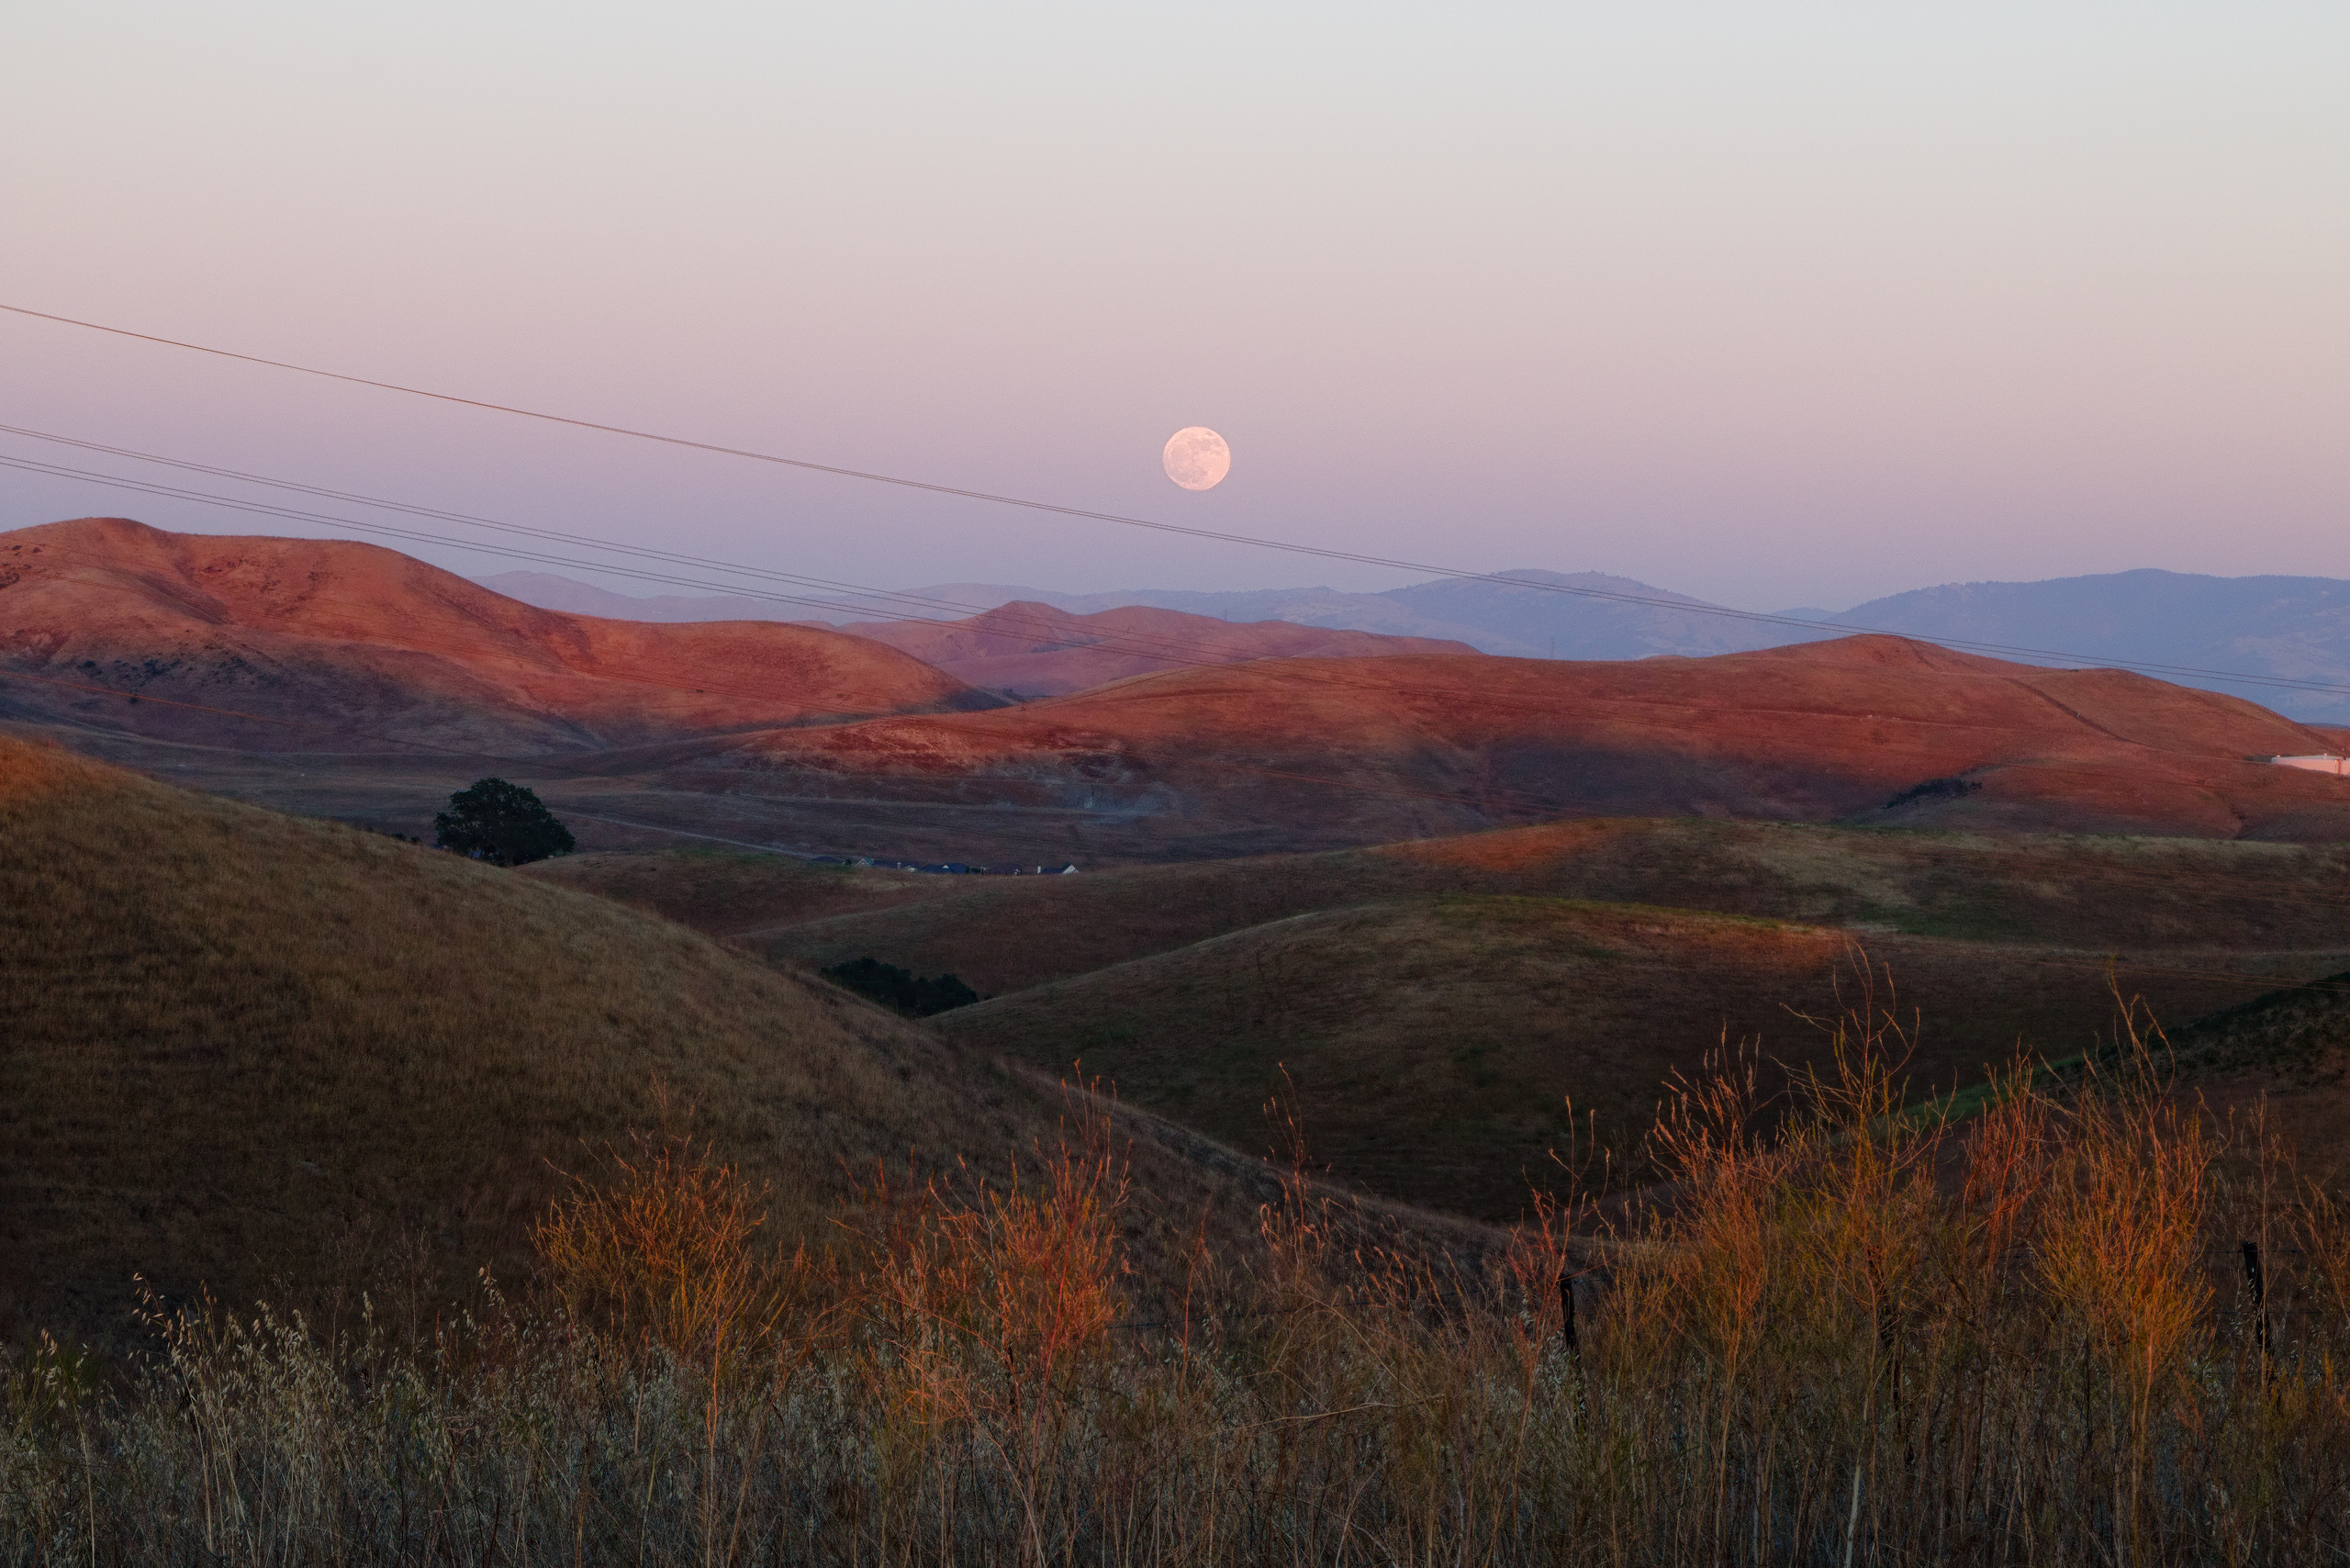
My play in GIMP. Adjustments to brightness and saturation in various regions and I tried to reduce the impact of the cables.

1 Like

5 Likes
I never thought I could remove the cables! How did you get that one done? Looks good as if I were truly in the wilderness away from the city
Thanks. Impressive you were able to achieve this with minimal edits to the RAW file and not having to use anything advanced other than just the basic exposure, highlights adjustments. I upped the saturation a bit to show the red light of the setting sun and the twilight sky a little more but other than that it looked perfect! And you are right, not adjusting the dynamic range worked out better as that made the moon a little brighter to mirror what the eye actually sees.
I selected the cables and then used heal-selection in GIMP for the most part, then a little tidying up with the healing brush.
I did use Wavelet levels and 2 Local Adjustments spots.
- The first LA spot gives the moon and sky a bit more tonal detail.
- The other spot is there to adjust the (fore)ground a bit. Not sure if that one is actually needed, but I tend to leave things a bit too dark at times.
- Wavelet levels was used to do some edge sharpening and dial in the shadow, highlights and contrast.
Another play with this image. As an experiment I wanted to see if I could increase the colour contrast, without spoiling the feel of the photograph.

2 Likes
Thanks. Do you have a RAW or PP3 file you could share? i like this.
Also, tried to replicate this but wasn’t able to with the heal tool. Also, was hard to just select the cables and try to use the sky nearby to “overwrite” them. it was still obvious that something was deleted in the image where the cables were.
The latest play was also done in GIMP, so no PP3 or suchlike. It was effectively split toning using luminosity masks as the basic control.
The removal of the cables (which I did because I thought they were a distraction) was done with heal-selection tool in GIMP - part of the resynthesizer plug-in. Where the cables crossed the hills required work with the healing-brush tool.
I selected the cables by painting over them on a transparent layer using the pencil tool, then did a select-by-colour. On the original layer I was able to run the heal selection.