When I did not know about such a program as darktable thought that dr much more convenient even than 3dlut creator, not to mention the photoshop.
The photo imaging software. If you preconvert any raw format to the universal dng format.
The advantage is that you can throw the development of material at the very end of the workflow. You work with the nodes that come before the development node and you see the material as if it had already been developed.
In Adobe Camera Raw/3dlut creator/capture one you first develop the material and only then process it. Yes - you can flexibly process the material, but still - the development process has already been done. In Davinci resolve, it is at the end that you develop.
Parallel processing of material, not sequential processing of material. Nodes can be set in parallel, unlike photoshop, where all the layers are laid out in sequential order.
Your tools can always look at the original histogram of the material. It’s very convenient to edit several different parametric moments in a photo at once, independently of each other. It’s as if you can put all the color correction tools in one layer at once, since the tools can be placed in parallel nodes.
Set different color decoding modes (hsl, hsv, lab/xyz) and gamma modes (linear, aces etc.) in each node in isolation. I often set gamma mode for a node as linear - it is very beautiful to work with color rings.
hsv color decoding. The saturation channel is very funny in this mode. When you increase the values in this channel, the gamma of the image starts to play beautifully. I have seen the luma vs sat tools in the same 3dlut creator. https://youtu.be/QdRjD-J72zg
Creating a parametric mask with curves. I take a node and adjust the curve in it as I want - smoothly, with any bend - which is most important! I can raise the threshold of shadows, which then will be processed already in the tools, I correct halftones and other things and then such a node I declare a mask, not just a node.
At the same time, in the node where you make such corrections, preparing a mask this way, you can disable the channels you don’t need, leaving only one of them. And fine-tune the channel itself with the hue tool. And now you no longer have a pure red channel, which you then prepare as a mask with curves, but a virtual purple, or orange. Or you can make a mask based on a node that will live in lab mode - you change curve a. or b, and then work with saturation with such a mask in the working node, where you directly process material.
I sometimes use this way to change the volume of a photo based on a certain channel. The method itself is old. But working with curve-based masks like this, and doing it all in a node structure where nothing limits you…
It’s a beautiful result. It’s funny to say this, but it’s not even about the sophistication of the tools. Someone is using the Gimp. And no matter how cool the other programs are, a person gets a beautiful result with his favorite program - the Gimp. I don’t care how cool it is. It’s “his” !!! program and that’s it.
A person could have worked in Photoshop, Lightroom, Davinci Resolve and other programs for a long time and have experience with them, and the result of his work is good in the Gimp. It happens that way.
I get good results with Davinci Resolve. I can look at my picture in a year or two and I won’t be repulsed by it, no matter how primitive I have processed it. But if I do the same thing in Photoshop, or in 3dlut creator, there will be only tears.
It’s not about the quality of the software. It’s just that everyone has their own software.
Well, I’m going to look into it. I’m interested in the program, but so far all the work I’ve done in it turns out some kind of plastic. Too much computer-generated and very “correct” to the point of nausea.
As if the output is not a live image, but some 3D model from maya/3dmax/blender.)
I have only a week of experience with darktable)) I don’t “feel” the tools in the program yet.
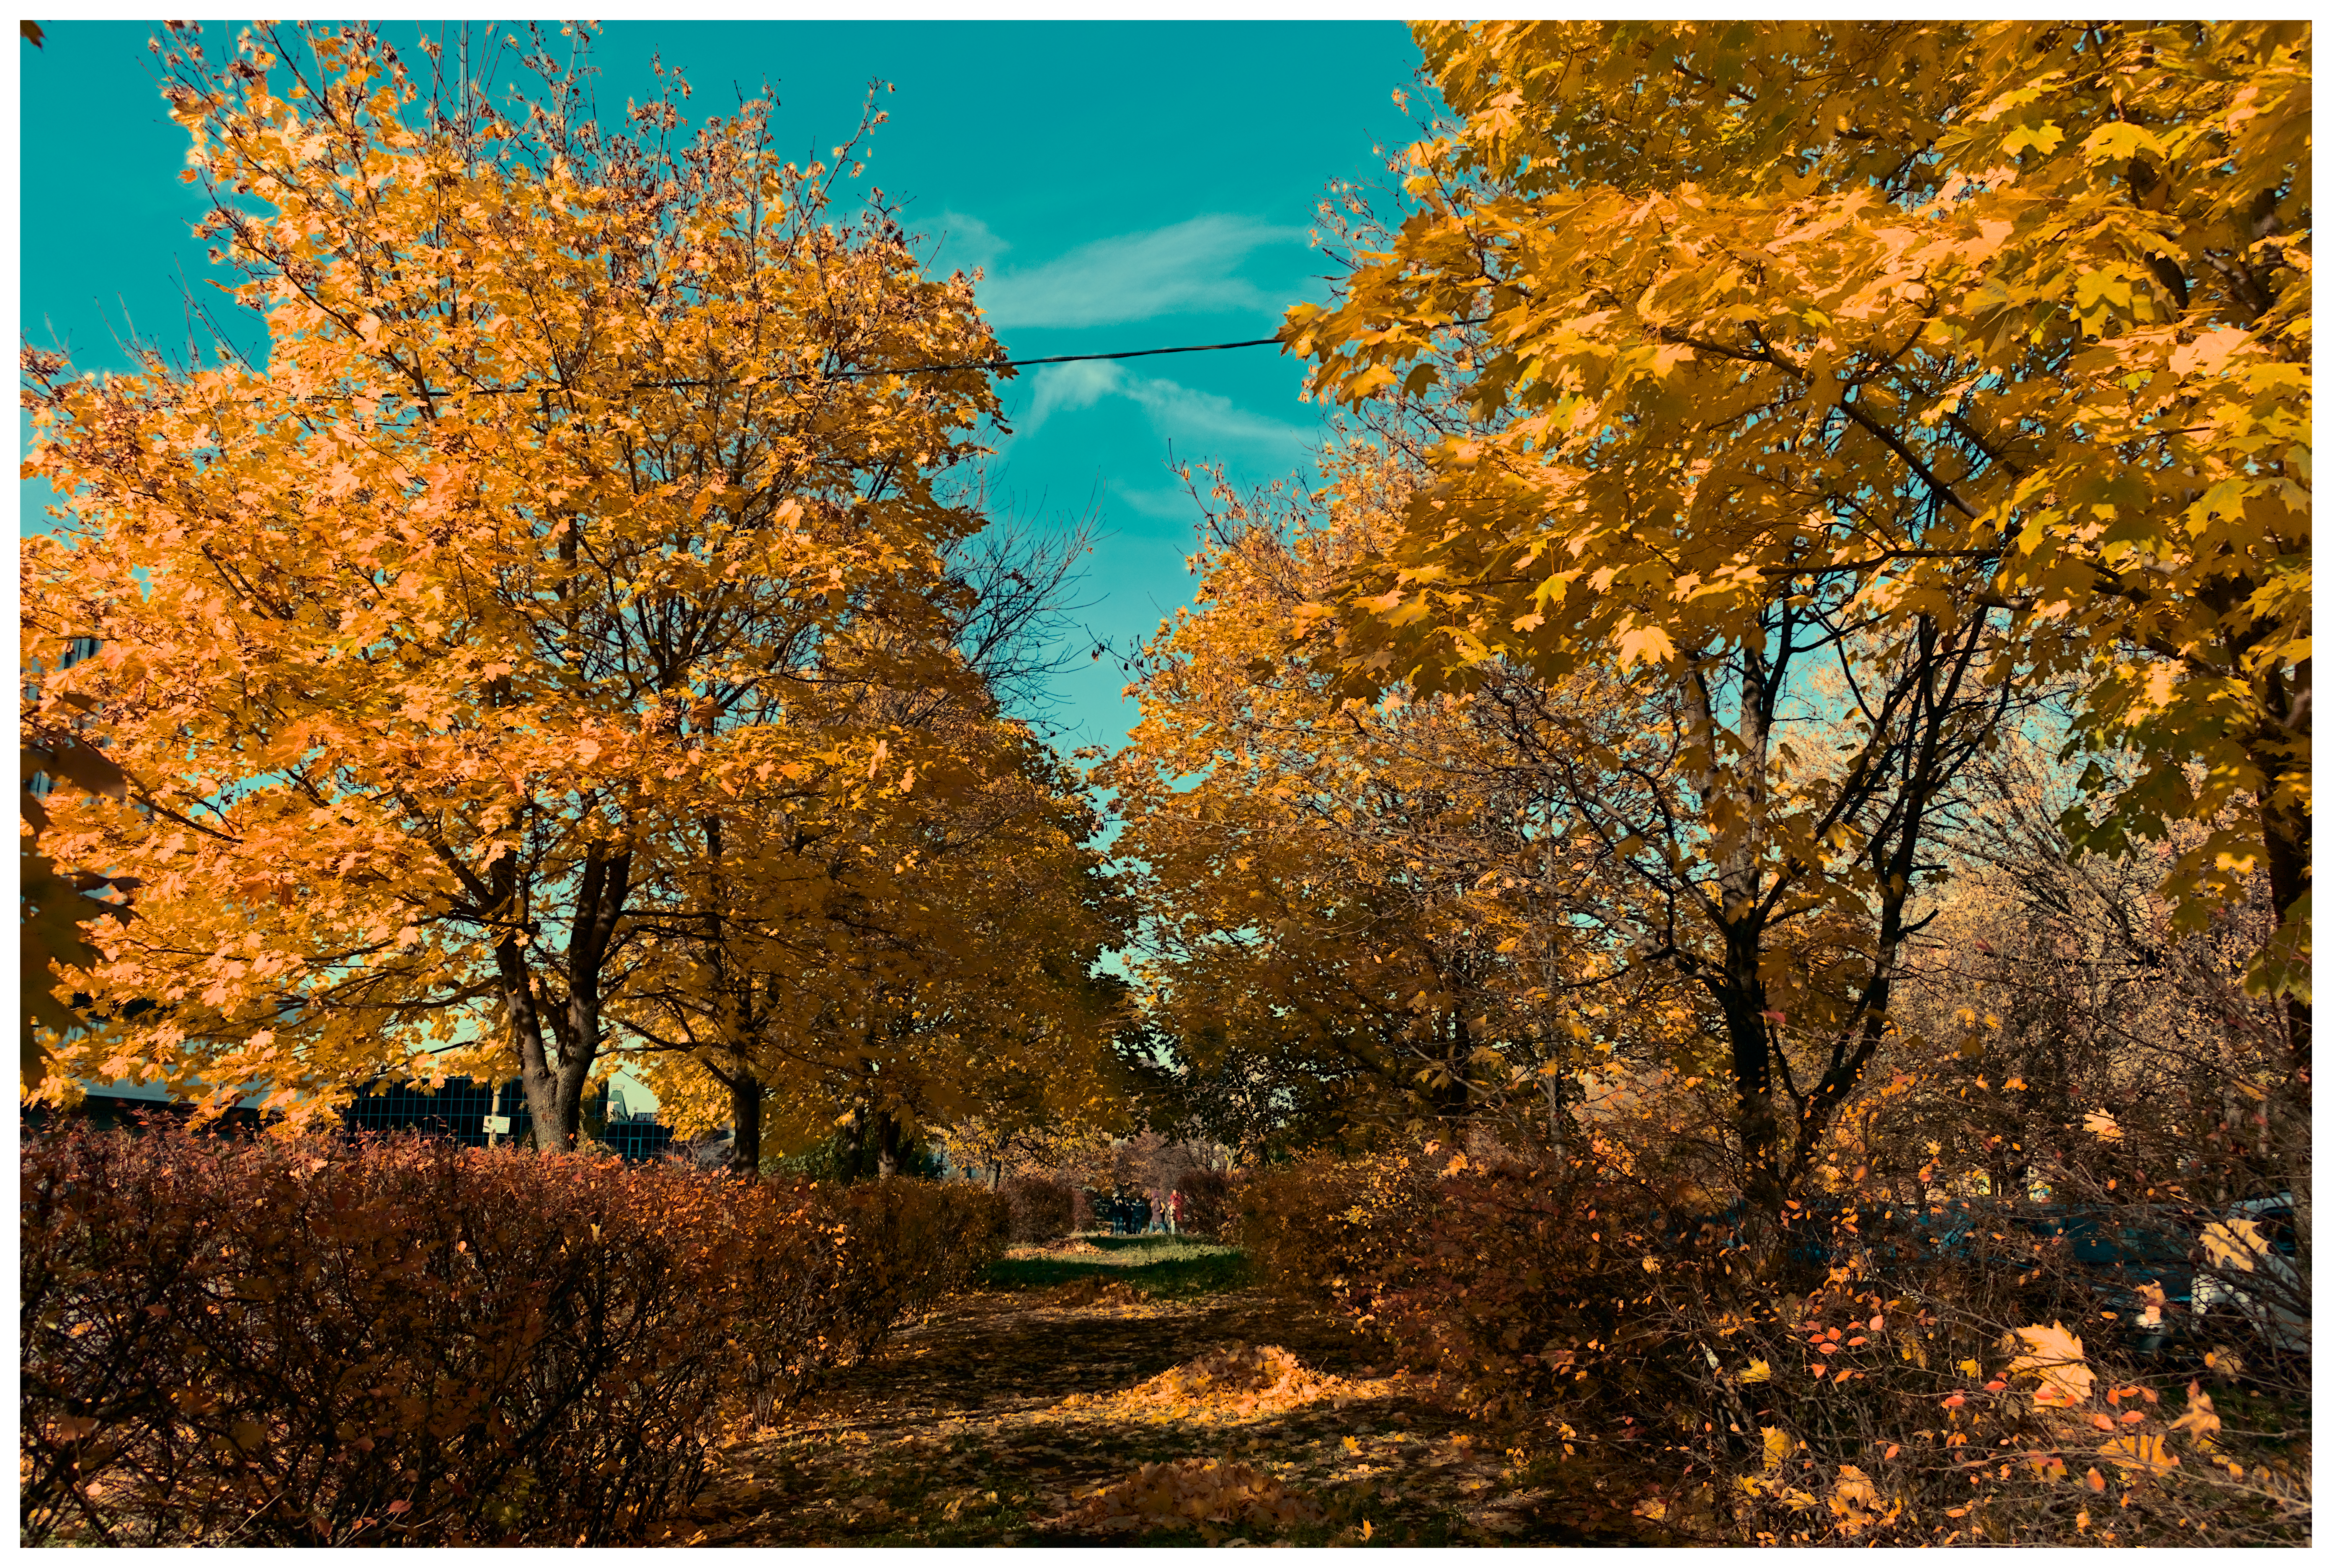
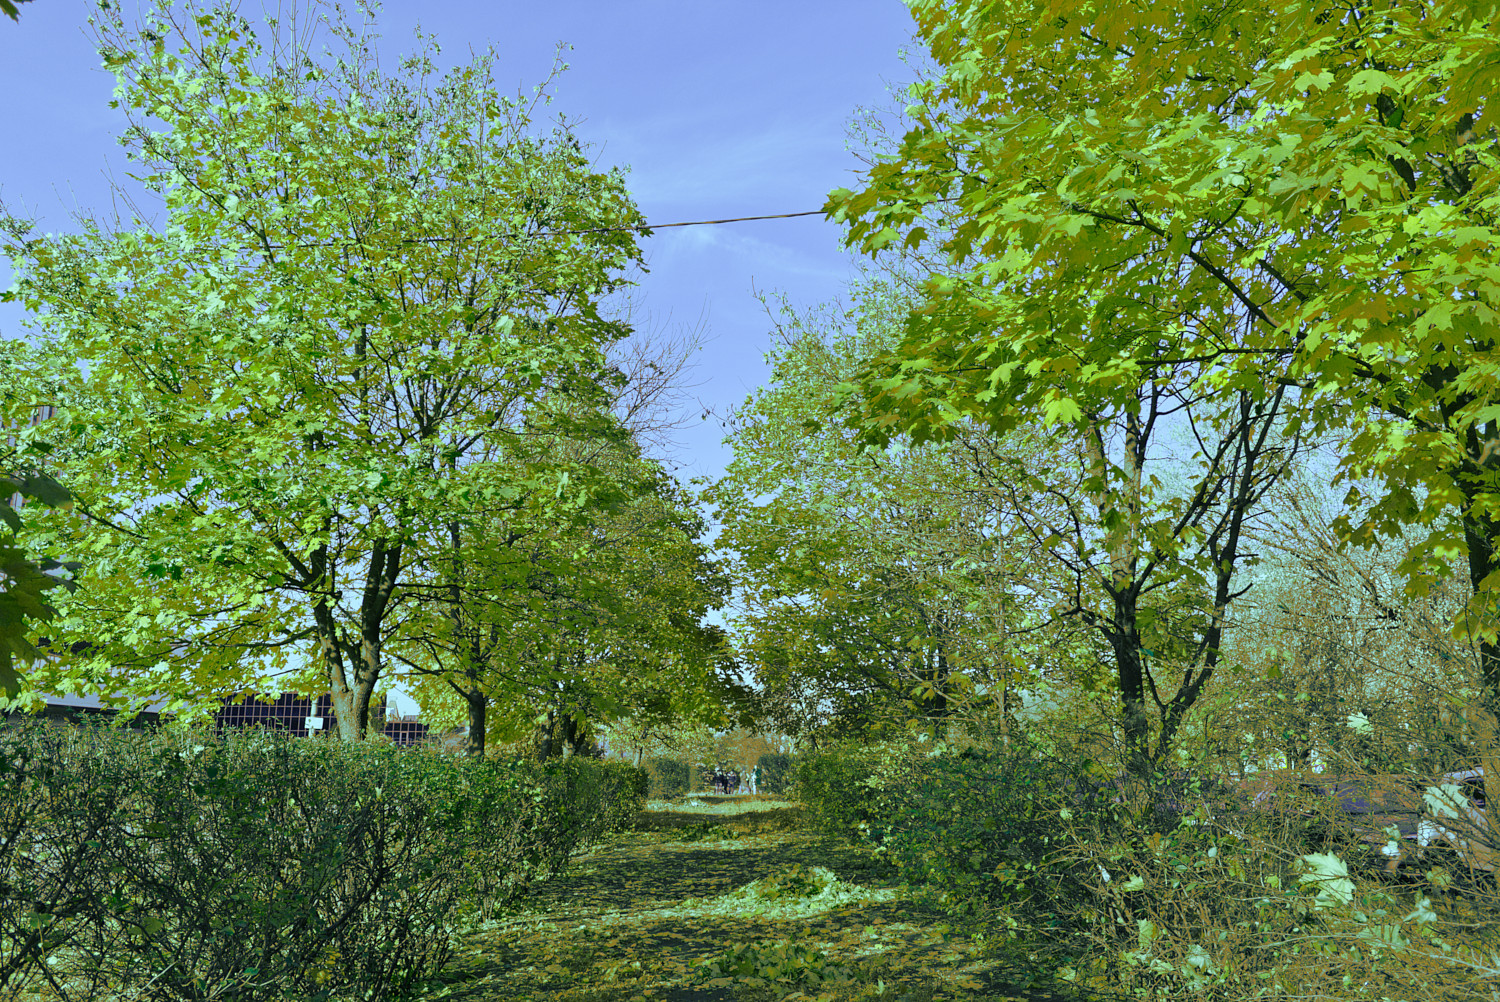
I’ve been twisting the hue this way, without any other frills, just to stretch my brain. Not to stick my attention to the original color image. You twist the hue until it makes no difference at all where the colors are supposed to be. A kind of break from the standards. A brain workout.
Then, you get some interesting ideas about what needs to be done. You return the hue to its original state and focus on the solution you have found.
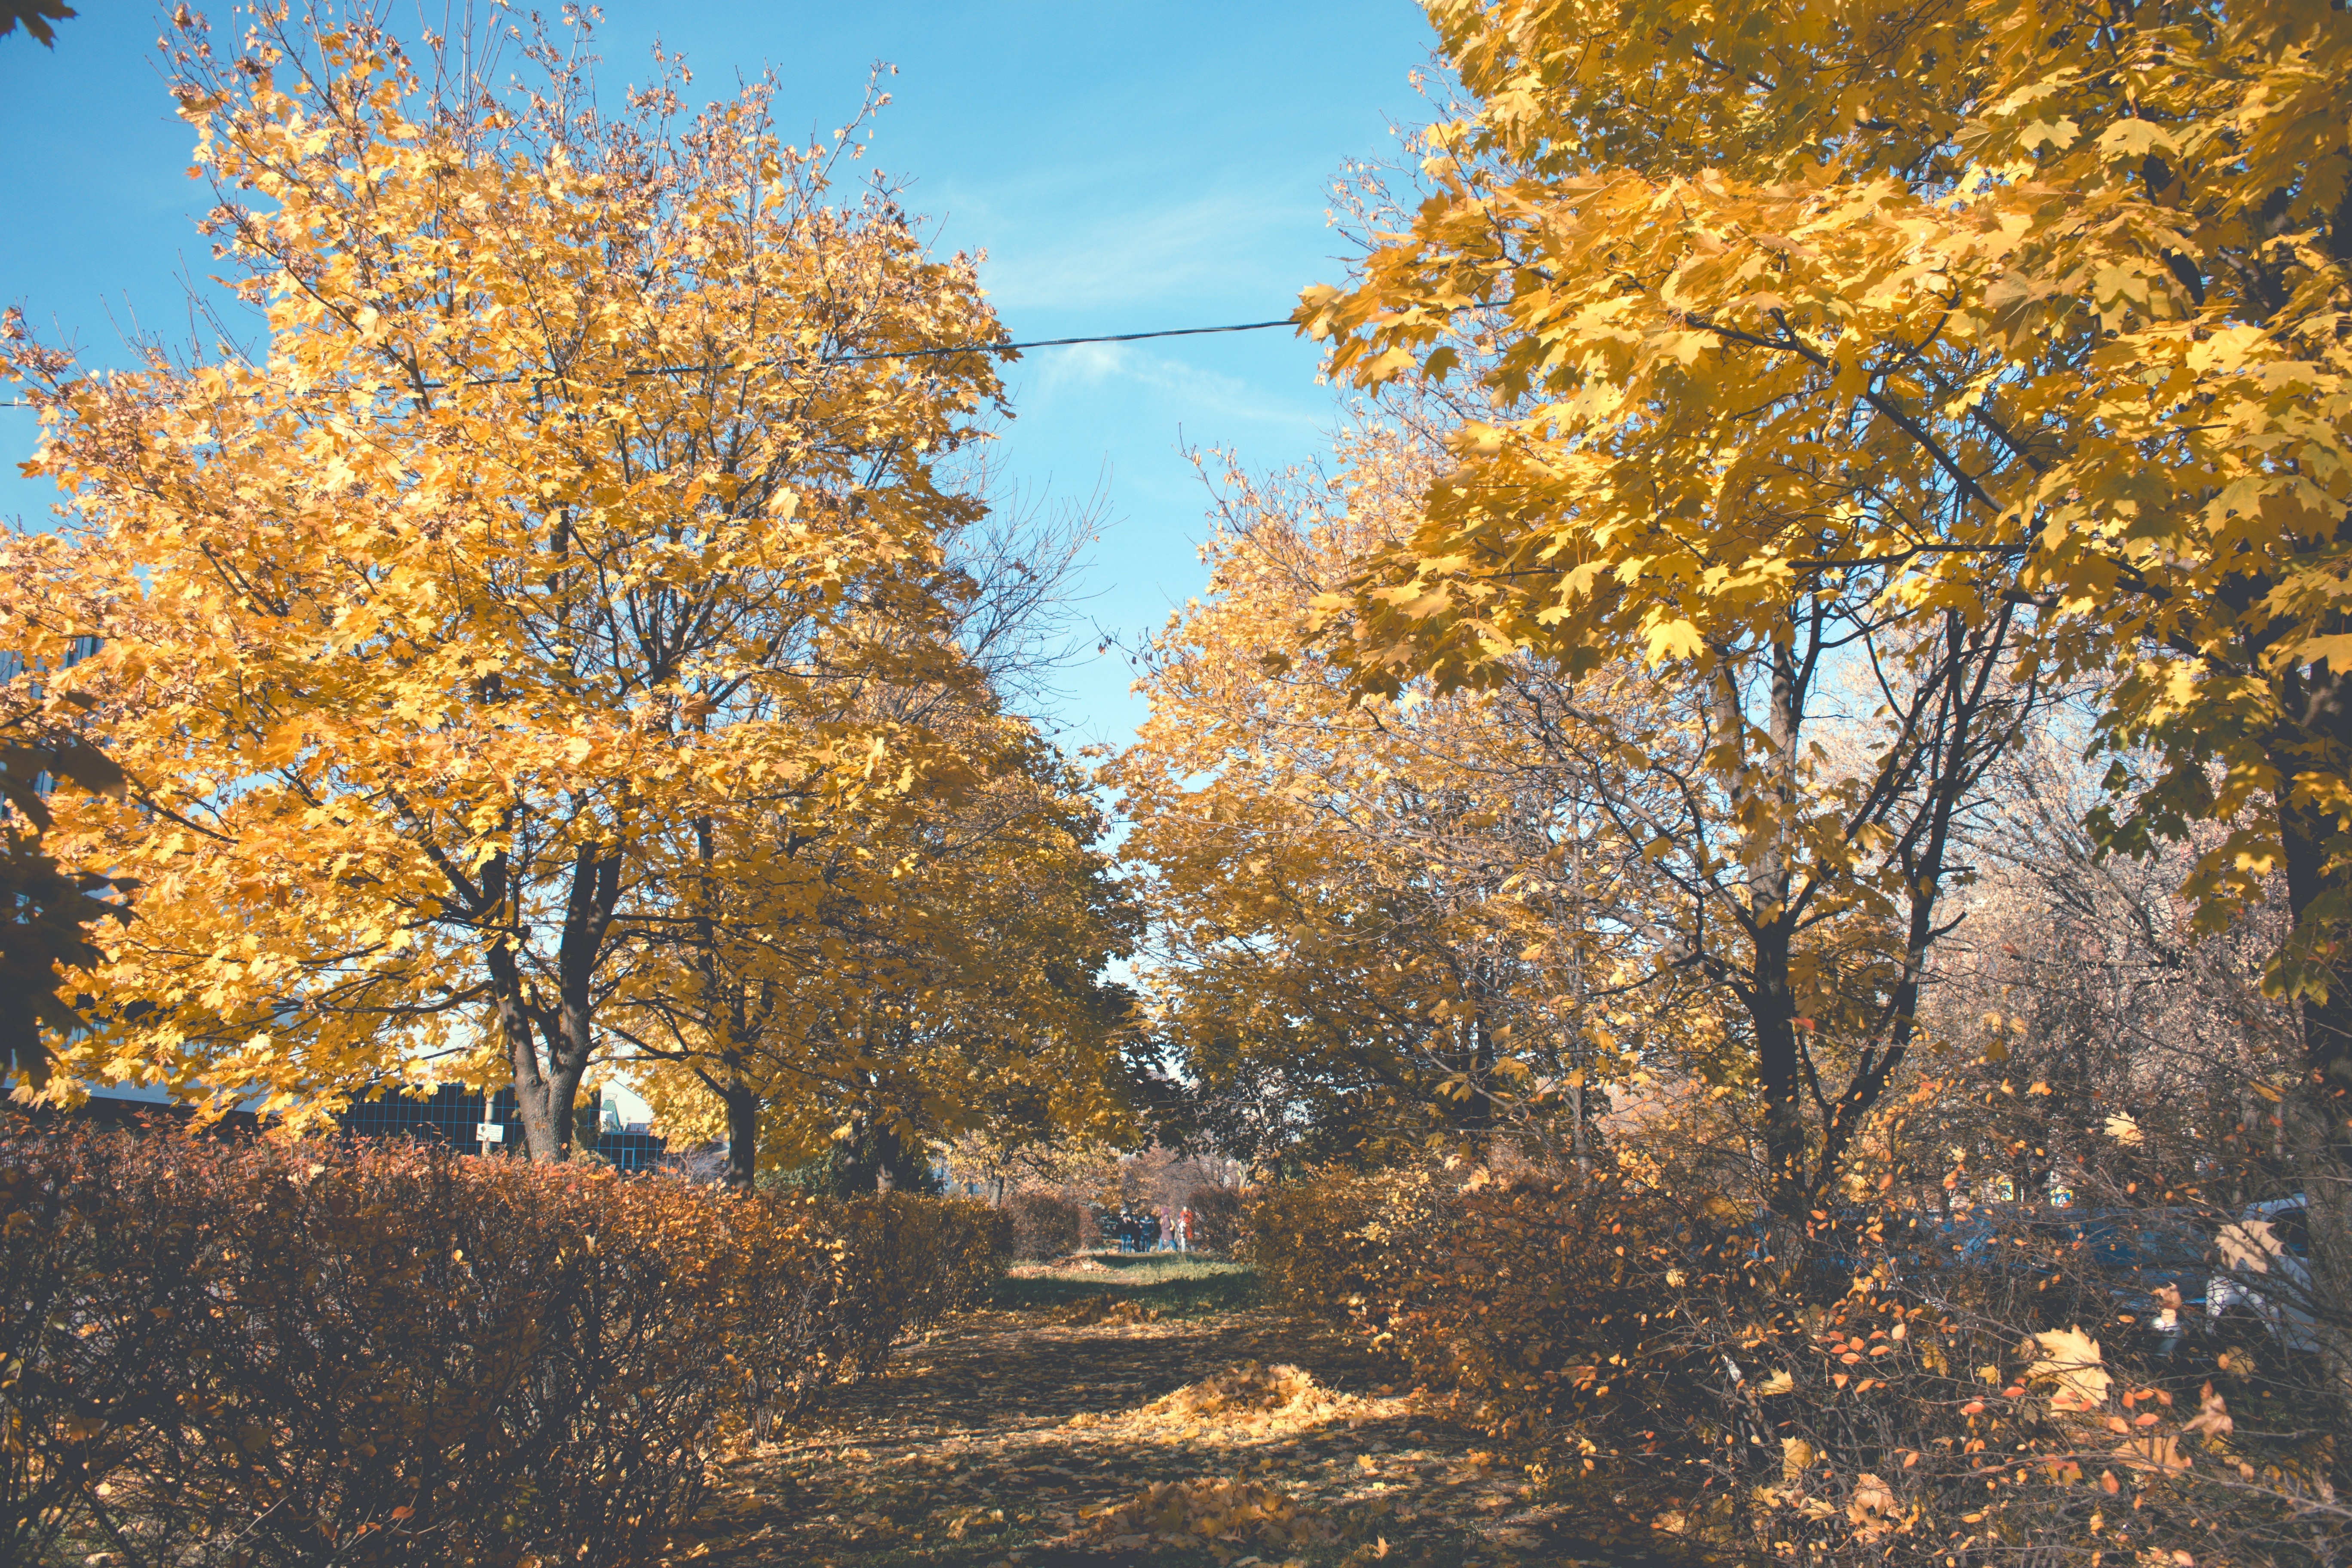
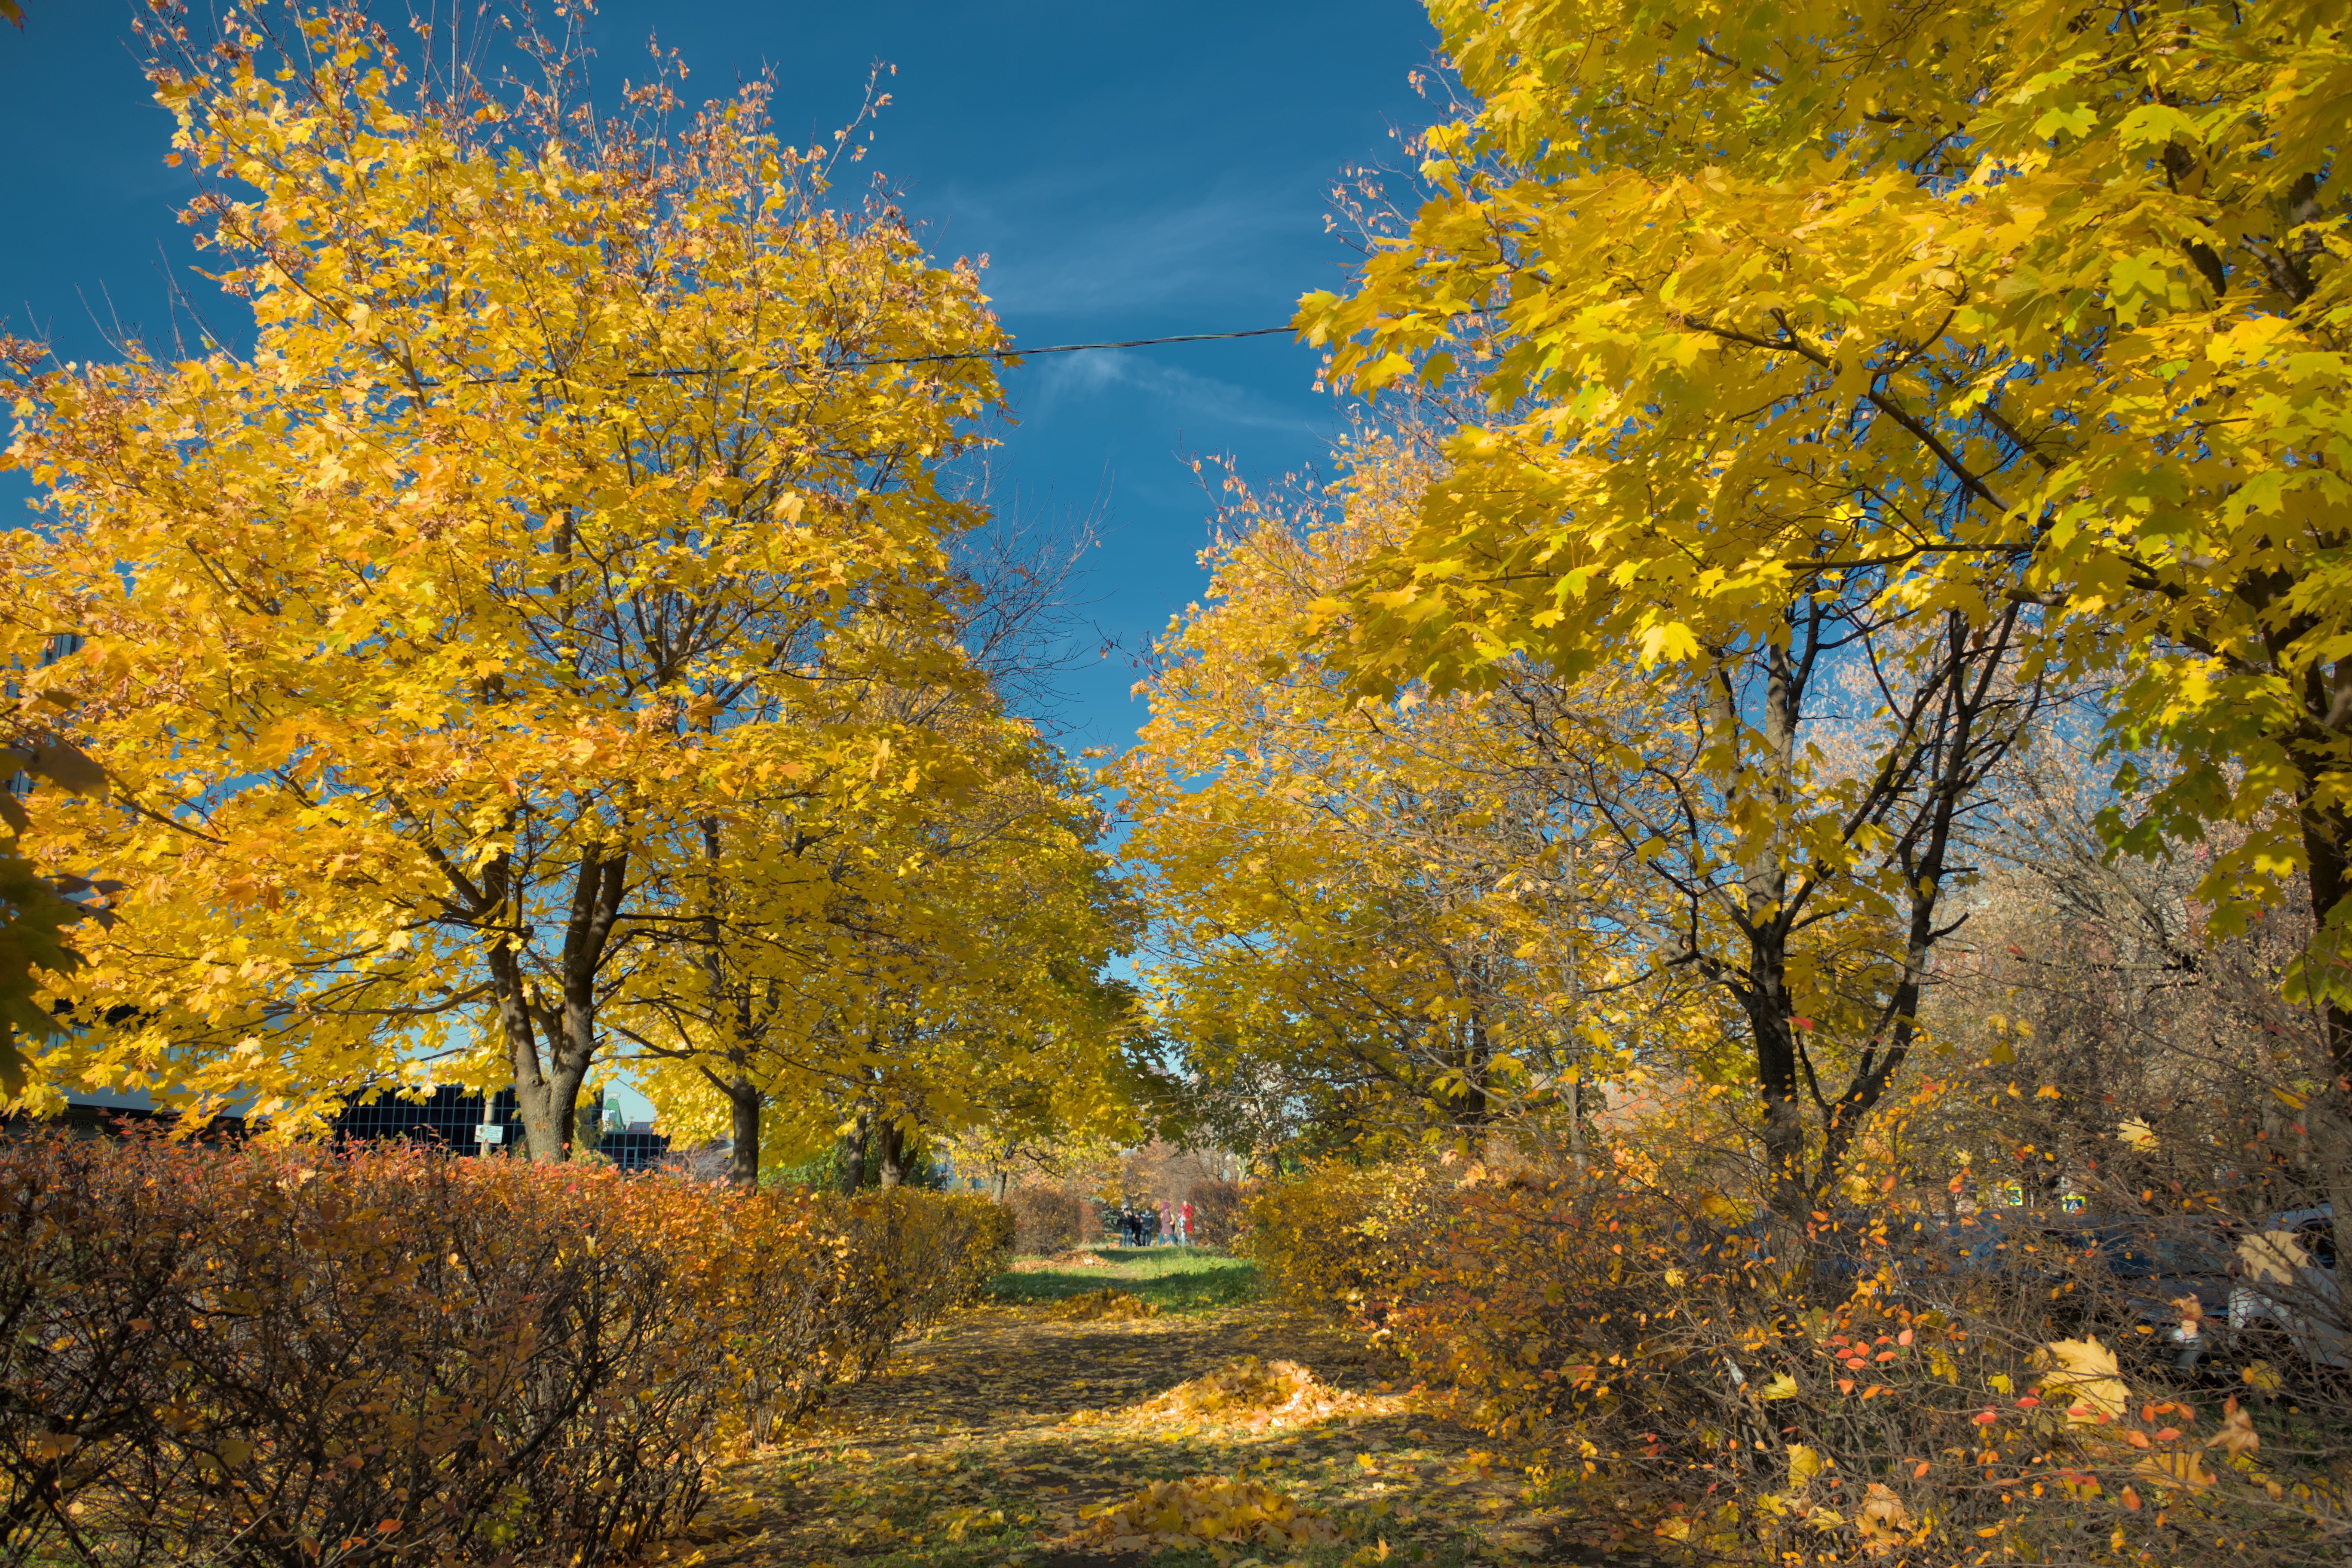
Green tones have less reflection on each other in the shadows. In warm tones, yes, but not in greens. The foliage is also denser in summer. Yellow leaves look more transparent in life.
Try omitting the shadows in the shadows for green
For the shadow mask, you can take the saturation channel (I guess). and partially masked by light. and work only with green and yellow tones.
I expect if you are doing your photo editing you have the paid version?? Otherwise I guess you work in the resolution restrictions.
As for parametric masking…you have channels and while not curves the sliders and feathering can make pretty effective parametric masks esp when you combine parameters and drawn mask with it… I think you will find the masking pretty good once you play with it…
It turned out to be very simple. The paid version is more for people who also do retouching. In many other cases, it is enough to work on material with a lower resolution, and then create a 3dlut file
No, of course you can buy a studio, but what’s the point?
I like to work only with color. I don’t do retouching and I don’t build static masks.
The 3dlut I get, I can apply it anywhere. I apply it in 3dlut creator - I bought that program a long time ago. But I think that other programs can work with 3dlut.
I know about sliders and feathering. But the shading tool there is a straight diagonal line.
But that’s not the point.
As far as I’m concerned, everyone has something different. A predisposition to something. To some program. I like 3dlut creator more than davinci. But I get good results with davinci. It could be that I would get good results in the Gimp, or in photoshop, regardless of what I like or do not like in those programs.
To me, that’s no way to get excited about any program. But you shouldn’t do it for yourself. In fact, as well as different approaches to working with photos.
Less enthusiasm means less screw-ups in your work).
Although, if I develop photos at home, I’ll probably have to buy the program. The girls at work won’t always give you a machine.
Another thing is to torture the darktable. Maybe it will be something even better for me. a week is not a deadline at all.
I’ve rarely ever developed a raw photo, although I have a camera and it’s been a long time. For about two years now. The stock lens is no problem. The pictures come out fine.
You can try multiply or subtract blend mode…just use a linear tone curve and blend it with each…opacity will be something less than 50%…for subtract quite low…I use 10%…its a bit like a dehaze effect with deepening of the color …This may not be what you want but it yeilds what I saw in the video…