My digital imaging journey has fundamentally been about dynamic range, or DR. That was the essential consideration in every camera purchase I’ve made, over anything like mega-pixels, auto-focus or such. That consideration has also been a major factor in my choice of software and the processing it provided.
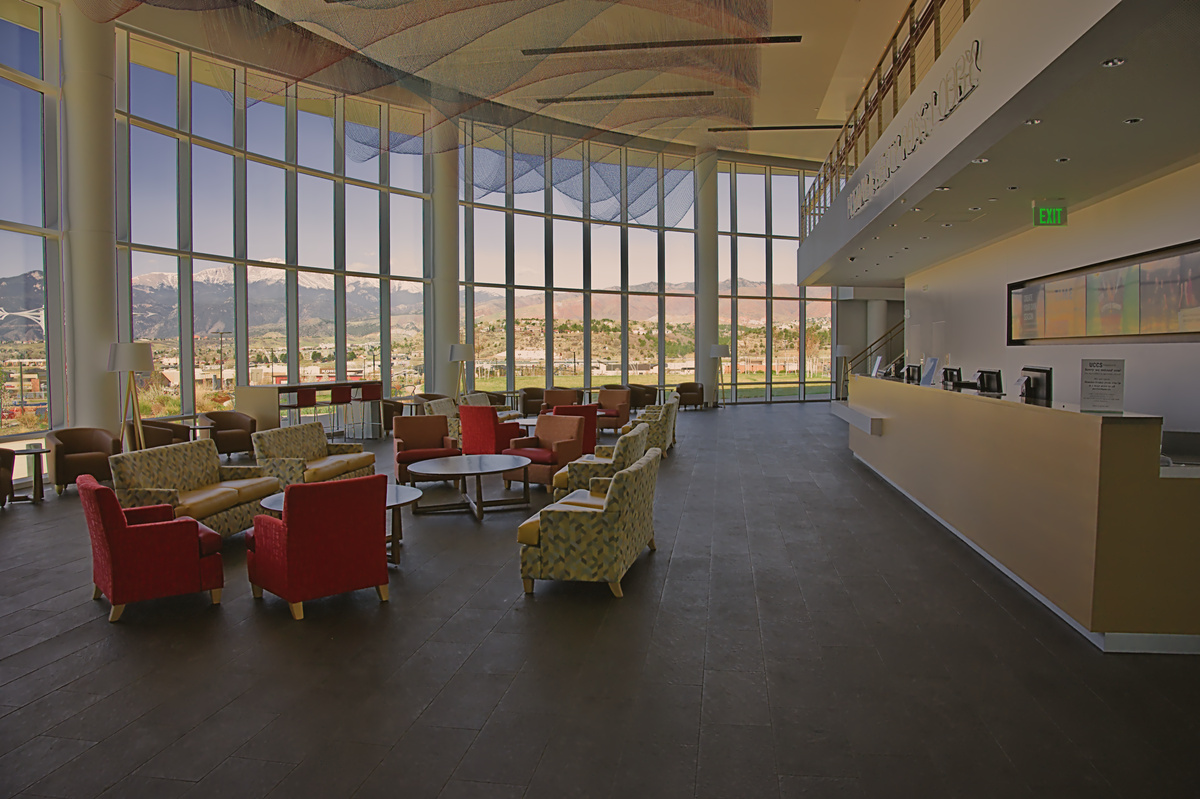
The Filmic, when to use? - #36 by jillesvangurp thread has been a good place for me to ponder this, as I figure out how to manage DR with my new camera, as I messed with various tonemap operators and their corresponding consequents. So, here’s the raw from the screenshot I posted in that thread, with the intent to see what others might do with its DR:
Seems like a well-behaved image compared to some we’ve seen recently. Here’s a basic dcraw + gmic processing (I’m no good at being inventive with the colour or tone!)
Erk… I suppose it’s only fair! Well, I did cheat a little (this is a “wrong” conversion):
dcraw -v -T -6 -a -o 0 -g 2.4 12.92 DSZ_0619.NEF
After that, opened in gimp and used a gmic filter I’ve had for a long time for compressing tones (but not released). Reason being it’s not mathematically elegant, although the concept is OK (iterative bilateral filter) - I’ve yet to spend time deconstructing it!
White balance was an image average - I’ve not had good fortune with it, but it does work well with this image.
Camera colorspace essentially assigned to sRGB in GIMP - this hurt my head, until I realized there are no really challenging colors in the image except for the sky, and that does show a difference in your image vs. one made with a camera → output conversion. Really illustrates well the dynamic of gamut conversion.
I was able to approximate your tone mapping with a wonky curve that essentially anchored the upper part of the image and pulled up the lower part.
Thanks! I go now to do yard work, with a few things to ponder…
Correct on all counts (and I’m guilty as charged ). Here’s the tone curve in question:
which of course is easily achievable. The only difference would be local contrast preservation.
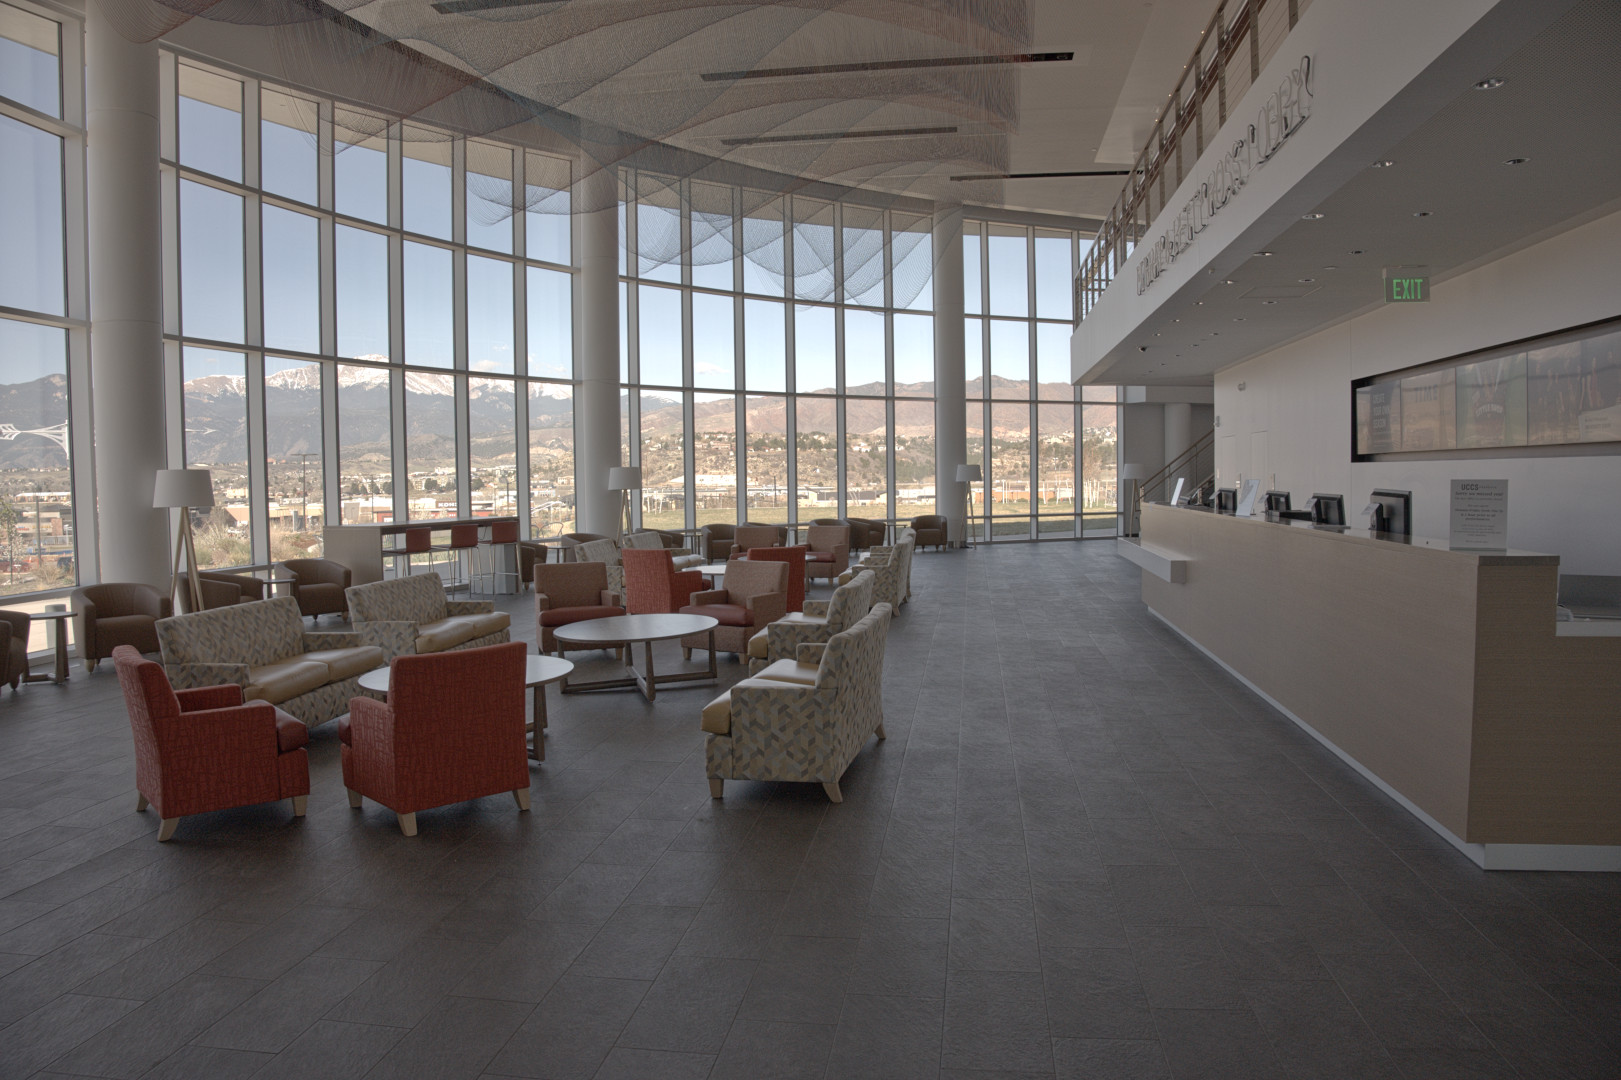
Image was fun to process, allowing me to revisit and slightly update old tricks. 1PhotoFlow vignette, ca correction; linear no-clip float. 2gmic filter pixels; HLG. 3pnmclahe local contrast. 4gmic local contrast; inverse HLG; brightness, contrast; chroma, sharpen, resize, sharpen.
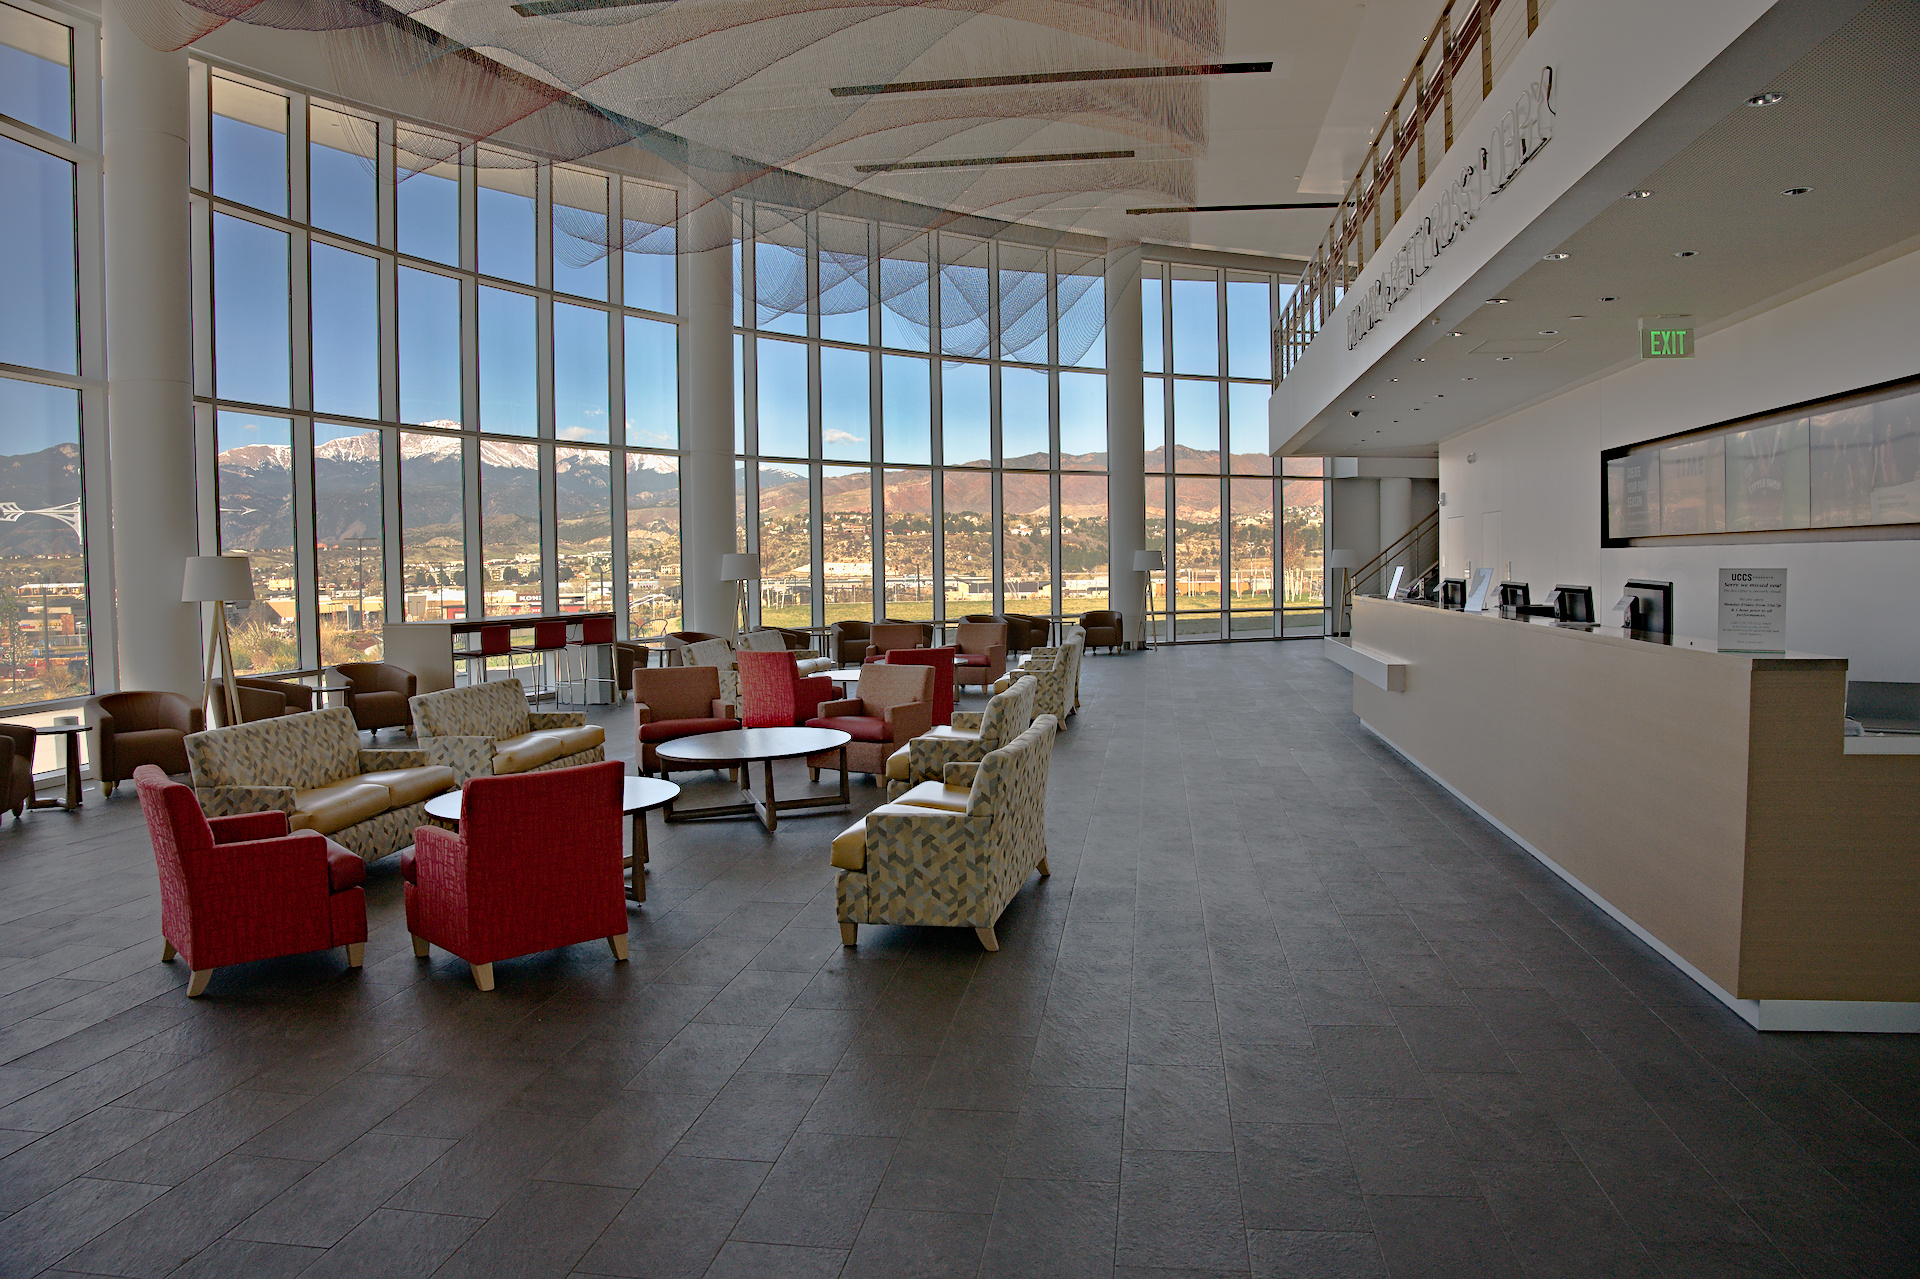
For me the biggest difficulty was not so much the extreme dynamic differences, but rather the task to make the picture more aesthetically pleasing after solving the high dynamic range problem. Accordingly, the list of modules used in darktable is quite long. This approach is not recommended if you have to process 100 such photos.
I found it difficult to maintain good contrast in both the shadows and highlights. CLAHE was instrumental in achieving it but at the cost of uneven illumination along the pillars to the left and ceiling to the right.
Another weakness, and endemic to my processing in general, is the resizing. I have never been able to retain as much detail as other people. I used r2dx 1920,2, which means average interpolation. Sounds weak but it performs as well poorly as the other options.
Thanks for this nice shot, and congratulations for the new toy, it seems to be a great piece of hardware.
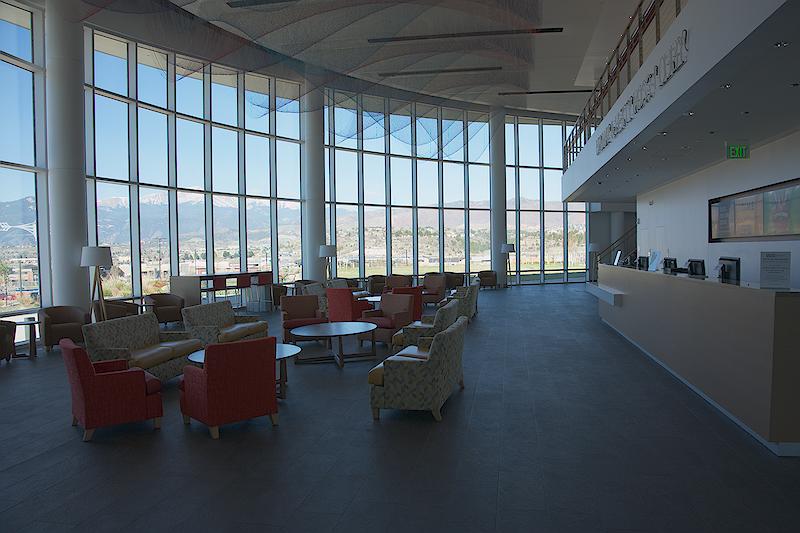
I found it very difficult to handle this image in darktable: I couldn’t handle the highlights as I wish, and the the color shift was hard to deal with, both issues from my filmic usage. The alternative way, masking, was difficult for this particular image mainly due to the hanging mobile.
So I tried the Photoflow way and it was a breeze (except for the huge amount of time I had to wait until caching was done, before exporting to jpg). Keep up the good work @Carmelo_DrRaw!
Thanks for a GREAT testcase image to use when working on trying to improve the behavior of darktable’s exposure fusion module.
I’ll be posting some examples/comparisons in a separate thread later today (as my primary intent there is to compare the results of making changes to one step in a minimal pipeline, and comparing to that to some other single-module approaches). The outside highlights definitely present a challenge as far as preserving them without washing them out. The tone equalizer someone else is working on provides much better results in those regions, but at the cost of the shadow areas having highly unnatural colors.
More later today in a separate thread, I’ll reference this one when I put it together.
If you’re processing the image of this PlayRaw, post your finding here; the intent of my image selection was to talk about tone management, so we’re good here.
Thanks to all who have posted so far; my expectations are wildly exceeded by your efforts. I actually cloned and compiled darktable/master (easy-peasy, by the way; just need to insure all the prerequisite packages are installed). So, I’m going to open all your .xmp-s in the next few days, see what sort of “sauce” was considered and applied.
All the tone curves I’ve looked at so far followed the same pattern as the one I did in rawproc, before I switched to filmic: anchor the high end, lift the low. I found dt’s manual tone curve nice to use in that it provided more control in the low end than rawproc’s; but I love the sweeping curves of Tino Kluge’s spline algorithm…
The color challenge surprised me. In rawproc, I’d just used the camconst.json primaries, worked the image in them, and converted to sRGB for output, and the skies stayed nice and blue; in darktable, I couldn’t get the magenta hint out of the leftmost windows. That may have had something to do with white balance, but I haven’t studied dt enough to mess with it yet.

 ). Here’s the tone curve in question: