I occasionally have this issue where the camera software produces better microcontrast than I can via RawTherapee. I am unsure whether this is an issue with the software or with my ability to use it. All files presented here and their associated .pp3 files are available here: chymera.eu/debug/rawtherapee/mountain_detail.zip.
The best I can obtain from the .NEF is:
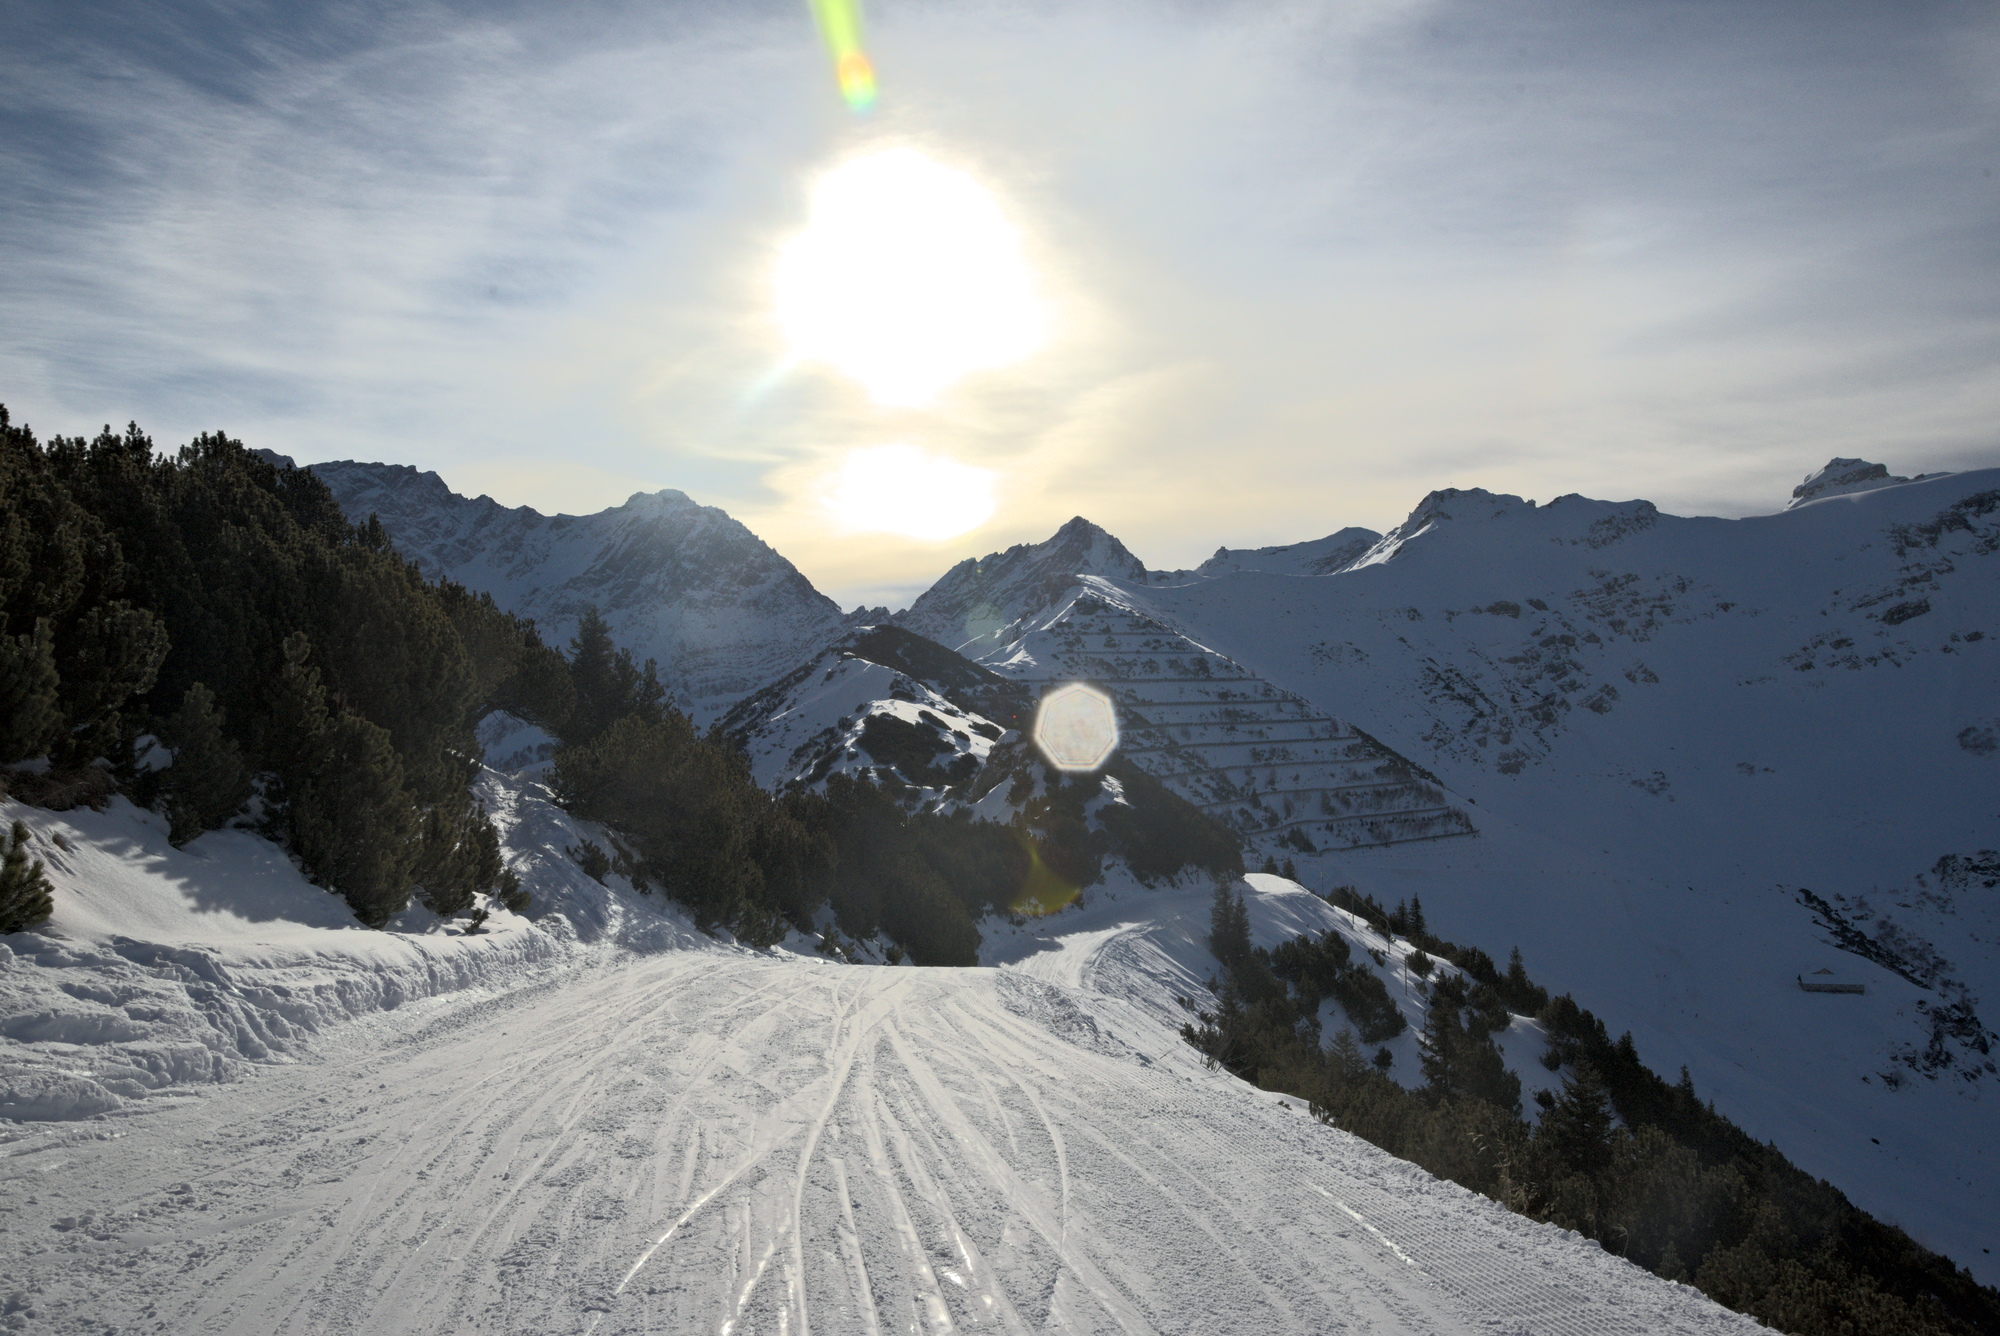
As you can see the background looks rather flat and dull, even a bit “foggy”.
This is what the camera generates:
Doesn’t look like much, but that’s mainly due to the lightness.
Based on the camera .JPG but not the .NEF , I can get:
Which has much more contrast on the cliffs on the mountainsides in the background.
What I tried to do in RawTherapee is to tweak the “Tone Mapping” and the “Contrast by Detail Levels” dials, and they both helped, but not nearly as much as when starting off with the JPG file (all .pp3 files available in the aforementioned archive).
Can you help me get results similarly good to the last picture while starting from the NEF (this would allow me to better preserve the dynamic range and reduce clipping).
Oh I see. My bad @Chymera . I tried to click on the address in the first post and it did not work. Now I copy pasted it to a new tab and it worked. Thanks for pointing it out.
Yeow, that was tough. The “thing” seems to be to get the halo around the sun to blend, rather that just blob out.
I tried RawTherapee first (don’t code on me, @Claes… ), but I’m not color-managing it yet so what looked okay in-program didn’t look the same exported.
So, I reverted to rawproc, opened it with dcraw ProPhoto colorspace and gamma, and build a rather challenging curve to do the “thing”. Bit of saturation, then resize/sharpen for output to sRGB colorspace. Let’s see how it looks out there:
I think one of the problems in your attempts is that you lose a lot of detail to noise reduction. Curves + a bit of local contrast should get you pretty far already. With that said I always struggle with the local contrast in RT.
Didn’t do anything to it, from all I can tell it’s still there. And looking at the image again a bit after editing, I guess I went a bit too crunchy and contrasty but oh well. It was about enhancing detail after all.
I just curve-dragged it into clip oblivion. Above a certain point, everything is just white…
Seriously, I’ve found that images with saturated pixels require such treatment if you do your processing “by hand” - white balance, in particular, separates the saturated channels, and the only realistic way to corral it is to set the white point at the lowest of the histogram spikes.


 ), but I’m not color-managing it yet so what looked okay in-program didn’t look the same exported.


