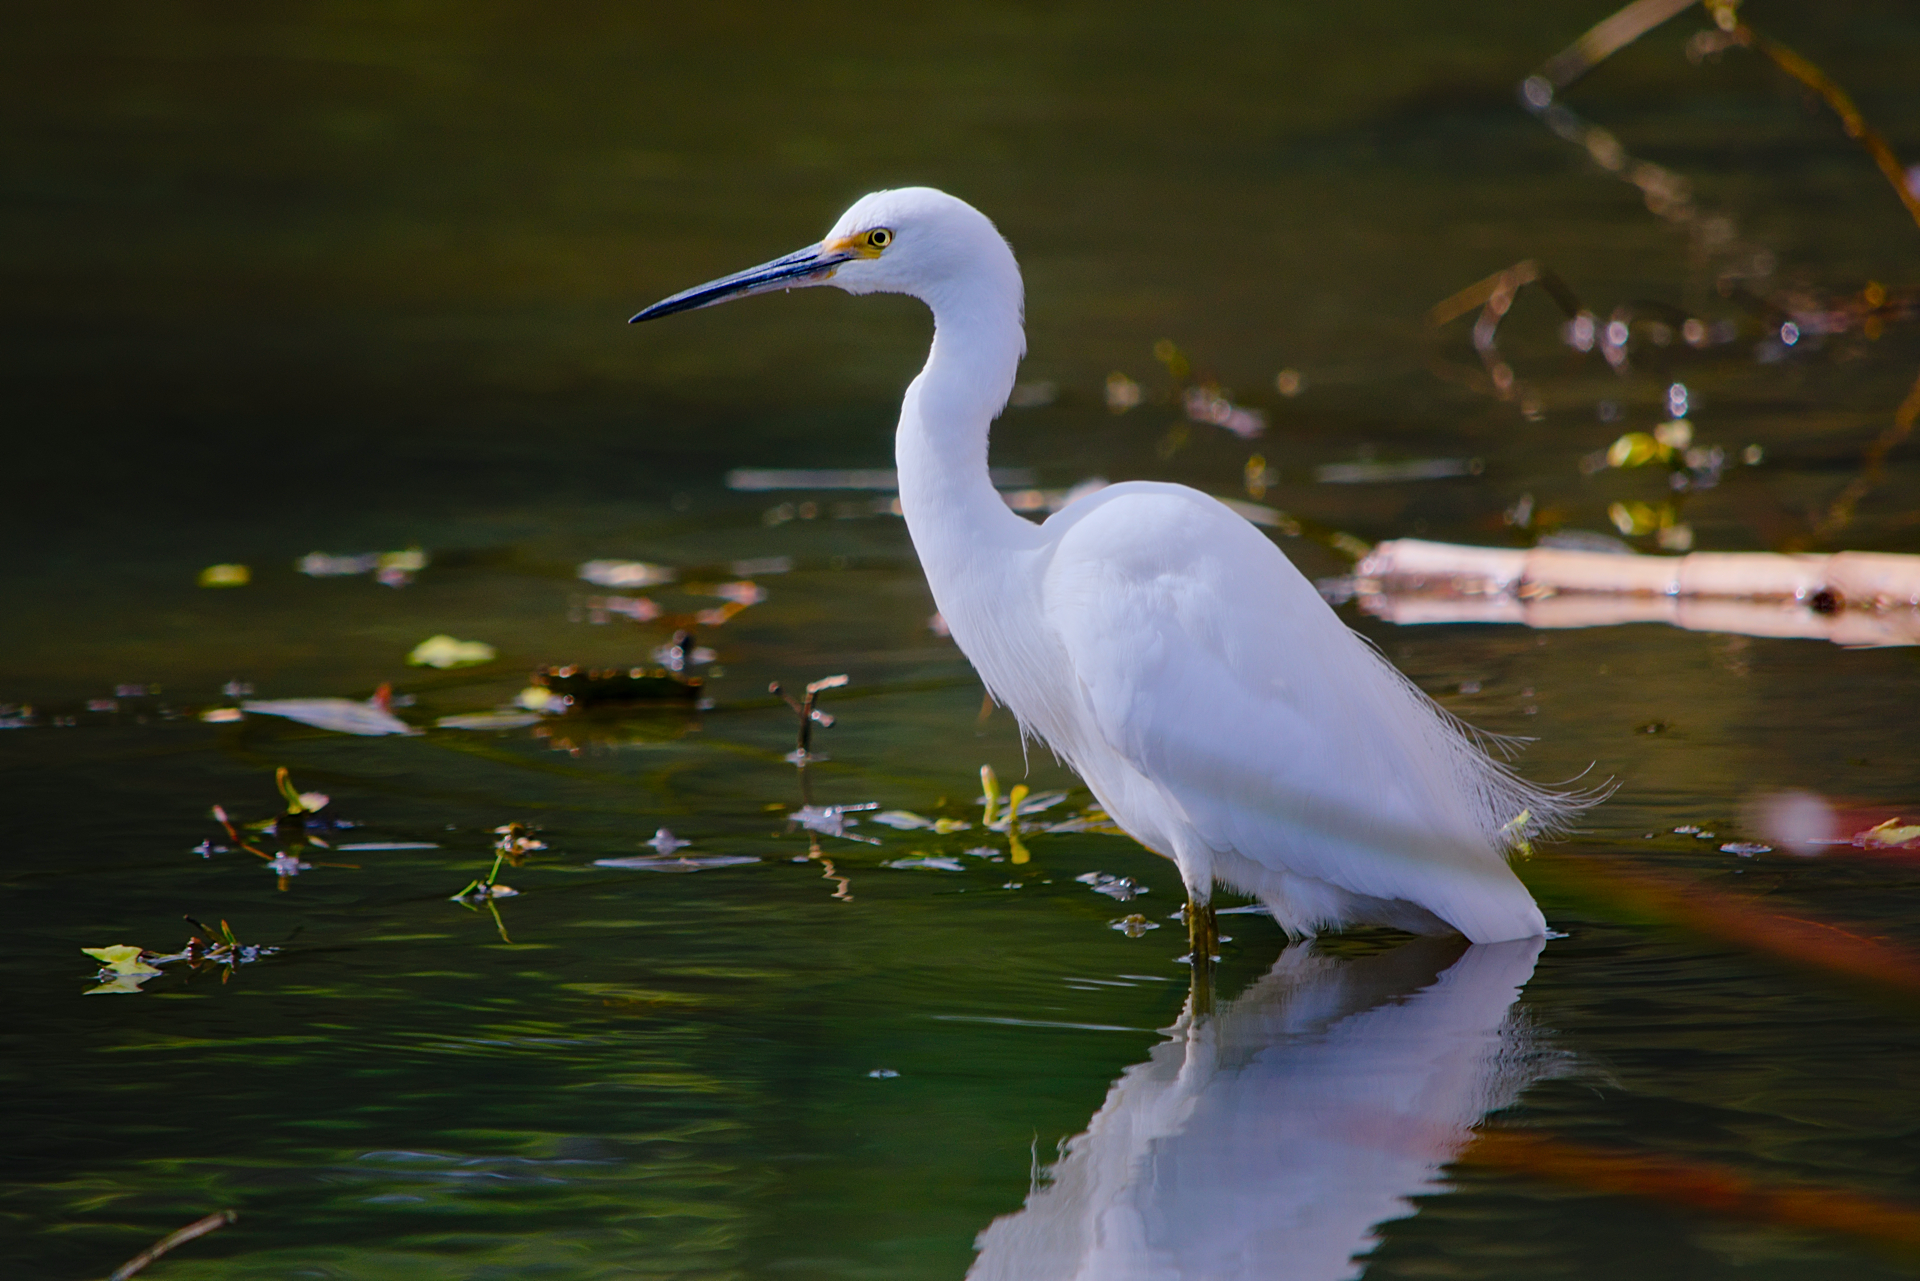
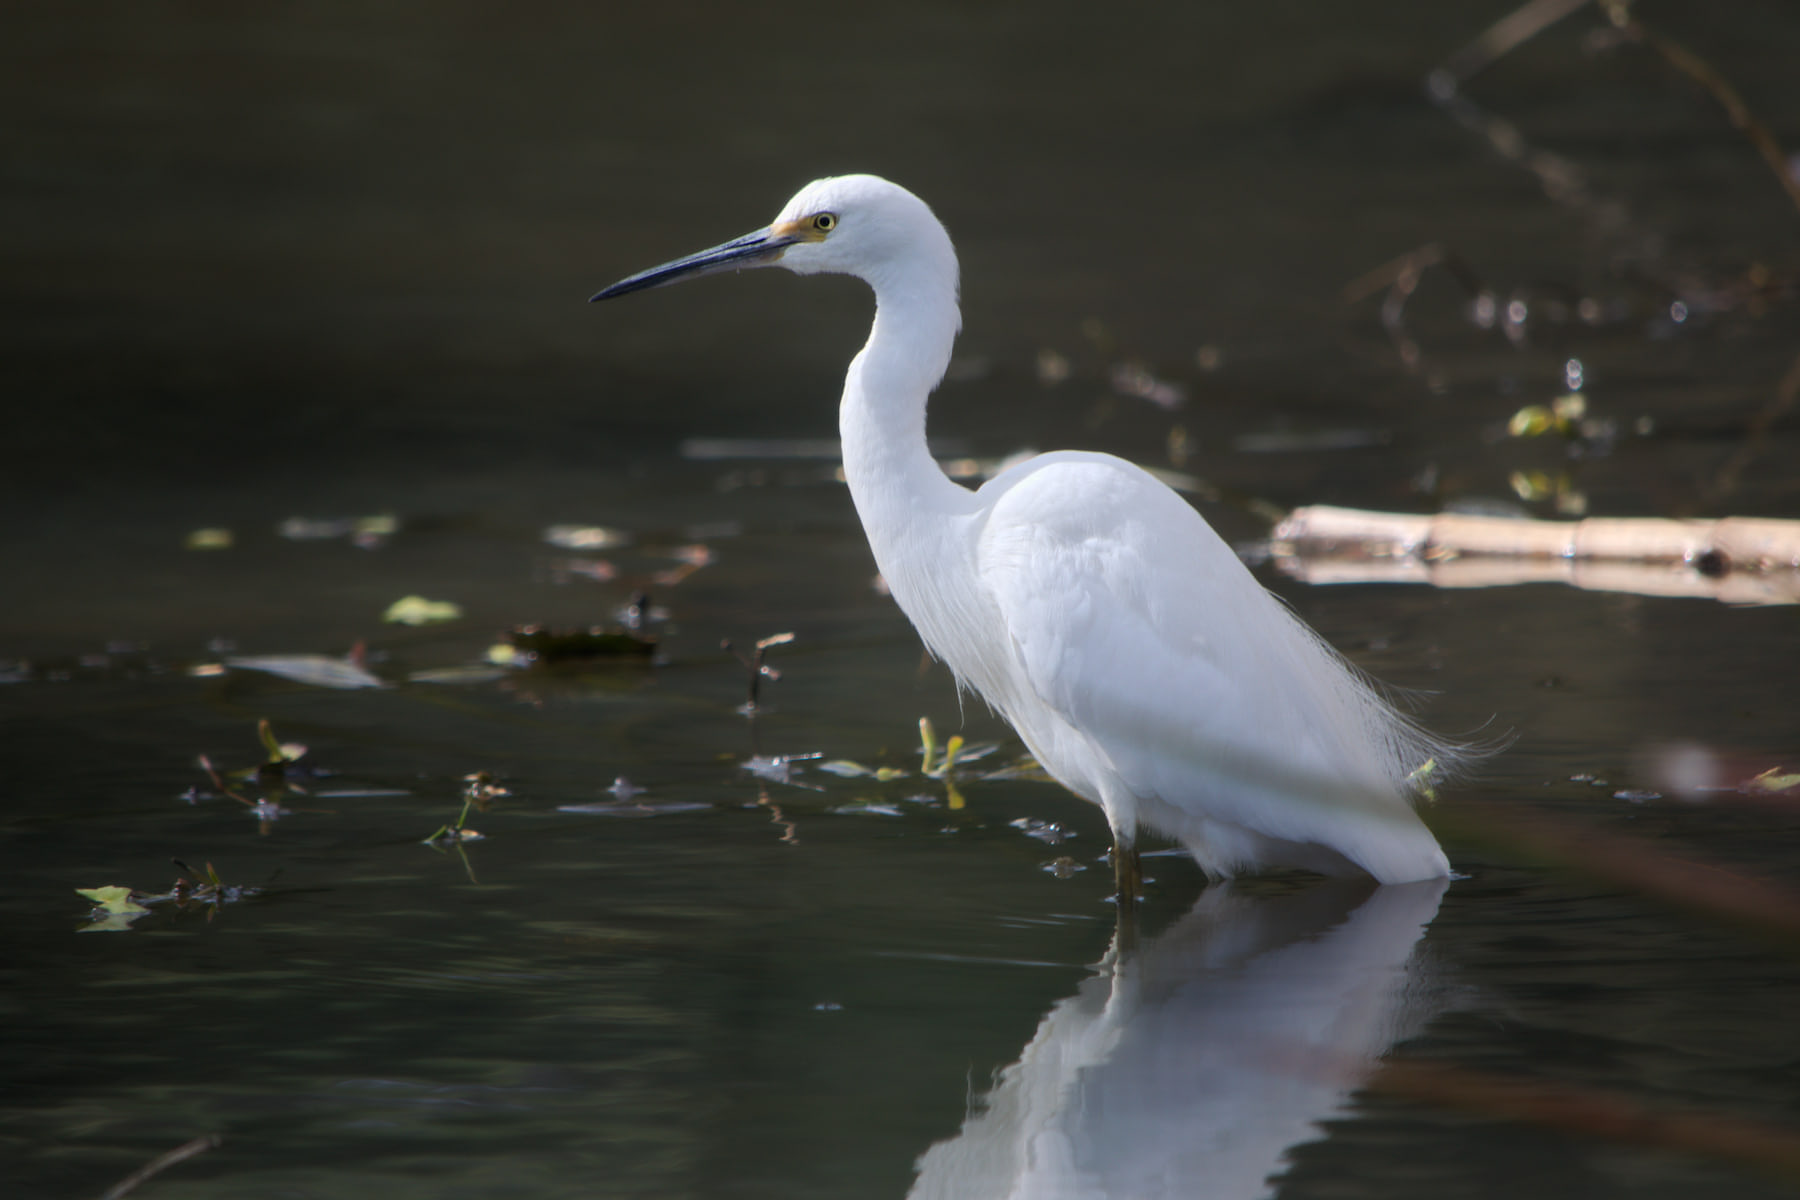
Since I have been experimenting with filmic, I have had some pleasing results. However I seem to lose detail on the bird in this instance2018-07-20_10-23-51.10_DSC2161_01.NEF.xmp (7.4 KB), despite favouring shadows in filmic:
I’d love to see how others might tackle this image.
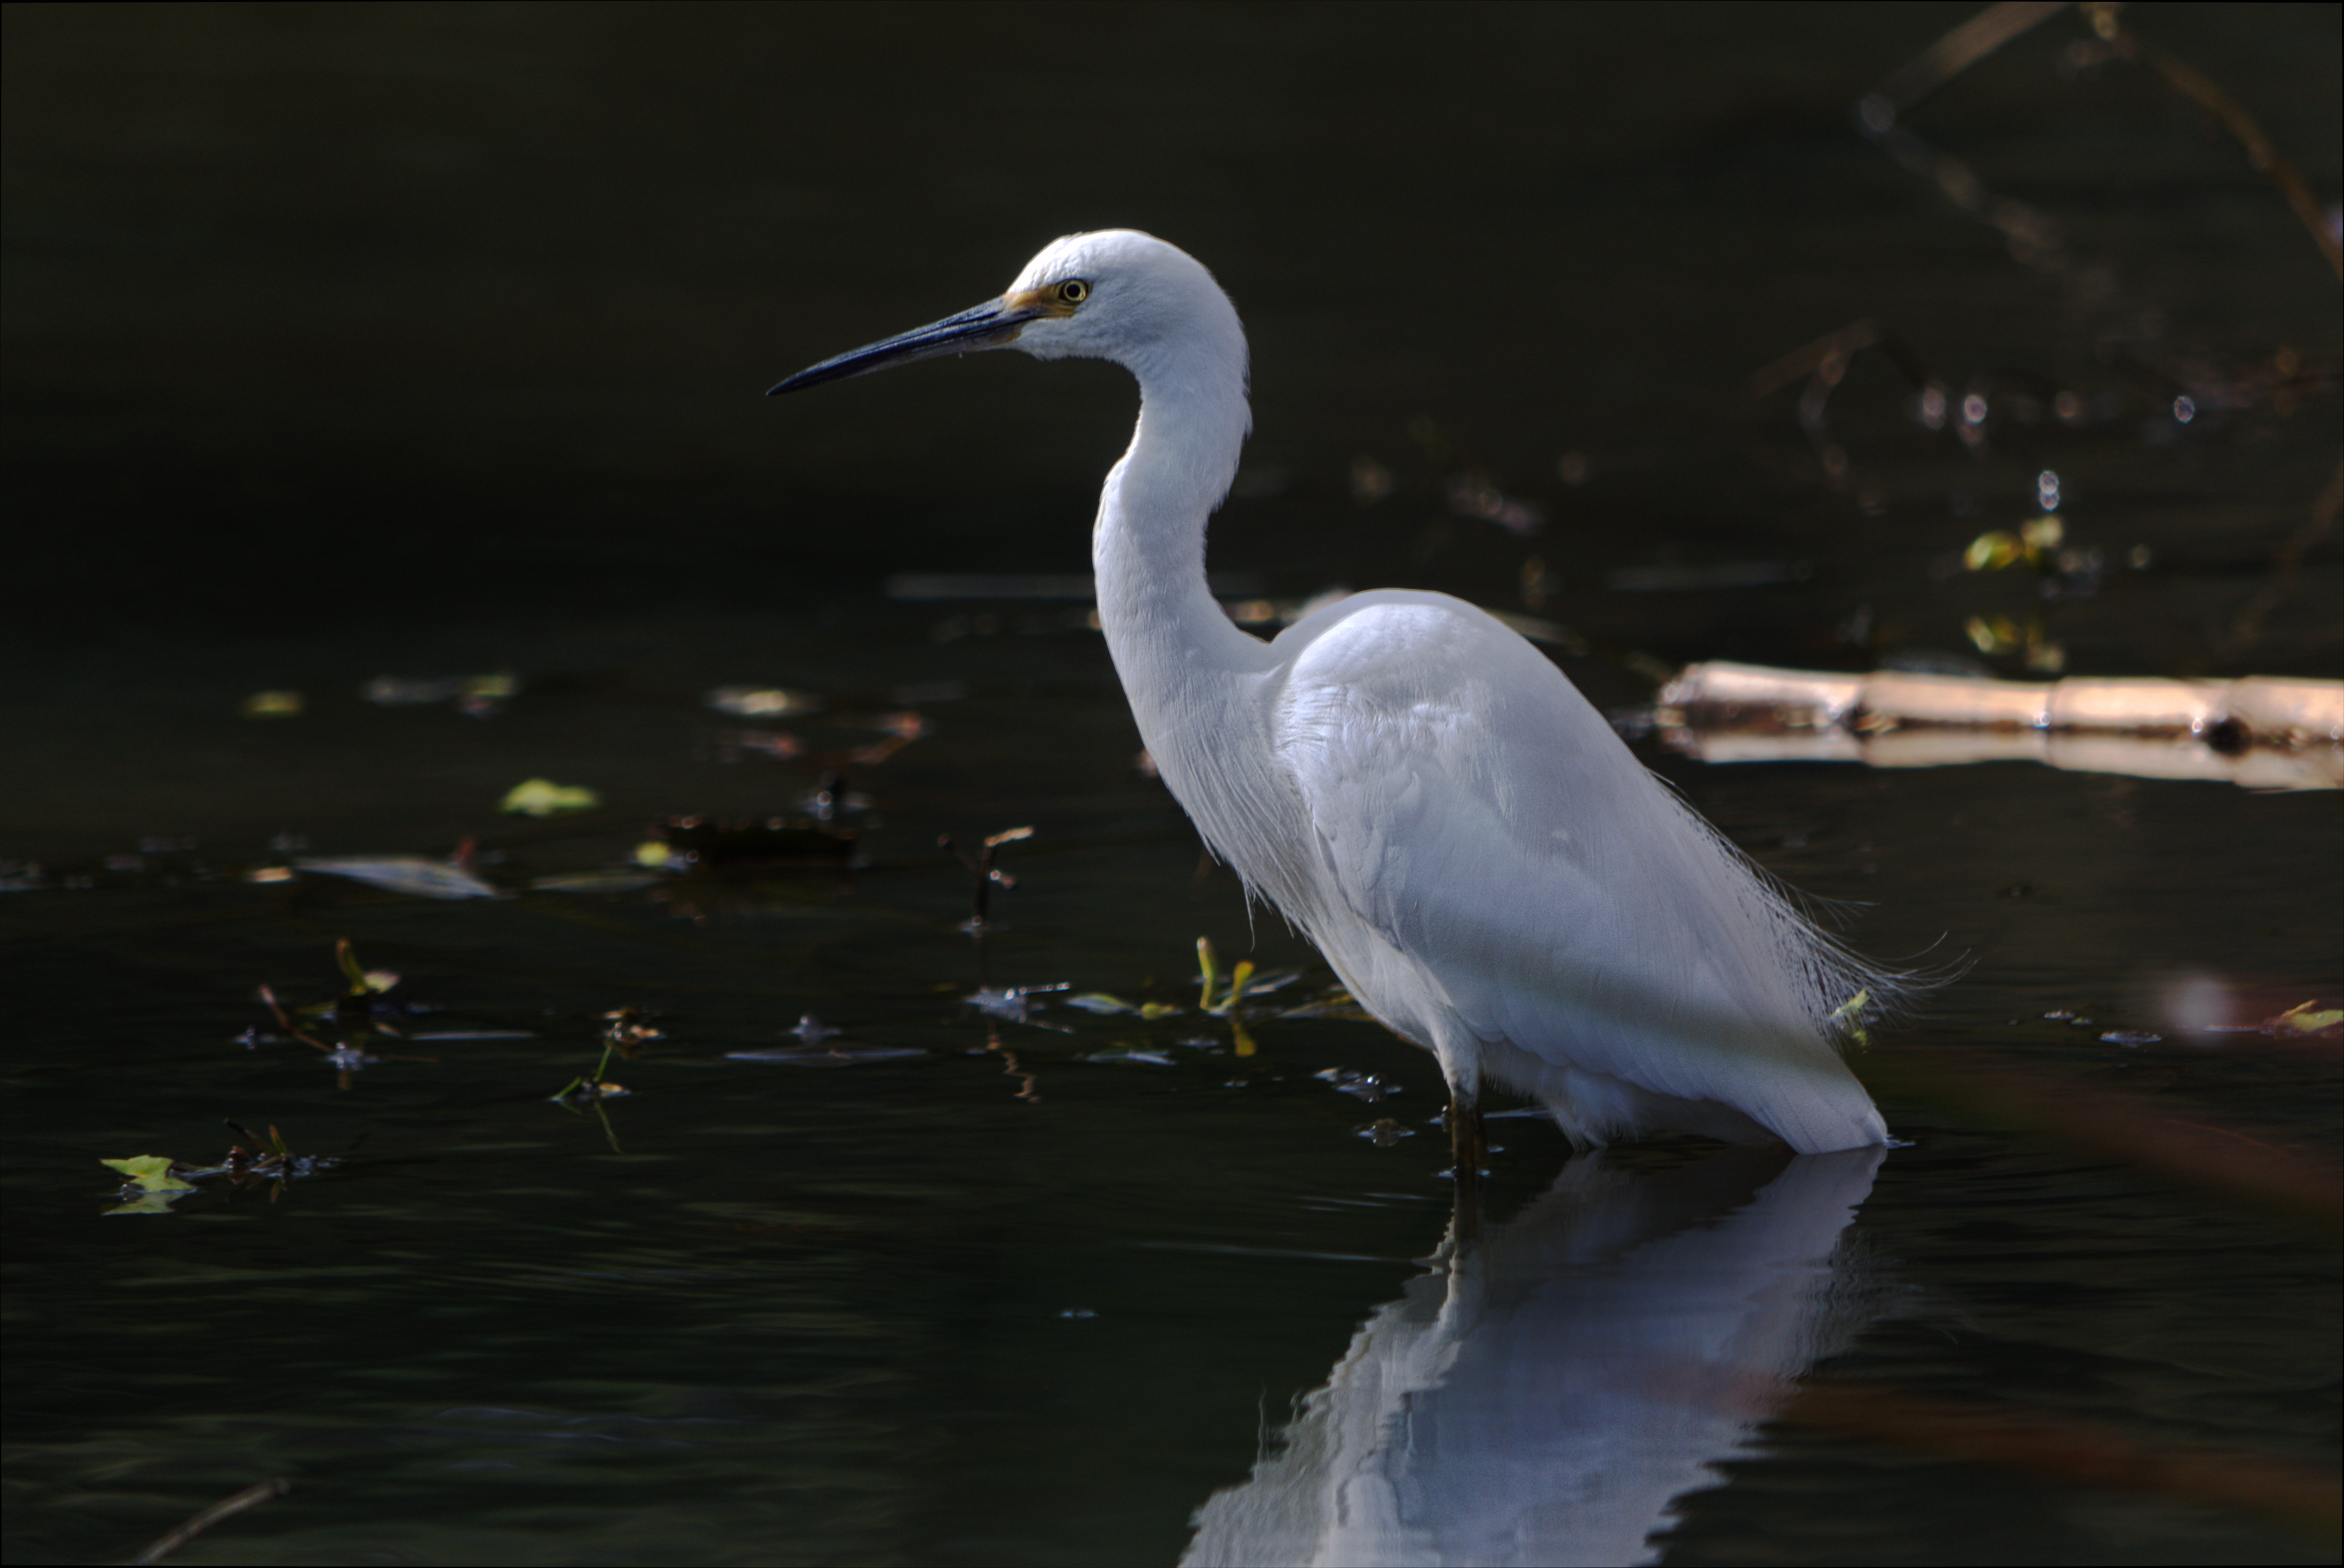
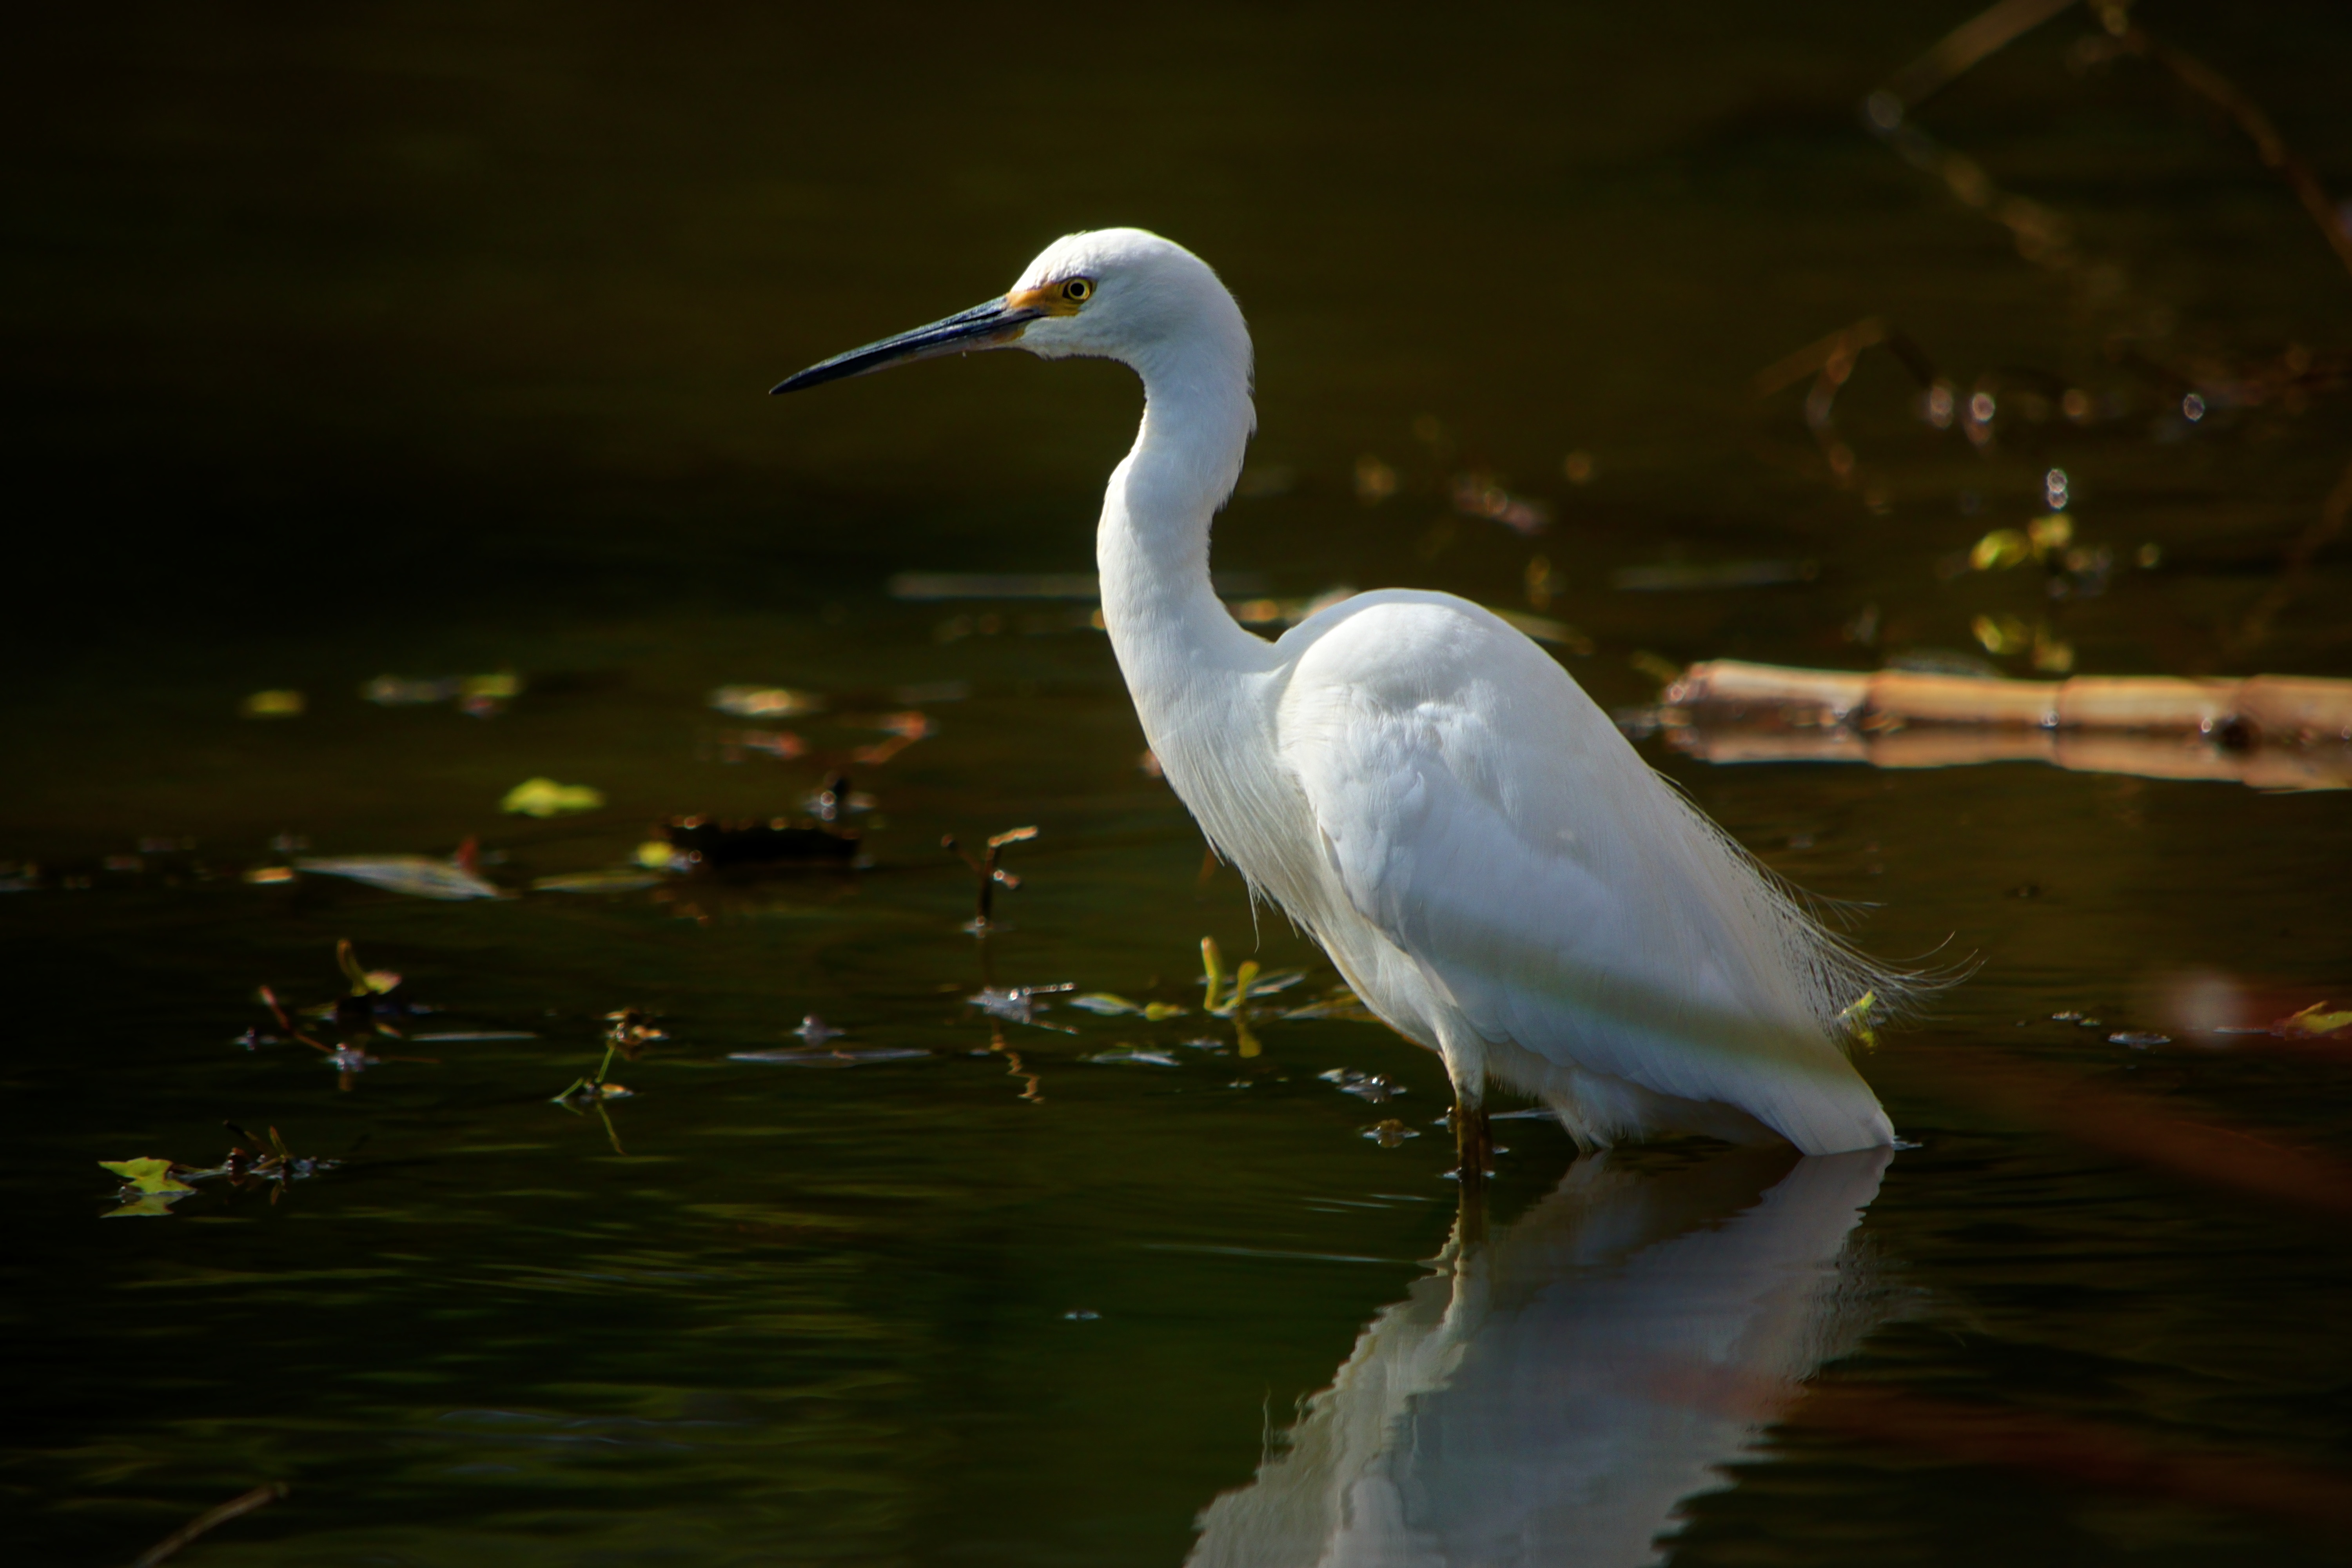
Nice bird! Here is a swift attempt - I could not emphasize the feathers sufficiently using filmic alone, so I crossprocessed the image, using darktable as well as RawTherapee. [To those wondering why on earth I didn’t perform it all in dt: simply because I know RawTherapee better!]
Wow, although the lighting of the background is not as the original scene was, I love how you brought out the level of detail in the plumage throughout - on the head and neck, on the wing, and the gossamer breeding plumes on the breast.
Oh yes, that is true. I concentrated on the bird, and at first I was afraid that your highlights were blown. [Luckily they were not .]
If/When time permits: Using darktable, it would be an interesting exercise to use a parametric mask to lighten the surroundings a bit. OTOH in my try, above, the dark background gives more oomph to the bird…
Re darktable vs RawTherapee: I do like them both; so much that from time to time I have problems remembering whether feature x is in dt or RT… Ah well.
@martin.scharnke - You really managed to control those highlights well in your filmic version! I would have expected to lose detail in those feathers but they really did render lovely.
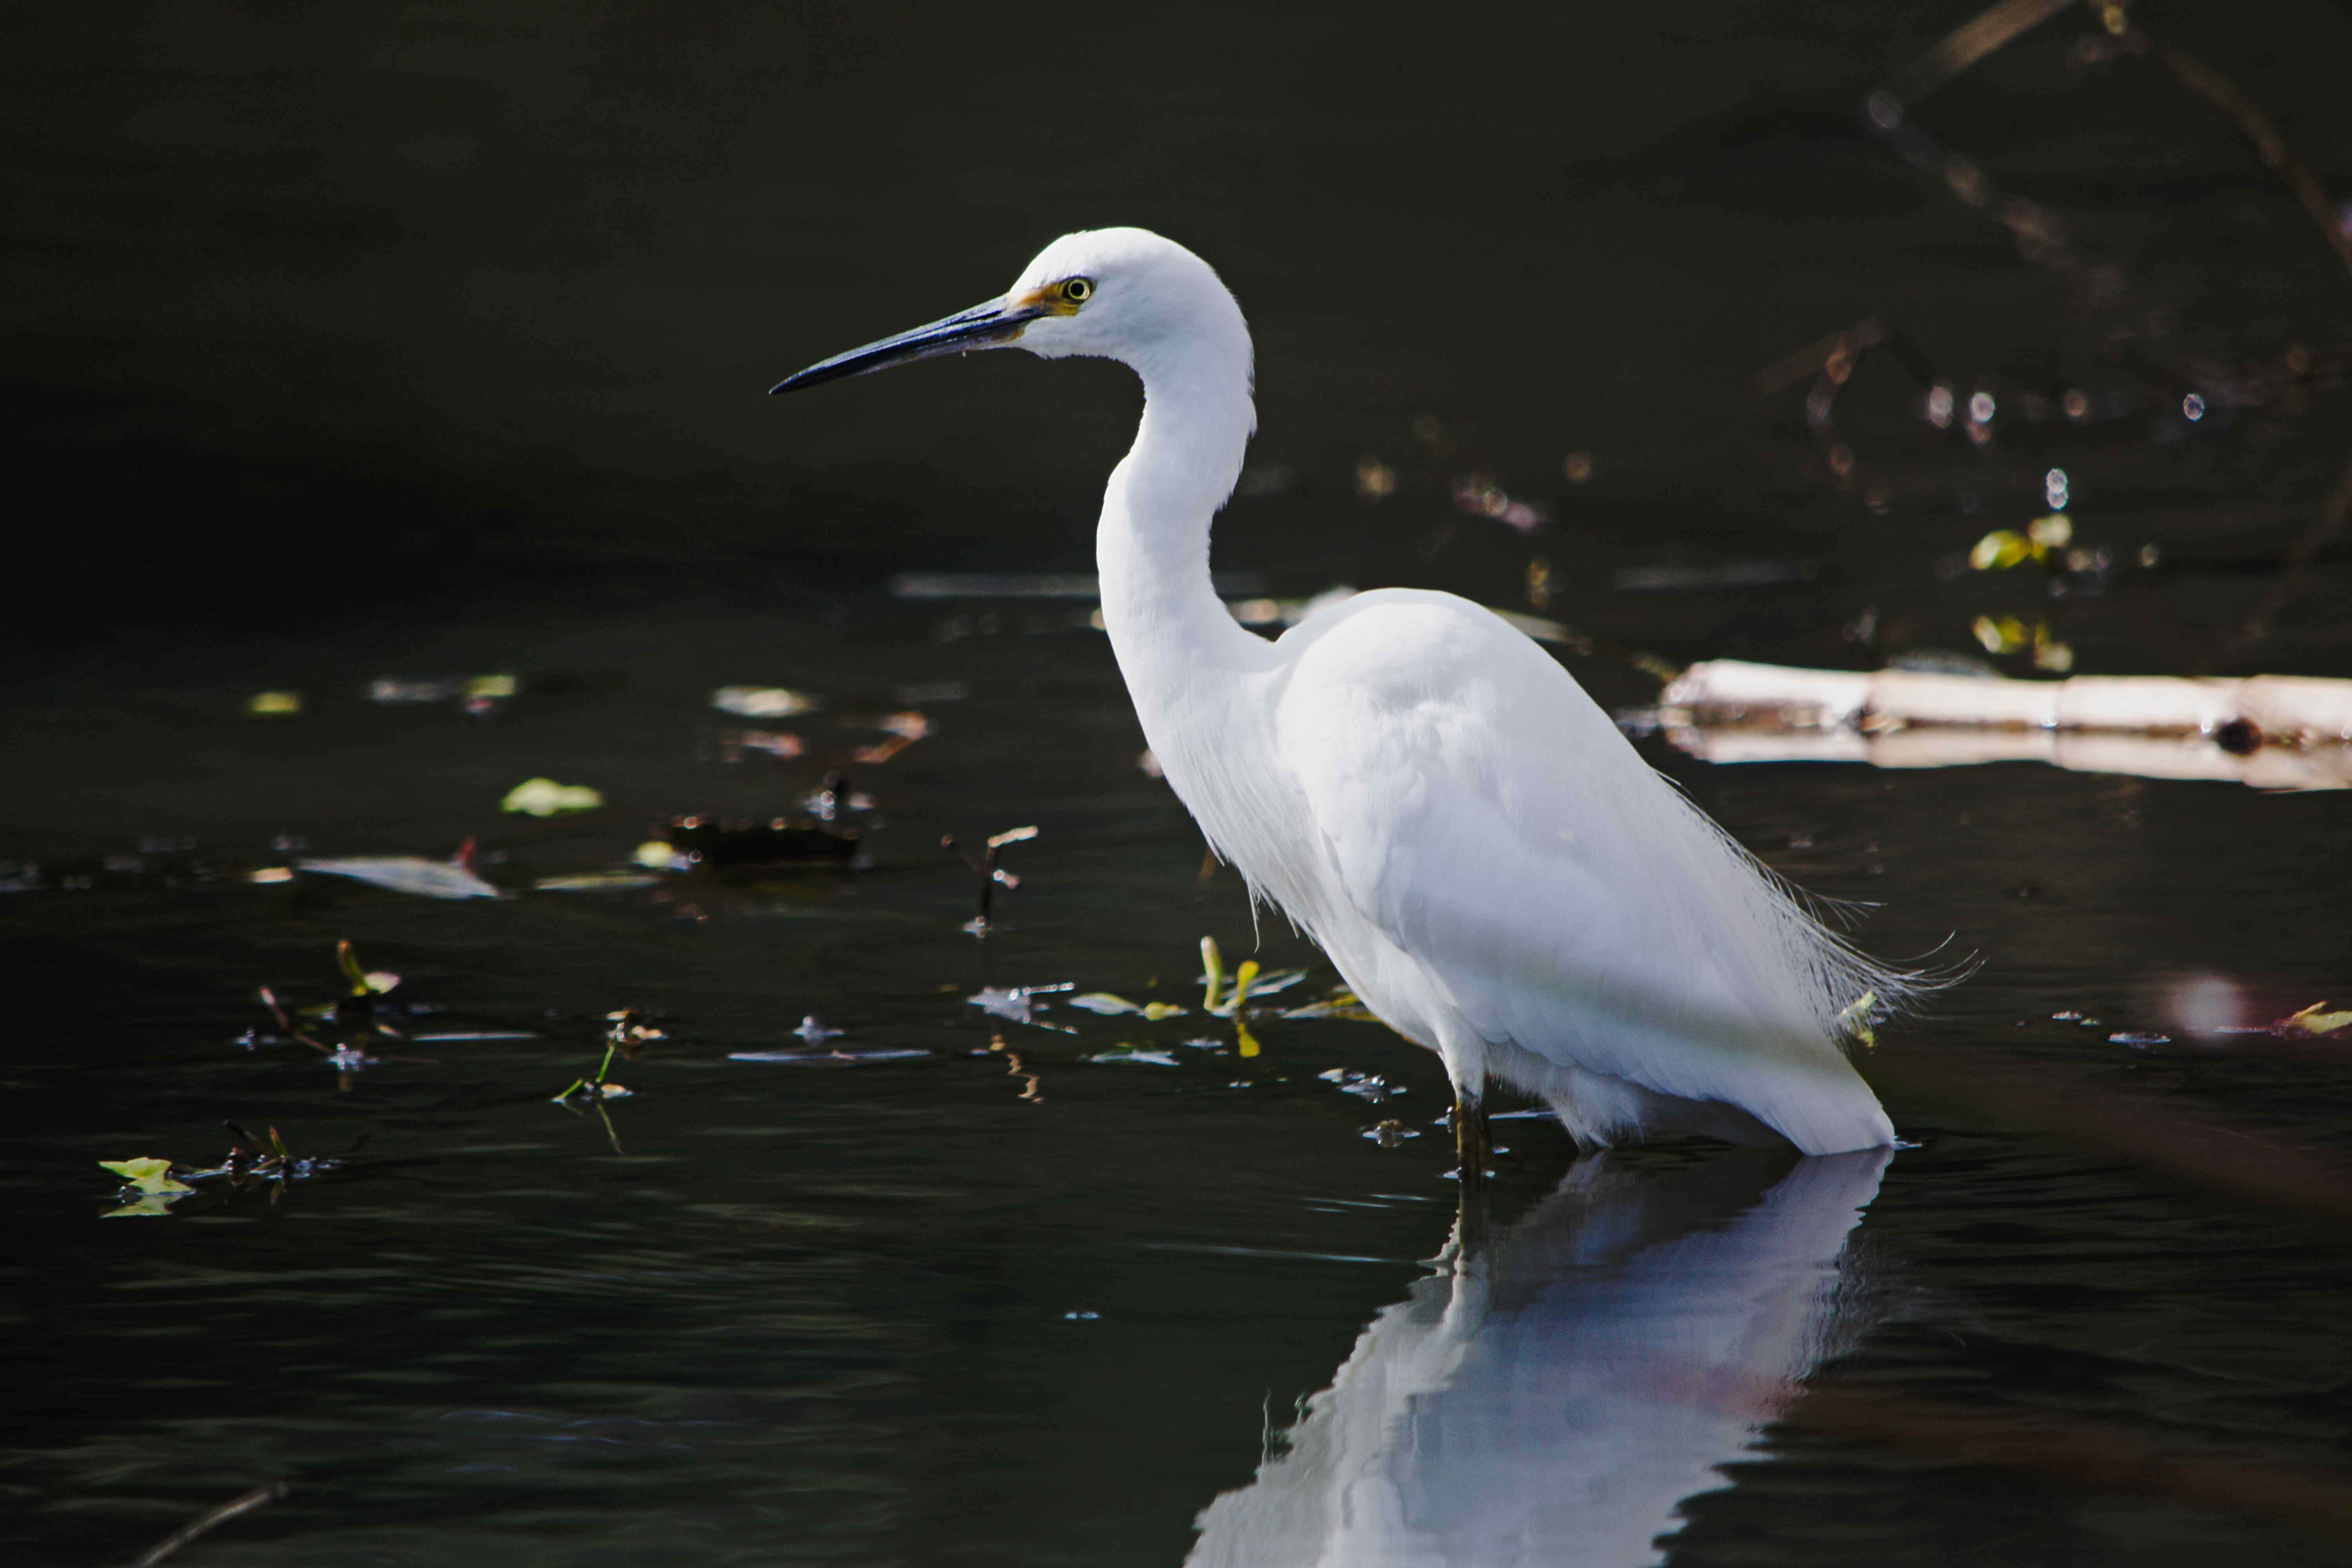
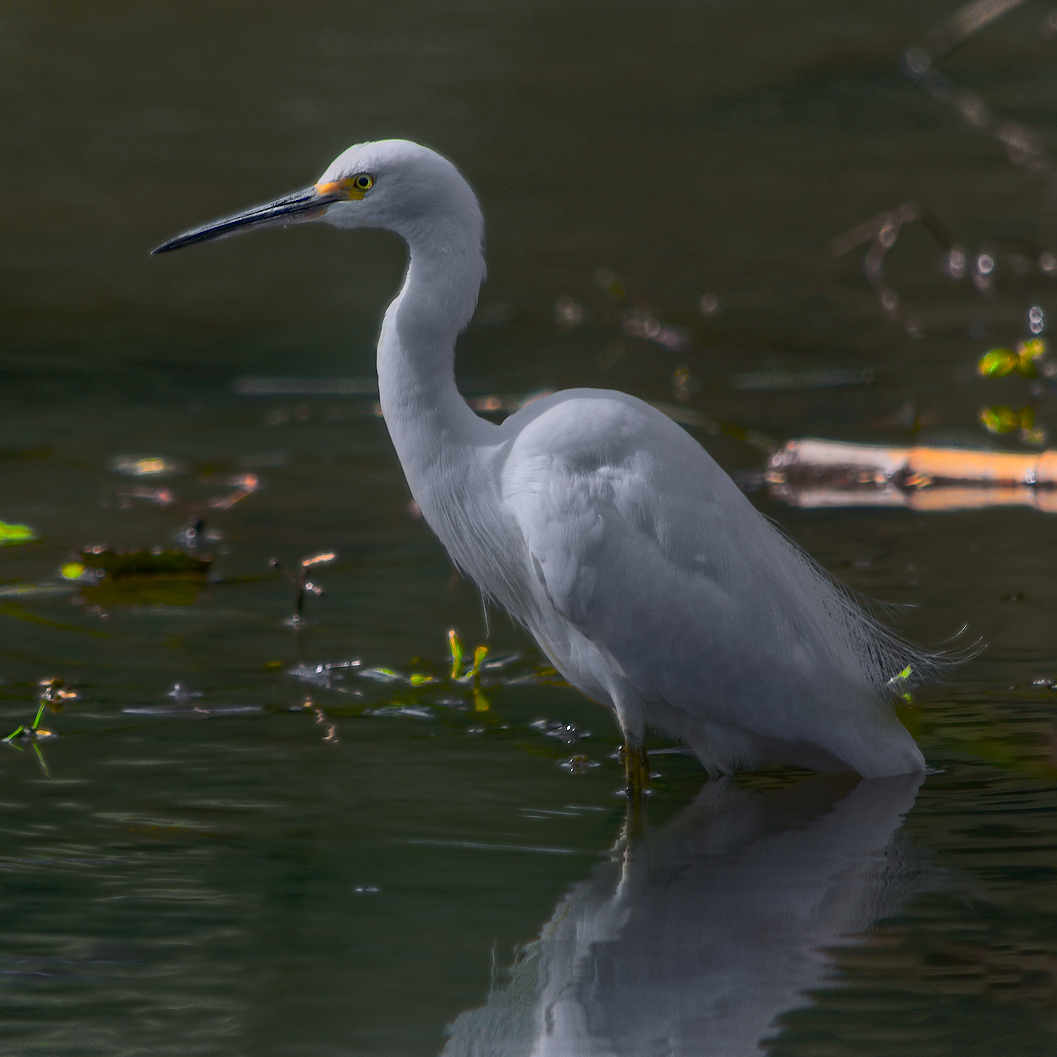
I thought that this is an ideal image for using GIMP + G’MIC, due to requirement of local manipulations. Applied Freaky Details to bird (some percentage, not completely) and some percentage of Fuji Astia to the rest of the image and then curves for the global adjustments.
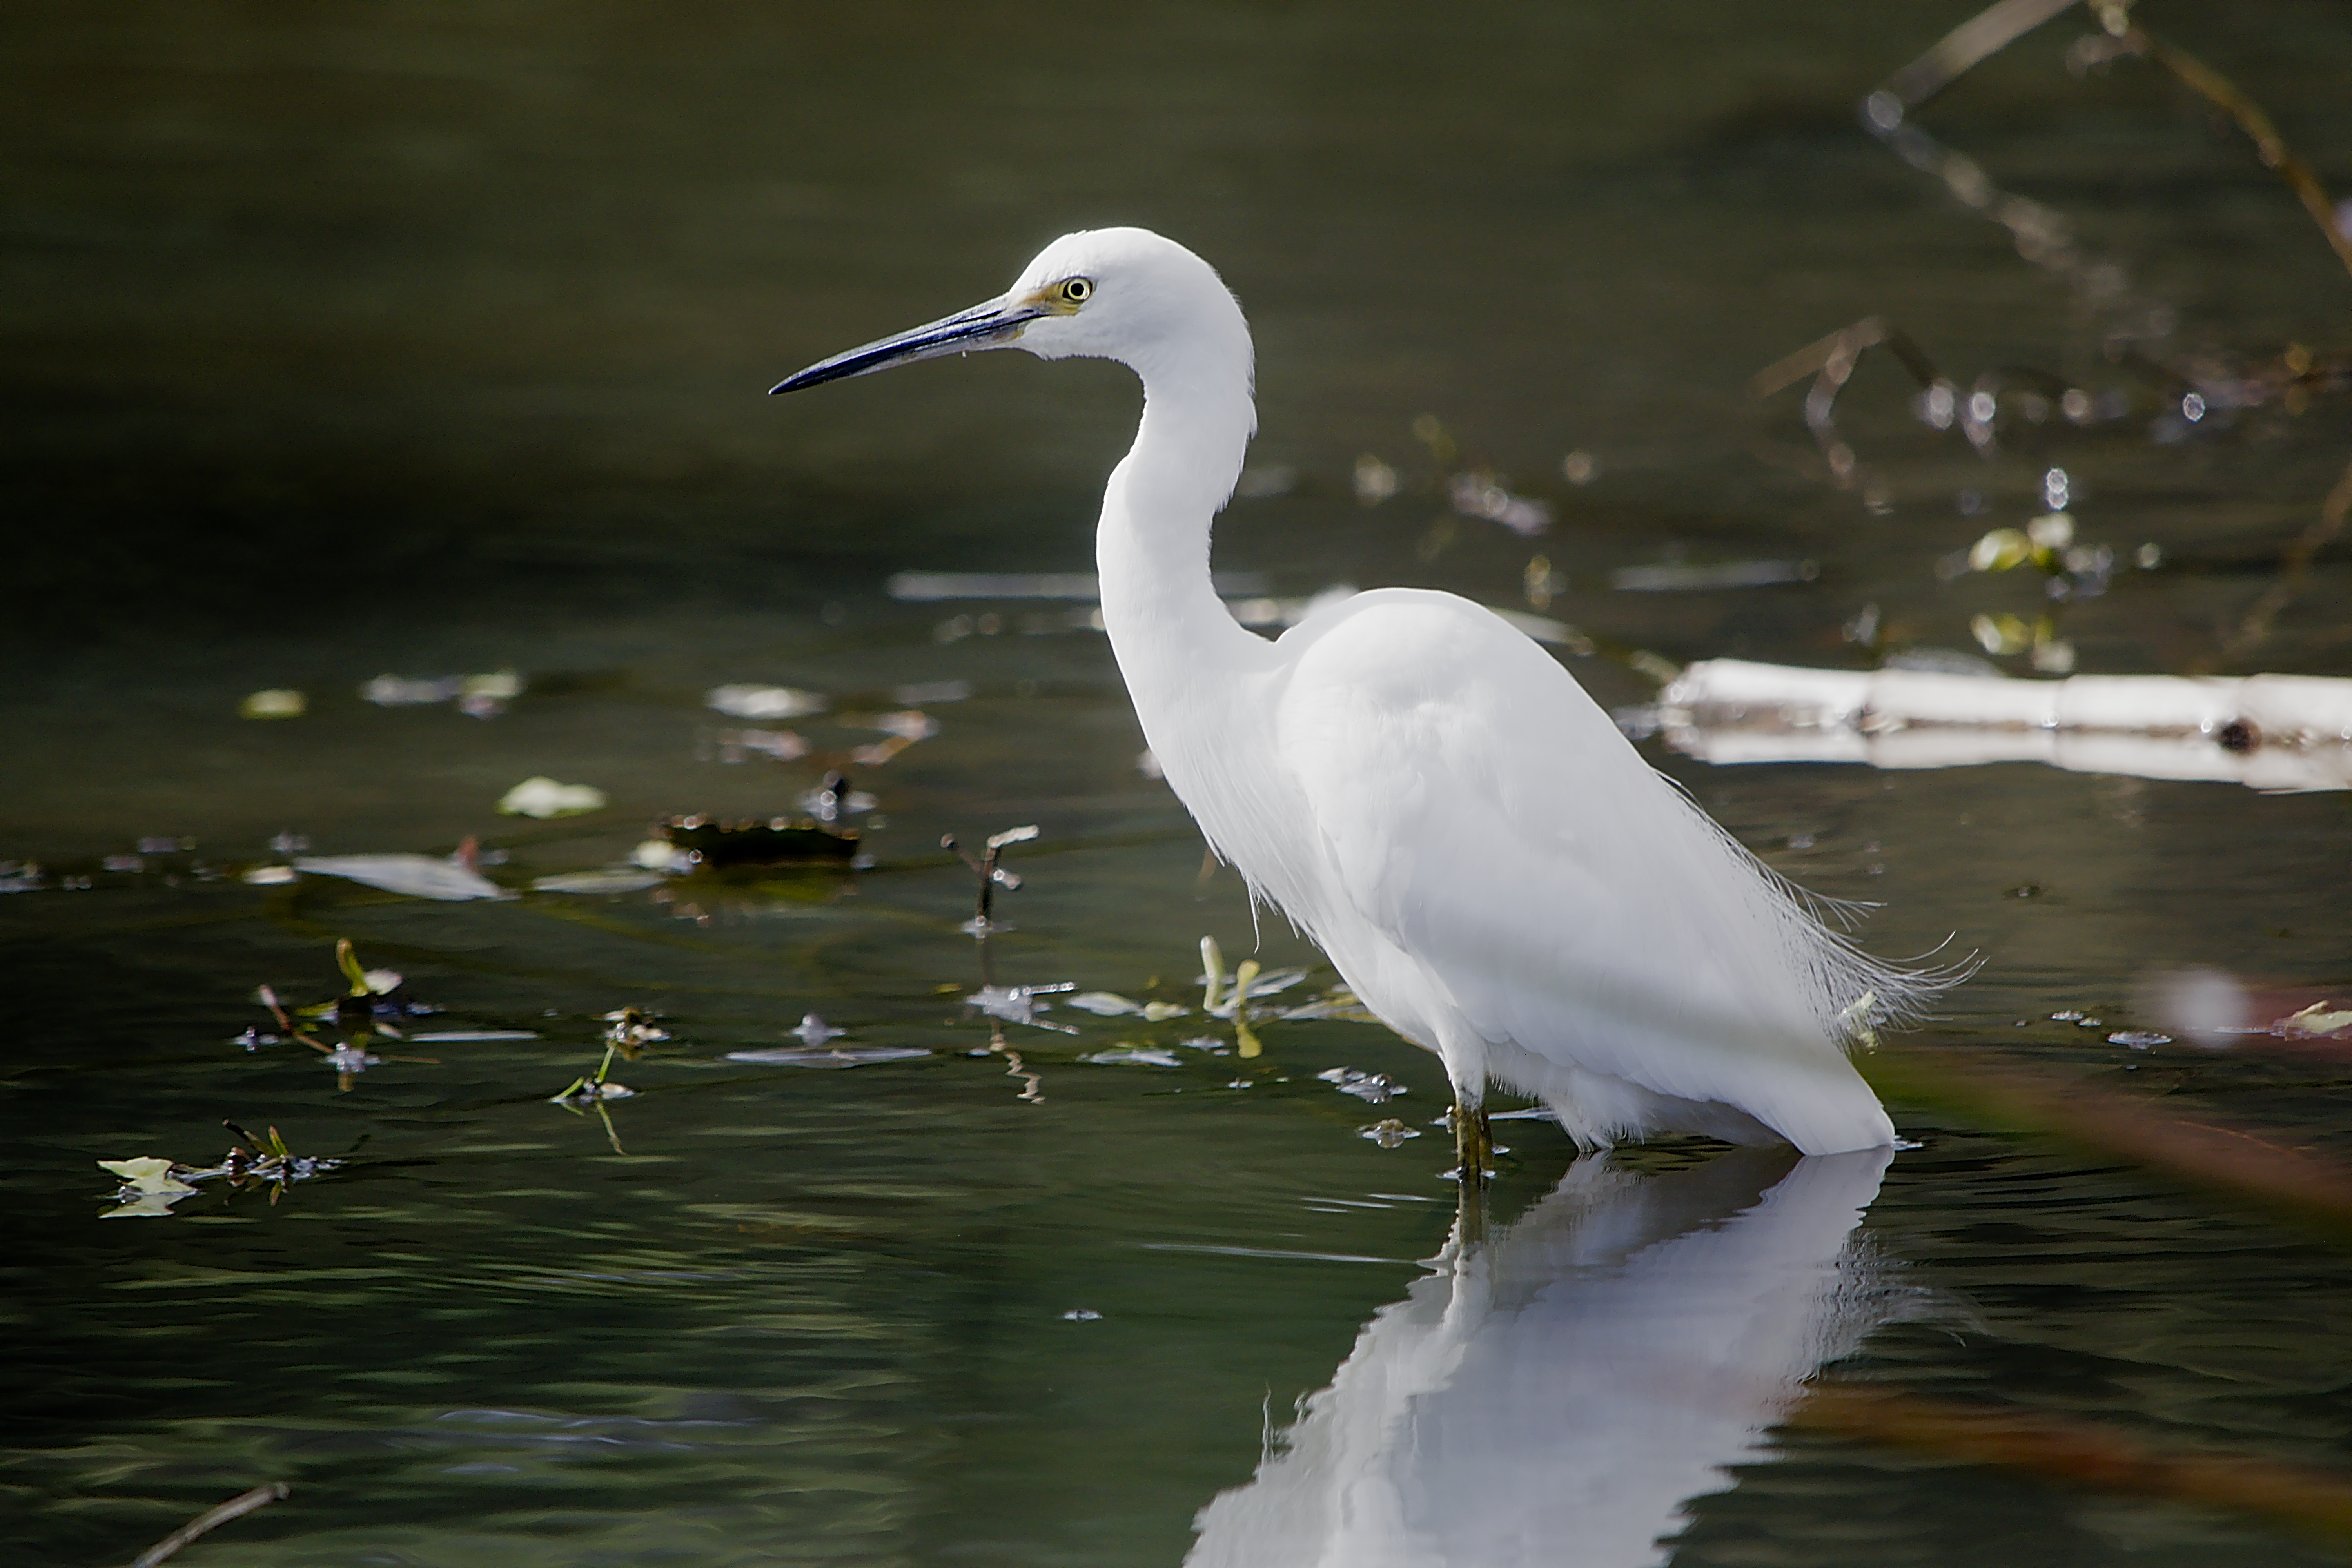
My attempt to darken the background and bring out the egret without blowing out the texture of the feathers.
As I become more familiar with darktable I would have liked to tone down the highlights on the log, in the background, and on of the foliage in the water.
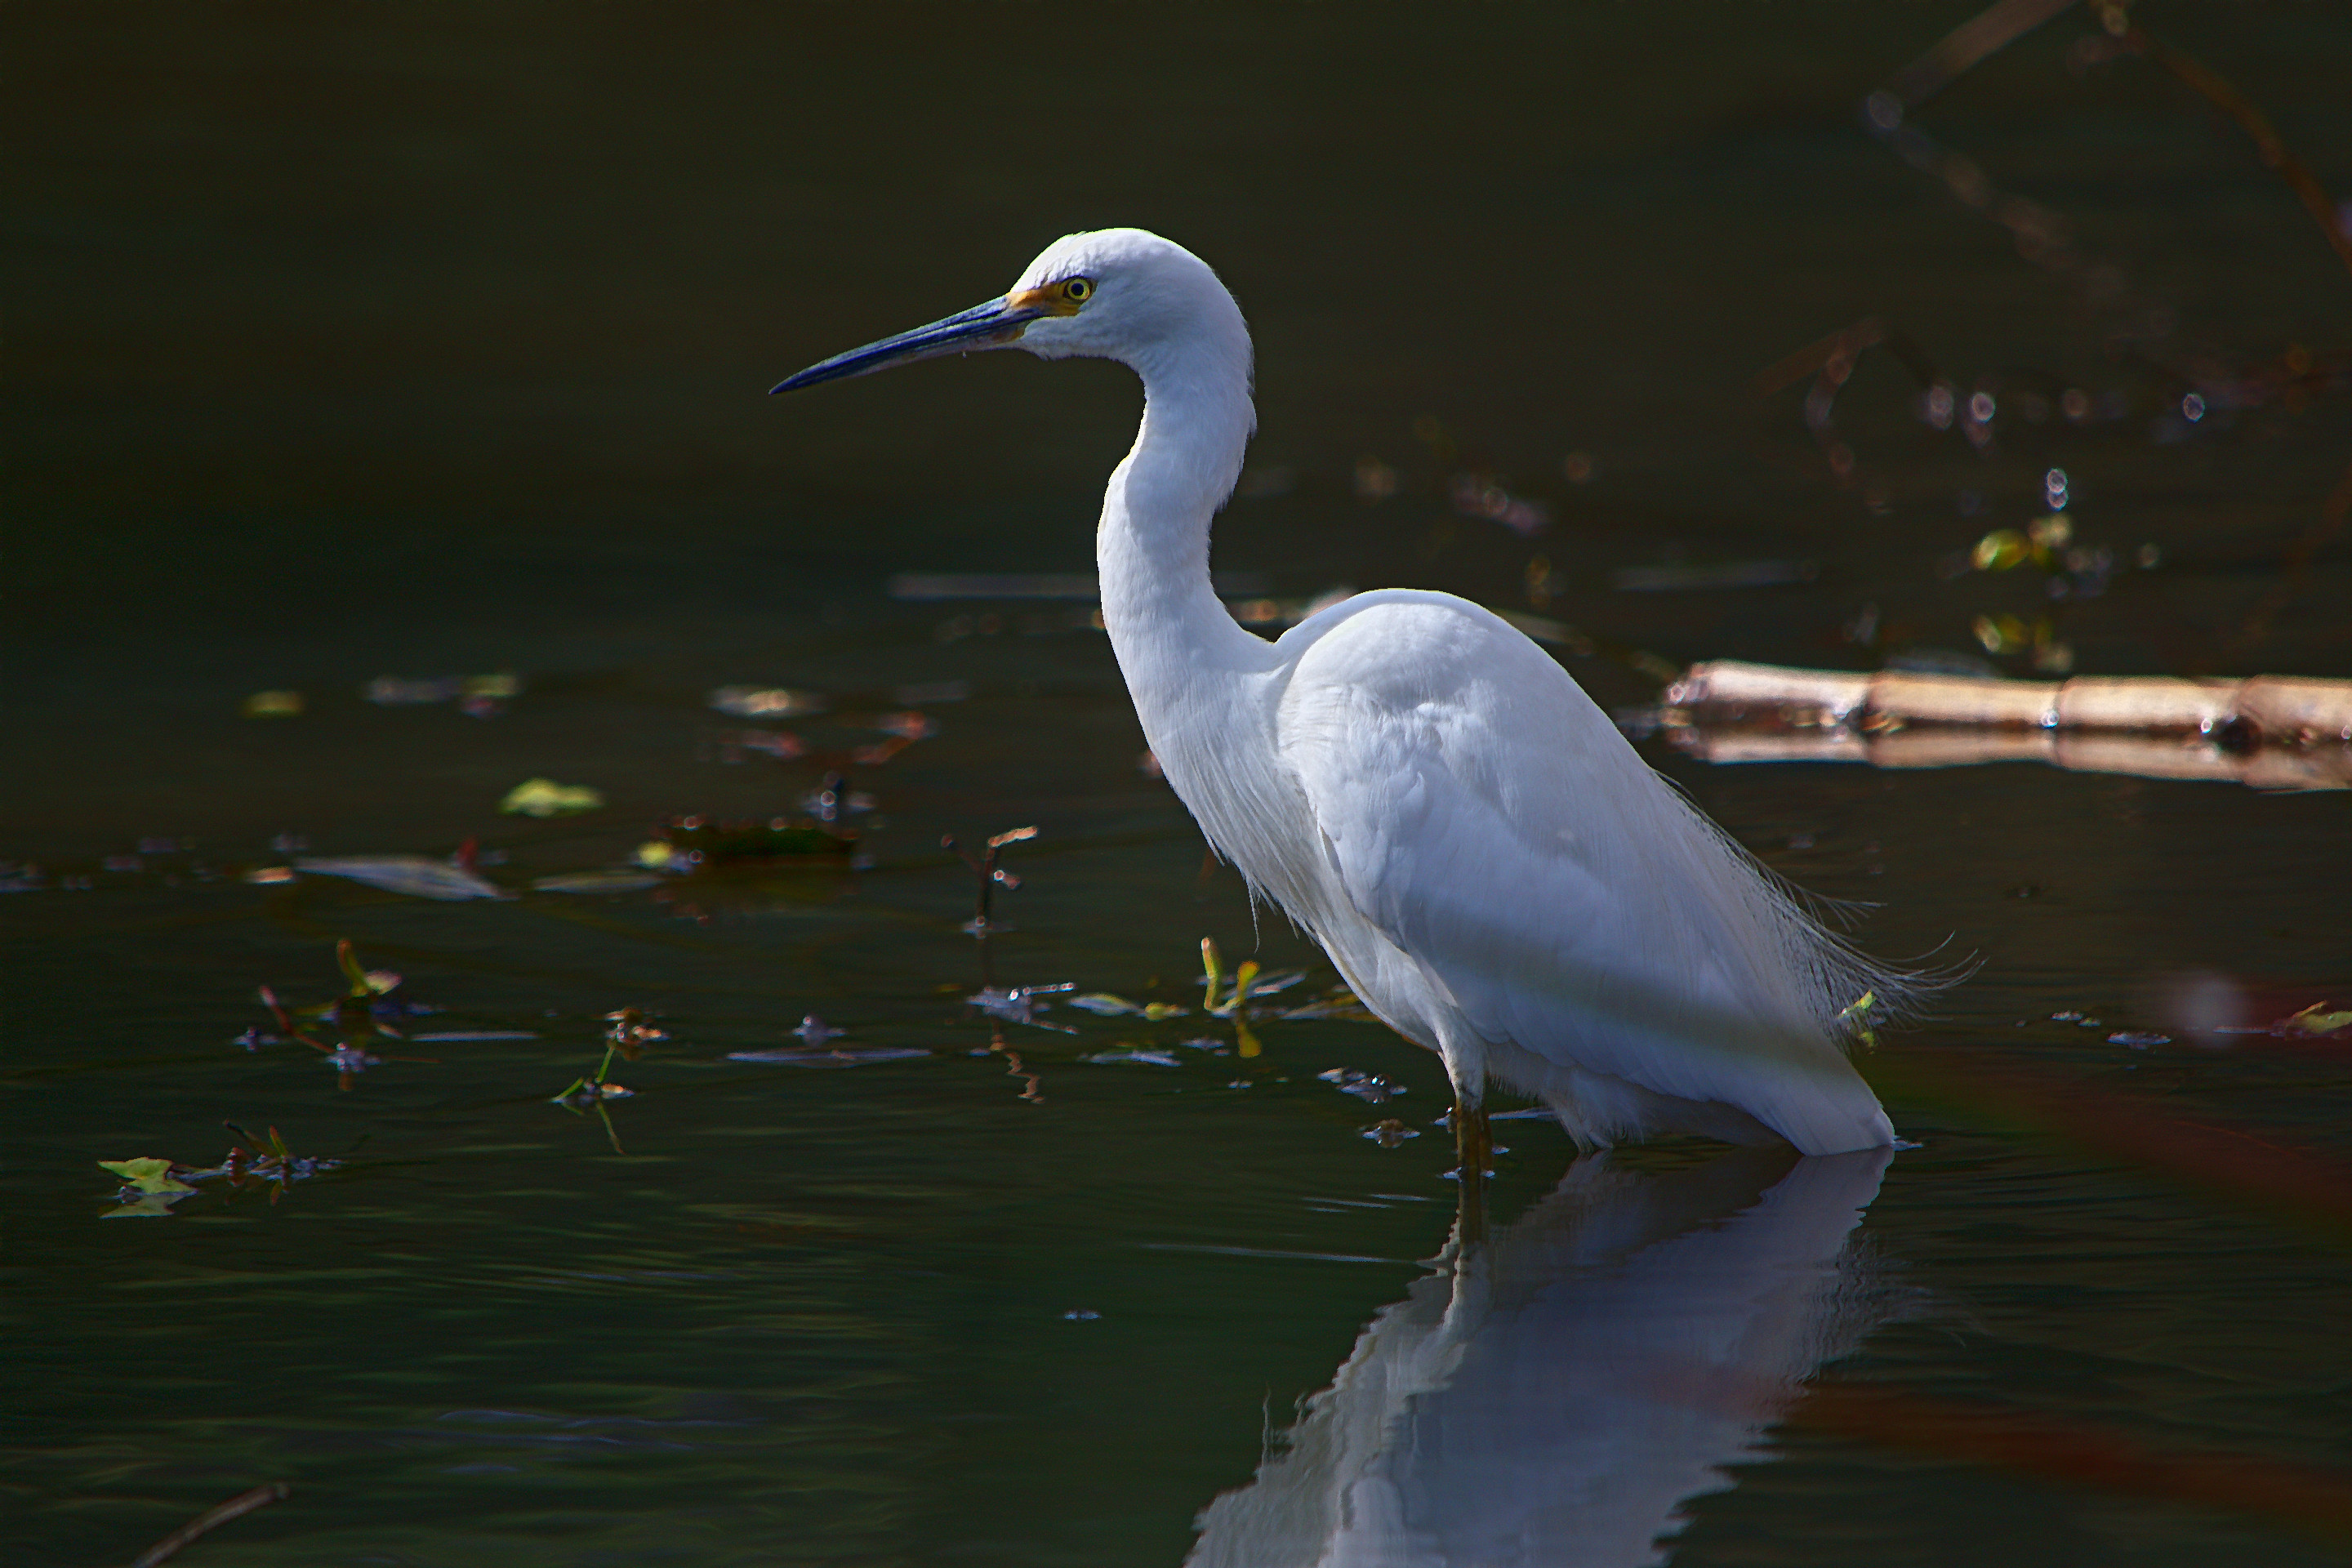
Didn’t use filmic, will refrain from using it until I understand code. Phase one, in darktable reduce EV in blown out areas, increase details and contrast to recover from EV reduction. Highlights reconstruction since purple started creeping in. 2018-07-20_10-23-51.10_DSC2161.NEF.xmp (3.8 KB)
Export, open in GIMP, resize and use GMI’C. In new layer denoise, from original dynamic range increase to new layer. Picture above is denoised is set to luma lighten only (top layer to bring light to background), dynamic range (middle) is set to soft light and original is normal.
Fiddling with layers may produce result like this one
@martin.scharnke really a nice shot!
Since you tried DT’s filmic module on it, I will post an edit based on a similar filmic module I am developing for PhotoFlow. As the code is not committed yet, I cannot provide a .pfi file for now, but I will update the post as soon as my edits can be reproduced.
PhF’s filmic module is very much inspired by Blender’s filmic OCIO config, and uses a very similar tone mapping function. This is what I could quickly achieve, with some local contrast preservation on top of the filmic tone-mapping:
Wow … thanks to so many of you who have produced such great edits. I’m particularly grateful to seeing the steps you have taken. With the exception of some masking by shape, and some HighPass, I have not used masking much at all. Looks like I have plenty of avenues for practice!


 .]
.]