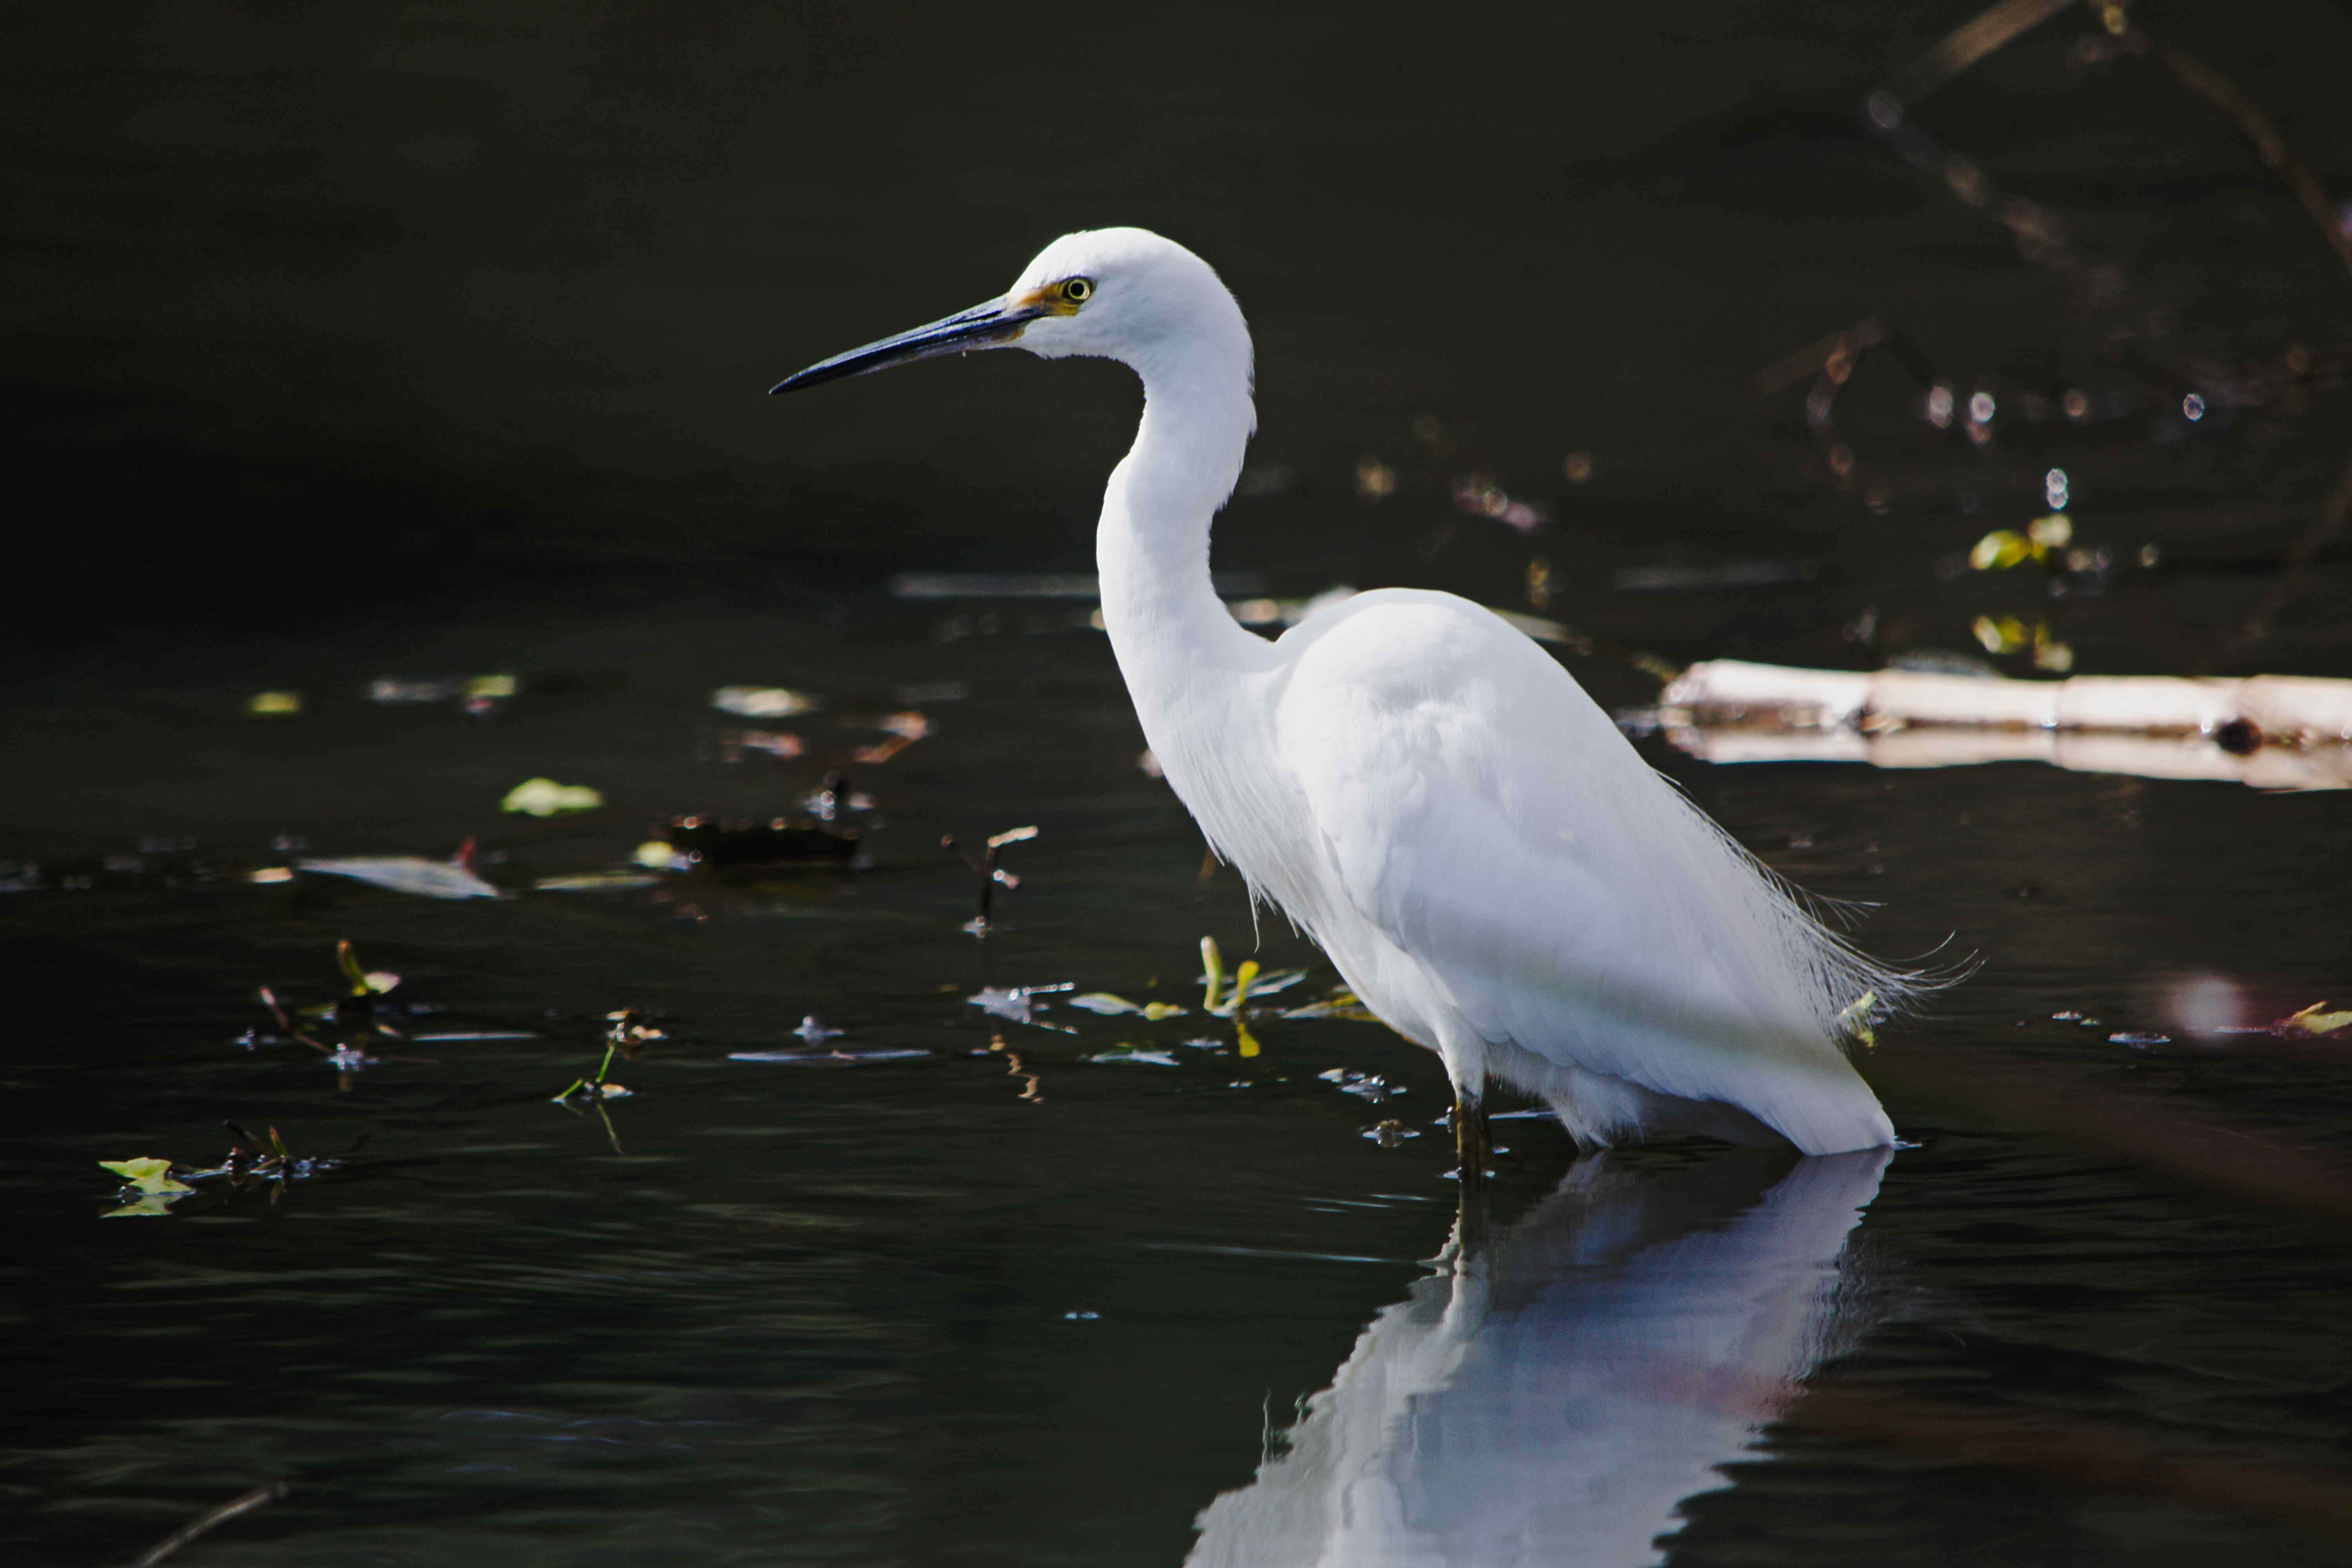
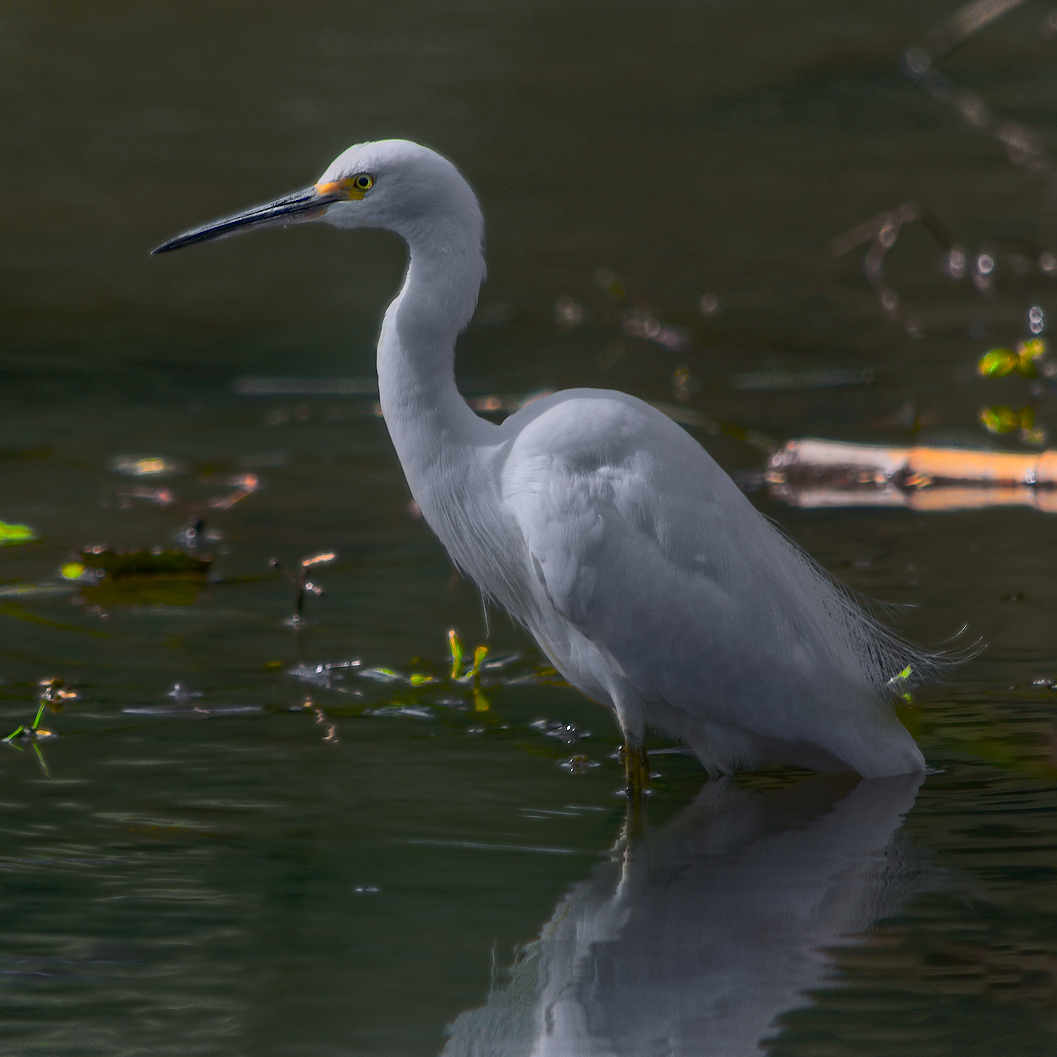
My attempt to darken the background and bring out the egret without blowing out the texture of the feathers.
As I become more familiar with darktable I would have liked to tone down the highlights on the log, in the background, and on of the foliage in the water.
Didn’t use filmic, will refrain from using it until I understand code. Phase one, in darktable reduce EV in blown out areas, increase details and contrast to recover from EV reduction. Highlights reconstruction since purple started creeping in. 2018-07-20_10-23-51.10_DSC2161.NEF.xmp (3.8 KB)
Export, open in GIMP, resize and use GMI’C. In new layer denoise, from original dynamic range increase to new layer. Picture above is denoised is set to luma lighten only (top layer to bring light to background), dynamic range (middle) is set to soft light and original is normal.
Fiddling with layers may produce result like this one
@martin.scharnke really a nice shot!
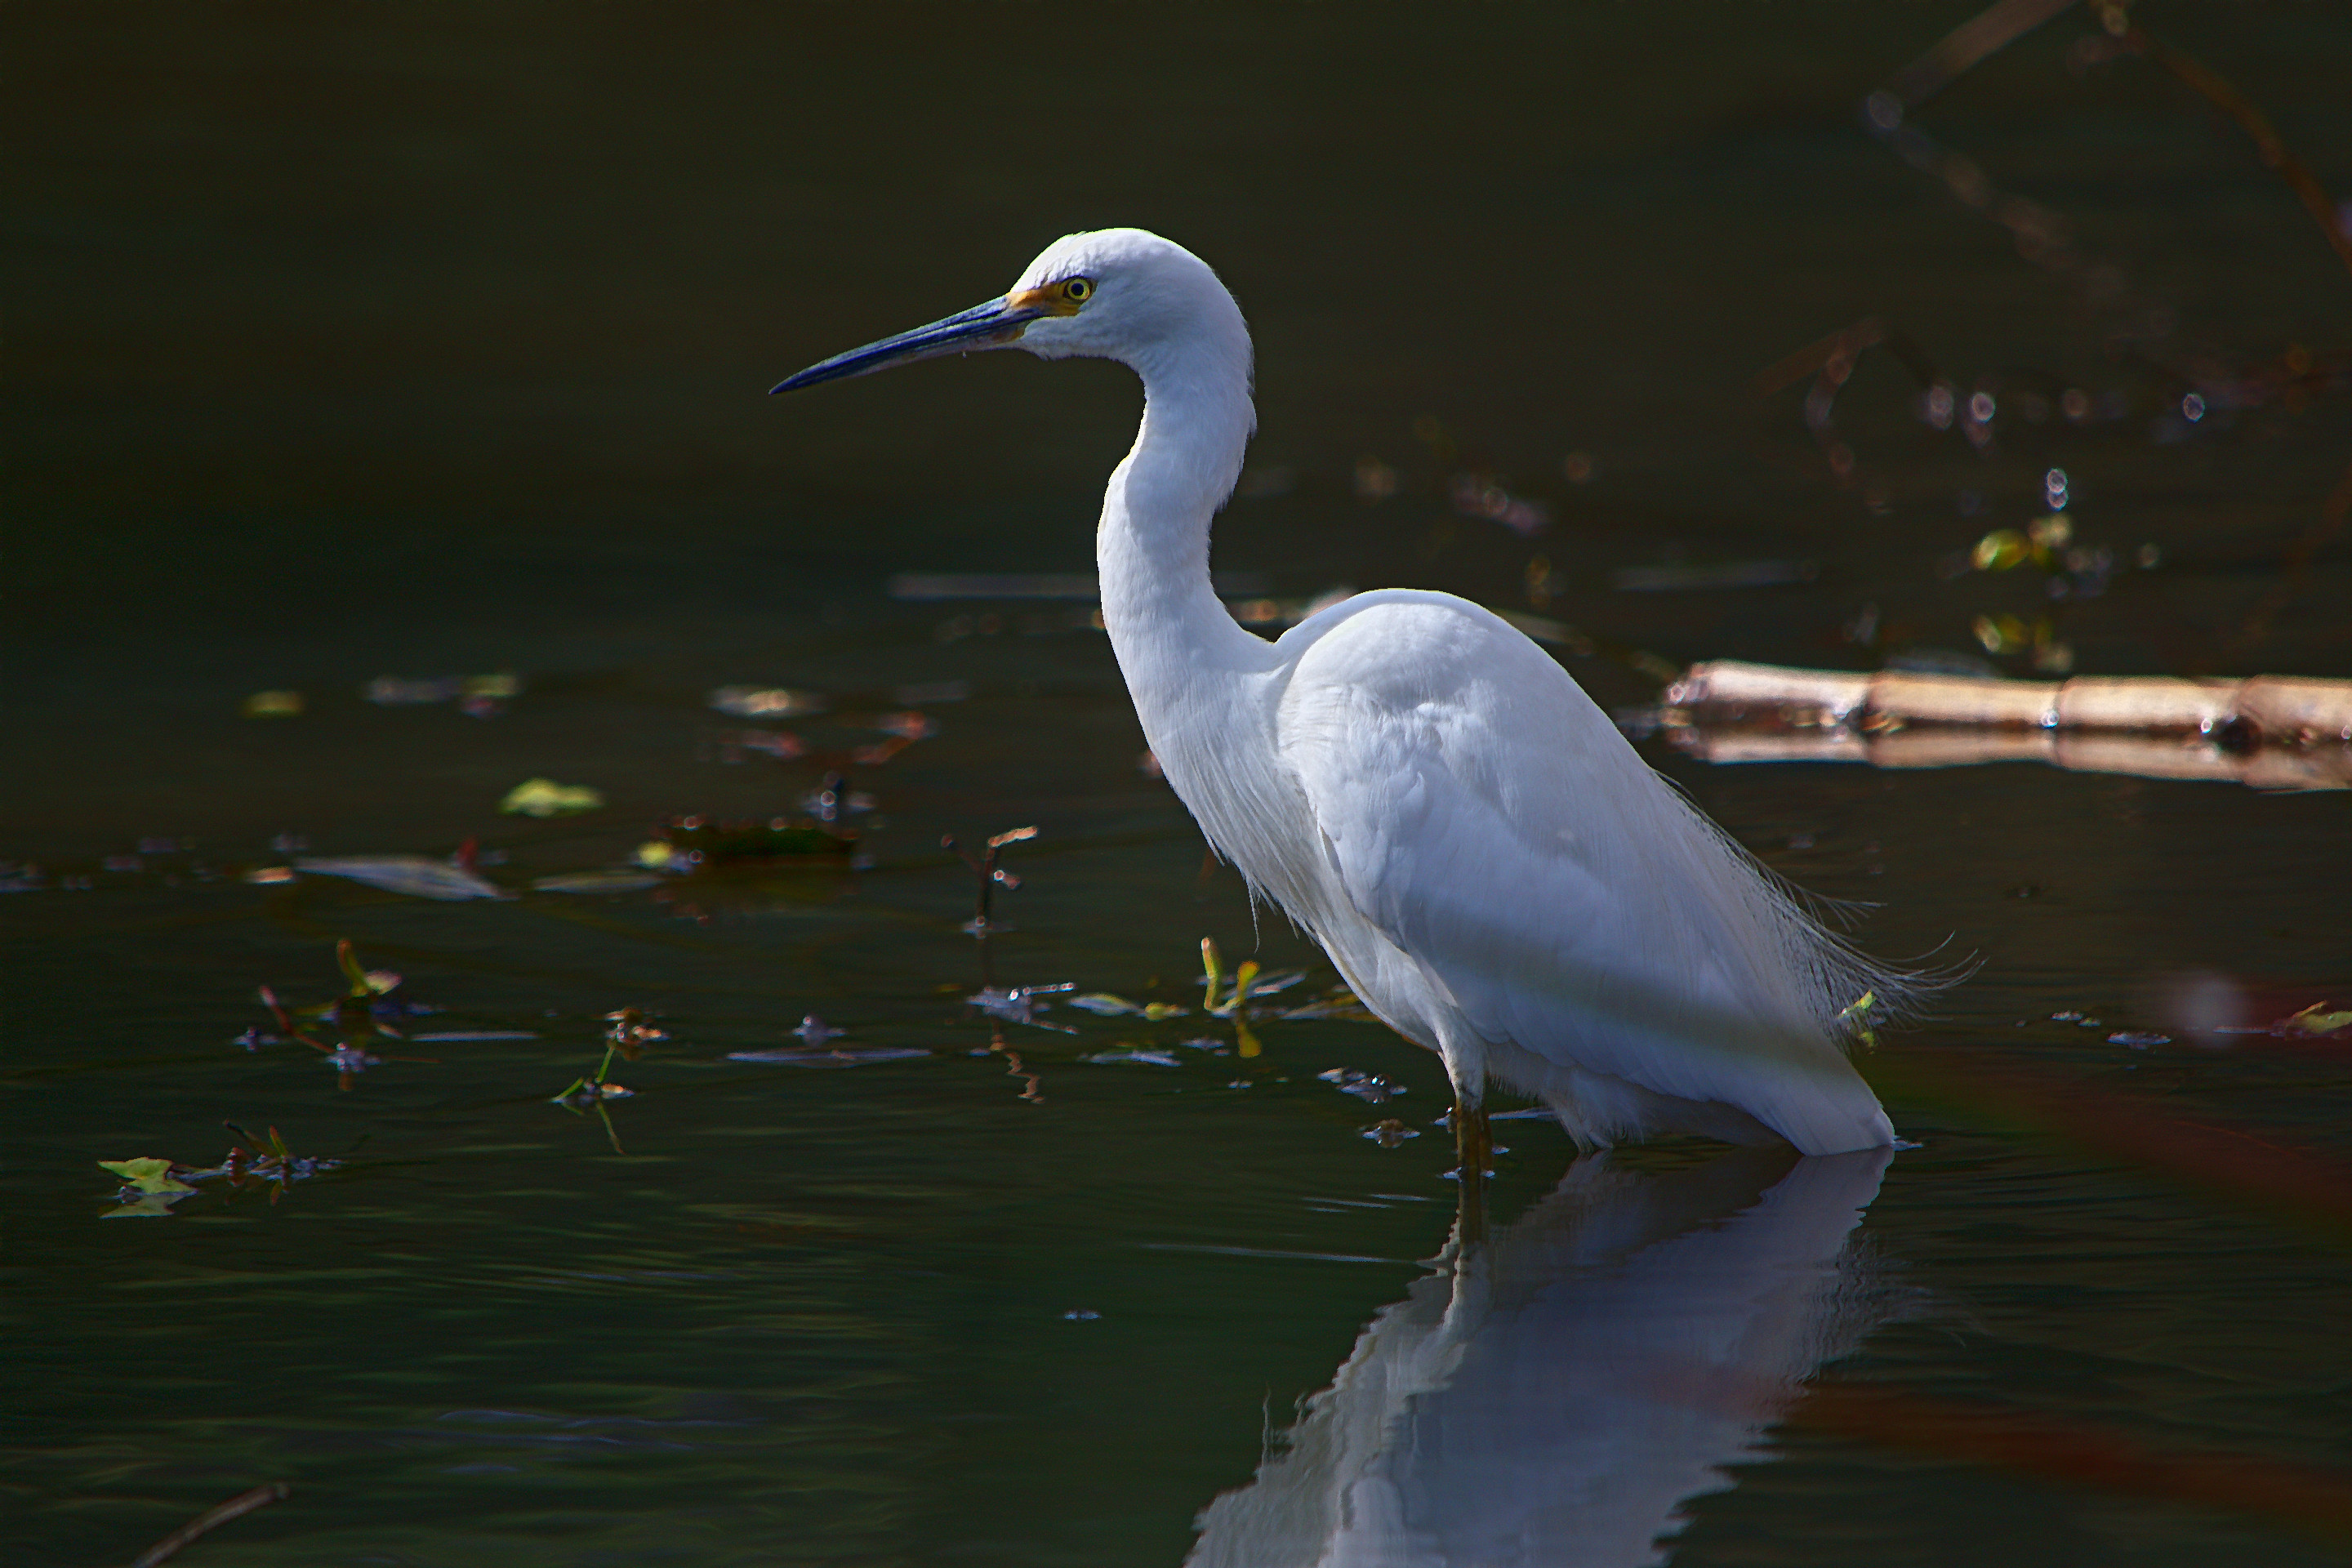
Since you tried DT’s filmic module on it, I will post an edit based on a similar filmic module I am developing for PhotoFlow. As the code is not committed yet, I cannot provide a .pfi file for now, but I will update the post as soon as my edits can be reproduced.
PhF’s filmic module is very much inspired by Blender’s filmic OCIO config, and uses a very similar tone mapping function. This is what I could quickly achieve, with some local contrast preservation on top of the filmic tone-mapping:
Wow … thanks to so many of you who have produced such great edits. I’m particularly grateful to seeing the steps you have taken. With the exception of some masking by shape, and some HighPass, I have not used masking much at all. Looks like I have plenty of avenues for practice!
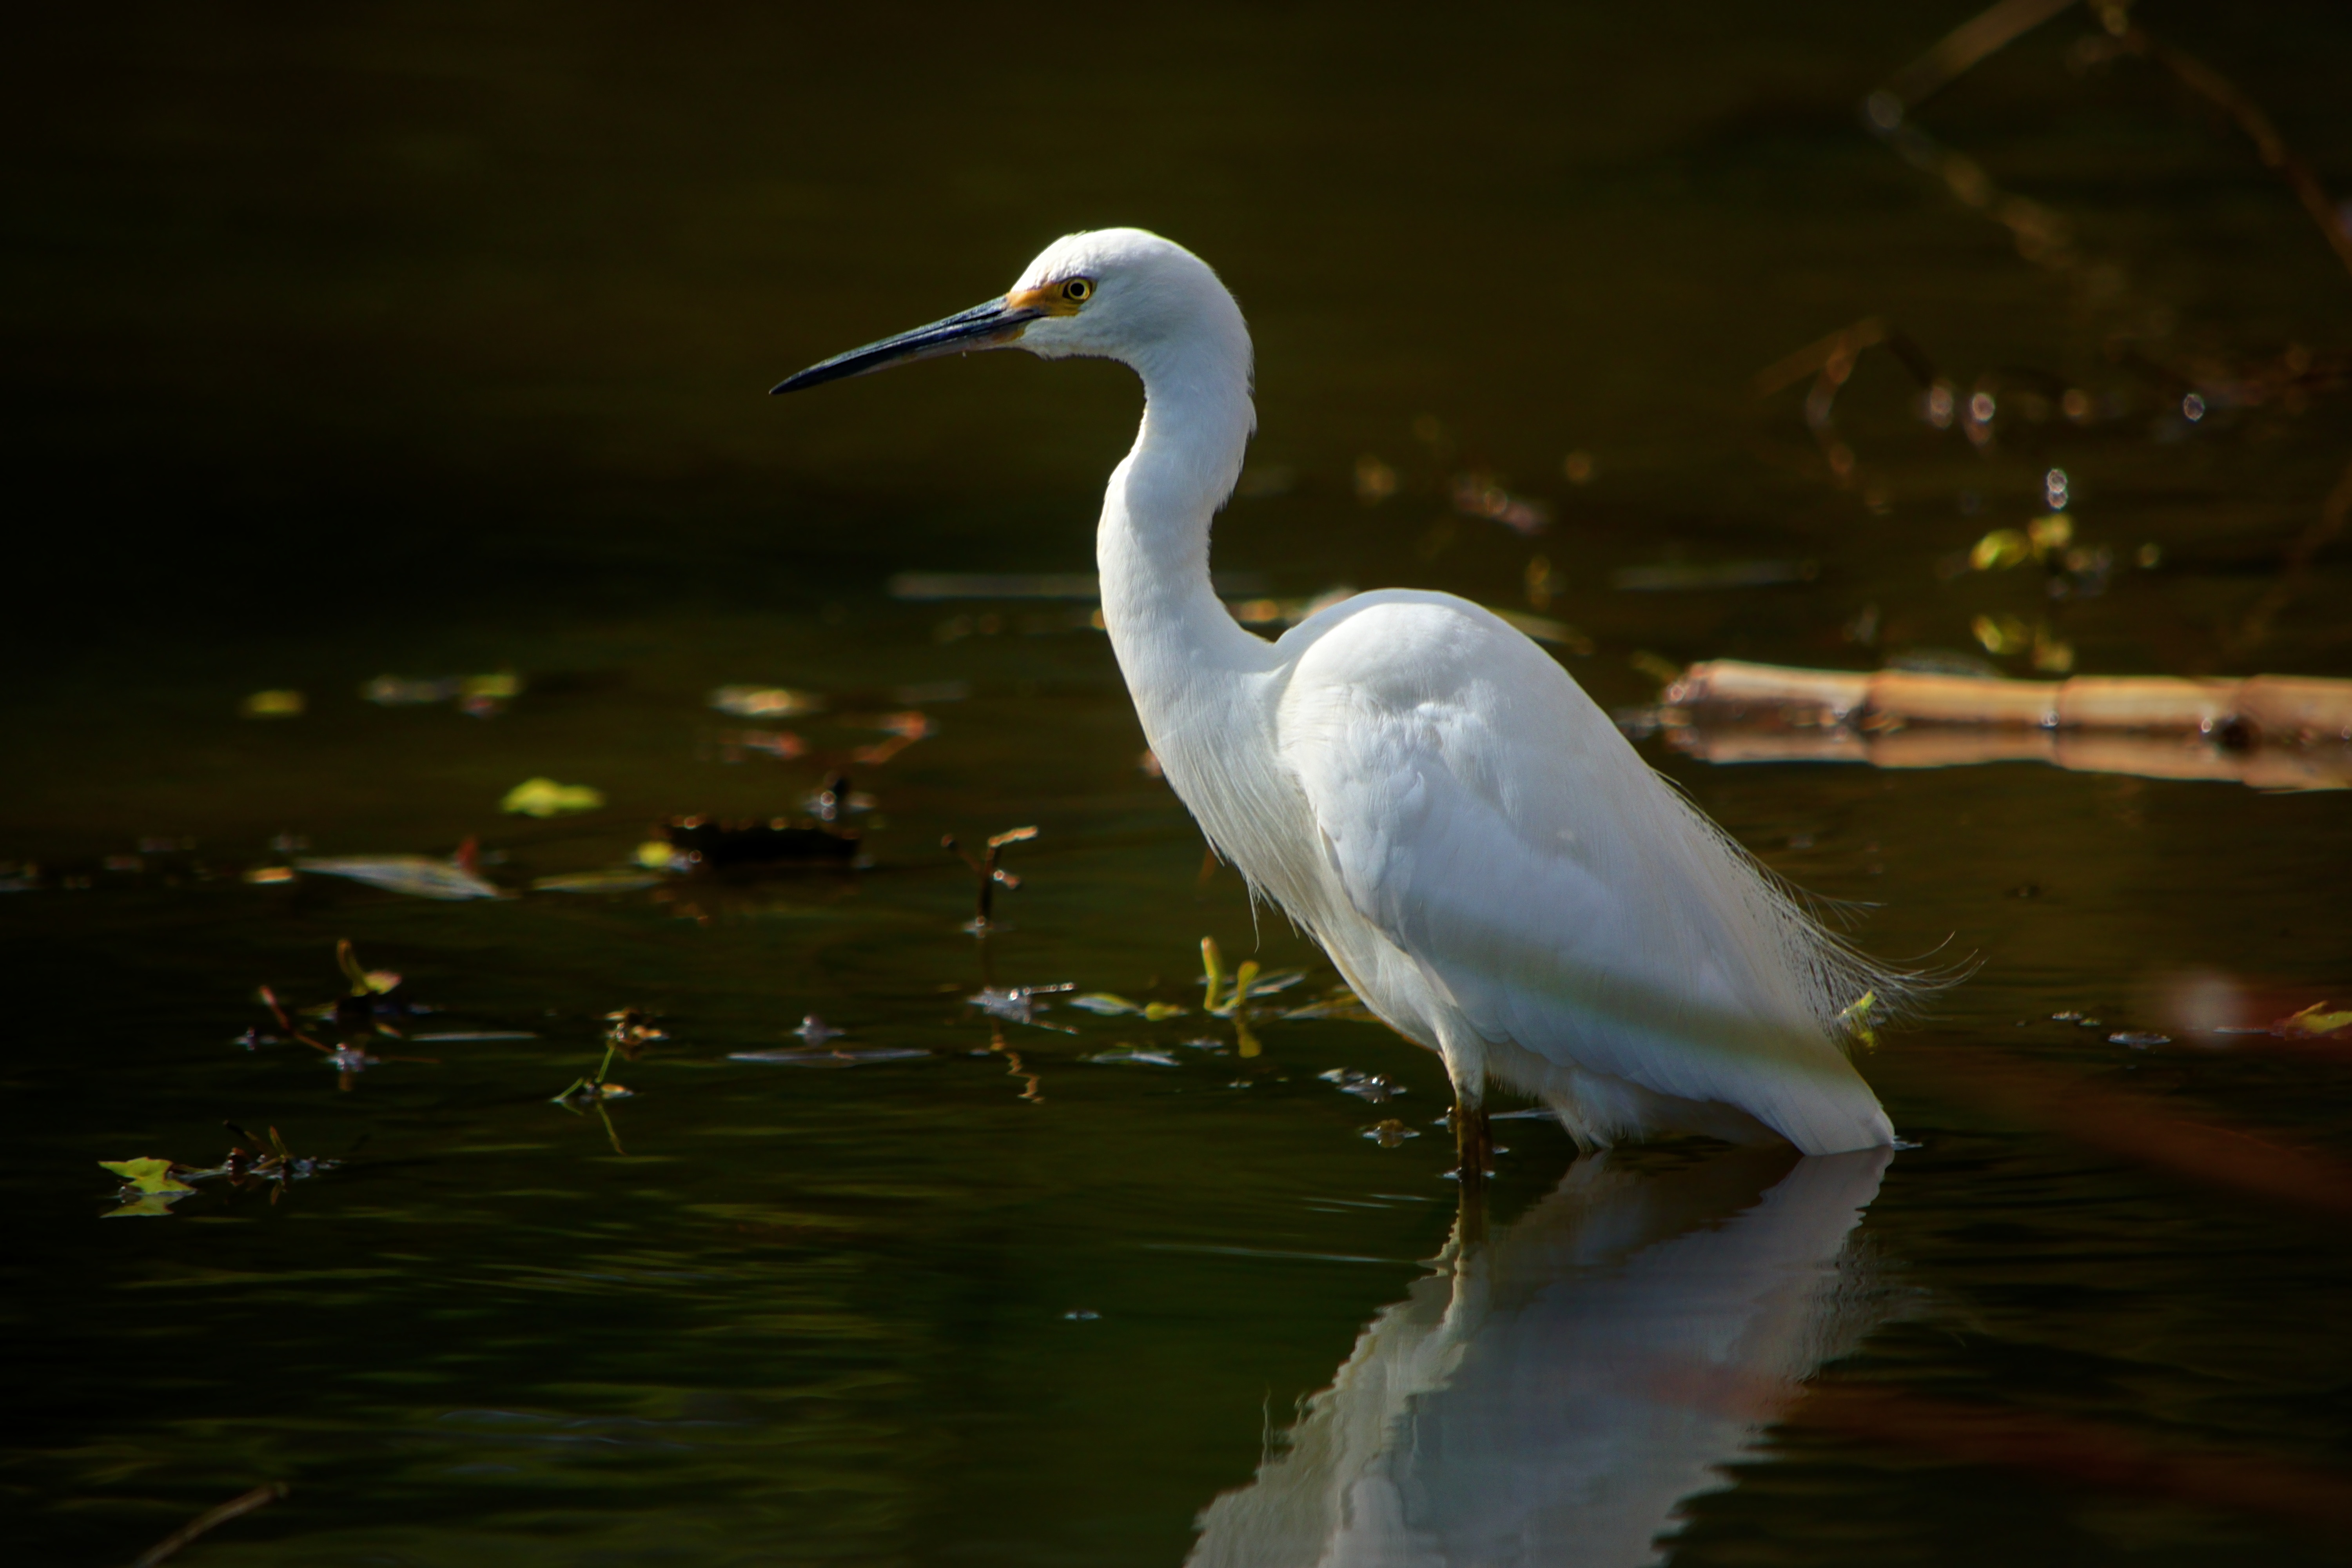
The start was a very nice photograph. The bird sharp and separated from the background, just two tiny overexposed areas on it.
Summary of the edits I made:
I made the white balance much warmer, the original from the camera was too cold for my taste
Some denoising (profile), but with focus on the bigger areas to denoise the background.
Increased contrast on the bird’s neck and tail to bring out some details there
Darkened the background a bit with filmic
Highlights a little bit reduced
Cutted out the borders to bring the bird more into the image’s focus
The piece of wood in the background a bit darkened
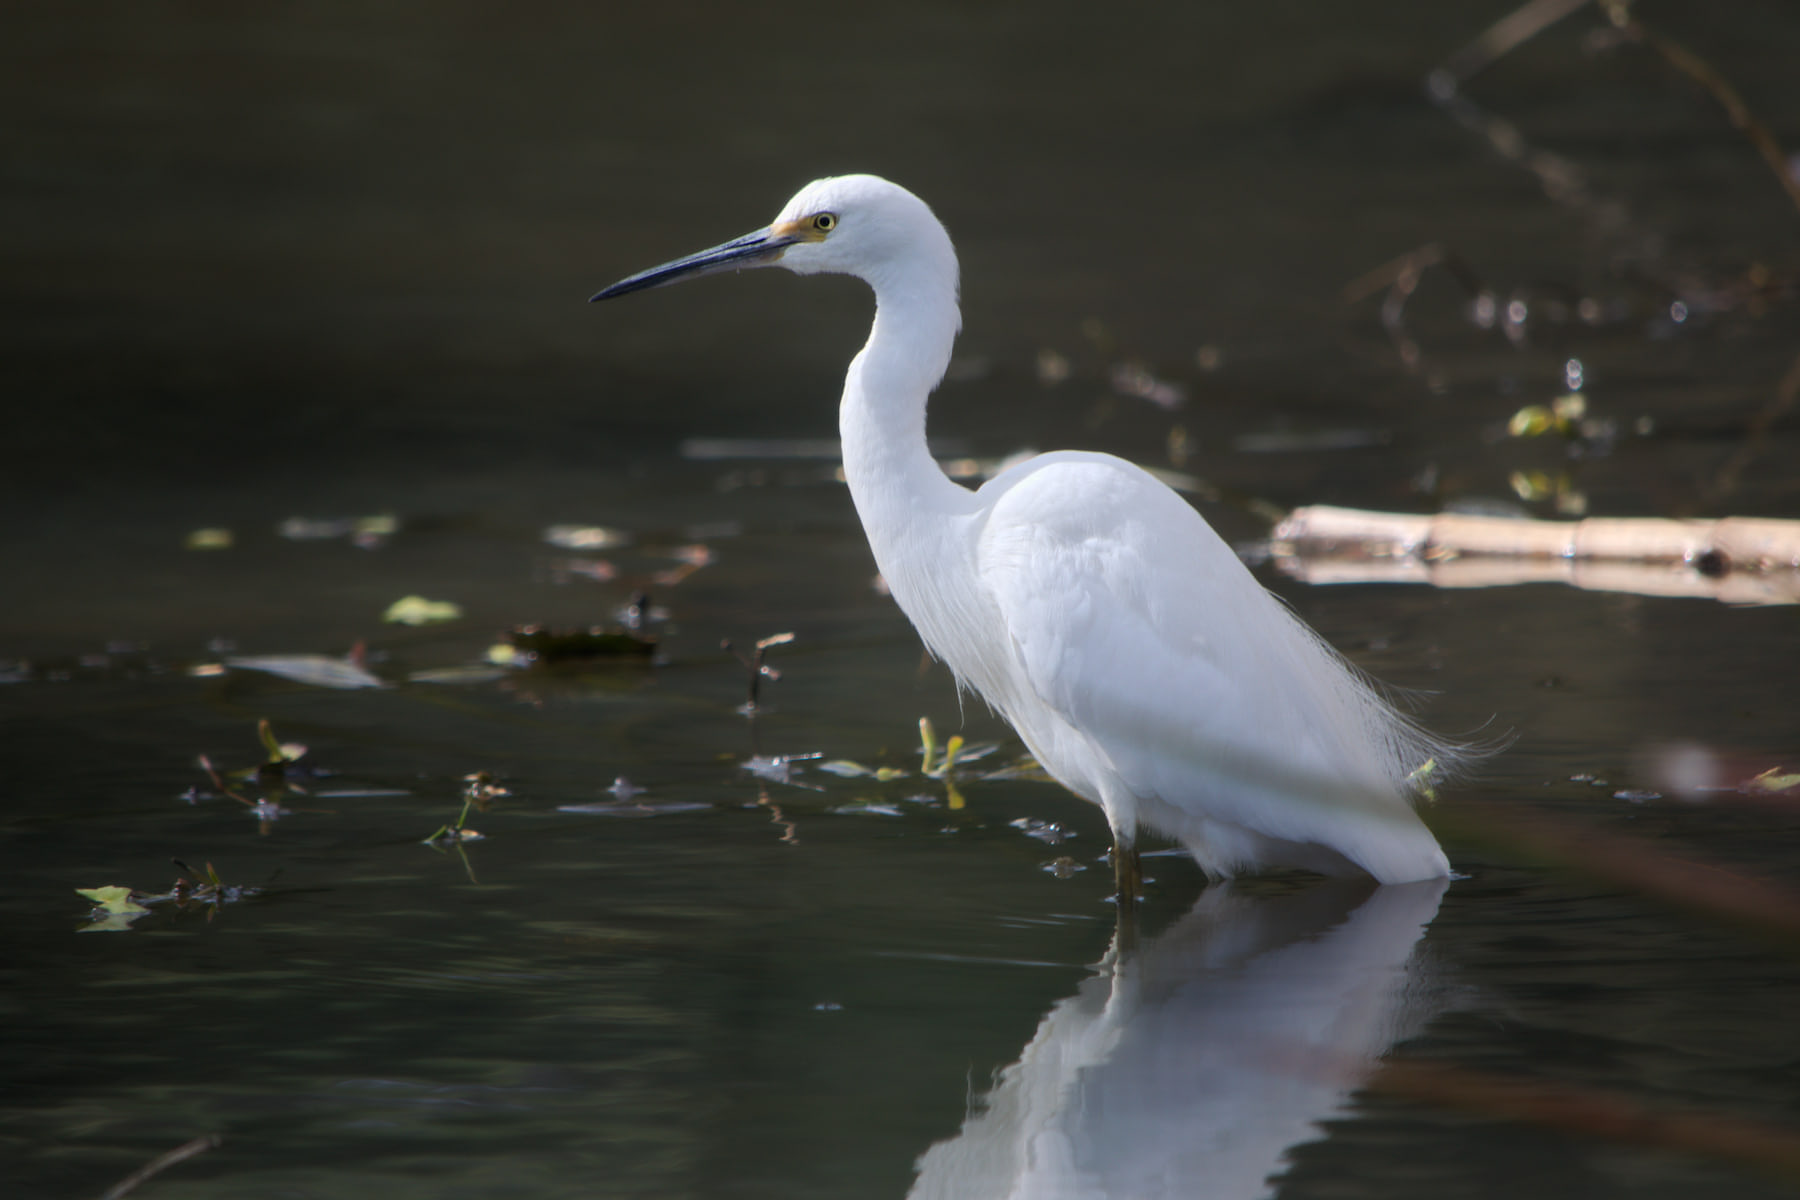
My take with RawTherapee.
Many of you went for darker renditions, but I like it better colorful.
Usually I am a lurker … still I enjoy posting time to time
Minimal processing using PhotoFlow by itself with its filmic (OCIO) and color correction modules. Remember to change the path in the PFI: 2018-07-20_10-23-51.10_DSC2161.pfi (23.0 KB).
I certainly am no expert in darktable; however there are often several different ways to achieve similar (or the same) results. I don’t use the levels module (or have only played with it a little), but almost always use the local contrast module. Again, the new filmic module gives even more flexibility, but I haven’t yet had the experience with it to get results I am happy with, hence my post at the beginning of this thread.
My (aesthetic) opinion is that the picture is too soft as you have rendered it, in the sense that the contrast and saturation are insufficient. I say that partially because I took the original pic, and partly because I know that lack of base curve does tend to leave the output of my Nikon’s sensor as dull.
I do like the vignetting, which is subtly done but helps to emphasize the subject very well.