I like the idea of splitting white balance of dark and light areas of the image. And I don’t care about reconstructing colour of the Sun.

3 Likes
The retouch module is doing a great job getting rid of the tripod leg! ![]()
Hehe, i know, guess I just needed an excuse, I love a square crop 
Ok, I still like the GIMP version more but I’m quite satisfied how close I got with RT local adjustments only. Maybe balancing exposure differences like that between sky and ground is still better done by blending two images. Or, more likely, I just don’t know how to do local adjustments properly yet. 

1 Like
Have you tried using the Graduated Filter module or the graduated filter option that (some of) the tools in the Local Adjustments module have? I used the Graduated Filter module in my edit a few posts up.
BTW: Editing this image with just the tools that the Local Adjustments module offers, not counting demosaic and white balance, is rather a big task, especially with a challenging image like this one. It is a great exercise though and a good way to learn what it is that this module can('t) do!
I just couldn’t help myself, really like this picture.
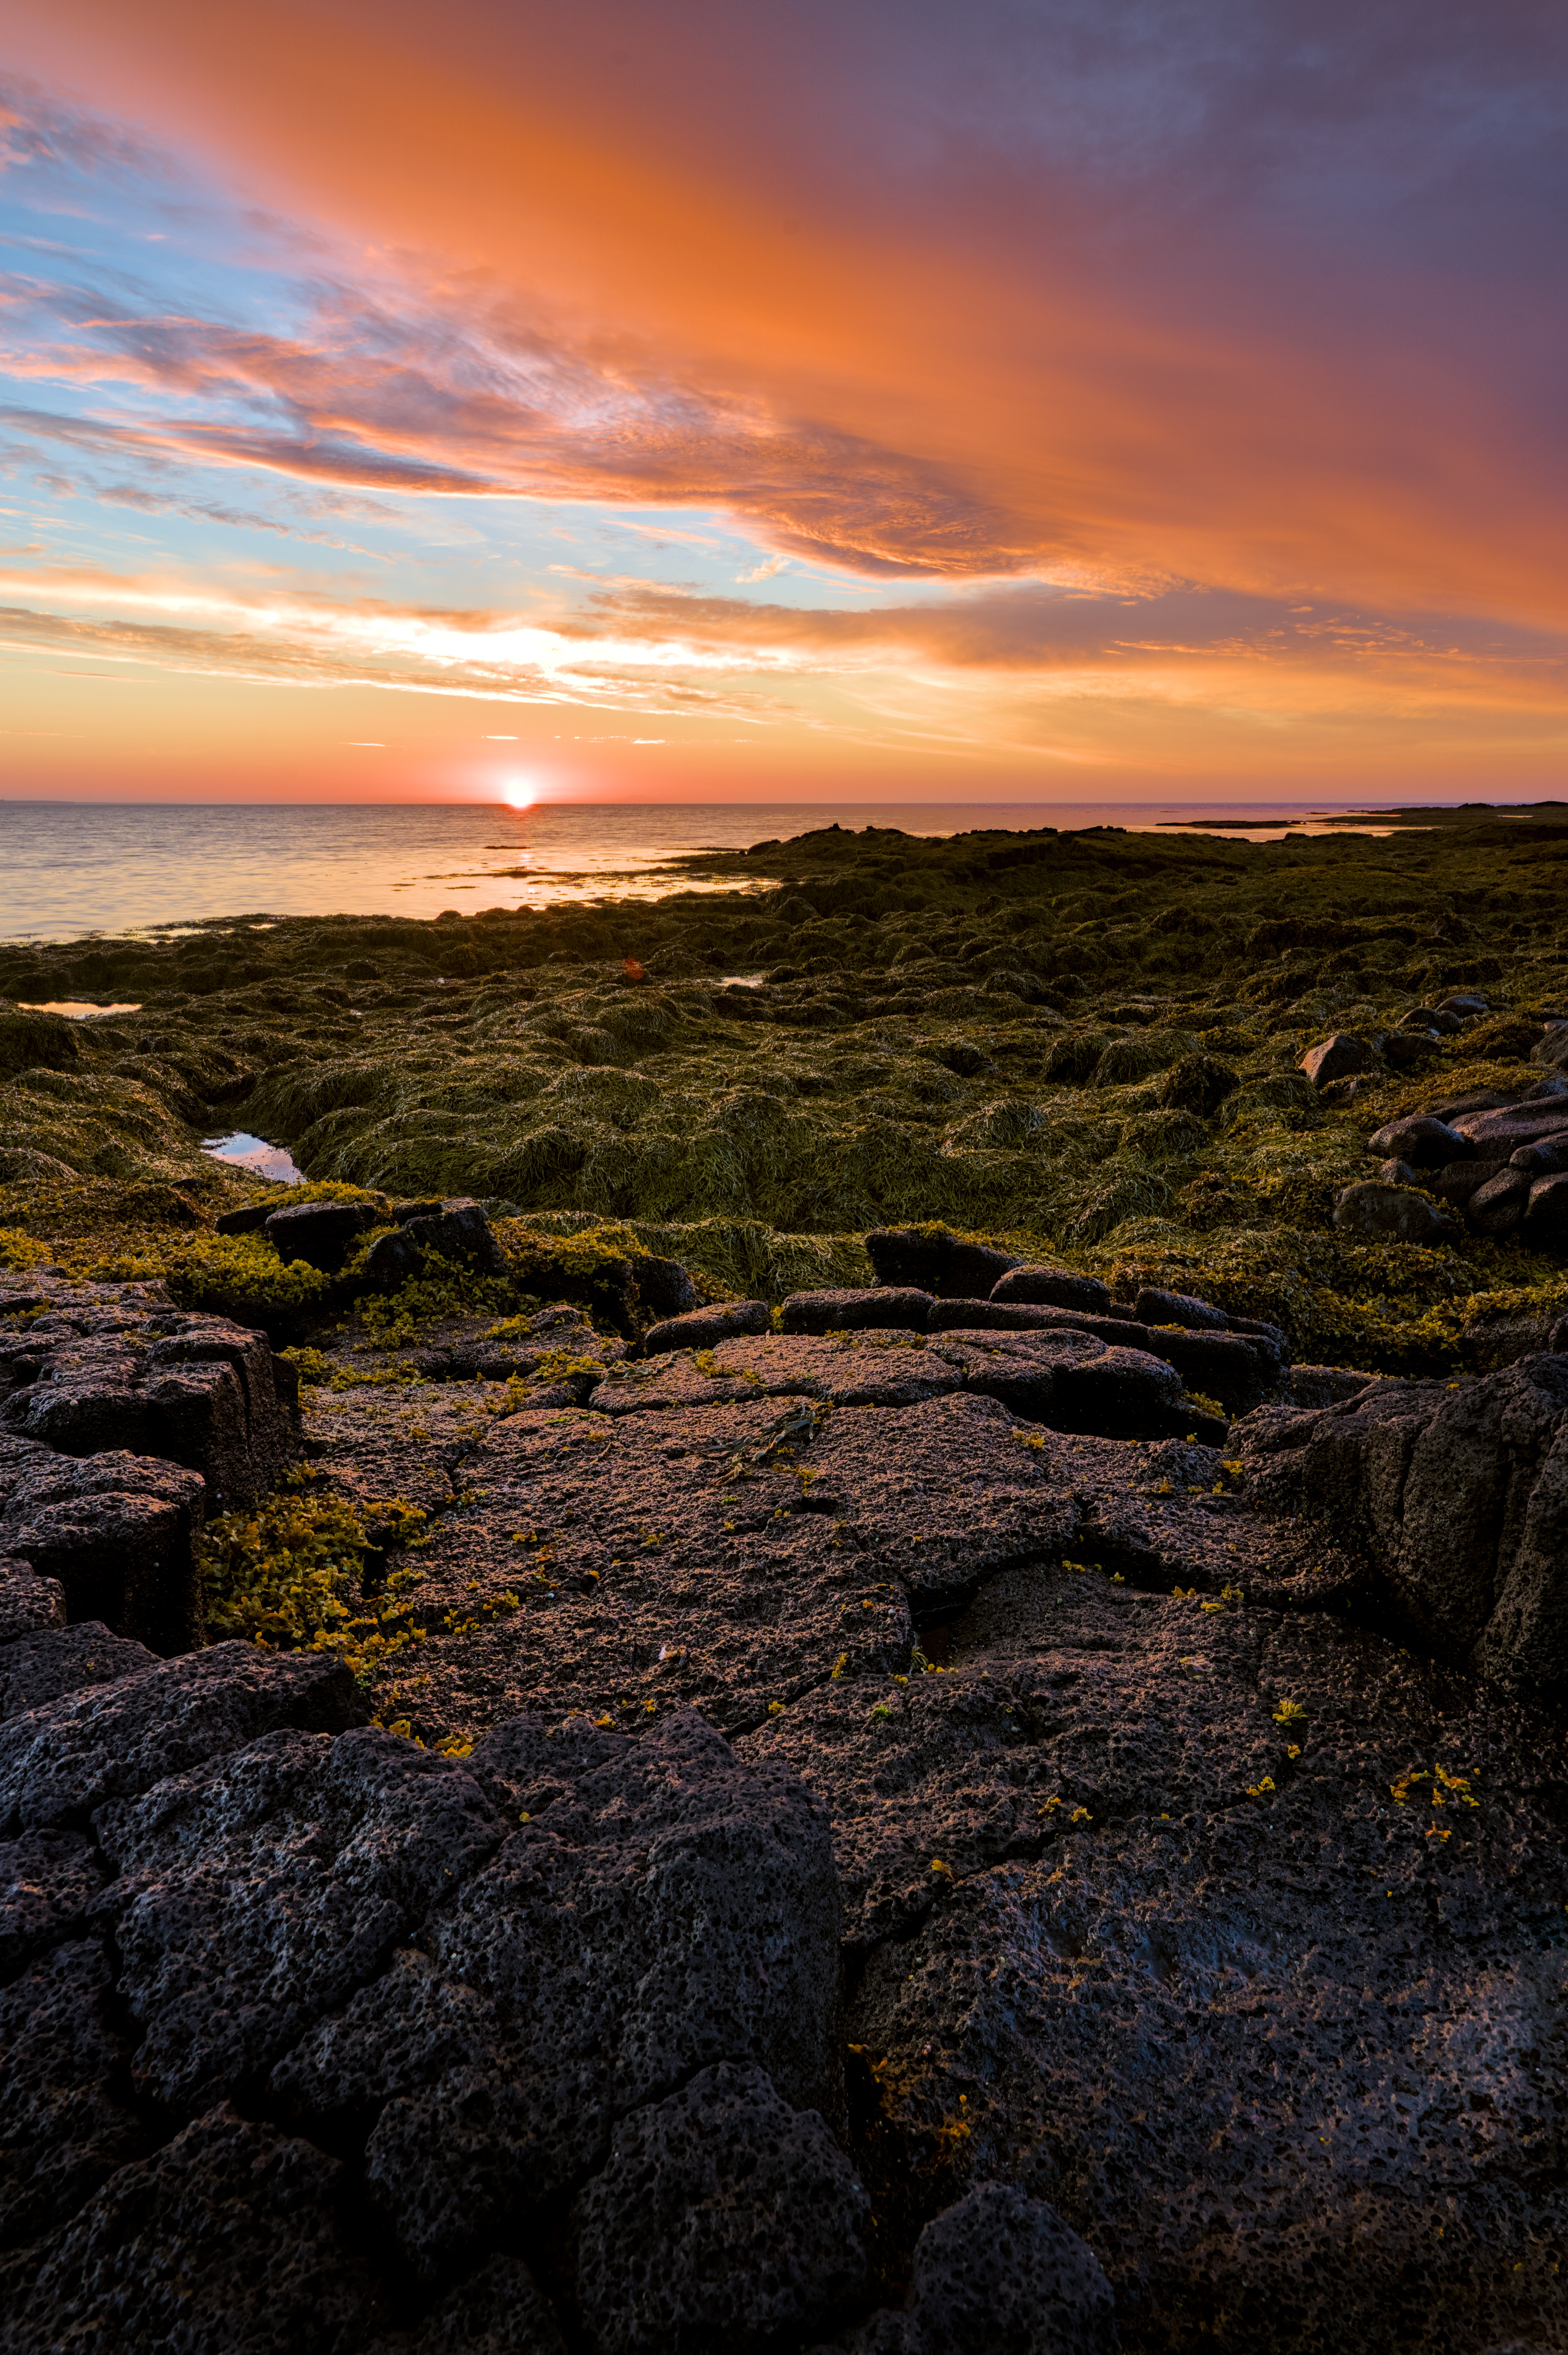
I took my previous edit and gave it a little dodge n’ burn treatment, and some cloning in the sky and the sun. I used affinity (I know I know, not FOSS) for this, but you could just as easily have done it in gimp or any other graphics editing software.


I usually work with the graduated filter a lot but I’ve recently started experimenting with local adjustments more and oh boy, I still have a lot to figure out.
Thanks!
I checked: in your old edit (post 2 in this thread) highlight reconstruction is set to “reconstruct color” as well.
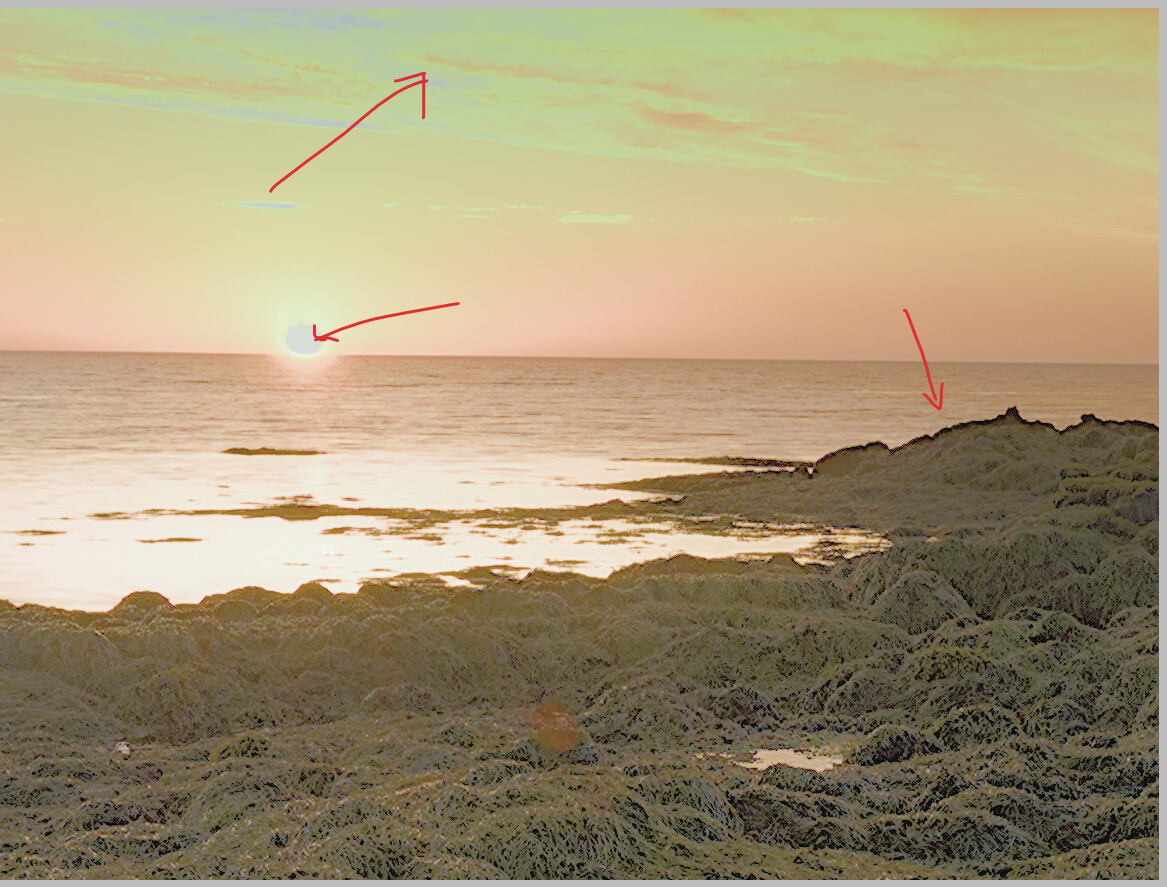
I consider the highlights to be what is bright and yellow in many edits (like your original one), i.e. the sun, the bright parts of the clouds, their reflection in the water. These parts are noticeably less yellow in your recent edit.
I find it difficult to recreate the look of your original rendition in Darktable 3.4.1 (at least without using masks or other time consuming methods). It seems to me (see my original post in this thread), that this may be indeed difficult or impossible, since desaturation of highlights is part of the raison d’être of filmic. But then, on the other hand, I personally find the yellowish light fitting for sunset scene, and would find it a pity if there was indeed no quick & easy easy way to create this effect in modern darktable.
The yellow part in my original edit of from highlight reconstruction. It went orange in my latest edit because I also used filmic’s highlight reconstruction (which I think did a better job of propagating color).
I don’t think there is good color information in the file to be had. If you toggle the raw clipping indicator, you’ll see the sun, clouds, and quite a bit around that areas is clipped. The sun is completely blown out.
I don’t think this is the fault of filmic, but rather a happy coincidence that the highlight reconstruction looked somewhat attractive.
I find that if the highlights are not clipped, that it is quite easy to recover color after filmic, either with color balance or color zones. But where there is no information, as there is with the sun in this shot, then you have way less control.
I think the filmic documentation makes it quite clear that you should preserve highlights while capturing, shots like this are the reason why.
PS-- please play raw some files you’re having trouble with ![]()
nice picture
"global tonemap module… like the module

Vulcan stone sunset_suki2019_2018-07-27__7M33870.ARW.xmp (14.2 KB)
1 Like

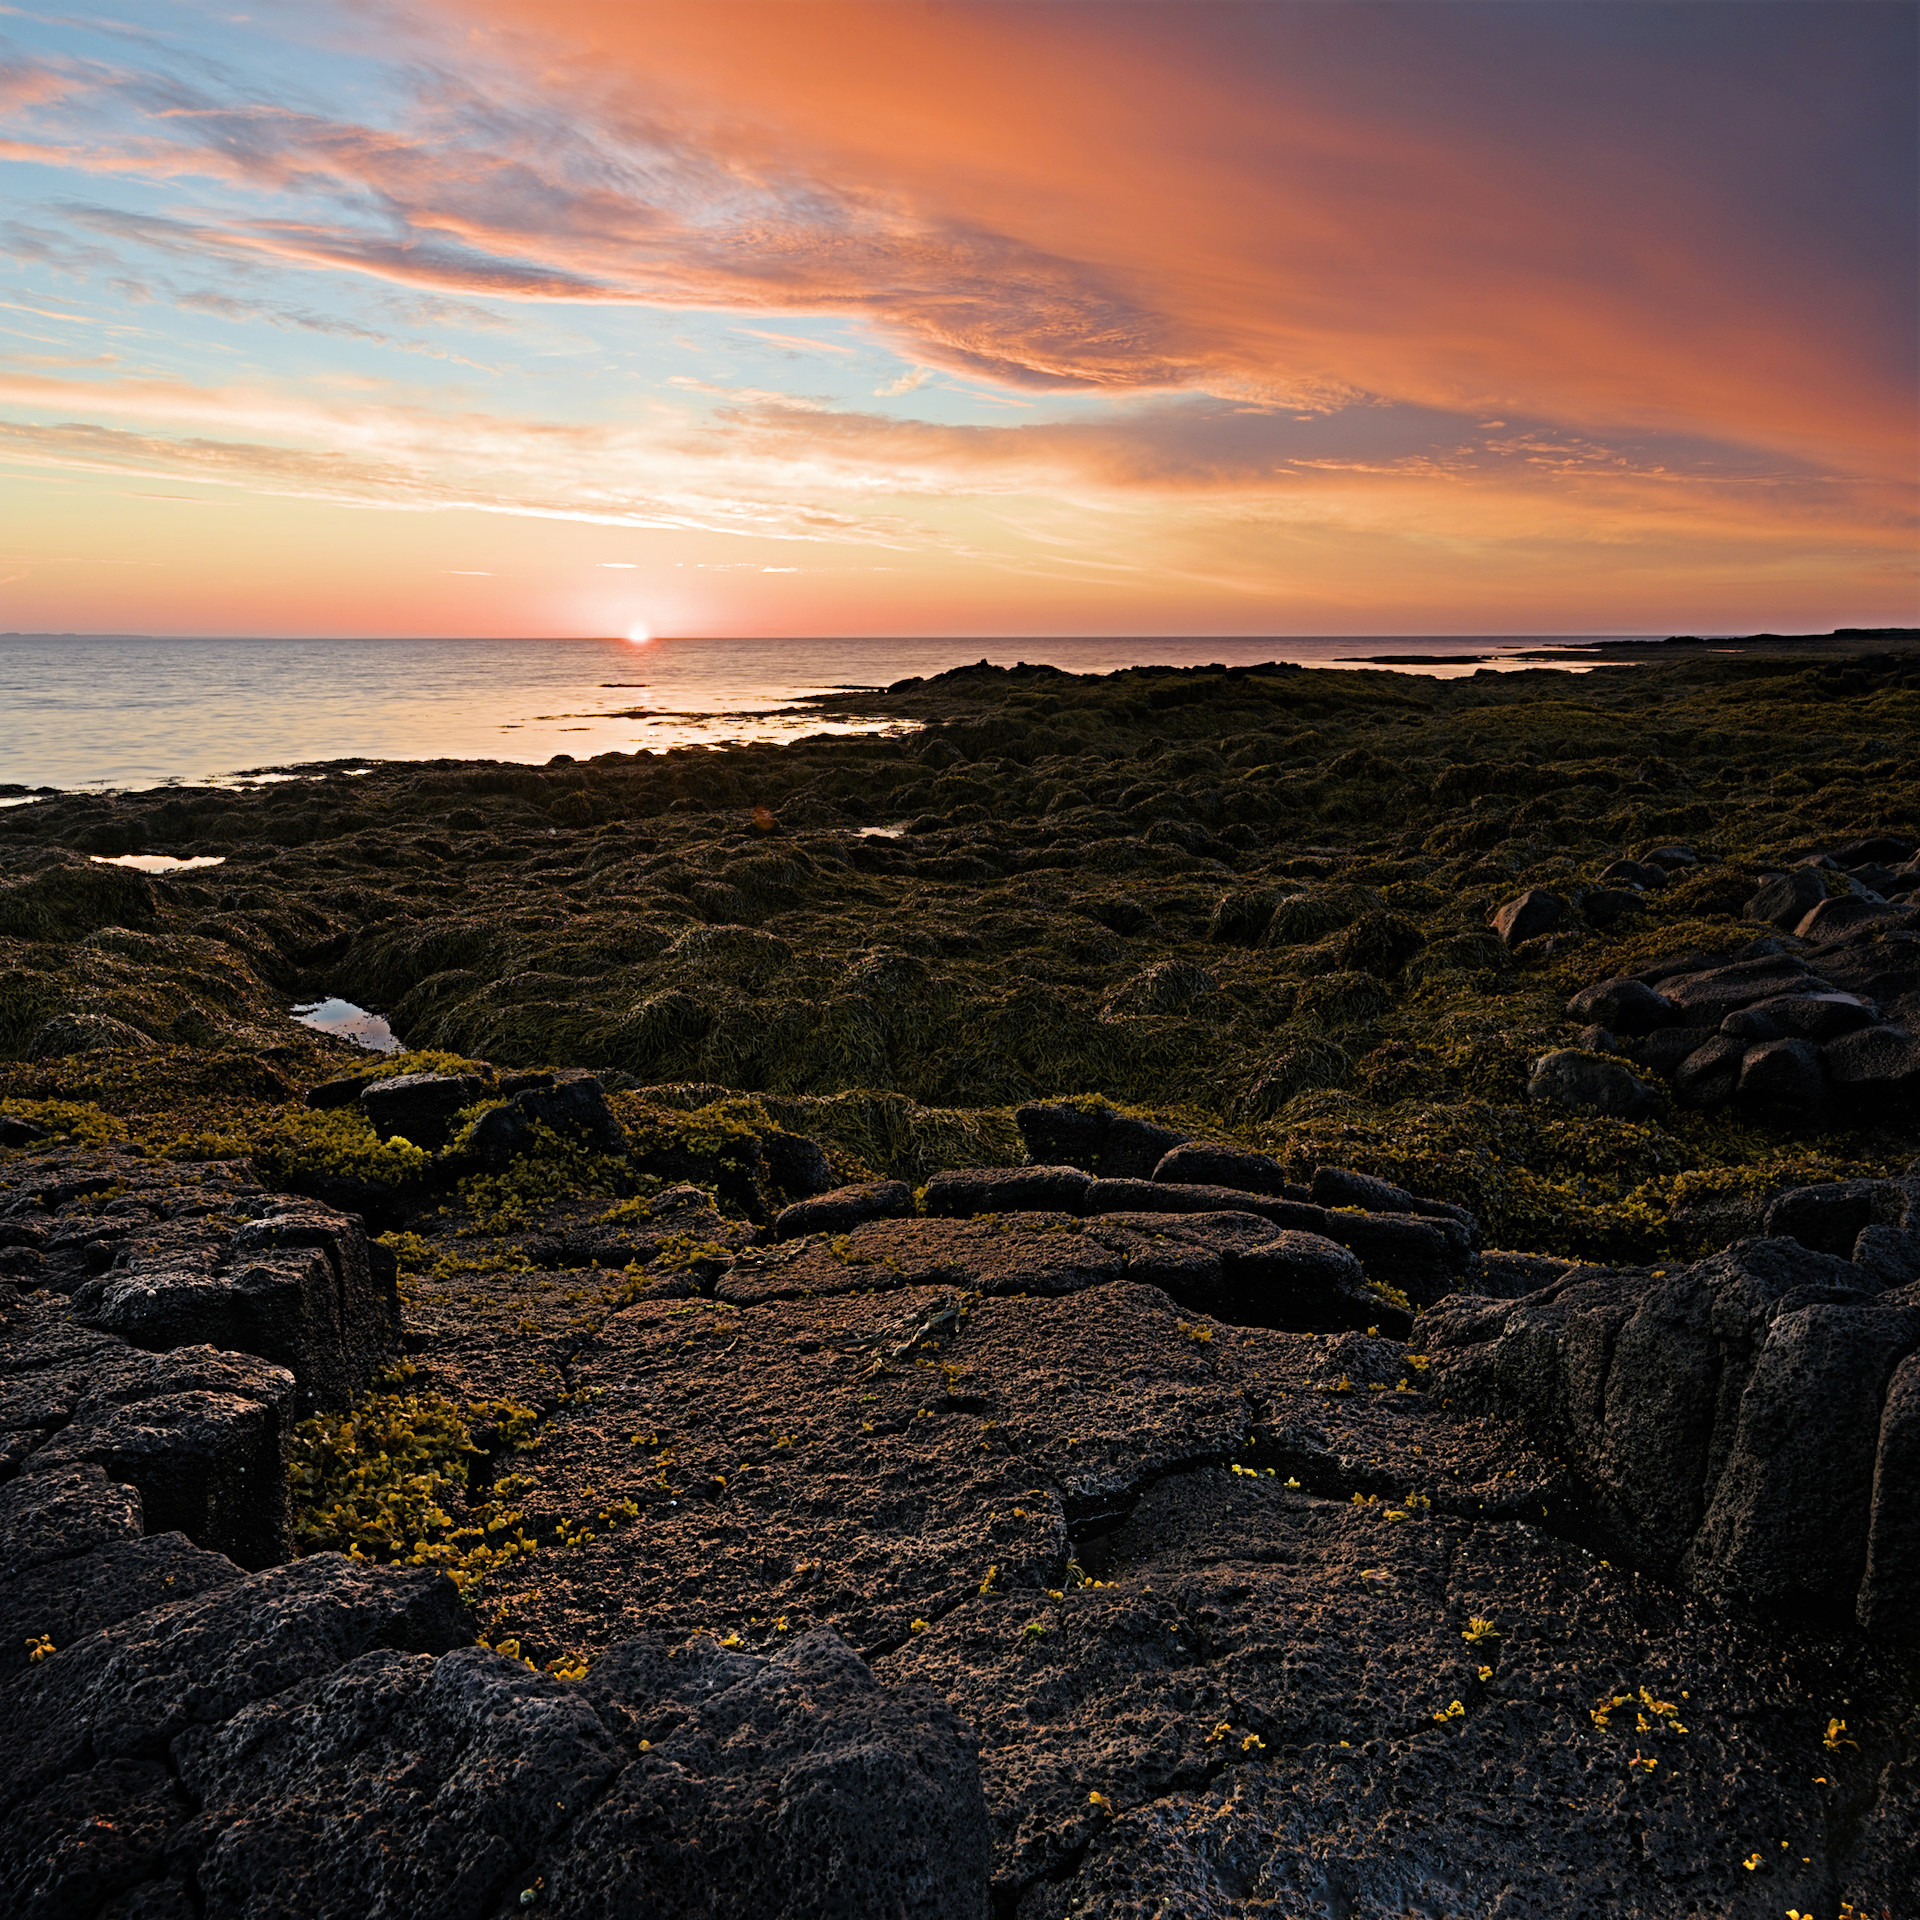
I think you’ve gone a bit overboard with the modules  Your compressed stack has 33 module instances. When you get started with darktable, it’s easy to get lost. If you check closely, you’ll see that your Sun disk is darker than the area around it; there are clipped grey areas in the clouds; some edges look wrong:
highlight reconstruction in clip highlights mode may be responsible for some of the grey areas.
A very basic rendering. highlight reconstruction turned off completely; exposure +0.5 EV; tone equalizer to lighten the shadows (I simply used the initial settings of the module, used the two auto-tuners on the masking tab, then used the mouse wheel by hovering over the dark area to lift it out of the shadows, and over the sky to bring it down just a touch). diffuse or sharpen (3 instances: local contrast, lens deblur and demosaic sharpening – the last two are probably not even visible zoomed out), color balance rgb with the add basic colorfulness preset, filmic (clicked the white picker, didn’t tweak anything else).
2018-07-27__7M33870.ARW.xmp (8.7 KB)
3 Likes
Thank you for your wonderful feedback. This is the beauty of play_raw.
33 modules are definitely a little much. However, I generally was trying to use few for glow, few for selective dodging/burning and just experimenting/learning Thanks again.

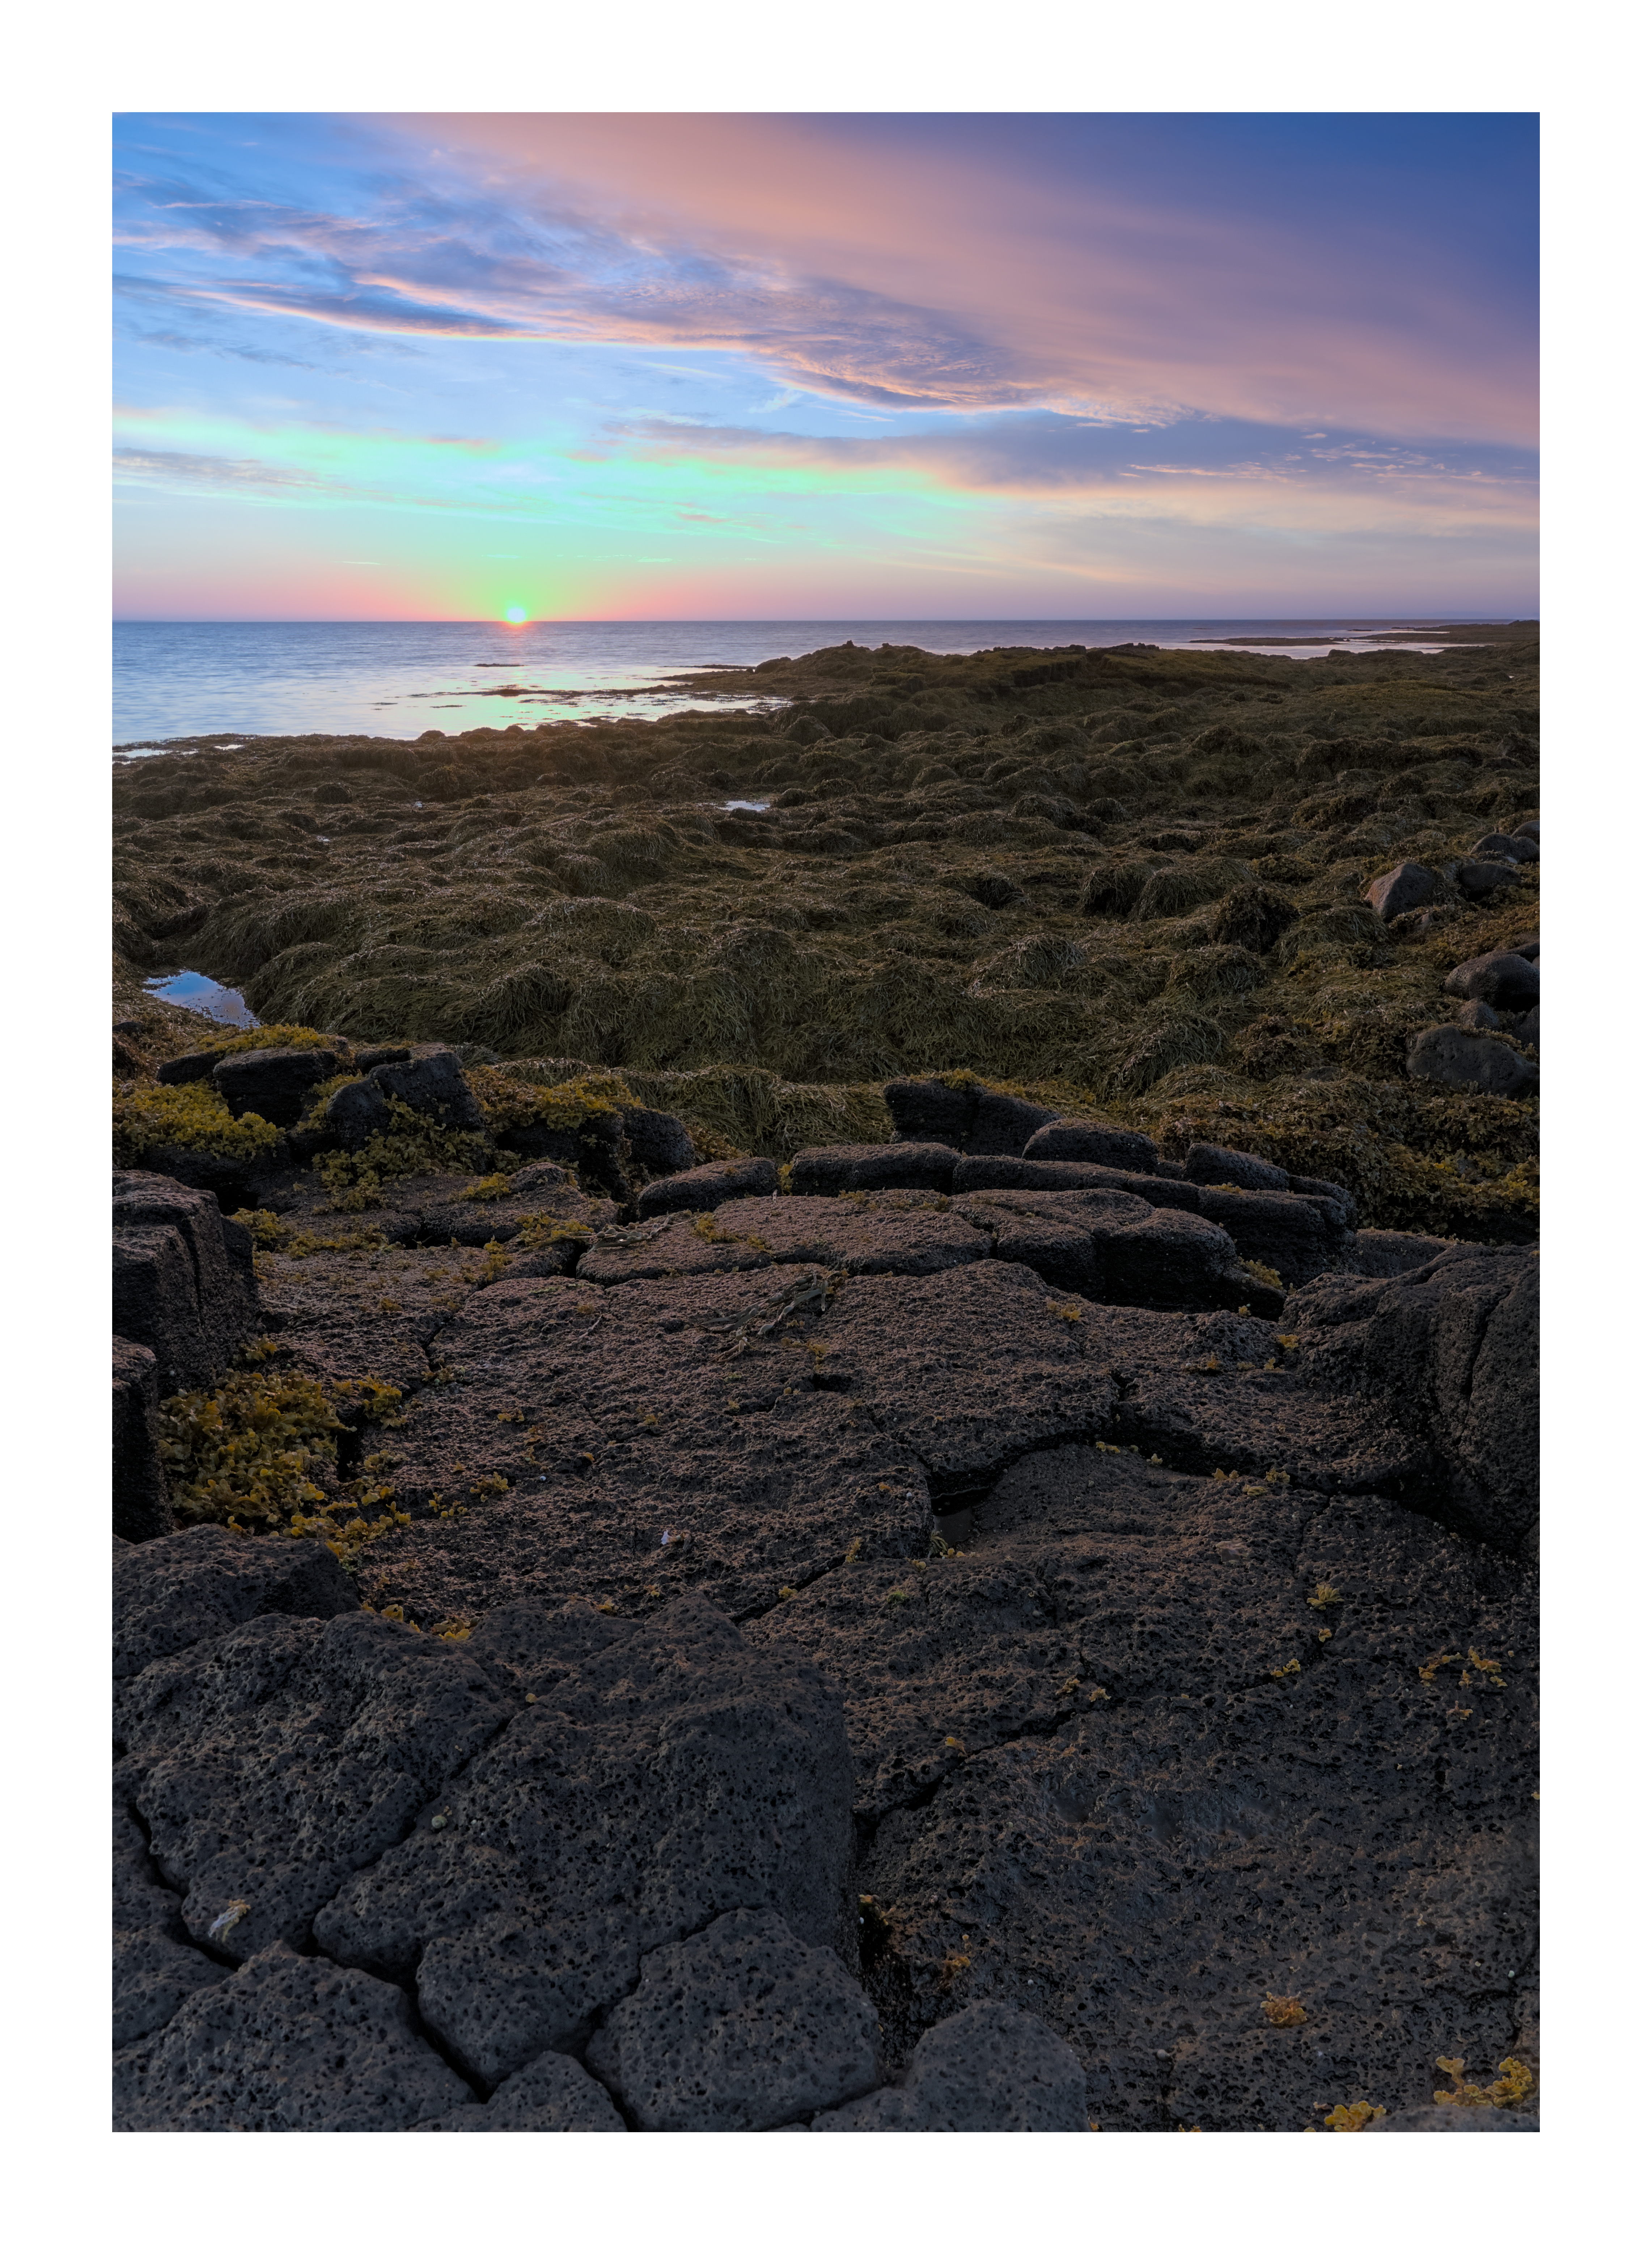
Such a beautiful picture that I don’t feel too much has to be done…
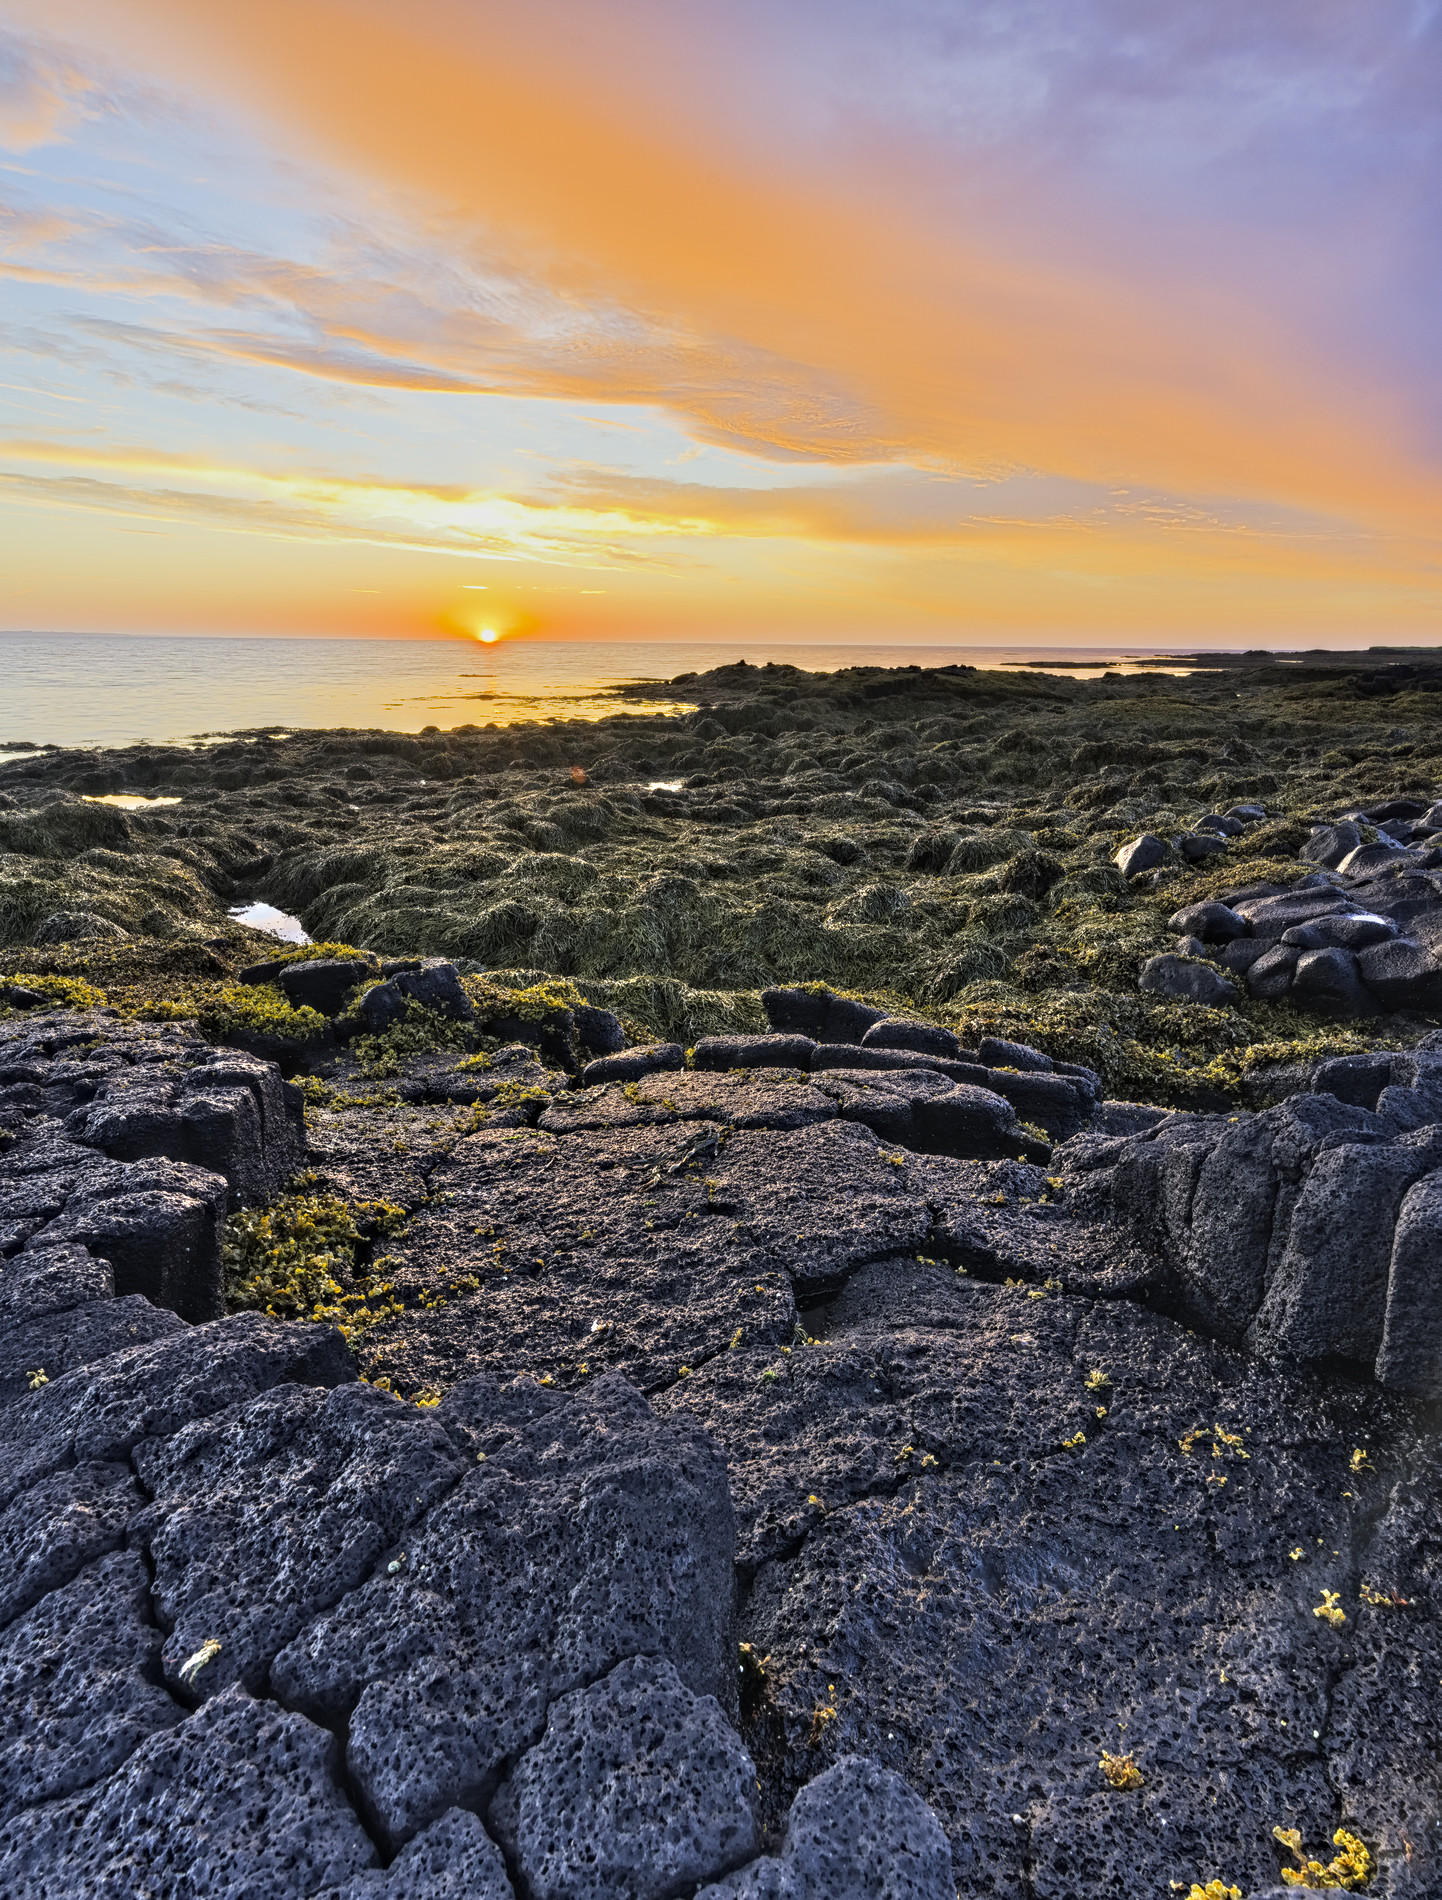
My try (dt 3.8)
2018-07-27__7M33870.ARW.xmp (7.6 KB)

1 Like
