My Rawtherapee conversion:

And the McGimp edit:
How did you obtain those light burst rays in the “McGimp” version? I feel they’re a little overdone there, but I’d be interested to try a similar effect with less opacity.
The rays are a lighten-only layer of zoom effect blur filter, masked. I was worried it wasn’t strong enough to support the sun behind the tree effect, which was with the dodger in highlights mode.
I like the idea. Here is my “ancient” version… maybe it is a litte too much, but I found that you can use the watermark module in darktable to overlay the image with a texture. If the texture is a bitmap, simply embed it in a svg. The texture used here is: Old Photo Texture by Playingwithbrushes under CC BY
![]()
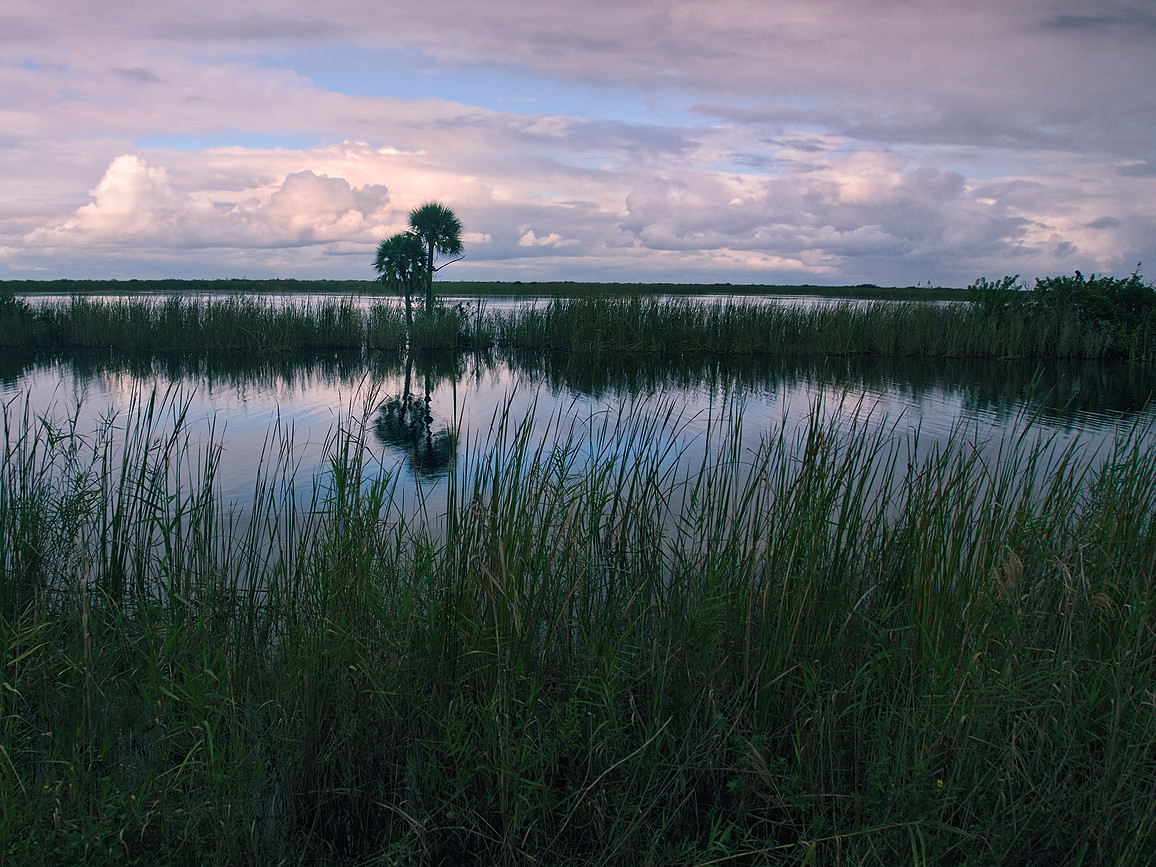
Here is my first attempt with PhotoFlow… still a bit too dark, but I wanted to turn the grass and trees into almost black silhouettes:

Thanks.  I’ve restricted the effect mostly to the lower grass.

We have a bit of country like that this side of the Pond - the Norfolk Broads. Big Skies. No 'gators though!!
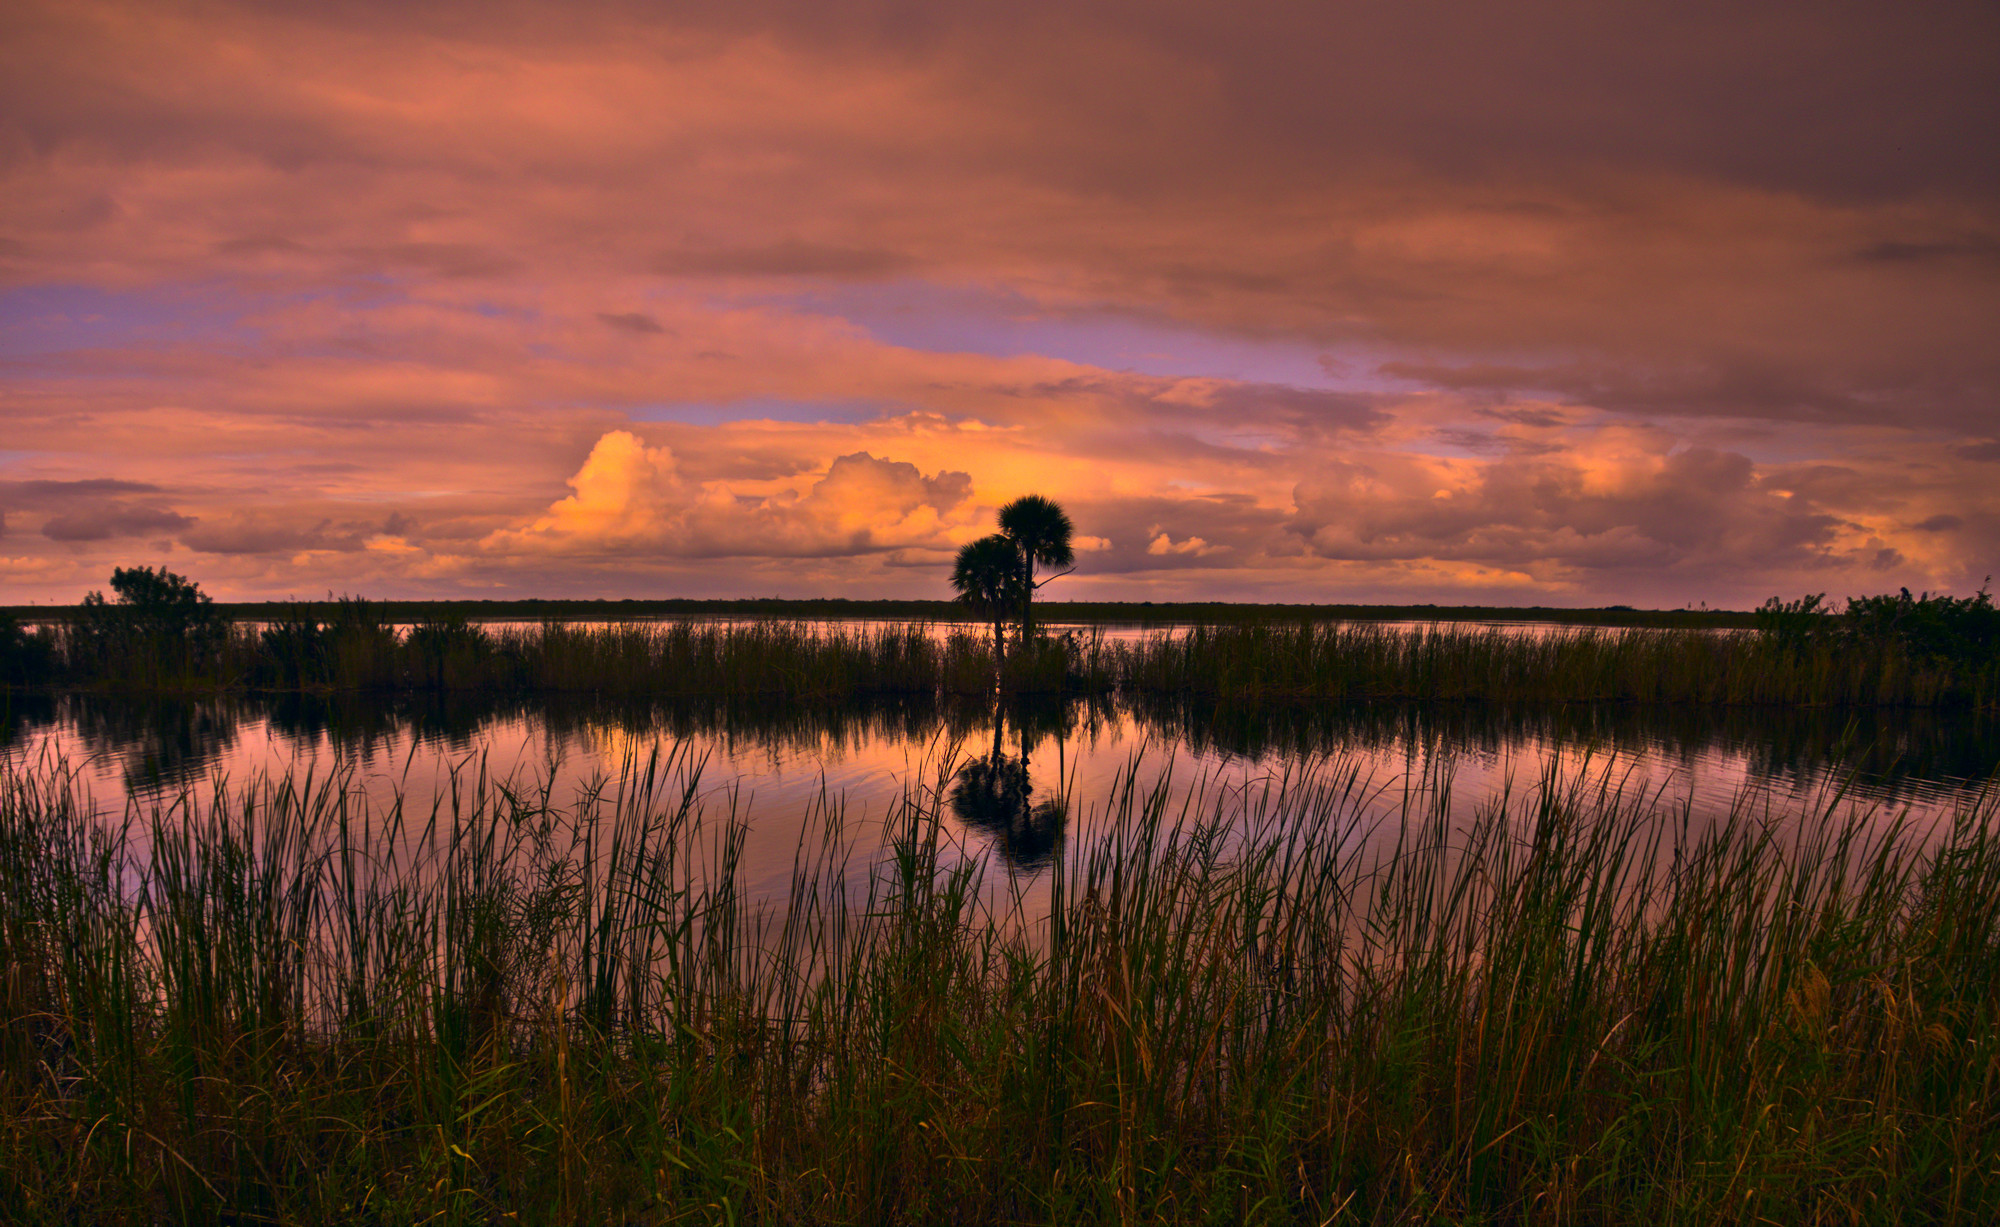
Using Lightzone again:
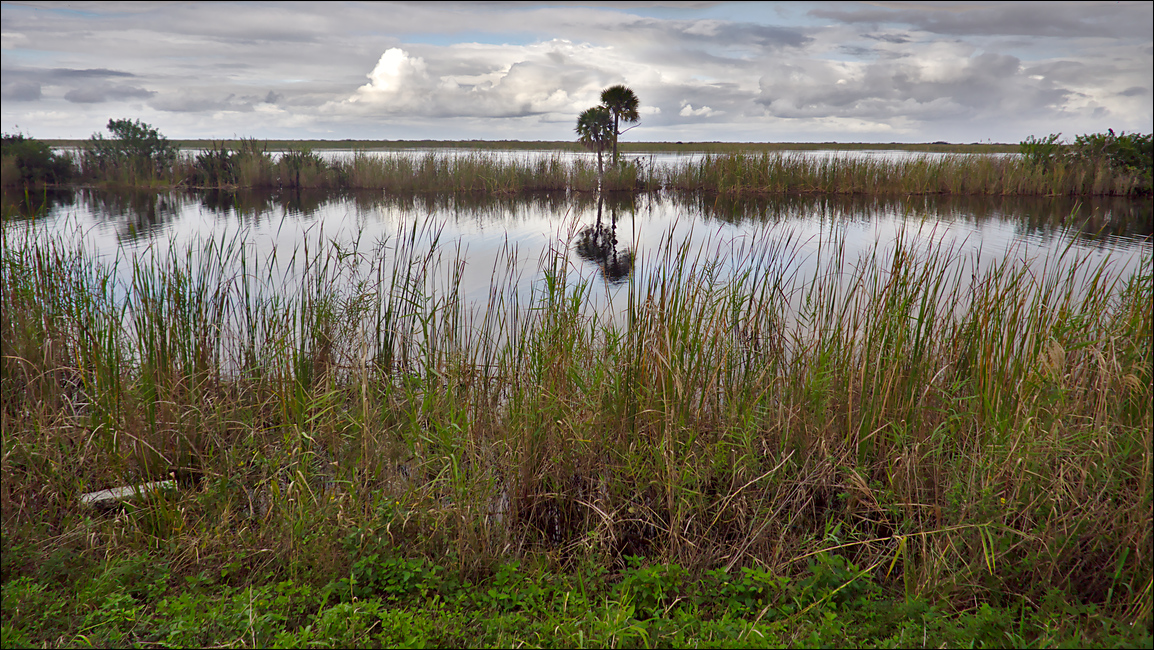
I found a letterbox crop was best, leaving the trees (and reflection) centred. Put a Relight region on the Sky to enhance the detail and contrast.
Regards,
Biff
Merci @patdavid 4 the image and all for sharing.
Darkatable, bastag descendant of the traitement_croise and rodachrome_d presets
@mosaster I also like natural colours =)
But the poscard reminded me of
Hello,
First : nice picture Pat David !
 I tried an HDR version.
First 3 pictures in RT, one -1.5, one neutral and one +1.5
Luminance HDR - mantiuk06 contrast=0.90:equalization=false:saturation=1.5:detail=20 -g 0.75
Fusion with Enfuse levels=auto exposure-weight=1 saturation-weight=1 contrast-weight=1
Replaced original exif data.
Finaly back in RT - exposure levels, sharpening and tone mapping
All from command line script.
Hope you like it.
Greetings
Marc
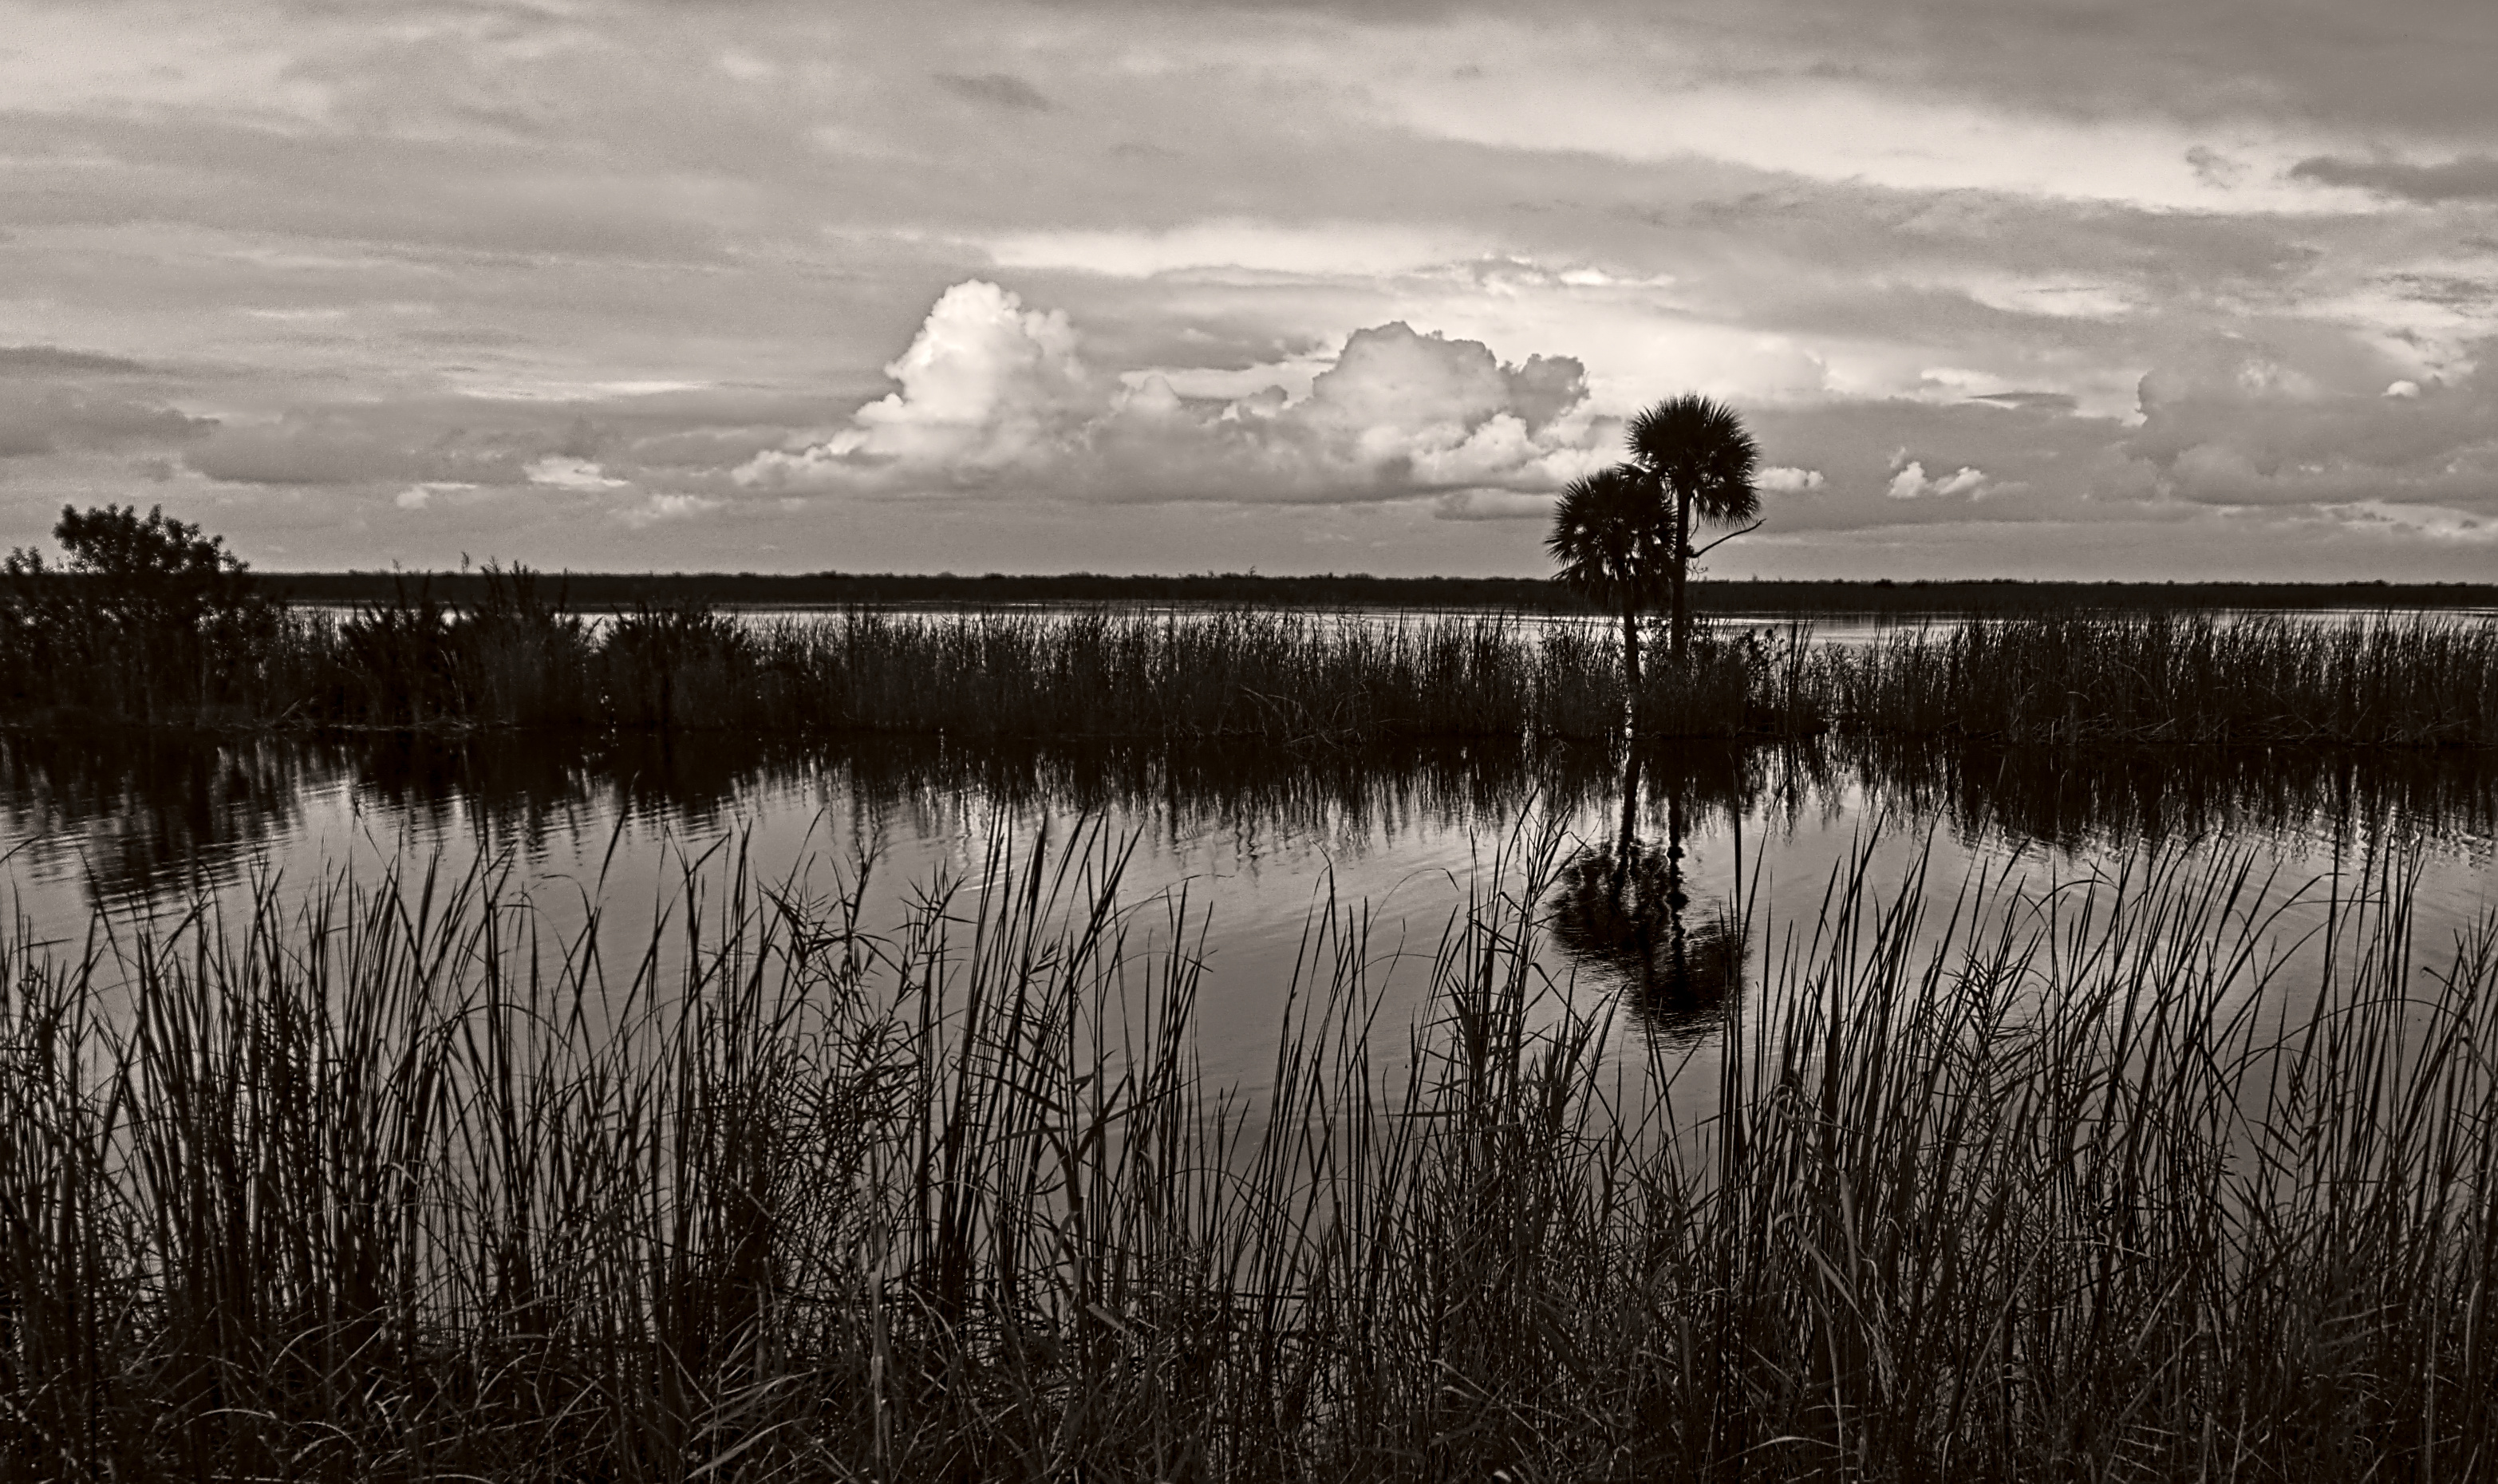
Oh, I missed this one so far. So many wonderful versions already. So, I tried a plain black & white one.
Oops, missed this one from way back but thought it would be a good test for Darktable in combination with Gimp.
I converted the raw with Darktable using quite extreme highlight/shadow correction values and exporting as an .EXR file. I then loaded the EXR file into Gimp and got rid of the burnt-out white spot behind the lone tree with the resynthesize/heal-selection script and a bit of smudging. I then proceeded to generate two different compositions by using different preservation masks and applying “liquid-rescale” to obtain firs a 16:9 and then a square format without damaging details in the image.
Decided that I’d stick with the bleak effect that I made using the CSG filter (again, since I forgot just how many options it has and I’m rediscovering it a lot!) and some harsh layer blending.

And of course, kaboom. Send this one to any grungy punk blogs you happen to know: