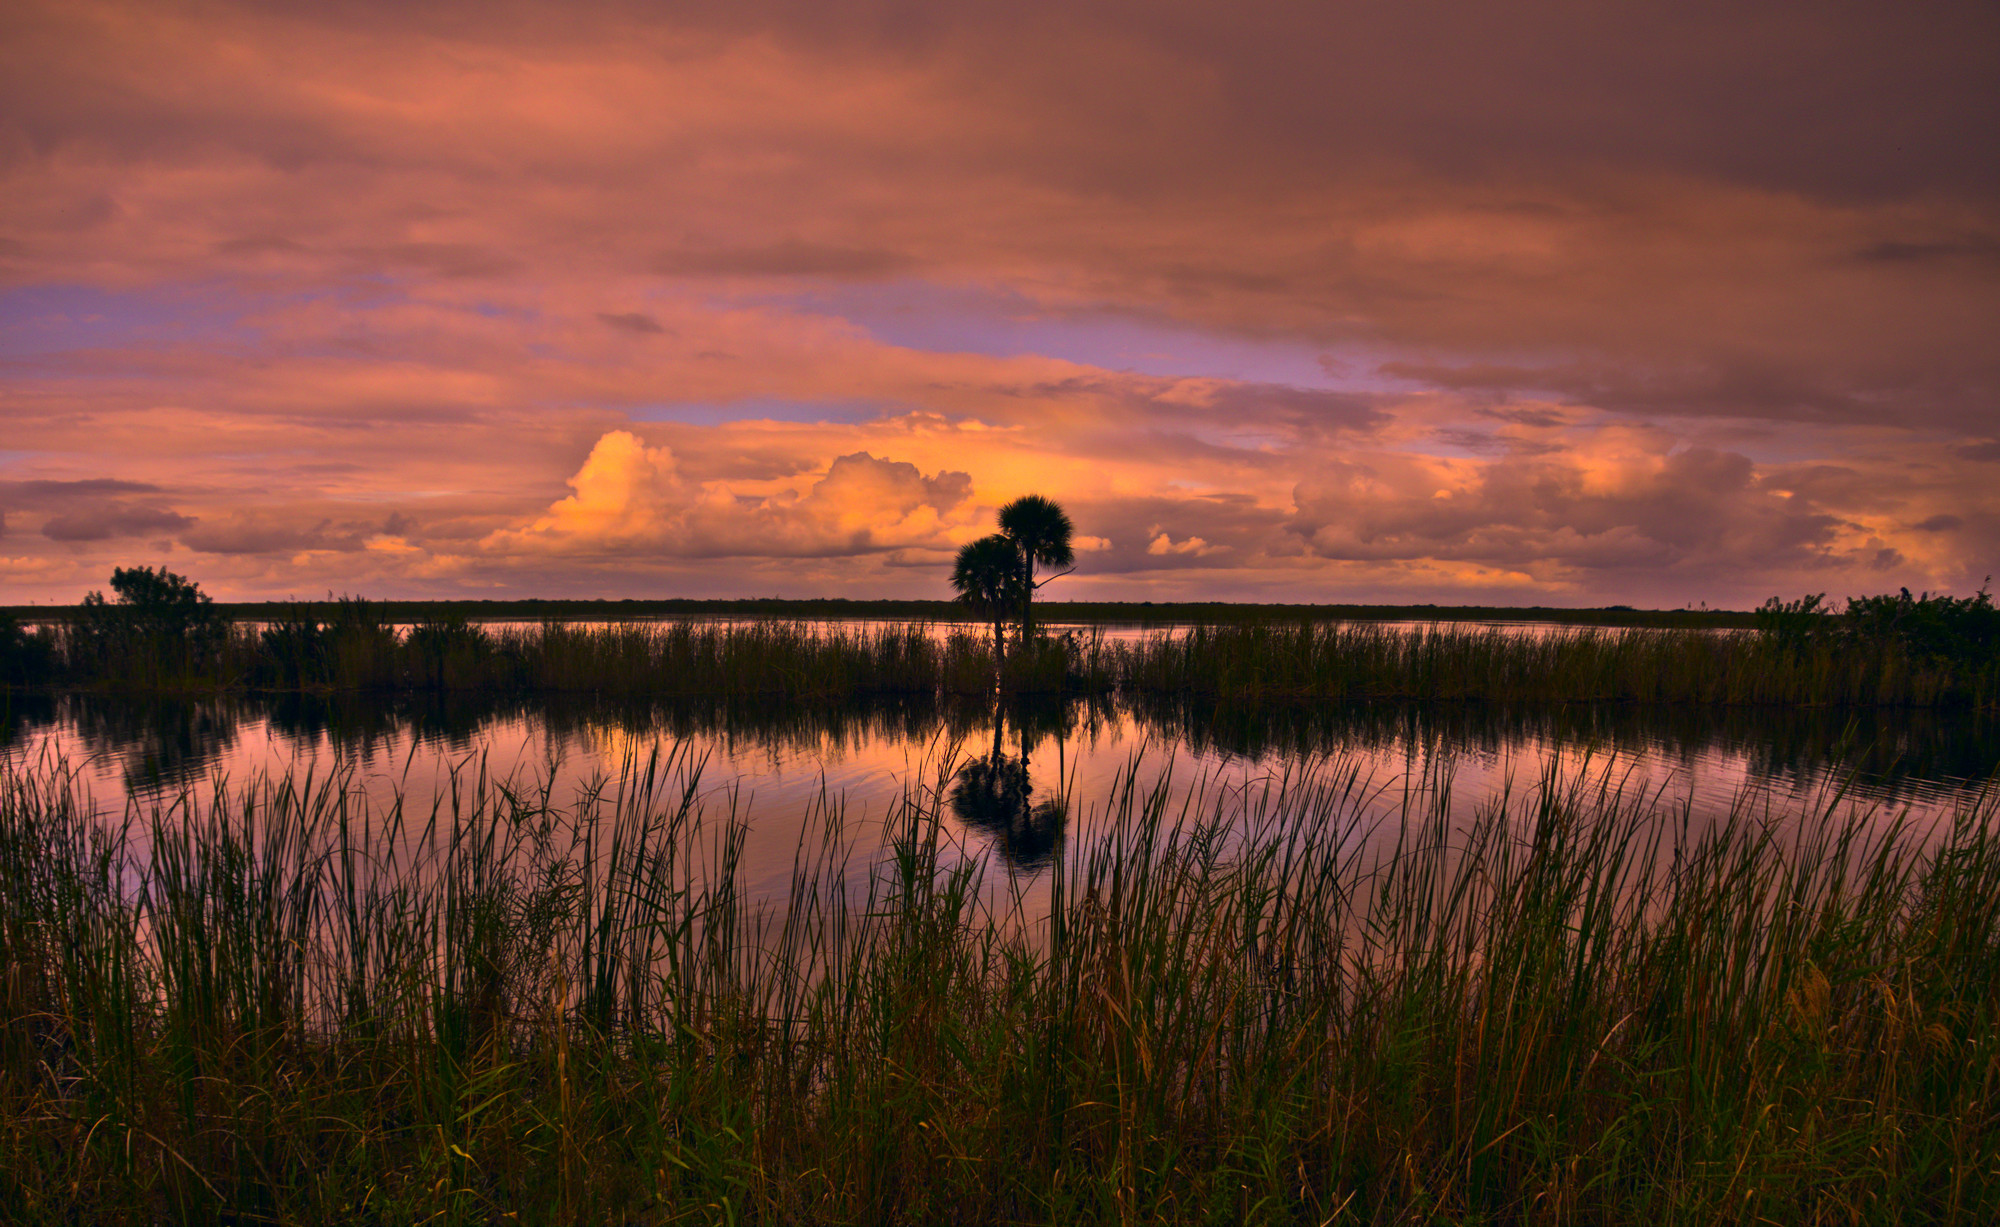
I was unhappy with the left top sky being too bright with RT processing. SOOO… I did a bit of GIMPing to it. Duplicated the layer, used multiply blend mode. Then using layer mask applied it it only to sky and blurred the sky a bit using Gaussian blurr. Here is the second attempt.
How did you obtain those light burst rays in the “McGimp” version? I feel they’re a little overdone there, but I’d be interested to try a similar effect with less opacity.
The rays are a lighten-only layer of zoom effect blur filter, masked. I was worried it wasn’t strong enough to support the sun behind the tree effect, which was with the dodger in highlights mode.
I like the idea. Here is my “ancient” version… maybe it is a litte too much, but I found that you can use the watermark module in darktable to overlay the image with a texture. If the texture is a bitmap, simply embed it in a svg. The texture used here is: Old Photo Texture by Playingwithbrushes under CC BY
Merci @patdavid 4 the image and all for sharing.
Darkatable, bastag descendant of the traitement_croise and rodachrome_d presets @mosaster I also like natural colours =)
Hello,
First : nice picture Pat David ! I tried an HDR version.
First 3 pictures in RT, one -1.5, one neutral and one +1.5
Luminance HDR - mantiuk06 contrast=0.90:equalization=false:saturation=1.5:detail=20 -g 0.75
Fusion with Enfuse levels=auto exposure-weight=1 saturation-weight=1 contrast-weight=1
Replaced original exif data.
Finaly back in RT - exposure levels, sharpening and tone mapping
All from command line script.
Hope you like it.
Greetings
Marc


 I’ve restricted the effect mostly to the lower grass.


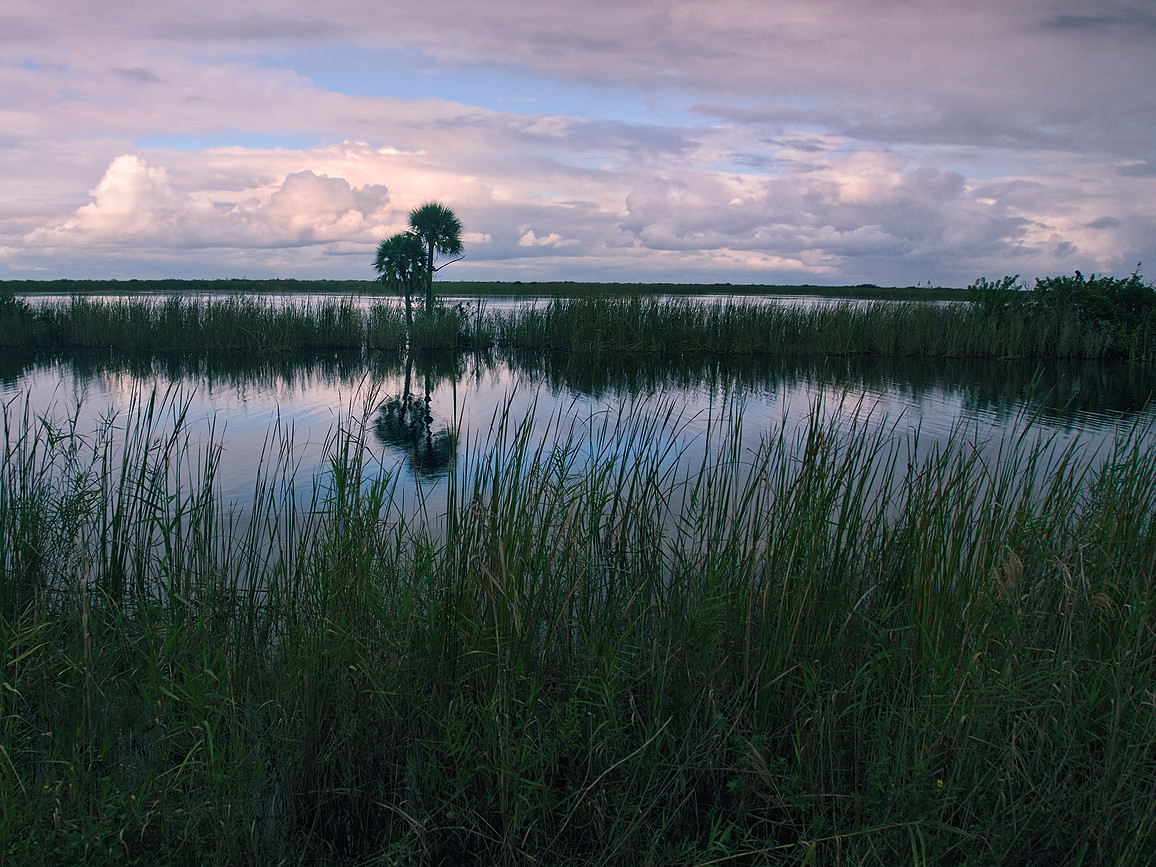


 I tried an HDR version.