RAW sharpness with darktable

Zoomed at 200%, you will see it. But, as I said, zooming-in at 200% over a 24 Mpix raw, when the final product will be seen at 2K × 150-200 DPI…

1 Like

The visible difference between different demosaicing algorithms also depends on the image, in some test images you can see a lot more colour artifacts in fine b/w detail with PPG or VNG4, Amaze avoids those artifacts.

Like so many things in dt, those different methods are tools. to use as needed, and according to personal preference. Even a tool that is technically not optimal can give the result you want, perhaps faster than the technically correct tool. One big factor, as @anon41087856 points out, is the final size of the image. And it’s not all that expensive to try them out for yourself.

2 Likes

Yes, it is quite difficult to get the ooc jpg “sharpness”. However, for me it seems a little oversharpened. This is what I came up with, using all “dirty” tricks.
What is noticeable is that the noise reduction of the ooc takes away a lot of detail. For example in the walls of the castle, in the vegetation, in the water or in the structure of the wooden planks. The sky also suffers a lot in the original JPG.

DSC09835.ARW.xmp (7.8 KB)


My edit on the right.

1 Like

And here an alternative edit, without looking to much at sharpness.


DSC09835_01.ARW.xmp (14.7 KB)

On a related note, I’ve been using a combination of Sharpening and the Contrast Equalizer for my wildlife photos, where bringing out fine feather detail is critical. I thought I read someplace in this forum that the DT Equalizer reverts to unsharp masking if its limited to the upper band of spatial frequency. If that’s the case, is this combination of sharpening and equalizer redundant?

1 Like

Here is my take.
To me this is plenty sharp, sharper than the jpeg and frankly speaking it’s too much for my taste, I prefer a smoother look.
I just put this example to show what DT can do.
I used the contract equalizer with the more aggressive preset I posted before and the RL output sharpening lua script.


DSC09835.ARW.xmp (14.3 KB)

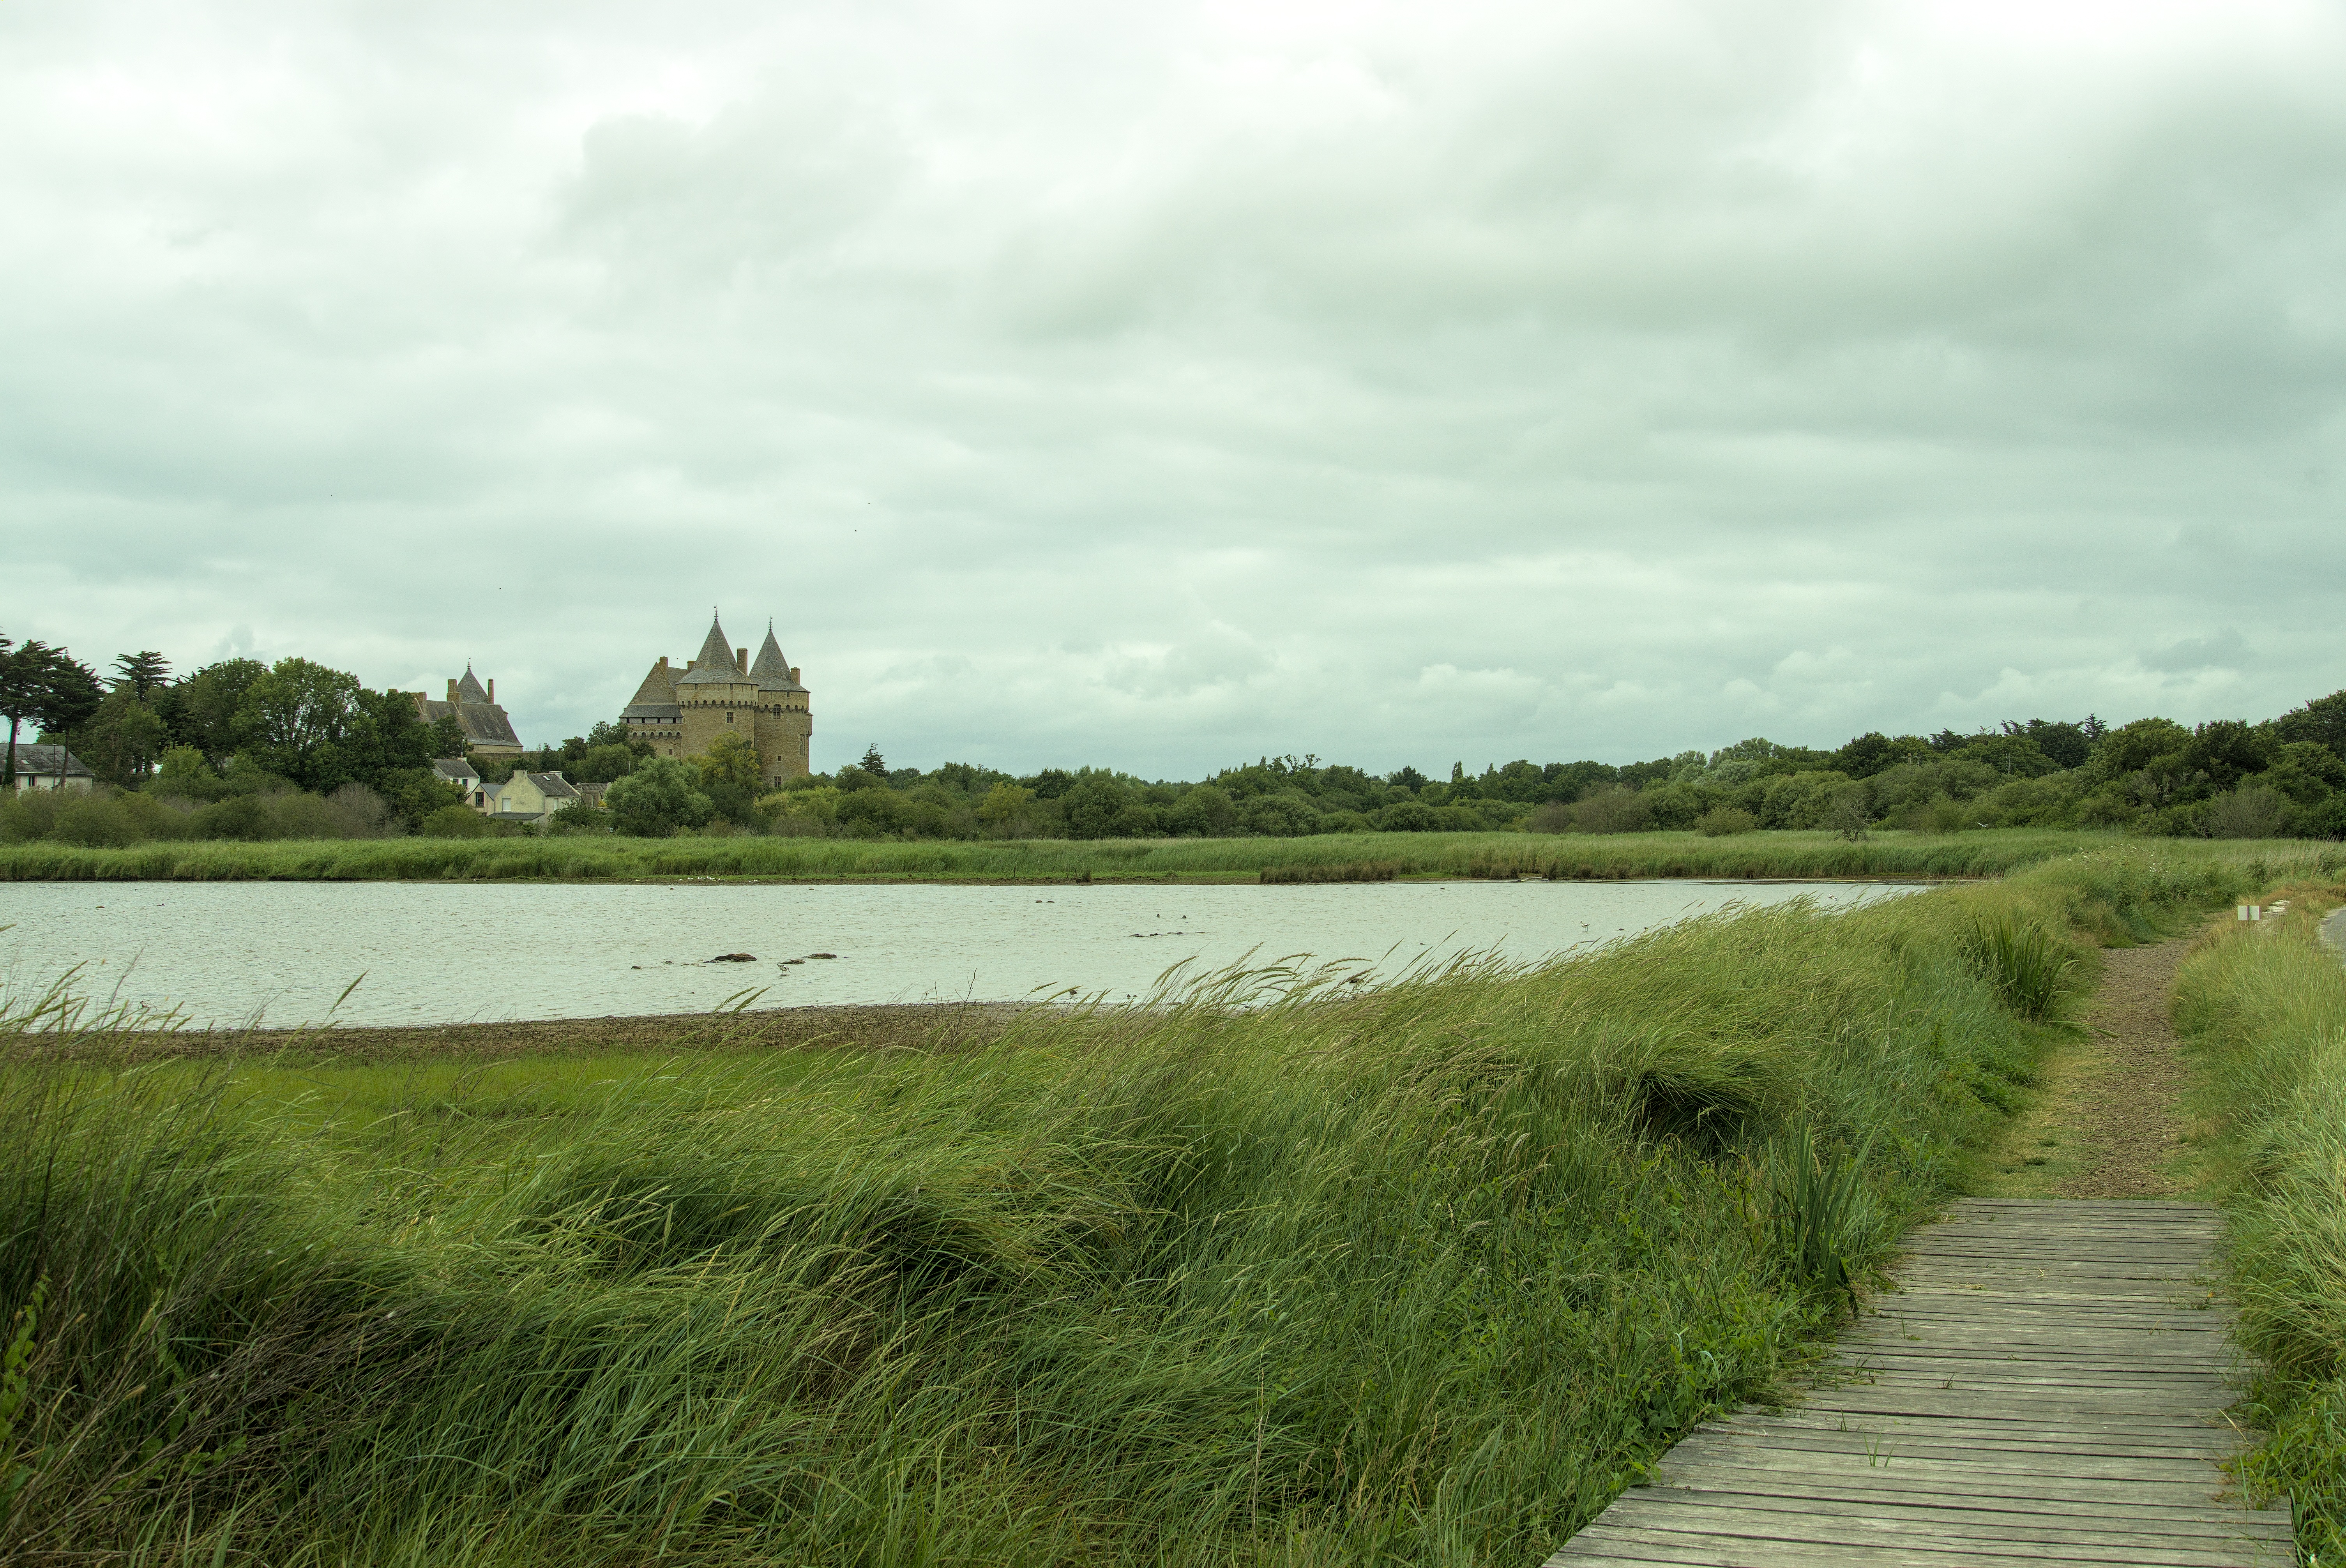
Here is a jpeg with 2k size

1 Like

That was a big big learning for me, to give the contrastEQ a limitation on both ends. The improvement is HUGE. Thank you.

One question: how to attenuate/define the L-input values (L-Mask)? Just oggling?

1 Like

Ciao!

In the dump above, mix is 1,000
Set it to a lower value – even negative values are allowed.

Have fun!
Claes in Lund, Sweden

Sorry I was not clear in my question. I meant, how to find the points for that “L-mask” (edited my post)

:-(((((((((((((((((((((((((((((((((((((((((((((((((((((((((
Scusi! Io stupido!
:-(((((((((((((((((((((((((((((((((((((((((((((((((((((((((

No no no, I was stupid, my question was unclear :slight_smile:

Only clever suggestion I have then is
that you turn on the mask, to see the areas
that are/will be affected.

Yeah that is what I am doing, but which areas are “unhealthy”, that is the question. Up to today I did not come to the idea, it cold have an effect, but I am playing around on some playraw and I am really flattered…

You want to avoid clipping (sharpening is about emphasising differences between neighbouring pixels). So, for a large contrast enhancement, you need to protect your shadows and highlights more. Look for loss of details in those areas. You may turn on clipping detection (at the bottom of the darkroom window) – but note that some modules that come later in the pipeline may foil it (e.g. if you use filmic to aggressively lift shadows and compress highlights, you won’t have pure blacks and pure whites, so no clipping indication will be shown, but you’ll still lose details).

3 Likes

As I understood the pipeline, except for a few aberrant modules (color mixer…) a module can do almost whatever it wants without causing clipping in the highlights.

Shadows is a bit different, values < 0 don’t play nice with certain math functions.

1 Like

Well, the idea is that sharpeners perception is mainly about midtones. You don’t want to sharpen shadows in order not to increase noise and highlights as their contrast is compressed anyway by filmic or base curve.
Marco

2 Likes

That may be true, but my reply was about clipping due to sharpening. I maintain that that’s not a risk for the highlights (unless the sharpening module you use doesn’t play nice with others).

E.g. with filmic, the exposition module is used to correct the midtones. It’s not rare that the highlights are pushed far over the edge, but they are not “clipped”, in the sense that the maximum value is is not bound. So after exposure correction, your clipping detection would show a lot of over exposed areas, which are then brought back in range in filmic with no loss of details. The details may be hard to see due to the tonal compression, but they are there in the data. Don’t forget that floats have 24 bits for the manitssa, and compare that with the 8 or 16 bits available per channel in e.g. jpg, tiff, png.

In the shadows, it’s a bit different depending on how the sharpening handles the changes. If it’s a multiplcation, you shouldn’t have too many problems, if it’s an addition, you can indeed clip data (negative values need to be clipped or adjusted before feeding them into filmic).

1 Like

When one starts on the journey with photo tools that can read RAW files, the comparison with the OOC Jpeg is an informative pastime. Initially frustrating as you search for darktable modules to transform RAW to something as good as the OOC jpeg. But I assure you, after mabny frustrating months, and several suicides (i.e the times when you just give up cos you are not making any headway or improvement, and ressurections, when you go back to dark table and try again, you wil discover that darktable allows you, when you know how, to far exceed the quality of the OOC jpegs. - Far exceed.

So with darktable you have a powerful tool, like a nuke - a nuclear weapon, it can power a submarine for years, or destroy a city in minutes., and you are in charge of the red button.

As you have seen from the earlier responses, there are so many ways to achieve results in darktable, so many.

A recent somewhat biased review on youtube accused darktable of being complex - which is partialy true, and while I still have some aspects such as transforming sky colours to more realistic like my eyes see, when it comes to sharpening - that is not an issue with darktable.

There is truth in the fact that unlike lightroom, many of the modules in darktable have many parameters, and it can be a bit difficult working with them.

When you speak of sharpness, may I interpret this to mean edge recognition, the ability to distinguish shapes and patterns.

In other words, if you took a photograph of a plain white sheet of paper, unless you did this with a microscope, or some reasonable enlargement lens like macro or magnification tubes or bellows, with typical camera lenses, there would be absolutely no features to be seen. Such that even with vignetting you really could not distinguish any curves, lines, nothing. And if you took a photo of any other single color object same.

So permit to use the term contrast - loosely, by this I mean micro contrast at the level of a few pixels, to define edges of objects and patterns, and global contrast to define the variation between the darkest parts of you image and the brightest parts.

I think you could also define regional contrast of the kind that occurs between sections of the brightness/colour spectrum, such as between dark green and light green or between brown and green, or between dark tones and mid tones. i.e the darkest and lightest tones may not change, but using various tools, such as an S-curve in any of the curve bending modules such at tone curve, base curve, or rgb curve, you can enhance areas of contrast in between the micro contrast and the global contrast.

Global contrast can be modified using lots of method, using the exposure module to adjust the whitest whites and over all brightness or the darkest darks and how much of each of these you want, i,.e the extremes. The Contrast brightness saturation module also has a slider for contrast.

The sharpness you seek, is a combination of all these 3 forms of contrast. Global, regional, and micro, and regional (maybe I use macro instead for this cos its not really about regions, but about regions of brightness variation).

So over time, with experience, and lots of round trips, and weeks of learning and sometimes giving you eyes and brain a break for a few days (highly recommended), you will achieve 2nd nature like driving a car or a bicycle, from all the mistakes you have made, and learnt from (sorry no other way to learn this except my making a real fool of your perceptions and learning how your eyes may occasionally deceive you, without anything else to compare with), in picking teh right tools for addressing each area of contrast.

I will go directly to address micro contrast, edge sharpness. I find the following method the most efficient.

Using the highpass module.

Adjust the sliders in the highpass module to define how much change you want in sharpness., then using the uniformly button (the circle), in normal mode these sliders behave like a mask selection set of controls.

Change the blend mode from normal to overlay, to apply this sharpness mask on the image.

Or change the blend mode from normal to softlight, or any of the others in the same group as overlay and softlight. See which works best for you.

You can tone down the strength of this change using the opacity slider in the highpass module.

This is the quickest and easiest to control, method of sharpening an image in darktable. Other method are valid, but this is the most workflow friendly, cos it has only two main sliders. Yes it does have a twist such as changing from normal blend mode to overlay. But once I knew about this approach - and you will see lots of examples on Youtube, I do not use any other method for micro sharpness,

Be gentle cos a little goes a long way, otherwise you will over do it and your images will become very digital looking.

The key with darktable is finding the shortest path to your desired result using tools whose impact is immediately visible and preferably not subtle, so that your creativity is immediately rewarded.

I must also add, with respect to images looking like your ooc jpegs, there are so manu it depends so many.

Yoru RAW file needs a curve to transform the boring contrast reduced image to one that looks more like real life.

In tools like Adobe, they have 25+ years of history with learning how to apply automatically a curve that represents something similar to the curve that is applied to create the jpeg ooc. This is one of the key challenges of using darktable, not a criticism, just a statement of fact. The development focus is on predominantly the features that transform an image, before and after this curve is applied. darktable provides a method of applying this curve, but the curves provided are somewhat generic, unlike Adobe where they have internally provided curves which you cannot access or tweak. So adobe and darktable apply what darktable calls a base curve, but in Adobe lightroom, that “base curve” is called something else - like profile and you cannot edit it - only pick what you want - most people who use Lightroom are not aware of this transformation.

Darktable like Adobe Lightroom, then goes further to also give you a tone curve(similar to what is available in Adobe) and an rgb curve. For additional user driven control.

I rarely use the native base curves provided by darktable. I spent about 2 months creating a set of custom base curves, which allow me to quickly change the overall look and feel of a raw image, far more powefully than using a combination of different modules in darktable., I have about 15 of them which span the spectrum from relatively bright and contrasty, to dark and not so contrasty, and then all the way to dark and still with contrast. These curves came about cos the default base curve assigned by darktable, based on camera model/brand did not give me a similar look to my ooc jpegs. Not the fault of darktable, this is a very difficult feature to develop - i.e ensure you have a curve for every single digital camera ever made.

It is not an exercise for the faint hearted, and I do not think it is one i would want to do again. and it means I must always keep these curves, saves as base curve presets, also backed up so I can restore them if my computer fails or hard drive fails, and I cannot recover data from it.

Applying the right curve, and in many instances, this will need to be a custom one, took me to the point where I no longer ask the camera to generate any standalone jpegs to accompany the RAW version. (partly also because I can extract the Jpeg version - as this is embedded in the RAW version already) Lots of open source tools to extract the embedded Jpeg from the RAW, if I ever needed this.

Regrettably I have not heard of others who went this far to tailor darktable base curves to improve their workflow, so its the evidence of only one person - me. I’m afraid, so you just have to trust me on this one. This was the 80/20, that weaned me completely off jpeg comparisons. Now I have a new problem. Running through 5 or 10 base curves with each new set of similar photos, to decide which of my custom base curves or the native ones provided by darktable, look the best with that image - a good problem to have cos typically I end up with at least 3 different base curves that do justice to the image and I know have to whittle it down to one or two. Almost like using presets, and these custom base curves are extremely powerful presets, that reduce the amount of work that I need to do in other modules.

There is another approach which instead of using base curves, uses technical LUTS, to get you very quickly to an image that looks good, similarly you develop a bunch of these and overtime have a small preset of 10 to 15 of the ones that work best with almost any pic.

So about 60% of the transform is done using a LUT preset or base curve preset
10% is achieved by adjusting exposure sliders.
10% is achieved by changing white balance
10% is achieved by additional dynamics changes and toning using Tone curve or RGB curve, if needed

The remaining 20% of effort is finalising using any other tools., such as the highpass for sharpening, Contrast Brightness Saturation module as needed - less is more, Denoising using one of the denoising modules,

Before all this - it does help if the photo was well taken, properly exposed, with a good super clean lens without excessive issues like glare, with proper focussing - it takes more effort but I now go manual focussing - and allow the camera to control shutter speed - in aperture priority mode - and by checking each photo, I can retake by adjusting exposure compensation - in camera, on the next shot. If the intended sharp areas in the original image are not tack sharp, for a variety of reasons including camera shake, there is no point attempting to improve it in Darktabe. The challenge with auto focussing is you are sometimes not sure what areas are in focus. and therefore sharp.

With manual focussing and using focus peaking - before I take the shot, I know exactly what aspects of the photo will be sharp, and when I get into darktable, its exactly as intended sharp as per intent, and easier to sharpen further using the highpass module as described above.

I must add - you could also using masks of various kinds limit the areas of the photo to be sharpened. You see - if everything in the pic is sharp, then nothing is really sharp. sometimes it helps to sharpen specific portions only - typically the areas in focus, and this makes the entire pic appear even sharper, cos some areas are more in focus than others, in a similar way to how the eye sees - not everything is in focus with the natural eye - even when we look at a landscape we do not focus on everything at once - never, Our gaze is only centered on one part of the view at a time., and unless one is doing photos for certain kinds of commercials, good to have a realistic target for our sharpness intention.

I am confident all of the above has enough for you to consider and act upon with few constraints

5 Likes

Welcome aboard…lots to chew on in that post.

Harry Durgin did videos a number of years back on constructing custom base curves…
I think there is a tool for it as well no???