Exactly, that’s a very nice way to do this! I have to use ctrl-click to activate ‘Add’ mode, works also well for other shapes.
I need to try this. How low of an opacity are we taking here? Also how about feathering and blurring?
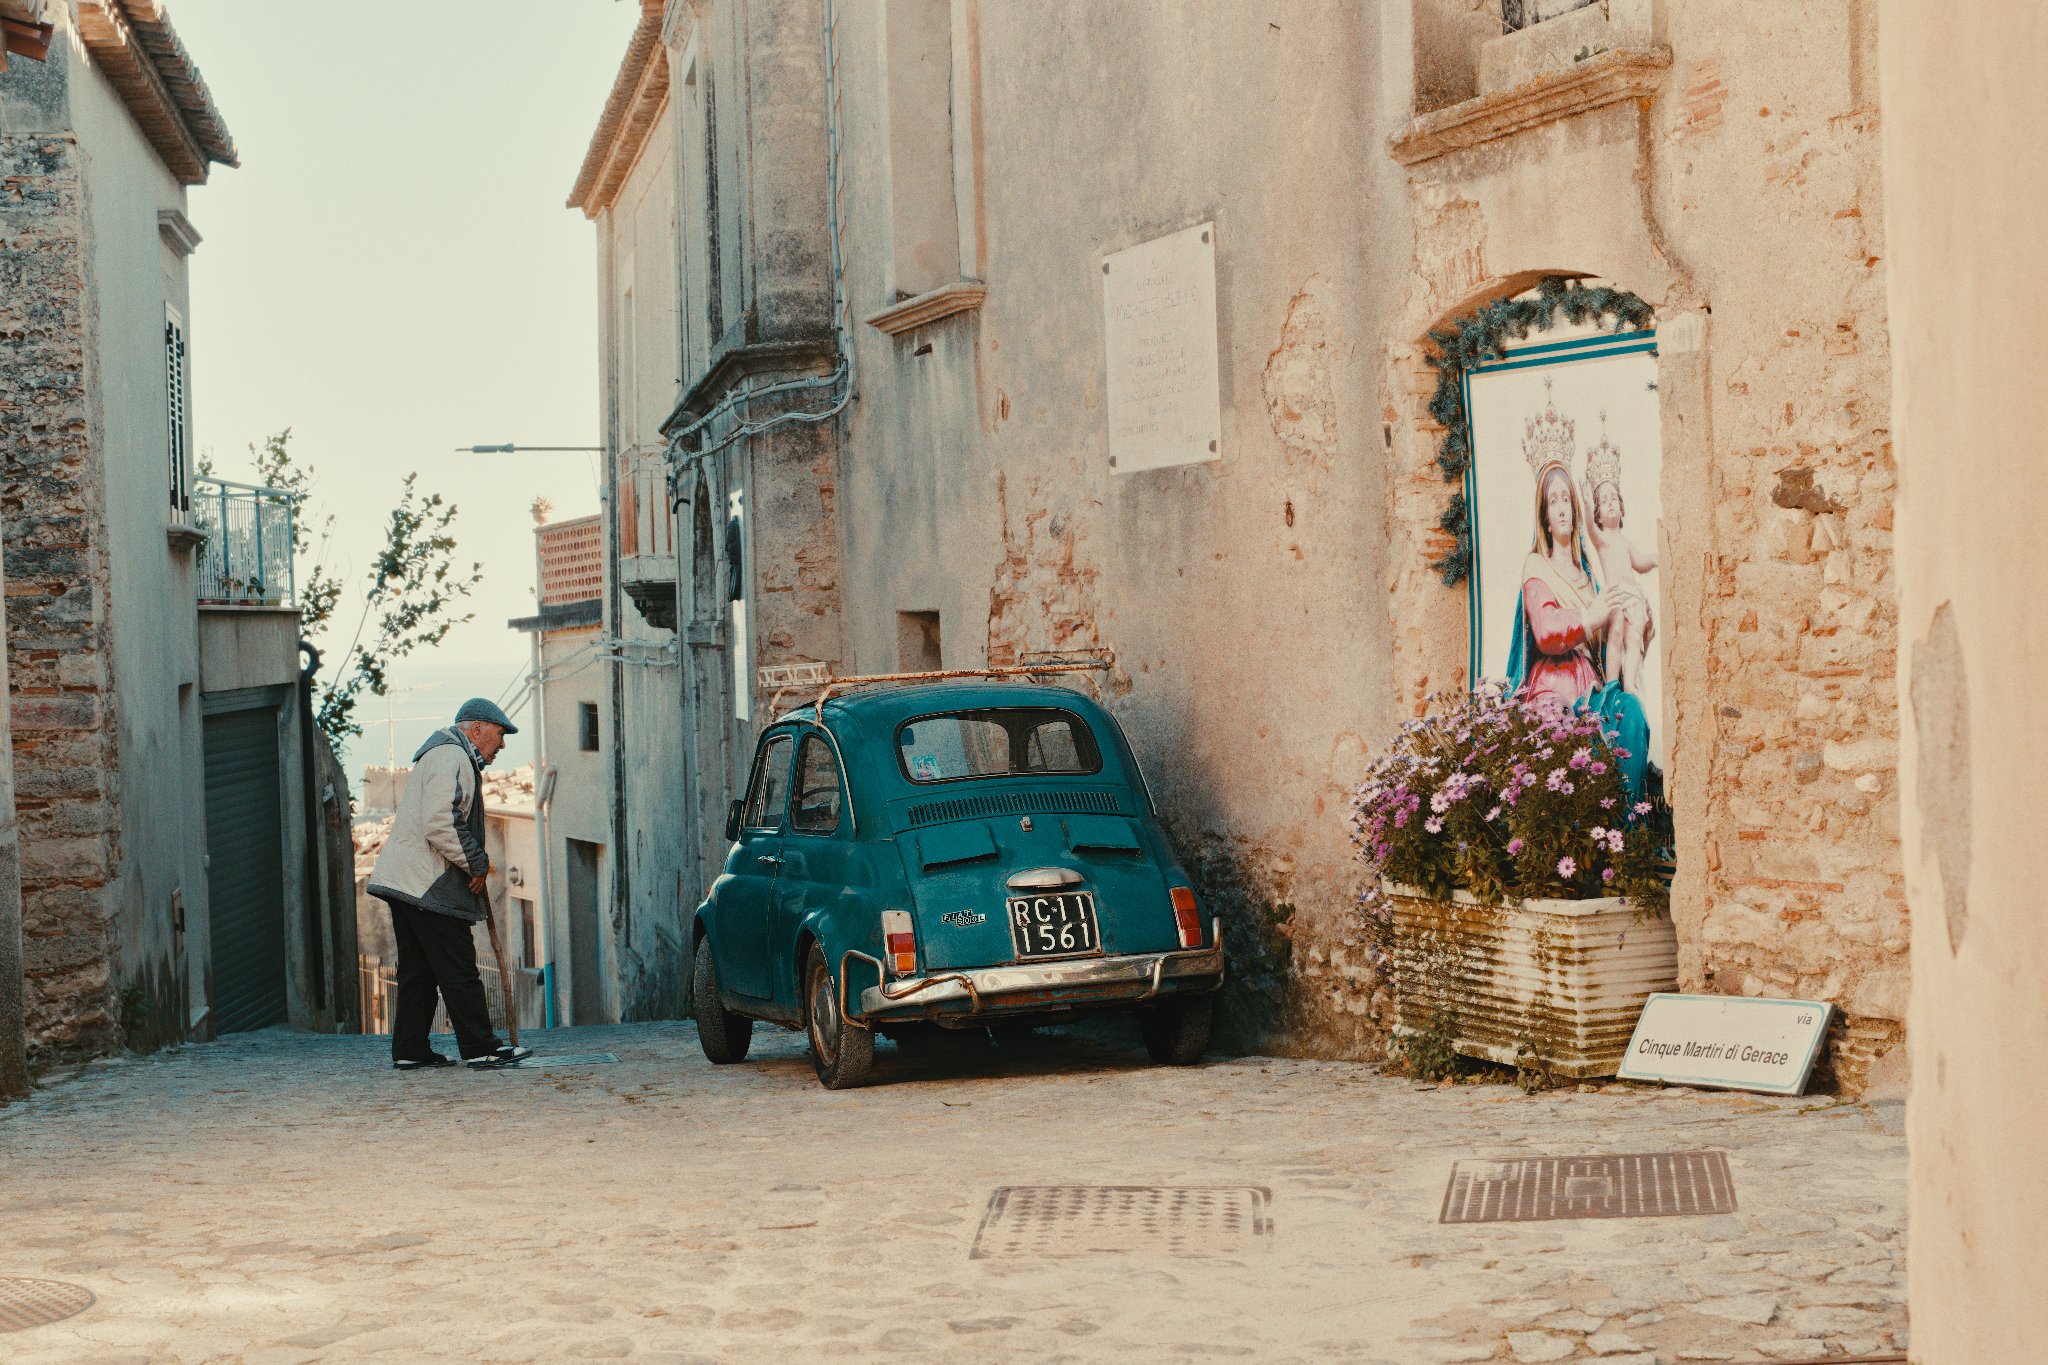
I went to see The Odyssey yesterday. So I had to try another filmsim.
7C_04669.arw.xmp (22.2 KB)
dt 4.6.1 no tonemapper export linear Rec2020 (exr), vkdt filmsim using portra 400 on portra endura, moderate halation, m .1196 y -0.3171.
And yes, I know it doesn’t look like the movie. 
2 Likes
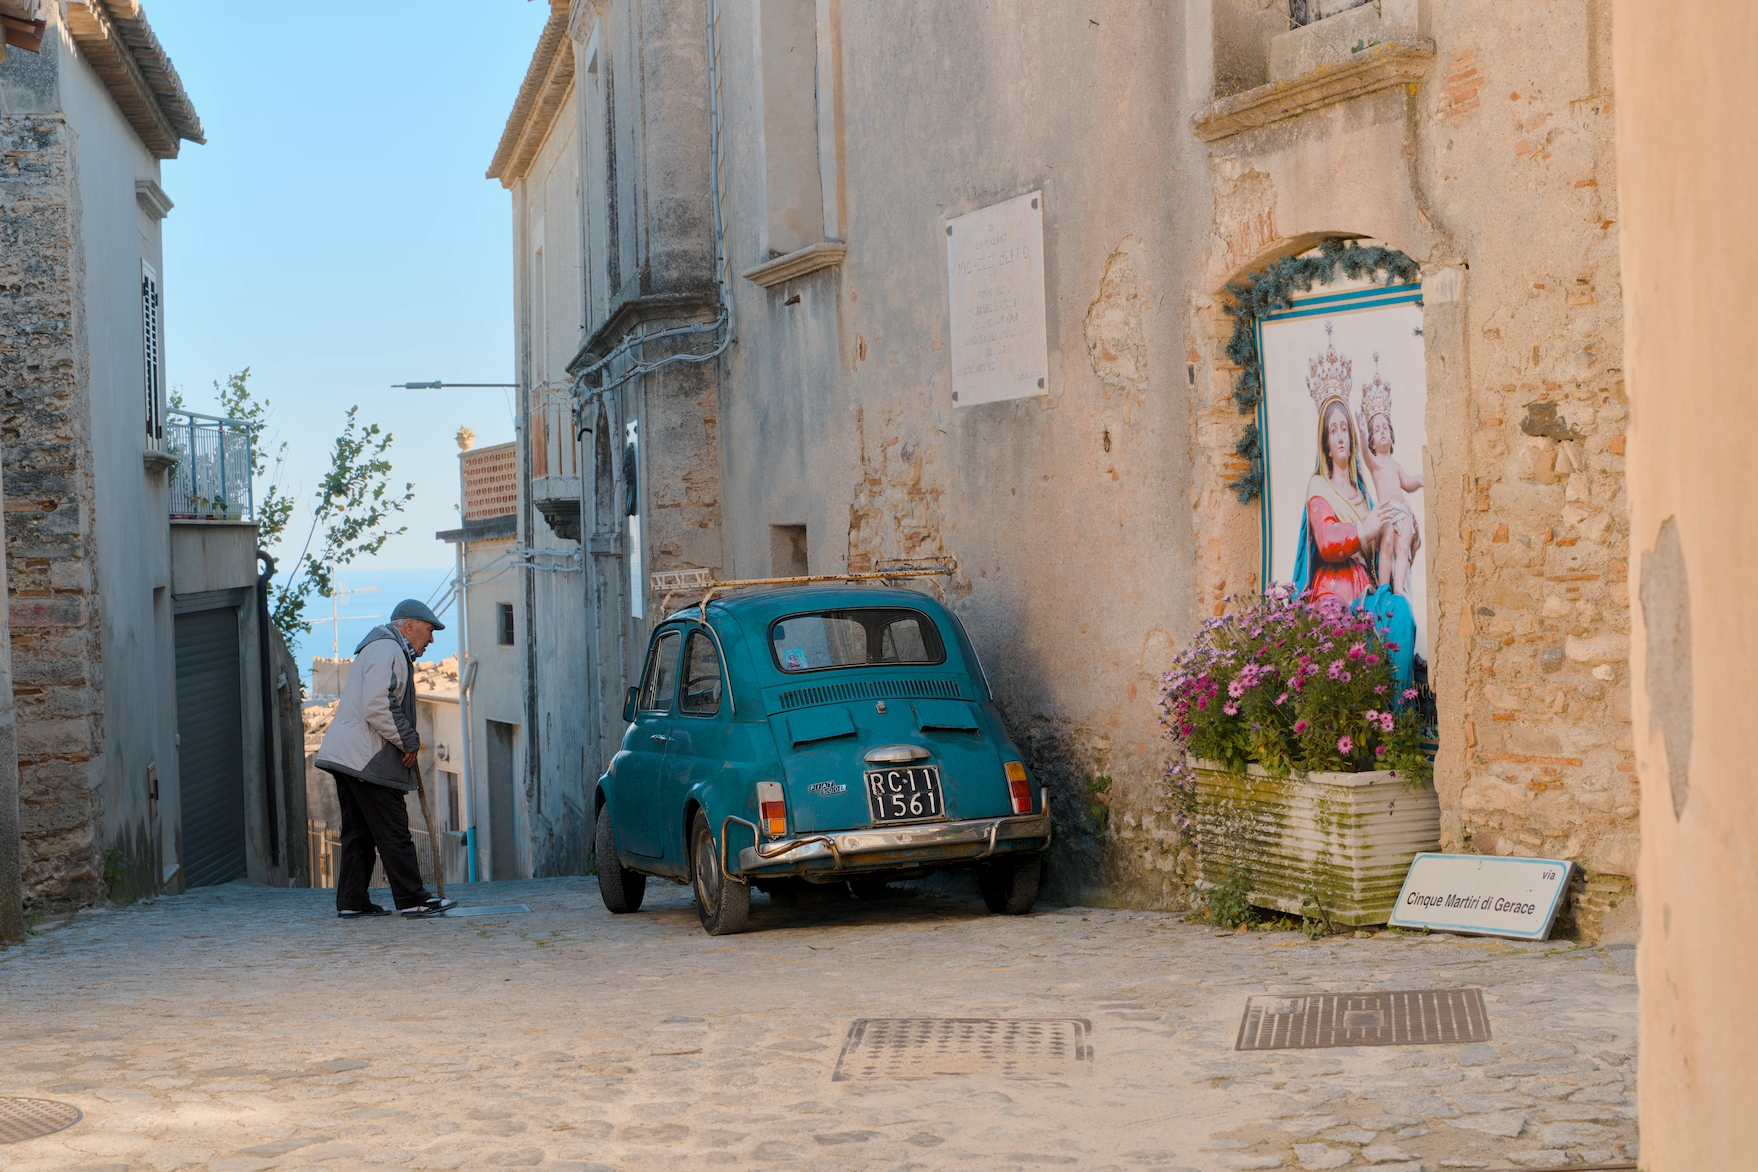
Makes sense, Ulysses never drove una Cinquecento.
2 Likes
5 Likes
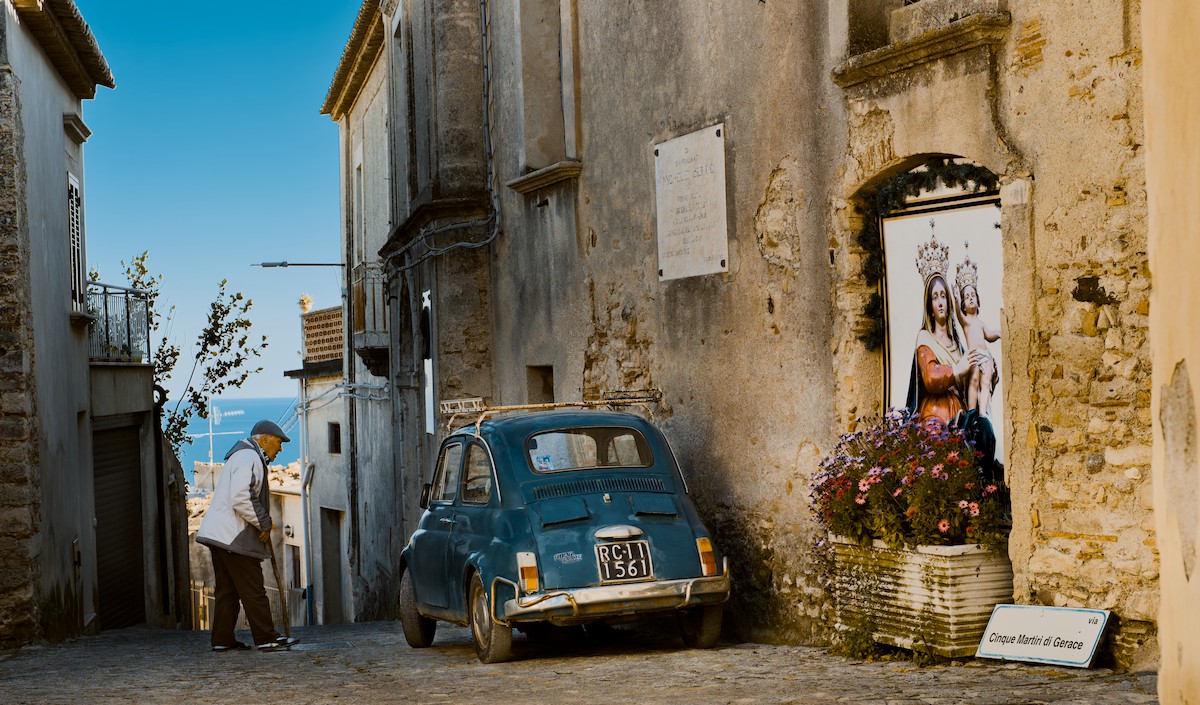
Wishing you a quick recovery. My original edit did use dodge and burn by using various masks on the sky and shadow. But here is a further edit using AI generated mask on man to brighten him and then AI generated mask of his face for further brightening. So in my view dodge and burn.
7C_04669.ARW.xmp (62.5 KB)
5 Likes
4 Likes
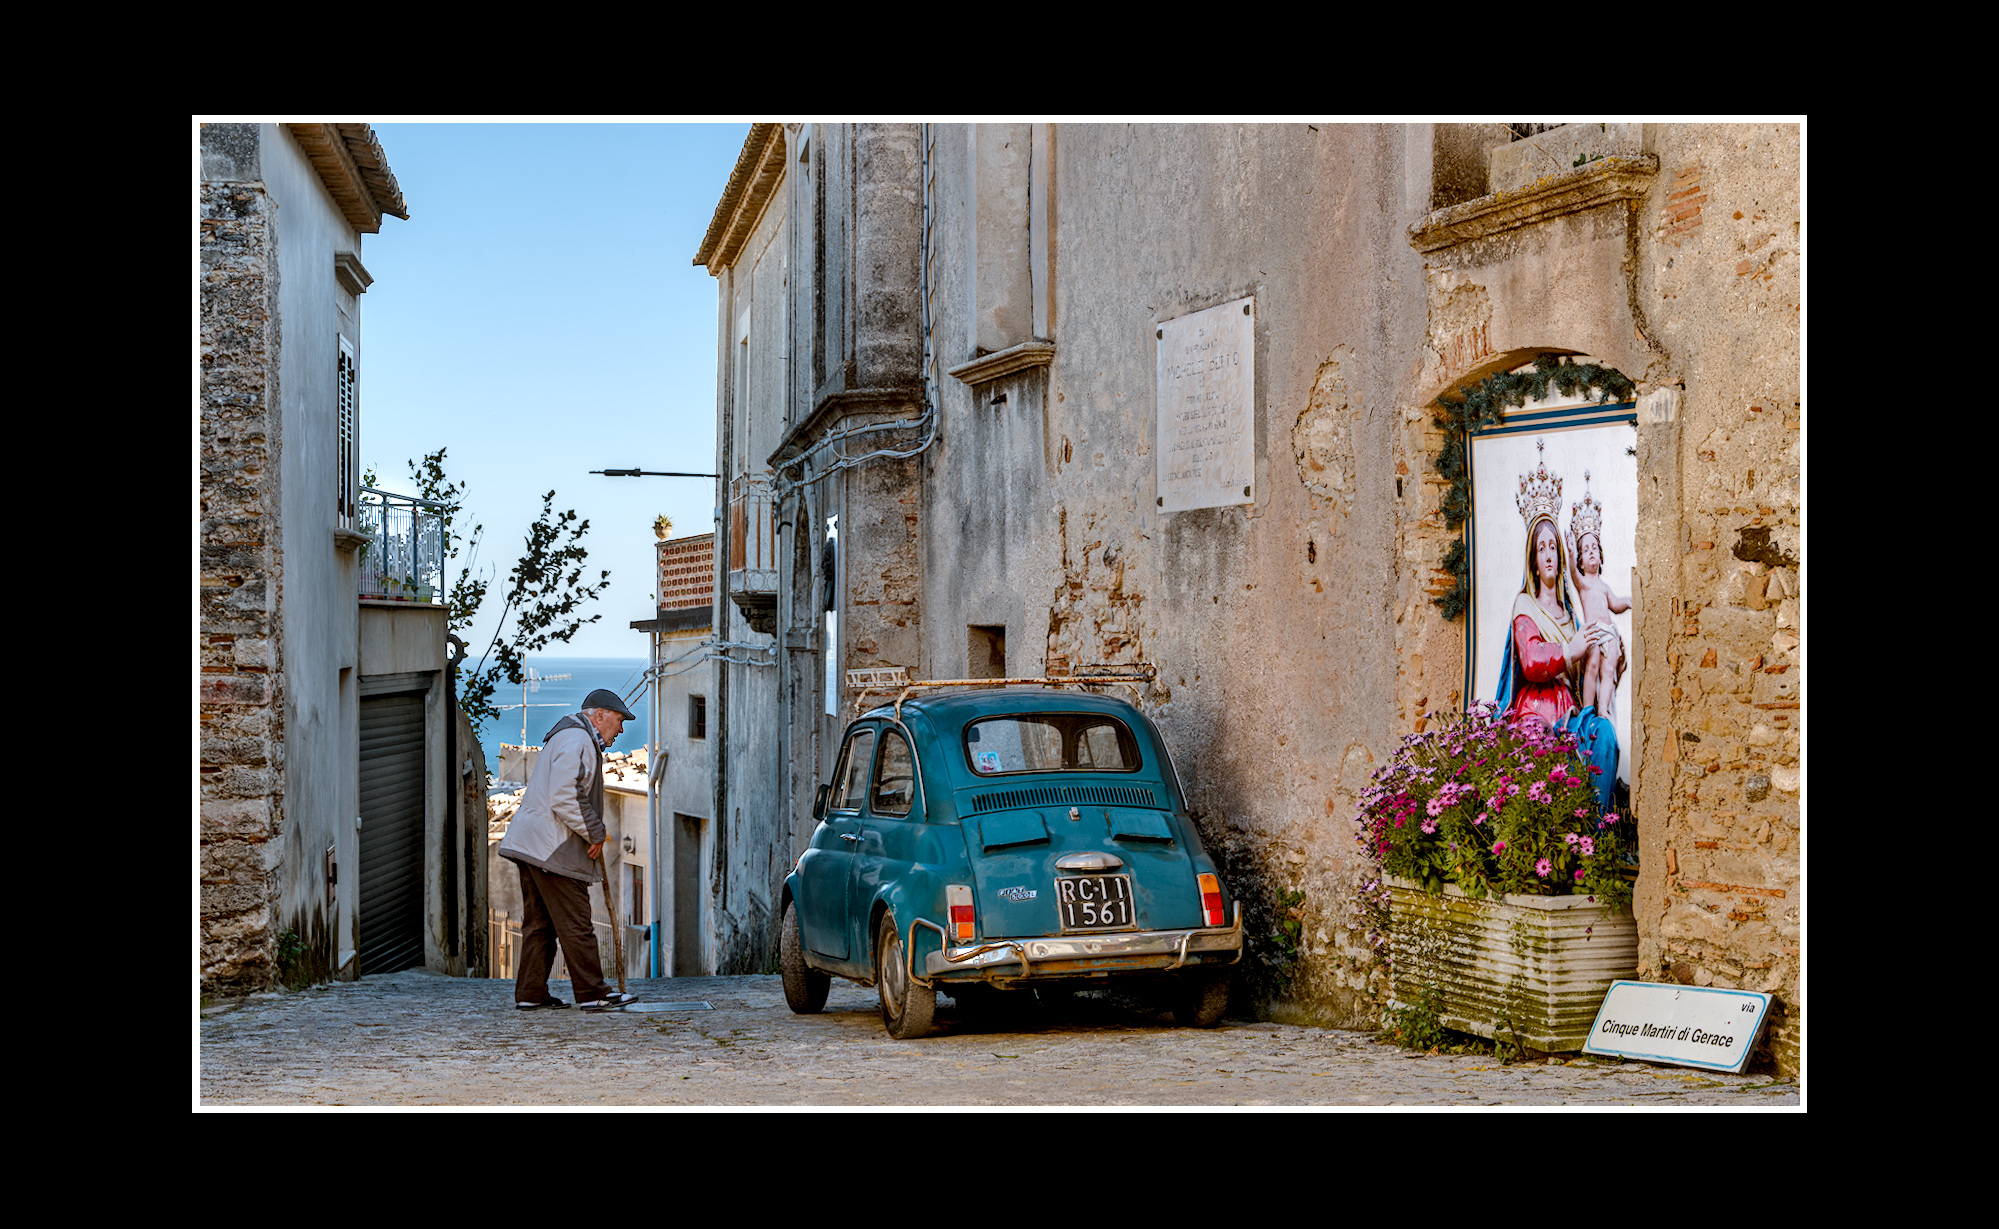
Nice shot. I opened in RT did a little there but most of the editing in gimp. The sky went completely white in my edit so I cheated and put a ‘just before sunset’ gradient there that I made from one of my photos
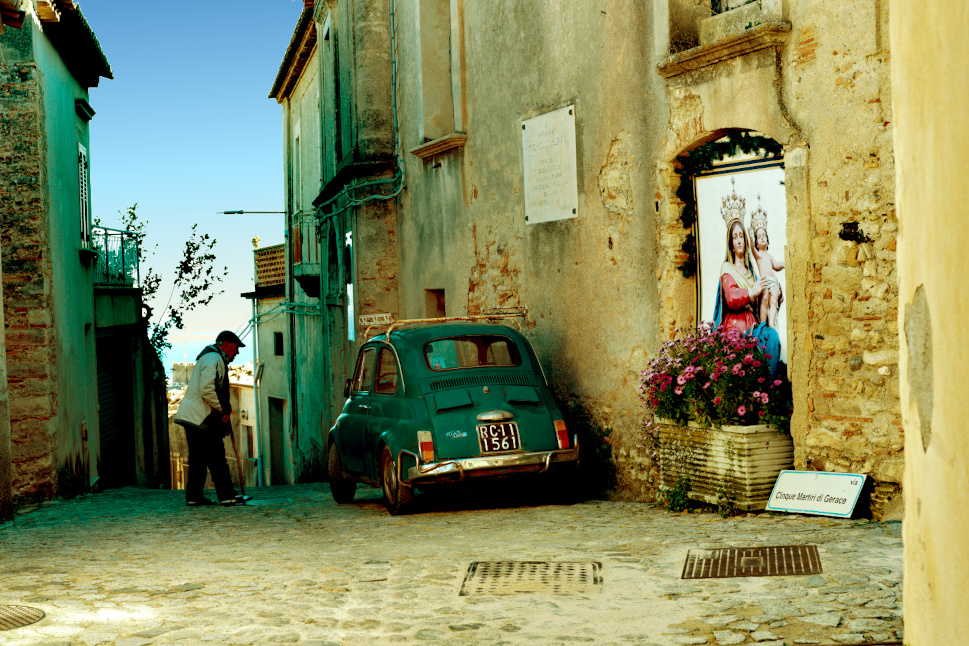
Not quite sure what you had trouble with, here’s the textbook darktable edit with colour grading adjusted to taste:
- Set the
exposureto expose for the middle grey (autopicker works fine here) - Set the
color calibrationso the illuminant is white (camera AWB worked fine here) - Enable default
AgX, set white/black point with an autopicker, adjust contrast to taste, set target exposure with the “pivot relative exposure” slider - Use
tone equalizerto contain the dynamic range - Use
color balance rgbto add the desired target “temperature” of the photo, here - warm golden hour with warm midtones and highlights, and blue shadows - Use
color balance rgbto re-saturate the highlights in case you don’t likeAgXdesaturating them too much (likely a better way to do this mathematically inAgXbut this one is the easiest)
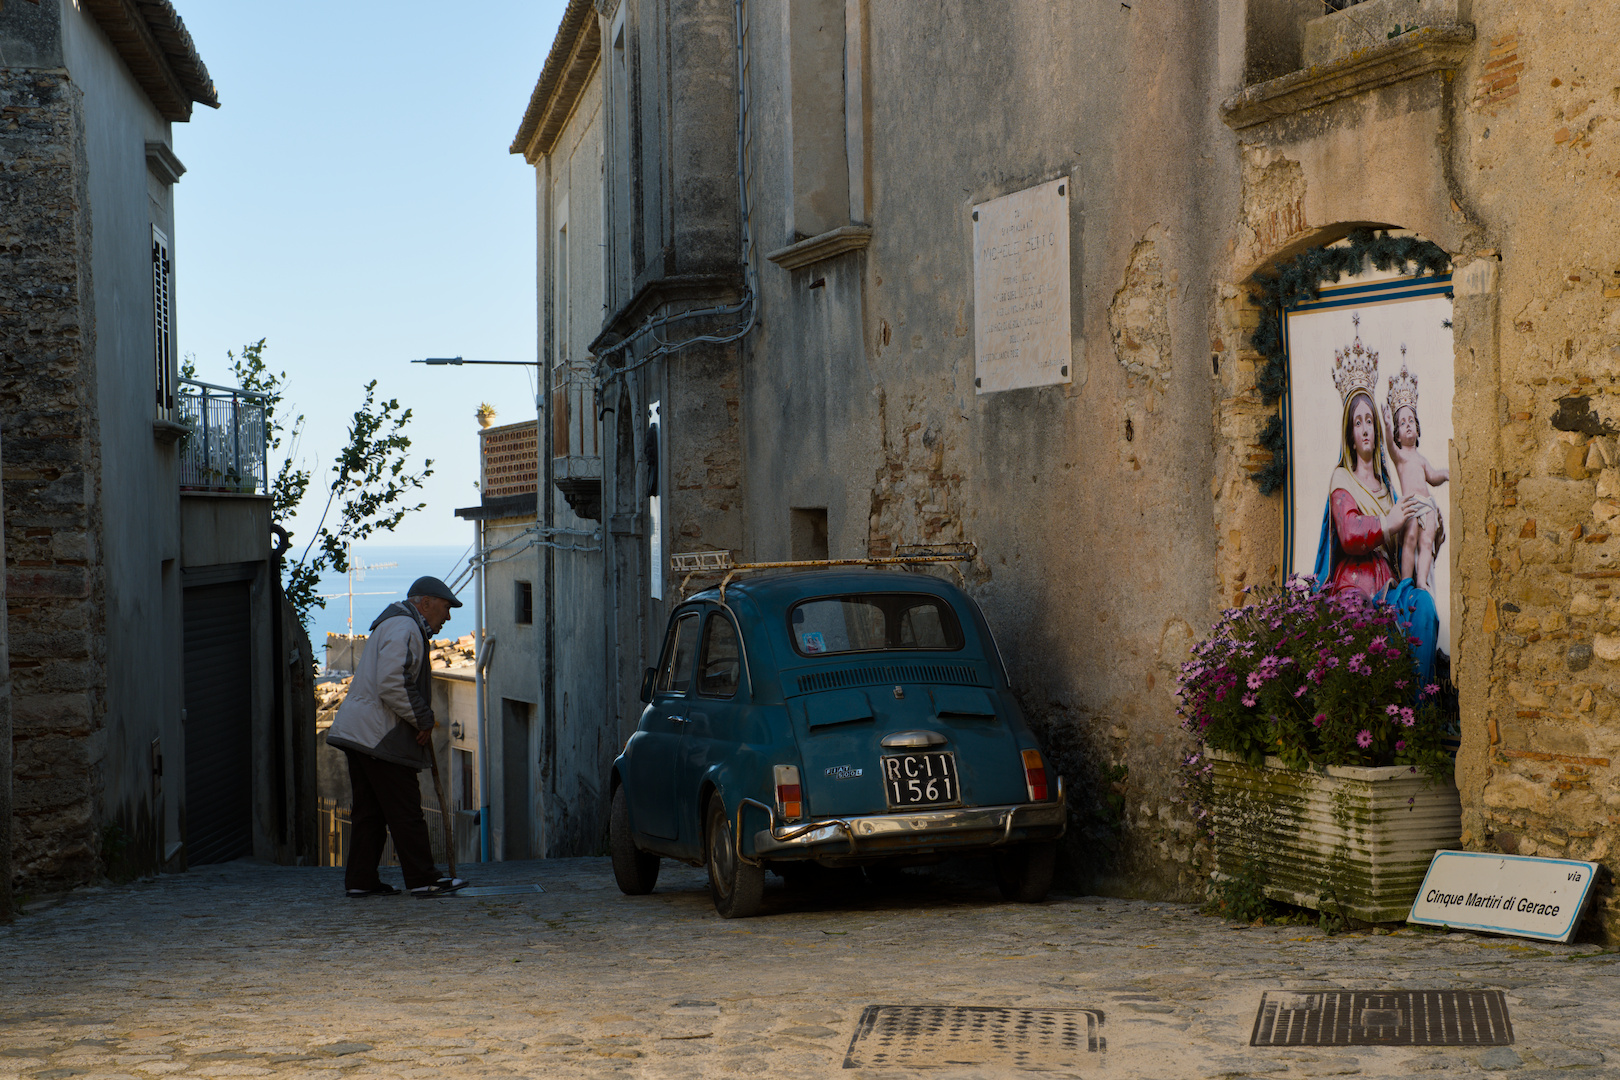
7C_04669.ARW.xmp (17.4 KB)
Obviously all of this is adjusted to taste, but the edit takes less than 2 minutes
2 Likes
Hi Dave
I start quite low opacity and at a high viewing percentage. I hadn’t seen the need for feathering as most of the time I’m using dodge in the background.
I also found that dodging is a great way of bringing stuff out of the shadows and ignoring other stuff in the shadows. It is quite addictive now I know how to use the brush this way.
This is one of Sergio videos. its not DT and he can be a bit over the top but I like the effects he gets, especially on the street lights https://youtu.be/Awc4zdBAKSY?is=Kg5w-1ARoJ5-xonc
3 Likes
I often use just 5% opacity, feathering around double size of core but I do not think it to be very sensitive at such a low opacity. Blurring is what you automagically get when using a brush this way.
1 Like
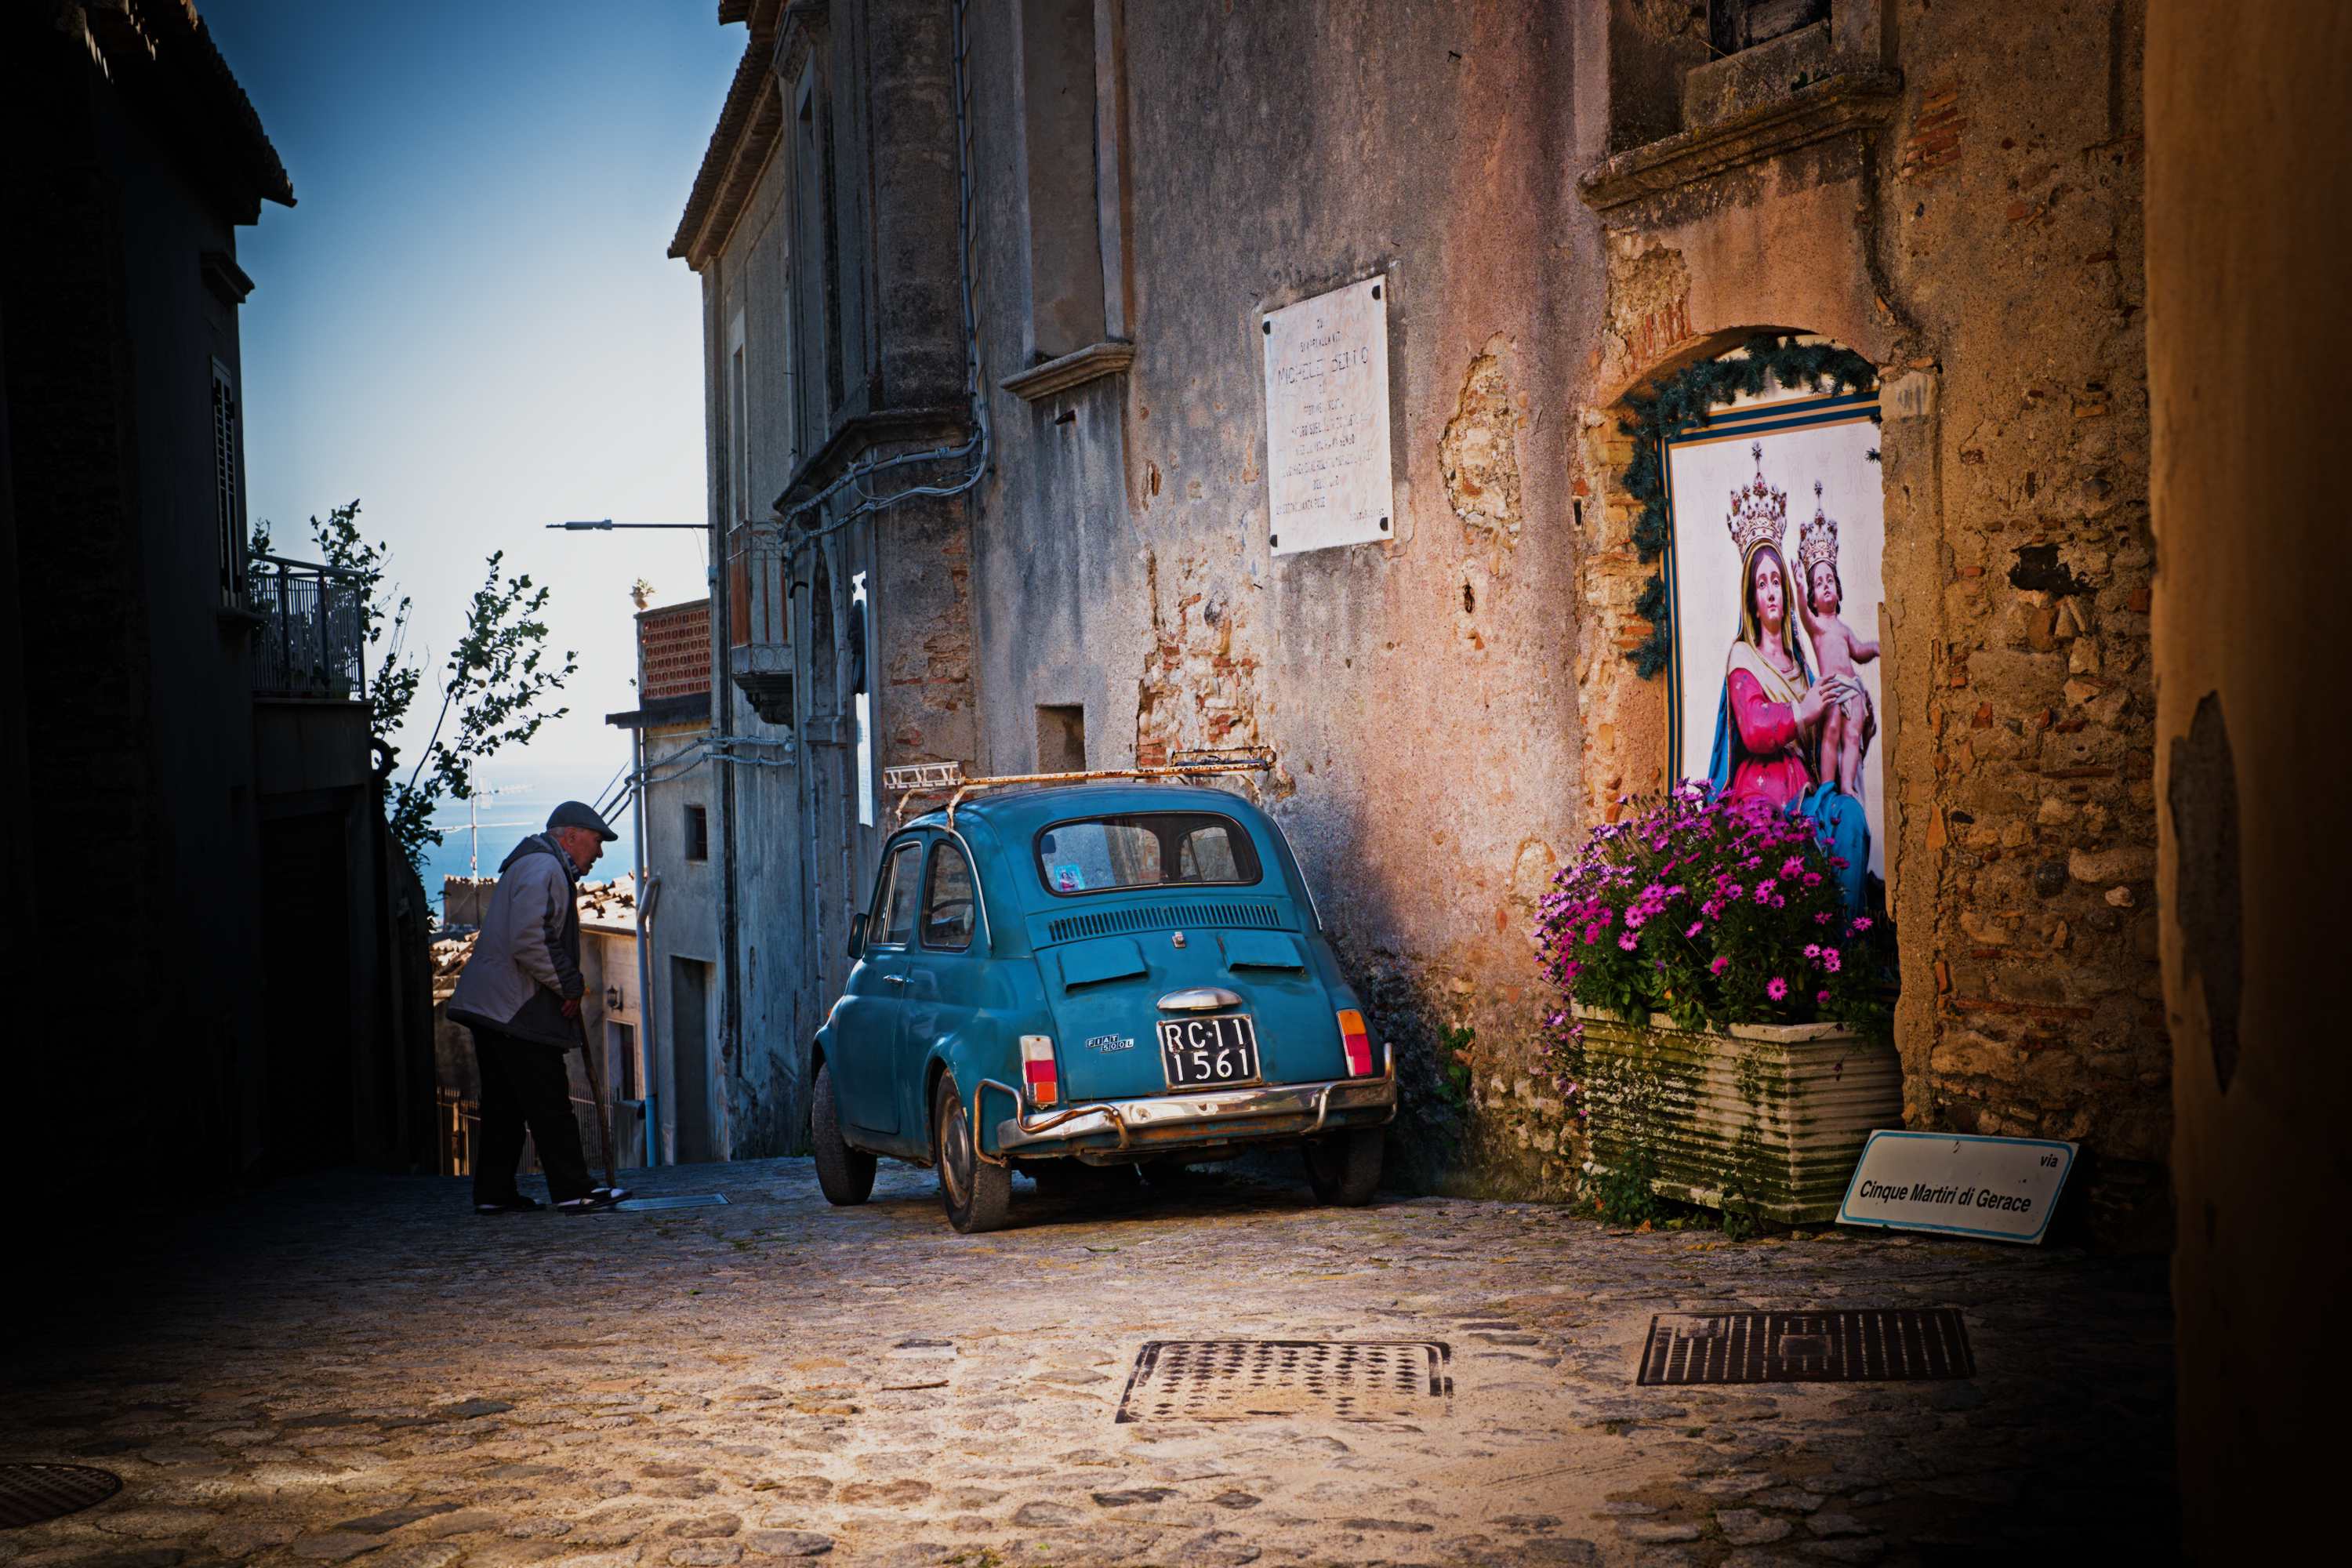
7C_04669.ARW.xmp (43.4 KB)
The lighting on this scene just makes it hard to get an image that looks punchy but natural. In other words, the main subjects are in shadow, while the distracting parts are bright. Not a criticism at all, but this kind of image needs a firm direction.
I went a little overboard, but this is the kind of vibe it suggested to me.
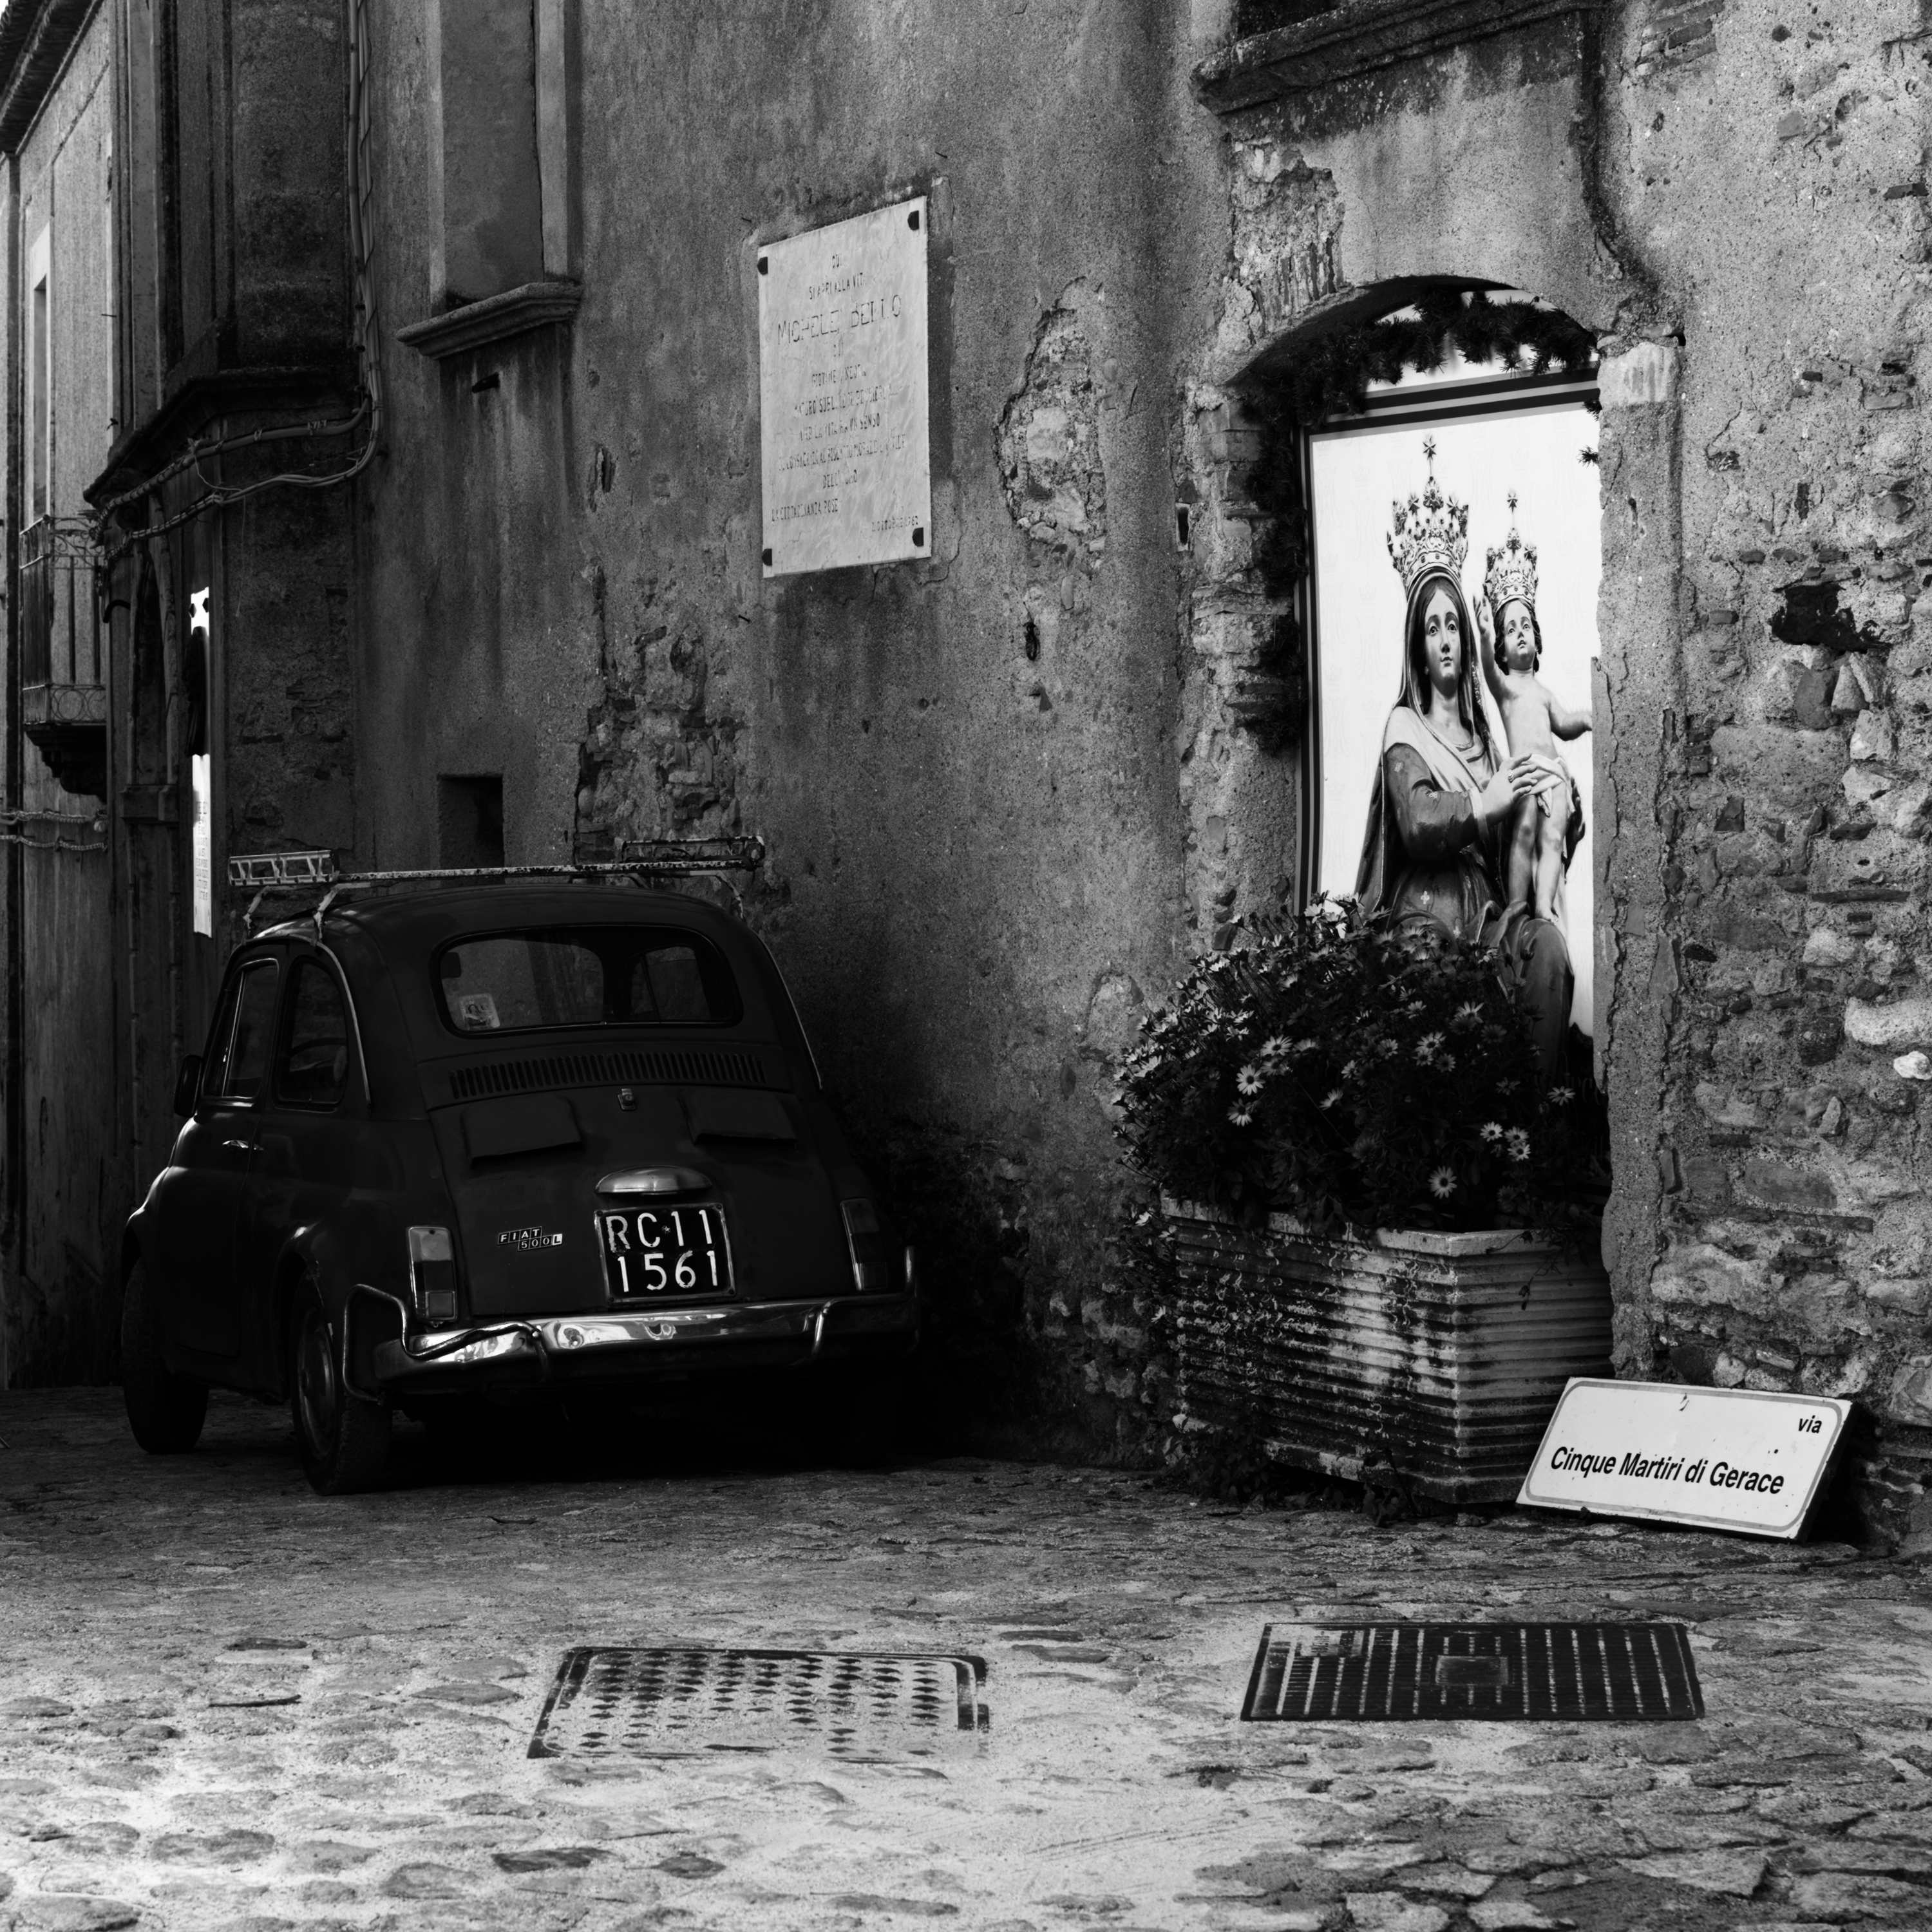
Edit: another version 
7C_04669_01.ARW.xmp (10.2 KB)
10 Likes
@123sg I like the unique approach to your edits here. Nothing wrong with deep shadows.
3 Likes
Thanks Terry 
On the BW version I kind of shifted the focus to the mural, and liked the way the little Fiat is a kind of teaser in the shadows.
Btw, the colour version is another example of my use of extreme contrast values in AgX - 7 here I think.
1 Like
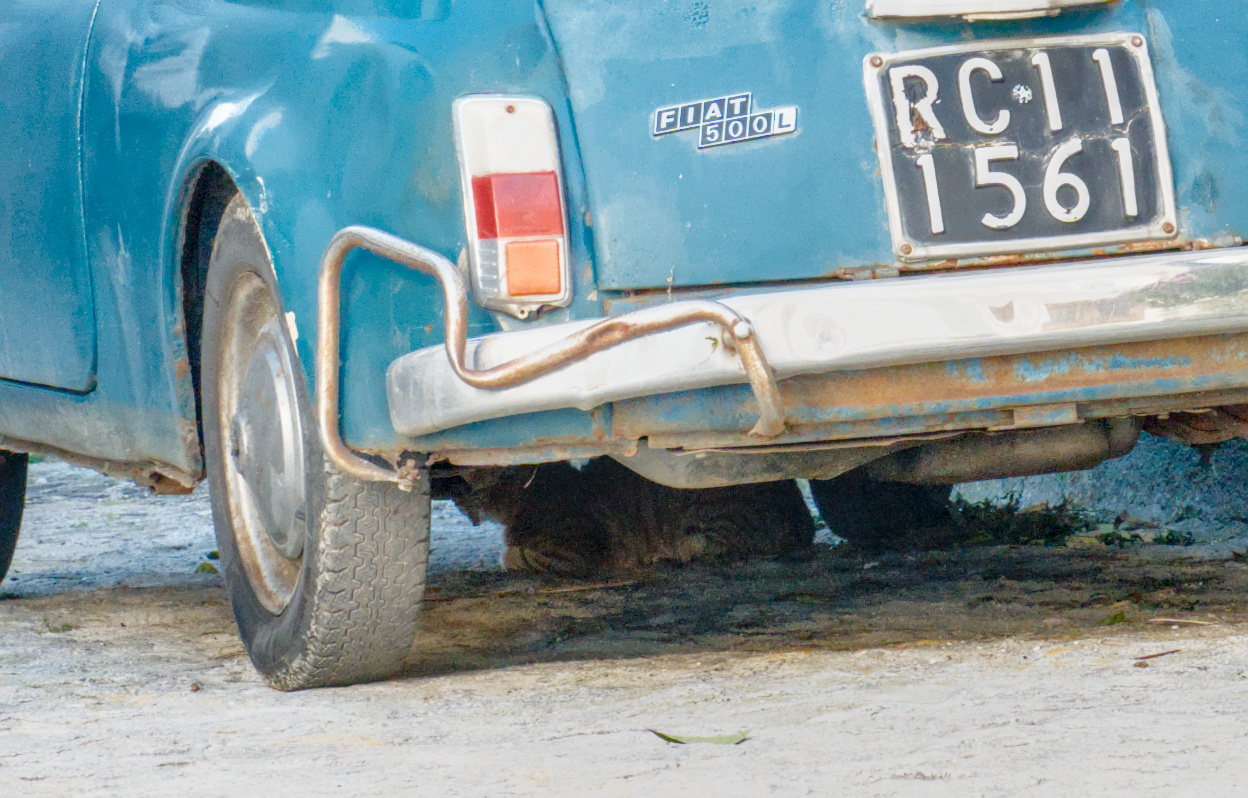
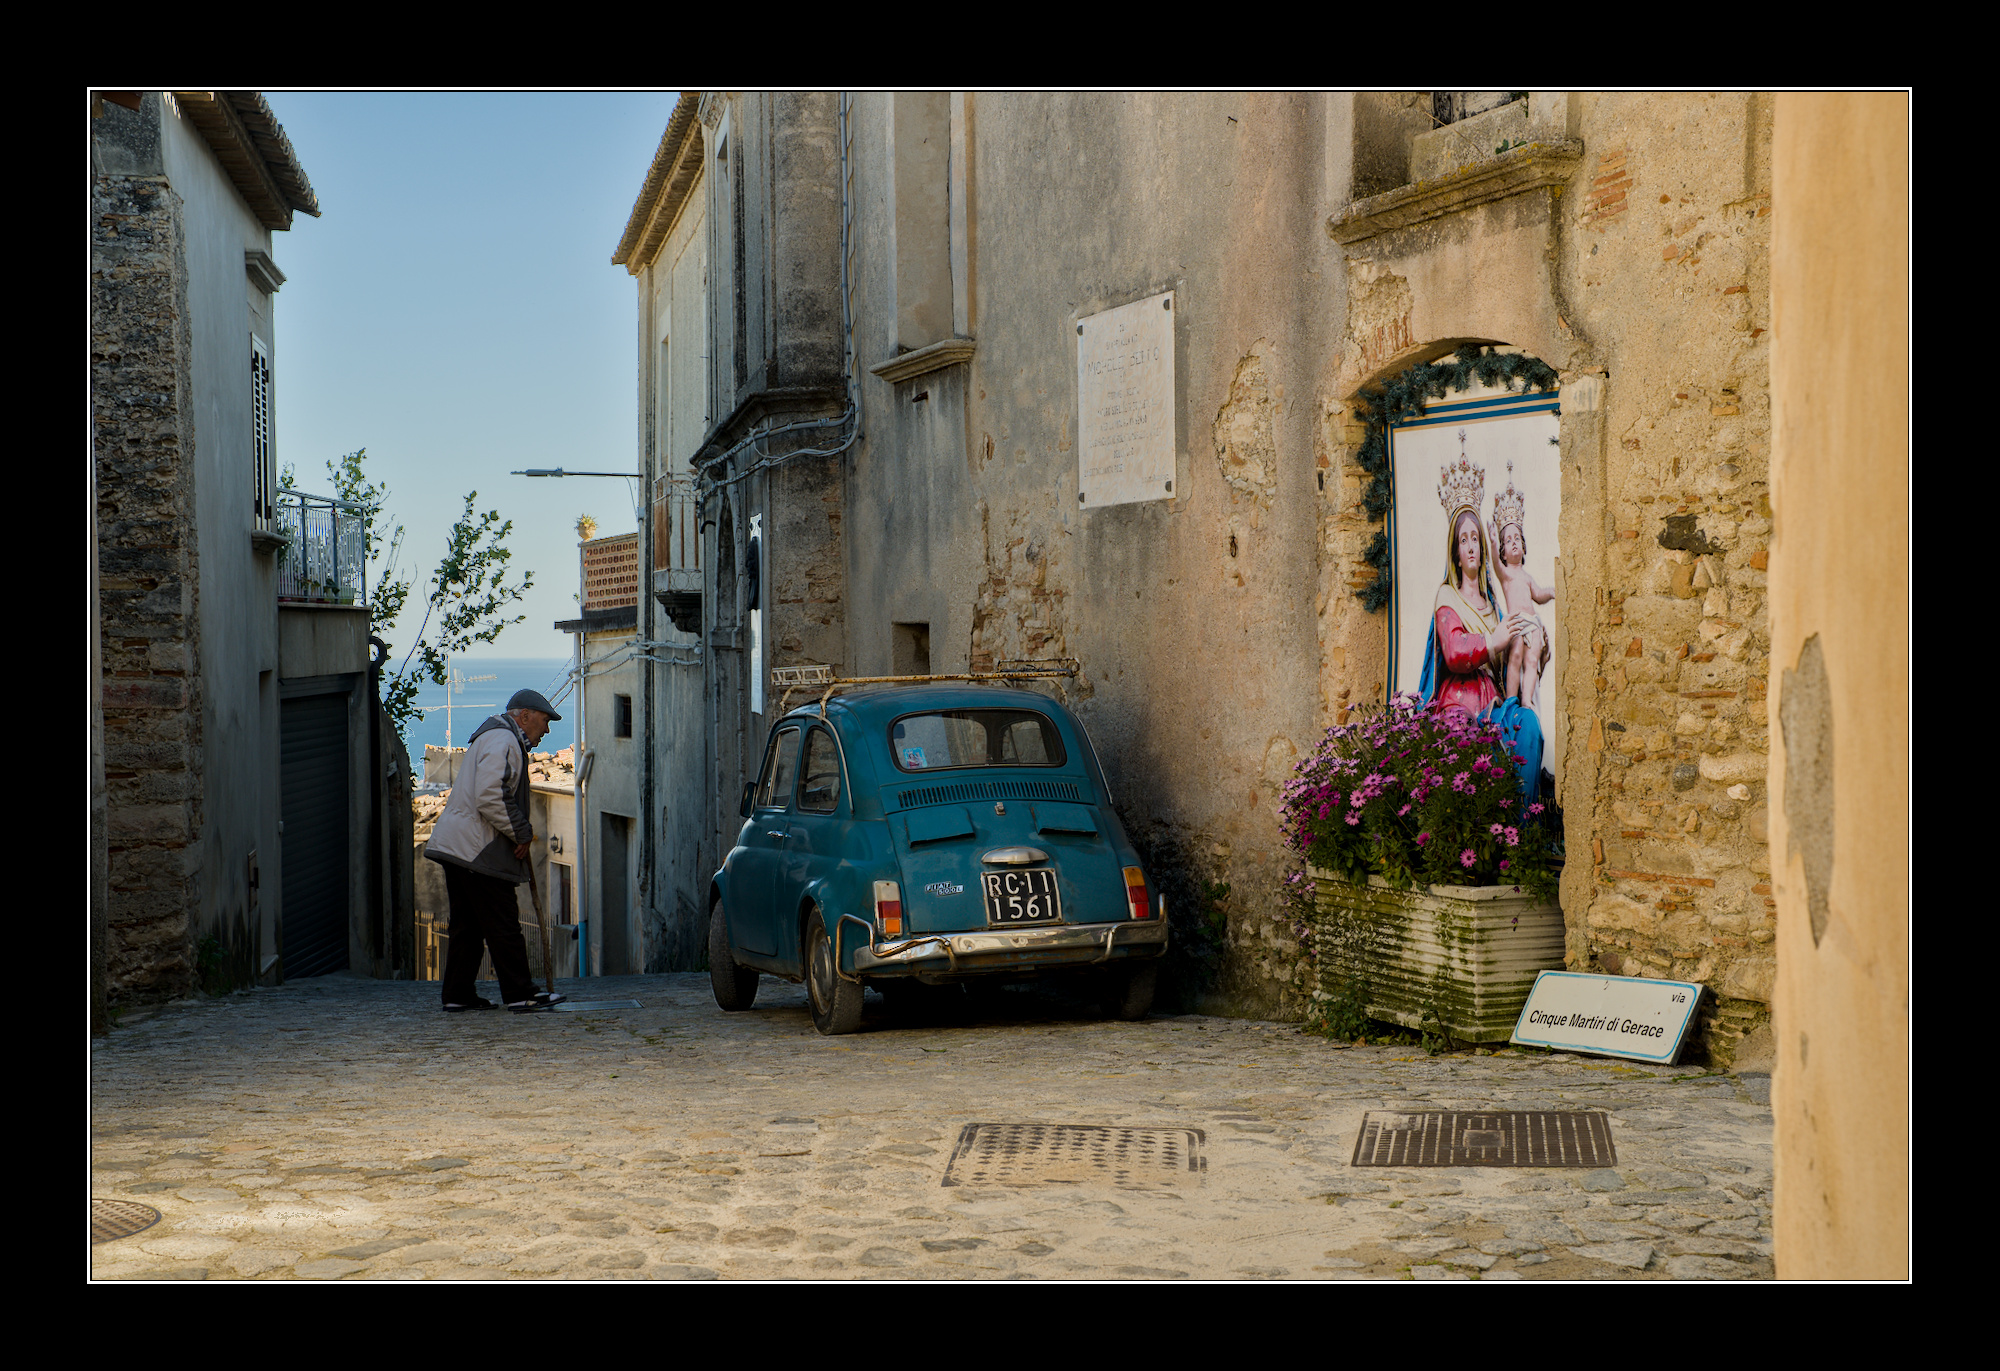
4 Likes
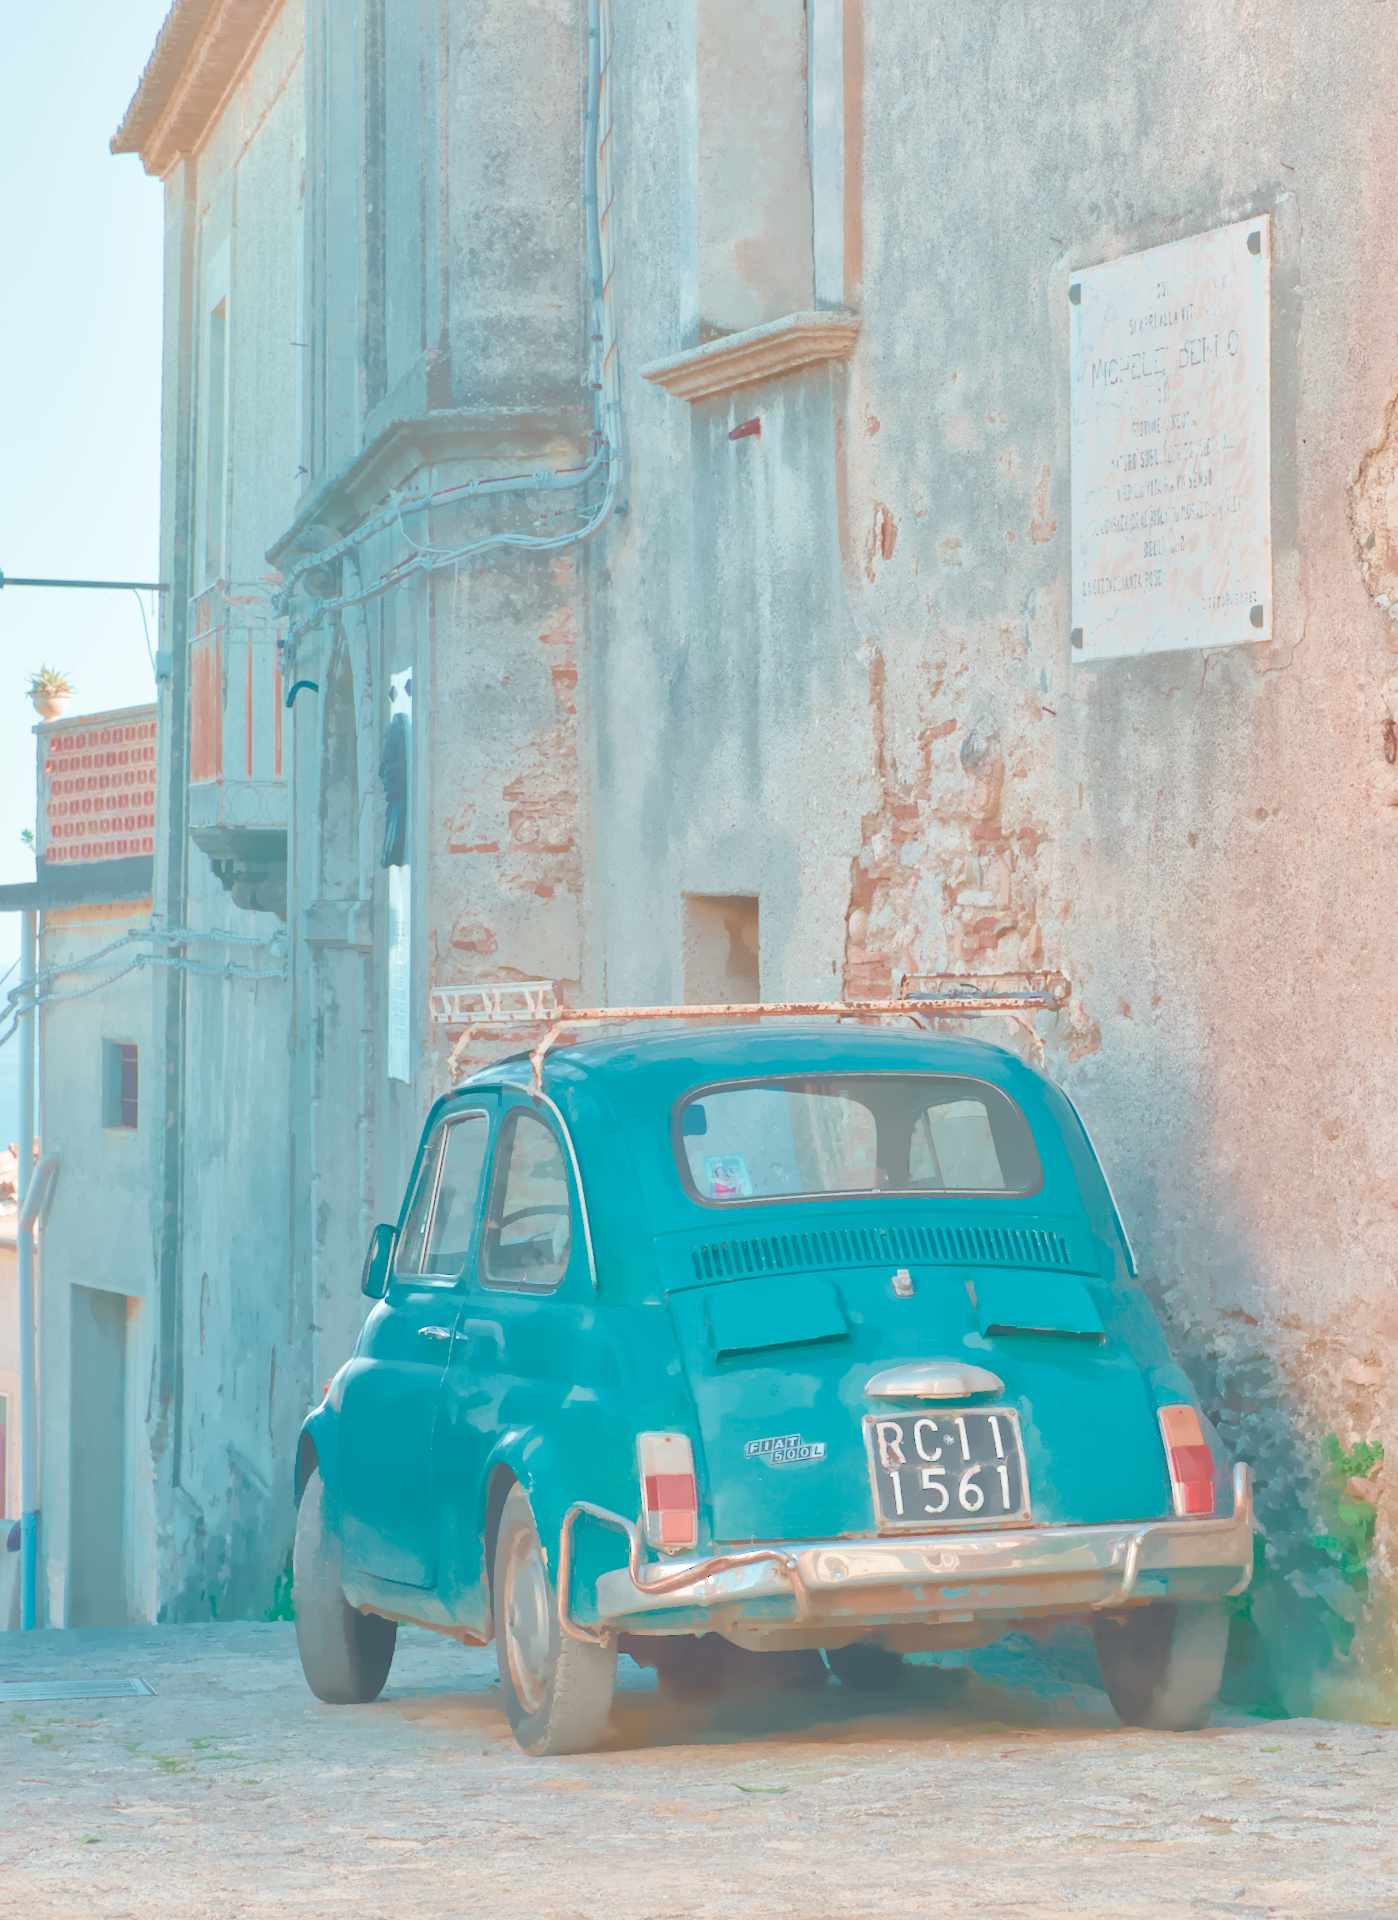
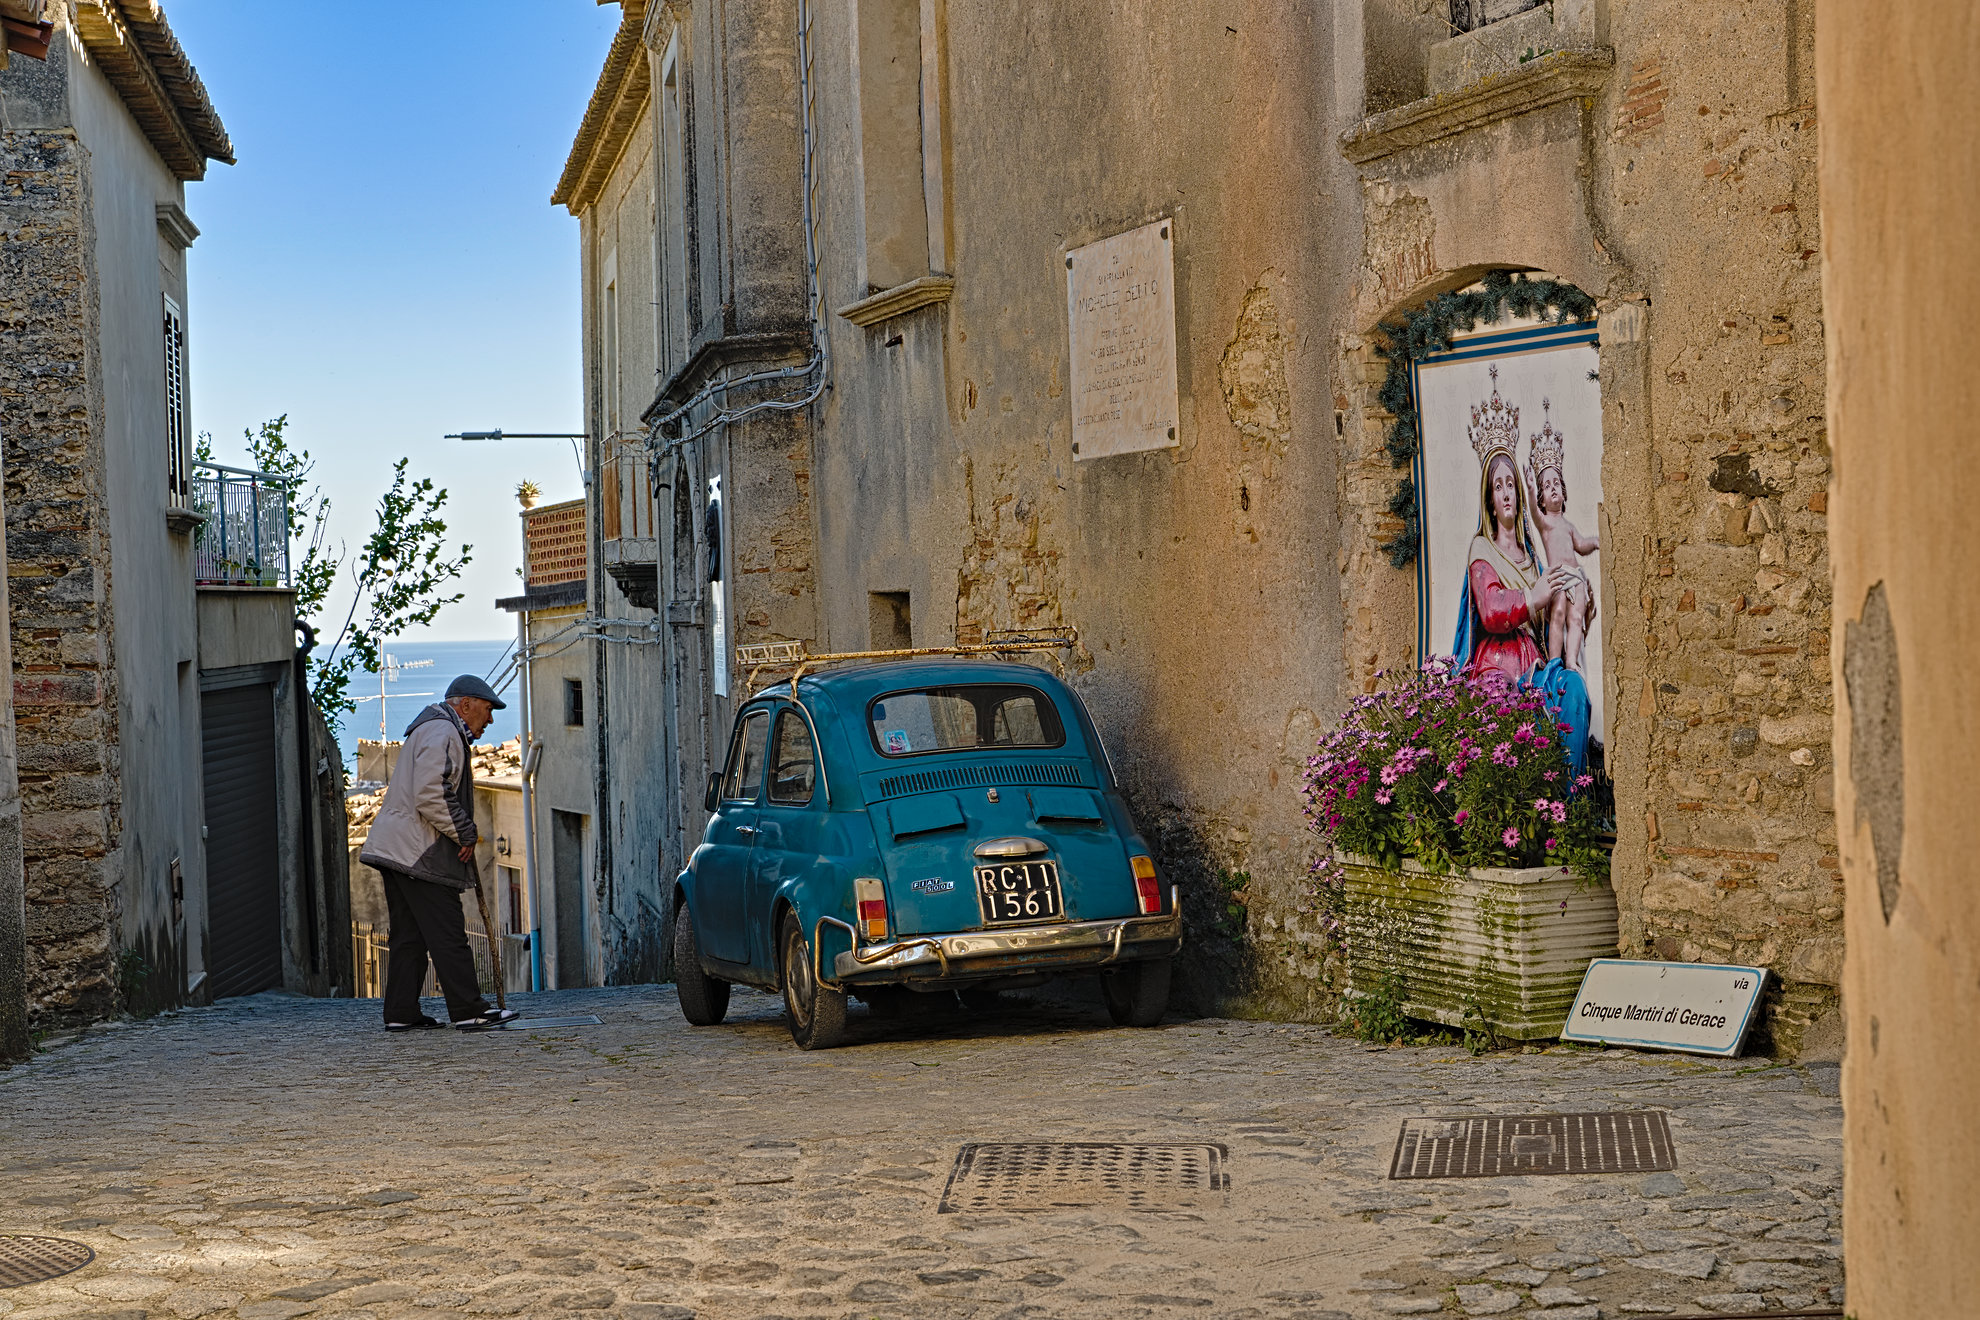
3 Likes
Can’t unsee!
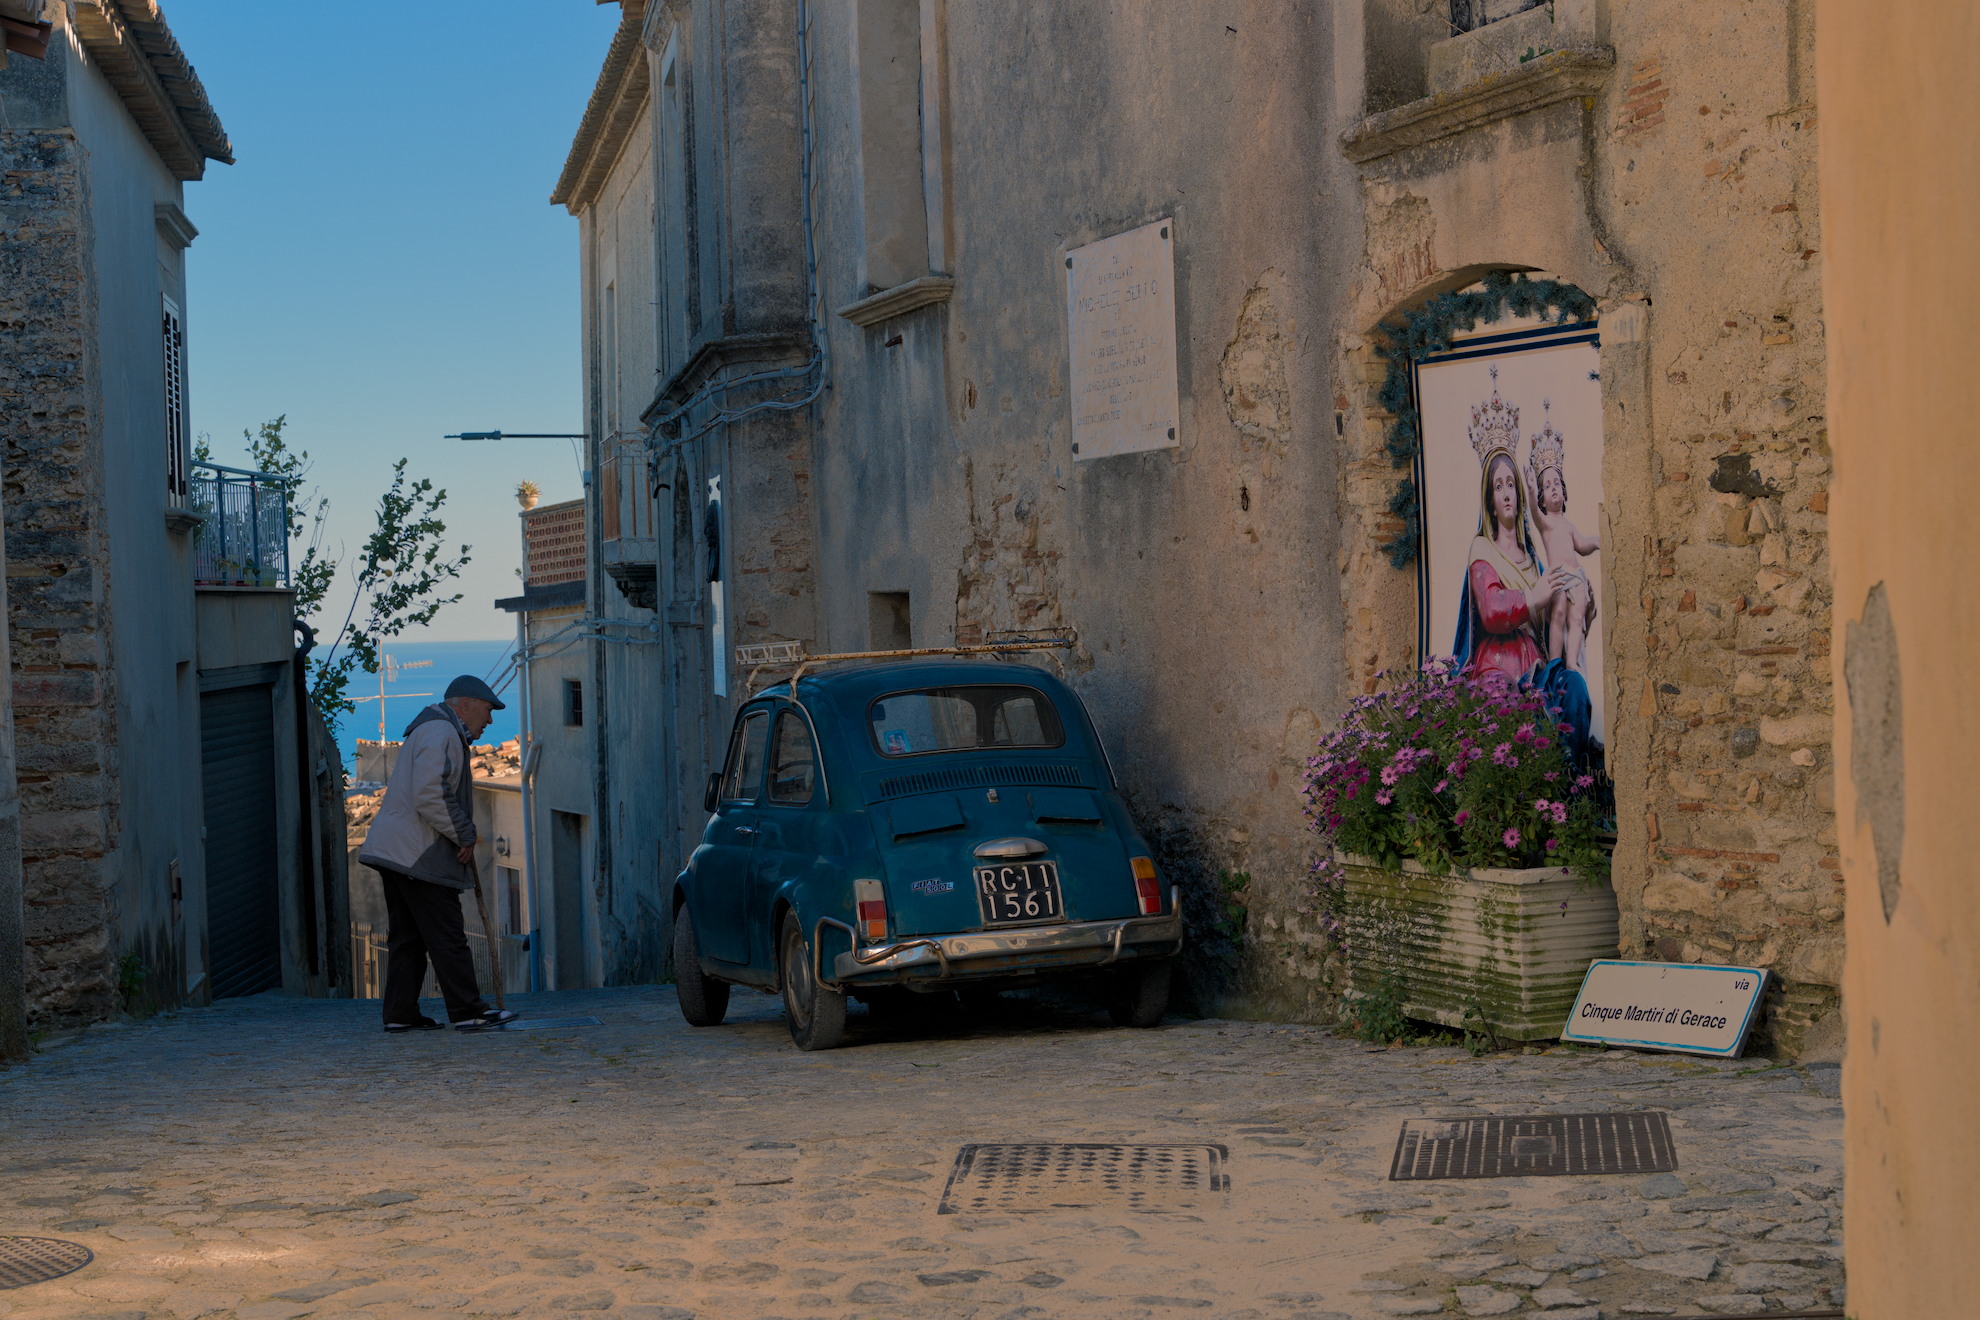
My attempt above resulted in washed-out highlights. That reminded me of scenes in the film “The Odyssey.” But for this image, that is not what the eye would perceive. Here, the sea would be seen as a deep blue, I think.
But I don’t think that high-compression of dynamic range, to preserve saturation across the range, is natural either. So here is an attempt at an hdr rendering using HDR Finisher (after dt). I started with the same dt edit.
Export is to AVIF with gain map, which has one look for sdr displays and another for hdr displays. My motivation here is to view this in hdr. Thanks to @oldtrainwrecks for a cool app.
2 Likes