My version…
4 Likes
1 Like
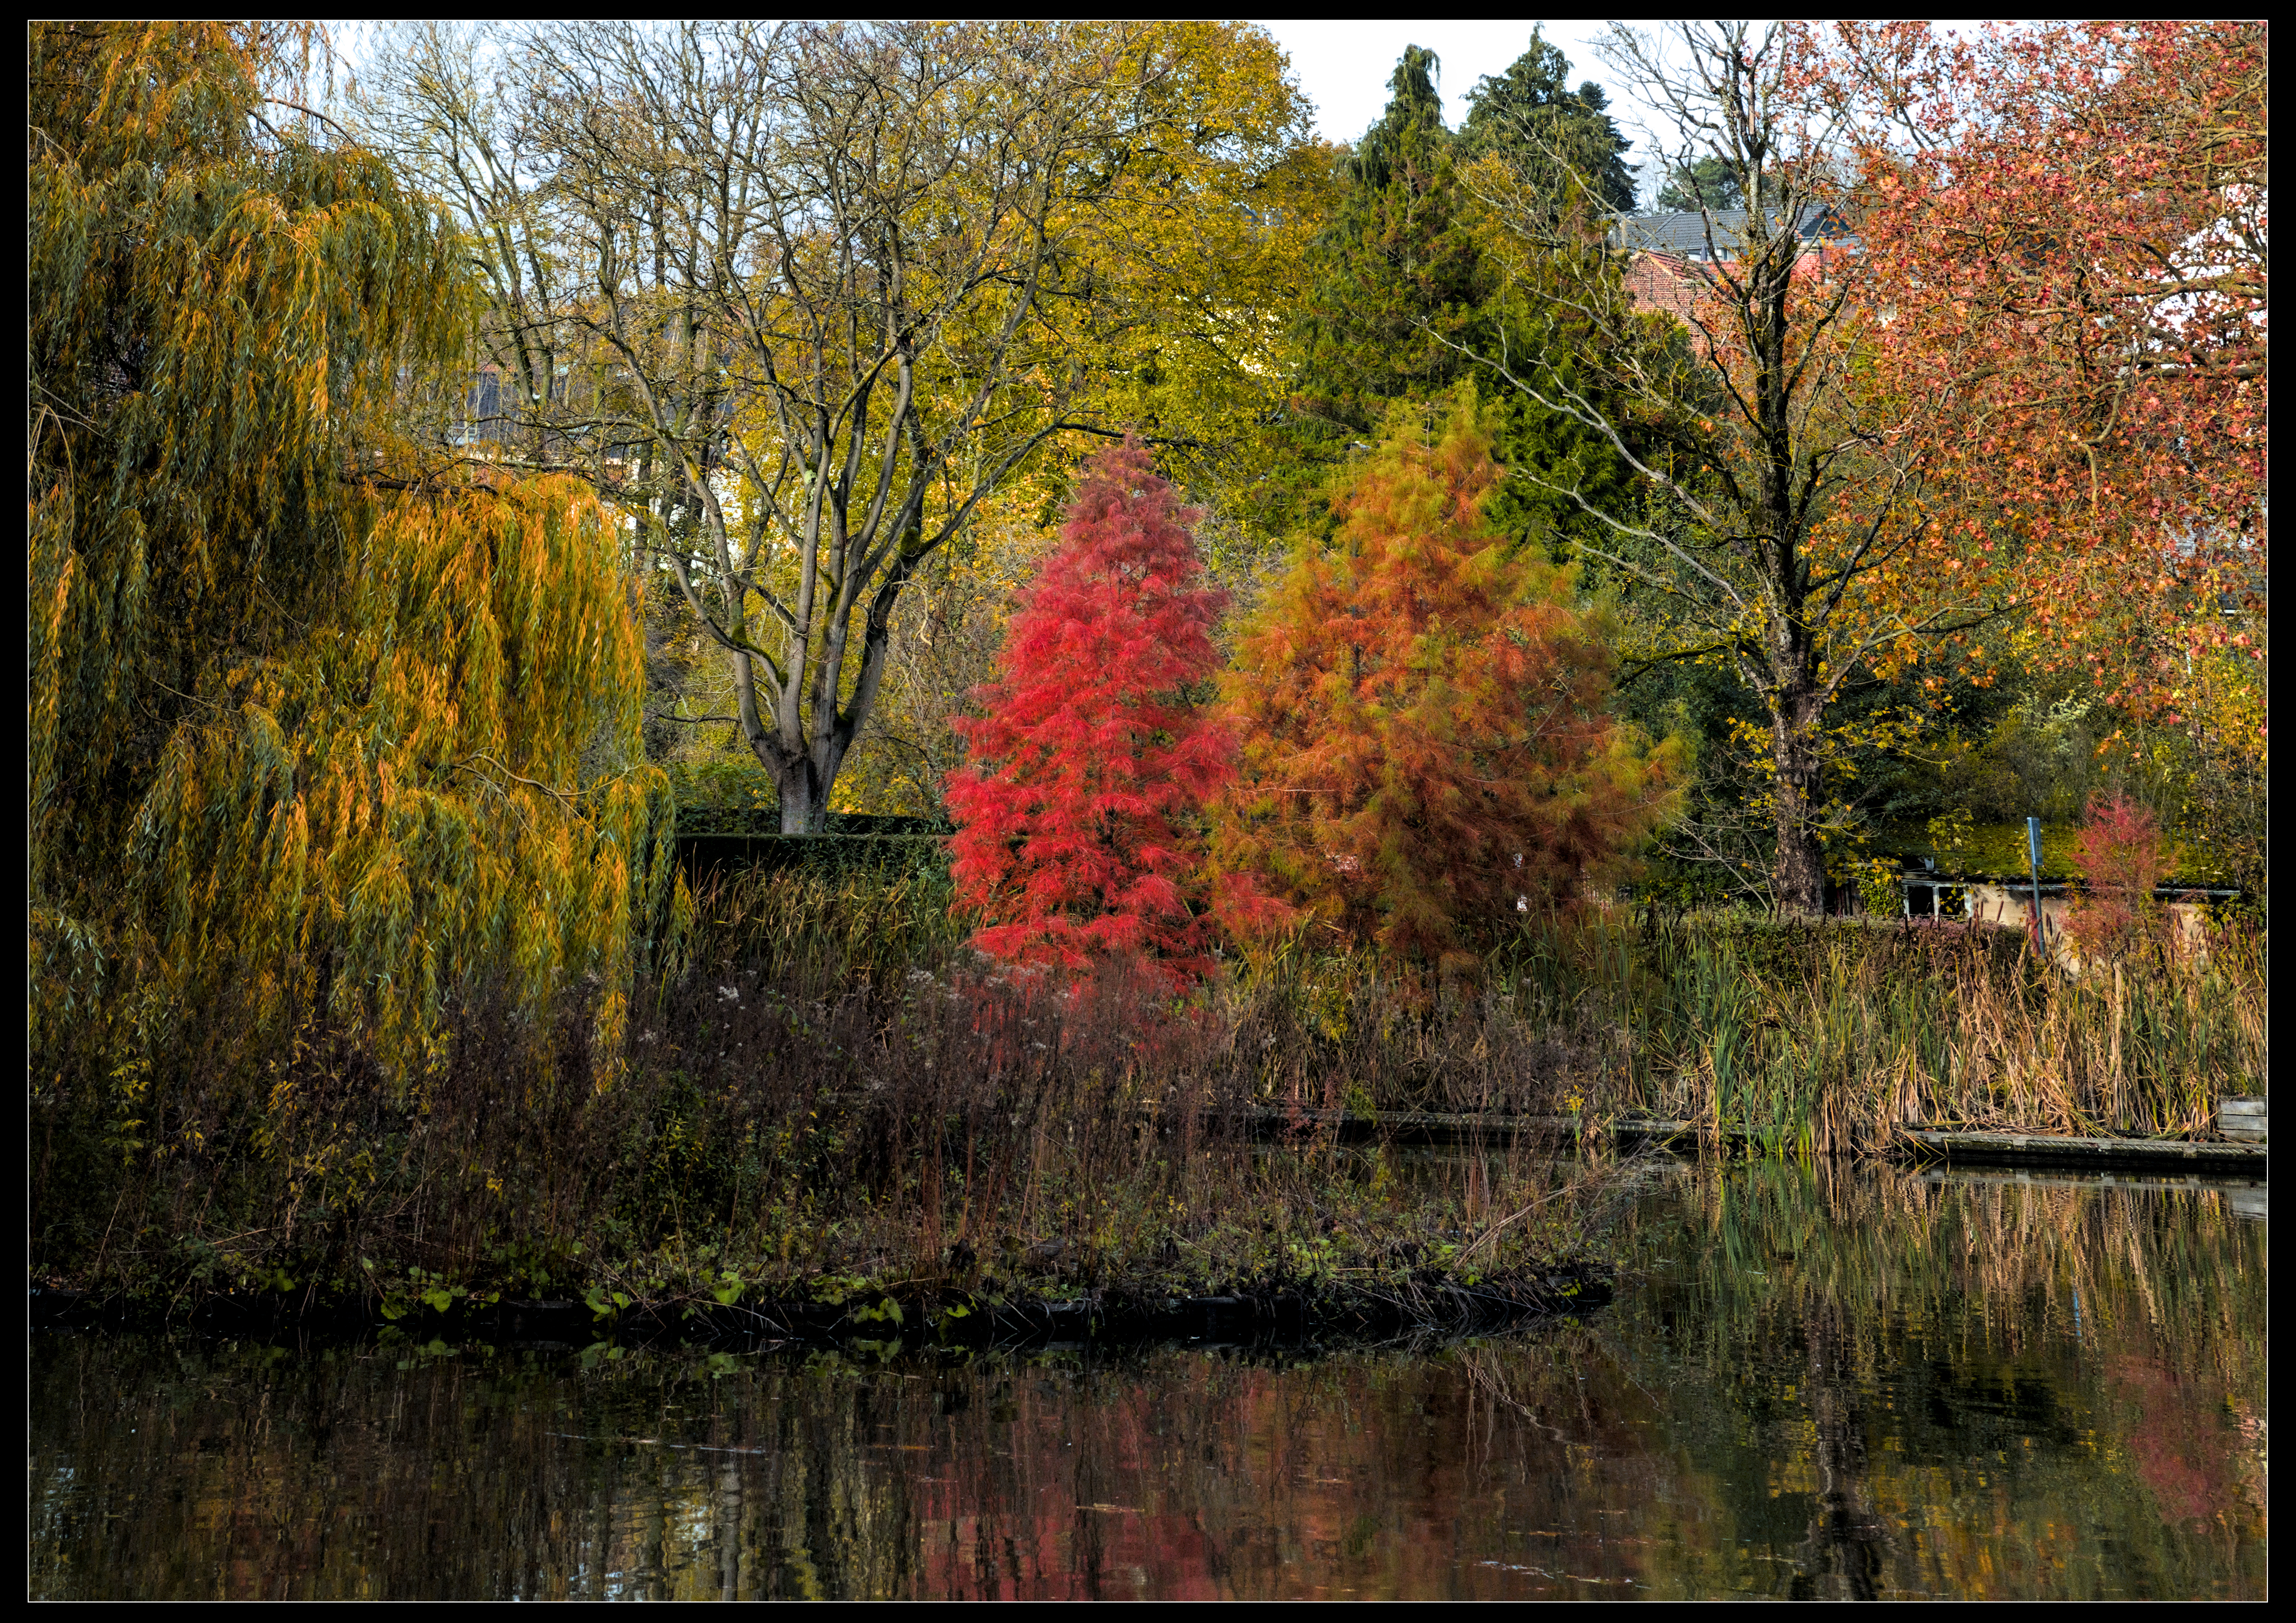
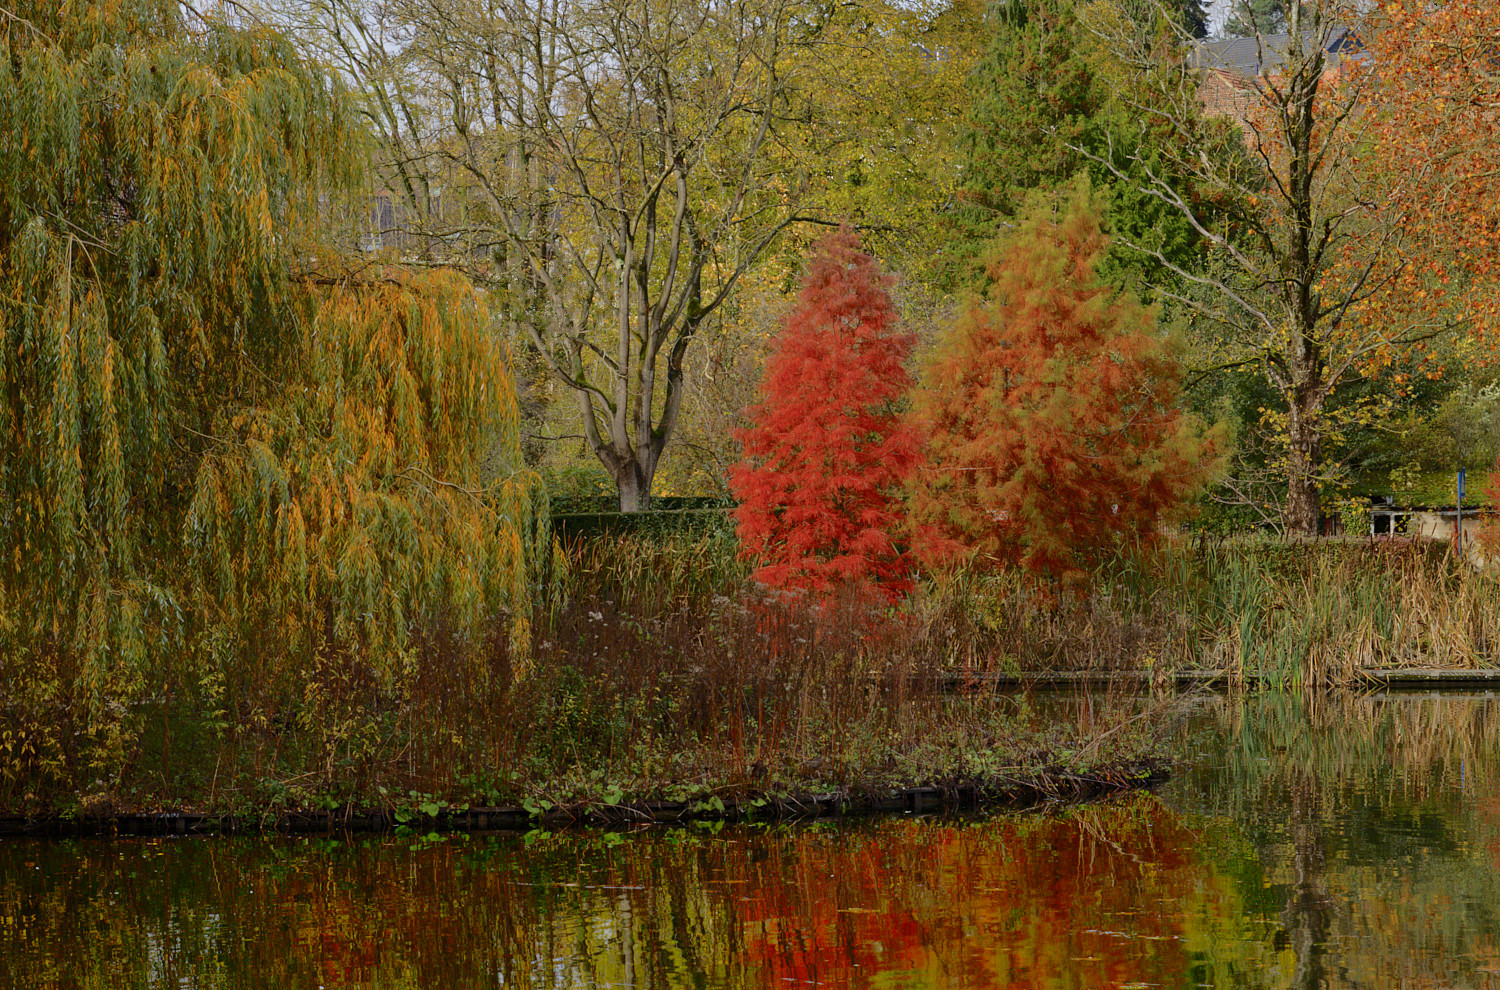
Oh no, your capture is fine. To my way of thinking, this image isn’t about faithful recording, rather, a capture of a composition and palette for an aesthetic interpretation. We’re regarding just that in the variety of wonderful interpretations, taking the image far from its resolution and colorimetric integrity. You really asked for just such, in looking for ways to “punch out” the red tree…
The only difference I’d want in the capture, one that is just not possible, is the omission of the bits of buildings in the background. Small price to pay for the gift of the texture and coloration of that willow tree, IMHO…
1 Like
@dqpcoxeas which program do you use. Your images always have nice vibrant colors.
1 Like
God gave us knees and sometimes bending our knees can allow us to get a lower angle and hide distractions. That may have worked with this image. Also, the most important piece of photography gear is not an L lens vs a Tamron lens but is the nut behind the viewfinder that finds and captures interesting images.
2 Likes
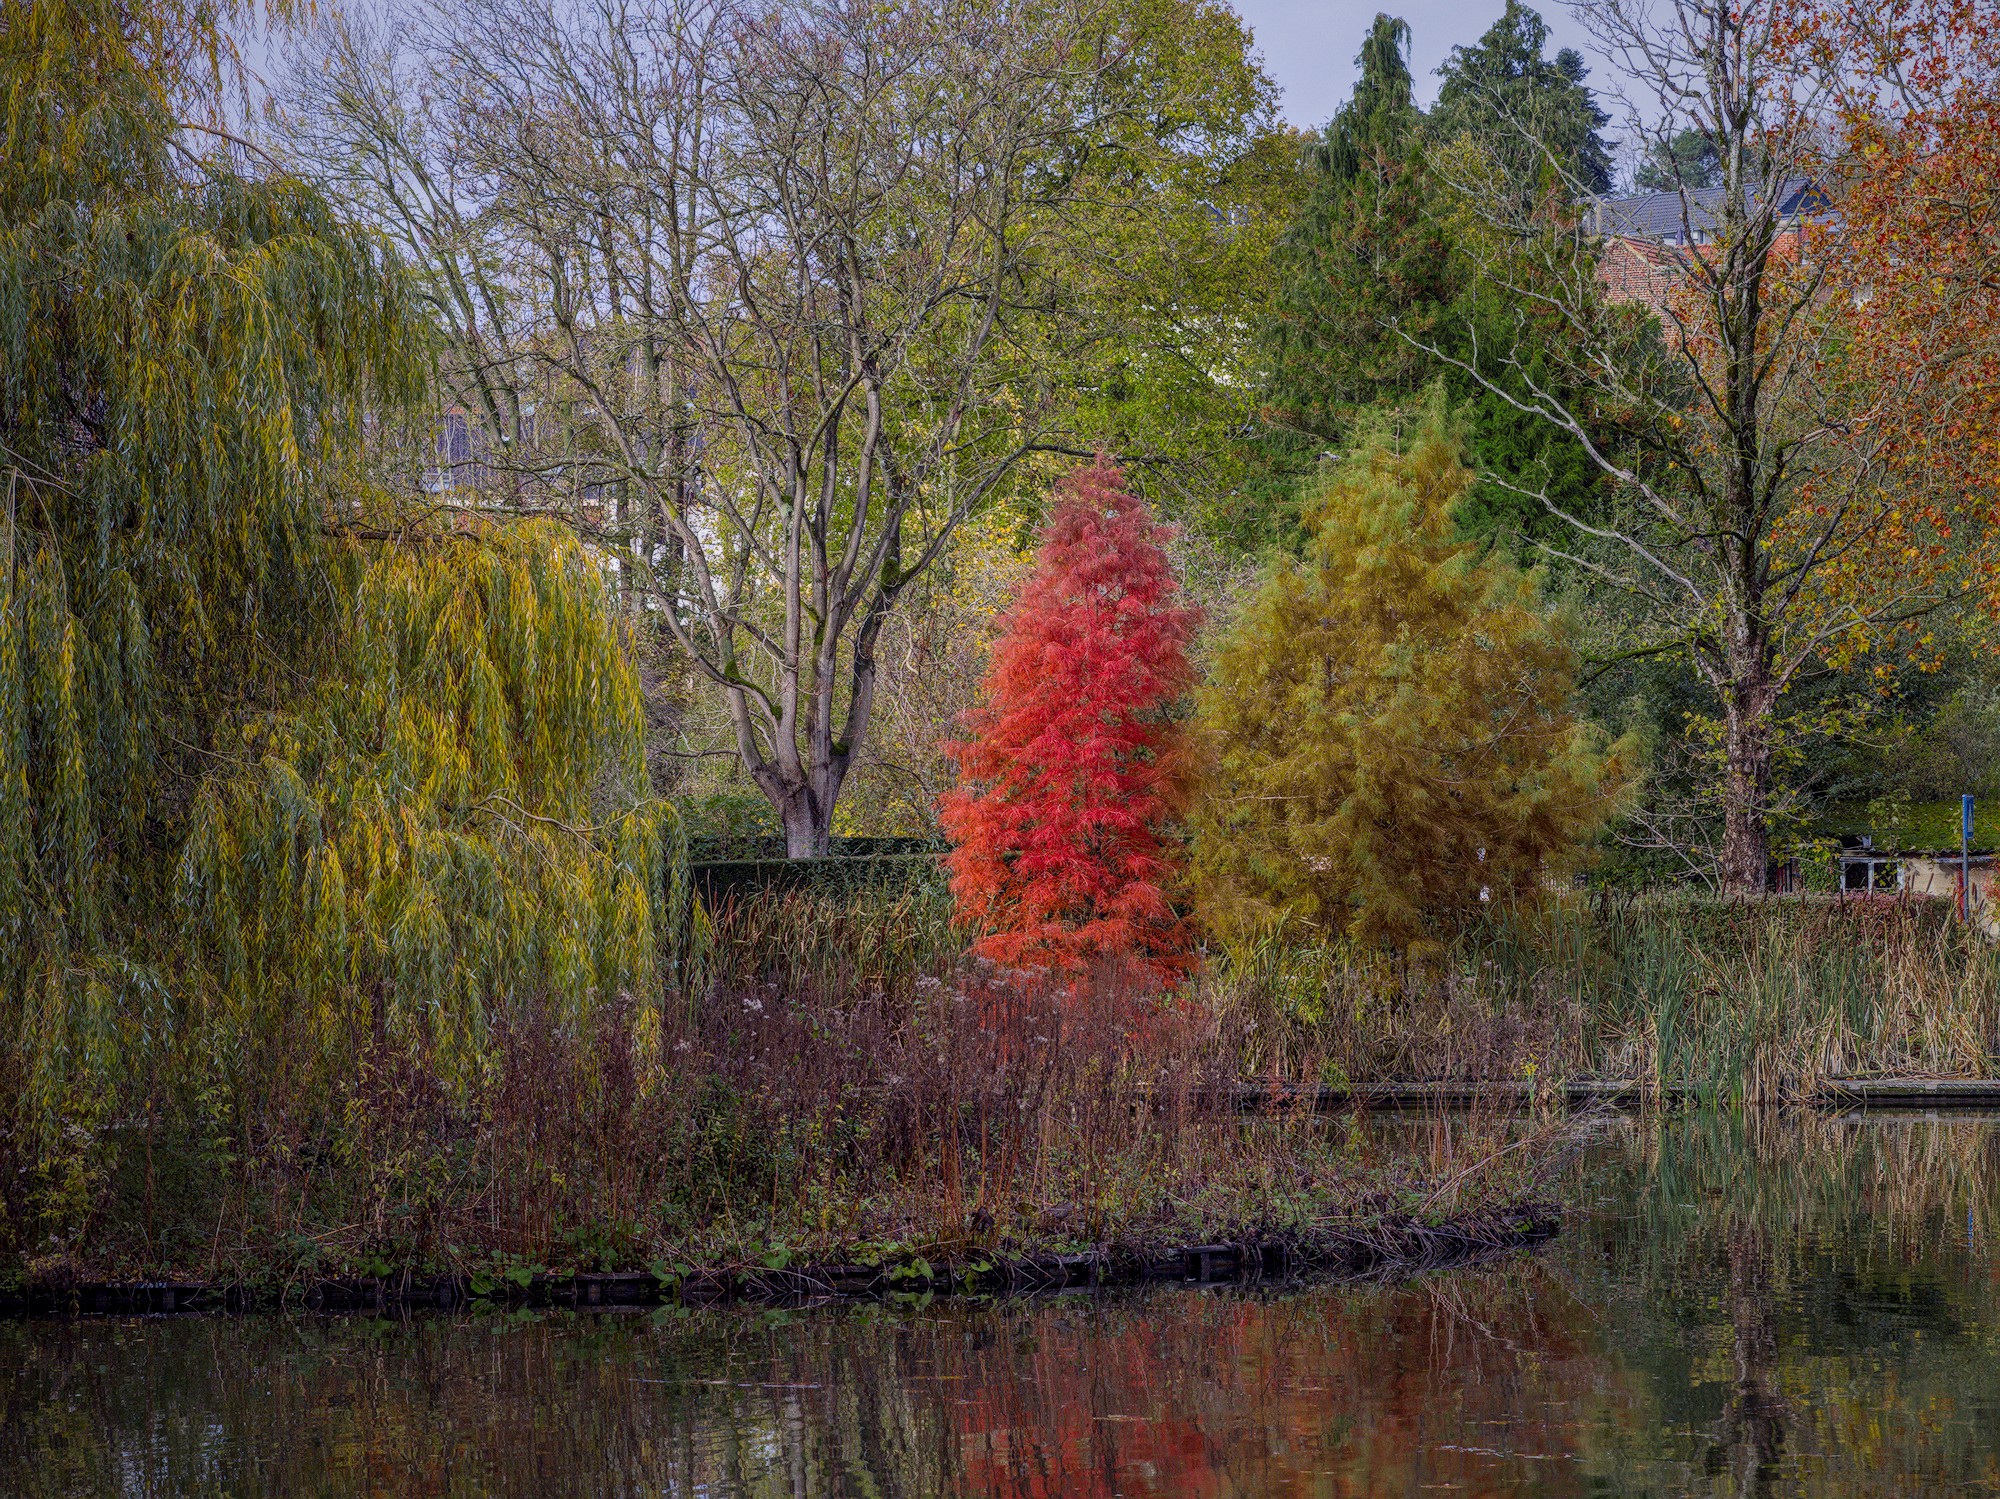
A last edit from me. It’s a strange picture. Even so it is a fascinating shot, it looks always somewhat unreal. No matter if one tries to push the colours or if one tries to generate a natural look.
Unfortunately this counts as well for this version, even so I tried really hard:
IMG_4255 (1).CR3.xmp (18.8 KB)
1 Like
Only and always Darktable.
1 Like
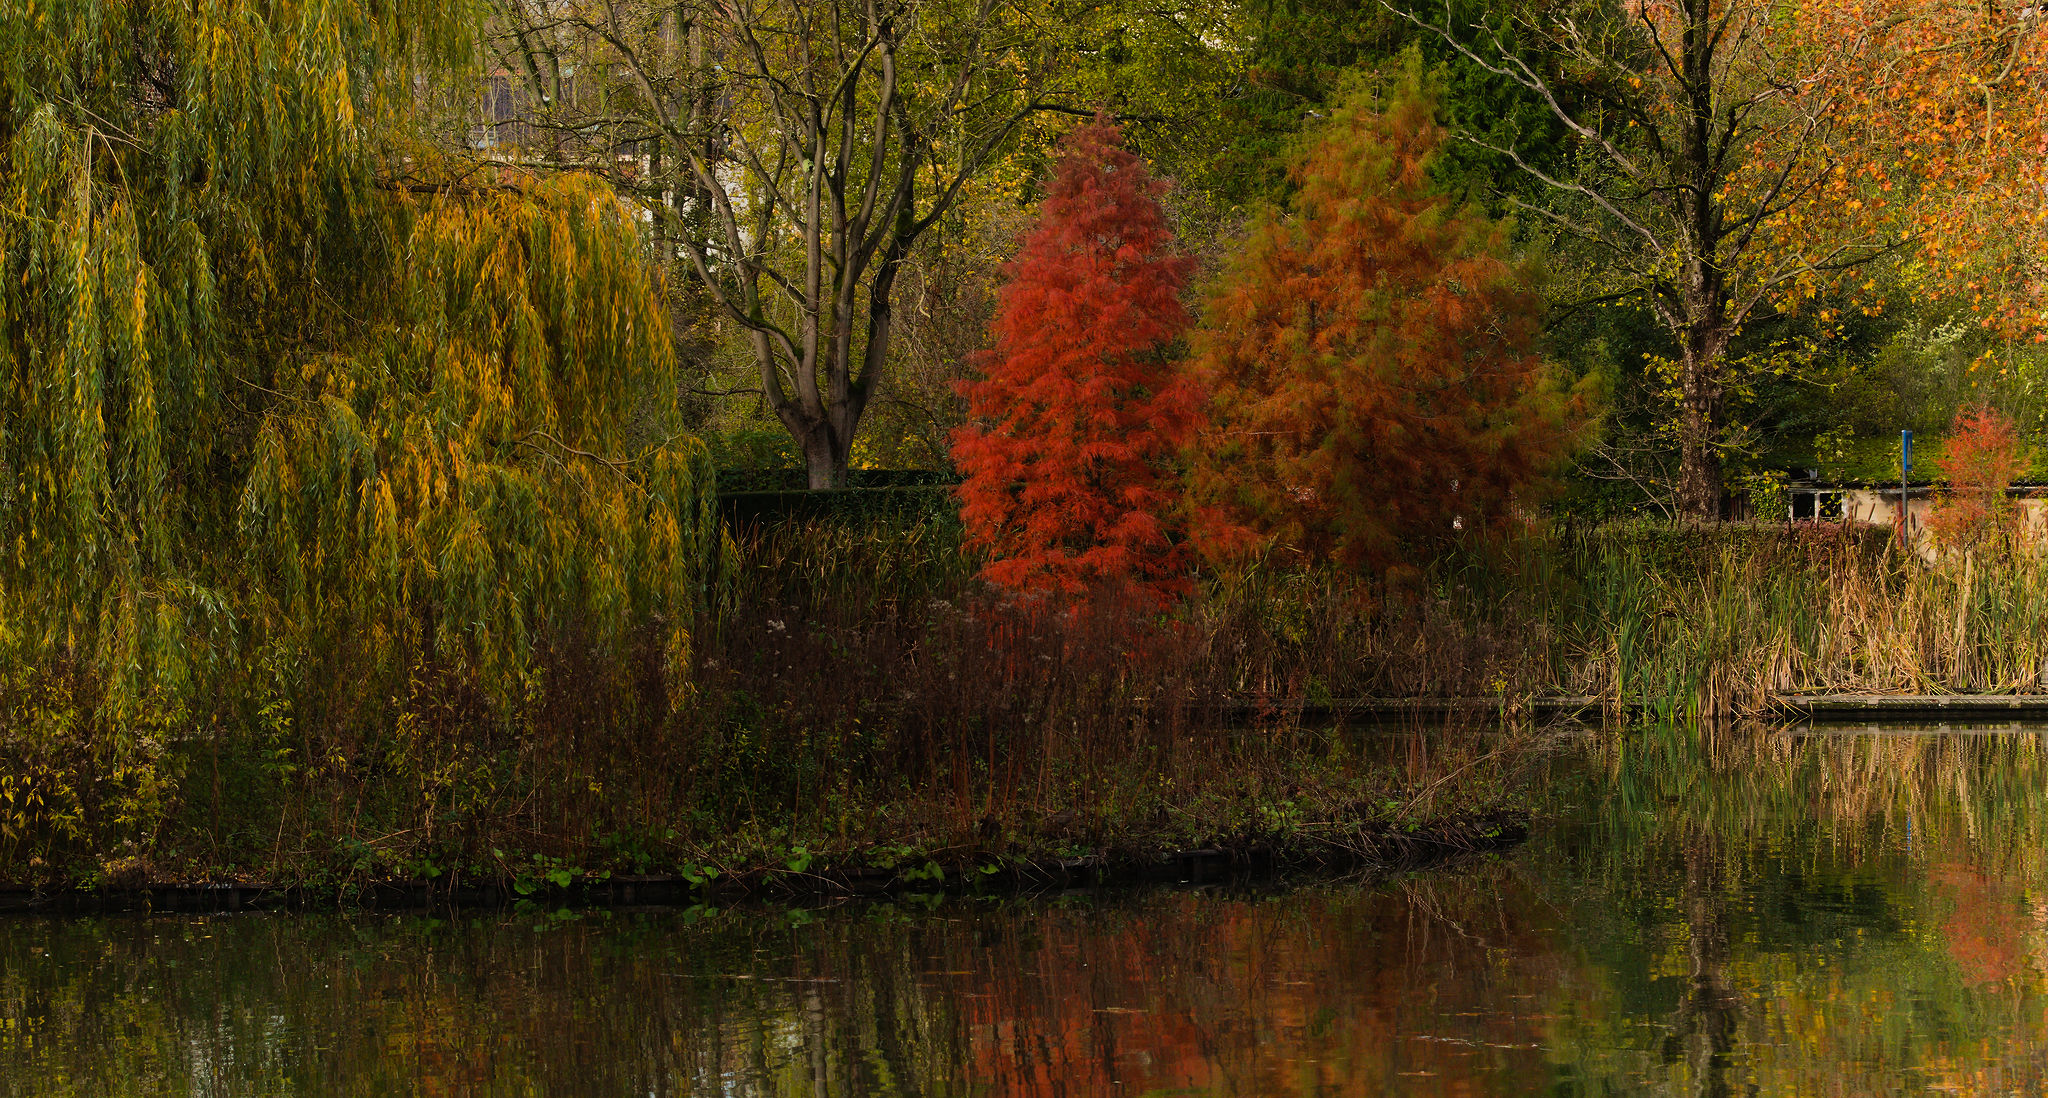
I would have tried a few different compositions. Placing the point of interest in the center of the image like this doesn’t work so well in such a busy frame, not without stronger leading lines. There could of course be an ugly sign or something there for all I know, but I would have liked to have seen a bit more of the big tree in the foreground on the left for example. You don’t want to wed yourself to the rule of thirds by any means, but you still need to feel a balance in the frame.
I probably wouldn’t have shot this at f8 either, again due to the overwhelming amount of detail in the scene. At this distance from the subject f4 or even f2.8 might have been more appropriate to capture all the detail in the foreground trees while softening up the background a tad. At f8 I find that the two bare tree trunks either side of the red tree are really fighting to pull my attention away.
The main thing I have to keep reminding myself when I’m out there is that there’s really no harm in working the scene. My suggestions above could be complete garbage, but the only way to know for sure is to try them out. There’s a big difference between working a scene and spraying and praying… Even Henri “the decisive moment” Cartier-Bresson shot rolls of film at a time. On that note, perhaps the best photography book you could ever read to learn about composition and editing is Magnum Contact Sheets.
2 Likes
I go with Facebook size (2048px) at 80% which usually gives you about a megabyte. On my computer (Apple M1) a word is 32 bits (4 bytes). If a picture is worth a thousand words…
IMG_4255-9.jpg.out.pp3 (14.2 KB)
RT
5.10-release branch
1 Like
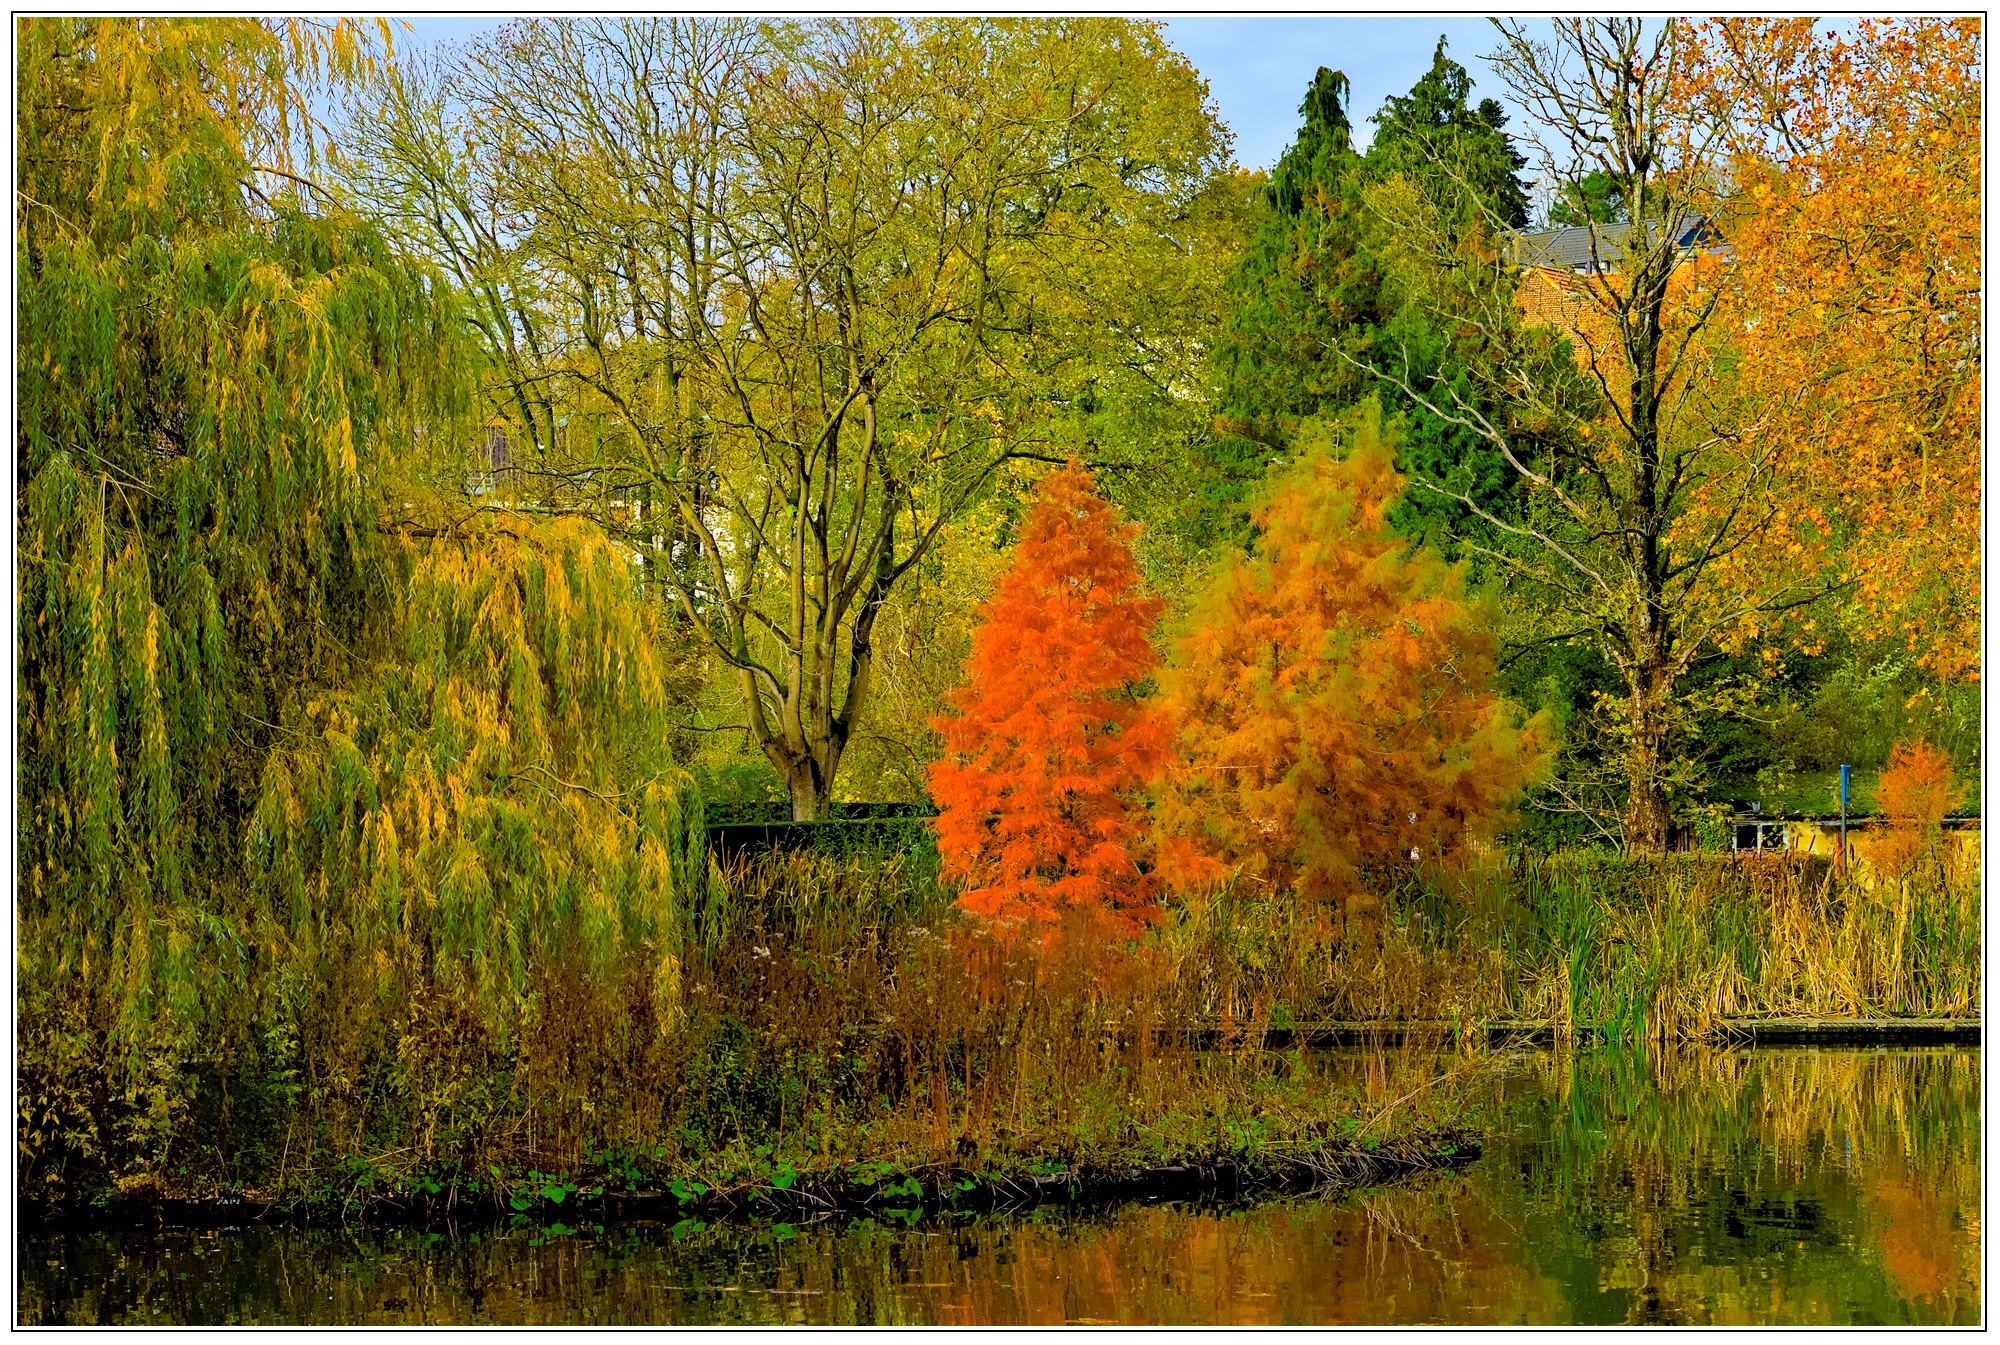
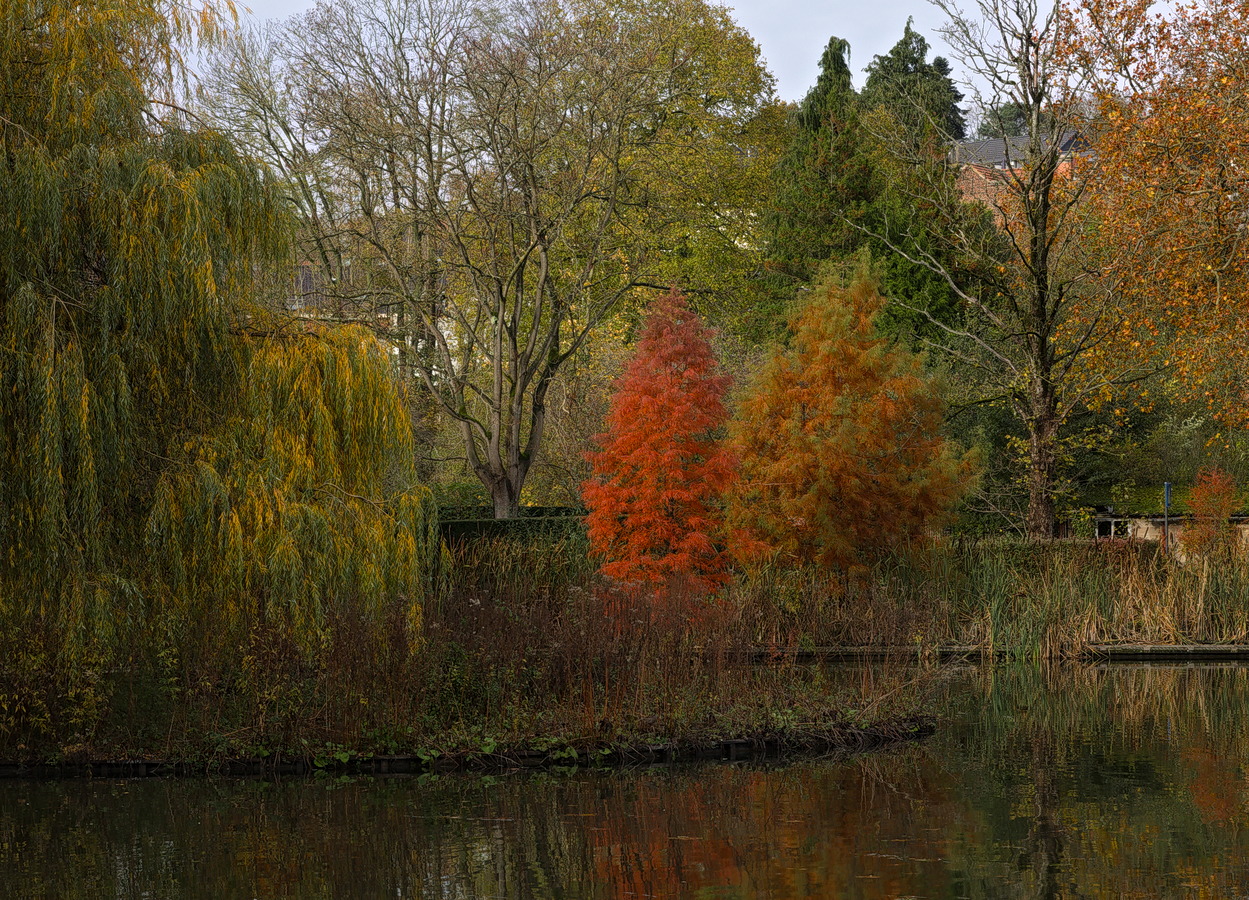
A second try in GIMP.
I have (sort of) removed the buildings in the background and a slight emphasis on the reflections in the water.
2 Likes
Ah now I have a Christmas present for under the tree!
1 Like
I read a lot of nice comments about the picture, I think that we can also thanks the village, and whoever did the works, where I live who made this pool and panted the trees.
3 Likes

6 Likes
I really like this image, it kind of looks like an impressionist painting. Here’s my effort:

IMG_4255.CR3.xmp (9.6 KB)
2 Likes
There are some beautiful colors and textures in this photo.
IMG_4255-38.jpg.out.arp (11.3 KB)
I darkened the outer area with a vignette, added some local contrast, and spotted out a few distracting bright areas.
2 Likes

@ggbutcher Did you use only rawproc for this? Is your jpeg also providing the exif data to see how you used rawproc?
The rawproc tool chain is in the ImageDescription tag.
It worked like you explained.
Your editing is subtle in fact and strait forward (by that I mean rawproc does what it does and nothing more ‘fancy’). I suppose that for more specific work you go to GIMP or Darktable with a TIFF export?
Yes, mostly for clone/heal I’ll save a linear TIFF and take it to GIMP.
The tone curve is where I spend the most time, as I shoot to preserve highlights. For that, my bog-standard filmic curve (in the ‘tone’ tool) usually does the trick, but for some really high dynamic range images I’ll do a two-curve thing: 1) loggamma (also in the tone tool) followed by 2) a control point curve that I can shape to my whim.
rawproc is pretty simple, but the feature set is complete with respect to what’s needed to make a rendition faithful to the capture. I don’t mind exporting to other tools for the rest…