Here is a crop of a photo that I am working on with GIMP. I am trying to remove the black spot down at the bottom, but maintain the light and shading that is on the line just above it (which is a leg). If you see the line of the leg above the black blotch, there is a sort of gray gradient right along the edge. I am trying to make the blotch disappear and the repair to be inconspicuous.
The problem is that the very dark part from the black blotch leaves a dark line behind where it intersects with the leg and the arm.
I have tried cloning (moderate success, but very tedious to get just right)
I tried manually masking (not very good)
I’m wondering if there is some other trick, like with luminosity masks, or manipulating the minimum output values from the levels tool.
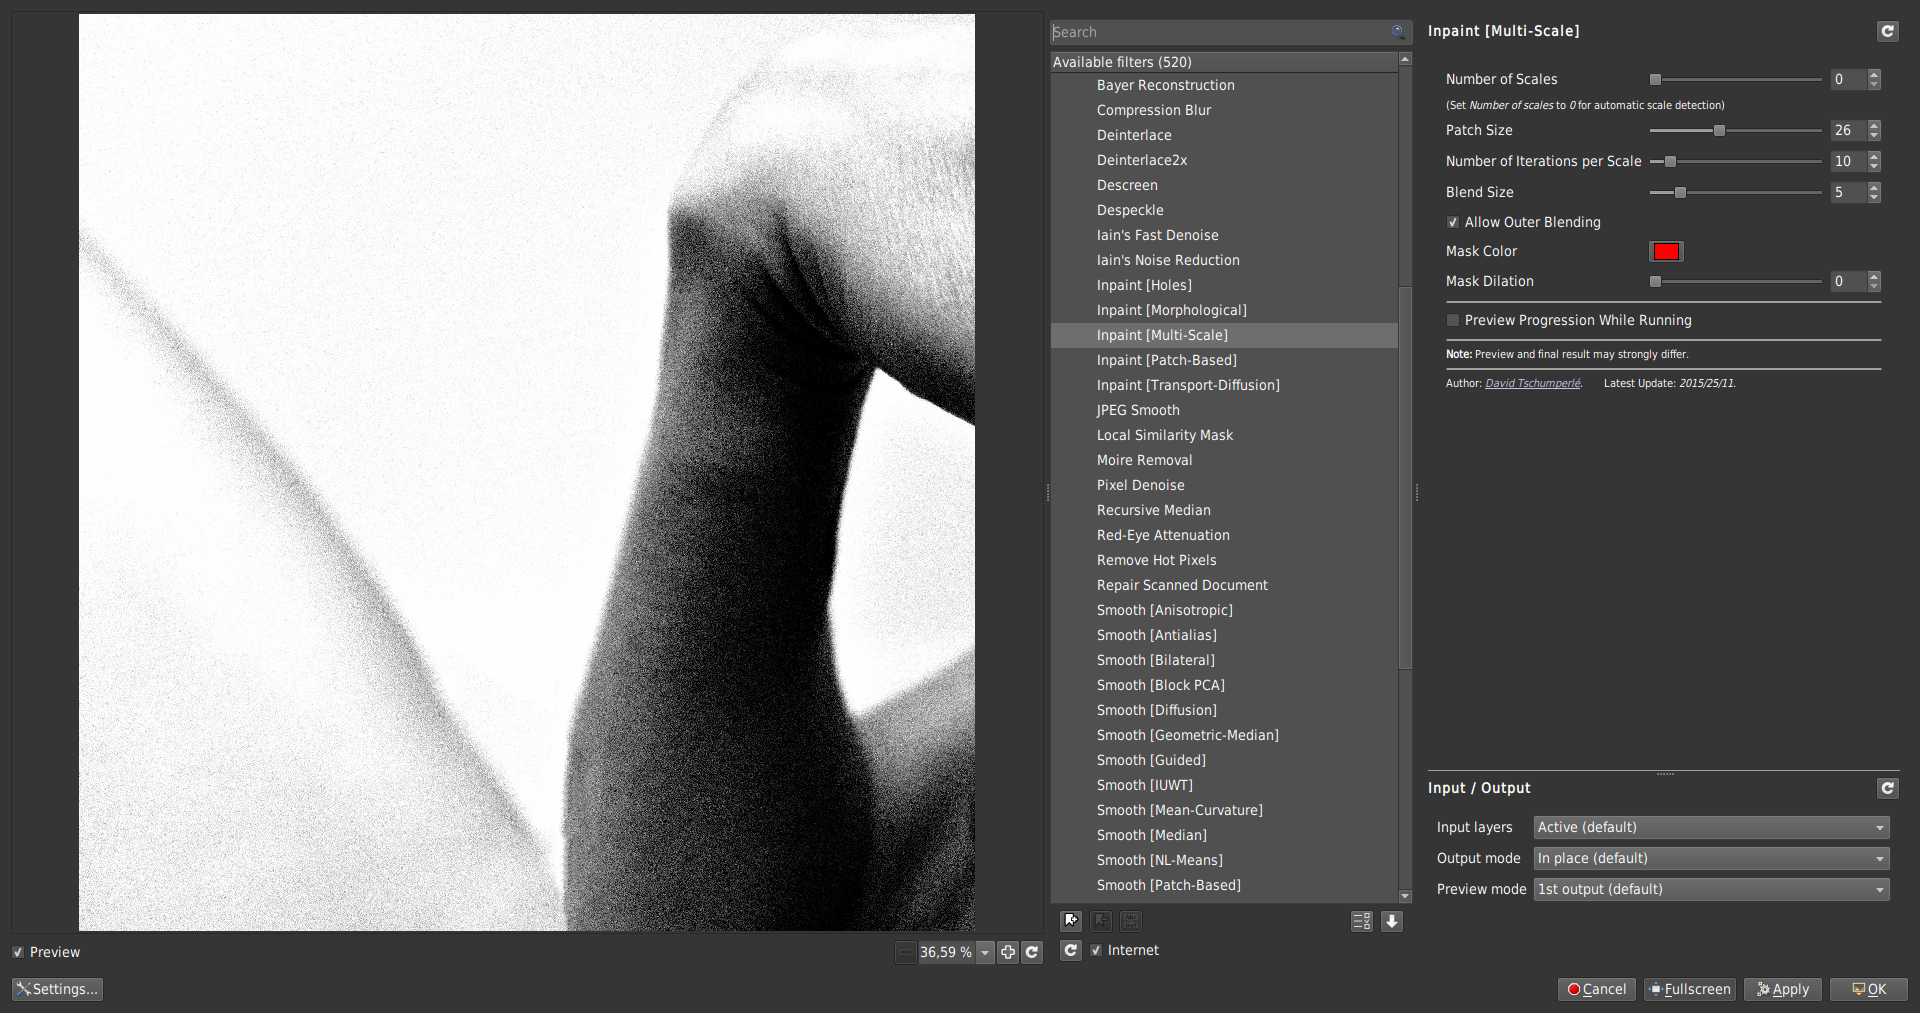
Just tried with the G’MIC filter: Repair > Inpaint [Multi-Scale] but the results are not up to the task and I gave up in the end…
The “noise” in the image makes the fixing (cloning) much more time-consuming. Just out of curiosity, I have even tested the in-paint tool of Affinity photo (a commercial software) but the results were bad as well…
So curious to see what others GIMP users can achieve
Just tried again with your own settings.
In essence, I have simply increased the Patch Size to 26.
Now it works!
BTW, I have tried in the past to read something about the settings of this specific G’MIC filter but never bumped into a proper documentation for this filter. Therefore, I am always kind of clueless about its proper use
Yes, I agree. GMIC’s Inpaint is great, when it works. I have had good results with it when inpainting a pretty uniform background: grass, sand, tree foliage, etc…
This is further complicated because someone told me on here once that the inpaint preview will not match the result so good. So even doing it by trial-and-error is tedious, because you have to apply the settings and see how it looks each time.
I did not even try it with inpaint this time.
@s7habo what was your thought process that lead you to those settings? I really like your result.
Really, I think the G’MIC filters are great, but the big weakness is their documentation. I would be willing to help write documentation for them, but that would entail me opening a discussion back and forth with each individual developer to ask them questions, and I do not know how to do that. If G’Mic thinks I can help and can assist in that regards, they can message me.
@Stampede, @patdavid wrote an awesome tutorial in 2014 on inpaint. As well, I recall there being info scattered throughout this forum if you do a search.
Yes, the problem is that the filter would act on only what is seen in the preview, which is low res, a small region and is not colour managed. So yeah, it isn’t WYSIWYG.
I blindly tested different options before I came to patch size. I’ve used Inpaint for my work before and had to get satisfactory results after a long time of trial and error.
And then I read the tutorial of @patdavid what @afre mentioned. However, the patch based Impaint that Pat describes in his tutorial is very time consuming, and I then experimented with Multi scale Impaint for your example.
I agree with you. I think that’s a pity too. GMI’C has high quality filters with great potential that can’t be fully exploited because they’re not well documented or there are no good tutorials for them.
A good example of how to make it outstanding is new denoising filter from @Iain.
Filter is very promising and @Iain has made an excellent and detailed video explaining it:
I had an idea to fix this, but I ran out of time to really enumerate the steps and walk through it. So for the time being, here’s a hastily recorded video that should hopefully provide a nice starting point.