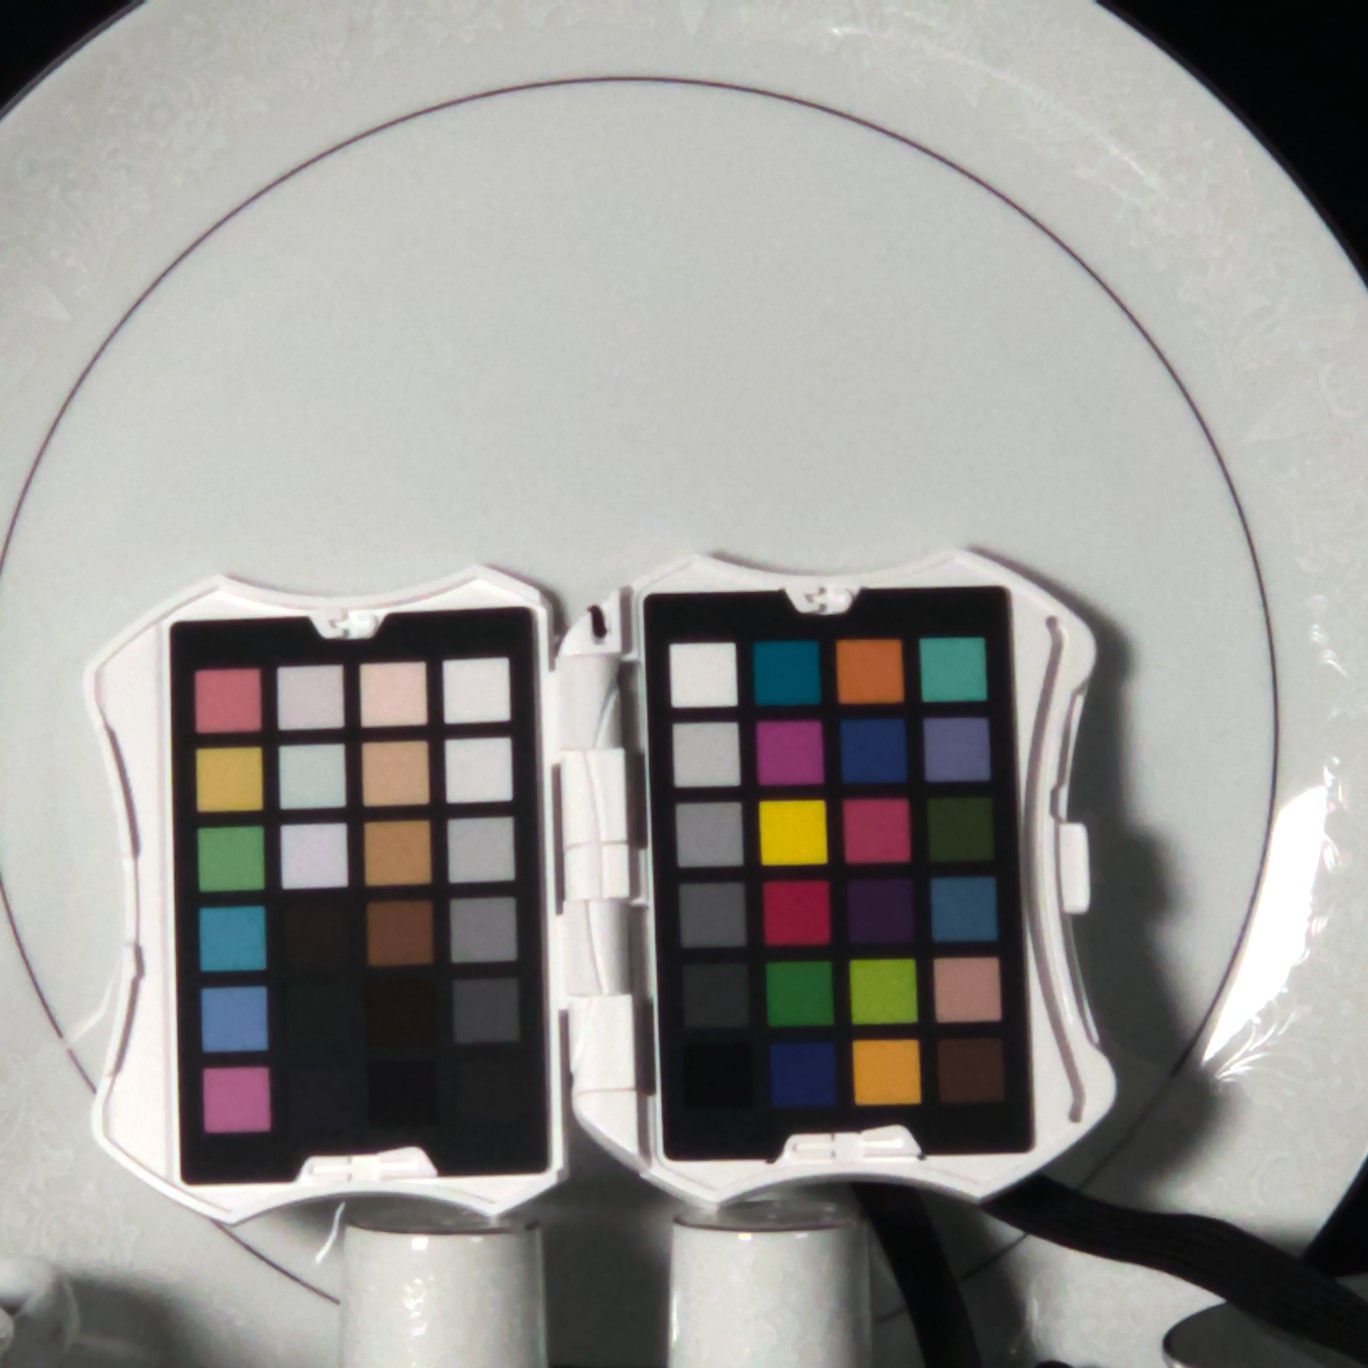
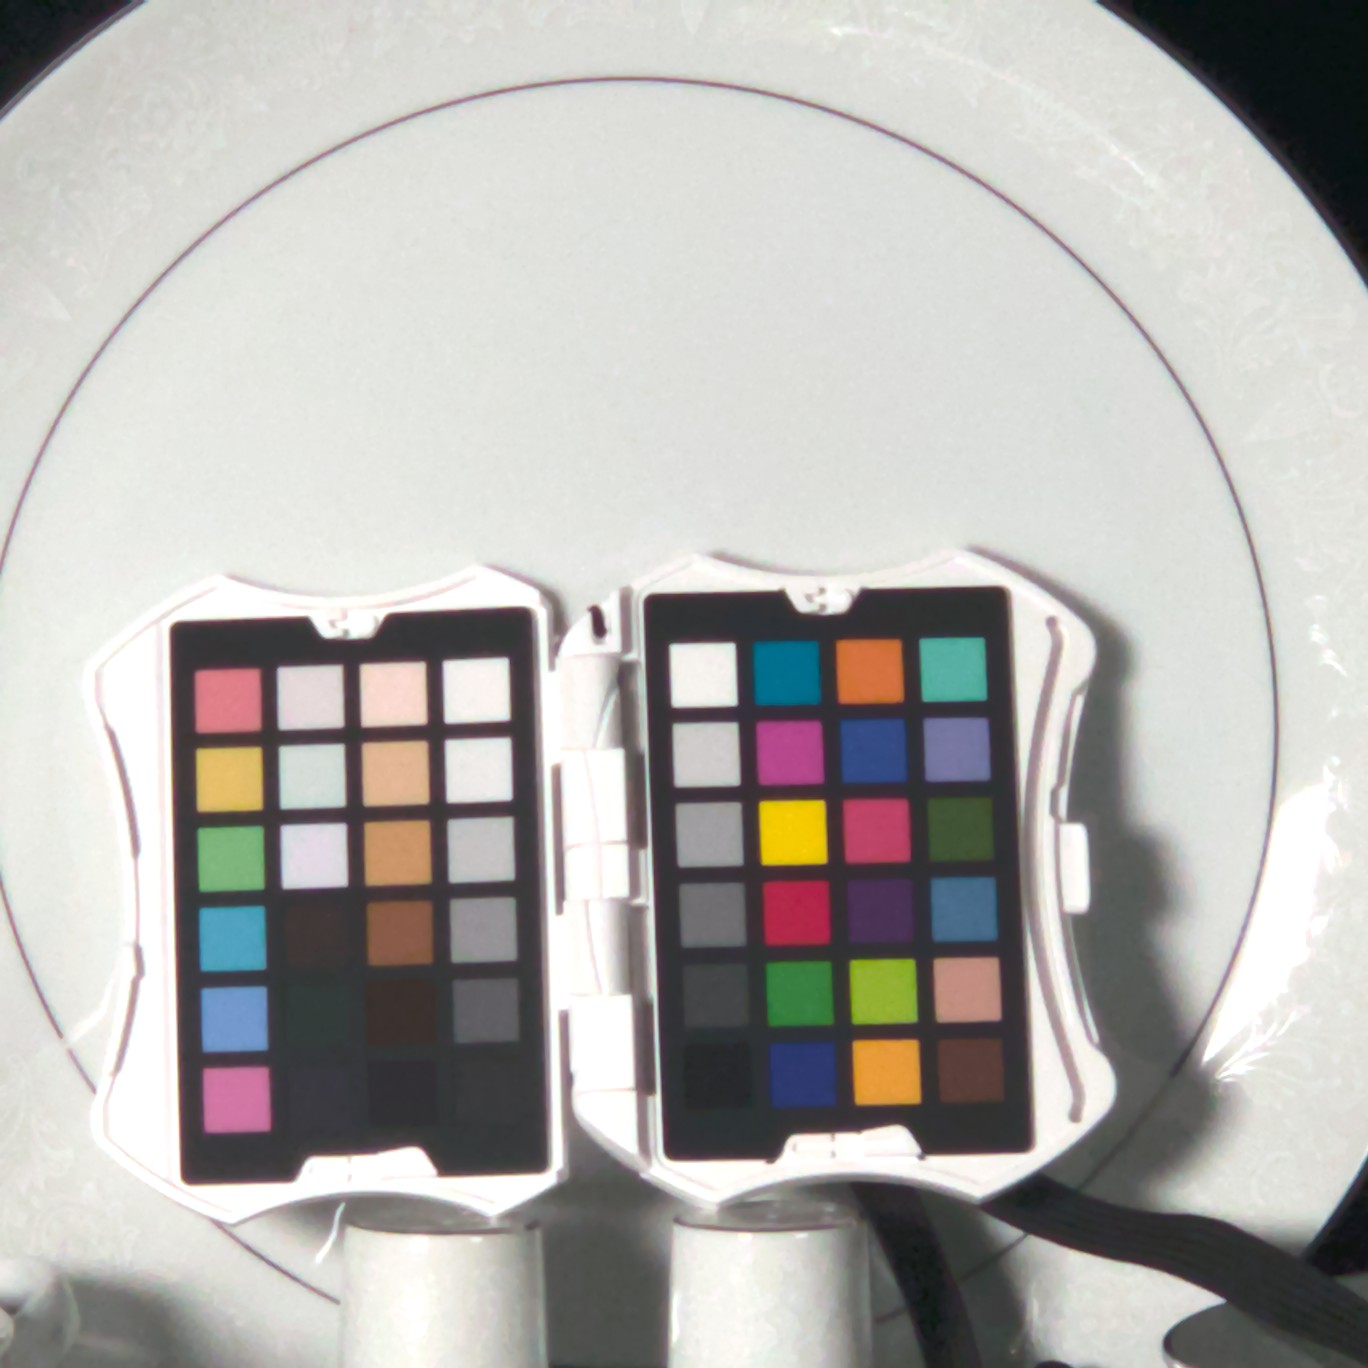
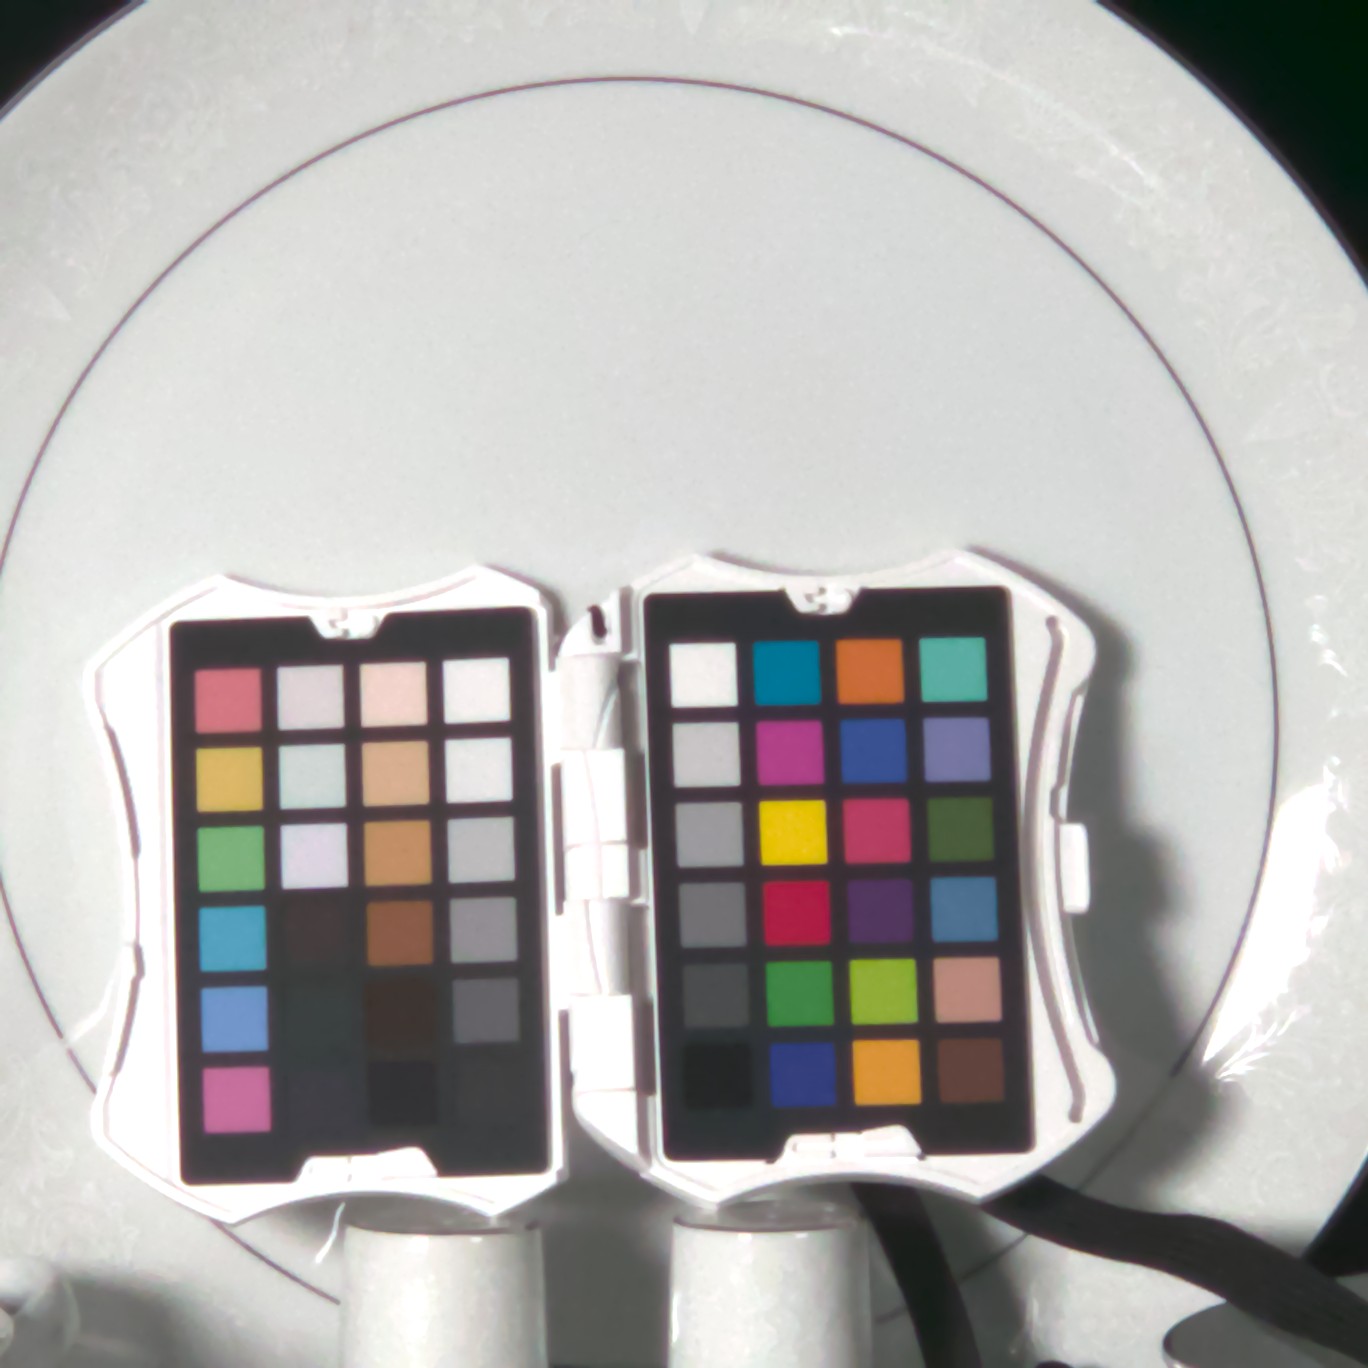
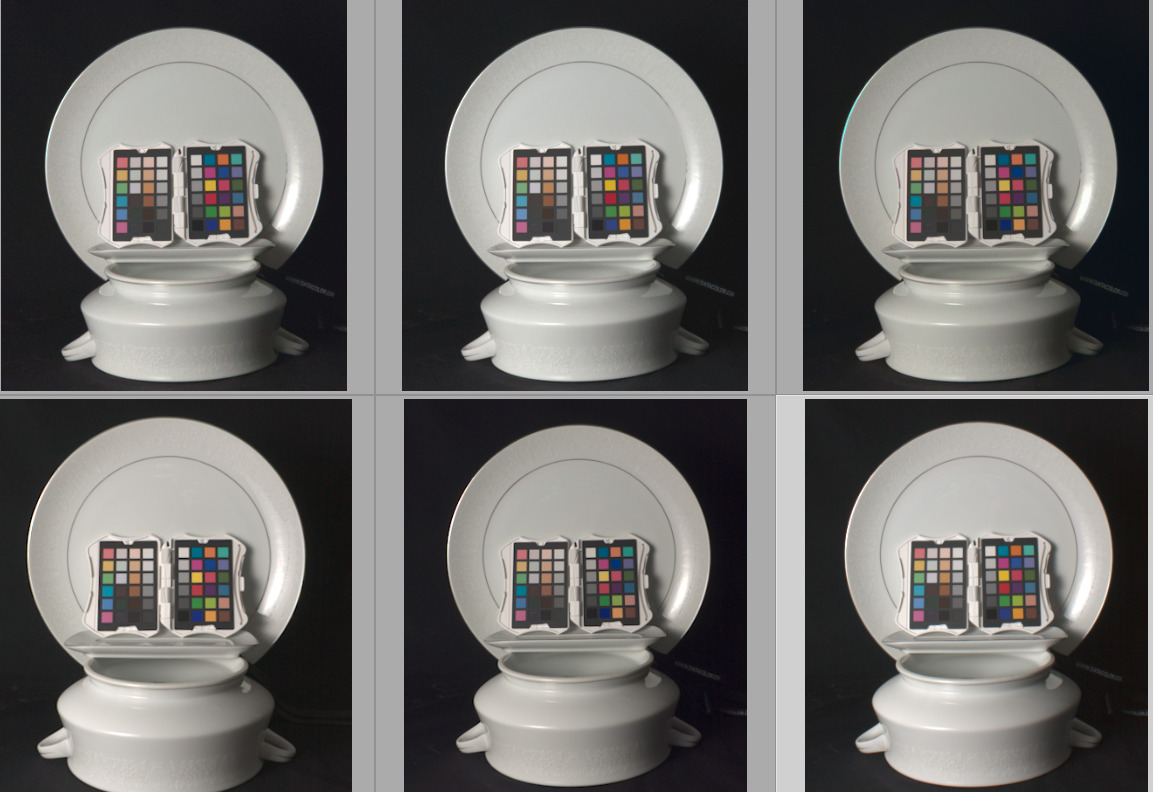
I wish the overexposure was the problem. However, I have tried several takes with a range of exposures. Here is a lower exposure image. I get the same yellow/green result.
This image was taken with 50 ISO and 1/30 shutter speed, which calculates at f/2.4 (can’t change aperture of the phone’s lenses).
The previously shared image was taken with a similarly low ISO and longer shutter.
Thanks for the other DNG. I’ve had another play around with this, and I was still getting a yellow tint on the plate. I’m really not sure where the problem could be coming from, but I’ve tried something a bit different: Bear in mind (as I said before) I’ve never used a colour checker.
I tried to find some specs on Datacolor’s website, but couldn’t find hard Lab values for the patches. I get the feeling that the white patch on the right should be the brightest one, and brighter than the white to the left of it? That’s not the case in your pictures.
I found the instructions on Datacolor’s site, and it mentioned an RGB value of 220 for the whitest patch, and 10 for the darkest patch. So I’ve used tone equaliser, in combination with a simple instance of Colour Calibration set to CAT based on the plate, to provide a hopefully better input for a second instance of colour calibration which has CAT set to off (it helped me get the values in a better ballpark), but it’s doing the colour checker step.
Then I did a version checking the circles in CC module and adjusting tone equaliser based on the grey patches.
This might not be a perfect solution, but there’s less of a tint on the plate with these xmps.
I’m considering rgb curve (linked channels) instead of tone equaliser. Not sure.
Sorry for the acronyms…usually or often with any overexposed or high dynamic range raw capture the green channel often blows out and without highlight reconstruction you get magenta highlights. The HLR work to correct that. In your image red and blue seem to hit a threshold well below green and well below being blown so you need to really drop the threshold for any hlr to kick in…even then the photo still seems weird…From the internet the expert raw mode photos seem flagged as sometimes being problematic for raw editors.
Personally I have a Pixel and I have given up trying to edit the raw files…the effort vs what the camera produces in its HDR pipeline is not worth it most of the time.unless that creates artifacts and even then the raw is still a computational blend of shots unless you find an app that still takes just a single shot. Those single captures reveal how small the sensors are and all the voodoo applied to the images in the processing of normal shot on the camera
Is this one an expert mode or pro mode shot… I’ll take a look later…When I looked at the raw histogram in ART which is another raw editor the channels looked weird…ie on your initial image and there seemed to be issues with un even lighting and or even glare in parts of the image unless this was an artifact of the Samsung processing. You could really see it on the plastic housing of the colorchecker. Smart phone DNG use gain maps… DT can read some of that and your image would certainly have them but DT didn’t show any as available…These affect lighting in the image…
If this recent one is not a pro mode maybe share one of those as well
I used the picker in the white balance module instead of using a second CC instance, and I’m getting a better result on the plate after doing the colour checker step in the CC module. RGB 220-221-219. dE Avg 1.87, max 5.43 when using ‘optimise for neutral’ 20260723_190642.dng.xmp (12.0 KB)
I do not use the expert raw mode. All the images I’ve provided here were shot in Pro mode. I attempted to work with the expert raw mode a bit, and darktable really despised those images. They had to first be converted to something darktable could even read. The phone but so much processing on those images that it was futile to work on them in DT.
Does HLR stand for the highlight reconstruction module? Which “threshold” are you referring to dropping? Something on the phone side? on DT side?
I would love to force the phone to simplify or reduce the processing it does on the images! I guess the makers want it to be for the inexperienced users, just work out of the box.
Camera: Samsung Galaxy S26 Ultra
Mode: Pro
ISO: 50
Shutter Speed: varied to optimize exposure
Focus: manual
White Balance: Manually set to 4800K (to match the lights I use)
App: Native
Lens: 3x Telephoto
Angry Anna’s Hummingbird was an excellent resource! Thanks.
Do you know of a great video or tutorial on using the color checkers on images captured with a basic DSLR cam? Something like the Canon Rebel XS? I shot some pics of the Datacolor Spyder Checkr Photo with my Canon and want to tinker on those with darktable. It will help me rule out my lights as the culprit in the yellow hue of the phone camera’s images.
I prefer non-audio tutorials to videos. I’m a visual learner but sound is easily irritating to me.
The color here is absolutely beautiful. I like what you are doing. It’s frustrating that the Calibrate with color checker piece doesn’t just work without all the extra tweaks.
It would be super if other modules were able to utilize a color checker to optimize them, like the white balance, or exposure. The Datacolor Spyder Checkr Photo has another “page” with a range of white / gray / black boxes that would really be useful there. Maybe it’s a plan for future darktable work…
You would just do the same thing for a canon shot…When you use the color checker there are a couple of ways to use it…The CC mode in DT is an extra of sorts…it is basically running an iterative optimiztion to calculate a matrix to improve the color based on the card reference values …so its basically in the end a set of channel mixer settings applied on top or in concert with wb and the input profile…
In other software you would make a linear tiff file and use that with something like dcamprof or argyllcms to make an icc input profile based on the test shot…
I should say icc if that is all the software supports like DT…ART and rawtherapee will support dcp files…You can make custom dcp profile from the DNG or if you install adobe dng converter then it will install a bunch of them and there are dcp profiles for the samsung s26…
Also you could try shooting with open camera after you install that on your phone…I think you can do single image shots and hdr blended ones…you could check on how that captures your images and how they load in DT or other software…
So there are a few ways to look at and generate images from your phone…
I would still work from another shot as this one looks way to unevenly shot in the light…your test shot should have nice even lighting and the way the frame of the card is rendered and that artifact on the plate looks just off… Maybe shoot a new version and set it off to the side of the plate…Maybe just leave the WB on auto too…it really only matters for the jpg…
Tweaking these things can be a bit of a rabbit hole…
Todd knows much more than I, just adding my comments since you replied to me.
I do not own or use a color checker. I might do that one day, but I prefer to shoot outdoors where white balance is simplified. Outdoors, auto-WB on the camera seems to work well for me.
Where an image has been captured in a raw file, the input color profile module will normally apply either a standard or enhanced color matrix specific for that camera model, which will be used to map the colors into the working profile color space. If color space information is embedded in the image, the input color profile module will use this information when mapping the colors to the working profile color space. The user can also explicitly specify a color space for the incoming image, and can even supply a custom ICC color profile specifically made for the input device.
I think Todd may be referring to creating your own ICC profile, which can be done if you think there is a need to correct colors from your camera generally. I haven’t bothered. I’m satisfied with the standard color profile for my cameras. Some people here, though, are much more particular.
I think your use case is color correction for your specific lighting, which may work “well enough” for general photos.
A recent post has a lot of discussion around the spyderchecker and what the reference values are d65 or d50 and is that one of the reasons for some tints noticed when using those cards. I’ll find and add the link
Maybe 2/3 of the way thru this post… It has a lot of discussion around Using this series of card …
On phones, ISO 50 is usually fake and results in clipping that is then stretched down, with the final image still having the damage. Try a higher ISO (e.g., 400) combined with a faster shutter speed.
Another benefit of using Open Camera is that it will probably give you proper RAW files that are not demosaiced. I have the basic Samsung S26, and I get proper RAW files with it. The DNG’s from my stock Samsung camera app are demosaiced. So I always use Open Camera when I want RAW.
I used the two LED panel lights that I bought in the kit from Amazon. I thought they would be an upgrade from my DIY 3’x2’ softbox made from cardboard, a desk lamp, rattle can spray paint, aluminum foil, duct tape, and white fabric with a 250W daylight flood light bulb that I weighed down with a couple bags of rice at the base of the desk lamp sitting atop a box that was resting on a night stand. I used white foam board or foam board covered with crinkled up aluminum foil for light reflectors. I didn’t have space for two of the softboxes, so I only made one. I decided to go for the color checker card at the same time. I was so happy to get rid of the enormous homemade light box I tore it up and trashed the cardboard. That might not have been the best idea to just assume the new lights and the new color checker would just work and start using them together. Hopefully I can either figure out how to mitigate the new lights troubles and/or how to get the color card to enhance my images before I run out of the return window for the new purchases. I haven’t figured out how to grow a money tree yet but if you have a good YouTube video for that, I would be eternally grateful!
The Amazon lights were placed on the right and left sides at 45 degree angles pointing toward the subject (plate, here). Both of the lights were set to the same temperature and brightness level. Any ambient light was blockout out by heavy drapes in my living room “studio”. I can’t imagine how I would get a more “even” lighting scenario. These particular lights are a new thing I’m trying out. I think their purchase was a mistake. I really hope the “unevely shot” picture is just a result of these cheap, crappy lights, because I can’t imagine a way to get a more evenly lit shot with these lights. I plan on making a couple of DIY scrims with a cardboard frame and white fabric and seeing if that will improve the lighting with these cheapies. I don’t have a lot of hope for the lights, though. I just need to get more experiments done to figure out the issues I’m having. Finding time to get all this done is so difficult.
I’m new to photography. I’m new to processing photos. I’m new to selling online. The learning curve is STEEP, and I really appreciate people like you and the others here who have taken their time to advise me.
I have no experience shooting like that…There does seem to be a few good looking videos about shooting pottery and or food on youtube so you night check out those. THey should have lots of issues with glare and highlights. I imagine some indirect light or what ever to minimize the glare would make editing easier…
In your test shot to me the right side of the target was not lit the same as the left or something happened and there was an artifact so you could go back and just check the lights…
You could shoot the grey card or a uniform piece of paper or other item (l;arge paint swatch???) and then look across that for a gradient of brightness …You could then work to minimze that and go back and try your calibration again…
You could even share a couple visuals of your setup in action and see if anyone with experience could spot any issues…
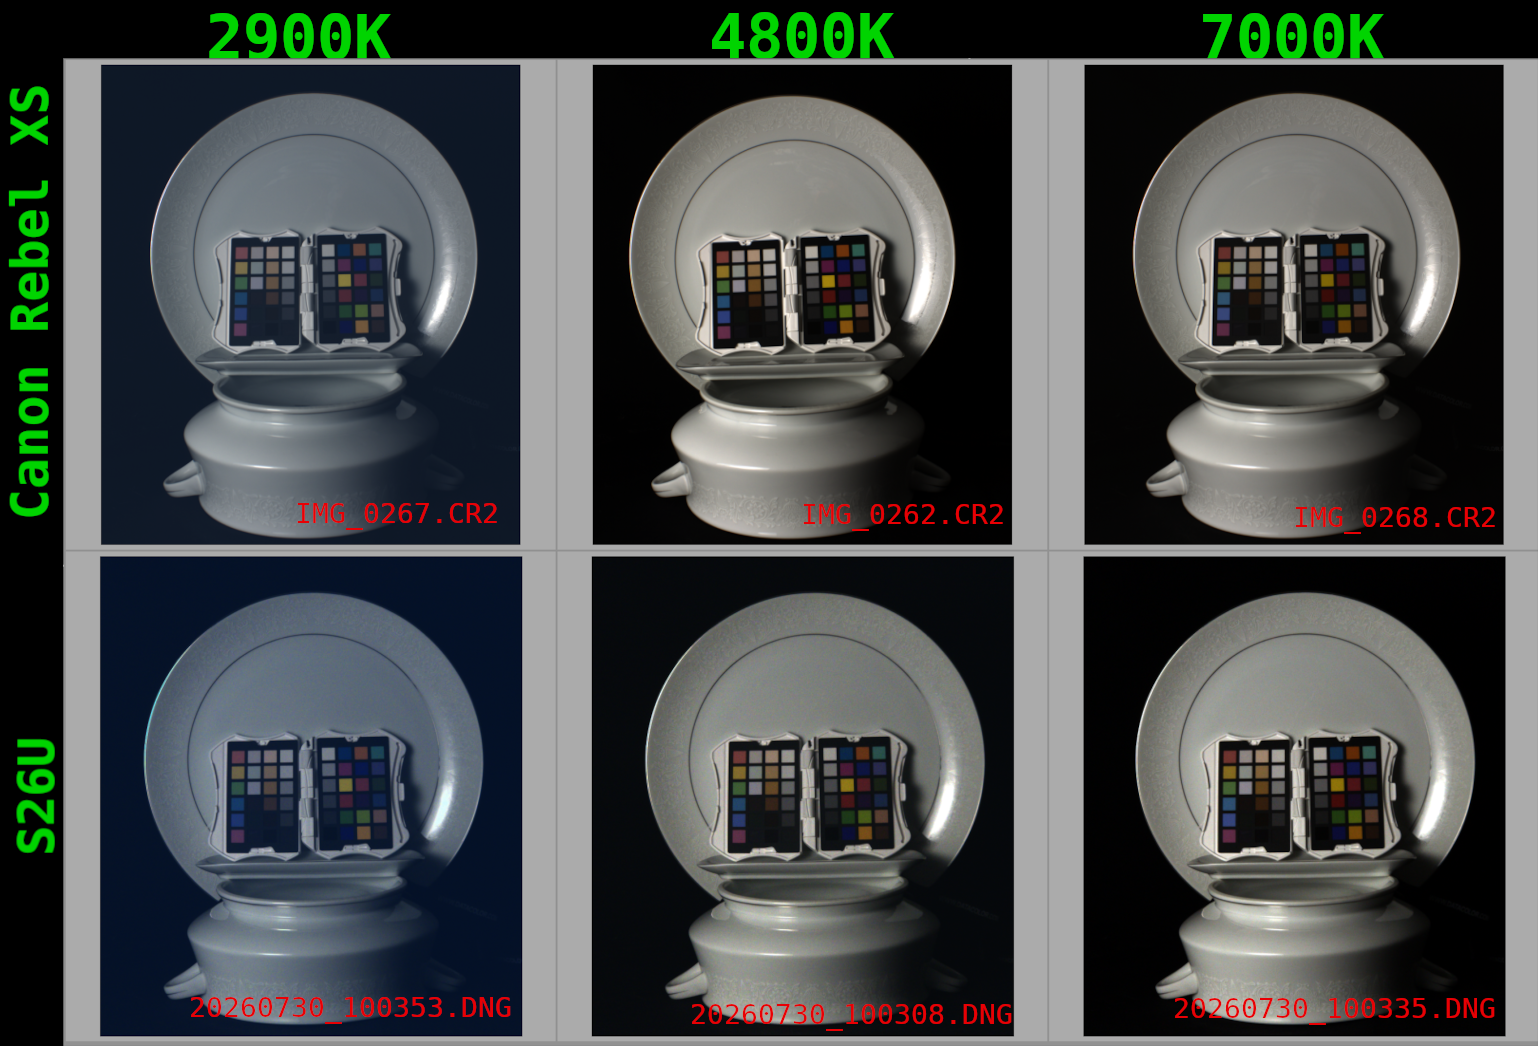
I finally got around to doing some experiments with really interesting results… I’m attaching the RAW files, darktable xmp files, and a screenshot of the images in a table view.
It seems like there is a hiccup in the color calibration module. I did not change any settings upon import except making sure that the setting “auto-apply pixel workflow defaults” was set to “none” before importing into darktable. I then went straight to the color calibration module and used lined it up and calculated and applied, then applied the exposure and blacklight corrections in the exposure module that were suggested at the bottom of the color checker calibration.
Camera settings from the S26U were as outlined previously in posts (Pro mode, not Expert RAW mode), with the exception that ISO was bumped up to 200. Canon Rebel XS set to manual mode and appropriate aperture and shutter speeds adjusted for a reasonable histogram, with ISO set to 100.
One could argue that with my lights, the 4800K images would potentially be skewed because they are a mixture of LEDs of the two other temps. However, why would the 2900K and 7000K images not look almost identical after being “fixed” with the color checker? As we can see, it is not a problem of the Samsung Galaxy S26 Ultra’s 3x Telephoto camera (input color profile left at “embedded matrix” that was automatically set upon import) vs the Canon Rebel XS (input color profile left at “standard color matrix” that was automatically set upon import). In fact, both cameras appear to behave exactly the same in terms of color results.
If you wish to see output from other’s edits, the practice here is to attach an appropriate licence. Most common is: This file is licensed Creative Commons, By-Attribution, Share-Alike. Just change the tense.
If you are unable to edit your post just make a new one.
Meanwhile, I’m going to try to better understand your objectives.
You are using “as shot” in the pre-demosaic “white balance” module. This can cause challenges with making corrections in the color calibration module later in the flow. I’m sure you have noticed the warning, “white balance applied twice.”
I’m not the expert here, but what I would suggest is changing the “as shot” to “as shot to reference” in the white balance module. The alternative is “camera reference.” While there are technical details between these two options, the pipeline handles the difference, and to my understanding the net effect is small. But I always use “as shot to reference.”
In the modern workflow, the first white balance is preliminary and is needed for good demosaic. One can do complete white balancing here, and some people do that. But I’m suggesting to let darktable set to the reference (D50 I think) and then use color calibration for your color balance to scene.
I would as well…What was recommended in the past was to set the cc module to as shot after you had your correction to make a preset that you could reuse…