Another go for the community - since the last one was so helpful for me.
This file is licensed Creative Commons, By-Attribution, Share-Alike.
IMG_0001.CR2 (52.9 MB)
IMG_0001.CR2.xmp (10.5 KB)
Another go for the community - since the last one was so helpful for me.
This file is licensed Creative Commons, By-Attribution, Share-Alike.
IMG_0001.CR2 (52.9 MB)
IMG_0001.CR2.xmp (10.5 KB)
My apology in advance. I really have next to no idea what I’m doing, here.
Can’t play - my apps are showing the .CR2 as a reddish film strip rotated left 90 degs.
My use of negadoctor in DT for this image.
1. Fix the orientation of the image and crop image leaving some of the film base between frames but removing sprocket holes. This is done before worrying about negadoctor.
2. Negadoctor needs to be after the cropping in the pixel pipeline so I checked this was the case.
3. Activated negadoctor and used the eyedropper in the film properties tab to measure the base color of the film. This was achieved by drawing a very small area selecting the base only between the frames.
4. Went to corrections tab in negadoctor and used the eyedroppers to set the shadow color cast and the highlights white balance. The eyedropper automatically selected a large area of the image for this which worked fine.
5. I then applied the local contrast module, the sharpen module and the denoise (profiled) module.
6. I then went to the rgb levels module and did an auto adjustment which felt too bright to me so I moved the middle grey pointer slightly to the right to darken the look of the image.
7. I activated the shadow and highlights module
8. I then did some minor adjustments in the color balance rgb module to teak the brilliance of the highlights to make the plane whiter. I also increased contrast and played with vibrance and saturation sliders.
9. I returned to the cropping unit and finalised my crop.
10. My life is too finite to take care of the dust and scratches, but if I was to do that most of that work would be done in GIMP.
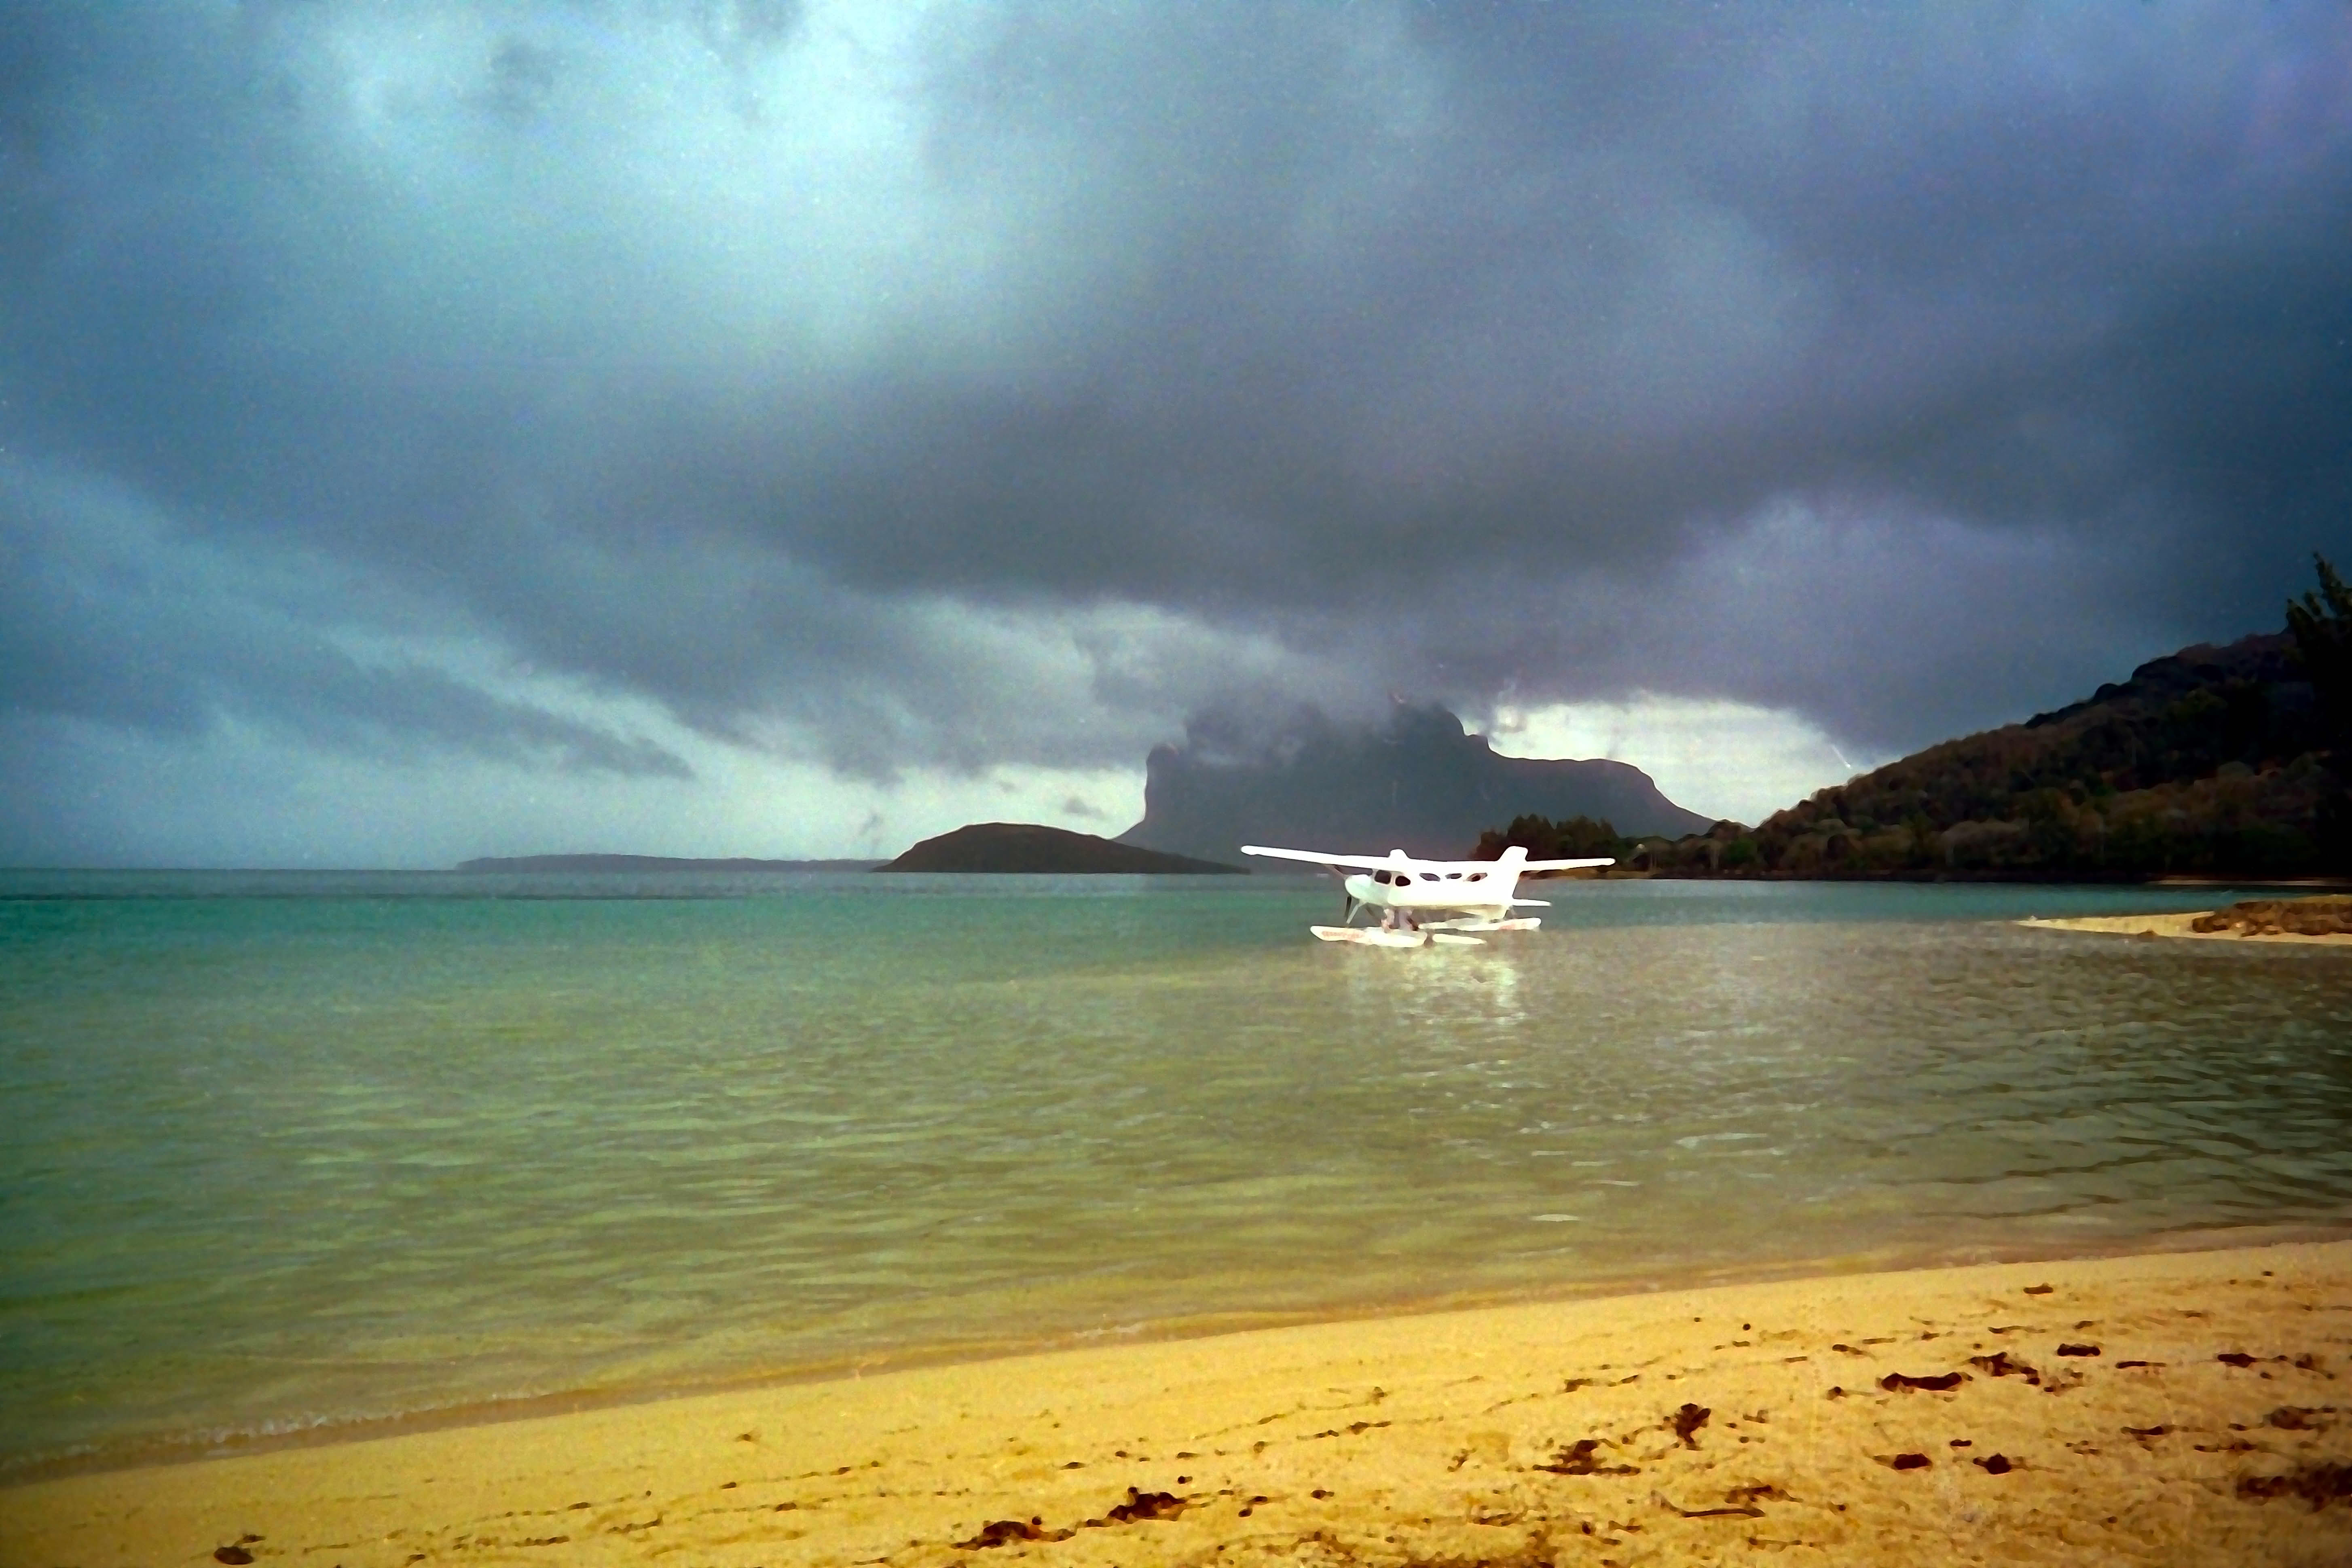
It is a photograph of a color negative and the colors need to be inverted. Darktable has negadoctor to achieve this.
IMG_0001.CR2.xmp (12.3 KB)
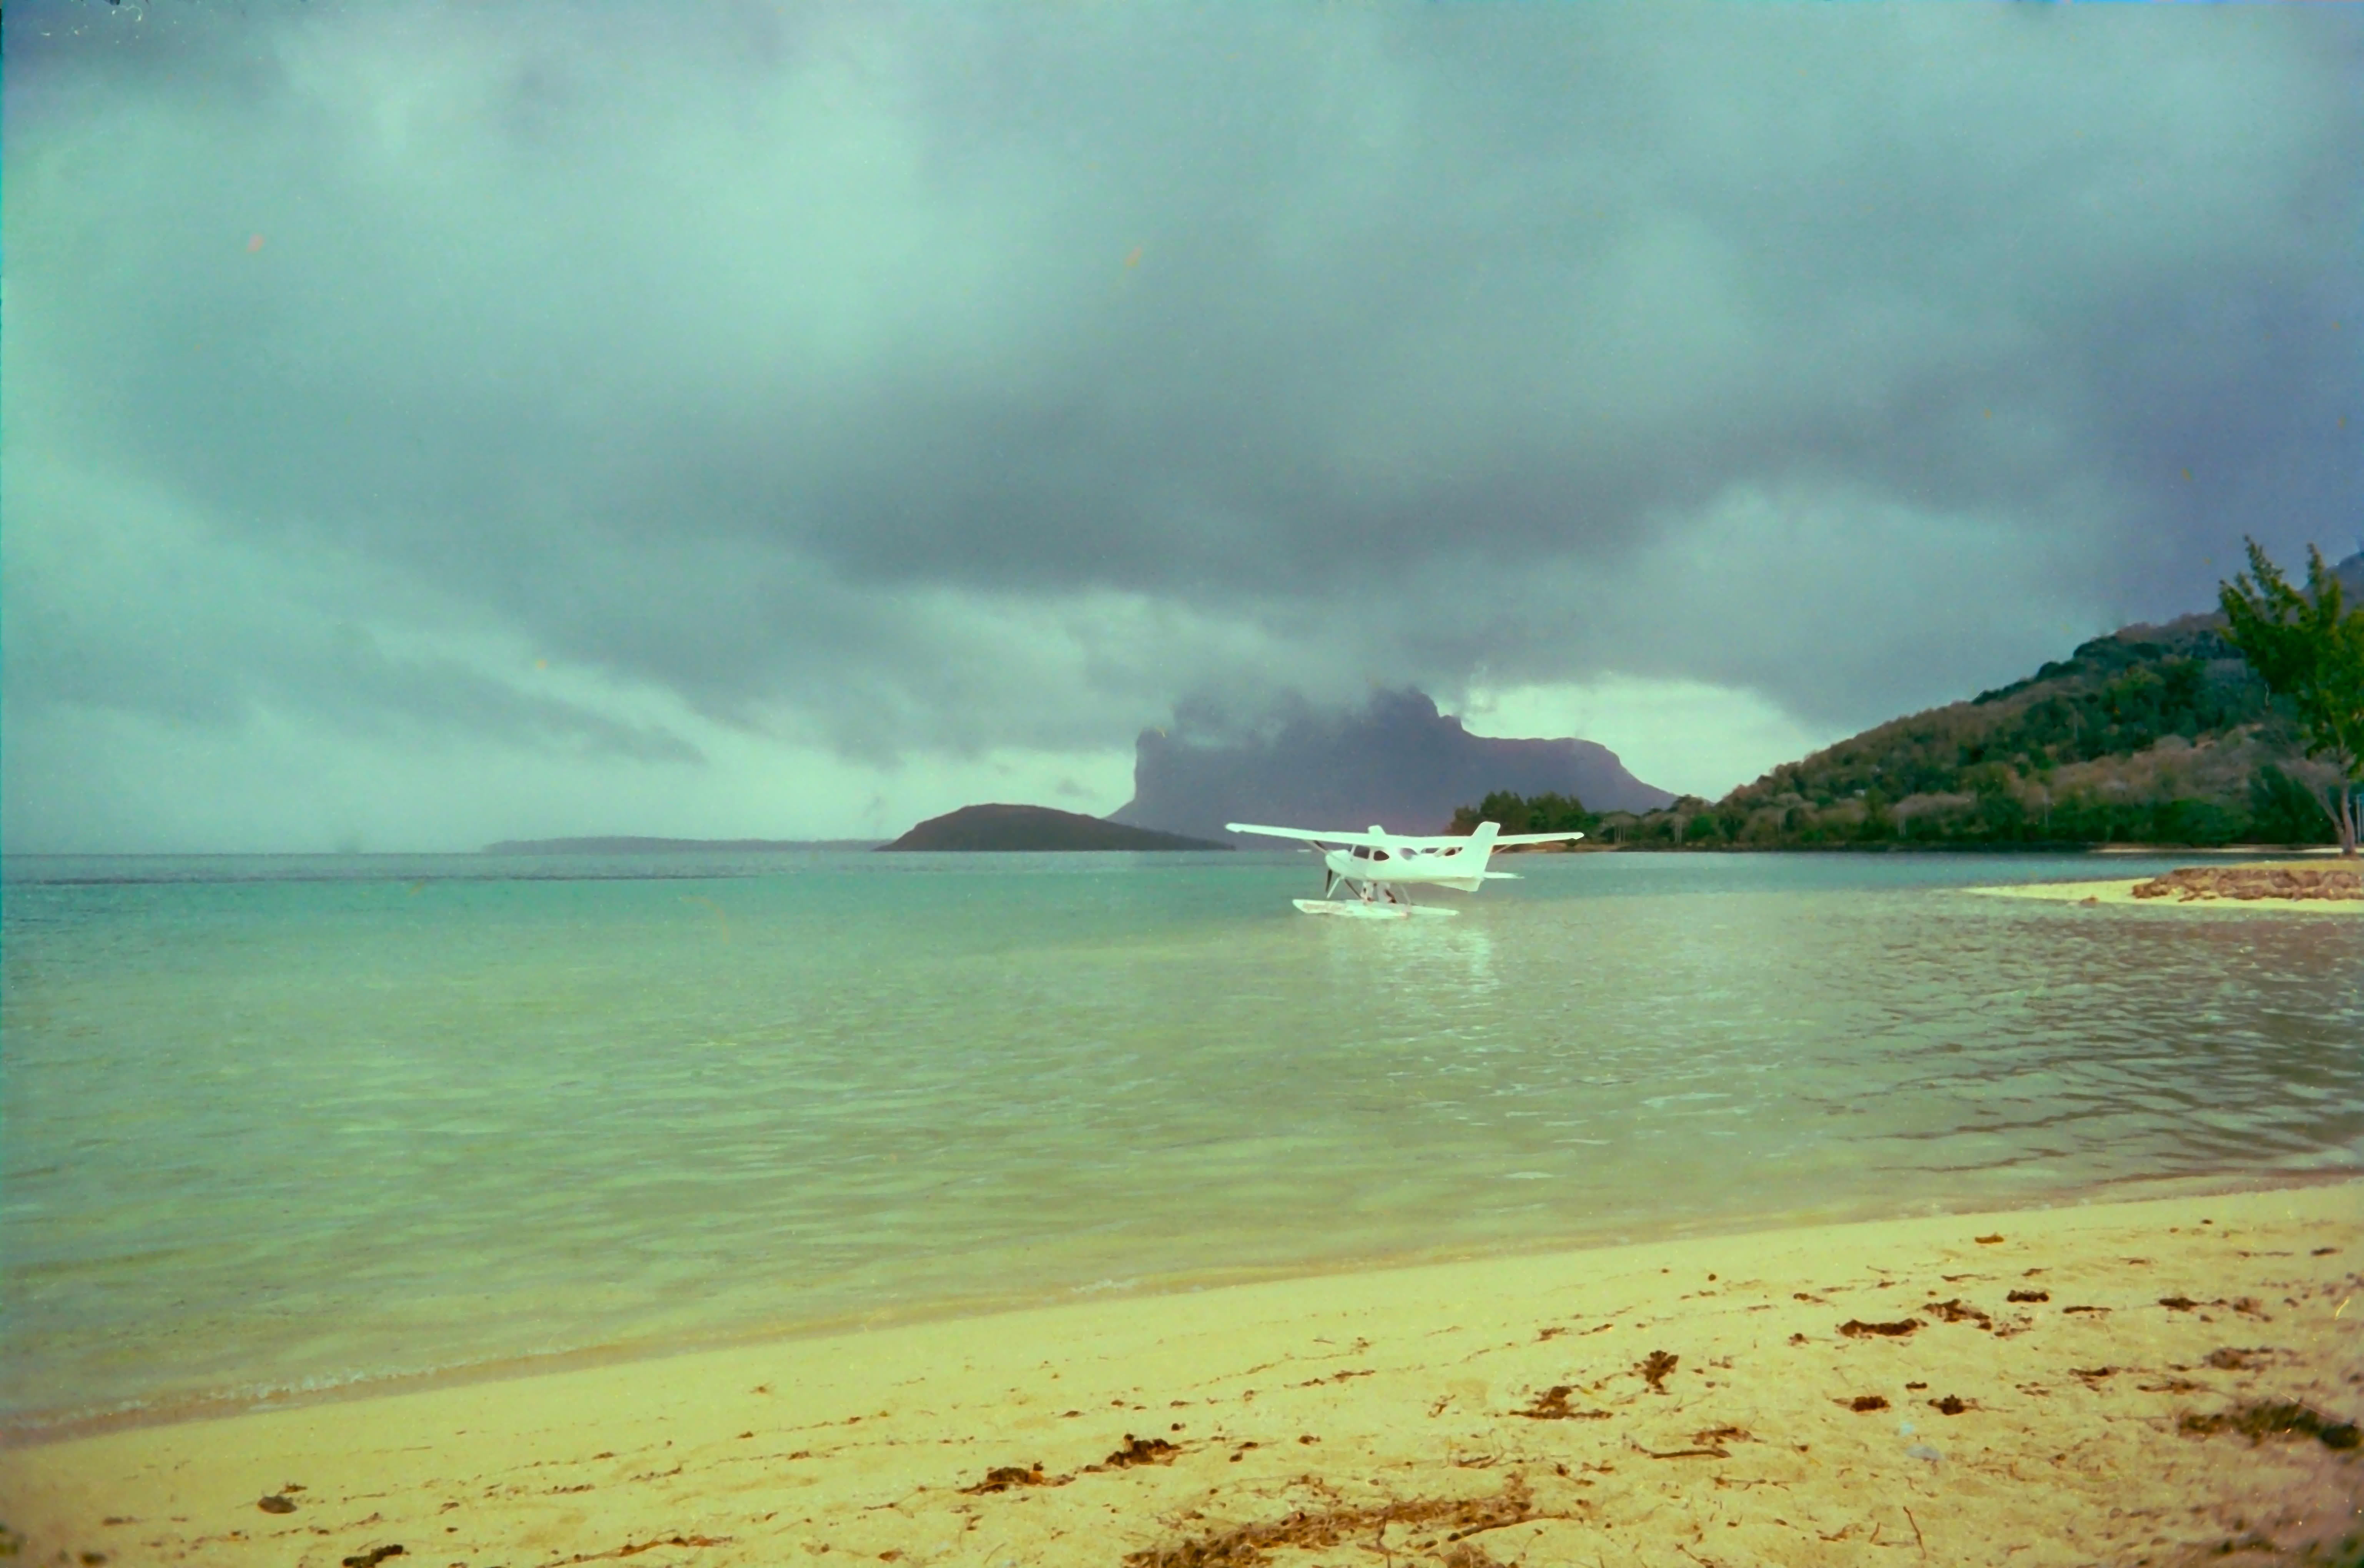
A RawTherapee edit using the Film Negative tool.
And I have almost zero experience with colour negatives …
Thanks - GIMP has Colors>Invert, I’ll try that … [edit]wasn’t perfect - I fold.
IMG_0001-2.jpg.out.pp3 (17,1 KB)
latest AgX build + despecle filter gmic:
or more like that?
ART 1.25.3.1
This is totally outside what I’ve ever tried and I didn’t even attempt blemish clean-up.
IMG_0001.CR2.arp (17.1 KB)
Ah, I love a good negadoctor challenge!
I did not clean up all the dust and scratches for lack of time.
Thanks for sharing!
IMG_0001.CR2.xmp (32.0 KB)
Where do you get these DT builds from?
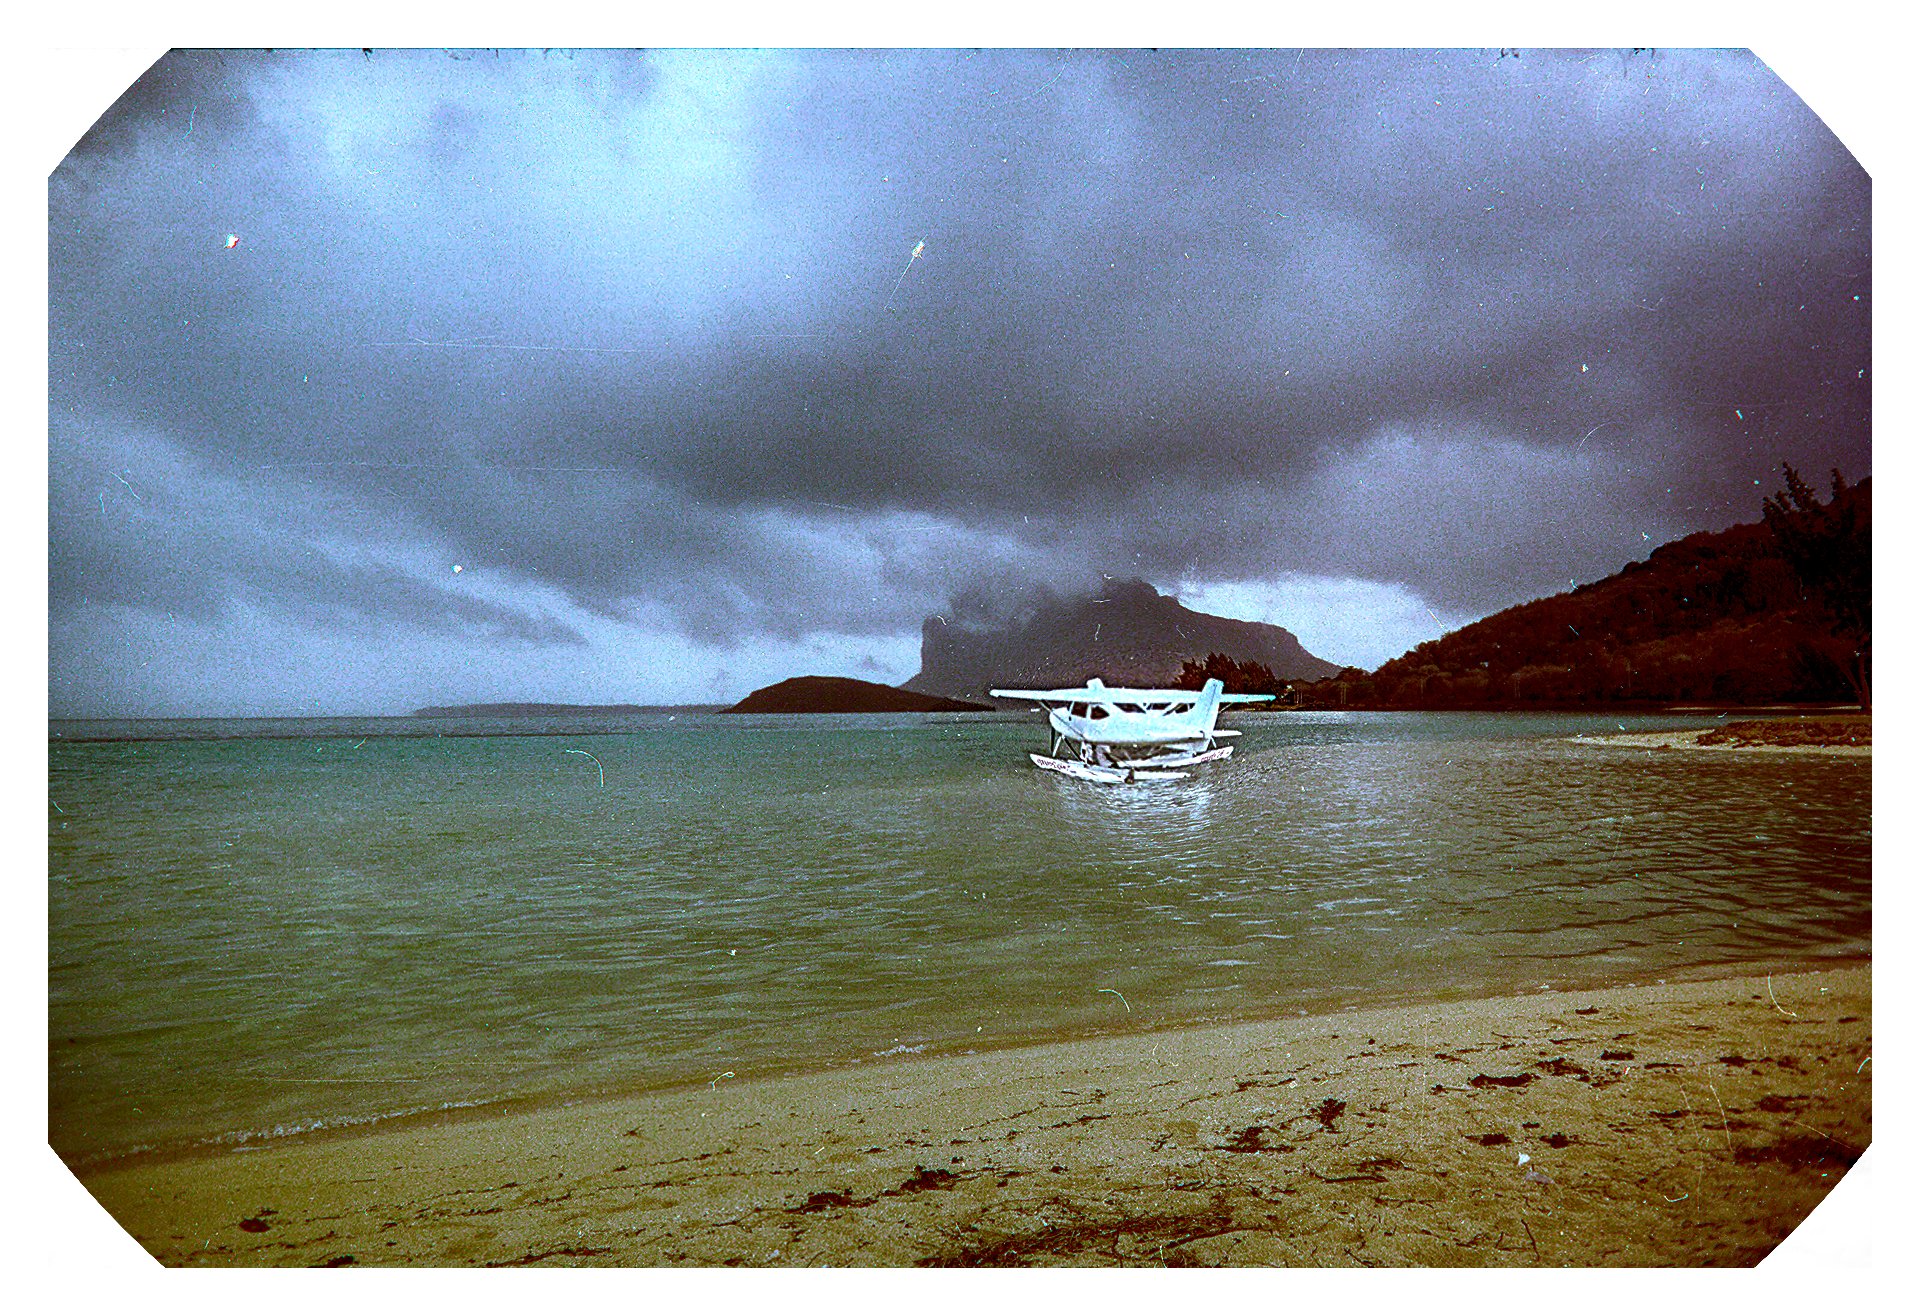
This is an unmanipulated result from Filmvert. However, to post here I opened in GIMP where I cropped it and scaled it down in size.
That looks great, except for the yellow sand. Maybe the sand really is yellow, I don’t know.
The sand is a white color.
Do you remember when in the paper photo albums of the 80’s the photos were stuck in the album by the 4 corners?
Well, this old photo is already stuck in the album! ![]()
Oh, and another thing: I enlarged the plane with the liquify module because it seemed too small. ![]()