1 Like
This makes me wish I splurged on a densitometer back when I was sorting out my control strip process.
@arctic Quick question about exporting/saving:
Is there a way to designate which filetype to save as? I’m on M1 Mac, Main branch before the positive film coupler fix. It usually saves as a .png but it also has a strange habit of choosing .jpg seemingly at random. Early versions exported a .tif, hoping to get back to that as it matched my workflow.
1 Like
@Anthonygansauer You beat me to the punch with the comparisons! Great stuff! How much are you finding you have to go in and play with the finicky settings (couplers/ir and uv filters)?
Would be fun to trade some of the Json settings files.
Wasn’t too much editing! A lot of preflash, more than I would’ve thought. I’ll make a google drive of the raw and print so others can play with it. I’ll also link my saved settings in a file when I get back to my computer
2 Likes
well the couplers diffuse a bit and only then do their thing/affect colours.
sorry no idea how that is done in ART. maybe just the diffusion is left away/assumed to stay sub-pixel.
1 Like
hey Aedan, welcome to the forum
i did read in depth the paper, and i think it is wonderful work. it has many strengths, but also shortcomings (by the way, happy to discuss in depth about it  ). the implementation in spektrafilm is at some level simplified and in other aspects much more advanced. the ultimate goal is to match the measured diffuse rms granularity curves of real film, the ultimate film grain look, the real truth.
For example the following from kodak vision3 250d:
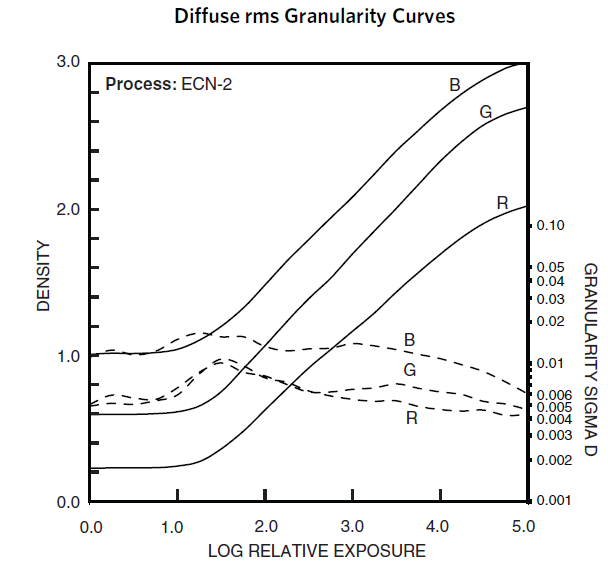
the model form Newson et al. is kind of impressive in the way they set up the resolution independent problem, but they miss in fine tuning the model to real data. in doing so you realize pretty quickly that you need the surrounding parts of the film simulation, at least if you want to work “in the right representation/pipeline step” with color film. the application to color showcased in the paper is very rushed and i would believe it might be pretty far from measured diffuse granularity.
this endeavor towards better grain was also my entry point, and it is the very short summary of the early history of my efforts in this toy project.
i see the python implementation as a quick and dirty test bench. the model is still in heavy development. in the last weeks i changed parameters input in the gui every other sunset  and python gives to someone like me a way to do it. I have been focusing more on the math and the concepts for now (and got unbelievable amount of smart feedback and ideas, by having my little crappy gui and a an amazing place like pixls.us to share).
the super vkdt implementation by @hanatos is the best possible performance i could think of, three orders of magnitude faster than the python implementation 
anyway good ideas are always good ideas, and i am pretty sure it would be cool to explore the video side of it. just my driving force has been photography for now, because it is also my hobby.
this stole me a nice smile
kind of amazing! thank you so much for bringing this kind of data and comparison. i see the color of the shirt a little different and some other small shifts, but overall quite amazing. and lovely photos and subject too! in a dream world, having this kind of sim/real data could let us implement simple strategies for color tuning, in principle at least. not sure we want to open that pandora box though. as a very simple first step, having this comparison is arguably the best way to verify the general amount of inhibition couplers.
lovely anyway @Anthonygansauer !
right now if you add the extension to the file name it will save in that format. i recently flipped the default from png to jpg. i think it is a more sensible default for saving high res images. but it would be easy to add a default format output somewhere. i took a note about it.
that’s very interesting and fits in the discussion about the paper base >> something could be done there
ART is bypassing all the non-local and stochastic effects computing a lut, essentially encoding only the “average” output of a flat field (minus the glare that is only stochastic for now).
2 Likes
here are some full resolution crops done with the new model:
(i added long range coupler diffusion by the way, still uncommited. it keeps the mtf raised a few point percent at low frequency, and takes into accounts Levy style diffusion due to inhomogeneity or diffusion through the developer, if you look closely you will see a touch of local contrast from the long range diffusion of inhibition couplers).
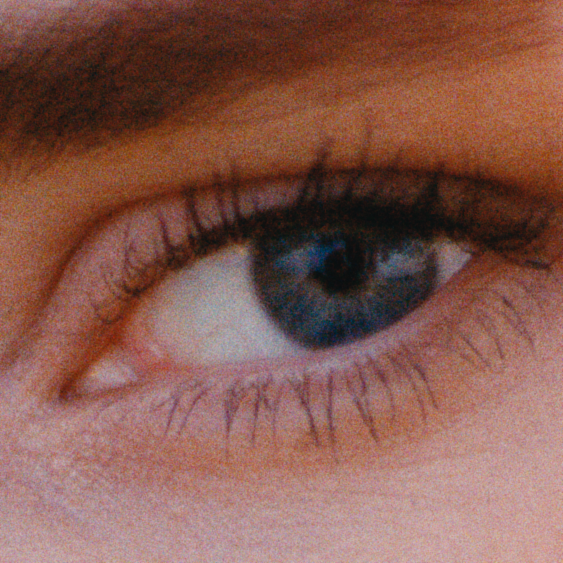
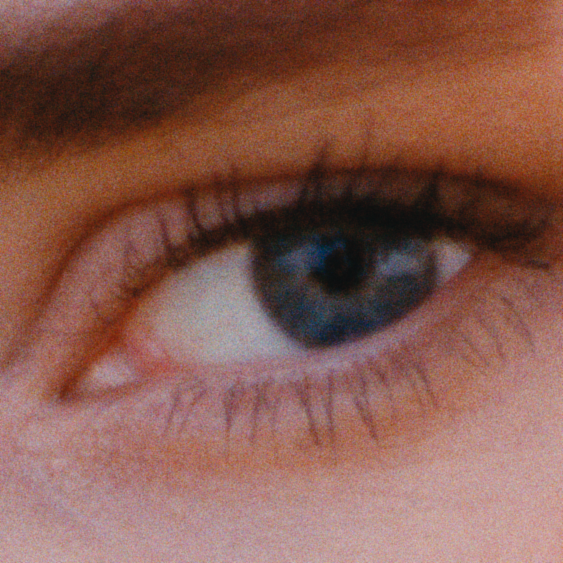
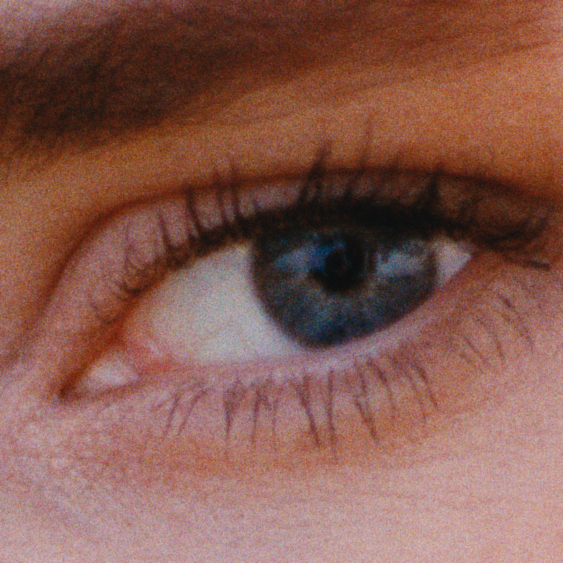
(left) no diffusion effects, (middle) only halation/scattering, (right) full diffusion model.
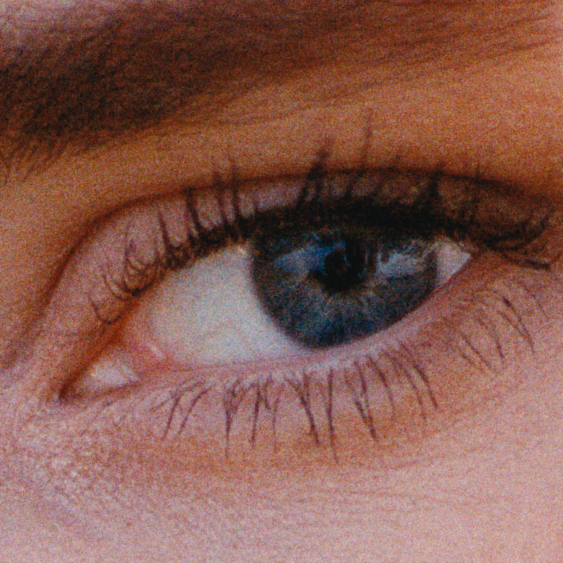
here is only dir couplers diffusion and no halation/scattering for reference.
for now the current defaults are based on rough tuning of the model to my trusty reference portra 400, but we could do so much more of course, like modern/vintage/old presets, or profiling semi automatically all the stocks. these days i just would like to have 48 hours per day, and not to have to care of having a job to buy me food
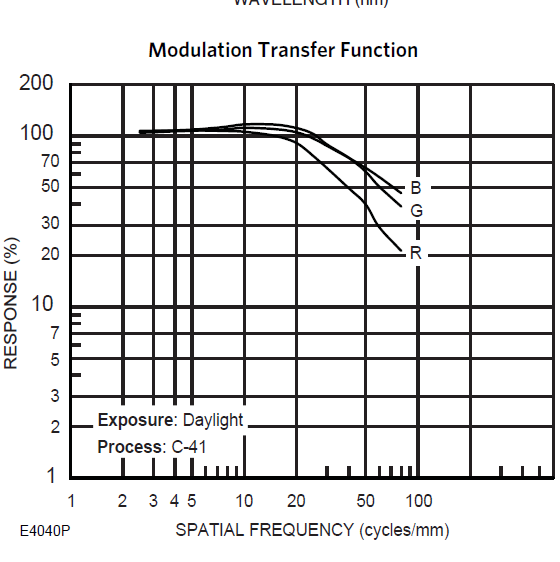
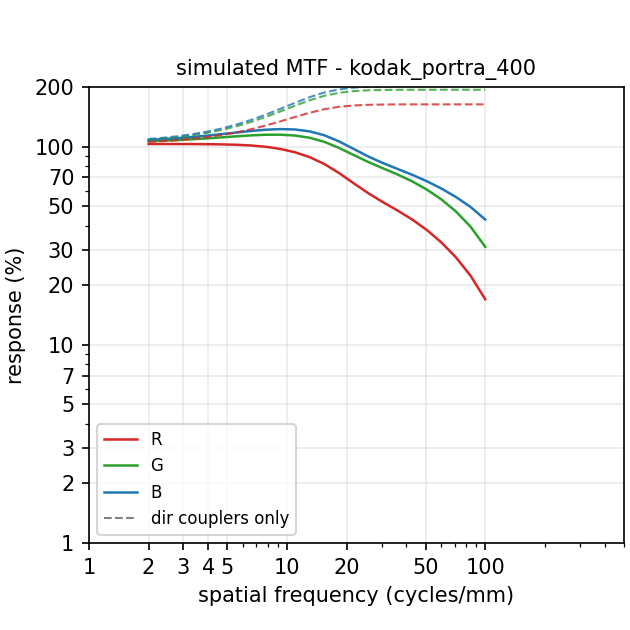
and here is a comparison of the portra 400 data-sheet mft, and a simulated measurement of the mtf from the model
9 Likes
I think it’d be a lot easier to do your Photoshop work after Spekatrafilm if possible. Spektrafilm can now load RAW files.
If you’re keen on using Photoshop before Spektra there’s a few steps you probably need to take first. When importing a RAW into Photoshop, it opens “Camera Raw” - Make sure you use a Linear Camera profile. After that, you’d need to make sure it’s opening into Photoshop in the right colourspace/gamma so you’re staying scene referred (this is usually at the bottom of the Camera Raw window I think…or there’s a setting cog).
After that you’d need to export from Photoshop and also stay scene referred. So Linear/Prophoto? Then you can import that into Spektra.
I think it’d be pretty hard to work in Photoshop on a scene linear photo though, unless it’s applying a viewing transform!
Edit: It’s not as involved as I thought. I’ve uploaded a little video showing the process. You’ll need a linear camera profile. I’m using one from Cobalt, but it’s not too difficult to make your own.
(Also I didn’t show it in the video, but you’ll need to change your input color-space in Spektrafilm to ACES2065-1):
2 Likes
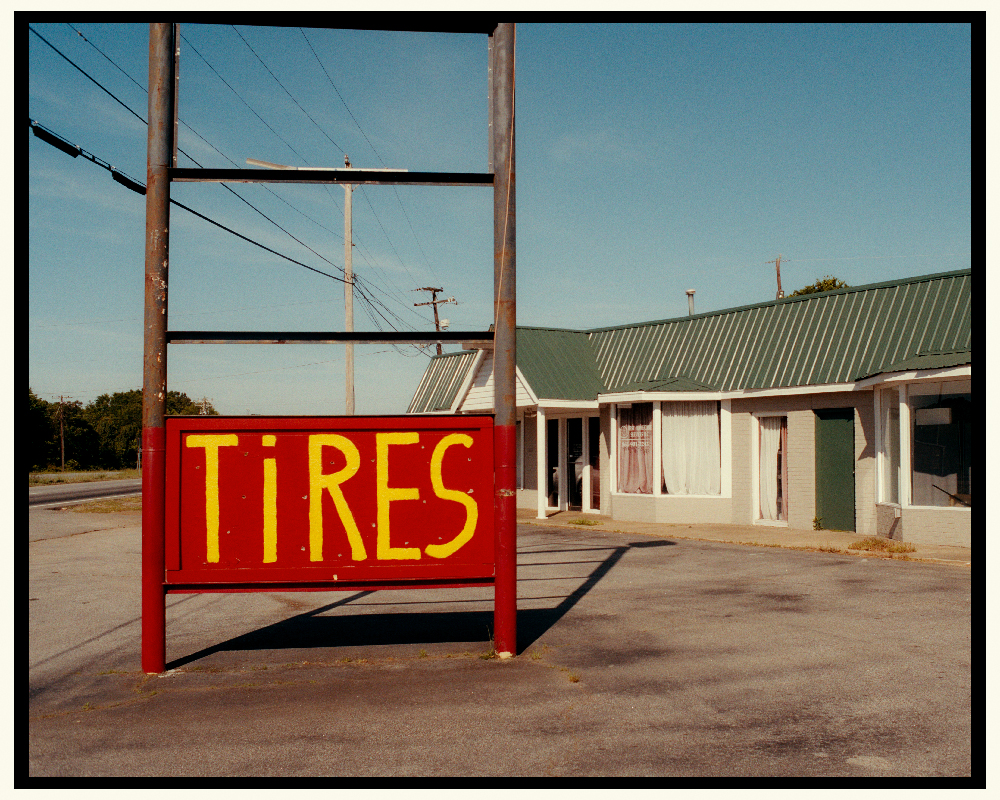
https://drive.google.com/drive/folders/1ryifCcPHbDQoFiofn46u1Wiymi4RoxdE?usp=sharing
heres a google drive so you guys can match and play with it yourself!
It includes:
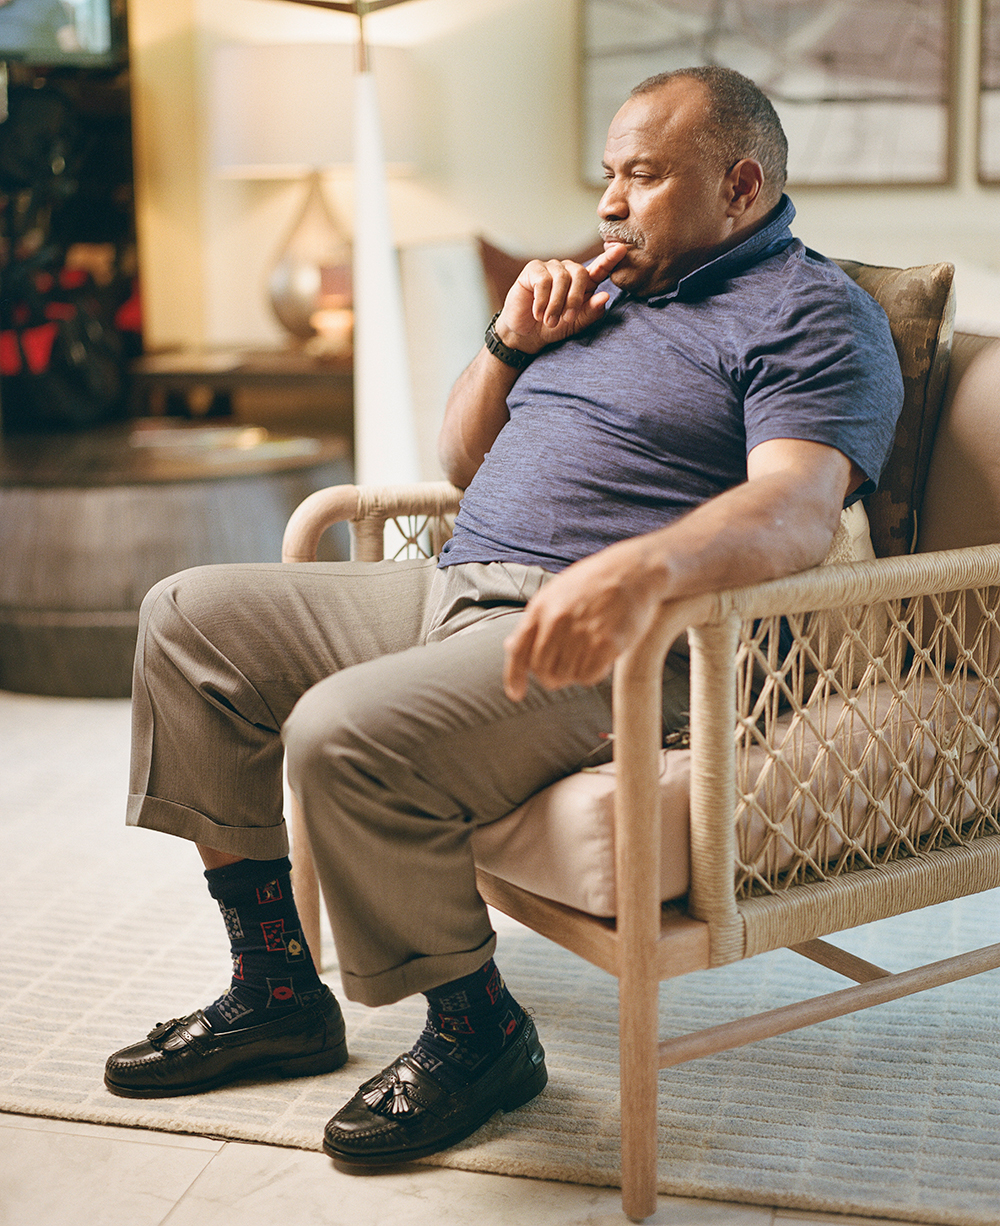
RA4 print using Pentax 67ii + 105mm f2.4 + Portra 400 + Fuji DPii Paper scanned by a Epson V600
Film scan of the same frame using a Noritsu HS-1800 scanner.
Digital raw from a Lumix S5ii using a 50mm f1.4 of identical frame.
GUI parameter preset to import for matching the print to print emulation settings.
4 Likes
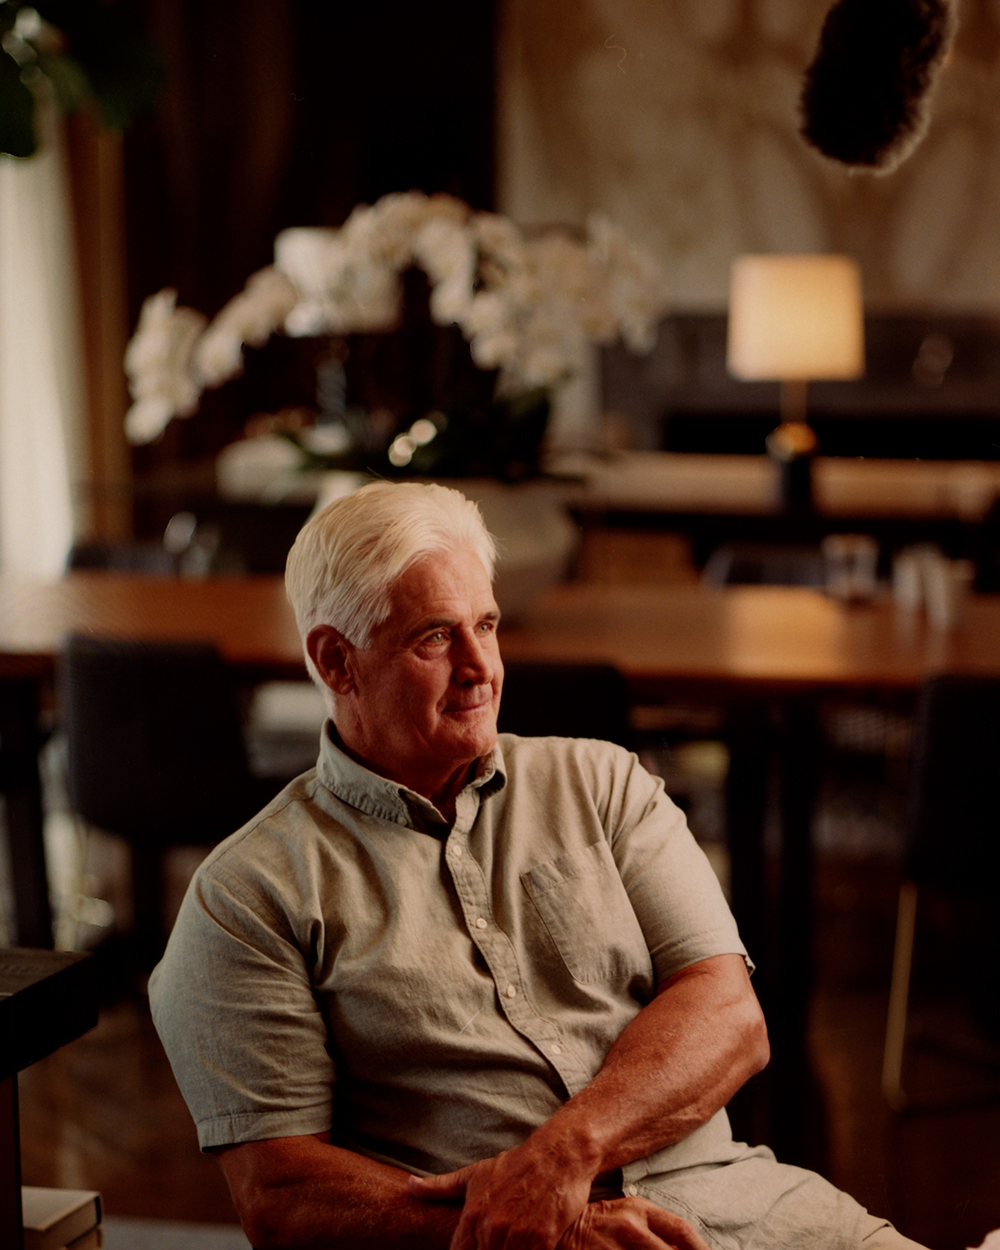
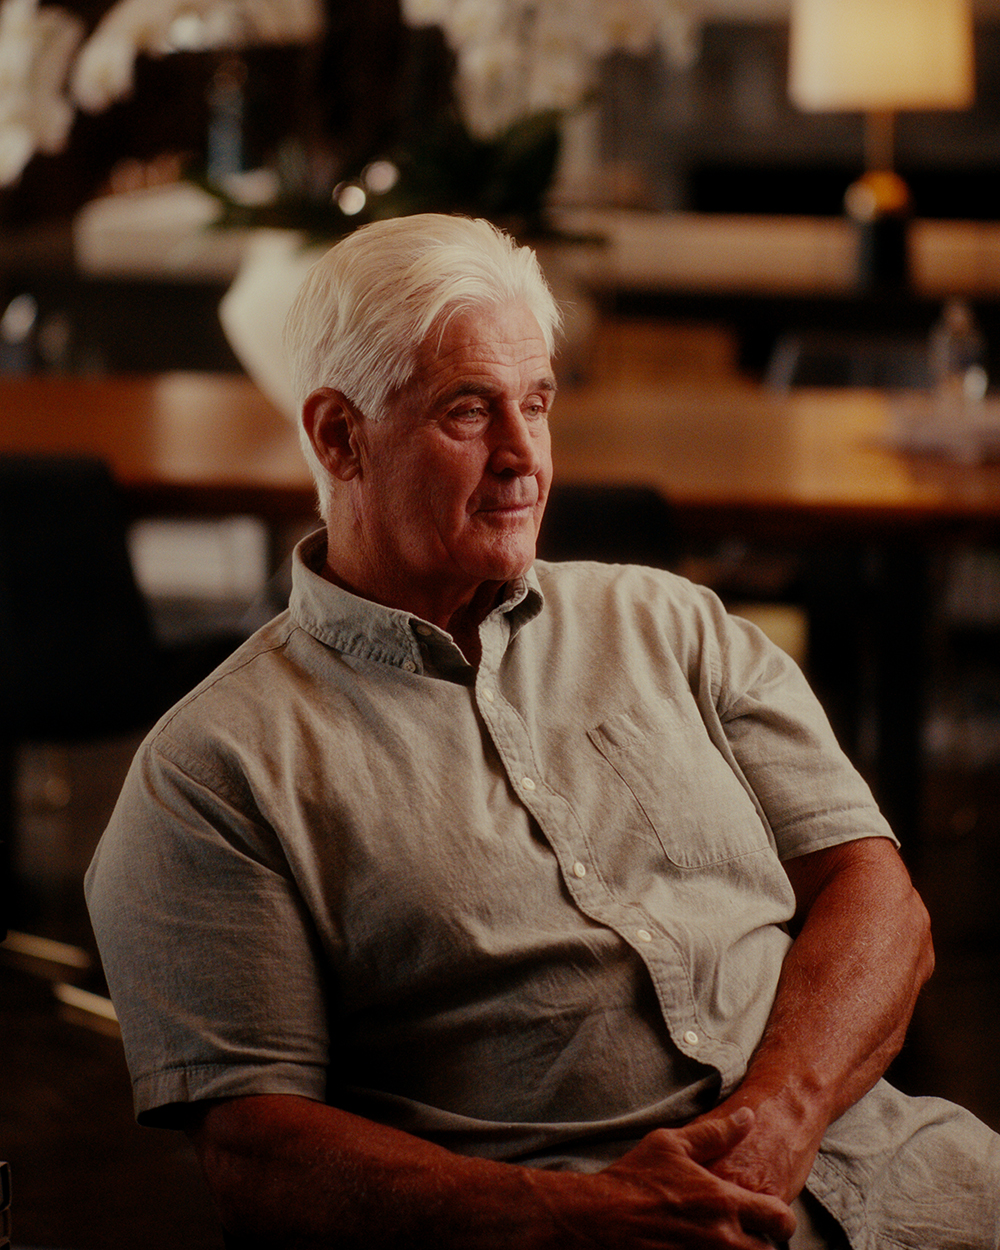
another test
top is real film + RA4 print scaned
bottom is digital emulation.
all editing was matching black point
8 Likes
Great! Can you please share your GUI parameter preset for this photo?
It’s the same one in the google drive !
1 Like
Thank you!
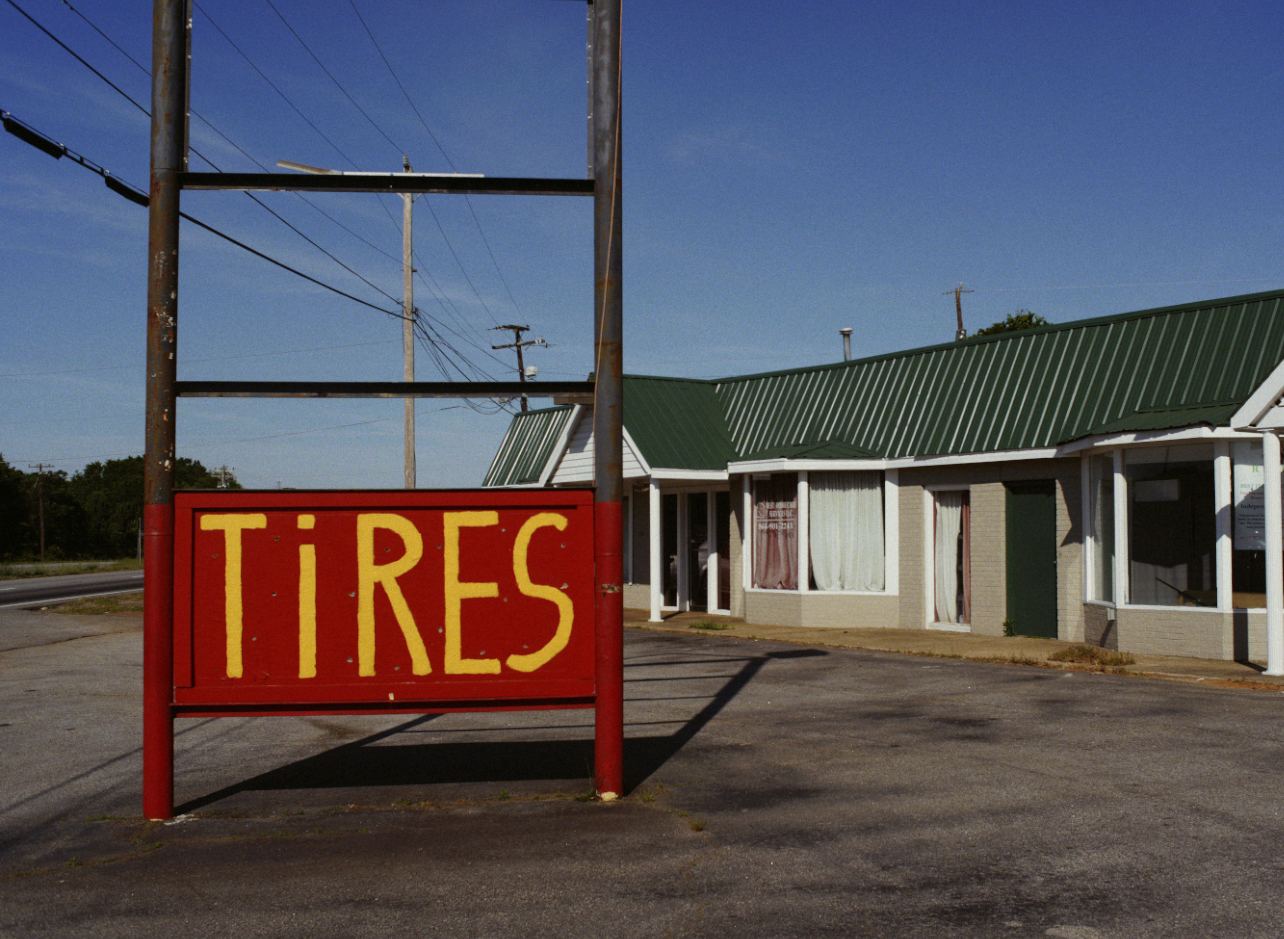
[
And just for fun here is a Ektachrome 100 emulation. I made this one myself shooting -5EV to +5EV color charts between my Lumix S5ii shooting Vlog and my Nikon F4 using Ektachrome and matching them. The great thing about Lumix S5 series is you can use 3Dluts for stills. This image is straight out of camera. Basically infinite ekatchrome! I have yet to test 1:1 but soon!
4 Likes
Oh wow! I have S5IIX so that 3Dlut feature might be of use. Currently using it only for preview in video.
My only 2 120 rolls of Velvia 50 and E100 are waiting for some special ocasion 
Here is a video I made yesterday using exported haldcluts from spektrafilm. With couplers included!
Everything was recorded on lumix s5iix with 5000K white balance in V-Log using Helios 44-2 lens.
only LUT used was Kodak 200D printed on 2393.
Adjusted only exposure, contrast and pivot in Davinci Resolve plus some gate weave and halation. Minor saturation and printer lights adjustments on some clips. Skipped grain because no matter what I do I can’t get to look good past YT compression. Enjoy!
9 Likes
If this project would get some more exposure, I’m confident this wouldn’t be an unattainable goal with some crowdfunding. But I guess that also comes with new expectations from funders (that are not always familiar with open source software development).
This will be a lot less flexible and push values outside the “boundaries” that Spektrafilm sets.
The way I do it is I edit in darktable as usual, with sigmoid turned on. After/over sigmoid I place the LUT 3D module with a Portra 400 NC- LUT. Then I do perspective correction, denoising and dodging and burning in darktable using a combination of masked tone equalizer and rgb curve modules. When I’m ready I disable sigmoid and LUT 3D and color balance rgb and export to 32 bit (float) OpenEXR in linear ProPhoto RGB that I then open in Spektrafilm. Works very well, but is a bit cumbersome. At least it’s less cumbersome than the actual darkroom. One day I still hope to see Spektrafilm in darktable…
1 Like
hi all, potentially dumb question here, but i finally (seemingly) managed to get this installed on my mac using uv. after it was completed the terminal says “Installed 1 executable: spektrafilm”–however i have no clue where to find this executable or know how to run it. sorry if it’s obvious, but what’s the next step? how do i find & run this?
Like so: