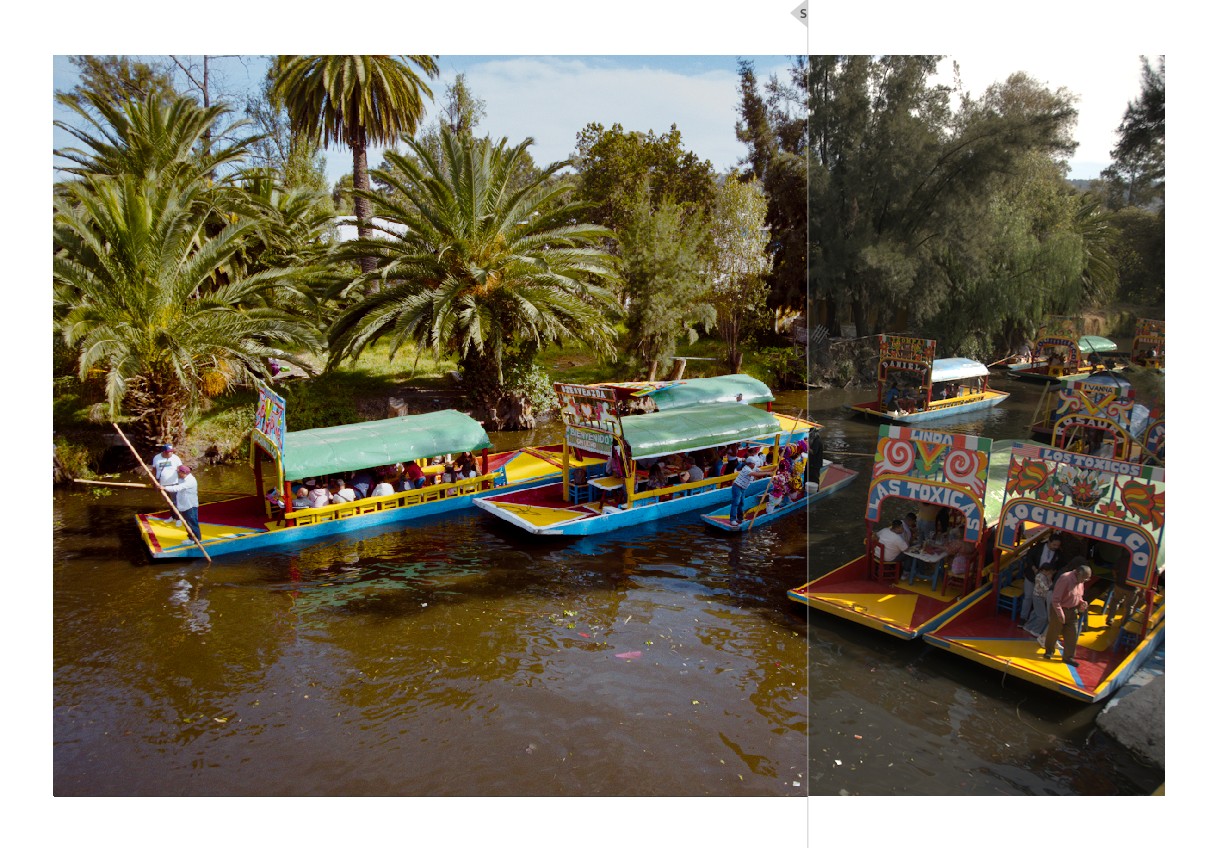
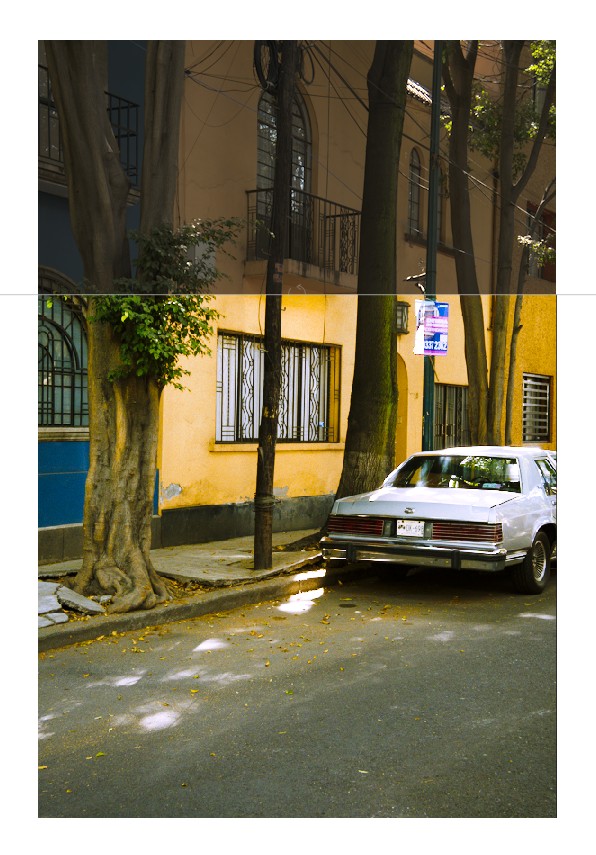
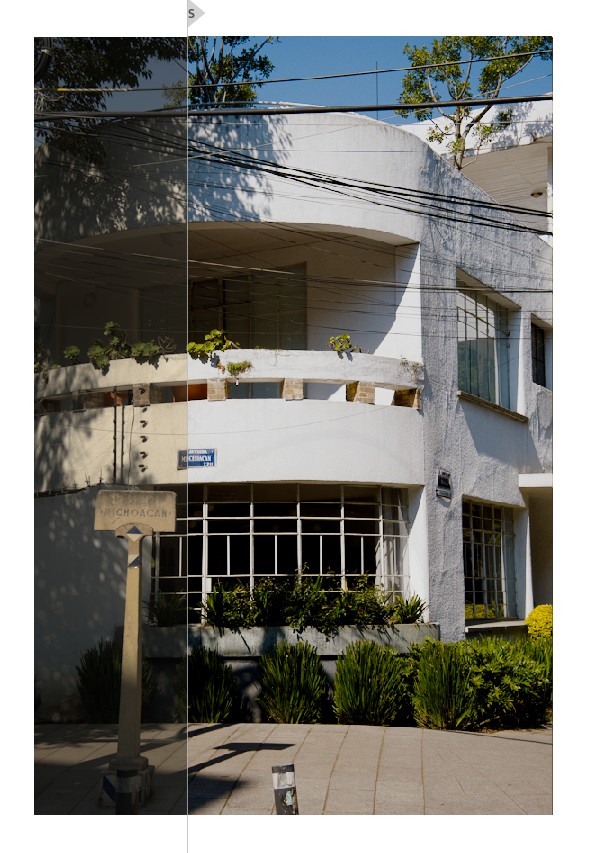
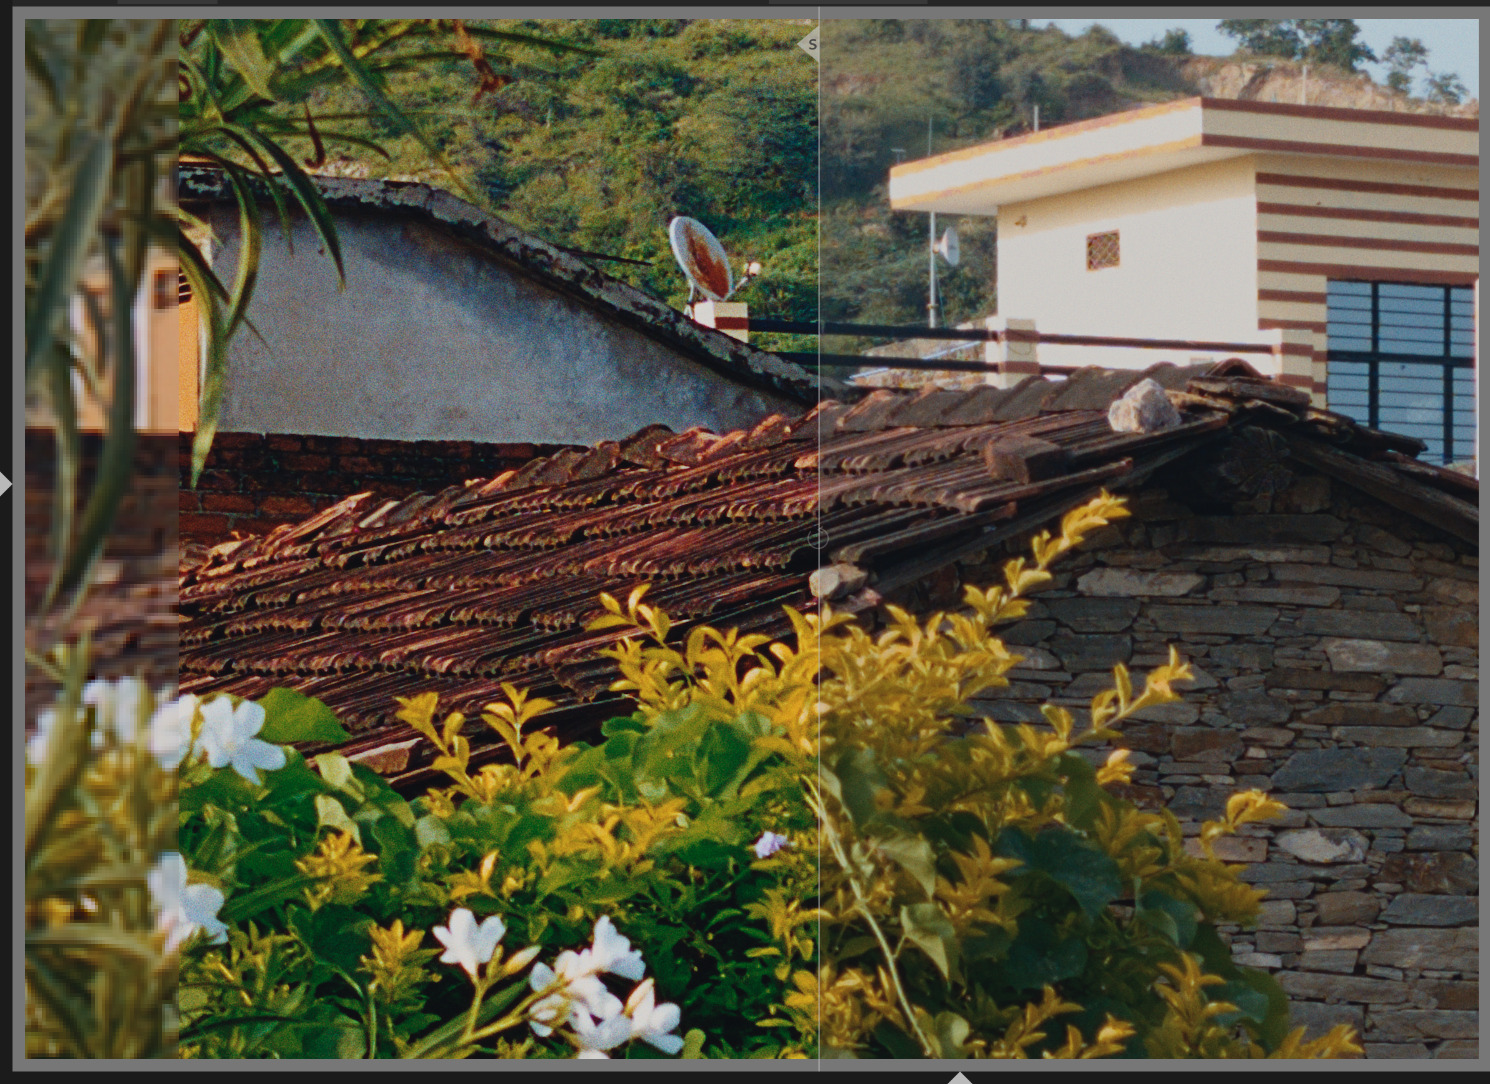
Hi everybody, long time lurker here. I’ve been loving everything about this module and the edits i get with it so far! Thank you so much for all the work!
I got one question though: Is there a way to implement the eye-droppers from “pre-compression boost” and “post-compression scale” to use them with a shortcut? I tried to bind them, but you only can bind the sliders, not the buttons. I used to work with a button shortcut on the AgX “auto tune levels”, which was quite helpful.
This would greatly increase workflow speed, at least for me…
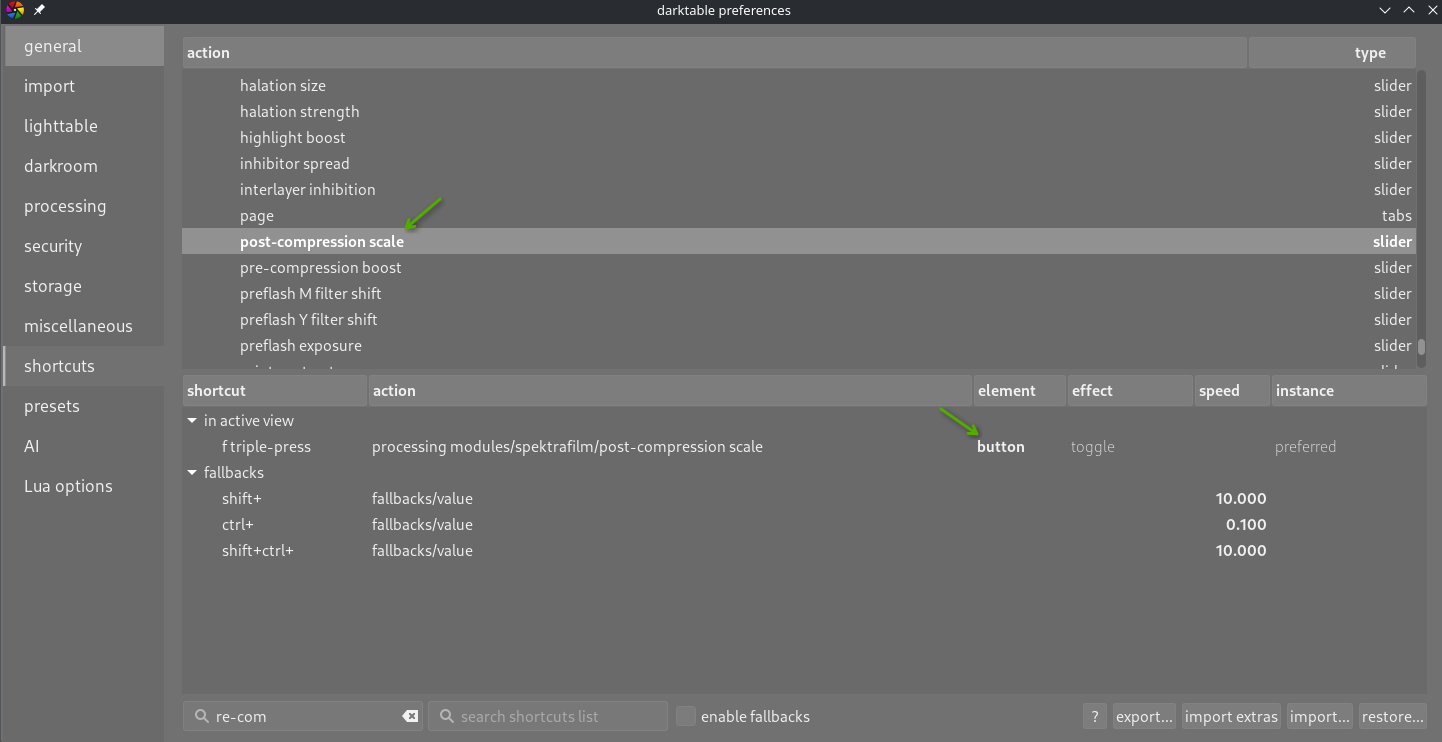
2.) To work around this you can find the corresponding shortcut in the preferences and set the element to “Button” - then you’ll have the shortcut bound like you want:
This is a bit inconsistent across darktables modules; mostly you can directly assign the picker to a shortcut, but in some modules I suspect the picker is tied to the slider and needs the additional setup mentioned above.
I dont plan to use it with spektrafilm (yet), but I can now select things that were hidden in dropdown menus and didnt have their own respective shortcut option.
Got an idea, this one is for the expired film and grain in the shadows enthusiasts -
a negative stock in spektrafilm-dt without print paper (set to none (scan the film)) → negadoctor (at base settings, cause why not) → color balance rgb (to fix the mess)
Edit: this is much more fun than I thought its gonna be! Of course the timeline gets very crowded if you want to go for more “authentic” results, but still, a lot of fun - this is something I miss in the python version, there is just no way to wysiwyg out from a bad negative there, here you can just adjust everything and immediately know whats gone wrong.
Thanks! Under normal circumstances I would, but I quite quickly went off the rails and didnt save anything. Ill check my other pc tomorrow. But I think that, just because this really calls for multiple color calibration modules, its better you build one yourself.
It goes like this:
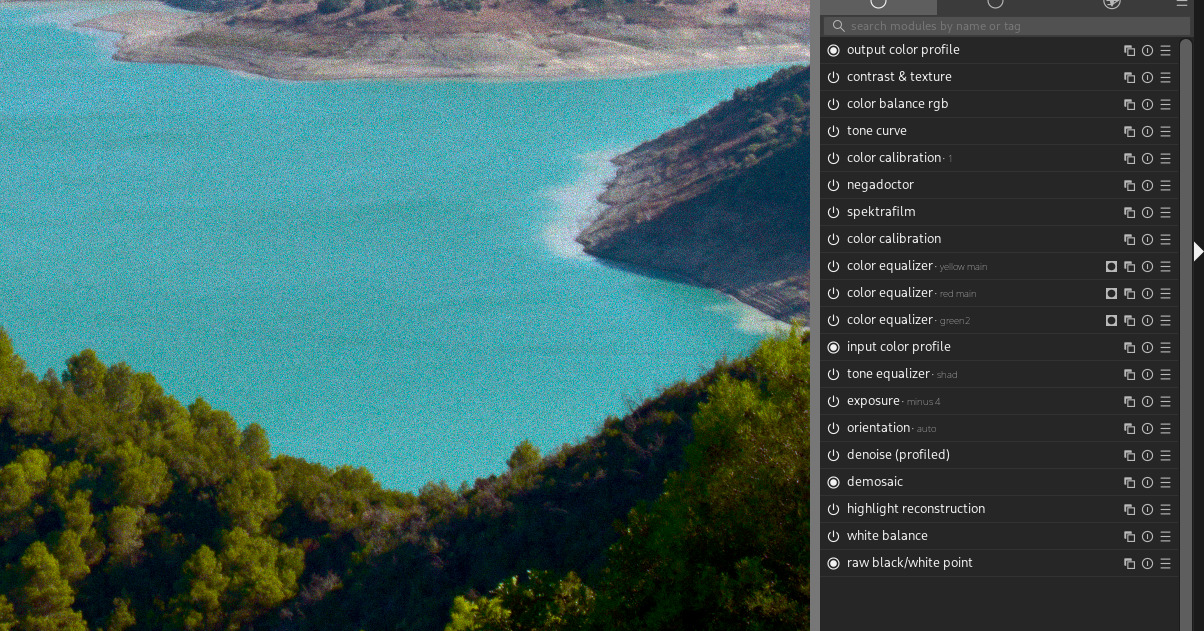
Ensure youre in a scene-referred space, reset history, open the active modules menu, disable AgX or whatever tone mapper youre using. (if youre using the spektrafilm scene referred option, youre set after the reset)
Adjust exposure in the exposure module, I recommend switching to automatic and doing like -4EV, so theres nothing too crushed.
In the color calibration module, switch the illuminant to “same as pipeline (D50)”.
Add an instance of spektrafilm, choose a negative film stock, disable the print stock. (or just disable the print stock if youre using the scene referred (spektrafilm) option)
Add an instance of negadoctor - and in the actives modules bar, move it above spektrafilm.
Add a new instance of the color calibration module (right click the duplication button on the existing one), move the new instance above the negadoctor module, switch the illuminant to CAT16, use the eyedropper tool to find a neutral patch of gray/white.
Now go back to spektrafilm and adjust the film exposure/pushpull to your liking - I do recommend going for like -1.5EV, 0.5EV stops push. Some film stocks do look better than others at this stage (Gold 200 is probably my favorite, Portra goes quite crazy - mainly the reds and greens, that is something you can fix in the negadoctor, but I didnt use any adjustments there then I think, or use color equalizer for more specific edits).
Add a tone curve module, drag it above everything, use that to fix the levels. (its better to start with a darker shot from the spektrafilm exposure settings, gives you fuller colors)
Finally, add a color balance rgb module, move it above everything, use it to fix the contrast, brilliance, vibrance/saturation, split-toning, etc.
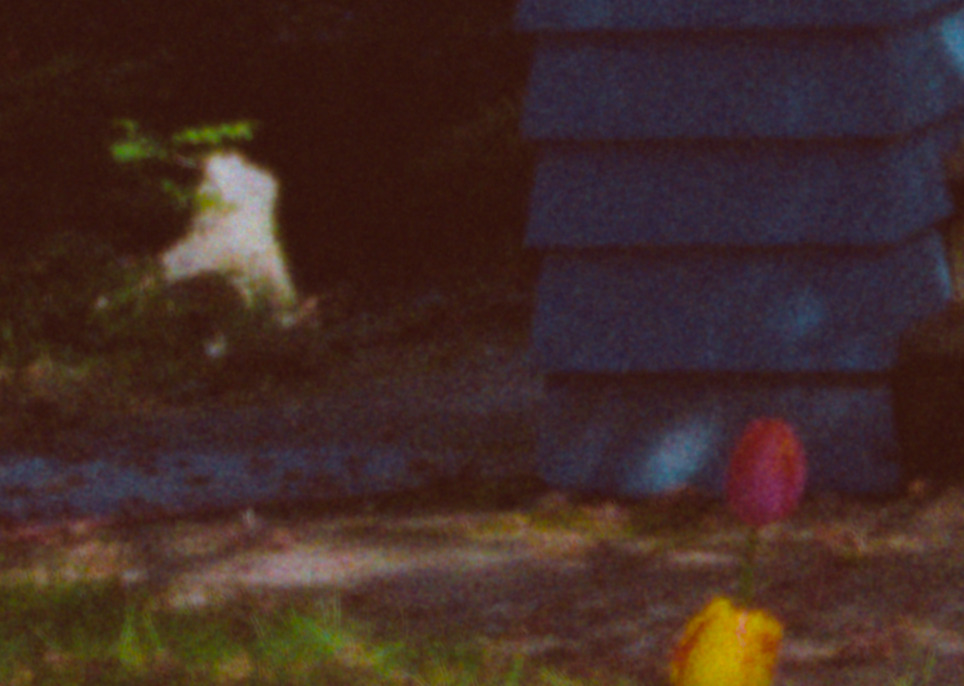
(one extra thing I did in spektrafilm for the zoomed in picture is - disabled both the grain texture recovery and the scanner sharpening)
I guess some of the steps here could be replaced with a more focused negadoctor usage, but I definitely didnt use those before, it is all very new to me again.
One thing though - in the spektrafilm module, everytime I choose a different film profile, a default paper stock is selected, kicking me out of the “none (scan the film)” option - perhaps this could be set up so that if I switch manually to no print stock, switching the film stock wouldnt change it? I am not sure what the best way is though, @piratenpanda. I can live with this, but it makes comparisons quite annoying
More fun incoming! I think that these are in a state thats repeatable enough to be shared. Though much more involved - or interactive, you choose.
Start in scene-referred (AgX), reset image/history stack, apply the style.
Use the exposure module target level slider to broadly adjust exposure, use the eyedropper in the color calibration module above the negadoctor module to fix color temperature.
A lot can be adjusted in negadoctor (all of the modules above it can be disabled, I actually think thats the better way - to know what youre “starting” with), use the tone curve too - experiment, the spektrafilm exposure/push-pull sliders give you a lot of control over color and contrast, and the three gamma sliders under development can do a lot too.
This is a comparison with portra 400 on the right and portra 800 push 2 on the left
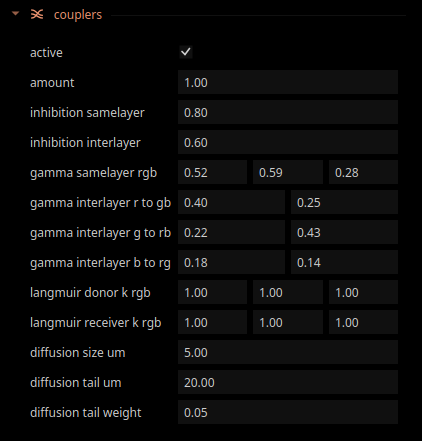
It might be me missing something but I think the contrast that adds up with the more contrasty stocks like the ektar100 or the pushed portra 800 add a lot of edge sharpness that I would get if I crank up the same-layer inhibition or maybe tail weight would work the same way?
I haven’t compared with the python project because I haven’t set it up yet but I don’t remember this being the same with it. If it is then I am sorry for reporting a non issue but it could be worth a look.
Portra 800 push 1 and push 2 themselves show a significant change which could be some values being cranked too high with the defaults maybe?
Only the film stock was changed and nothing else was touched so someone else can verify if it’s the same for them.
Not sure what youre after - if you want more or less of the edge effect.
The thing that dictates a lot of it, at default settings, is actually the inhibitor spread slider. The default value is 20um, which imo cooks the image, but to each their own So if you want a softer image, but still affected by the DIR saturation, go for 5um, if you want the edge effect, go for 20 and more.
It is very possible that the behaviour is gonna be different at the same values for a different film stock, since theres other values that change automatically with the film stock that arent in the GUI.
Yes that is what I mean…I CAN fix it but a lot of people may just skip it thinking that’s how it is supposed to be especially if the original implementation has a difference here*.
I will compare this on the same images between andrea’s GUI and darktable’s implementation and see if the defaults are actually identical or if it is visibly different.


 Can you share the style for what you just did?
 As soon as spektrafilm moves this to a stable branch I’ll try to implement it.