Do you mean the exposure module exposure picker? or the picker for target exposure in AGX?
I have found that selecting the subject usually gives better results for both of those pickers.
Do you mean the exposure module exposure picker? or the picker for target exposure in AGX?
I have found that selecting the subject usually gives better results for both of those pickers.
Terry said the exposure module so my comment was directed at that… There is also an automatic mode for the exposure module but again it not like what you would see with the pickers either… exposure is an offset applied to the data and those pickers are setting black and white for the curve mapping…
My Bad. I was confused about which exposure picker @thumper referred to and thought he may have been talking about the picker in the exposure module. I now realise he was referring to pivot relative exposure picker.
I personally don’t use this picker because if I do the pivot target output picker no longer works. However, if I use the pivot target output picker it sets both the pivot relative exposure and the pivot target output sliders. This is a better fit for my workflow at this stage.
Well I think and I have still not done enough variety of images to say this for certain but if you use the input picker with AgX it will set things visually a little more like what you might see if you for example had a subject in your image and you draw a box for the picker on their face with the exposure module’s default picker setting. At least that is my “impression”, whereas if you use the output picker to select your contrast pivot things can get lighter or darker than you sometimes might expect and you have to then move the output slider to the desired brightness and add/remove contrast. With those 2 sliders you will nicely target/establish your pivot point for contrast adjustments introduced by the the AgX module during tonemapping.
So I think it might just come down to how people like to shape the image as they work through setting up the AgX transform…
Yes, I would agree with this and I am comfortable doing this as part of my creative workflow. I feel I am still developing my preferred AgX workflow.
Sorry, could you explain what is not working?
Hi,
if I use pivot relative exposure picker it selects a value, but then the picker for pivot target output picker no longer responds. However, if instead of the pivot relative exposure picker I choose to use the pivot target output picker this sets the pivot relative exposure slider and the pivot relative exposure slider.
I hope that clarifies my observation. It doesn’t cause me any trouble, but that is how it works on my windows install of DT 5.4.0
It no longer responds? In what sense? The picker is not displayed? Or, it’s displayed, but dragging it has no effect? This is what I see:
Scrub my previous observation. Now that I have redrawn the area being measured it is behaving precisely as shown in your video.
Has anyone else noticed that you need to use tone equalizer along with AgX to boost the midtones, e.g. with the relight: fill-in preset? I’ve found the highlights and shadows look good with AgX, but even after setting the midtones with a copy of exposure ahead of time, the photo is still too dark
I haven’t noticed anything like this myself.
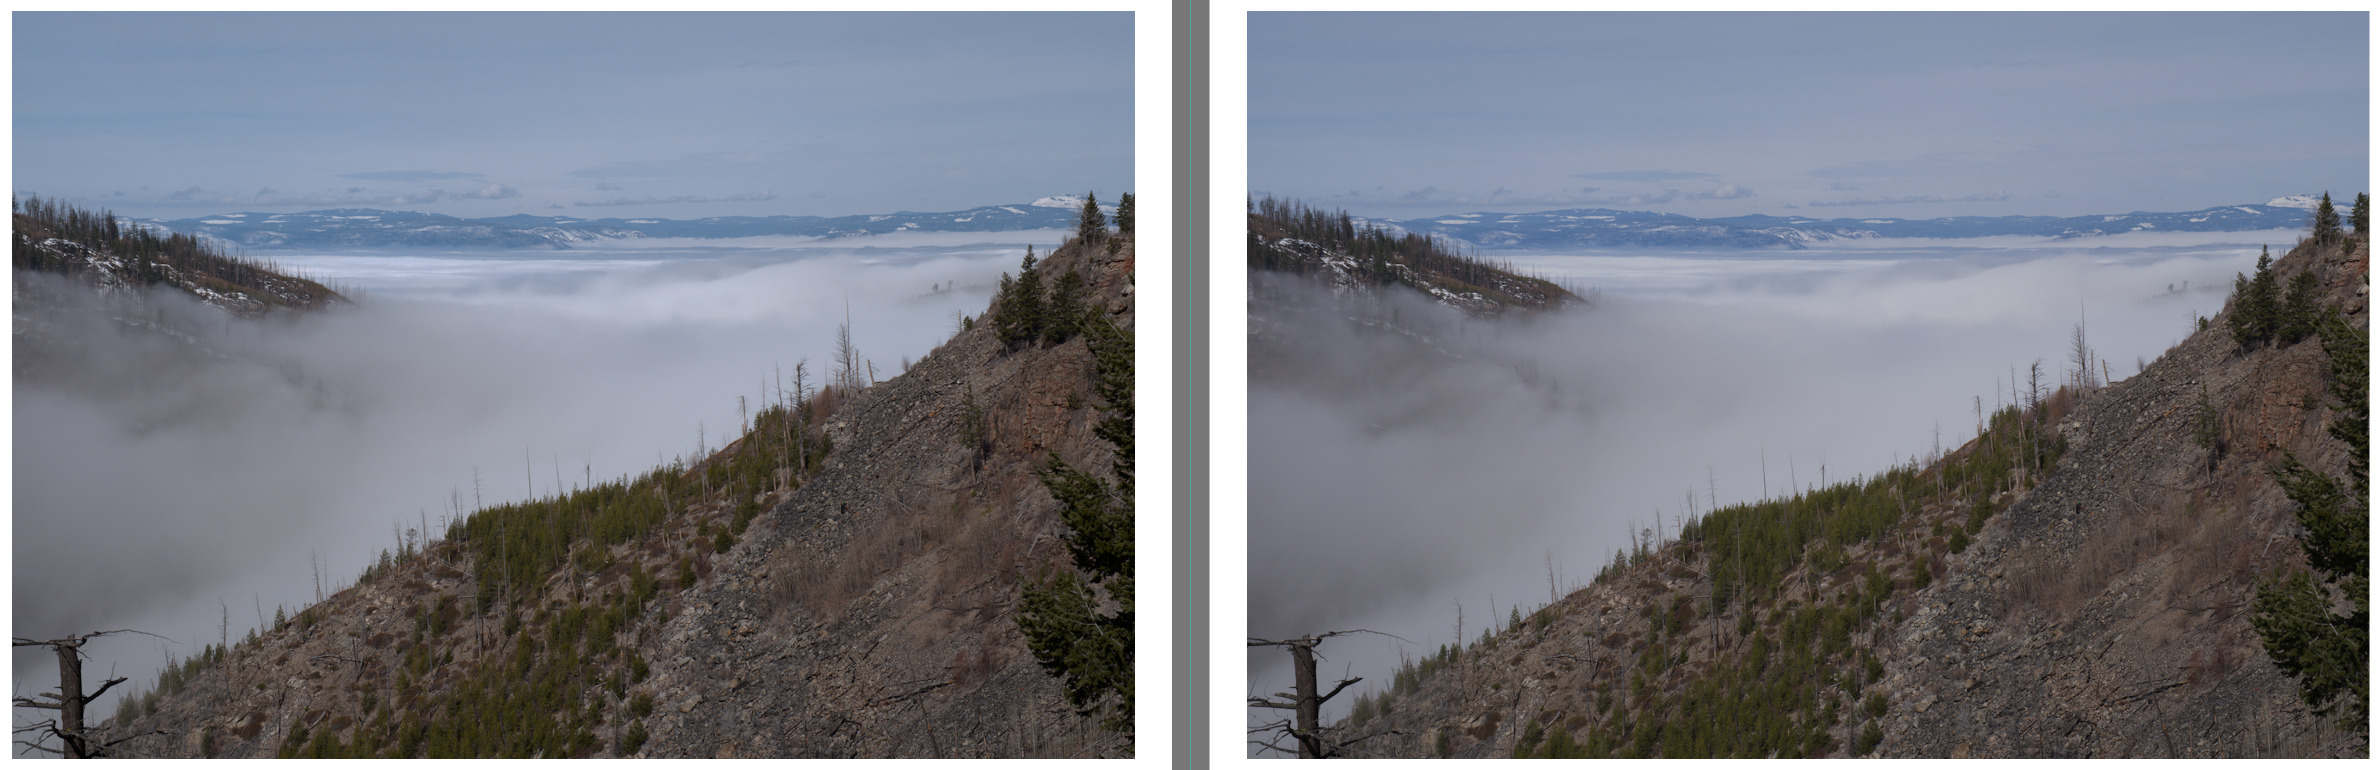
Here I used the exact same settings in the Exposure module, then enabled both AgX and Sigmoid at their defaults. I then just used the auto tunes level picker for AgX.
AgX on the left, Sigmoid on the right.
To me, the exposure looks pretty identical.
Adjusting your pivot or using a touch of brightness in the look section should help.
Are you using the color assessment feature(cntrl-b on windows)? it creates a white border around the photo, and definitely helps me get a correct exposure.
Other than that, I also find that by default I tend to underexpose my photos in the beginning of the editing process, probably because of the way my brain interprets the very flat image. So I also try to counteract this by boosting the exposure a little more than I naturally think, during my initial exposure setting step.
Yes I am. I’ve found that if I use exposure to make the midtones look correct, then the highlights are too blown out and I can’t recover them enough using AgX. I’ll try to find a good sample image to post.
AgX does not affect mid-tones, the default curve, and also the sigmoid-like presets that I shared in another topic, map linear 18% input to linear 18% output. Filmic and sigmoid have this same behaviour. Maybe you’re seeing an effect of contrast. A contrast of 3 with shoulder power 3 is close to sigmoid’s default curve. A perfect match is available via the presets I mentioned (they were fit to the sigmoid curve).
_MG_0514.CR2 (29.7 MB)
This work is licensed under CC BY-NC-SA 4.0. To view a copy of this license, visit Deed - Attribution-NonCommercial-ShareAlike 4.0 International - Creative Commons
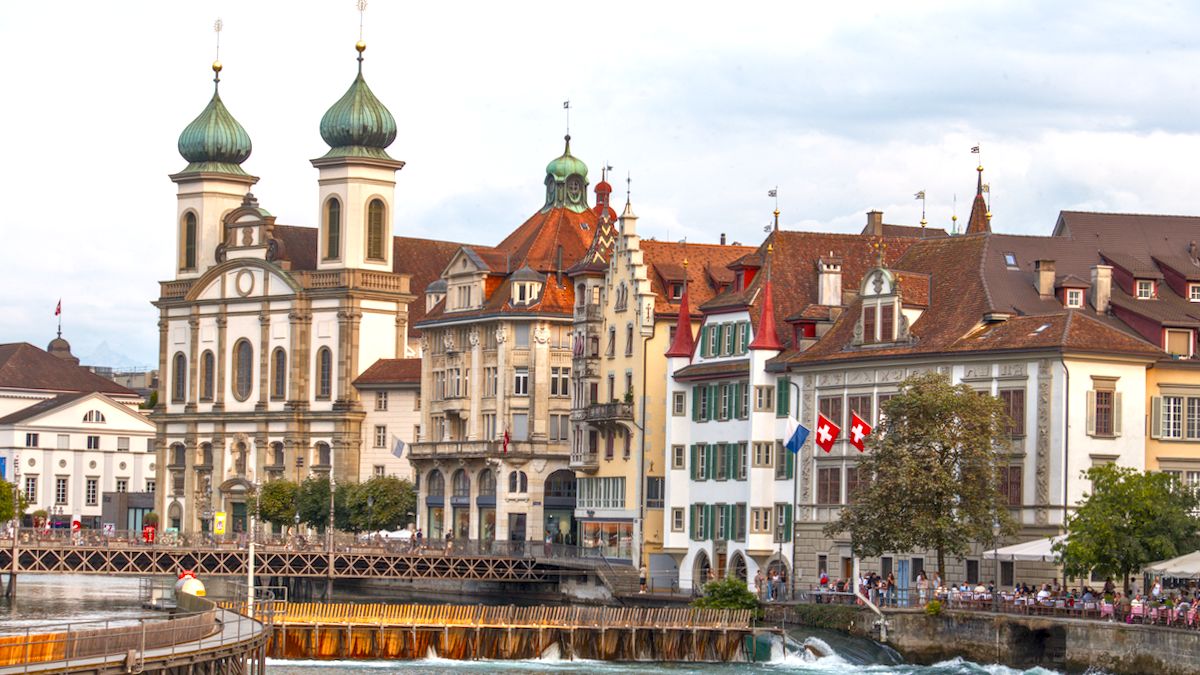
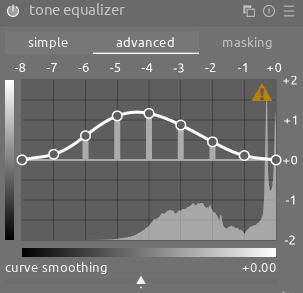
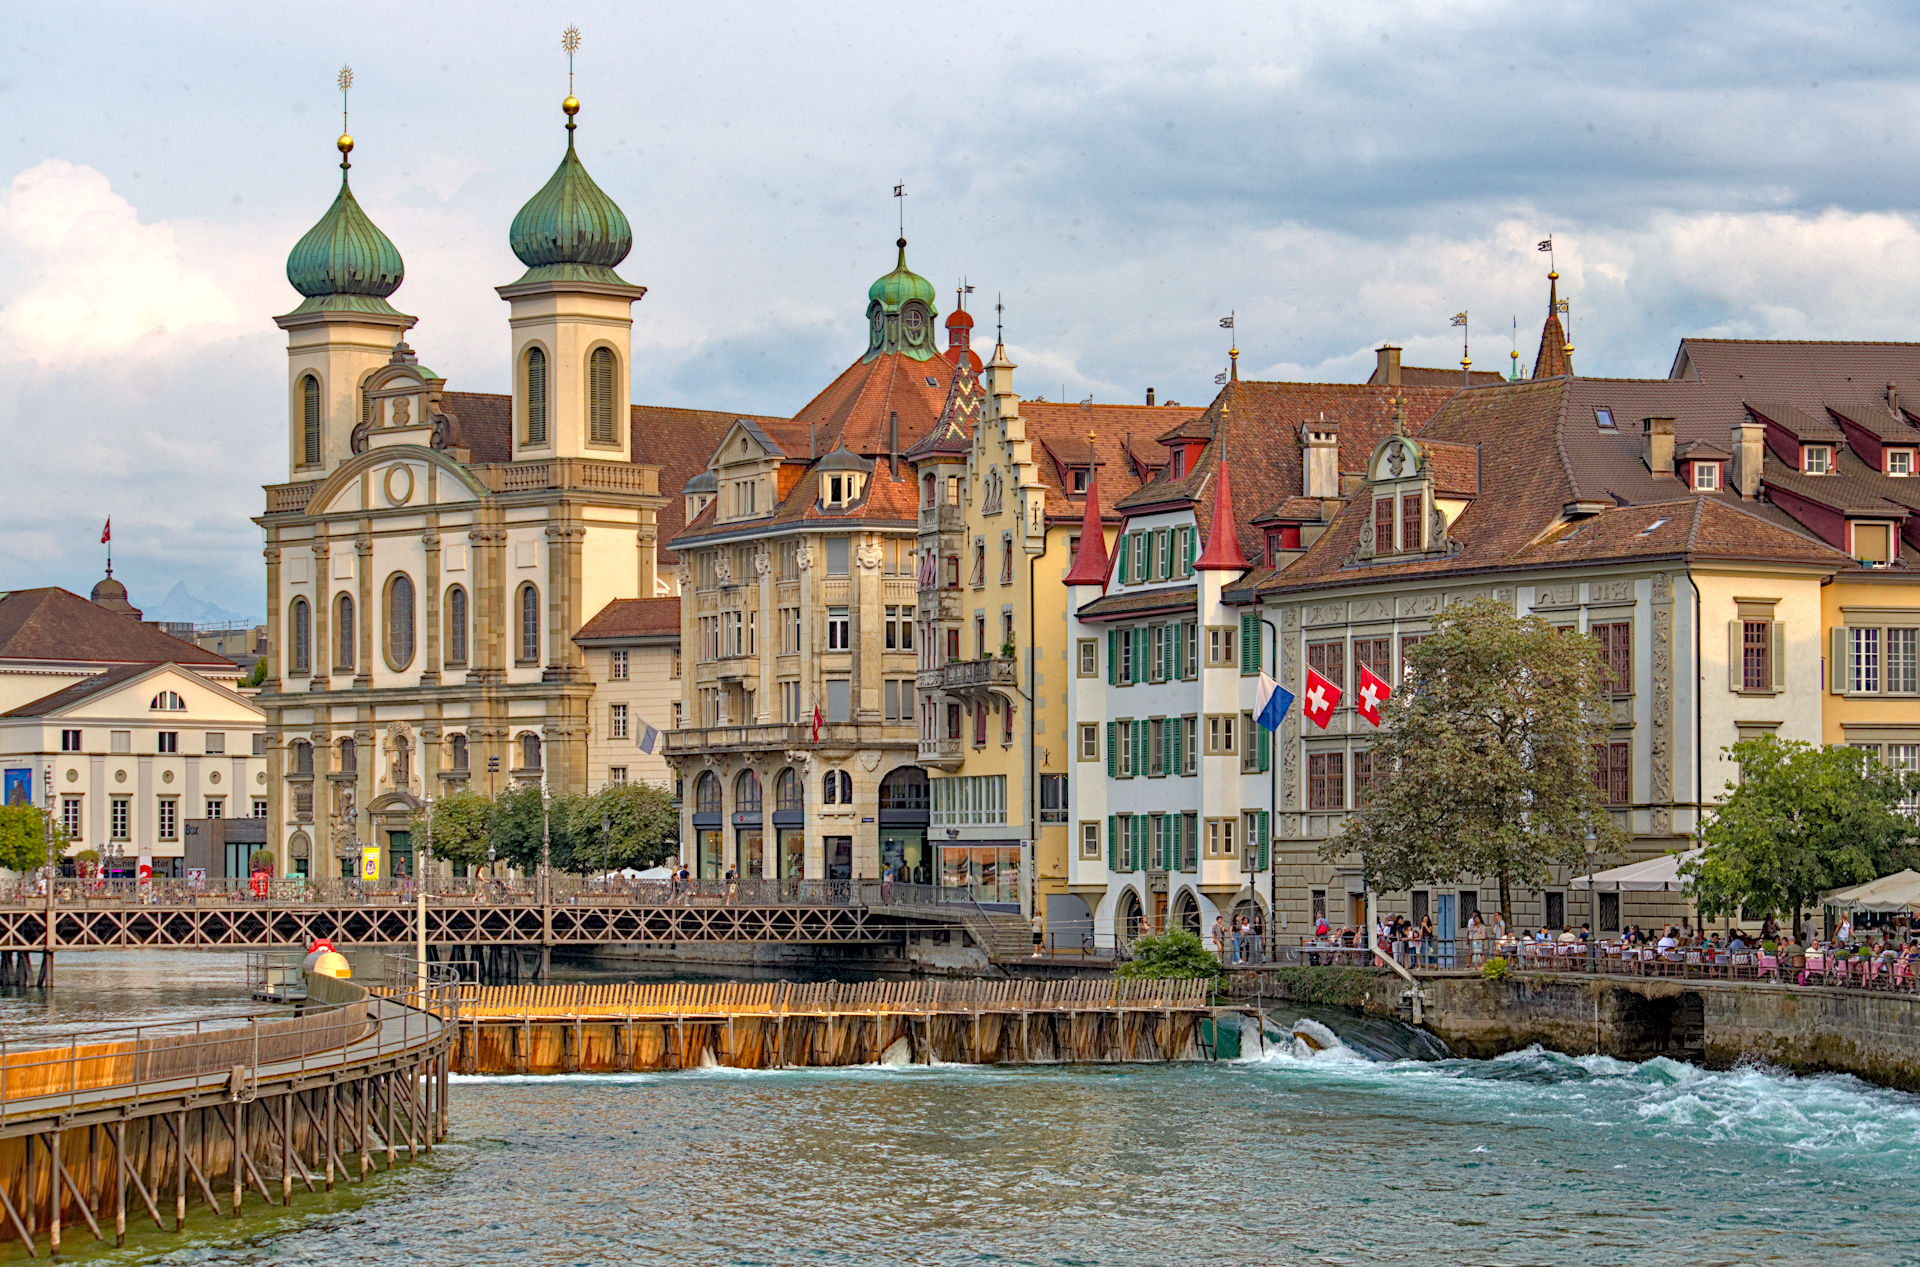
Here’s an example - how can I keep these buildings bright while also retaining some detail in the sky? The above is using tone equalizer with AgX as follows:
If I try to exclusively use AgX, the clouds get blown out. I’ll intentionally not share the XMP to start as I’m curious to see how you’d approach this independently
Maybe this isn’t what you’re looking for, but I simply used multiple instances of Local Contrast to get more pronounced details in the sky.
I looked at the histogram and though once again do I need AgX??
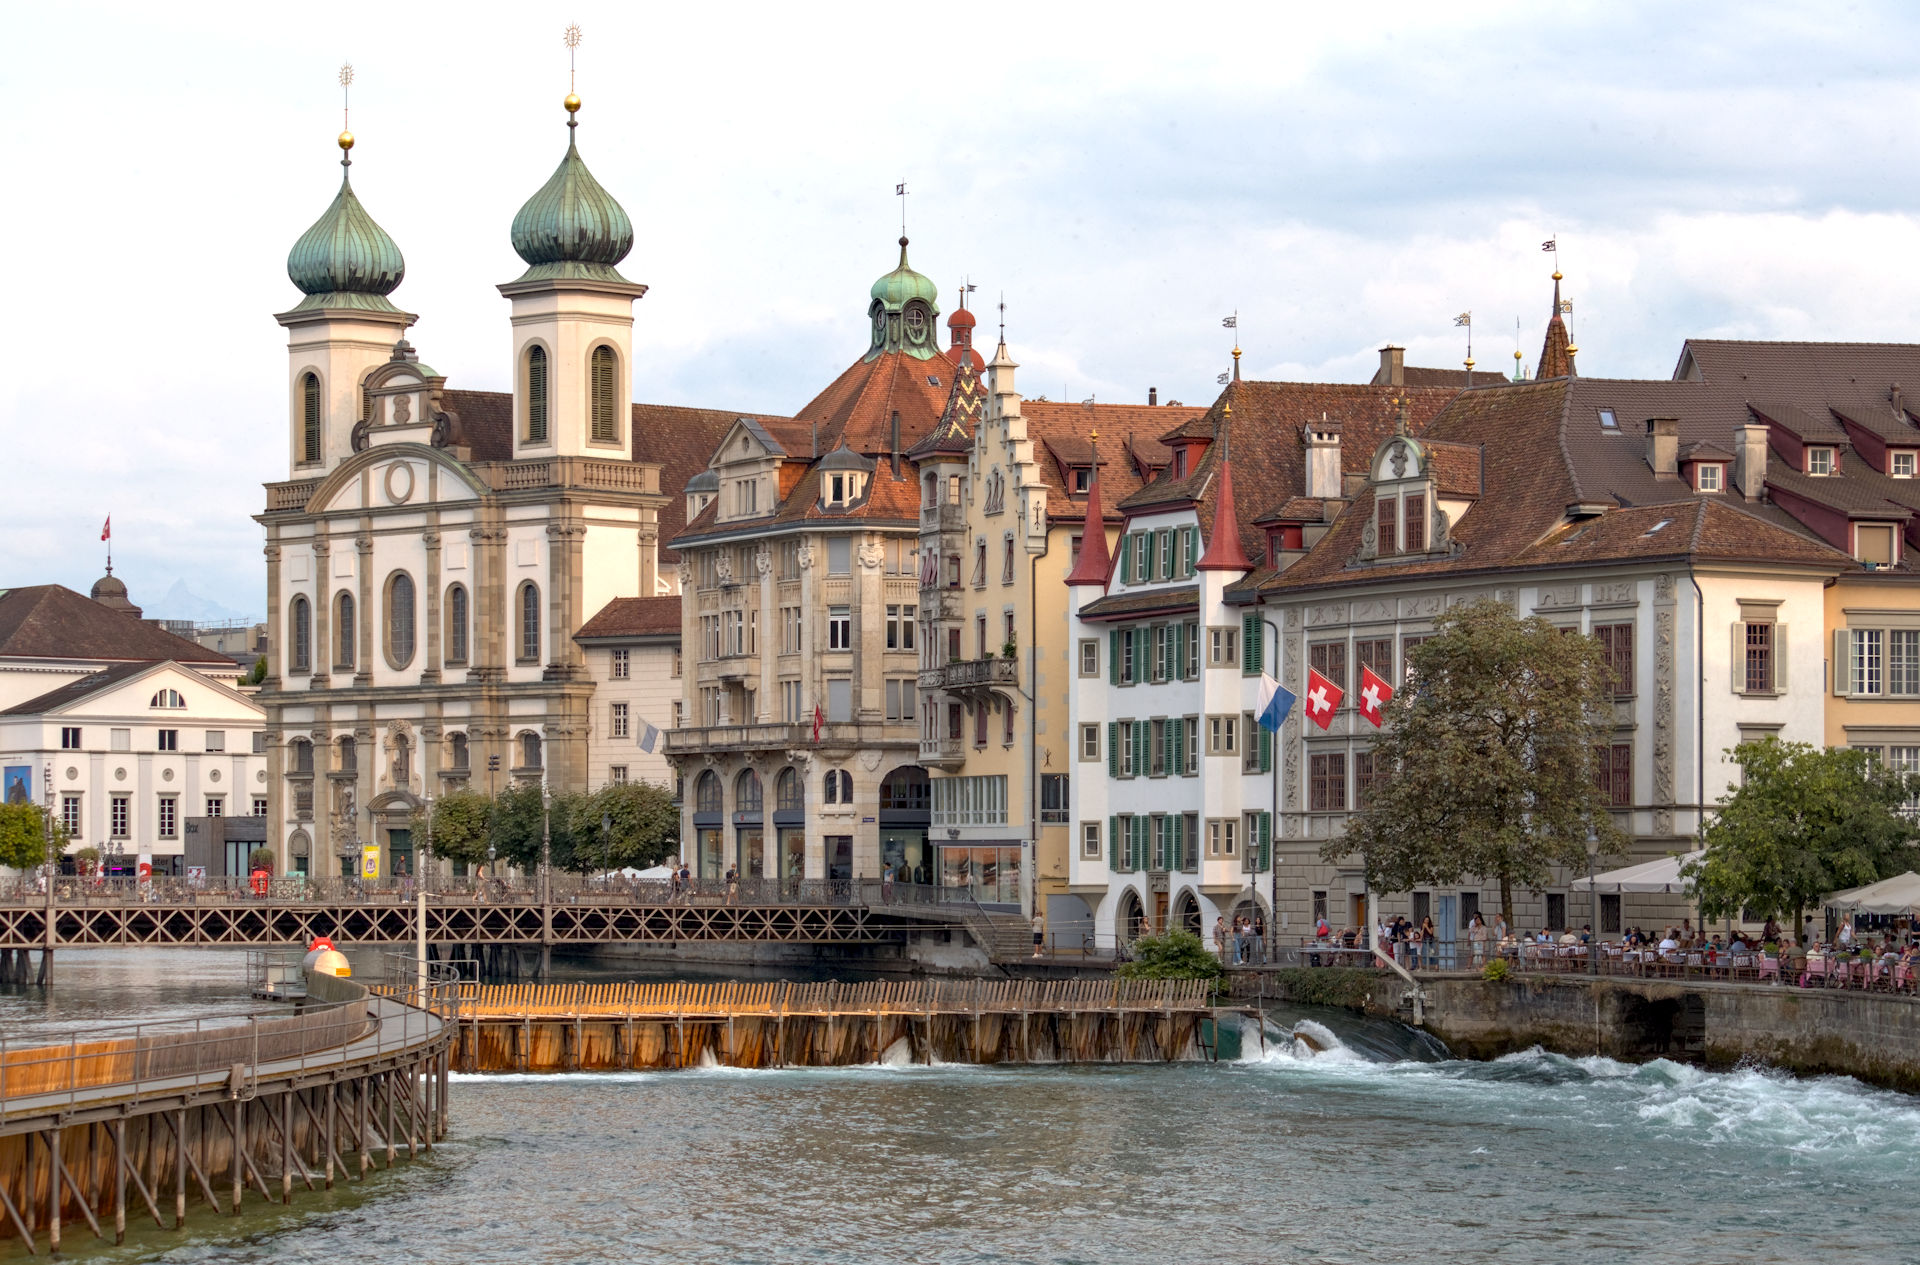
So first without… few simple modules
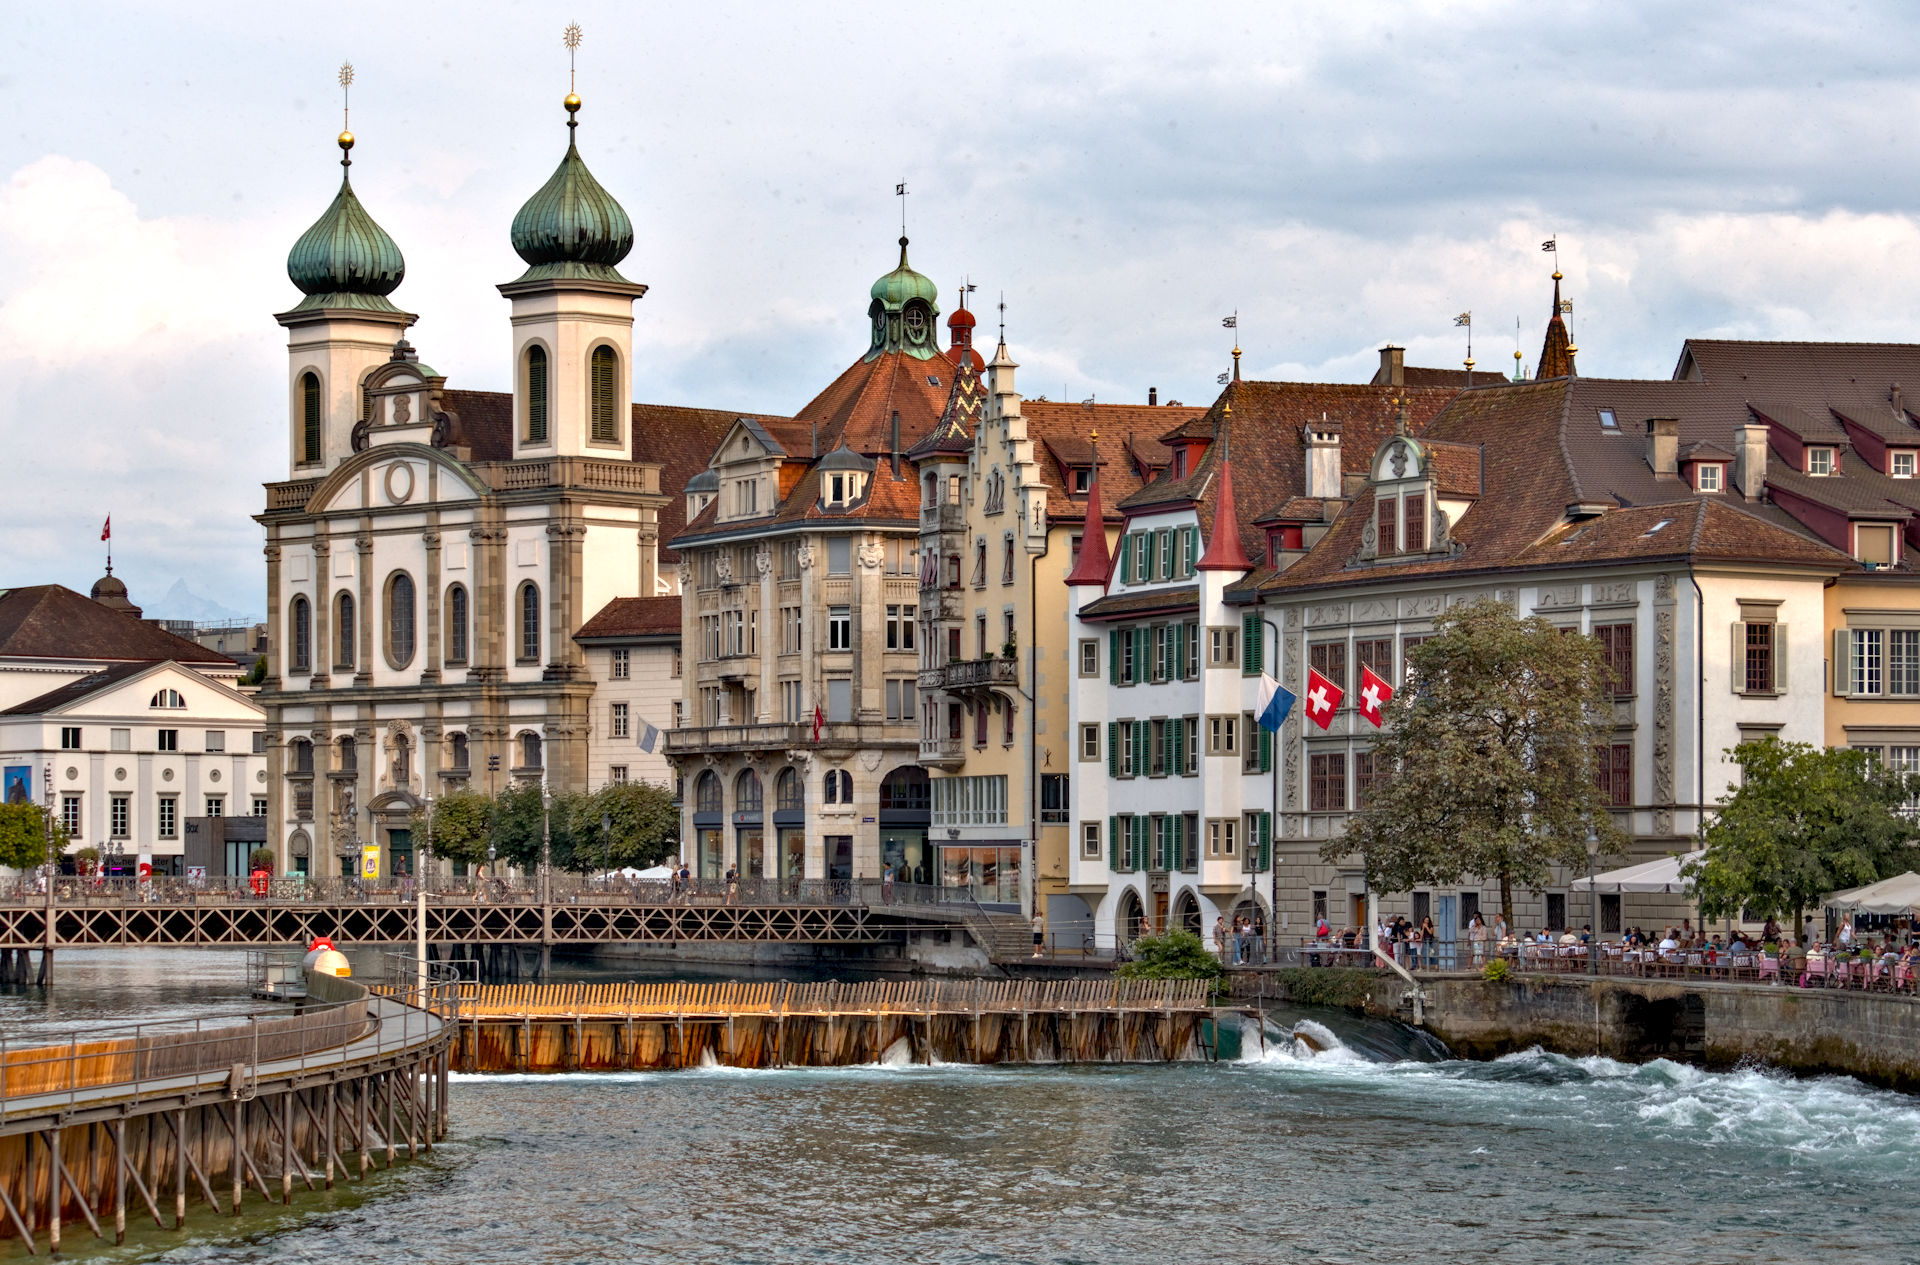
Then just mostly the tone due to AgX
THen a couple to bump it…
Some more thoughtful grading and local edits could certainly improve it
_MG_0514_01.CR2.xmp (19.9 KB)
_MG_0514.CR2.xmp (11.1 KB)
I was bouncing around a bit so if in doubt take the editing using the jpg as the side car… The base side car should be the first image and the second might be up to Agx before I added a little tone eq and contrast eq on top just to punch it… I might have actually in retrospect just used a gradient and put that on the sky …who knows its late and near bed time so I might be just too lazy… 
In addition to my comments above, as an aside, this sky lends itself well to masking so using the blue channel and a drawn lasso around it gives a good mask…
Then in this case if you could not get the tone mapper to give a good result in the buildings and the sky you could decide to be happy with it as it stands for the buildings and then using the mask either a no-op exposure blended in mulitply with opacity to taste and then a touch of positive fulcrum to nicely brighten it and add contrast is nice or using the same mask another module favourite of mine is the HDR preset of the LC module… You can add it in at 0 opacity and then bring up the volume to taste…it will nicely thinken the clouds and provide some detail. This preset has highlights and shadows set to zero so you can add a touch of them back to taste as well…
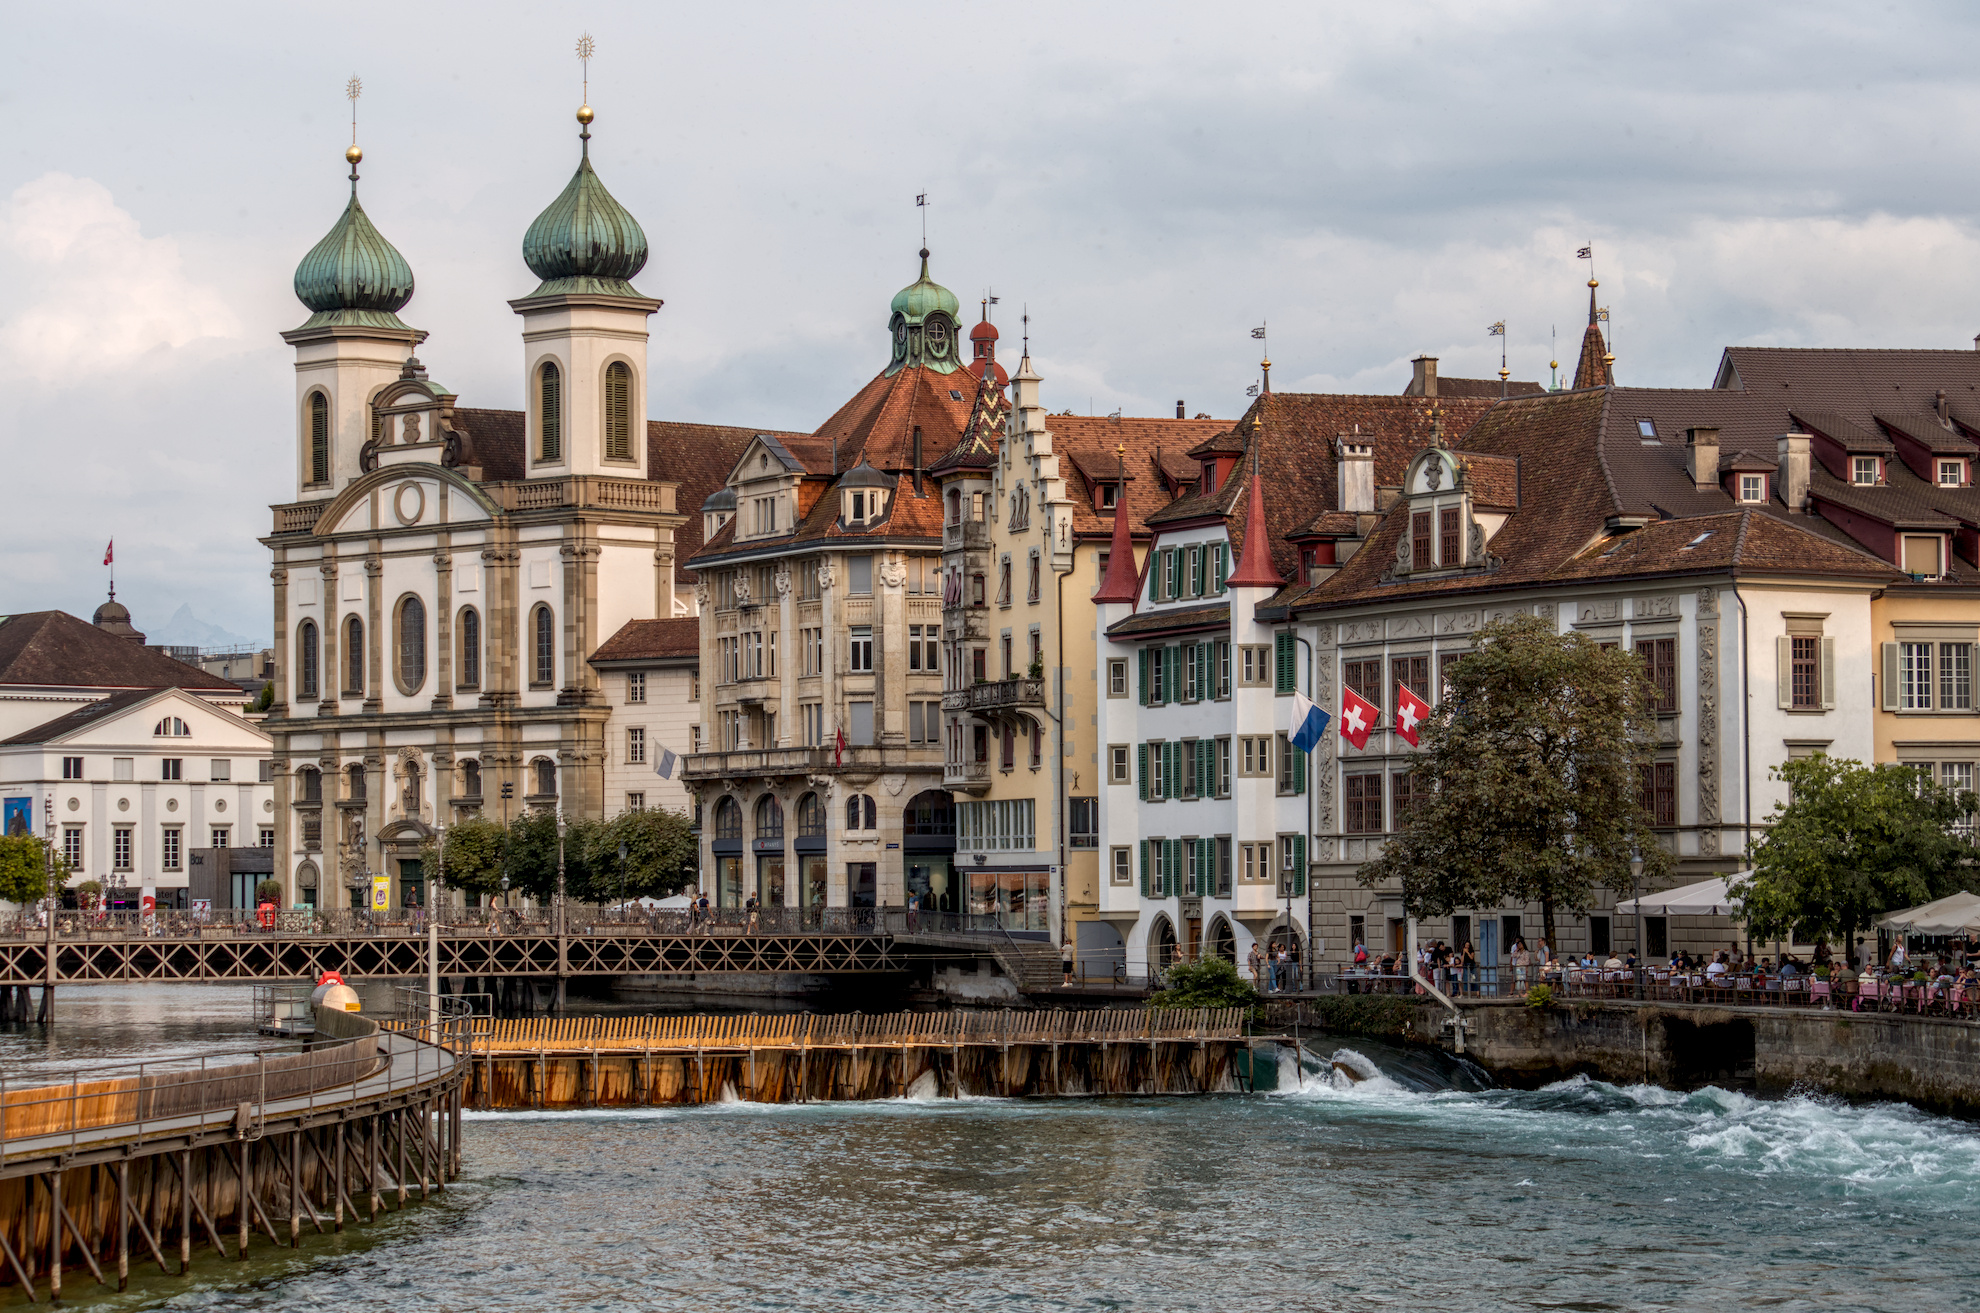
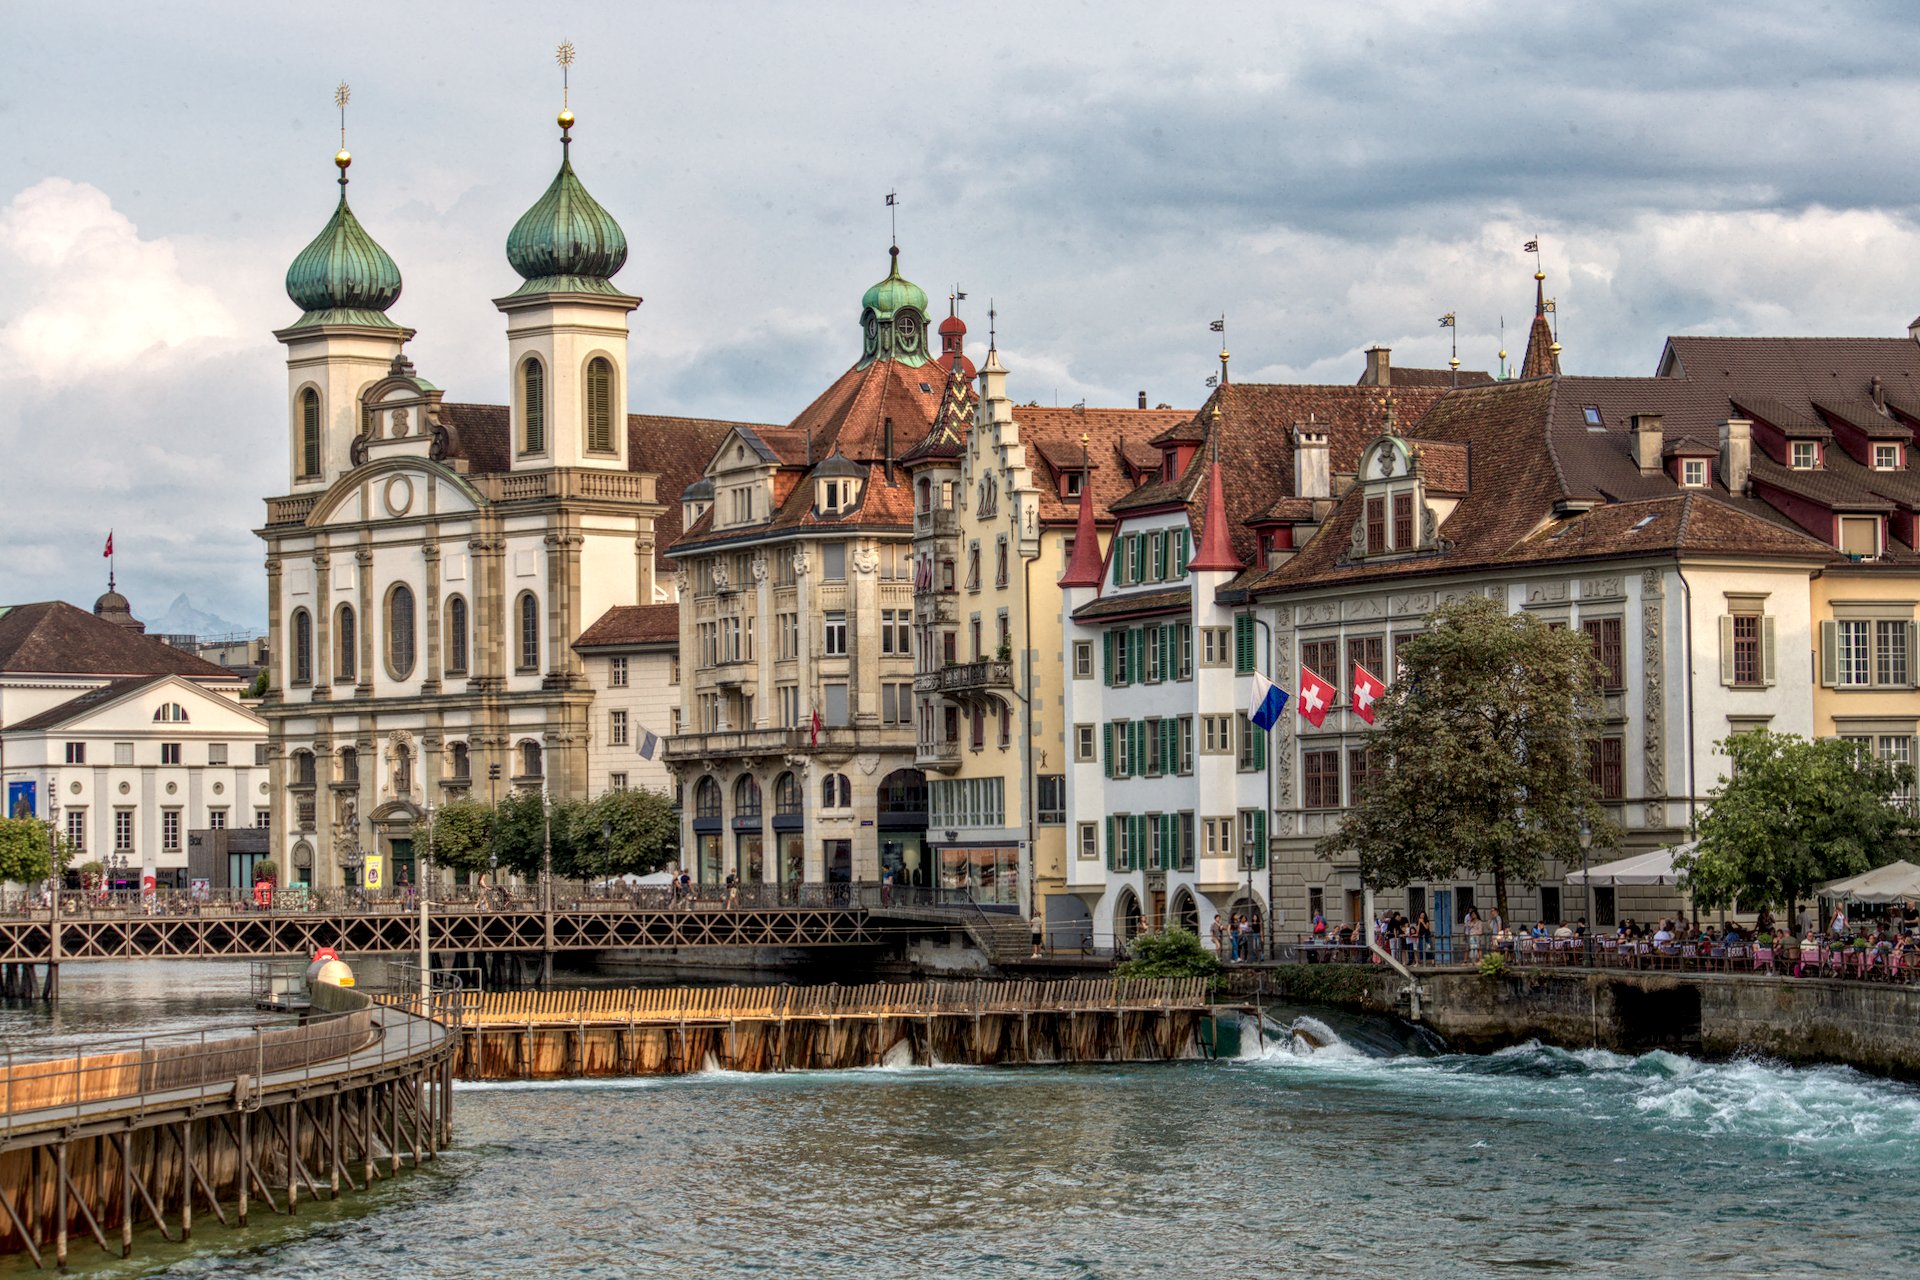
My edit with AgX:
Auto tune levels: auto
Pivot relative exposure: auto
Contrast: 3.50
shoulder power: 5.00
Look: Saturation: 75%
Primaries: Unmodified + bluepurity boost: 75%
Need modules: “Local contrast” and “shadows and highlights”
You can switch between AgX ↔ Filmic RGB to see the differences.
DT 5.4.1: 20260209_MG_0514.CR2.xmp (10,3 KB)
Greetings!