For some very specific situations - I’m having trouble getting a “good enough” result from darktable.
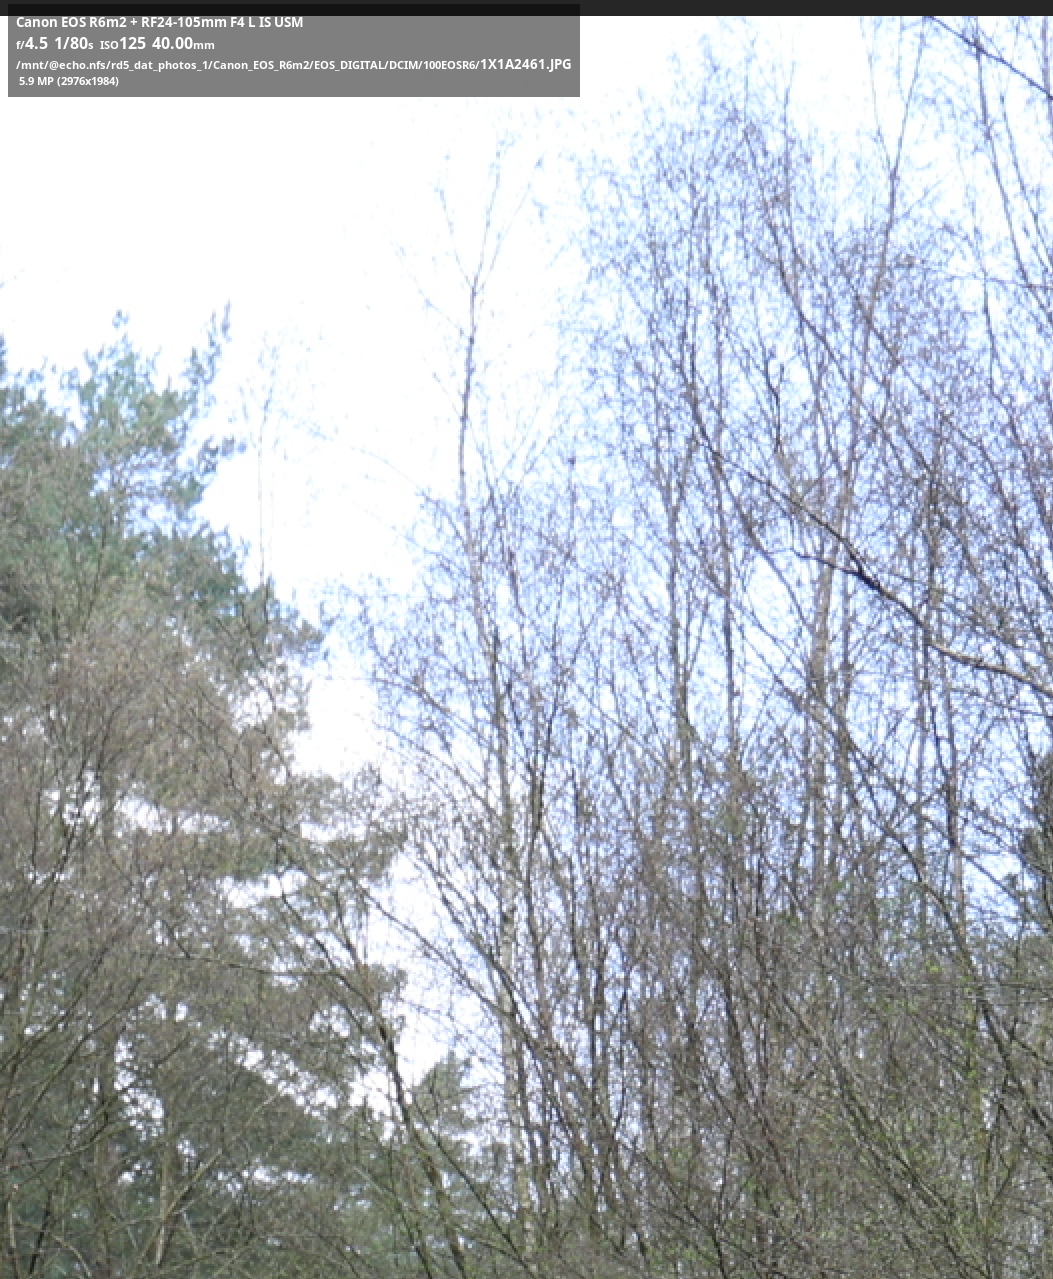
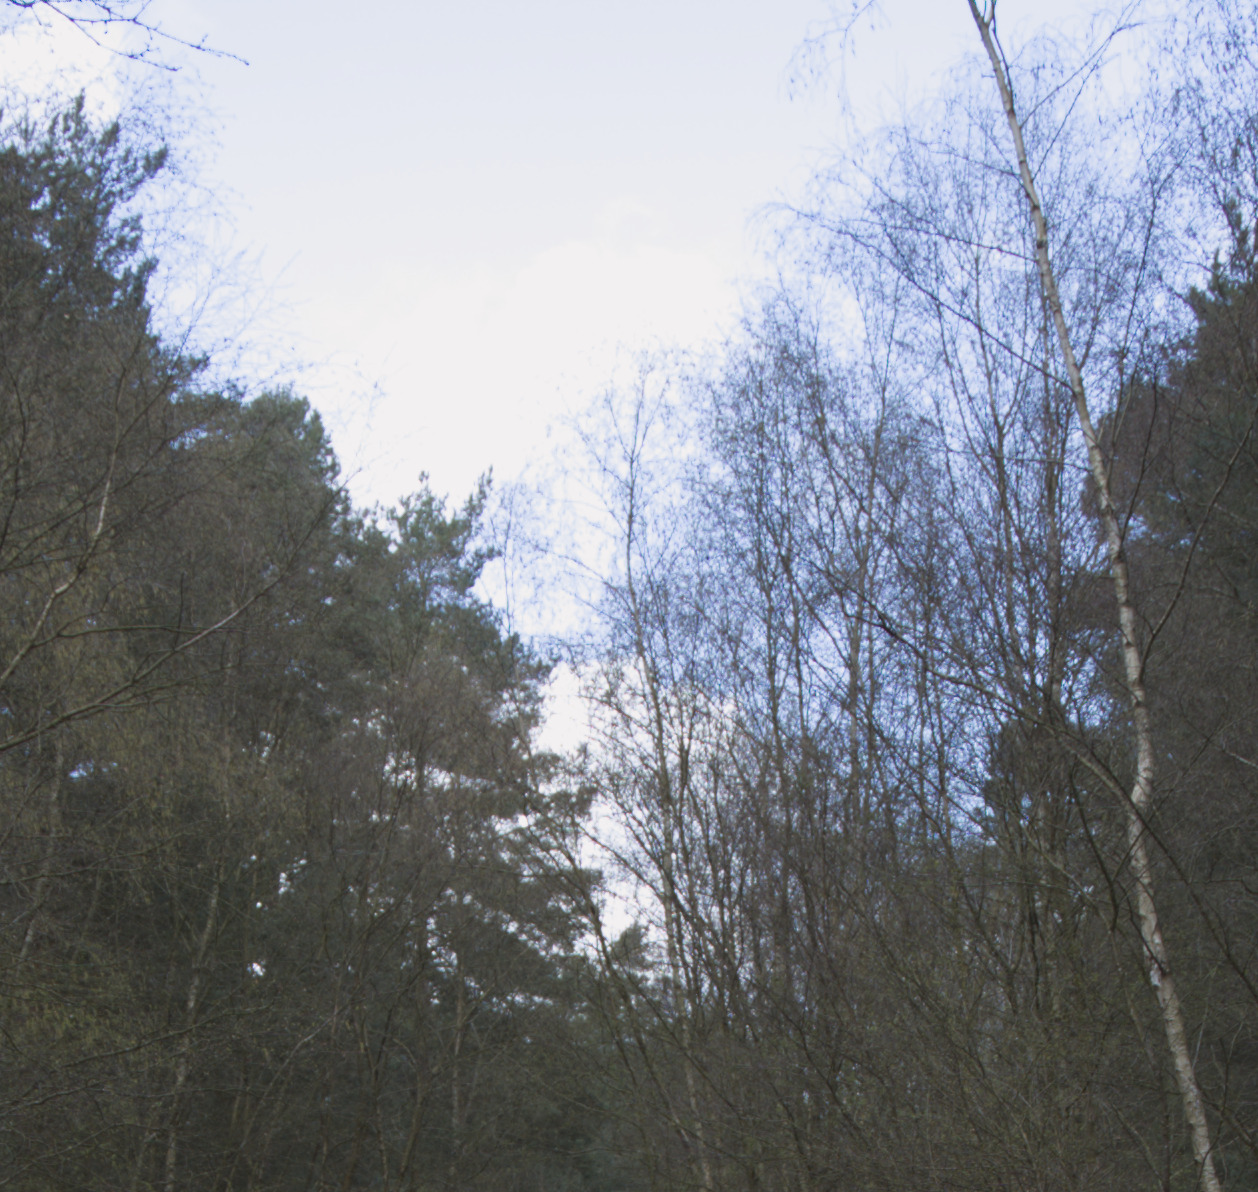
For some landscape shots - where for example where there are trees & leaves in-front of a bright sky - processing results in very unnatural results.
I’m a darktable newbie with only about 5 months of use - but have been able to use it to great effect so far - except for this one situation which I have come across often with landscape photos.
I’ve been trying to identify why and how maybe I can use darktable tools to process a “good enough” natural looking resulting image. If anyone has any tips & tricks - I would be forever grateful.
If I could understand the initial why - then I might have a chance to understand how best to use Darktable tools to get the result.
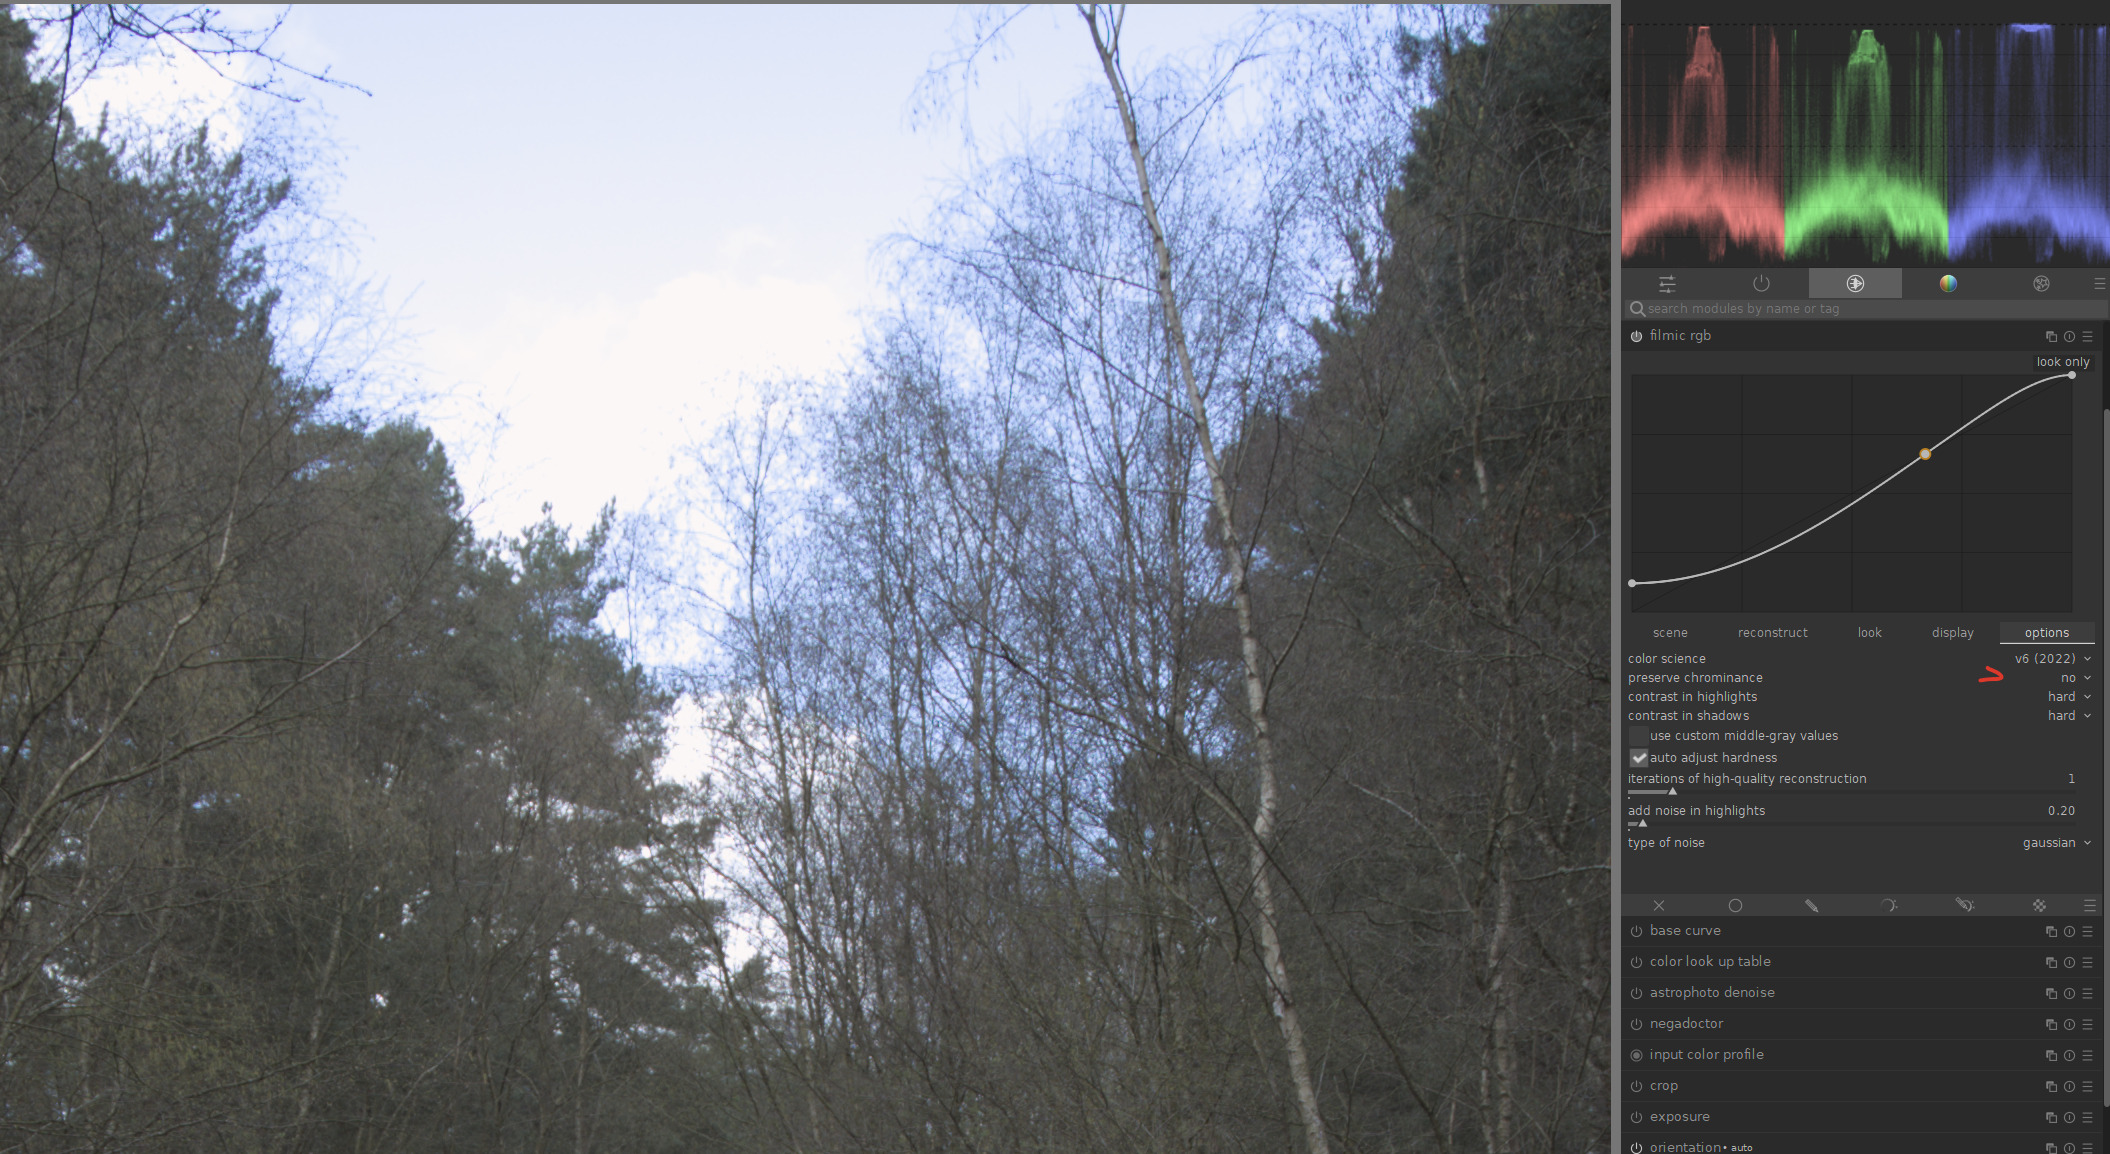
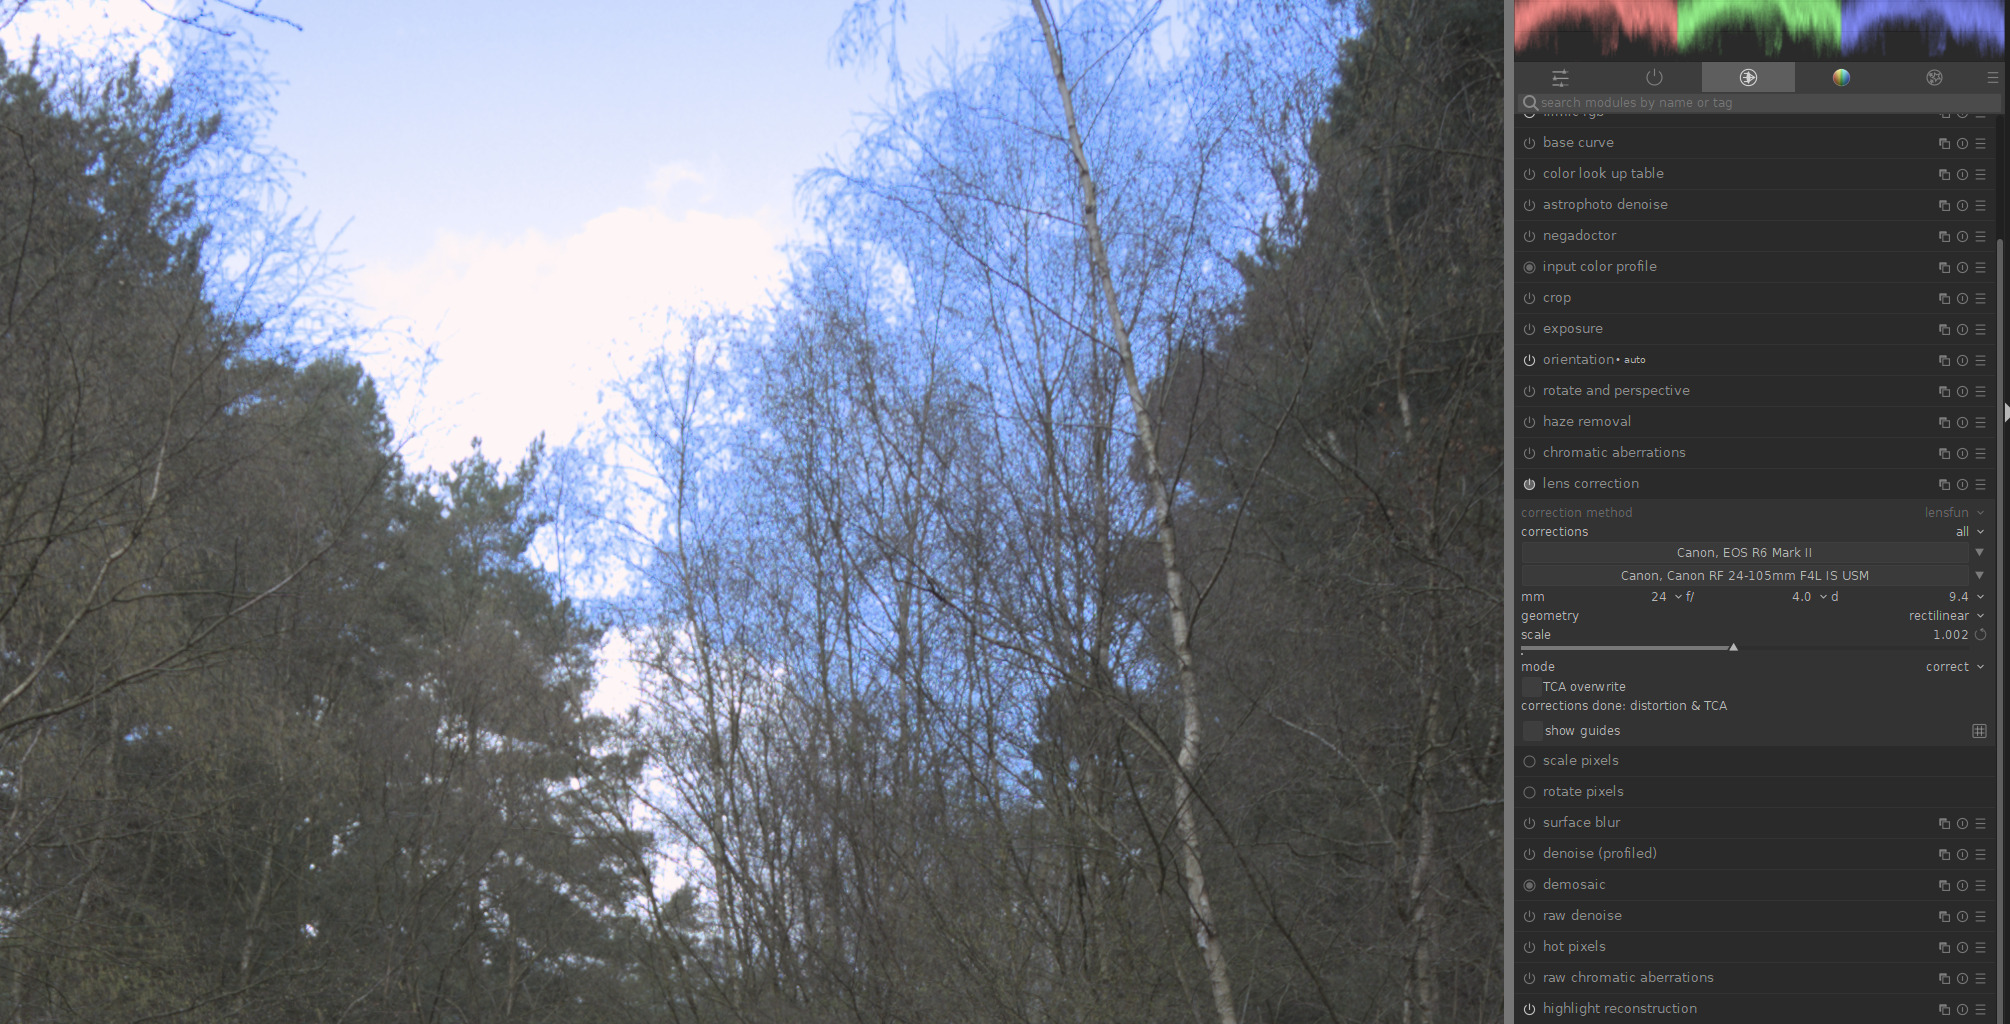
Darktable straight out of the raw image - shows the tree branch/leaves detail as a pseudo colour either blue - purple or similar. It also seems to blur such detail into the background.
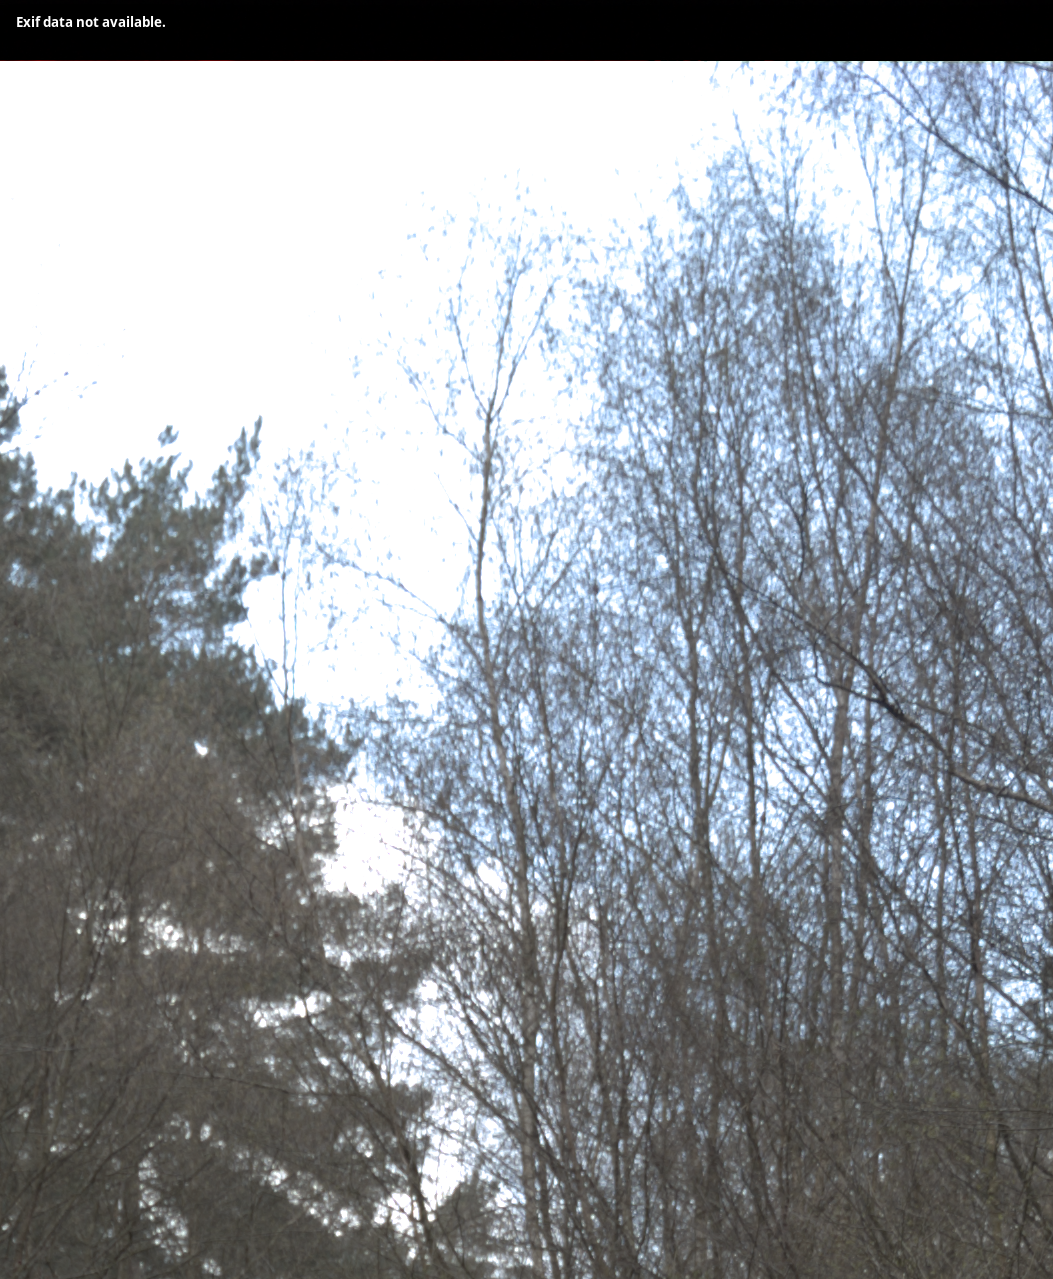
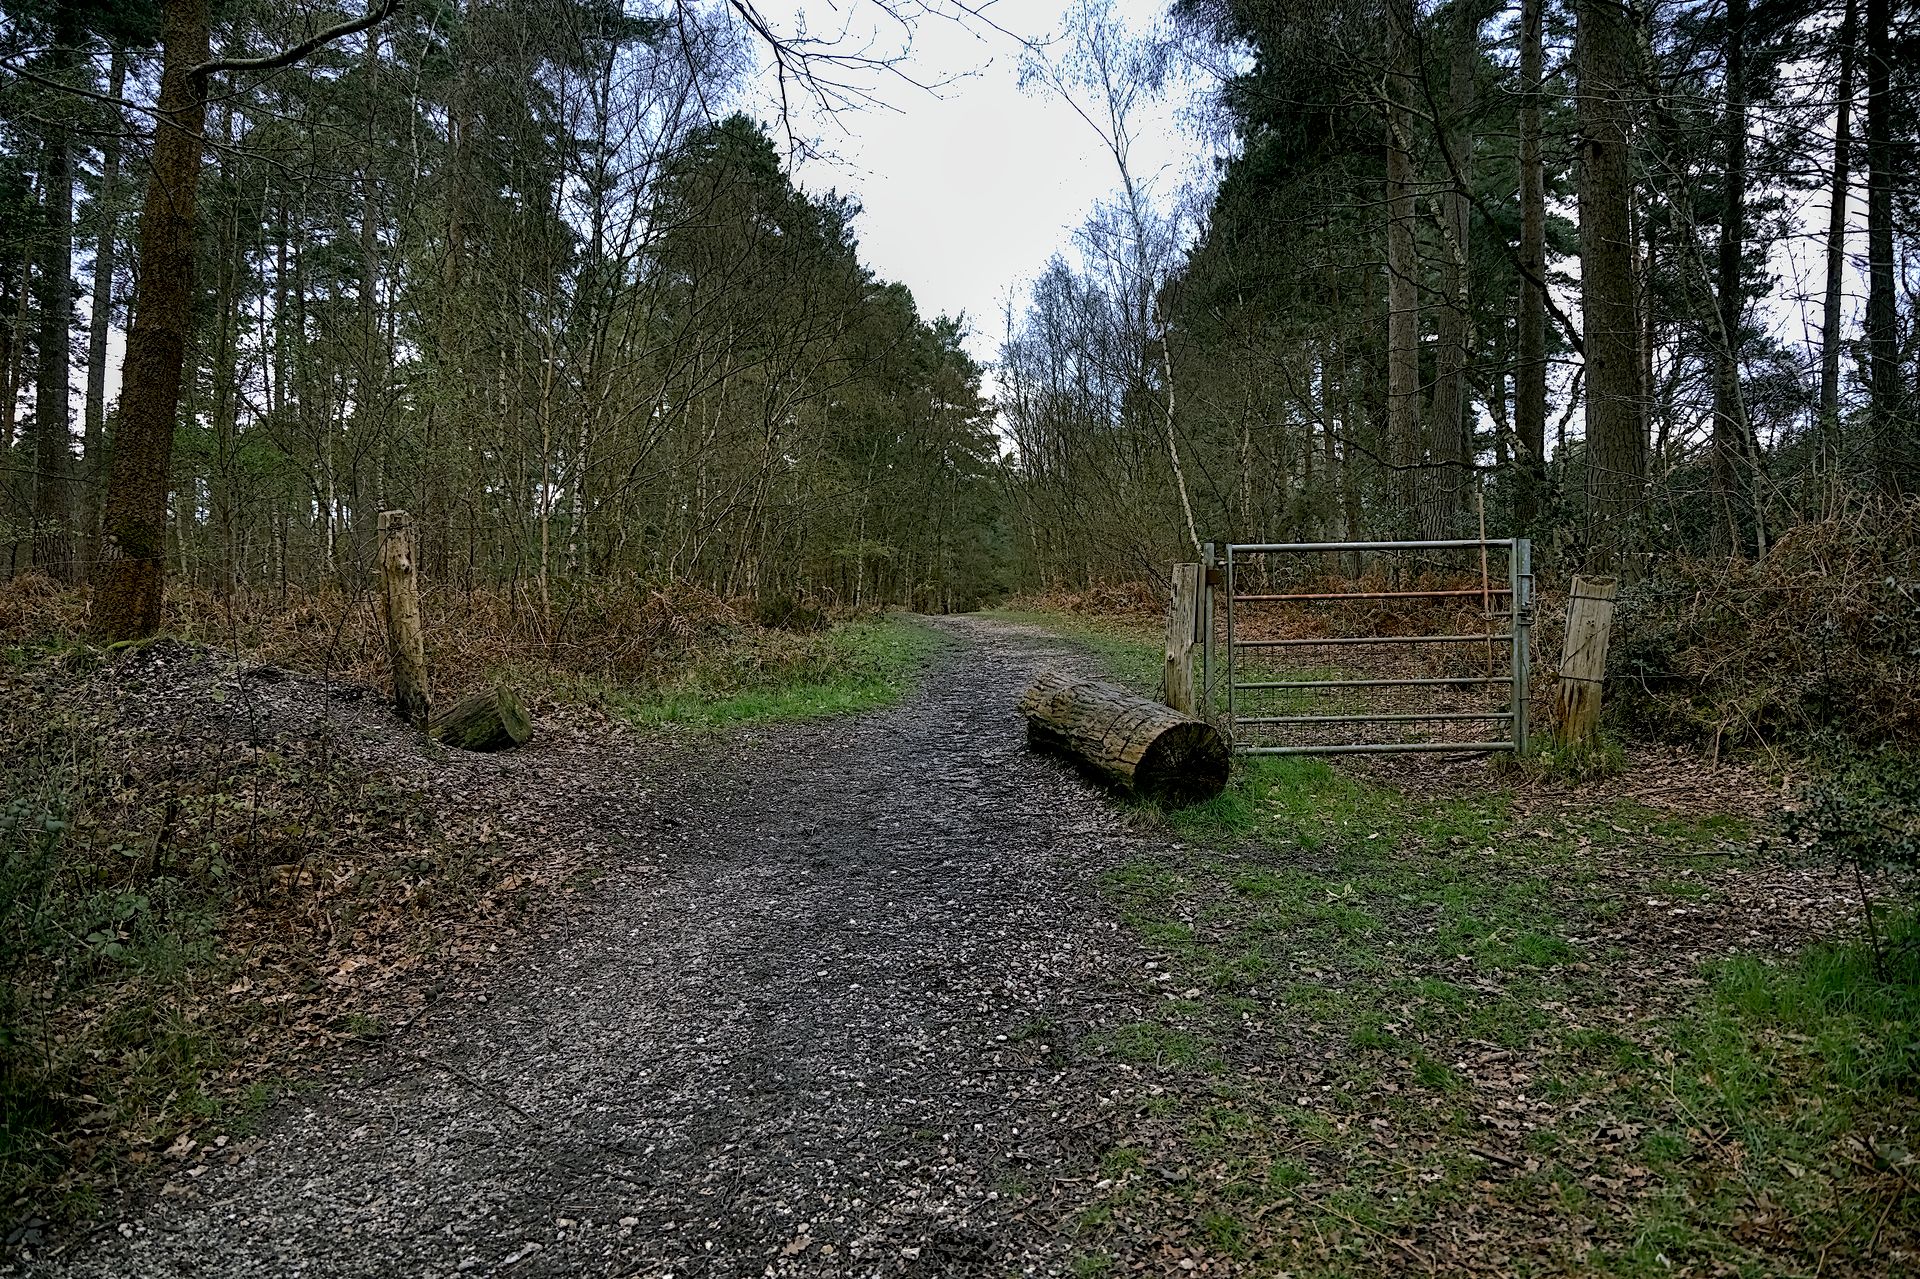
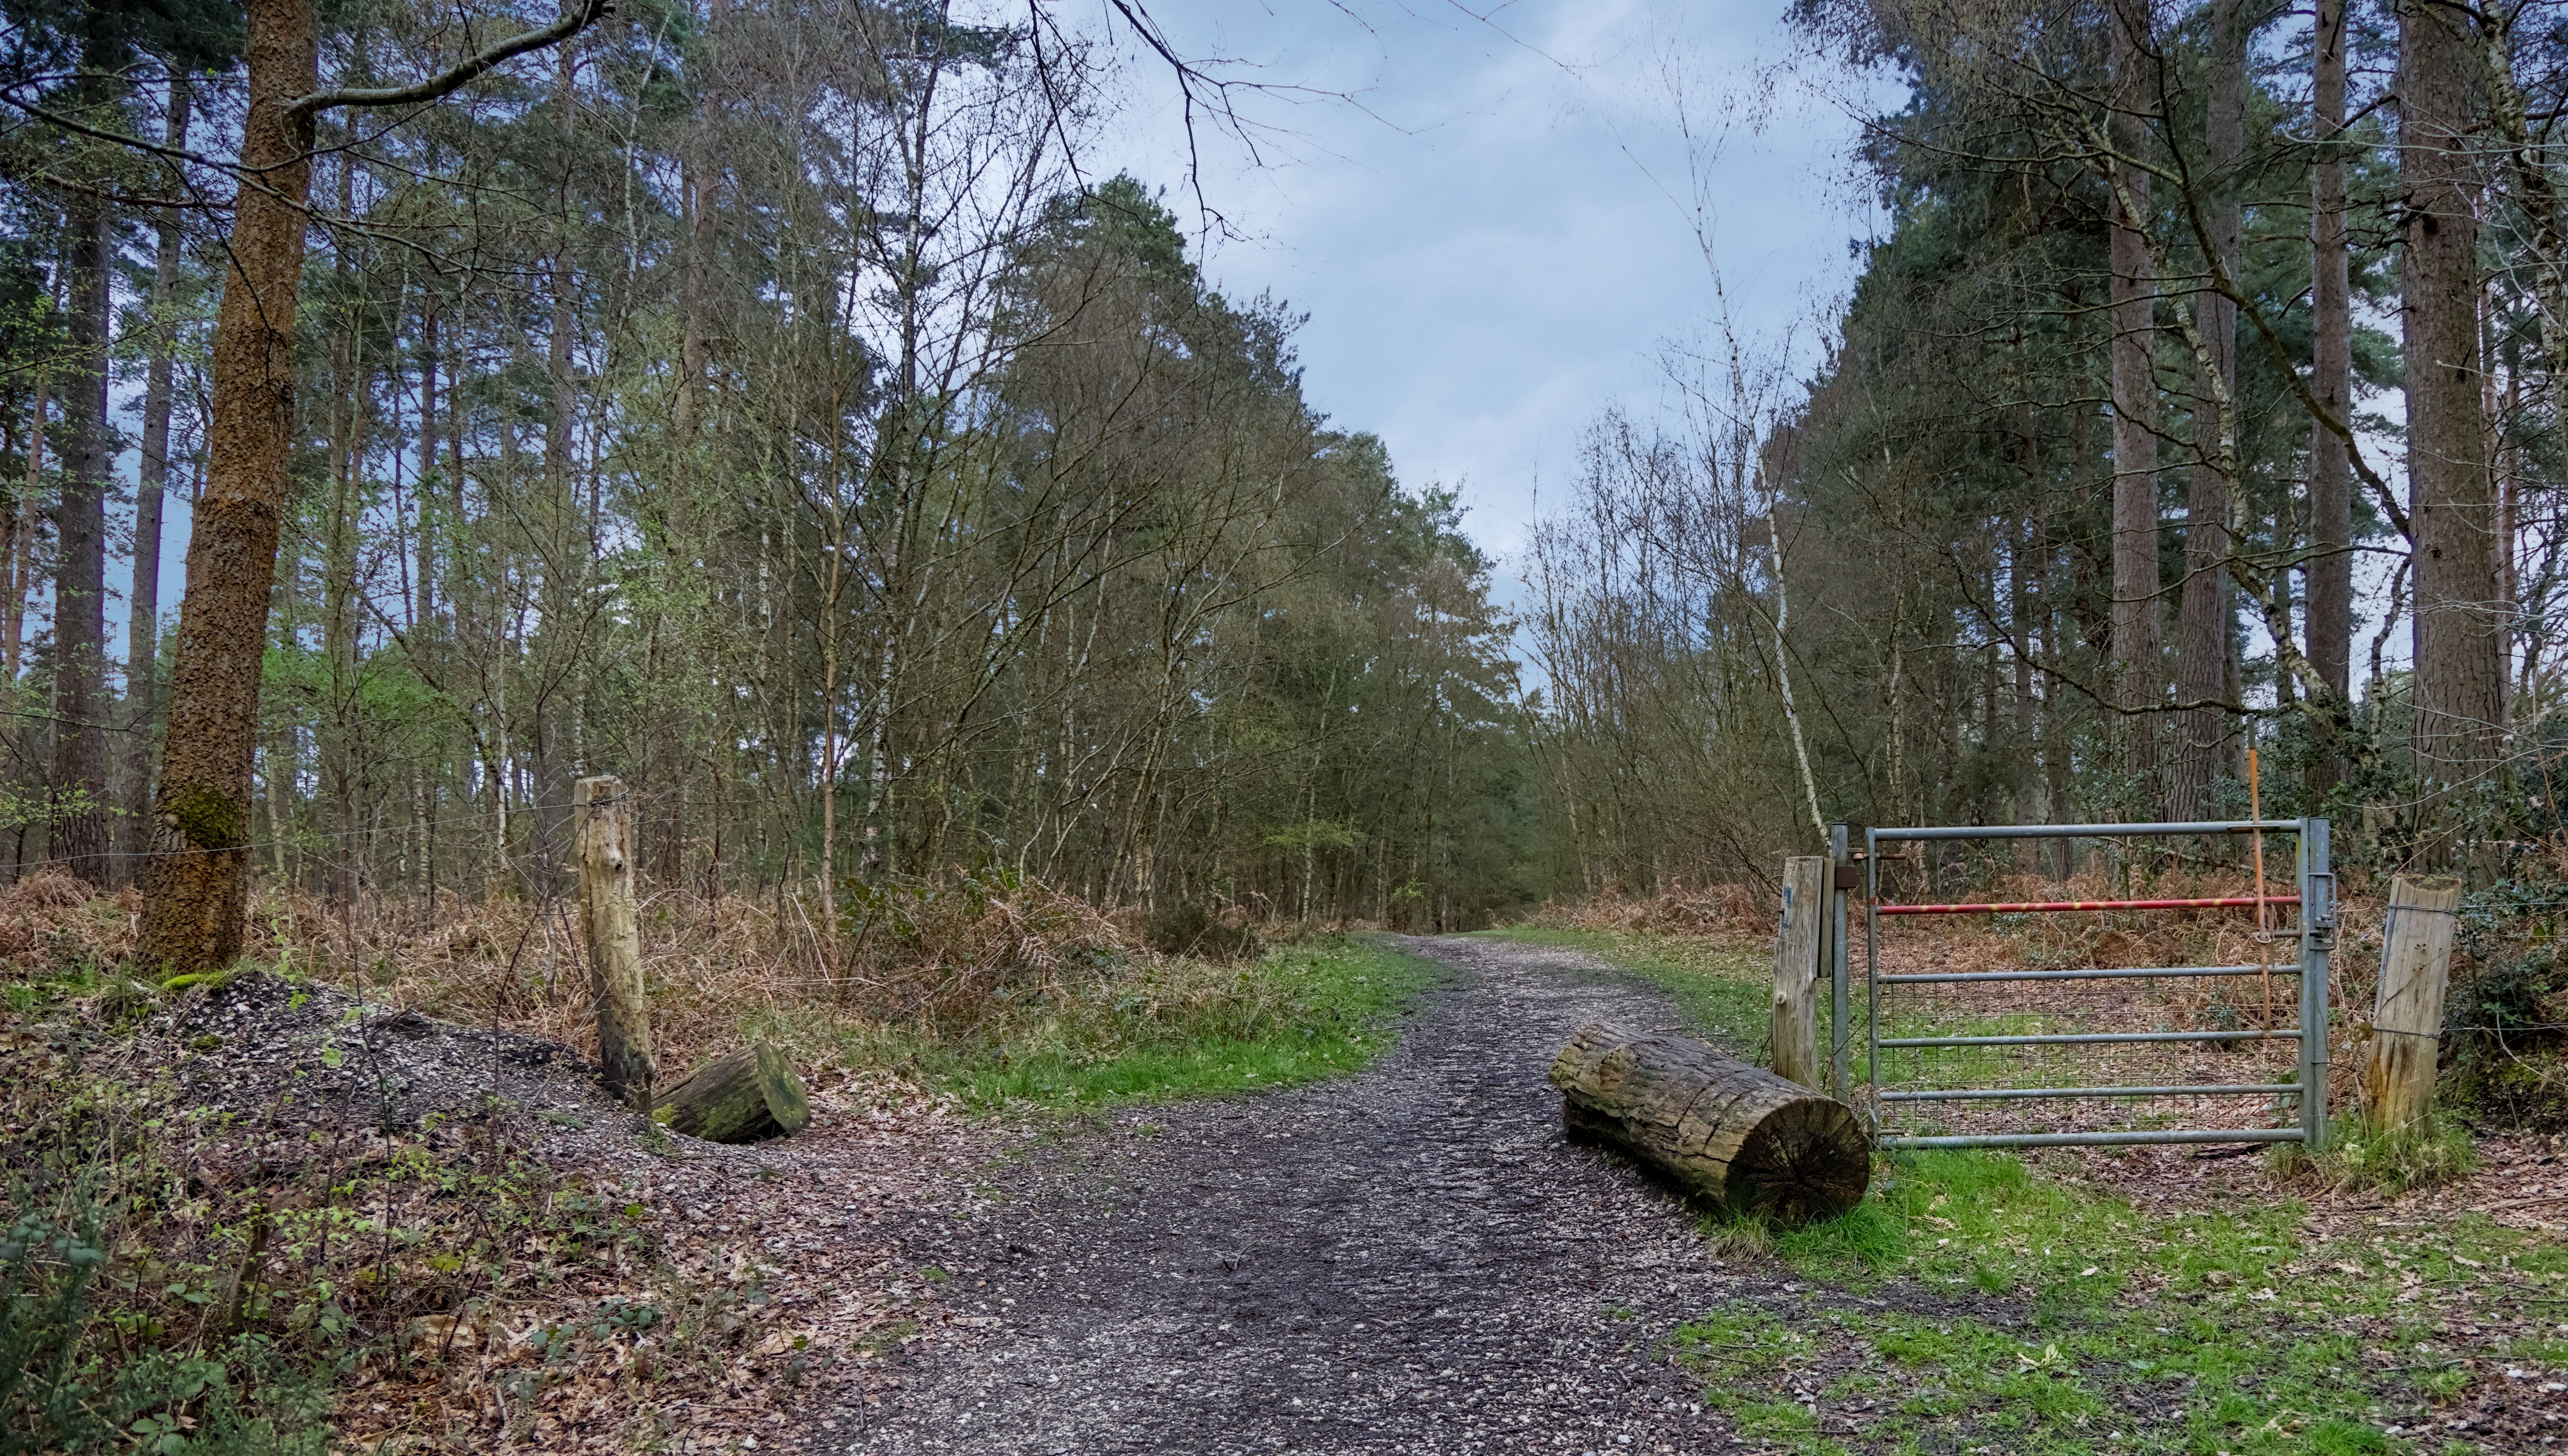
Darktable on the other hand can also be manipulated but the results do not look as good or natural looking. (the system won’t allow me to have more than four images per post - so I will add the Darktable image in a post below)
I suspect that there are two issues with my Darktable process. One is how I’m treating the pseudo colour manipulations in the first place dealing with the sky - and the second may be how I’m defining the mask that manipulates the sky. I’m using similar processes for Darktable and RawTherapee so I would have expected similar(ish) results?
If anyone has any Darktable tips & tricks - I would be forever grateful.
Are you using filmic? I think the current defaults in the color preservation options can give problems like this. You could try keeping v6, but set the other option to “none”.
Also, try switching off filmic and using sigmoid instead - not always better but a different approach that can work well.
I’ll take a look…you can just upload direct to the site using the little upload widget in the reply box… You should just also do a quick edit and paste in a CC license so people can do an edit with your permission…
That result is very usable. What parts did you manipulate in gimp? What I’d appreciate is where do you draw the line between what you do in Darktable and what you do in Gimp?
Glad if it helps. I personally almost always use sigmoid now, as I just like the results and also prefer the effect that its contrast slider has, but TBH filmic vs sigmoid is very much up to personal preferences.
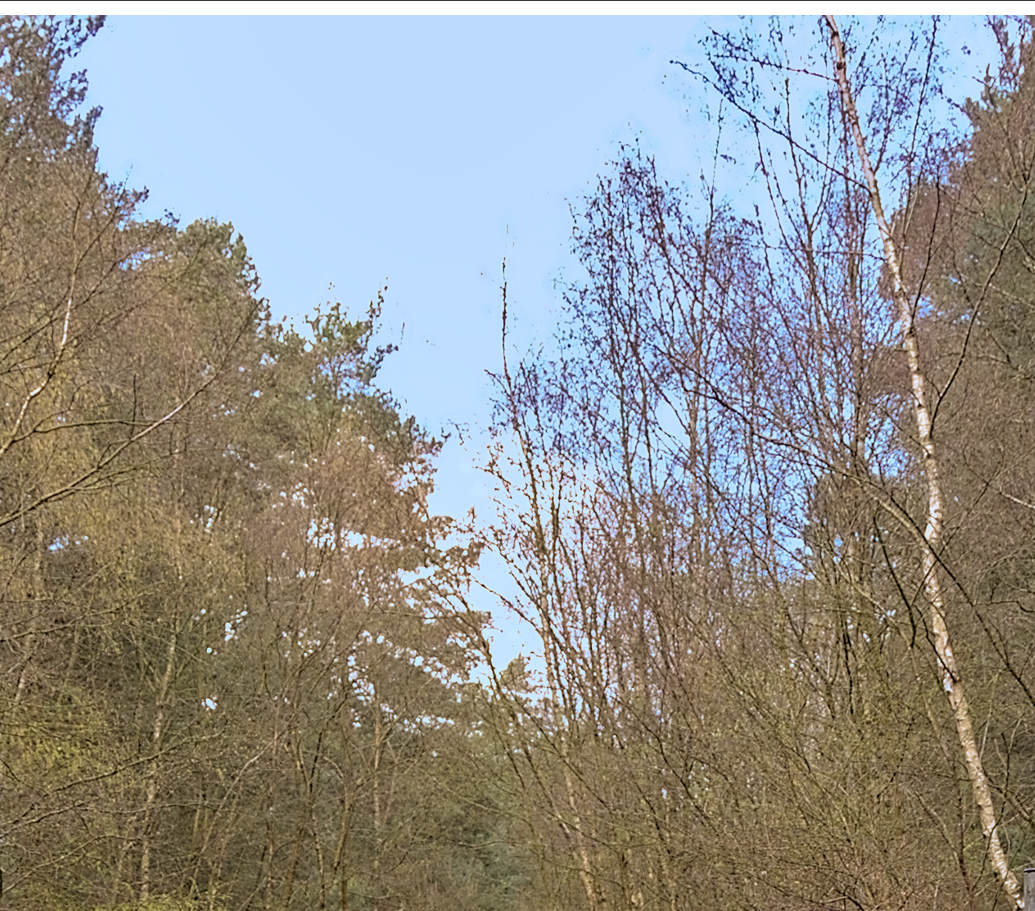
This is a quick edit in my usual basic workflow - you can load the .xmp file in dt’s lighttable view if you like, or I can explain my “process” a little if you like
Sorry about making too many posts - I just noticed that in typing out my post above I said I prefer filmic - meant to say prefer sigmoid over filmic… needed to set the record straight
My suggestions start at the camera. The sky is overexposed in the image. Then the camera is at the max aperture. Those two will make branches not be clear in a raw developer. I would also explore how your camera would handle the same conditions (looks like an overcast day), but at a higher ISO (eg 800). I think it will reduce some electronic noise.