
This is my edit in DT V4.3 using sigmoid. I am not upset with the blue trees. @Roger.Wilco is the blue around the trees a problem in this edit? 1X1A2465.CR3.xmp (13.5 KB)
I could use the color zones module to desaturate the blue, but that makes the whole sky insipid. I presume the original sky was a mix of blue sky and clouds.

1 Like
It may have been but the massive overblown sky…

And the lens and camera settings have made a lot of CA. Similar to this example below

I don’t think any of that is part of the natural sky I think its a creation from the setting and hardware …it might have been and it would have of course been easier to know if the image was exposed for the highlights… Looking at the raw image provided by the OP I think its pretty obvious

In the end desaturating or using the channel mixer are likely a couple of the best ways to assist the CA module/lens correction module to help correct this…
1 Like
This is not caused, only made more visible by filmic.
Drop the exposure, disable filmic and sigmoid. Depending on the use of only white balance (‘legacy’ chromatic adaptation) or white balance and color calibration (‘modern’ chromatic adaptation), this is what you get:

2 Likes
I know these blueish color between branches very well and must say it’s annoying. Although the over exposed area is very big on this one. My go is using a second instance of color balance RGB with a mask to remove the color cast.
1X1A2465_03.CR3.xmp (11.8 KB)
2 Likes
This was in the UK… on the day of my nature walk - it had everything: nice solid blue sky, towering cumulus, rain cells and thin smears of low stratus. Looking at that photo and those around it in series - it was probably a thin layer of low stratus at that time. So in reality the sky was probably a light blue/pastel/white haze.
I haven’t come across the same issue with nice solid blue sky. Fine detail doesn’t have the blueish/purple shift in those cases.
Yes - I will need to think about how to make better use of the camera’s ability. For these country walks and general shots I’ve traditionally shot with RAW/JPEG with the idea that you shoot for the best out of camera JPEG. Sharing the out of camera JPEGs with friends & family at the time. Then processing the RAW for very specific keeper shots. Or processing RAW for predetermined shoots like family weddings etc…
Maybe - I need to revisit whether I change and always shoot dark and post-process all images. Suppose it won’t matter if I can get a bit faster at Darktable. I might also need to look at using exposure bracketing as an always on default. Food for thought.
I would have assumed that at that those lens values & distance it should have been covered by the hyper-focal distance? Maybe I need to look into lens chromatic characteristics. I haven’t had to think about that before.
As I posted before - that day had the typical British four-seasons in one day. The sky was most likely a light blue/pastel/white haze with more solid white clouds interspersed.
Thanks for your suggestion regarding ISO. Everyday is a school day. ![]()
Thanks for the xmp. The distant trees look very natural in this version.
Its a bit about shooting darker for sure but its a classic case of axial CA… made extreme by the blown out sky which is even more “extreme” than extreme contrast usually cited in those sort of shots… you can see when you zoom in to those areas it not only has the color fringing but entire branches are a dark saturated blue. You can find many examples of this ie shooting up into a bright sky through the trees showing lens CA…
1 Like
The photo was taken using the Canon Evaluative metering mode with the focus point face of the log. What I usually do is shoot in Canon Fv - set aperture if needed and use the EV compensation to try to balance the overall image brightness vs. minimizing the bump at the right edge of the histogram. Maybe, I need to revisit how I do this.
I have never really played with Highlight Tone Priority (D+). Maybe, something I should explore for such situations in future?
GIMP => Colors menu => **Hue-Saturation => B => Saturation => minus, In the subgrid we see the effect of
1 Like
Thanks - it is great to know the root cause as I can now dig into the subject and fix the problem for the future. I do appreciate the steer in the appropriate direction. Initially - I was under the impression it was my incorrect / inappropriate use of Darktable tools for this type of edge scenario. I’m happy to go away and study further in this direction.
Ya I don’t know about all those canon modes but if they are not protecting the sky and the sky is important then it is likely time to tweak something… Of the cuff and just be cause I saw it recently …check out the image edited at the end of @s7habo latest video… exposing the foreground would have lost this sky for sure…


2 Likes
Appreciate the xmp.
Removing the colour cast in this way - I had not considered before. Thanks for the demonstration.
In that image - it was more about the unnatural looking distant trees in both the initial Darktable image and the horrible looking trees in my final attempted version.
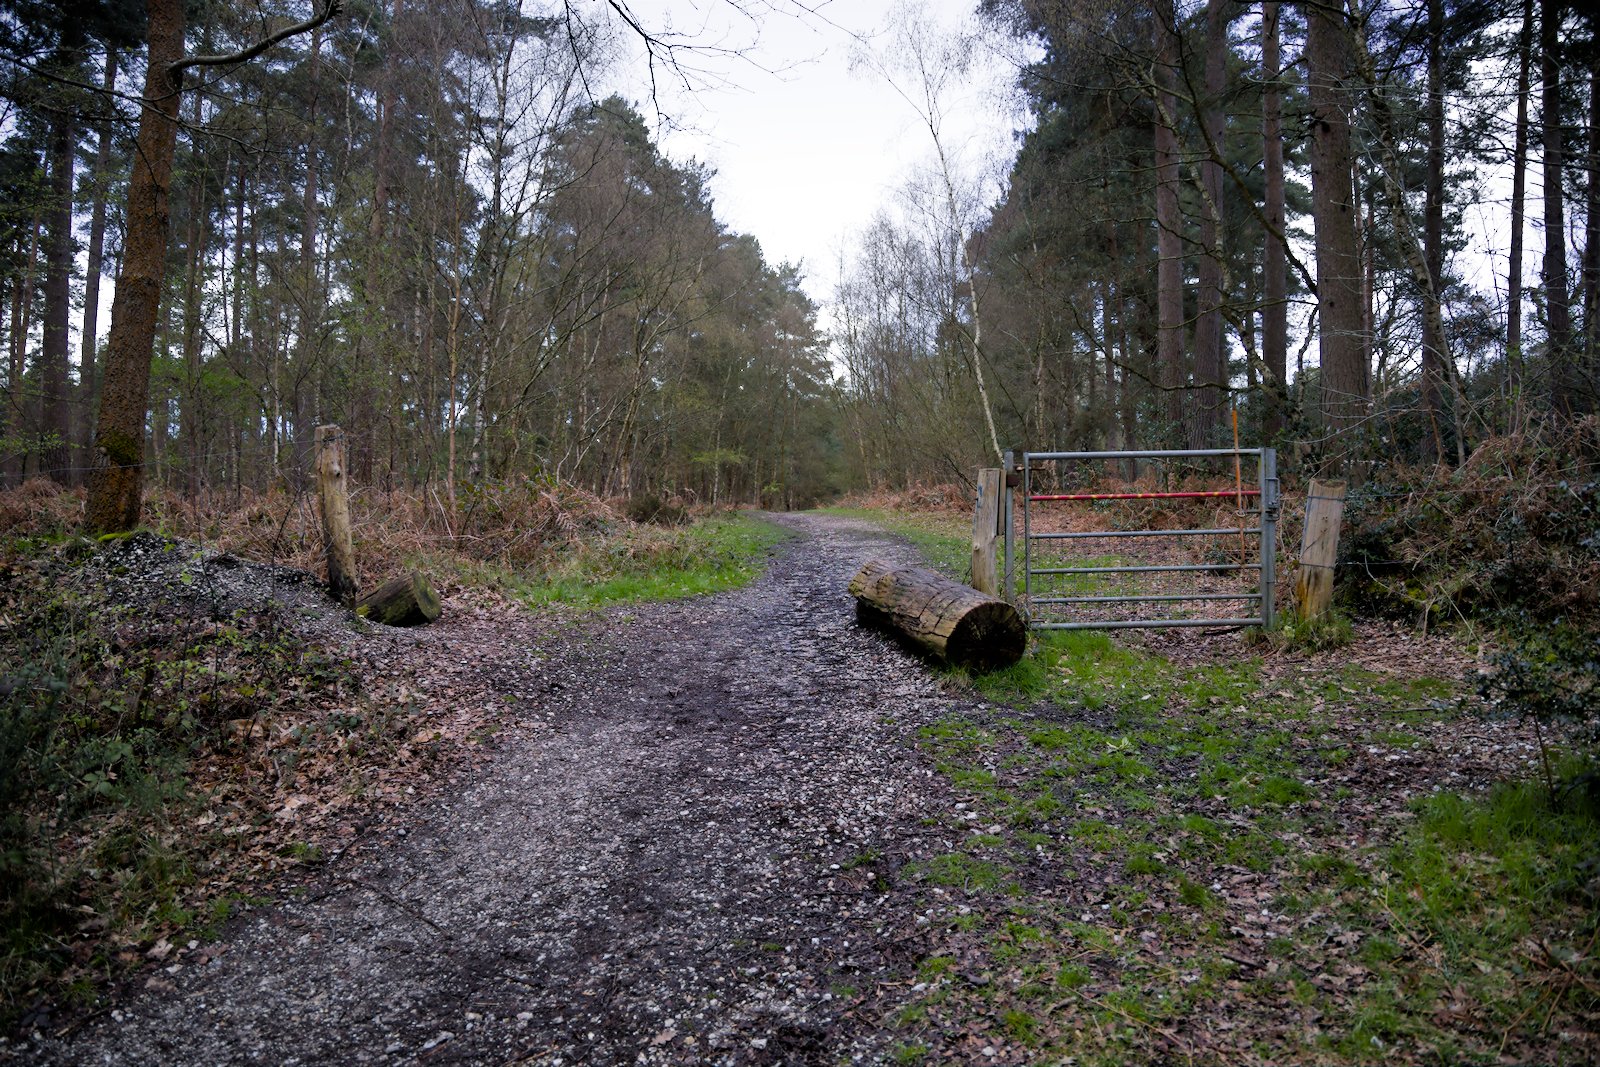
The photo theme was more about humans avoidance of the gate.
But if to avoid unnatural looking trees - I need to protect the sky - then that is what I have to do in future
Thanks for the pointer to the video. I have watched many of his videos before and learnt a great deal. Definitely, a font of knowledge and an asset to the community.

2 Likes
That sky & distant trees look good.
I’ll have to look into how to merge the sky & distance with some of the previous demo and see if the best of both techniques can be utilized.
Much food for thought - thanks for your demonstration.
1 Like
There one thing i’d like to mention. Areas like the “blown out sky between leaves” in highlights module is often best with segmentation based after combining the small pieces with some “true sky” …
2 Likes
By “small pieces with some true sky” are you referring to using the retouch module?
That is something I hadn’t thought about before.
No its a version of the HLR module… I tried a large variety of the settings and didn’t get great results…I actually got better results with a mode I don’t often use ie the guided Laplacian… But in this case with this image targeting the blue by other methods seemed to work best in my hands…Although filmic v5 also did an nice job I found the blue stuck around if I used v6 even changing preservation modes…