Its packages and tagged now, waiting on installers.
Dedication ![]()
Thanks! But no G’Mic, I used my own filter (script).
Freaky sharpening… freaky details… Same thing… 
Yes and no  . I did my own implementation of the method described in the article of @patdavid because the G’Mic filter did not really reproduce what I did manually before. So, now I have a script filter that generates a new layer that produces the effect when combined with the background layer. The advantage is that I can apply a blur localy to the sharpening layer and, in this way, can limit the effect to certain regions.
1 Like
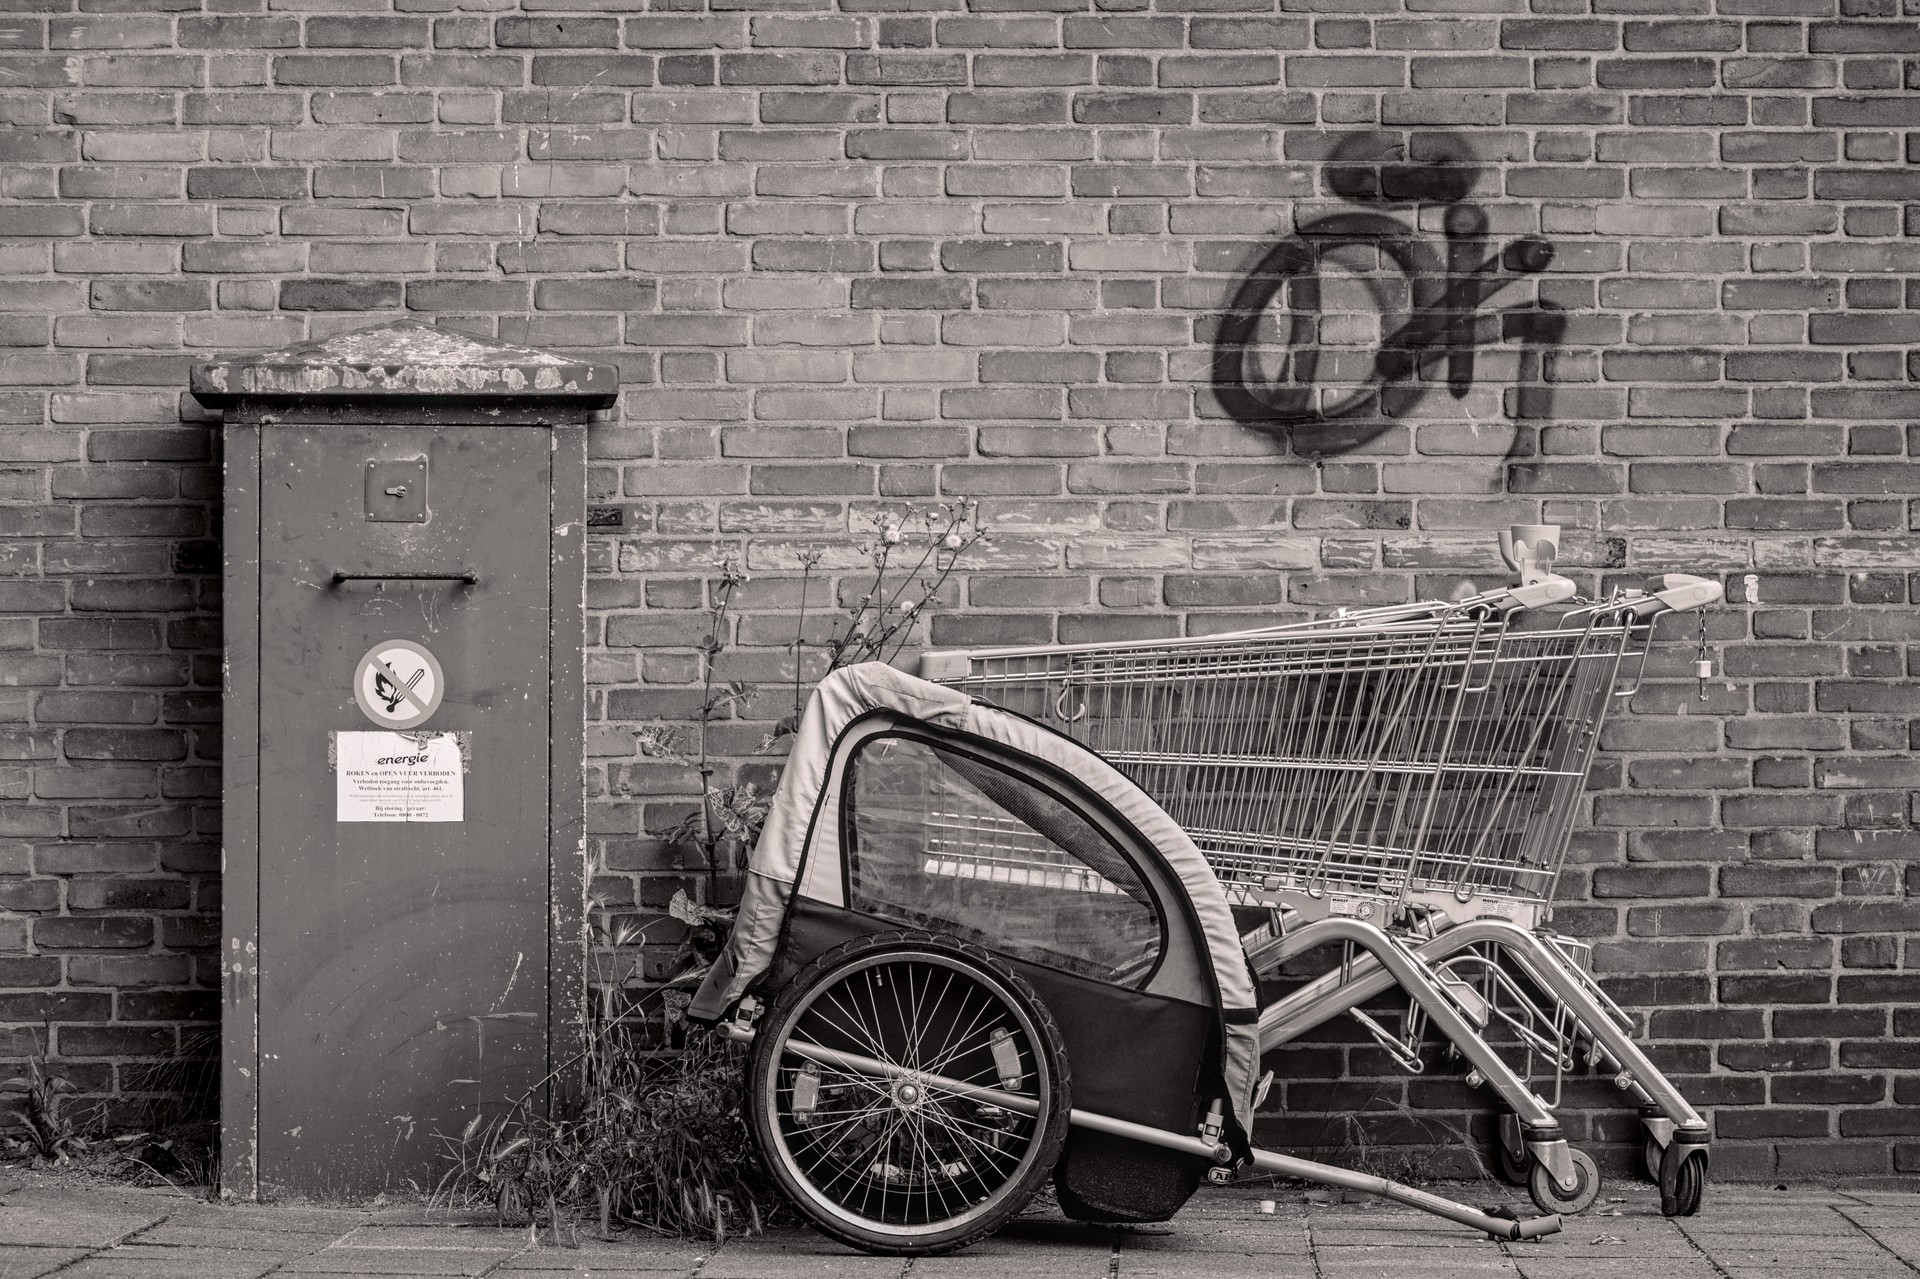
Nice one to experiment with color grading.  And I agree, there’s always something to photograph, no matter where you are. Patterns, shadows, reflections, colors,… Not everything tells a story or provokes questions like this one but IMO not everything has to.
RT5.8 dev
urban.still.life.jpg.out.pp3 (17.4 KB)
3 Likes
@Thomas_Do : Sorry, my previous reply was meant as a bit of a jest. I did understand that I was wrong and that you created your own, GIMP based, script.
But, now that you described the script; That sounds like a nice one to have. Better then the one I initially, and wrongly, thought you used from G’MIC. I do remember reading and playing with Pat’s article and that you need to be really careful to not overdo it. Yours looks nice and conservative (for lack of a better word). I never went as far to make a script though.
Yep it is. I also applied a slight colour grading.
If you, or others, are interested I can post it here. But then maybe in an own thread, so it is easier to find?
I would be interested if you don’t mind sharing it.
Do make a separate topic, maybe you or others can add other scripts to it as well.
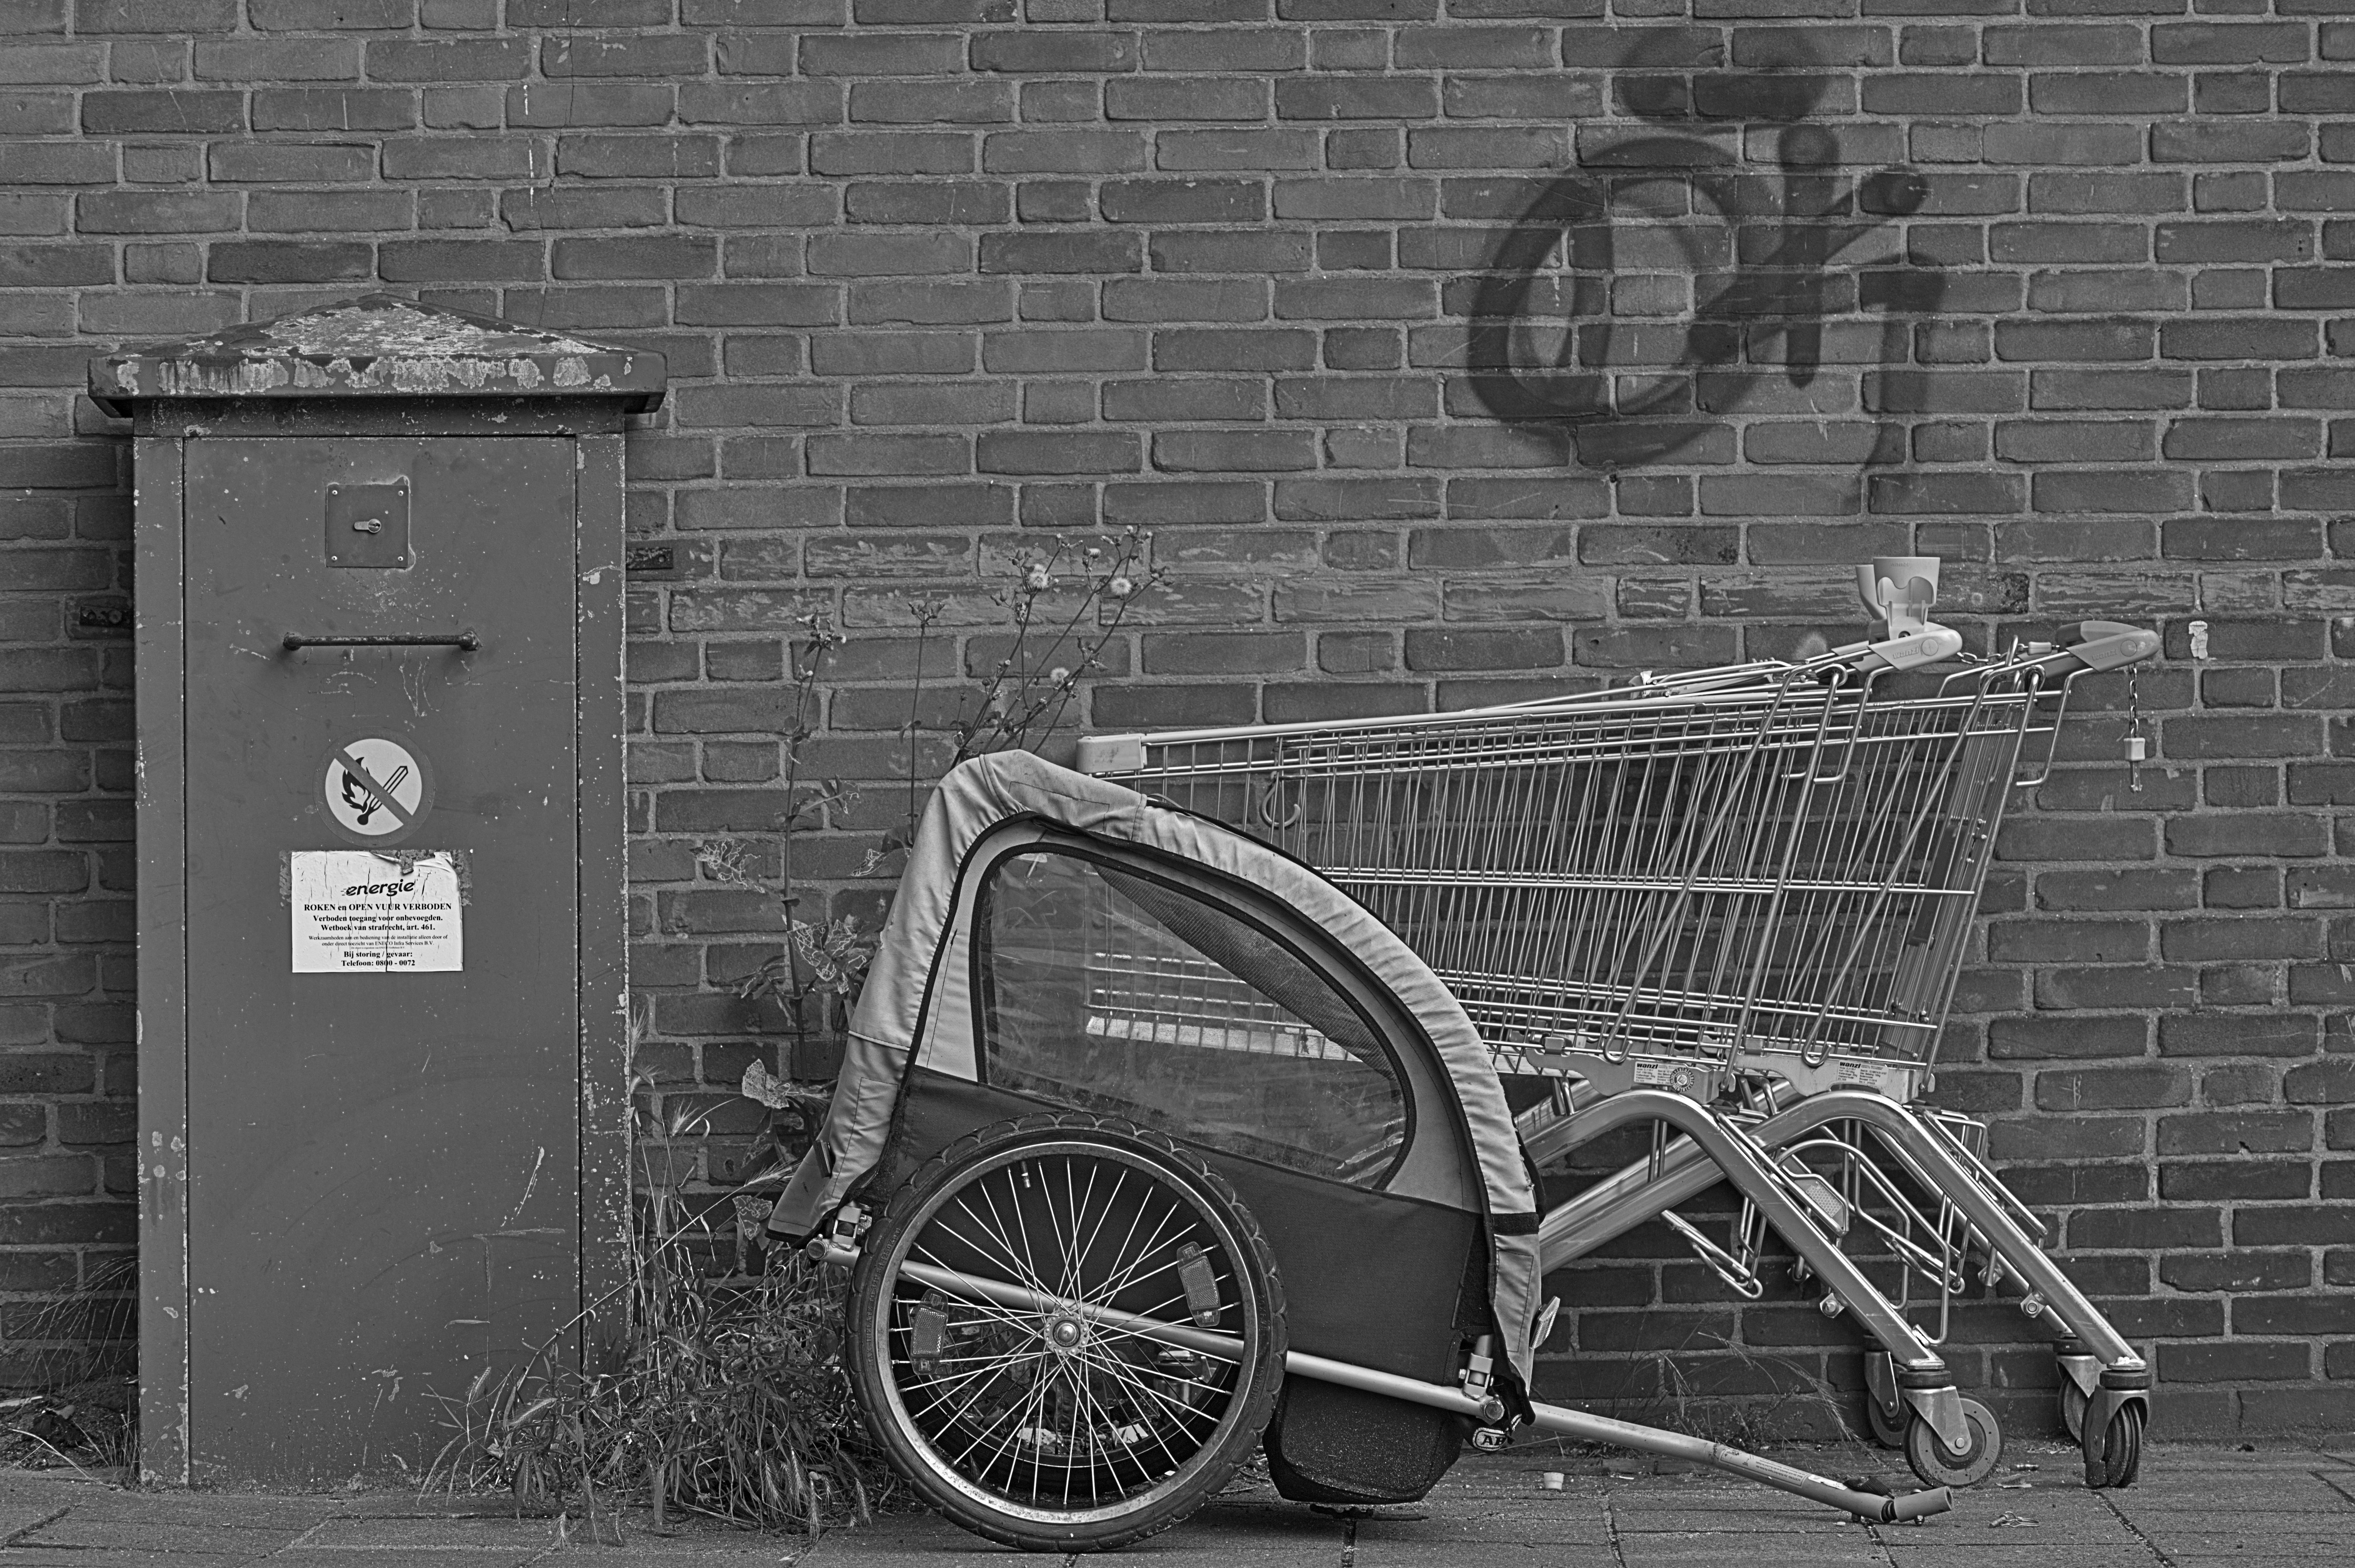
Thanks for the image. I was really feeling B&W for this one. The composition you chose I really liked so no cropping just a slight straighten based off of the metal boxes lid on the left. Color graded to my taste as I like a tone on my B&W images so I chose one I found pleasing for this presented composition.
dt 3.6 had to pull down and compile myself for image support really wanted to edit this image 
urban.still.life.nef.xmp (11.5 KB)
2 Likes
That’s how I did in with GIMP, back in the day.


Interesting motif!
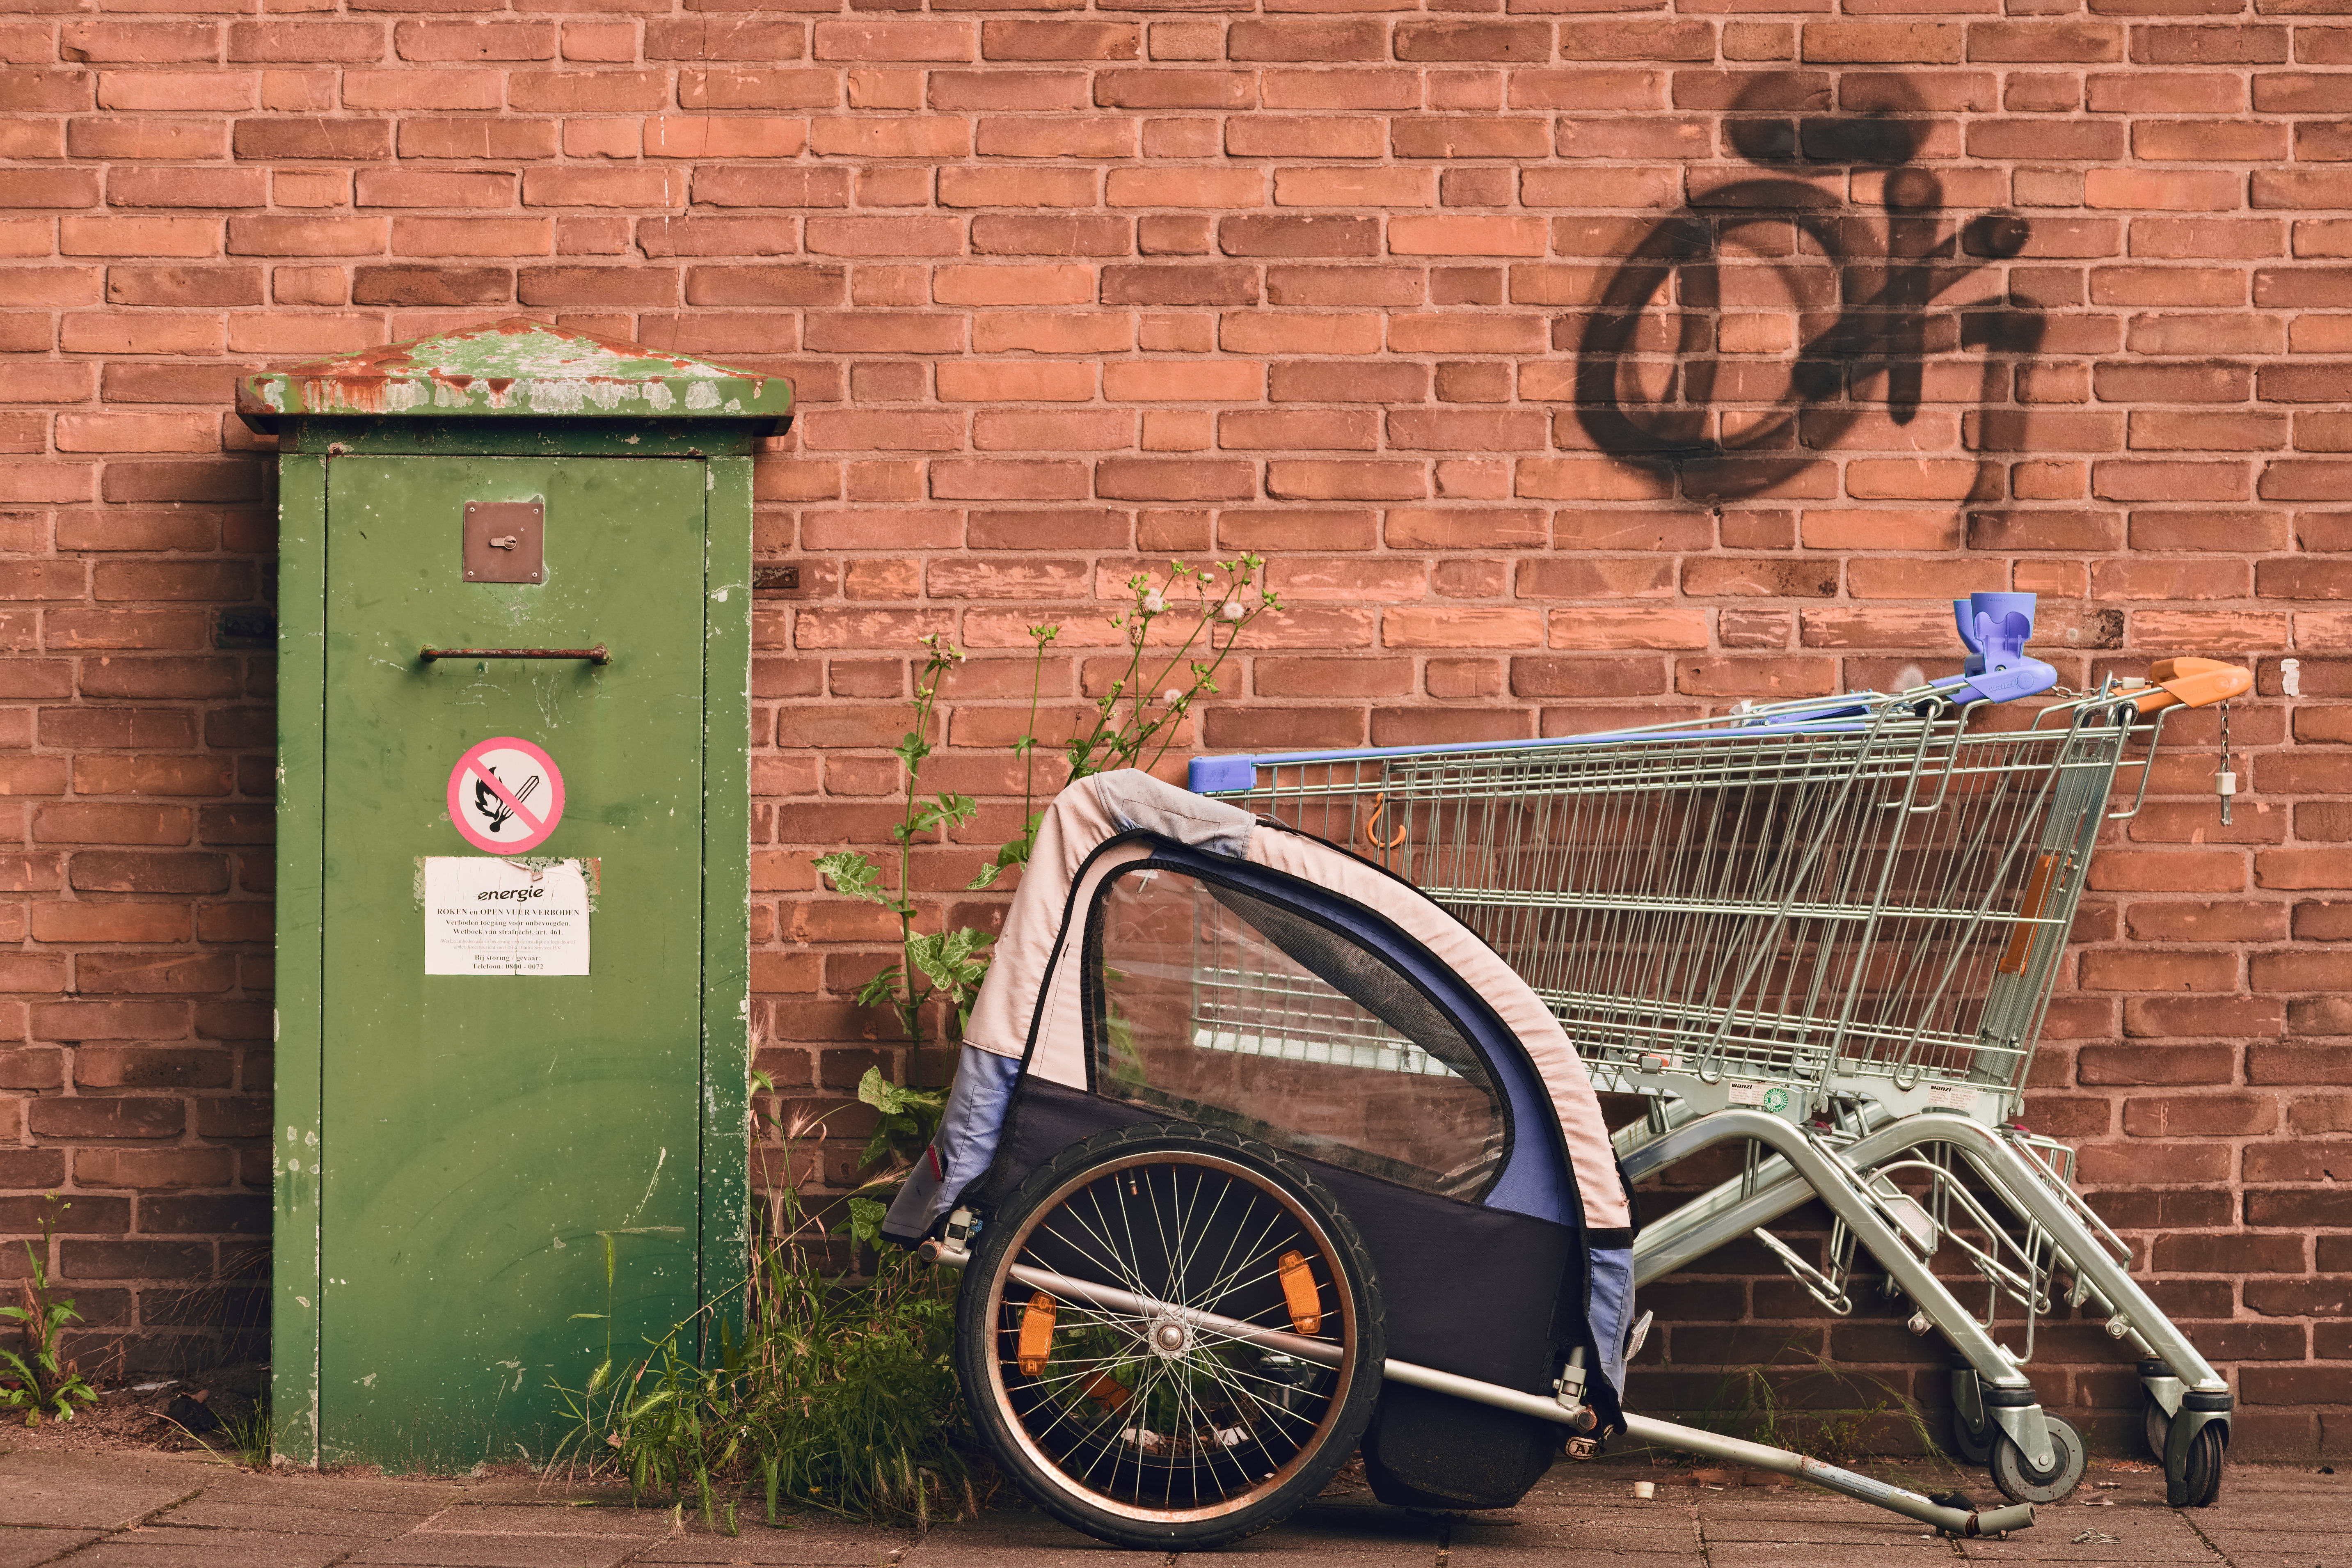
My edit is not realistic, as I again played with color contrasts to better separate foreground and background objects and get a bit more rough look. This gives the photo a little more three-dimensionality:

urban.still.life_08.nef.xmp (33,3 KB)
darktable 3.5.0~git2610.8574779c77-1
3 Likes
Very nice!
There are some nice overall touches (as usual), but I especially like what the tone equalizer 1 and colour calibration 1 modules do to the image.
Is removing the red from the no smoking sign intentional? Either way I like the effect, the red is somewhat of an unwanted eye catcher.
An attention point would be: Turn on defringe (have a look at the spokes).
This one is worth analyzing, especially when you are a darktable user!
1 Like
No, I forgot to mask it. ![]()
Very well observed! I screwed that up too. Normally the lens correction module does it, but your lens is not supported by lensfun.
Corrected version:

urban.still.life_08.nef.xmp (39,6 KB)
1 Like
There’s something fishy going on at the moment with lensfun and Nikon’s Z series cameras in combination with F mount lenses. The lens is supported but isn’t picked up when using a Z6(II) (probably Z5/7 as well) body.
I see the same unwanted behaviour when using my other primes and zoom lenses. Only a generic length is picked up. This does not happen when I use these lenses with my D750.
I created a set of auto applied presets to fix it this way for the time being.
EDIT: This is also happens in RawTherapee.
Although this is a useful thing, in principle I find lensfun to be a shaky deal. Rawtherapee at least has the possibility to do the correction manually, which is a very big plus. In darktable this is only possible to a limited extent. Manual lens correction is one function I strongly miss in darktable.
1 Like
The new chromatic aberration module has some interesting effects too in addition to correcting the aberrations if you use the blue channel as the guide I find it actually seems to perceptually sharpen the image in many cases