Sure, there are many… e.g. color correction or local contrast
for basic usage, RL deconvolution sharpening in ART is not very far from capture sharpening. ART has no corner boost yet, but it will be available in 1.1 (I hope)
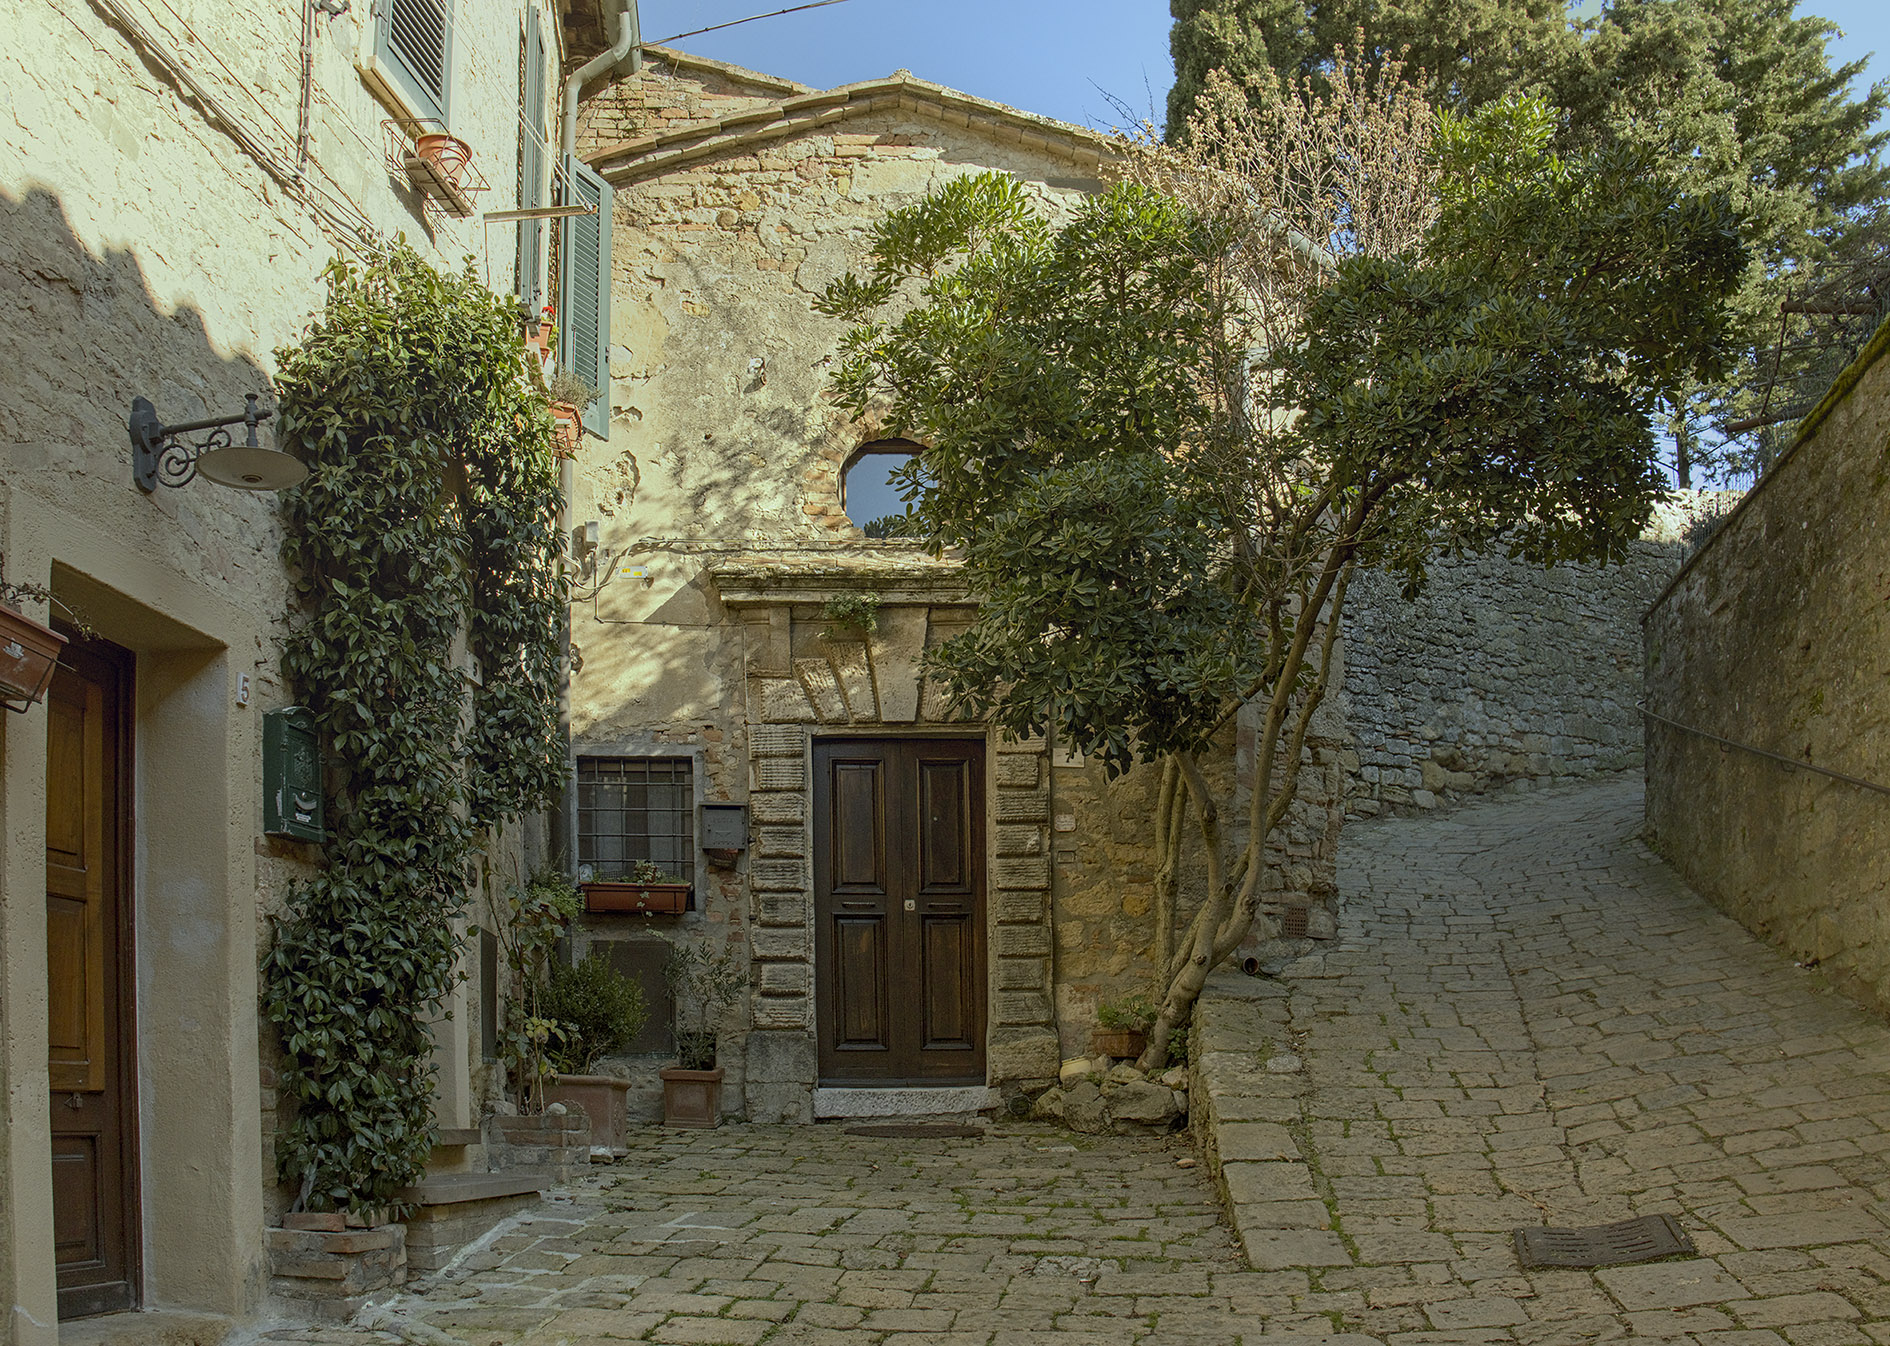
Most if not all of the entries have sharpening. My problem with them is that it doesn’t seem distributed naturally: some areas are super crunchy whereas others are soft and pasty (e.g., left wall in front of vine growth).
The dynamic range of the raw image was enormous, so I created three .tif files in RT - one standard, one for highlights and one for shadows. Blended the three using Enblend. I put the result into Hugin and corrected the perspective. Then, in GIMP, I played with luminosity masks and finally applied a slight amount of sharpening to the .jpg, using wavelet decompose (duplicating level 2 of 5 at about 40% opacity).
Inspired by Davids work combining multiple TIFFs I created two different versions in Darktable - one for the highlights, another for the subject/shadows. Blended in Photoshop using Multiply and Layer Mask. The results are so much nicer that this will be my default method now for any wide dynamic range image. Also makes it easier in Darktable, not having to worry about blowing highlights whilst maximising detail elsewhere.
On this page you will find different locations to download the SW.
@agriggio made a very fine job to simplify and organise the tools such as to simplify the workflow
I mainly used tone equalizer, tone curve, “highlight reconstruction/color propagation”, dynamic range compression (slight). Not sure it is the best way to reach the result.